How to install laminate flooring without calling a builder
Learn how to install laminate flooring with these top DIY steps
Here at Tom’s Guide our expert editors are committed to bringing you the best news, reviews and guides to help you stay informed and ahead of the curve!
You are now subscribed
Your newsletter sign-up was successful
Want to add more newsletters?

Daily (Mon-Sun)
Tom's Guide Daily
Sign up to get the latest updates on all of your favorite content! From cutting-edge tech news and the hottest streaming buzz to unbeatable deals on the best products and in-depth reviews, we’ve got you covered.

Weekly on Thursday
Tom's AI Guide
Be AI savvy with your weekly newsletter summing up all the biggest AI news you need to know. Plus, analysis from our AI editor and tips on how to use the latest AI tools!

Weekly on Friday
Tom's iGuide
Unlock the vast world of Apple news straight to your inbox. With coverage on everything from exciting product launches to essential software updates, this is your go-to source for the latest updates on all the best Apple content.

Weekly on Monday
Tom's Streaming Guide
Our weekly newsletter is expertly crafted to immerse you in the world of streaming. Stay updated on the latest releases and our top recommendations across your favorite streaming platforms.
Join the club
Get full access to premium articles, exclusive features and a growing list of member rewards.
If you’re renovating a new home or ripping up old carpets, you can learn how to install laminate flooring without calling a builder. Laminate flooring is popular due to its many styles and colors that give spaces an instant uplift. Plus, laminate flooring is an affordable alternative to solid hardwood flooring without the tricky installation.
Unlike hardwood flooring, plastic laminates doesn't have to be nailed down to the floor or underlayment. They are durable, scratch-resistant and easy to maintain. Although, if you do have wood flooring, you’ll need to know how to clean hardwood floors without damaging them.
- Here’s how to clean grout on floor tiles to get rid of stains and keep them sparkling
- If you’re renting, here’s how to decorate a rental property without annoying your landlord
What’s more, laminate flooring doesn't require grouting, cement or adhesives to fix the planks together. Instead, laminate flooring clicks and locks together in place (if installed correctly), much like a giant jigsaw puzzle.
While learning how to install laminate floorings can seem challenging, it’s actually not that hard to do yourself. The best part is, you don’t even have to call in a professional to do the work, saving you extra cash! So, here are some top DIY tips on how to install laminate flooring without calling a builder.
How to install laminate flooring
Floor underlay or vapor barrier
Wood spacers
Tape
Tape measure
Utility knife
Hammer
Something to cut the flooring
Tapping block
Caulking
The first step is to prep your area, ensuring your sub floor is clean from dirt and debris, is level and structurally sound. More importantly, always measure up the space correctly before buying laminate flooring. It's advisable to buy an extra box of flooring to allow for cutting mistakes or damaged planks. Even if you don't end up using it, it's always good to have replacement spares.
1. Prep the room
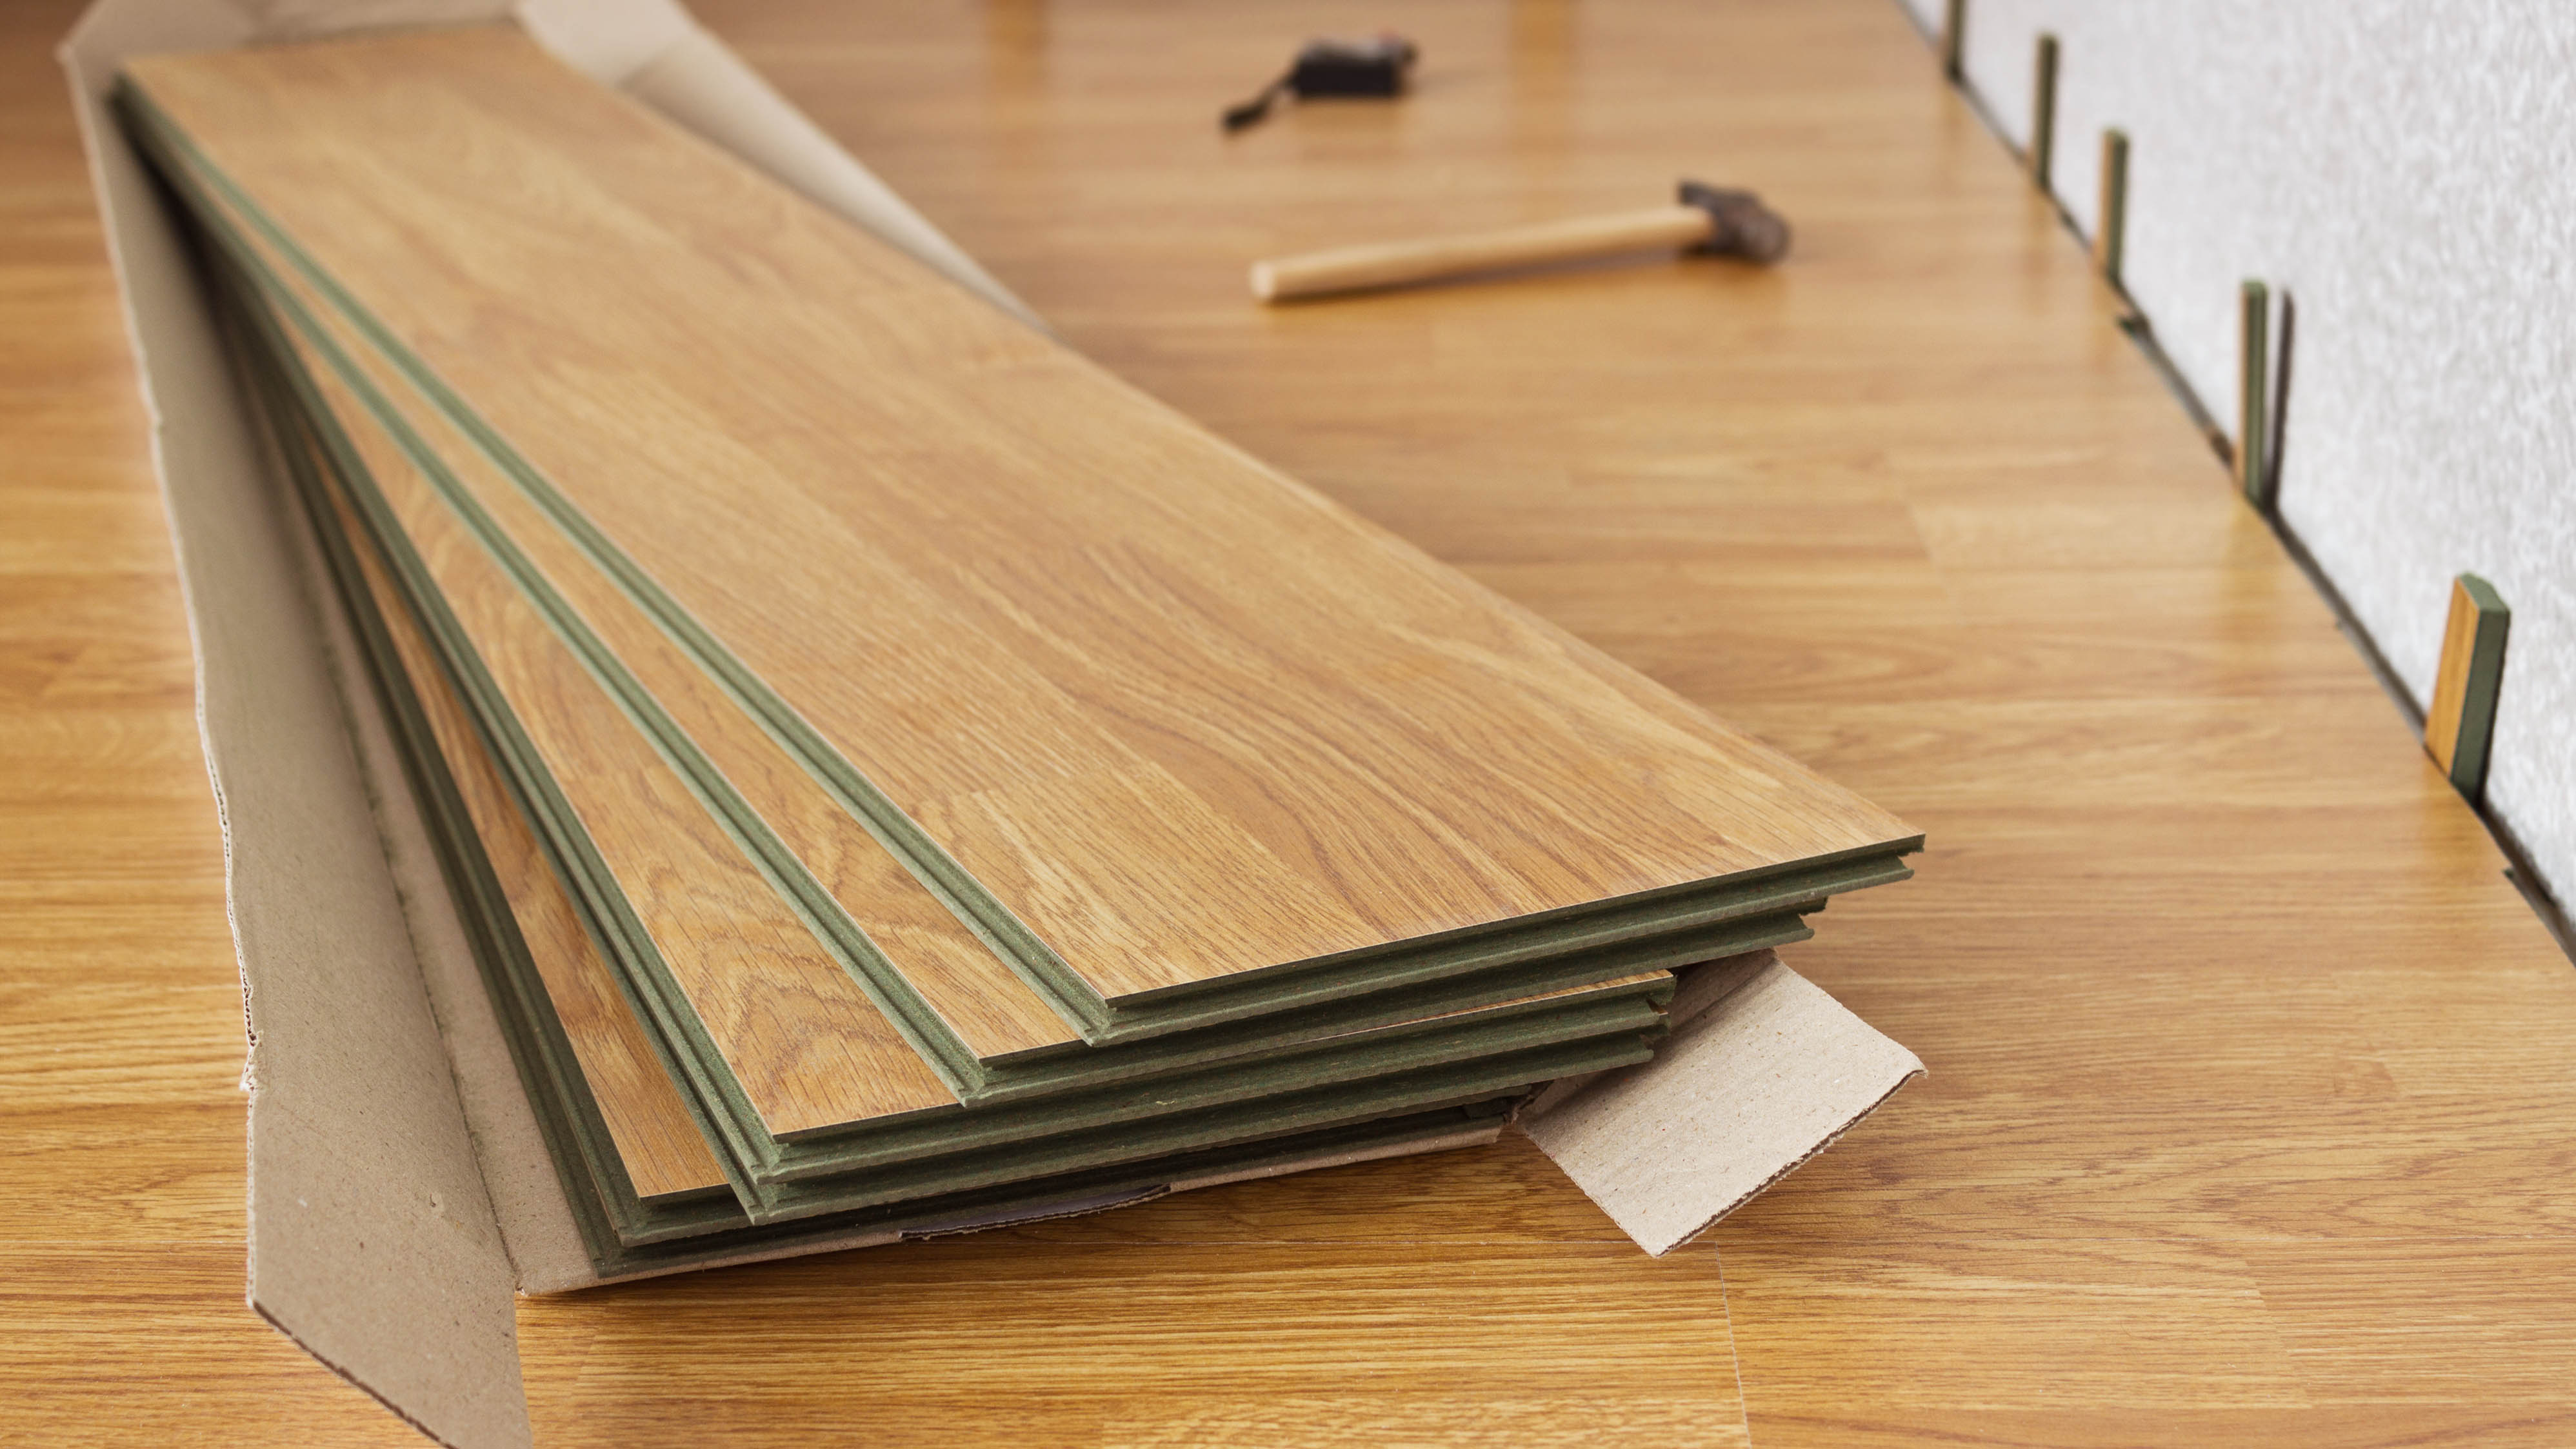
After prepping your space, test-fit some laminate planks by arranging them side by side across the room to see how they’ll look once laid out. Decide on the flooring direction and pattern, and make sure to leave room for the flooring to expand about ¾ inch. Be careful not to lock the joints together at this stage to avoid damaging the planks.
TIP: It’s always important to read the instructions provided by the flooring manufacturer.
Get instant access to breaking news, the hottest reviews, great deals and helpful tips.
2. Lay down the underlay or vapor barrier
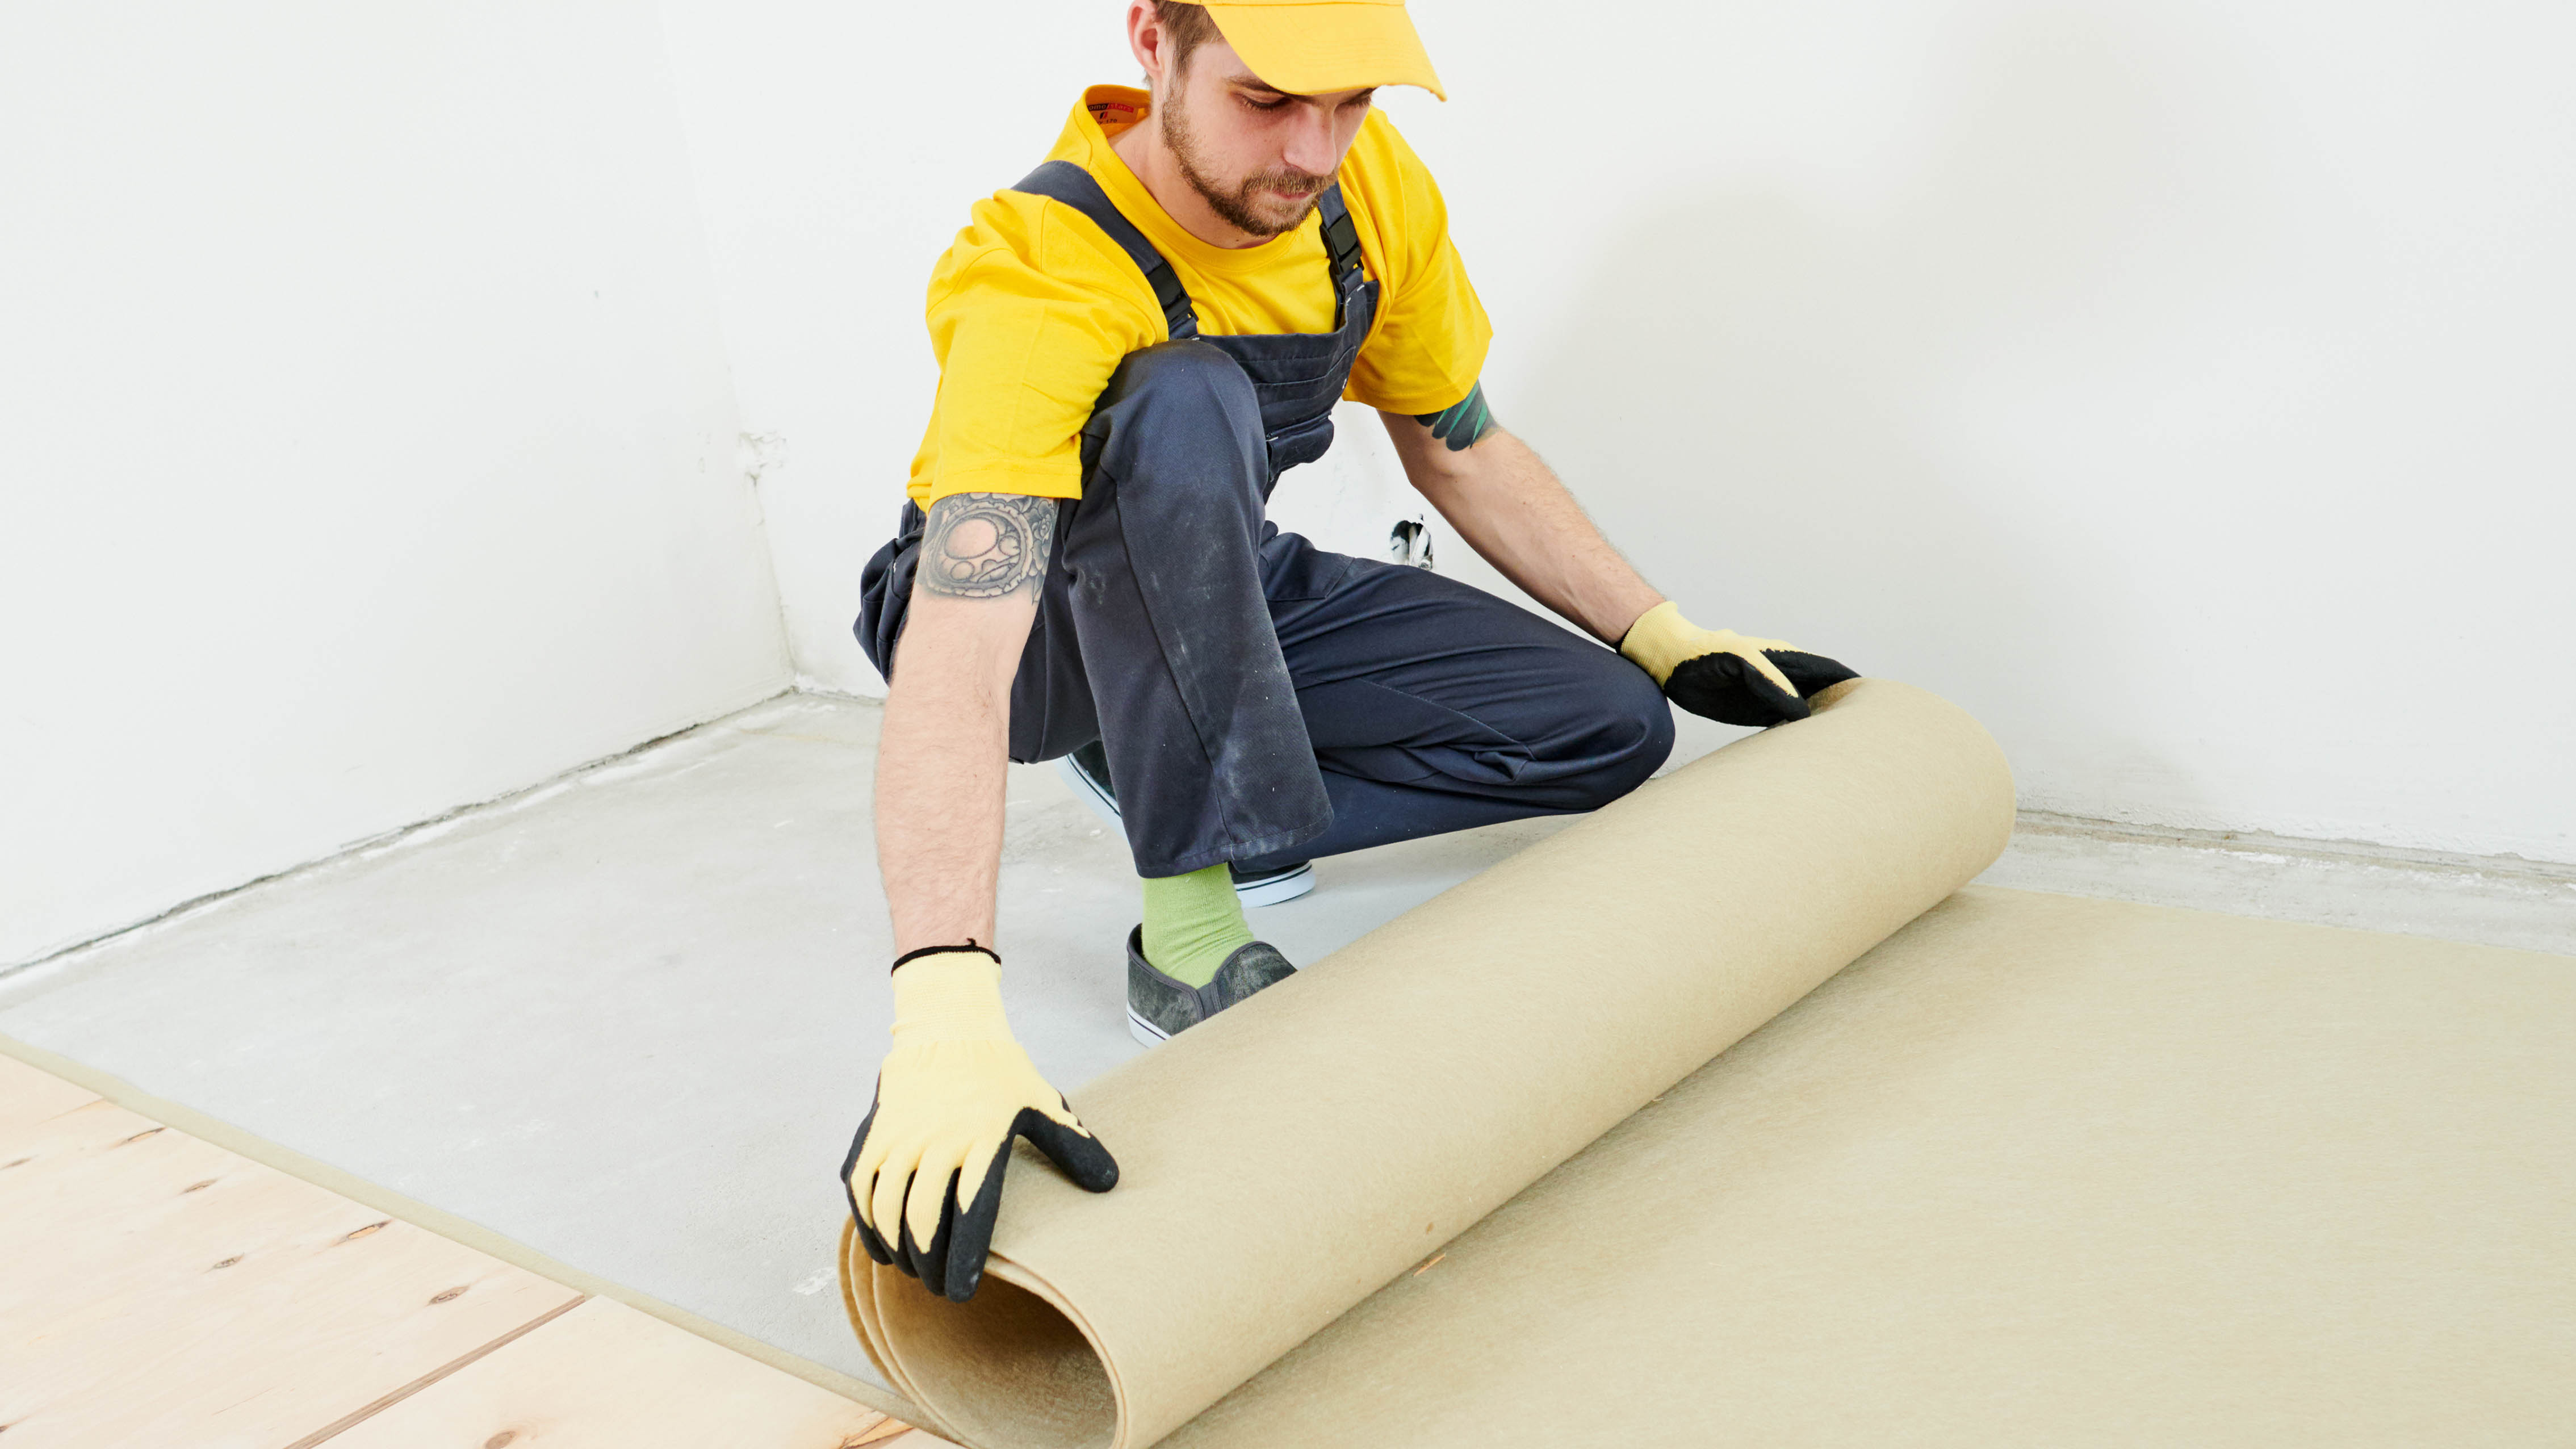
Next, roll out sheets of underlayment and place the edges together so they are touching but not overlapping. Tape together the seams with the tape recommended on the instructions or invest in some underlay with peel-and-stick adhesive edges. Then, trim the underlayment to fit against the walls and obstructions with a utility knife. Underlayment is a thin, dense foam designed to help absorb sound and make your floors warmer. You should always lay this protective, thermal barrier before installing laminate flooring to make it a flat surface from any bumps or gaps in the floor.
TIP: If you’re installing laminate flooring in high-moisture rooms like kitchens or basements, it’s advisable to install a vapor barrier like this 3in1 Vapor Barrier Flooring Underlayment ($18, Amazon) before placing your underlayment.
3. Place spacers along wall
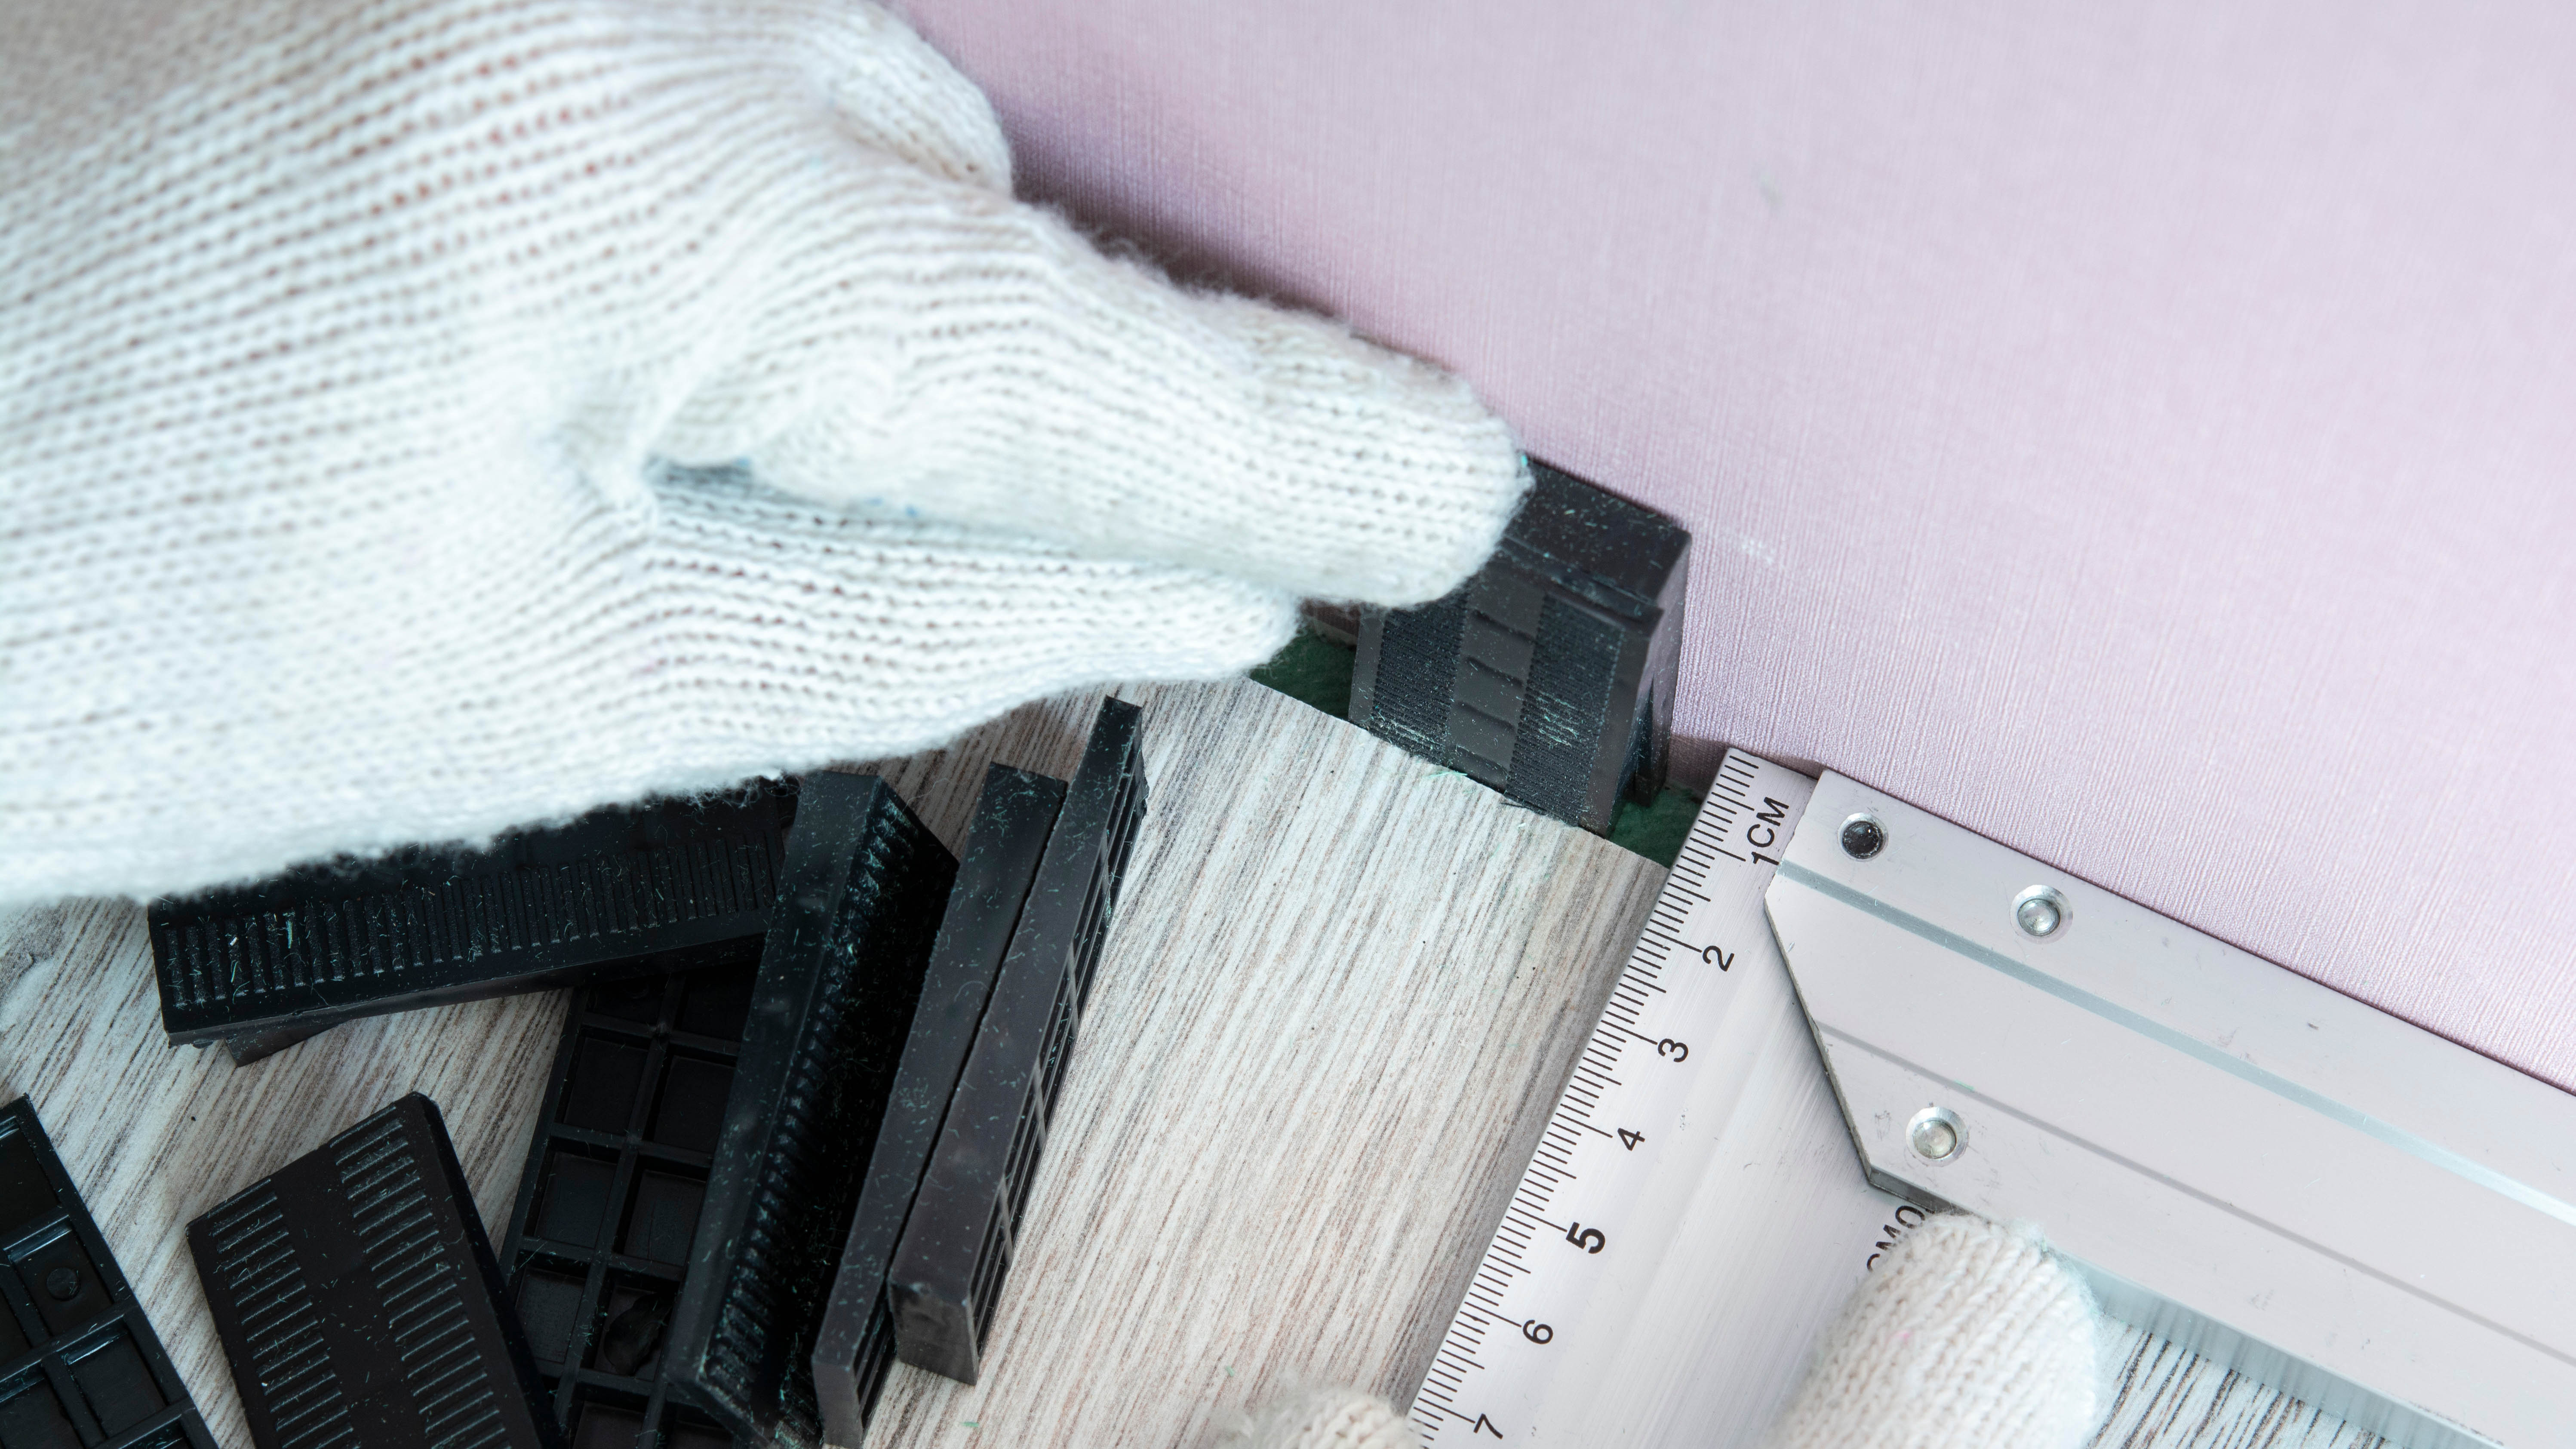
Then, place 3/8-inch spacers along the wall to leave a consistent gap around the edges of the floor to allow for flooring expansion. One thing to note is that laminate flooring will always expand and contract due to the changing temperature and humidity.
4. Start laying down the flooring
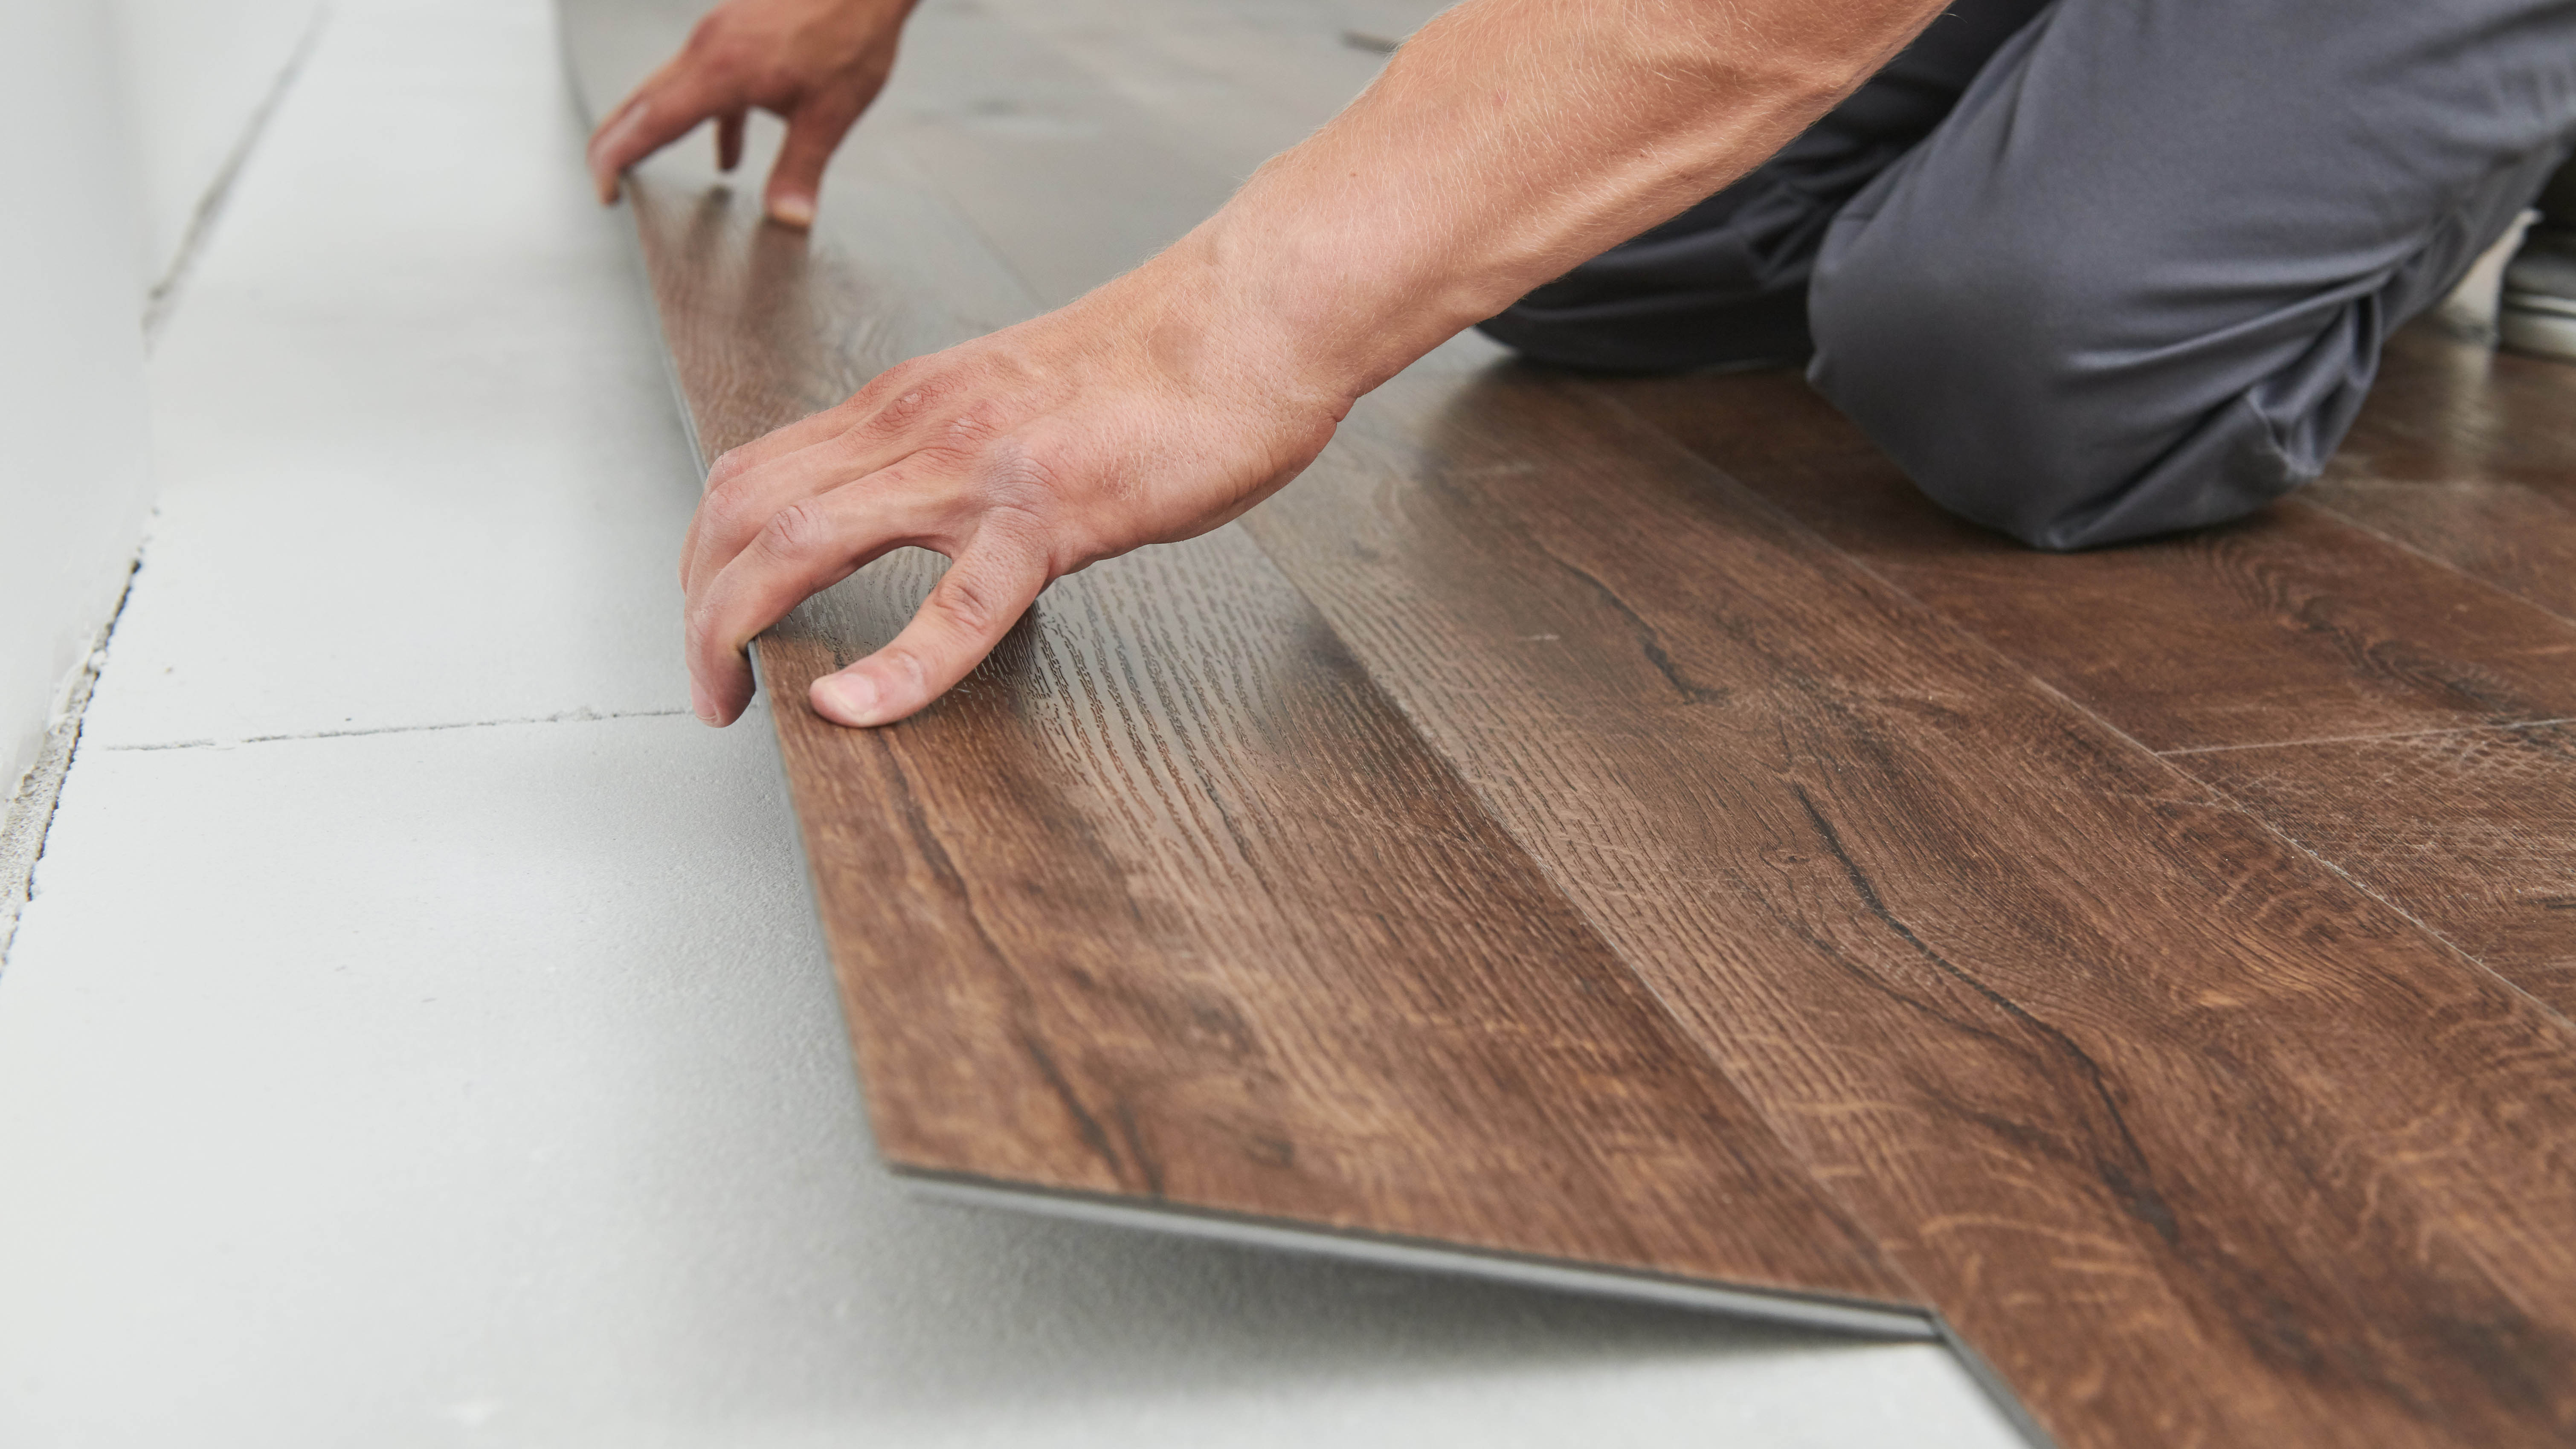
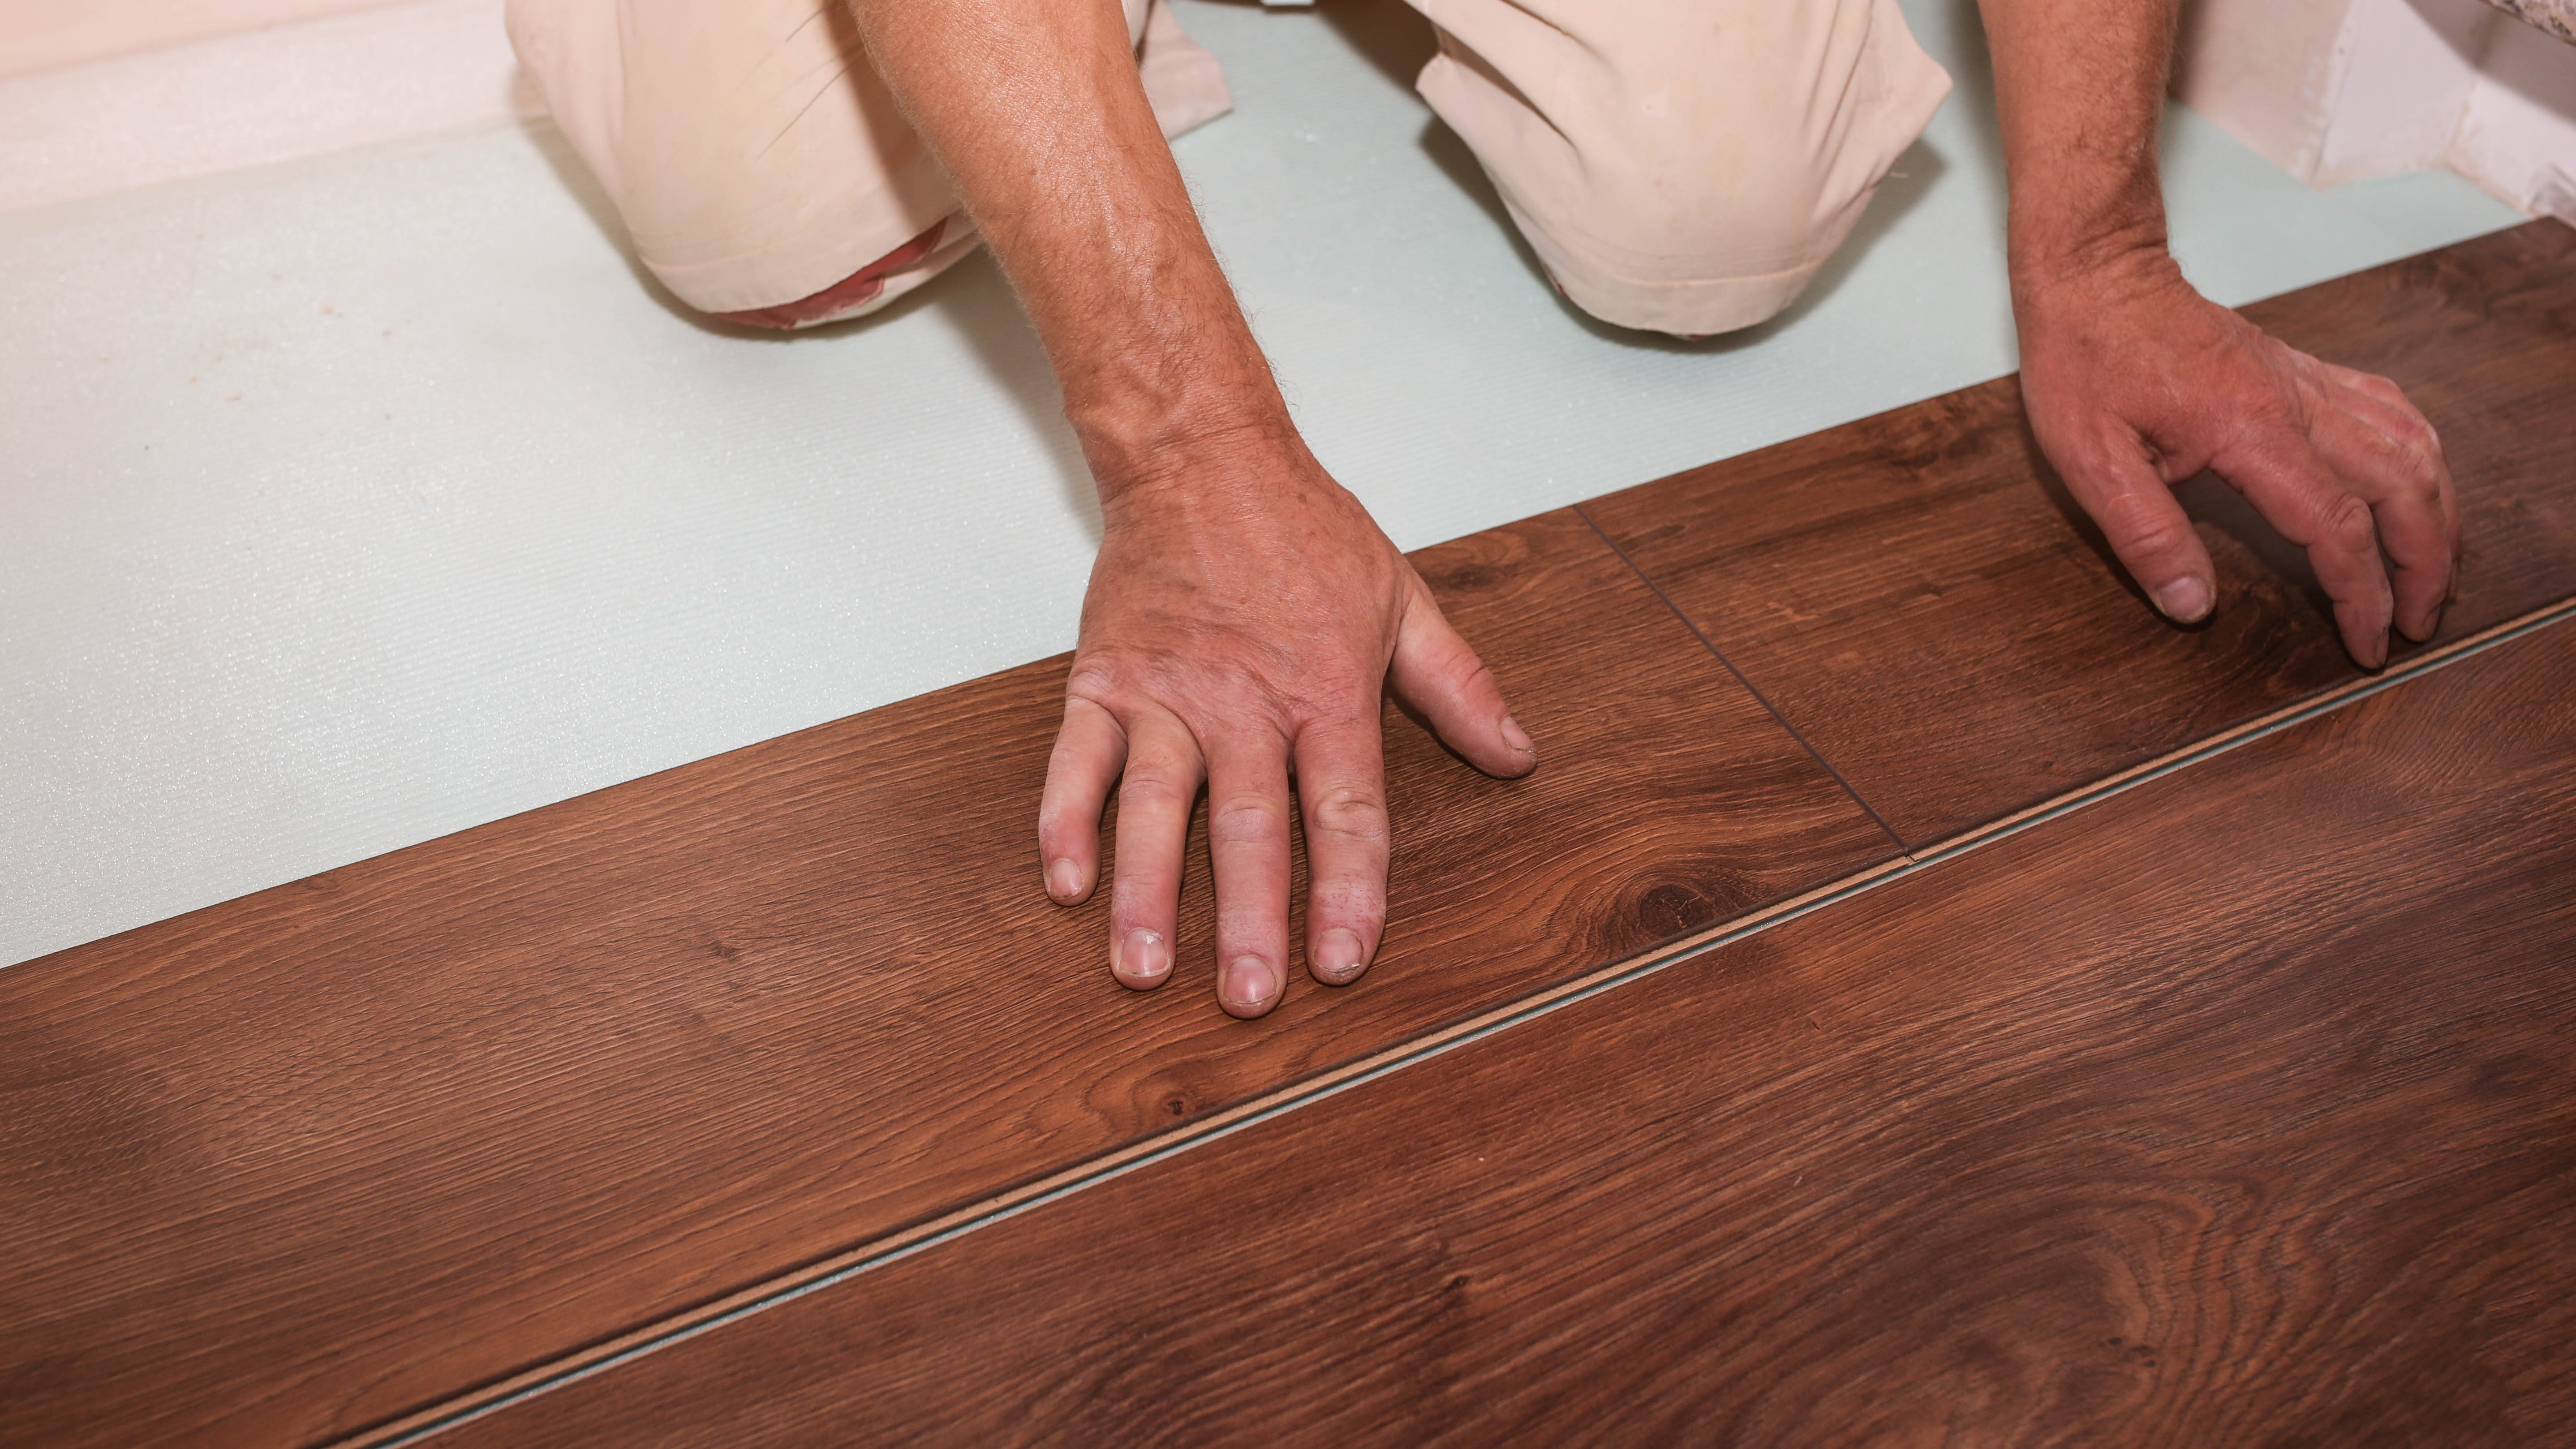
A general rule of thumb is to start applying flooring against the longest wall. But if for instance, there is a feature fireplace or large windows, you may want to start laying the planks parallel to that wall. Start by placing the planks with the tongue side facing the wall. Then, place the second plank next to the first by aligning the tongue into the groove and press the plank down to snap into place. Continue placing planks until you come to the end of the first row and cut the final piece to fit perfectly into the space.
TIP: Stagger your rows one plank width from each other to give it a more attractive design. Not only is this more aesthetically pleasing, but also gives the floor more stability, preventing problems such as warping or laminate forming gaps.
5. Install the remaining laminate flooring
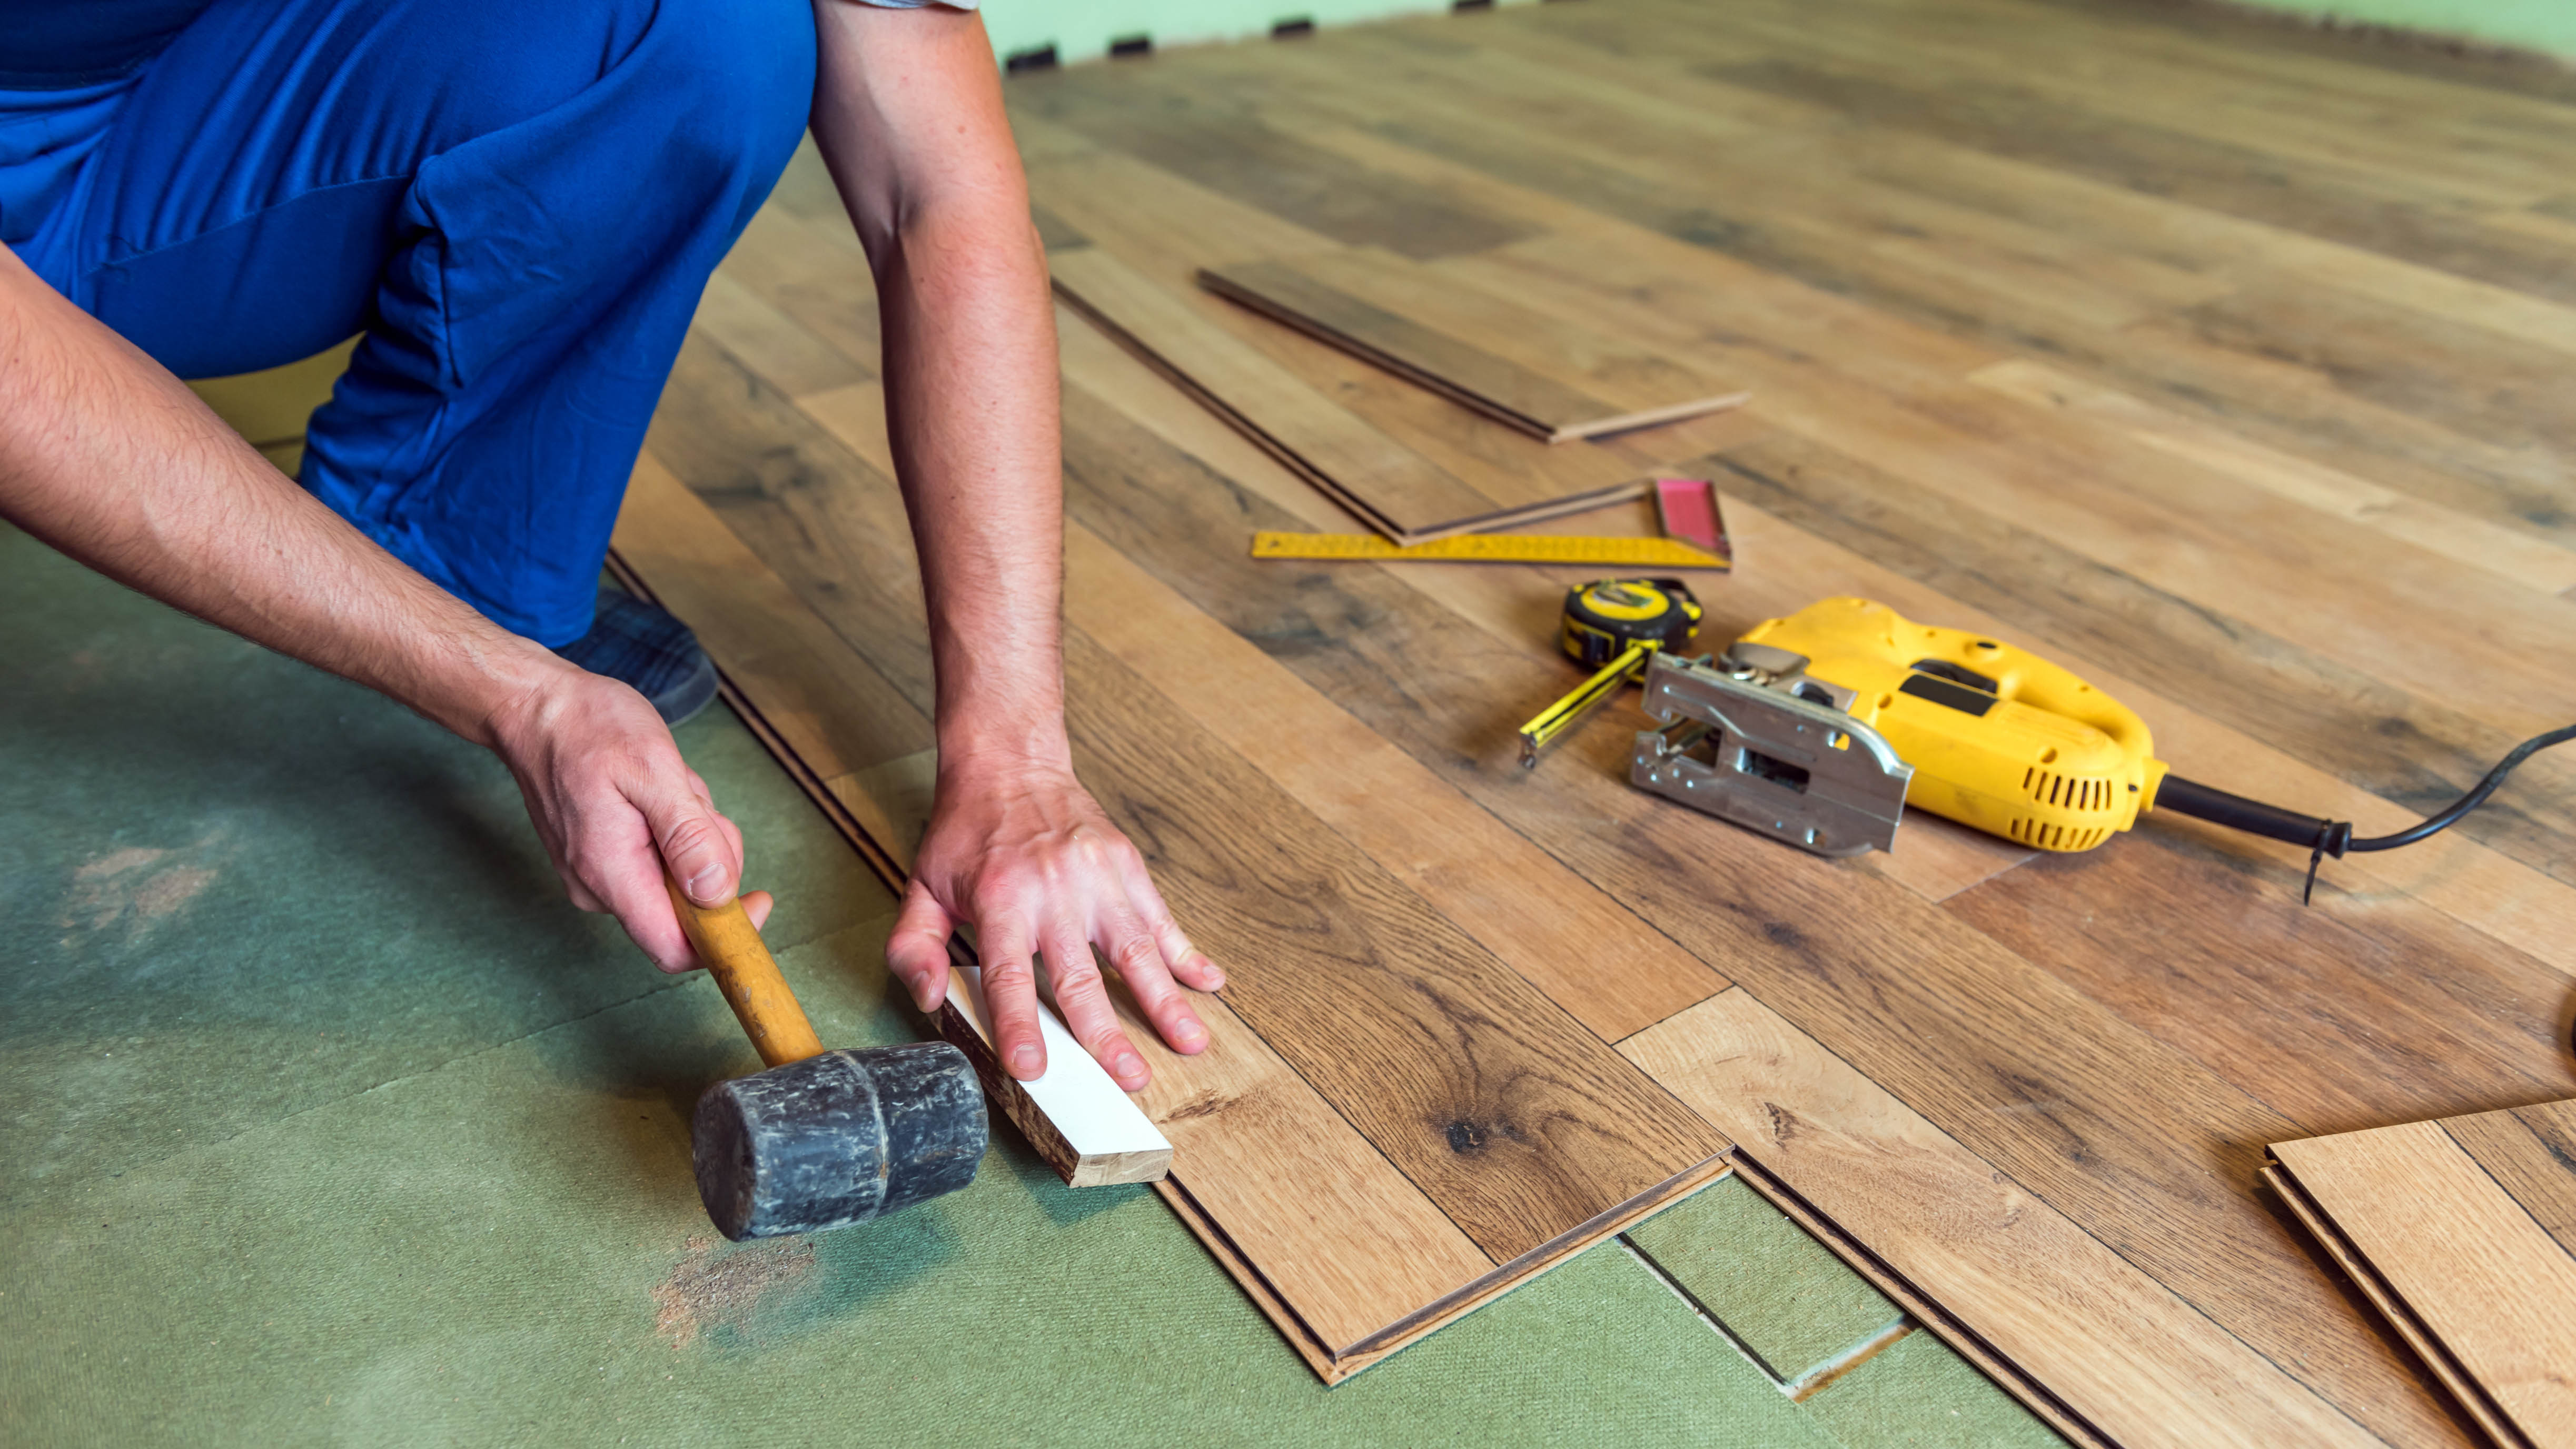
For the second and following rows, place a plank that is either longer than or shorter than the first plank in the first row. For the subsequent rows, you may have to wiggle the planks to secure them into the groove before snapping into place. It is recommended to use a tapping block or a pull bar to ensure there are no gaps between the seams. Continue installing planks until the row is complete, trimming to size the last plank.
6. Add any finishing touches
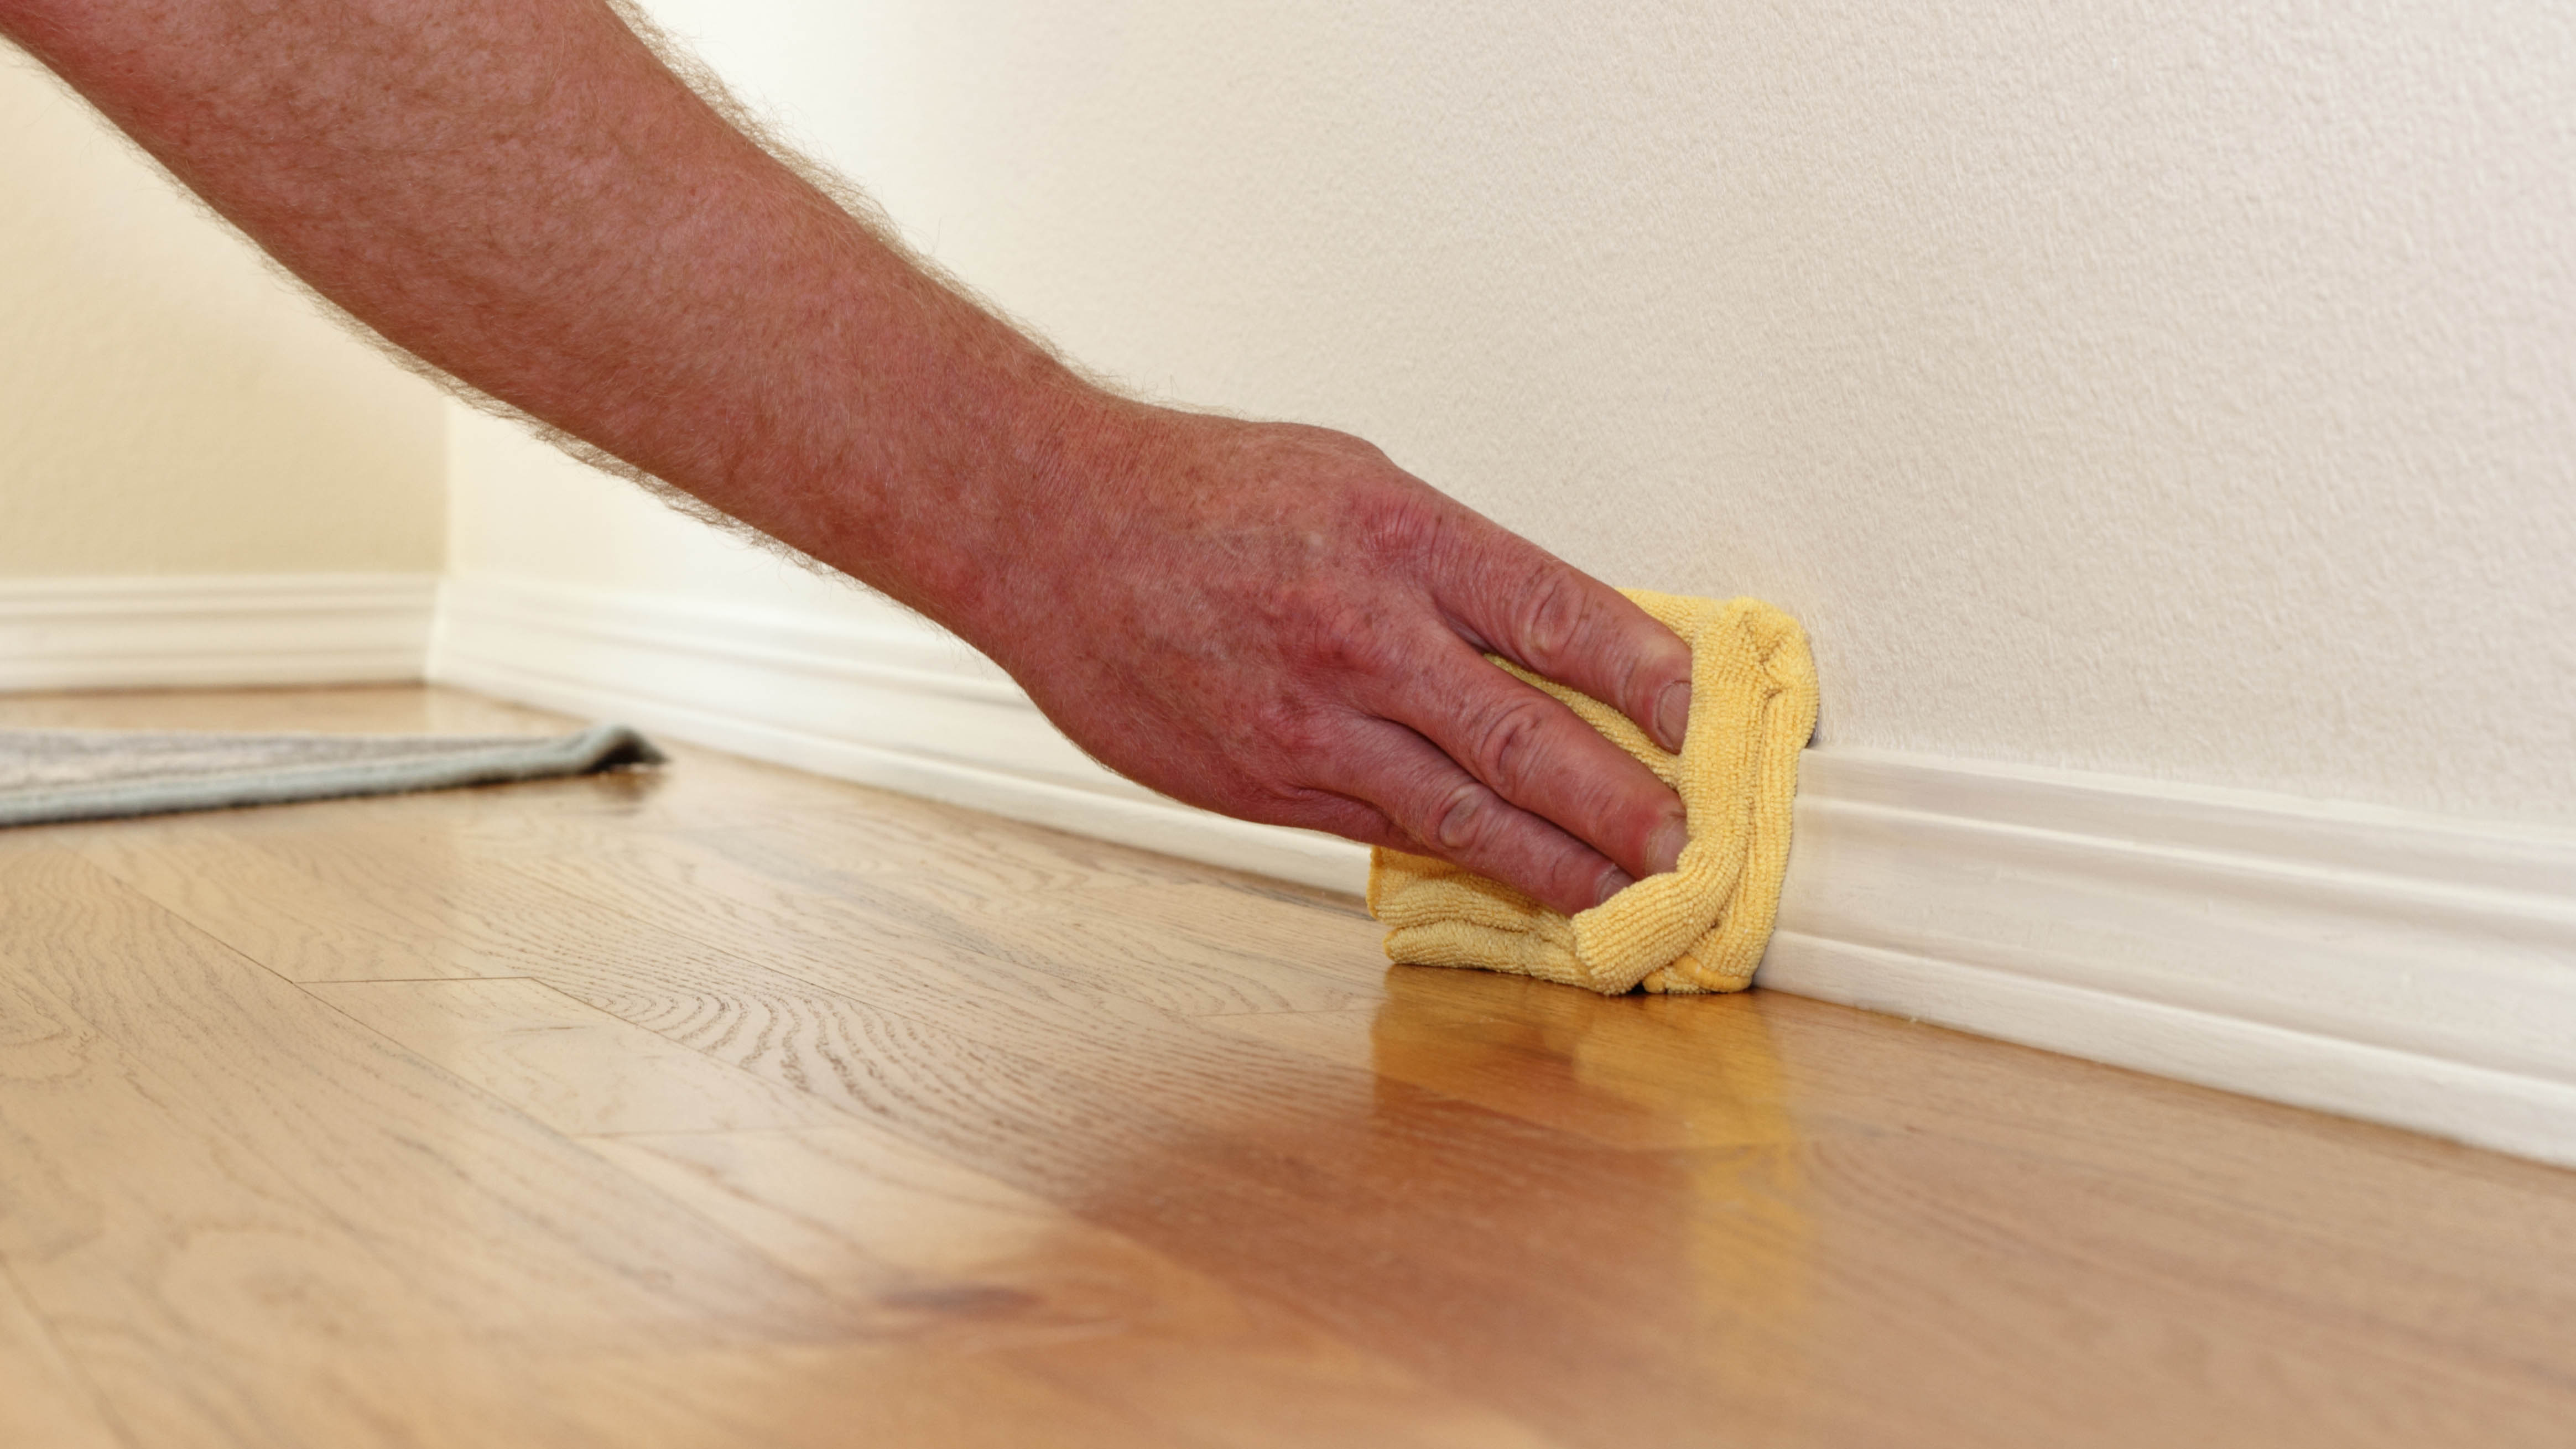
Once you’ve installed the laminate flooring, remove the spacers from against the walls. Now you can install matching baseboards, quarter-round, or the finishing trim of your choice.
TIP: Using a caulking tool, caulk the edges of the baseboard to achieve a smooth and tidy appearance.
How to cut laminate flooring
You can use a variety of tools to cut laminate flooring to length. If you're uncomfortable using power tools, a simple handsaw will do the trick.
If you want to use a power tool, a jigsaw can be very handy; not only is it faster than using a handsaw, but you can use it to cut irregular shapes, in case you need the flooring to fit around trim pieces. What's more, jigsaws, are relatively inexpensive; this Black & Decker jigsaw, for example, is just $24 on Amazon.
If the majority of your cuts will be straight, then a miter saw or a circular saw will make quick work of cutting through flooring. However, these tend to be more expensive, and require some experience to use.
Whatever tool you choose, make sure you cut straight lines; a speed square can help you immensely. You can pick up this Workpro speed square and combination square set for $22 on Amazon.

As the Homes Content Editor, Cynthia Lawrence covers all things homes, interior decorating, and garden-related. She has a wealth of editorial experience testing the latest, ‘must-have’ home appliances, writing buying guides and the handy ‘how to’ features.
Her work has been published in various titles including, T3, Top Ten Reviews, Ideal Home, Real Homes, Livingetc. and House Beautiful, amongst many.
With a rather unhealthy obsession for all things homes and interiors, she also has an interior design blog for style inspiration and savvy storage solutions (get rid of that clutter!). When she’s not testing cool products, she’ll be searching online for more decor ideas to spruce up her family home or looking for a great bargain!
 Club Benefits


