How to clean a dryer vent and how often you should do it
Here’s 8 steps unblock your dryer vent yourself

Over time, you might notice your dryer taking longer than usual to completely dry a load of laundry — maybe two or three cycles are needed rather than one. You might also notice the exterior of the machine gets quite hot as it runs or perhaps you can smell something burning. If you notice any of the above — especially the latter — you need to clean the dryer vent.
Every time you run your dryer, lint, dust and dirt is extracted and collected; most of it ends up in the lint trap filter, but some gets through into the dryer vent. It builds up here, which will inevitably lead to a blockage. This slows the current of the extracted air from your dryer, which affects its performance.
Not only does this mean you will be wasting energy and money, but it can damage your dryer as well, leading to expensive repairs. Even worse: the combination of lint and heat can cause fires, so it’s essential that you keep on top of this chore.
The good news is that it's easy to do yourself. We'll show you how to clean your dryer vent, and how often you should do it.
If you want to avoid expensive repairs, here are 10 things you should never put in the dryer.
- Check out how to clean a washing machine
- Here are the best clothes dryers right now
- How to clean a toothbrush — top tips to sanitize and disinfect
- Here's how to insulate your windows for winter
How often should you clean the dryer vent?
Dedicated cleaning kit
Vacuum cleaner
Dustpan and brush (optional)
Dish soap
Mask and gloves (optional)
If you notice any of the symptoms above, then it needs cleaning immediately. If your dryer is functioning effectively, then twice a year should be enough with regular use.
It shouldn't take too long to clean it — maybe half an hour, tops — but you might need someone's help with moving the dryer. You may also want to choose a day when it’s not raining, as cleaning from the exterior vent might be best.
Get instant access to breaking news, the hottest reviews, great deals and helpful tips.
Can I clean the dryer vent without professional help?
You can, but bear in mind that you will need to pull your dryer away from the wall and move it back into place at the end. Plus, if you have a gas dryer, you will need to be much more cautious when it comes to disconnecting it and moving it around, due to the gas line. If you’re not comfortable doing this, call in a professional and don’t attempt it yourself.
How to clean a dryer vent

1. Prepare yourself — Chances are, you will be dealing with a lot of lint, so wear a mask if you have allergies. Gloves are a good idea too for protection. Cleaning the vent will likely make a mess, so have your vacuum cleaner or a dustpan and brush on hand.
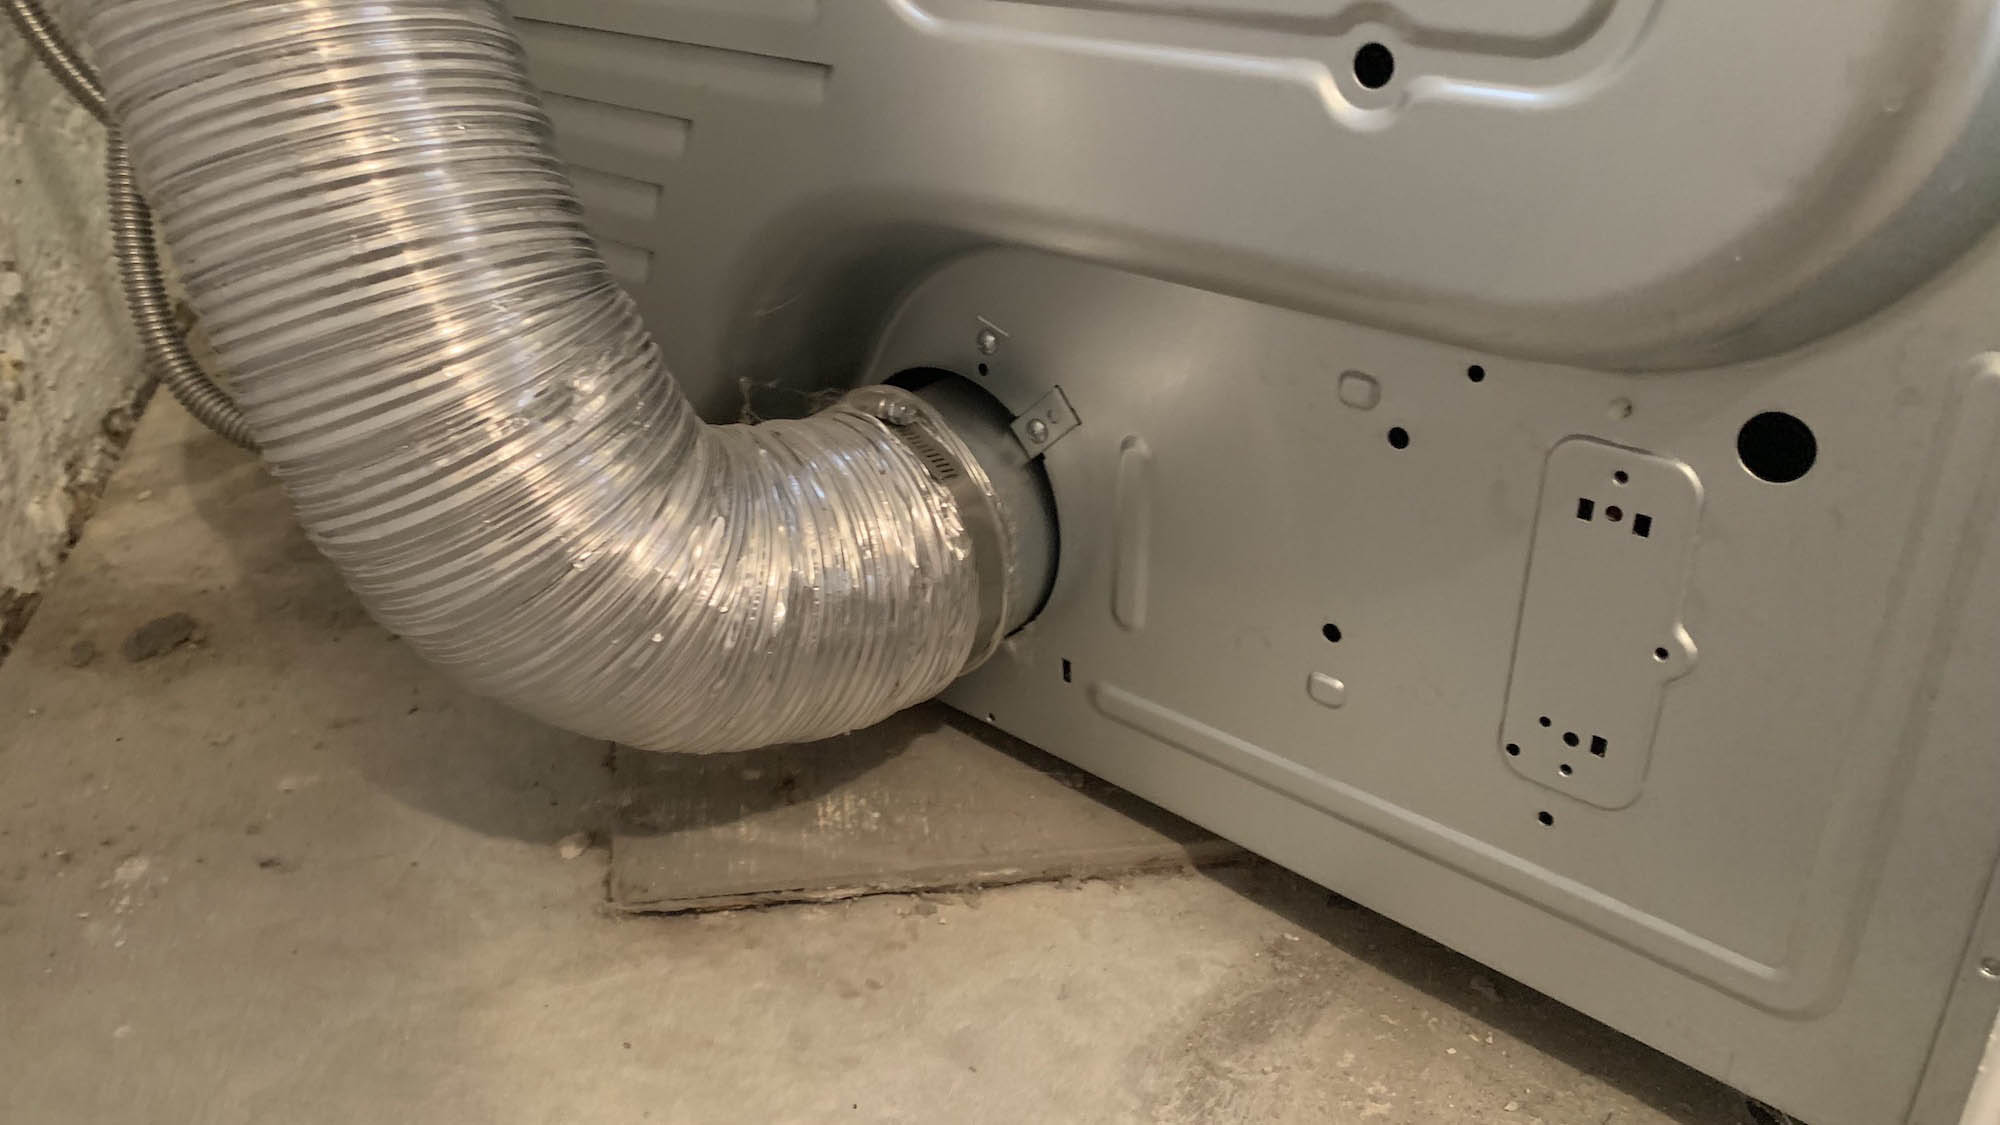
2. Get familiar with your machine — Pull the dryer away from the wall and locate the vent. Take great care if you have a gas dryer, as moving it could damage the gas line. On the back of your dryer, the vent will look like a short 4-inch diameter exhaust pipe which is connected from the dryer to your wall. From there, the vent will likely continue to the outside of your property.
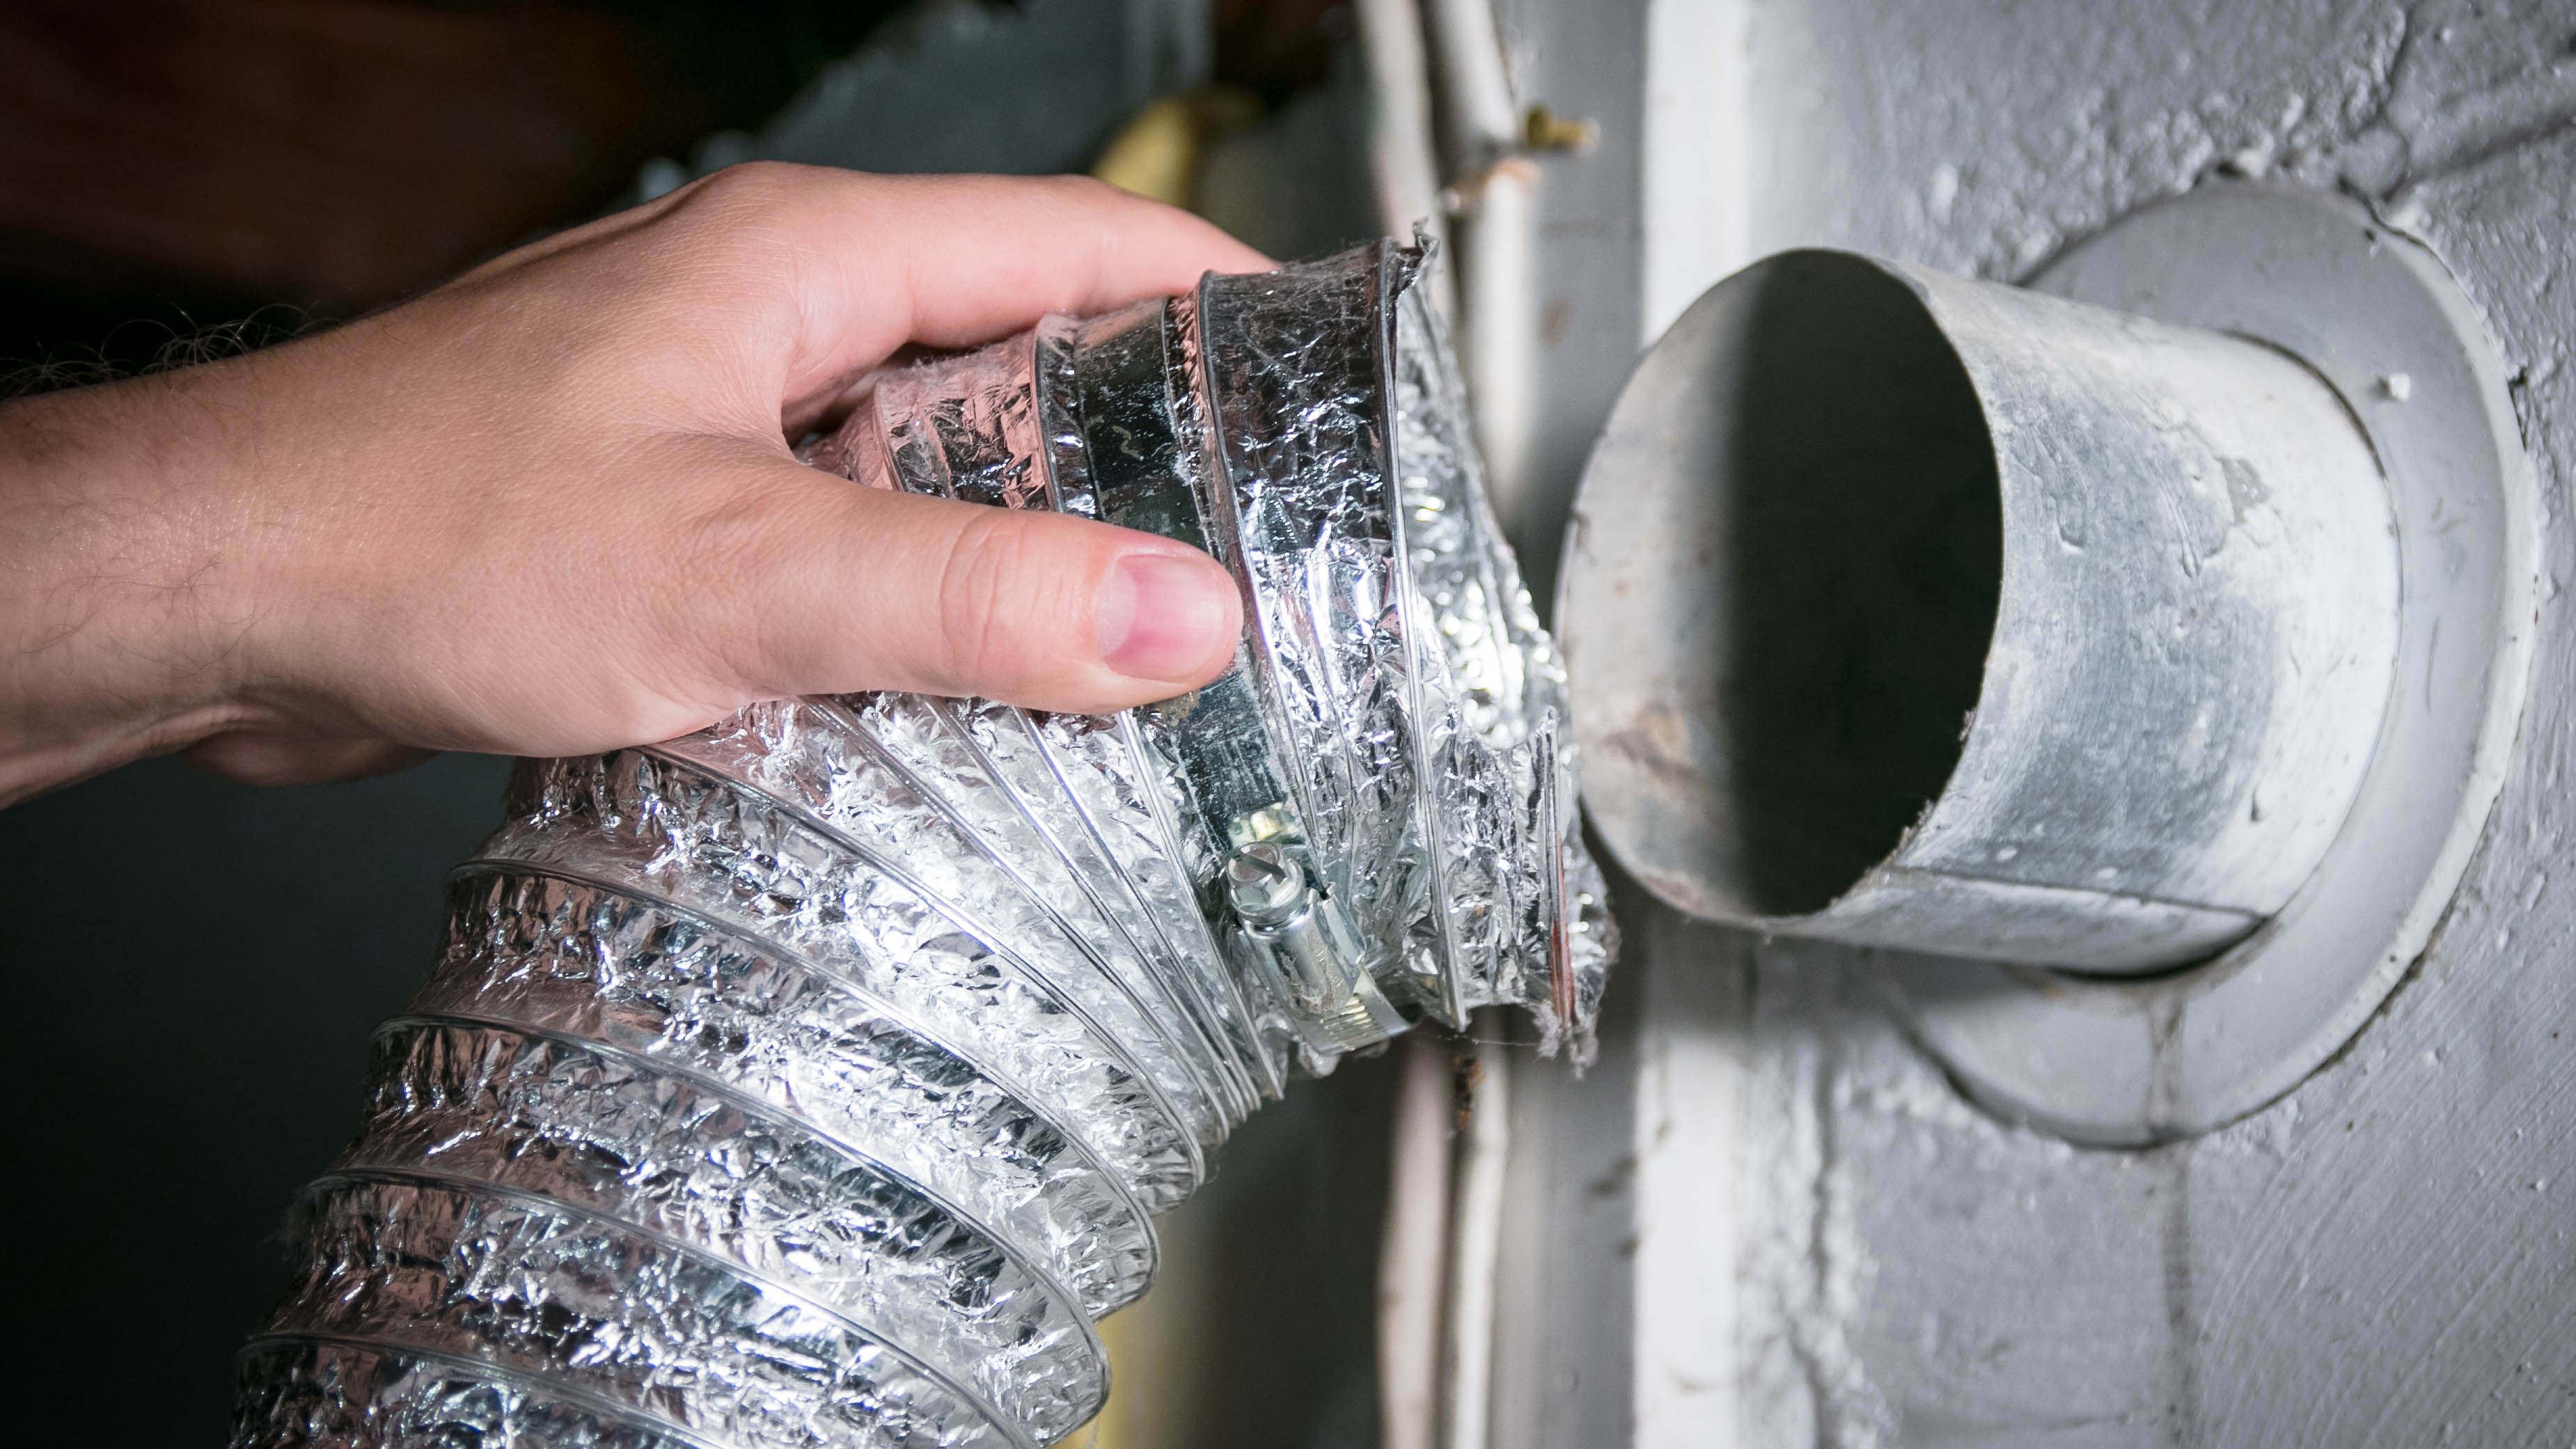
3. Disconnect your dryer — Unplug your dryer from the wall outlet. Next, remove any clamps or metal tape which connects the exhaust pipe to the vent on the back of the dryer. You need to be gentle as you pull the pipe away, otherwise you could damage it. If it’s easier, you can alternatively remove the exhaust pipe from the duct in the wall instead. If you have a gas dryer, you will need to switch off the gas supply and follow the same steps above. However, if you’re not sure on what you’re doing, call a professional when it comes to gas.

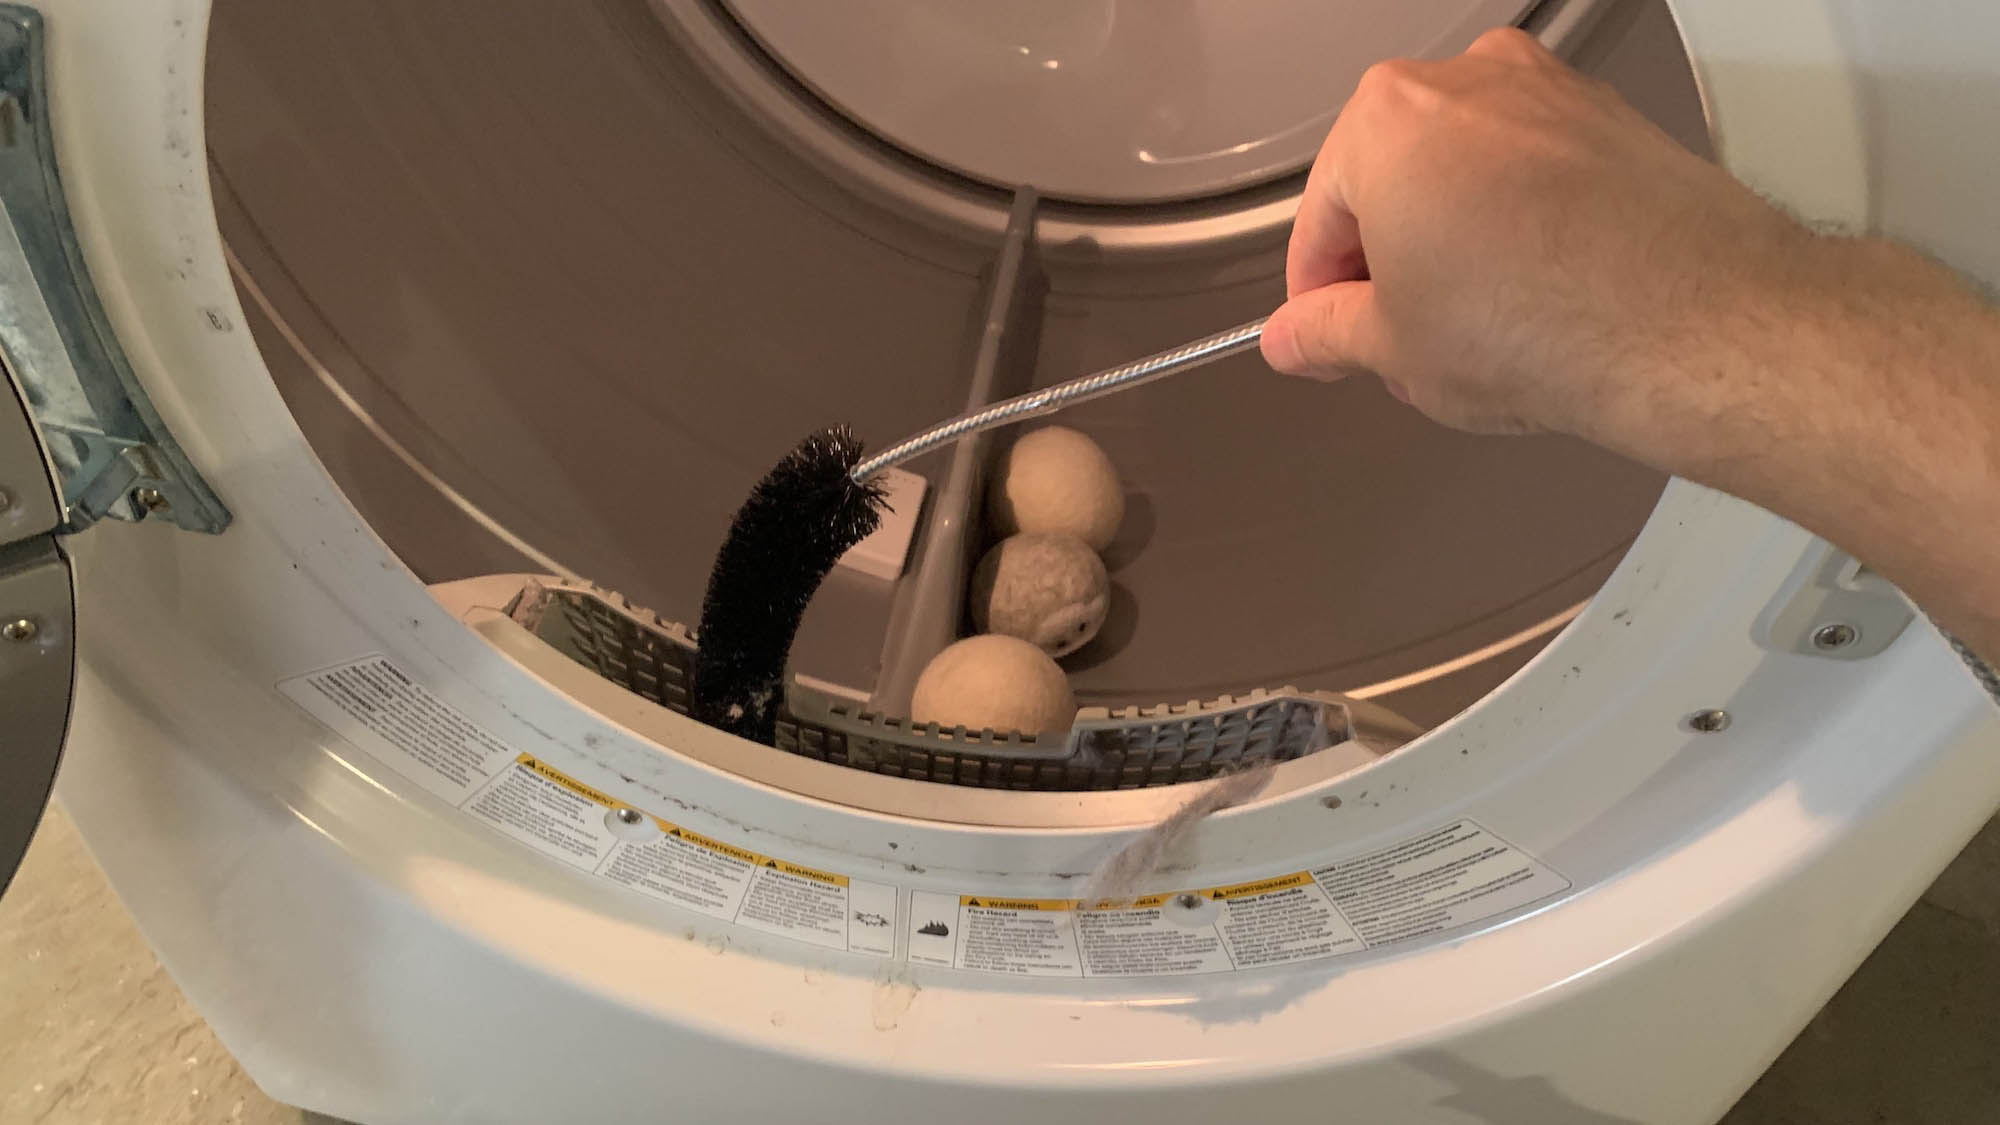
4. Use the lint trap brush — if your cleaning kit includes a lint trap brush, insert it into the lint trap. You may have to move it up and down and side to side a few times to loosen or remove any lint.
5. Vacuum up the excess — Using the crevice tool on your vacuum cleaner or a flexible hose attachment if it's provided, pick up any immediate dust and lint you see in the dryer vent or the exhaust pipe — this is just for the lint you can see, don't start reaching into the duct as you will get there in a moment. If you’ve got a cordless or handheld vacuum, it’s also worth going outside to remove the vent cover and picking up any immediate lint on that side too.
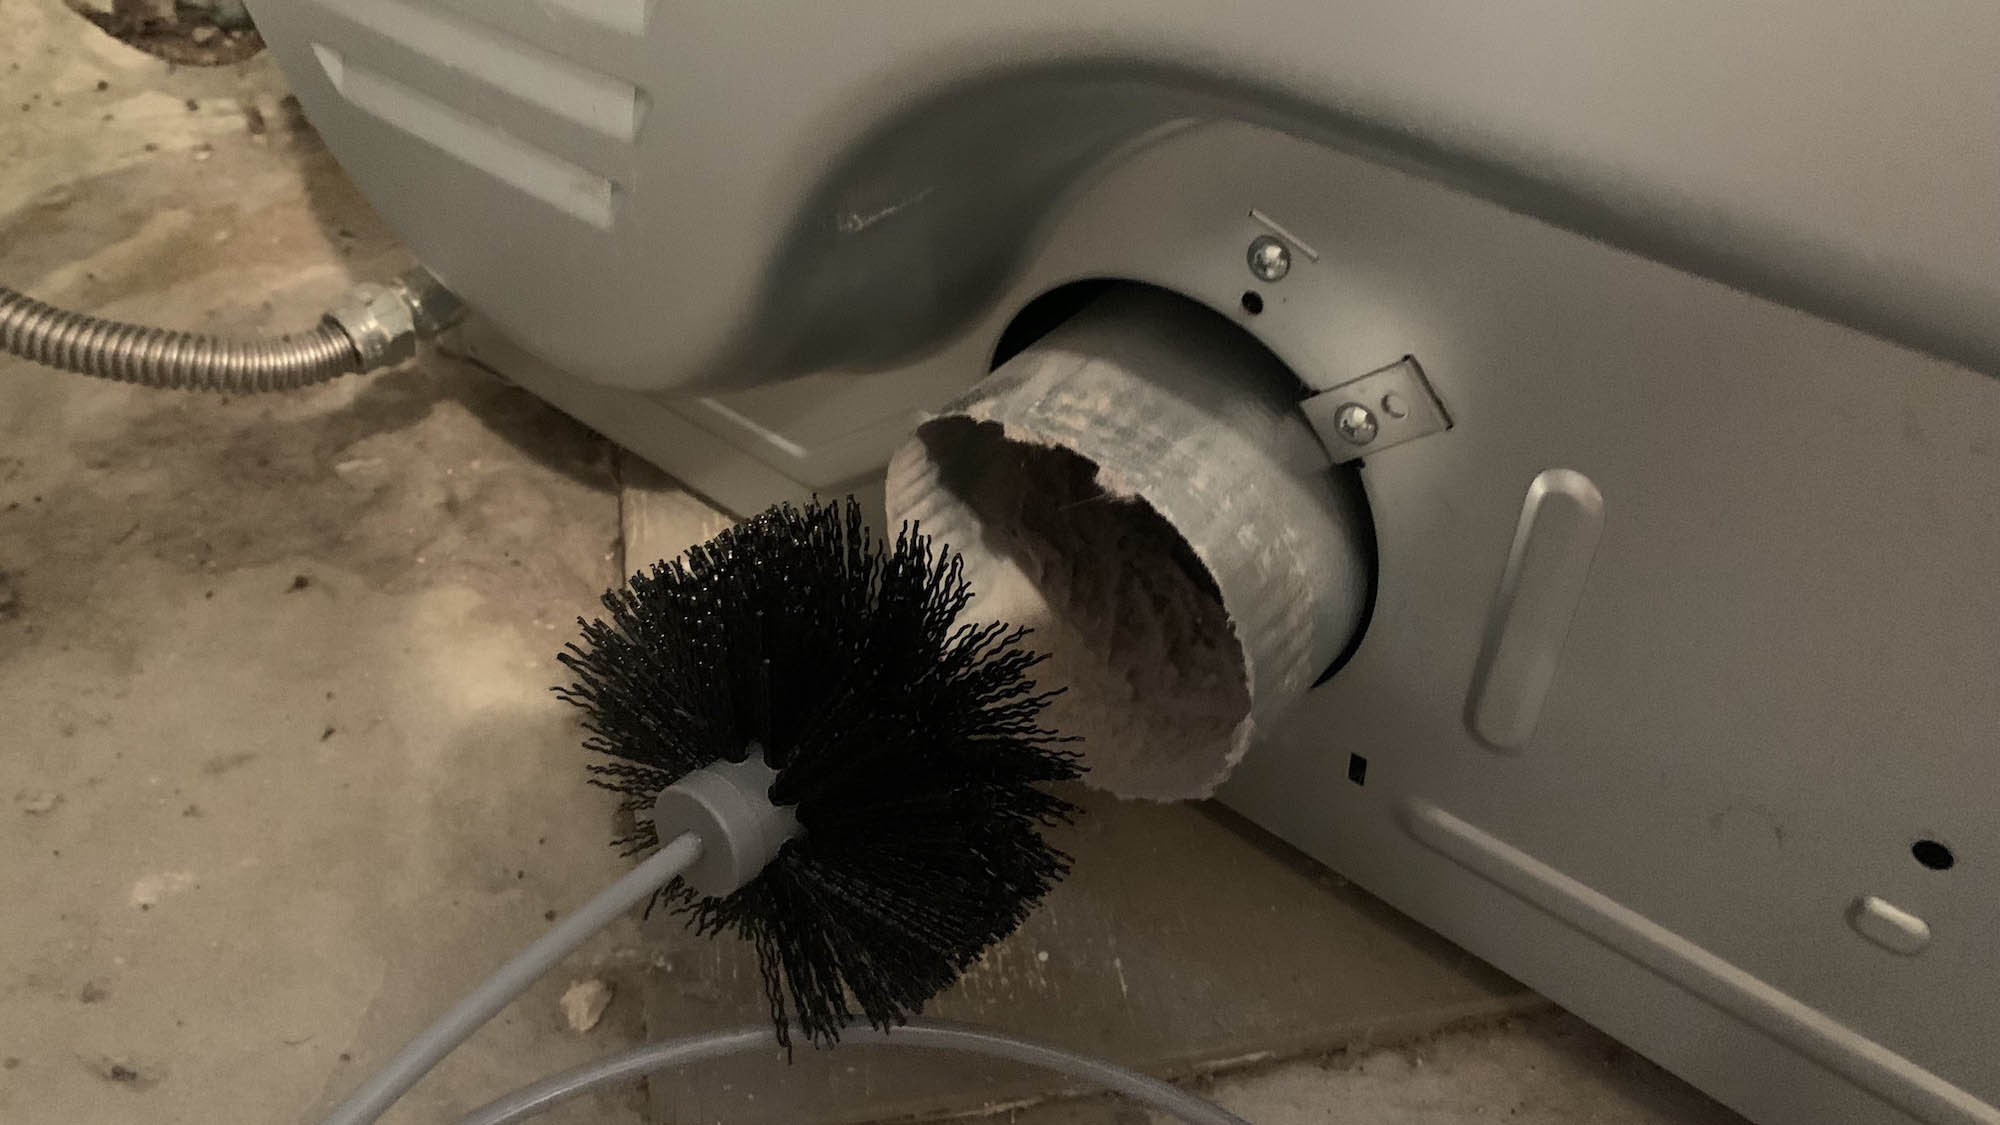
6. Brush away the lint — Using your dryer vent cleaning kit, insert the brush into the vent and rotate it as you sweep back and forth — be prepared for a mess! You can do this from the outside vent as well if the brush isn’t deep enough to pass through. We recommend cleaning from whichever access point is higher, so gravity is on your side. You may also need to brush the inside of the exhaust pipe and the back of the vent on your dryer too.
If the vent cleaning brush isn't long enough to get through the entire vent tube, attach the brush securely to a stiff piece of wire; a wire coat hanger should work in a pinch. Just make sure there are no sharp edges or ends, as that could damage the pipe from the inside.

Some people use leaf blowers so blow out the lint from the inside of the vent, but this tends not to be as effective as our recommended method and can cause a big mess.
6. Wash the vent cover — As you’ve removed the external vent cover, give it a wash in warm, soapy water and leave it out to dry before replacing.
7. Clean up and reassemble — Using your vacuum or dustpan and brush, pick up all of the excess lint from your floors. If your exhaust pipe is a soft foil design, make sure you replace it with a 90 degree aluminum elbow pipe instead, such as the Deflecto Aluminum Dryer Vent Elbow. These are fire-resistant and more durable. Reconnect your exhaust pipe.
8. Give your dryer a test run — Try it out before pushing it back into place to make sure everything is fitted correctly. This is especially important for gas dryers, as a leaky ventilation system can lead to a build-up of carbon monoxide.
Your dryer should be functioning properly again! If you couldn’t dislodge the excess lint using the above method, you will need to call in a professional instead.
How to prevent future lint build-up
You can’t stop lint from building up, but you can slow it down:
- Keep removing and emptying the lint trap filter between cycles
- Remove the lint filter and vacuum around its housing
- Dust and vacuum around your dryer
- Make sure no large shrubs are blocking the exit of the vent
- Limit the number of dryer sheets you use. These can block up the lint filter

Katie Mortram used to be a Homes Editor for Tom's Guide, where she oversaw everything from kitchen appliances to gardening tools, as well as smart home tech. Specializing in providing expert advice for cleaning and home manintenance, she now works as Household Advice Editor for Good Housekeeping.
 Club Benefits


