Club Benefits


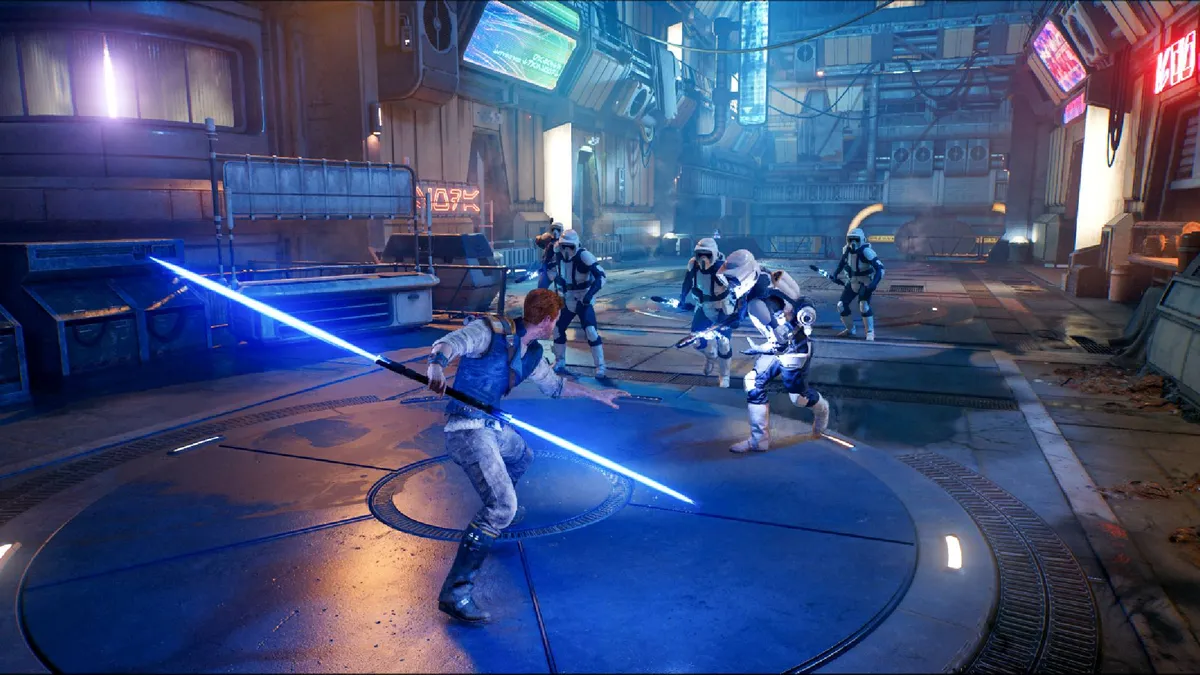
Star Wars Jedi Survivor has finally arrived, and it’s pretty much the best Star Wars game since its direct predecessor, Jedi Fallen Order. And, like its forefather, it’s no walk in the park either. You might play as a Master of the Force, but if you want Cal Kestis to survive against the powerful force of the evil Galactic Empire, you’ll need to know these essential Star Wars Jedi Survivor tips before embarking on your latest adventure in a galaxy far, far away.
Don't worry, we’ve been careful to avoid any spoilers in these tips. Plus, these nuggets of advice are specifically tailored to be beginner-friendly. If you’re looking for help solving a late-game puzzle or a useful strategy for defeating one of the game’s tougher bosses, these are not the tips you are looking for. However, if you need some help getting started, we're here to guide you through the basics to make your first few hours with this epic action-adventure game as smooth as possible.
These are six essential Star Wars Jedi Survivor tips that will help go from a feeble Padawn to a powerful force user capable of challenging even the likes of Yoda.

Never skip a Meditation Point

Visiting Meditation Points — those glowing white circles on the ground — is an essential part of Jedi Survivor. These function similarly to Sites of Grace in the Elden Ring. At a Meditation Point, you can spend any accrued skill points and your progress will also be saved. They also act as respawn points if you die, and you can fast travel between them, making visiting each one on your journey essential for quickly moving around levels.
If you opt to rest at Meditation Point all the enemies you’ve defeated in a level will respawn (apart from bosses), but in return, you’ll get full health and your supple of health packs will be replenished. But, you don’t have to rest at a Meditation Point, you can merely interact with it which unlocks it as a fast travel point and saves your progress.
Make use of your allies

Fallen Order had Cal venture out on his own most of the time, but in Jedi Survivor you're often joined by a friend or ally. And these characters aren’t just good for witty banter and spouting plot exposition, they also serve a role in combat.
Your allies have the ability to help you out of sticky situations by stunning enemies (to active on PS5 press R1 and the square button). This can give you vital space to use a healing item or even turn the tide of battle in your favor by giving you a few seconds to deal out some damage. Ally abilities have a cooldown meter so you can use them like a crutch, but be sure you’re using them when available. It’s easy to forget that in the fight against the Empire, Cal isn’t alone.
Reclaim your XP after death

Another mechanic in Jedi Survivor that is ripped straight from Elden Ring/Dark Souls, is the ability to reclaim your lost XP after dying. When an enemy kills you, they will steal all your XP, and to get it back, you’ll need to locate that foe who bested you and make them pay. Although you don’t actually need to kill them, just striking them once is enough to regain all that precious experience you thought you'd lost.
You’ll typically find the enemy who killed you in the same spot where you died, and you’ll easily be able to identify them as they will glow gold. However, if you die before you can strike the enemy who vanquished you that XP will be permanently lost. So, if you do fall, make it your first priority to reclaim your lost XP as quickly as possible. Fortunately, if you die while holding unspent skill points these will be unaffected.
Learn each lightsaber stance
In Jedi Survivor, Cal Kestis has access to five unique lightsaber stances: Single Blade, Double-Bladed, Dual Wield, Cross Guard and Blaster. Each of these has strengths and weaknesses and is designed for use in specific circumstances.
Single Blade is your classic all-rounder, whereas Double-Bladed is extremely useful for crowd control and taking on larger packs of enemies. Dual Wield does less damage but allows you to strike faster. Naturally, the Blaster stance is designed for ranged combat, and Cross Guard deals out serious punishment but is slow and leaves you vulnerable to attack.
Make sure you’re using the correct stance for the situation, and if you’re struggling with a combat encounter try switching up your stance. It just might tip the odds in your favor. You can only equip two lightsaber stances at once, and you can select which two at any Meditation Point.
Focus on Survival skills

There are three unique skill trees in Star Wars Jedi Survivor, and while you may be tempted to immediately invest in the more exciting upgrades that boost your force powers and give you new combat moves, we suggest focusing on Survival skills, at least at first. Increasing your health bar will go a long way to helping you through the game’s tough bosses, and there’s no point unlocking a flashy lightsaber combo if you can’t stay alive long enough to actually use it.
Regularly return to previous planets

Just like Fallen Order, Jedi Survivor takes its inspiration from the so-called Metroidvania sub-genre, which means that you will regularly come across obstacles you cannot overcome and areas you cannot access because you lack the right tool or ability. The game expects you to return once you’ve progressed further in the game and have unlocked the relevant means to access these locked portions.
If you’re struggling to overcome a seemingly impenetrable barrier, it’s likely because you’re not supposed to be able to just yet. Instead, keep progressing through the main story, and be sure to periodically return to previously explored planets after gaining additional abilities to see what new secrets you can uncover.
Don’t worry about keeping track of the areas you need to revisit either. All that information is stored on your handy holomap. Unexplored areas that are currently accessible are highlighted in green whereas areas that are locked because your lack the necessary skills to access them are marked red.
More from Tom's Guide
- Amazon Prime members get a classic Star Wars game for free in May
- The best PS5 games in 2023
- Zelda: Tears of the Kingdom shows it’s time for a Nintendo Switch 2