


If you're looking for the best Xbox Series X games the console has to offer, you're in for a treat. Sure, it's hard to match the PS5's library of first-party games these days, but who says that means Xbox doesn't have some outstanding titles of its own? As an avid gamer, certainly not me.
Thanks to the forever-expanding library of excellent titles on Xbox Game Pass, the fleet of games on an Xbox Series X will satisfy all types of gamers. Whether you're after magnificently quirky platformers like Psychonauts 2 or realistic flight mechanics in Microsoft Flight Simulator, there's a game out there with your name on it.
For a game that everyone needs to play as soon as they get their Xbox Series X, it has to be Forza Horizon 5. I booted up this racing title and was blown away in the first five minutes, and that comes from a Burnout fan. For the latest and greatest from Xbox, Indiana Jones and the Great Circle should be your go-to. Of course, there's Sea of Thieves for those after a crazy pirate adventure.

Even if you're playing games via Xbox Game Pass for PC, these titles will do your gaming session justice. Speaking of, if you're looking to get fully immersed, check out the best Xbox headsets. Otherwise, scroll on down for the best Xbox Series X games right now.
The best Xbox Series X games you can buy today
Why you can trust Tom's Guide Our writers and editors spend hours analyzing and reviewing products, services, and apps to help find what's best for you. Find out more about how we test, analyze, and rate.
1. Forza Horizon 5

Following in the footsteps, or tyre marks, of Forza Horizon 4, Forza Horizon 5 has pretty much perfected the open-world driving and racing formula of the series. Now set in Mexico and making use of the Xbox Series X's power, the game not only looks extraordinary, it plays like a dream.
There's a huge amount of content to get through, across a variety of Mexican environments and locales. And car handling works better than ever, offering a dollop of driving realism without being too po-faced about it. For lovers of cars or people who don't care about them, Forza Horizon 5 is still very much a top Xbox Series X game you really should try out.
Read our full Forza Horizon 5 review.
2. Indiana Jones and the Great Circle
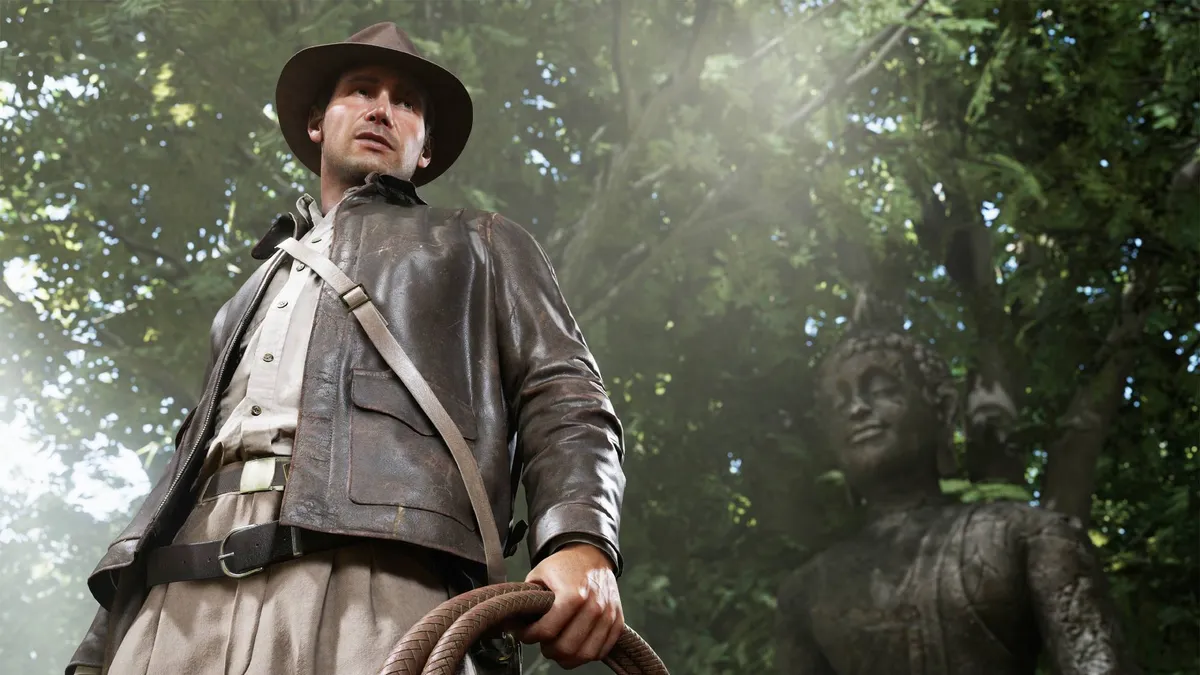
Developer MachineGames captured everything we adore about Indiana Jones and put him in a thrilling, high-stakes action-adventure first-person title that's filled with all the wise-cracking quips we've come to cherish.
Indiana Jones and the Great Circle offers a fun, action-packed adventure that stays true to the spirit of the franchise while delivering a fresh experience. For completionists, Indiana Jones and the Great Circle offers a relatively lengthy experience, with around 30 hours for a single playthrough if you’re determined to uncover every secret.
The gameplay offers smooth action for the most part, though some clunky climbing and tricky navigation can interrupt the flow at times. The combat is straightforward yet entertaining, with a mix of stealth, brawling and environmental tactics offering you the freedom to approach encounters as you wish. It's a true love letter for fans of the beloved franchise, and everyone else in between.
Read our full Indiana Jones and the Great Circle review.
3. Microsoft Flight Simulator (2020)

Microsoft Flight Simulator is so much more than a game. It's a staggerling ambitious project where after years of hard work form Asobo Studio, what we're left is a digital recreation of the entire planet. Tha'ts mind-blowing, and as like we said in our revire: "Microsoft Flight Simulator is the best way to see the world from your couch.
Not only is Asobo's sim incredibly in-depth and realistic, it's wisely added in optional, more accessible controls for Xbox fans who just want to fly over their house. Microsoft Flight Sim is a stunning advert for the power of Xbox Series X, no doubt. Yet it's greatest achievement is letting wannba be Xbox pilots endulge in the ulitamate form of virtual tourism. Asobo have done something remarkable here.
Read our full Microsoft Flight Simulator review.
4. Cyberpunk 2077: Phantom Liberty
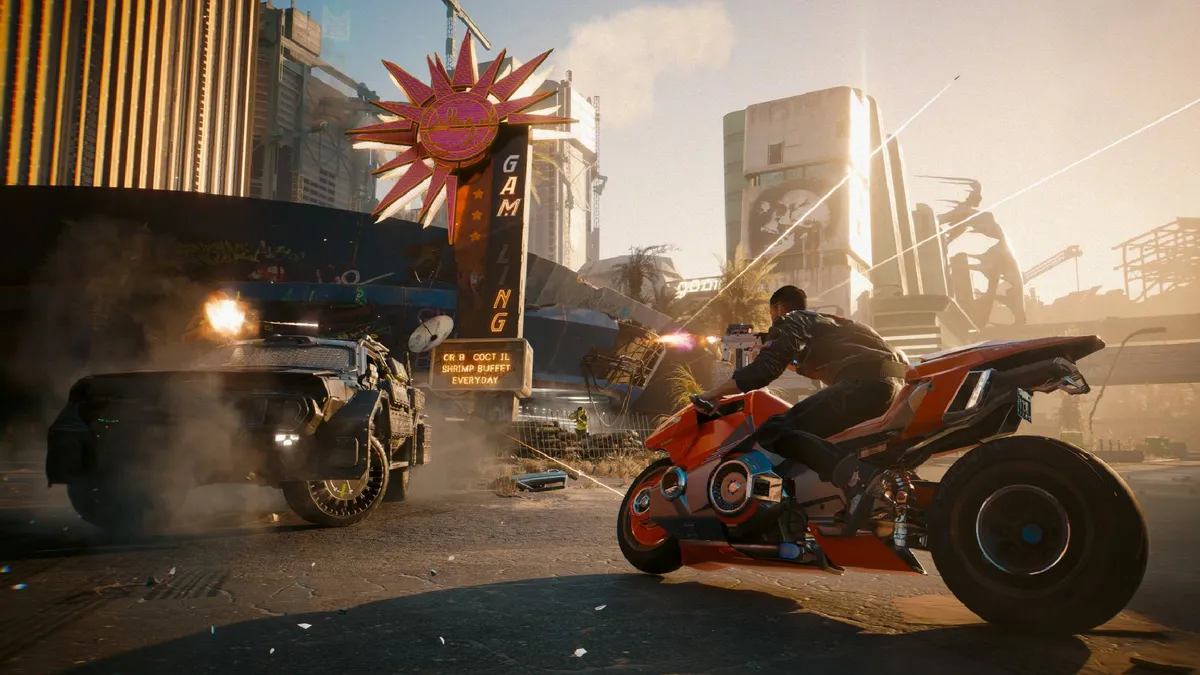
The ultimate modern gaming redemption story. Cyberpunk 2077: Phantom Liberty (and you can very much thank the part after the colon for this happy ending) is an action-RPG that's gone through a tumultuous life cycle. Released in a borderline broken state on consoles, it took three years of constant patches and a brilliant piece of DLC to turn what was a hugely ambitious yet undeniably bug-riddled game into a modern masterpiece.
Boot Cyberpunk and its awesome expansion up now, and you'll be treated to one of the best looking games in console history. Night City is a simply stunning space to lose yourself in, mechanically the game is surprisingly strong on pretty much every level and you won't see a better advert for ray tracing on Xbox Series X anytime soon. It may have gotten off to a rocky start, but when it comes to feel good endings, the story of Cyberpunk 2077 is right up there with Andy and Red hugging on that beach at the end of The Shawshank Redemption. Although sadly, the last-gen Xbox One port ain't pretty.
Read our full Cyberpunk 2077: Phantom Liberty review.
5. Elden Ring
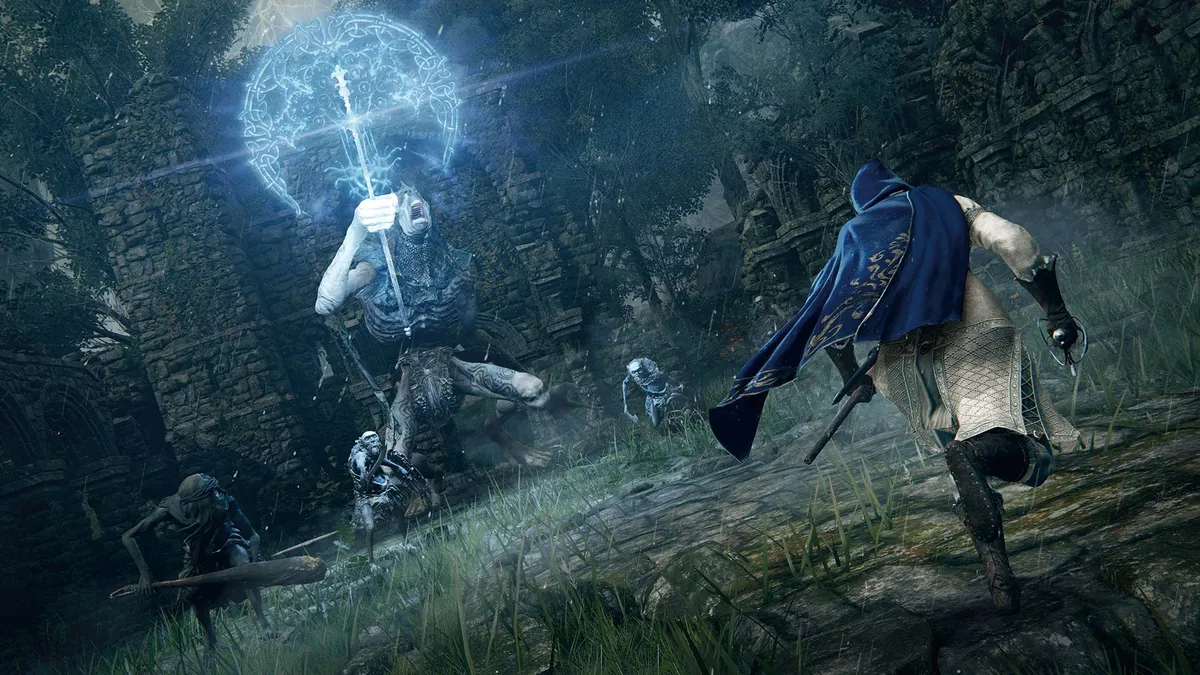
Dark Souls fans, listen up! If you've always wanted an open-world Souls game then Elden Ring is the one for you. It offers an expansive world pitted with dungeons, bosses, monsters and other enemies. But if any get too tough, then you can use the open world to bypass them, returning later when you have better weapons, gear and experience.
As the first foray into a true open world, Elden Ring is another Souls-like triumph. it might lack the extremely polished structure of Dark Souls or Dark Souls 3, but it still offers a compelling experience for fans of tough but fair games draped in a dark fantasy setting. This incredible game is also playable on Microsoft's last-gen machines, and it's actually quite impressive on the Xbox One X.
Read our full Elden Ring review.
6. Starfield
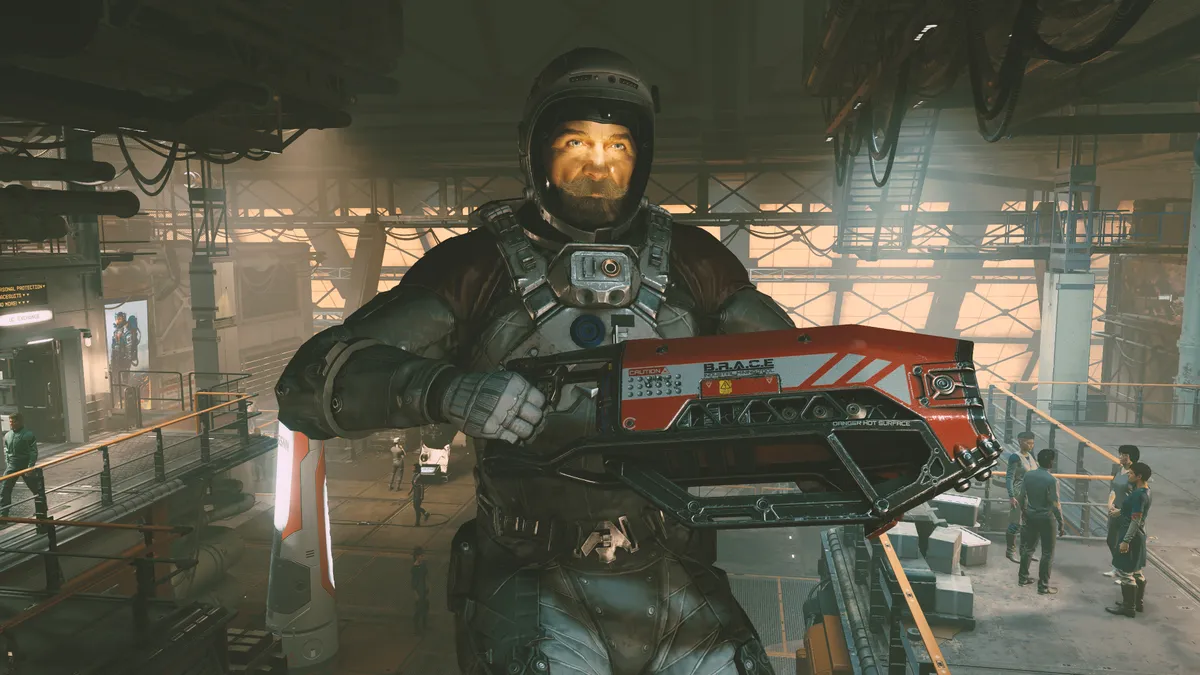
Bethesda’s first new IP in decades is a game of near peerless ambition. Though occasionally its repetitive gameplay loop may sag at times, the sheer scope of Starfield's universe feels almost boundless in a way that’s thoroughly intoxicating.
Going from Working Joe space miner to galaxy-saving hero courtesy of a convenient sci-fi MacGuffin is the sort of rags to riches tale Bethesda specializes in, and there’s no denying the formula still works. While Starfield may not grant you the freedom to explore the cosmos in quite the same way No Man’s Sky does, this is still a stellar sci-fi epic, with the best combat the developer has ever eked out from one of its titles and a game engine that frequently looks spectacular.
Read our full Starfield review.
7. Psychonauts 2

Bold. Brave. Bizarre. That pretty much sums up Psychonauts 2 in a thoroughly odd but equally charming nutshell. Part platformer, part mind-blowing puzzler, this long awaited sequel displays all the razor-sharp wit you’d expect from a Tim Schafer title. There’s nothing else quite like Raz’s perception-altering adventure, and that’s precisely what makes it one of Xbox Series X’s finest exclusives.
If the story pacing is slightly inconsistent at times, it’s a minor flaw that’s easy to forgive. Such is the joy that comes from inhabiting this brain-bending universe full of lovable, beautifully designed characters, you can overlook Psychonauts 2’s slight missteps. Let’s be honest: how can you not love a game that revolves around a little dude with a smashed pumpkin for a head that can wield the powers of telekinesis, levitation and pyrokinesis? Cross all your digits we get a Psychonauts 3.
Read our full Psychonauts 2 review.
8. Halo Infinite

After two previous Halo games that were a tad lackluster, Halo Infinite comes soaring back to success... literally thanks to the new grappling hook that lets you swing across chasms and scale cliffs with ease.
Seemingly taking the original game's Silent Cartographer mission and running with it, Halo Infinite is a semi-open-world game where you can tackle a variety of mission and tasks in any order you like and in a manner of ways such as sniping down enemies from afar of charging in with a huge Scorpion tank.
Some more variation in environments and a tighter story would be appreciated. But in terms of pure Halo fun and actions, Halo Infinite is a storming success and a must-have for anyone who wants an excellent first-person shooter on the Xbox Series X. If you can't quite afford Microsoft's highest-end console, Infinite is also playable on Xbox One.
Read our full Halo Infinite review.
9. Resident Evil Village

While Resident Evil is a franchise best associated with PlayStation, it's been a multiplatform series for a while and the latest entry in the series, Resident Evil Village, is great on Xbox Series X. On Microsoft's console you get access to ray tracing and the Smart Delivery system, which means if you purchased it on Xbox One you get a free update to the Series X and Series S version.
As for Resident Evil Village itself, it's an excellent horror-meets-adventure game. In our reviewer Henry T. Casey noted: "Resident Evil Village is the most engrossing game I've played in forever, with a twisted labyrinthine story that hooks you in and pulls you down rabbit hole after rabbit hole."
Read our full Resident Evil Village review.
10. Street Fighter 6

The king of fighters makes a triumphant return in one of the strongest entries even by this incredibly iconic series’ sky high standards. Thanks to the presence of Arcade/Story, Extreme Battle, Battle Hub and the ambitious single-play World Tour story modes, there’s something here for both casual and hardcore fight fans. Street Fighter 6 makes itself even more welcoming with different control schemes that help ease in gamers who don’t know their Hadoukens from their Hundred Hand Slaps.
Weighty yet precise, Capcom doesn’t overly mess with the already winning formula cooked up in Street Fighter 5. If you’ve been away from the franchise for a while, fret not — that old muscle memory will kick back in after a couple of duels. This is also a gorgeous game, with some of the most stylized art around. If you have even a passing interest in the fighting genre, Street Fighter 6 is a must-play experience.
Read our full Street Fighter 6 review.
11. Persona 3 Reload
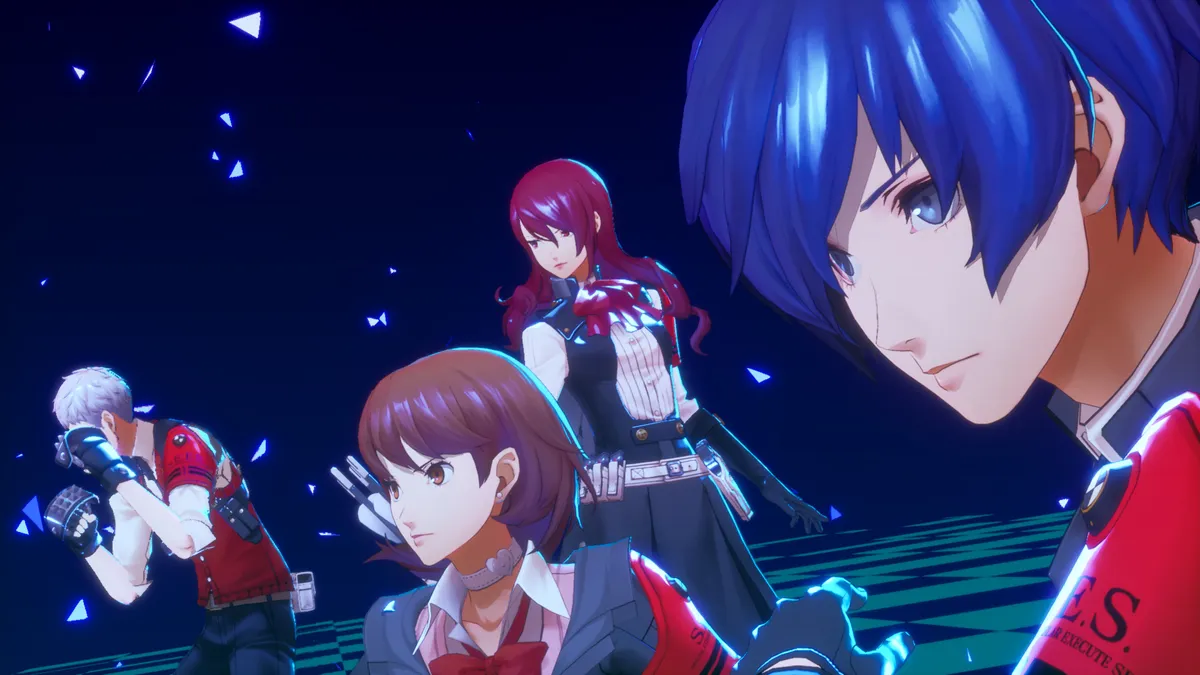
An expertly judged remake that gives fans of the original exactly what they’ve been pining for. Serving up eye-arousing modern graphics, a new voice cast and key quality-of-life improvements, Persona 3 Reload breathes fresh life into a JRPG classic while still remaining faithful to it.
Considering the OG game out in ye olden days of 2006, Reload obviously looks a whole lot better, and its appeal is further boosted by a fresh user interface. While the story takes a while to fully get going, once it does, it will keep you constantly engaged and guessing over what’s going to happen next. There’s no question this is the best way to experience the darkest entry in the Persona series.
Read our full Persona 3 Reload review.
12. Sea of Thieves
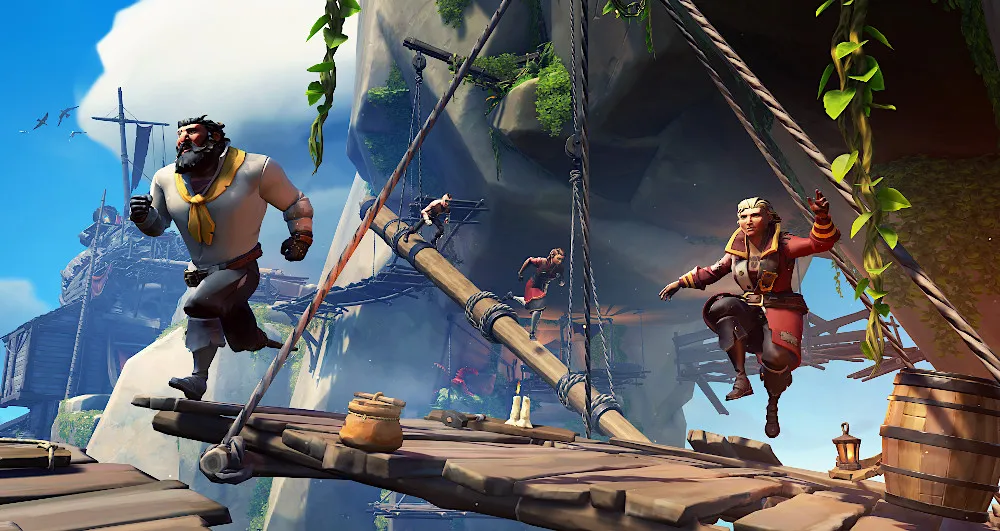
Have you ever wondered what it might be like to fill the boots of a semi-cartoon pirate sailing the open seas with four fellow shipmates, plundering islands and sinking other ships just for the sheer joy of it? If the answer is yes, then Rare’s Sea of Thieves is the game for you.
What started out as a bit of a thin experience on the Xbox One and PC has matured into a much deeper game full of secrets, including a gigantic kraken to take on. The optimized version for the Xbox Series X will run at 4K and a smooth 60 fps, making the whole experience plain sailing on Microsoft's flagship games console.
13. Star Wars Outlaws

Finally a fun Star Wars game that doesn't involve slicing and dicing Stormtroopers with a "tortured" Jedi. Instead, Star Wars Outlaws puts you in the pilfering shoes of Kay Vess — a smuggler/low level thief. She may lack the charisma of Han Solo, but she's just as handy with a blaster as the legendary icon.
Probably the biggest selling point of Outlaws is that it's Star Wars set in an open-world format. While the stealth is perfunctory and some of the missions are a little repetitive, the Star Wars setting instantly elevates Outlaws because it's a world so many gamers are so naturally invested in.
Outlaws nails traversal too, and zipping around alien deserts on Kay's upgradeable speeder bike is a hoot. Surprisingly, the gripping space battles are even better.
On, and as for Key's stupidly adorable sidekick Nix, Star Wars Outlaws deserves an extra point for one of the cuddliest aliens to ever appear in the franchise.
Read our full Star Wars Outlaws review.
14. Death Stranding: Director's Cut
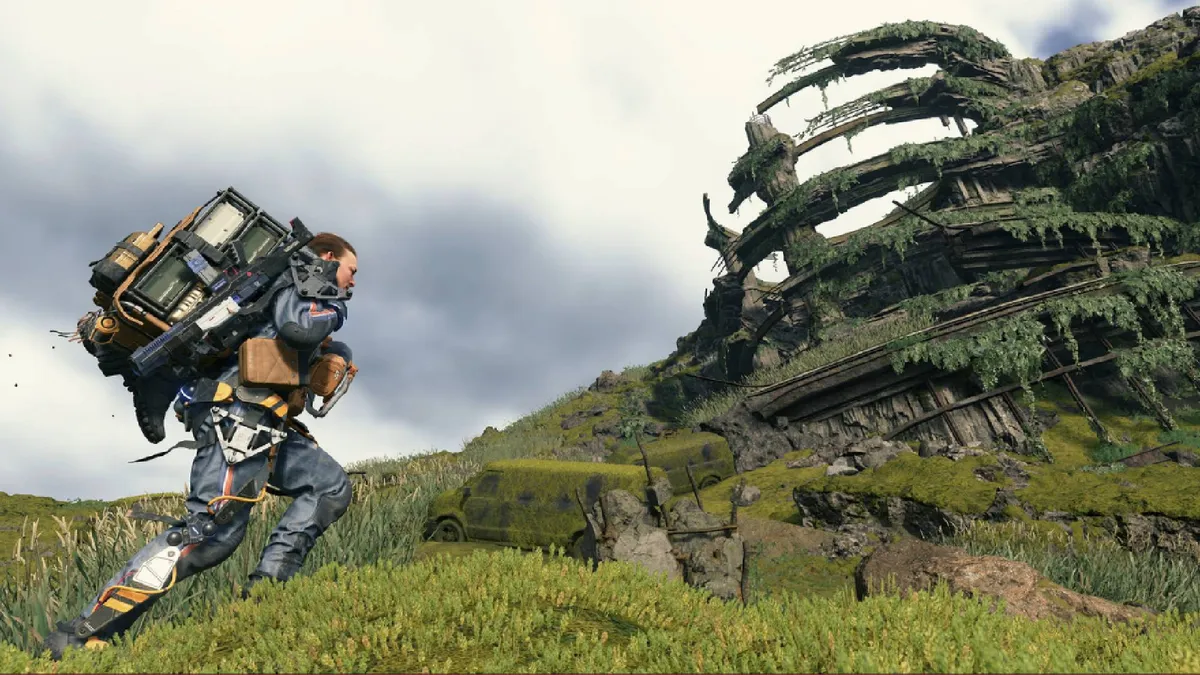
Formerly a PlayStation console exclusive, Death Stranding: Director's Cut was shadow-dropped onto Xbox platforms in November 2024 allowing even more players to enjoy Hideo Kojima's unique post-apocalyptic walking simulator.
You play Sam Porter Bridges (voiced and mod-capped by Norman Reedus), a delivery man of the future who is on a mission to connect the remnants of a decimated America. You do this by lugging yellow packages across a variety of stunning (and strangely Icelandic-looking) open-world maps. The core gameplay loop is repetitive by design, but it's also surprisingly compelling.
If the endlessly trudging across rocky terrain becomes mundane, you can always strap on a pair of robot legs, or hop on a sci-fi motorbike to speed up the process. Plus, Death Stranding is a Kojima experience to its core, so you can expect an off-kilter narrative and eclectic characters to keep you engaged.
15. Avowed

Avowed might not be a perfect game, but it’s not on this list simply because it’s only available on Xbox (and PC). Though flawed, it’s a relatively deep RPG featuring interesting and engaging combat. It also has a profound (if confusing) narrative, and almost everything else you’d want from a sprawling Obsidian Entertainment-developed RPG.
If you’re not a fan of franchises like The Elder Scrolls or Western RPGs in general, Avowed likely won’t win you over since it has all the typical trappings of the genre. However, if you are a fan of this genre or just want a giant world to get lost in, then Avowed offers an essential experience for Xbox owners.
Read our full Avowed review.
16. South of Midnight

South of Midnight exemplifies why narrative-driven games remain worth playing. You won’t get an epic-scale adventure with ever-changing gameplay mechanics, but what you do get is extremely satisfying. The ebb and flow of gameplay and rich story are more than enough to keep you hooked from beginning to end.
The story is pretty linear, but doesn’t overstay its welcome during its 10-12 hour span. Of course, you can expand that game time if you choose to go after collectibles. Combat isn’t the main draw here, as the mechanics aren’t all that deep, but it’s engaging enough. The main selling point is the creepy Deep South lore, which South of Midnight excels at. This is worth checking out if you’re seeking something different.
Read our full South of Midnight review.
17. Split Fiction

Like It Takes Two before it, Split Fiction is another phenomenal co-op game from developer Hazelight Studios. This title never loses its momentum since it’s always mixing things up, gameplay-wise. The ever-changing mechanics, along with the surprising and charming ideas that inspire said mechanics, will keep you hooked.
While the story can be a tad cheesy at times, you can easily overlook the uninspired narrative once you’ve regained control of your chosen protagonist. With so many wild gameplay mechanics, it's impossible to get bored playing this quirky title.
Read our full Split Fiction review.
18. Doom: The Dark Ages
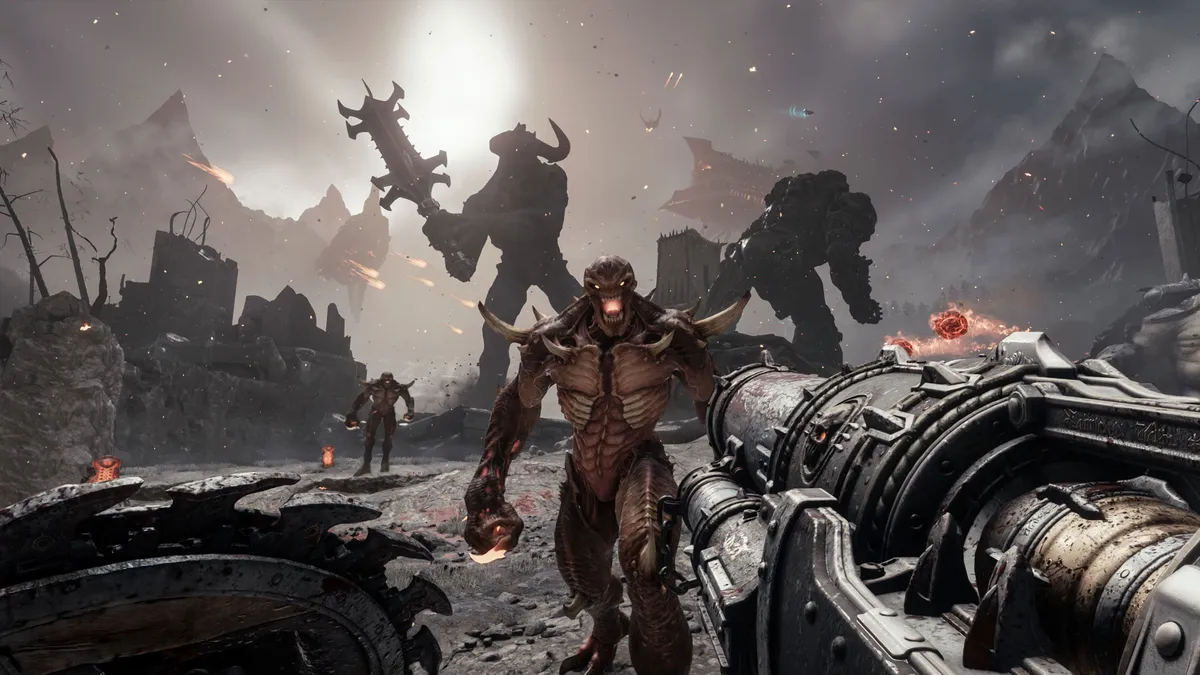
Doom: The Dark Ages might take the franchise in a new direction, but it’s just as good (or better) than its two predecessors. That’s saying a lot considering how they’re some of the finest first-person shooters released in the past decade. Developer id Software has managed to keep the franchise’s high quality while delivering a fresh new take on the classic Doom experience.
Instead of tight corridor combat or demanding platforming, Doom: The Dark Ages features more grounded combat and larger levels. The new shield mechanic and assortment of medieval-inspired weapons make you feel like an unstoppable battering ram. The story and deepened lore serve to make an already engaging game that much better. Doom: The Dark Ages is the most brutal first-person shooter you can play on Xbox.
Read our full Doom: The Dark Ages review.
19. Clair Obscur: Expedition 33

Clair Obscur: Expedition 33 isn’t an Xbox exclusive, but it’s arguably the hottest RPG of 2025 and worth playing on Microsoft’s console. It’s not only a feast for the eyes thanks to its high-fidelity graphics, but it’s also challenging and thoughtful. It combines elements from both Western and Eastern RPGs to deliver unique world-building, intense combat, and an engaging plot.
Though this is a turn-based RPG, the parrying system masterfully injects some action elements to keep things interesting. Trying to figure out the best way to overcome certain foes can feel like a puzzle. If you’re into that and also diving into a creative new world, you need to check out Clair Obscur: Expedition 33.
Read our full Clair Obscur: Expedition 33 review.
20. Kingdom Come: Deliverance 2

Kingdom Come: Deliverance 2 offers an incredibly immersive RPG experience. Its quests are meticulously crafted, driven by player choices, and its main storyline delves into captivating and historically accurate political and social themes. However, its deliberate and realism-focused approach might prove to be a barrier for players seeking immediate gratification or streamlined gameplay.
If you want instant satisfaction or a more straightforward RPG, Kingdom Come: Deliverance 2 may not be for you. However, if you want to role-play in a truly authentic setting that convincingly responds to your choices, you’ll appreciate Kingdom Come: Deliverance 2's unparalleled level of medieval immersion.
Read our full Kingdom Come: Deliverance 2 review.

