The pantry is an essential space to store all our perishables and food supplies. But if you spend time searching for those vital ingredients, or can’t easily access things, you’ll probably need some tips for organizing your pantry the right way.
Just like knowing how to organize kitchen cabinets, not only will this make things easier to find, but will make your pantry look neat and presentable. Plus, you can save tons of storage space by decluttering and grouping things together.
Before you get started however, it’s always advisable to declutter first. Remove all items from each shelf and then go through checking for expiry dates and empty items — discard or recycle these. Then give your pantry a good clean before returning the items. In addition, only keep items in the pantry that are things you use in the kitchen — not a dumping ground for small gadgets!

So whether you have a large or a mini pantry, here are 7 clever tips and tricks for organizing your pantry. And here are 7 clever ways to store baking sheets.
1. Divide your pantry into ‘zones’

If you’re always rummaging through countless items in your pantry, it’s best to categorize or group similar things together. Experts suggest dividing your pantry into zones to keep everything organized. For instance, allocate areas for those essentials such as pasta, grains, canned goods, and baking supplies. Then label each zone clearly to make it easier to find things at a glance.
Alternatively, you can group multiples of the same items like cooking oils, dried foods, and condiments. This will also help you locate things quicker, and know when you need to restock. Or if you want to go one step further, you can create zones for easy weeknight meals, so that you’ll have all the ingredients you need at hand. It’s a win-win!
2. Swap out ugly packaging for clear containers

If you want to maximize pantry space, remove any bulky cardboard boxes and plastic packaging. Not only do these take up precious space, but also look unsightly in your neat pantry.
Instead, decanter into clear jars or airtight storage canisters, before labelling the contents. Clear canisters helps you instantly see what you’re looking for, and will keep items fresh. Plus, you can invest in stackable storage that will take up less space than original packaging
To help you best organize your pantry, invest in BPA-free food storage containers or organization bins with dividers like these ClearSpace Plastic Pantry Organization ($39, Amazon), for a clutter-free pantry.
3. Keep track of use-by dates

What’s more, when throwing out original packaging, make a note of their use-by dates on the bottom of the new container. This will help you keep track of when to eat and discard the item. Plus, it will prevent you from hoarding excess items, that will take over your pantry space
You can either use blank self-adhesive stickers, or you can buy a label maker like this DYMO Label Maker with 3 Bonus Labeling Tapes ($40, Amazon), to do all the hard work.
4. Use small baskets as drawers
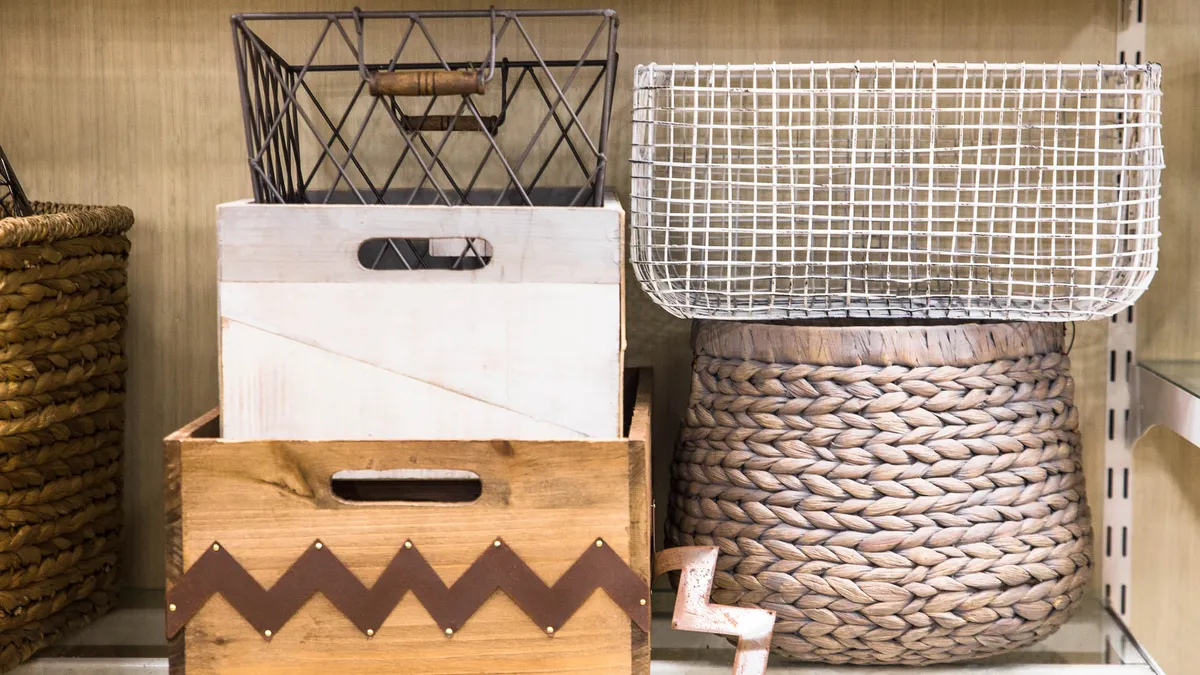
For any loose items such as opened chip bags, use small woven or mesh baskets as drawers. These usually have handles, and are accessible to easily retrieve items without lifting a lid. Again, label baskets so that everyone in the household knows what’s inside.
Plus, seagrass baskets such as these StorageWorks Hand-Woven Large Storage Baskets with Wooden Handles ($35, Amazon), can add a stylish, rustic feature to your pantry. You can even find 3 or 4 section baskets to clearly divide any items.
5. Double your space with shelf risers

Another clever trick to maximize vertical space inside your pantry are shelf risers. These are essentially sturdy racks that allow you to stack items on top of each other, without the risk of cans collapsing.
In addition, rather than having jars and packaging cluttering up your shelf, these handy risers like this WOSOVO Set of 2 Kitchen Cabinet Organizer and Storage Shelves ($29, Amazon), make everything visible and easier to keep tidy. And if you need extra space, these are also expandable, and stackable, and can double your shelf space in seconds, and in a neat manner.
6. Use tiered/rotating storage solutions

Similarly, if you have high pantry shelves, or can’t see your aromatic spice collection, use a three-tier, kitchen cabinet organizer. The tiered levels like this Copco Non-Skid 3-Tier Spice Pantry Kitchen Cabinet Organizer ($9, Amazon), allow you to read labels clearly, and easily reach for your items. These are usually versatile, easy to clean, and come with anti-slip grips to minimize the risk of wobbly accidents. What’s more, it also prevents you from having to rummage at the back of your cabinet.
In addition, a rotating ‘Lazy Susan’ organizer will make it easy to access things that you need. Most of them come with easy-grip handles such as this Lazy Susan Turntable Organizer ($16, Amazon), or you can even opt for a two-tiered, clear organizer to suit your pantry.
7. Place new items at the back

Another useful tip is to place old items towards the front, and new items at the back. Similar to a grocery store, this will ensure you use the older stuff first, that will expire soonest — and reduce waste. In addition, it’s best to store daily items within reach, and store extra supplies and lesser-used items at the top.
Once you’ve organized your pantry, remember to keep it maintained at all times. Ensure old ingredients are thrown out, and clean up any messy spills or dirt. This will make it a well-organized, and cheerful-looking space.
More from Tom's Guide
- 5 best decluttering methods for your home
- Here are 7 space-saving ways to organize pots and pans
- Avoid these 7 kitchen storage mistakes you're making right now