How to upgrade a CPU
Upgrade your computer's CPU with some tools and a little know-how
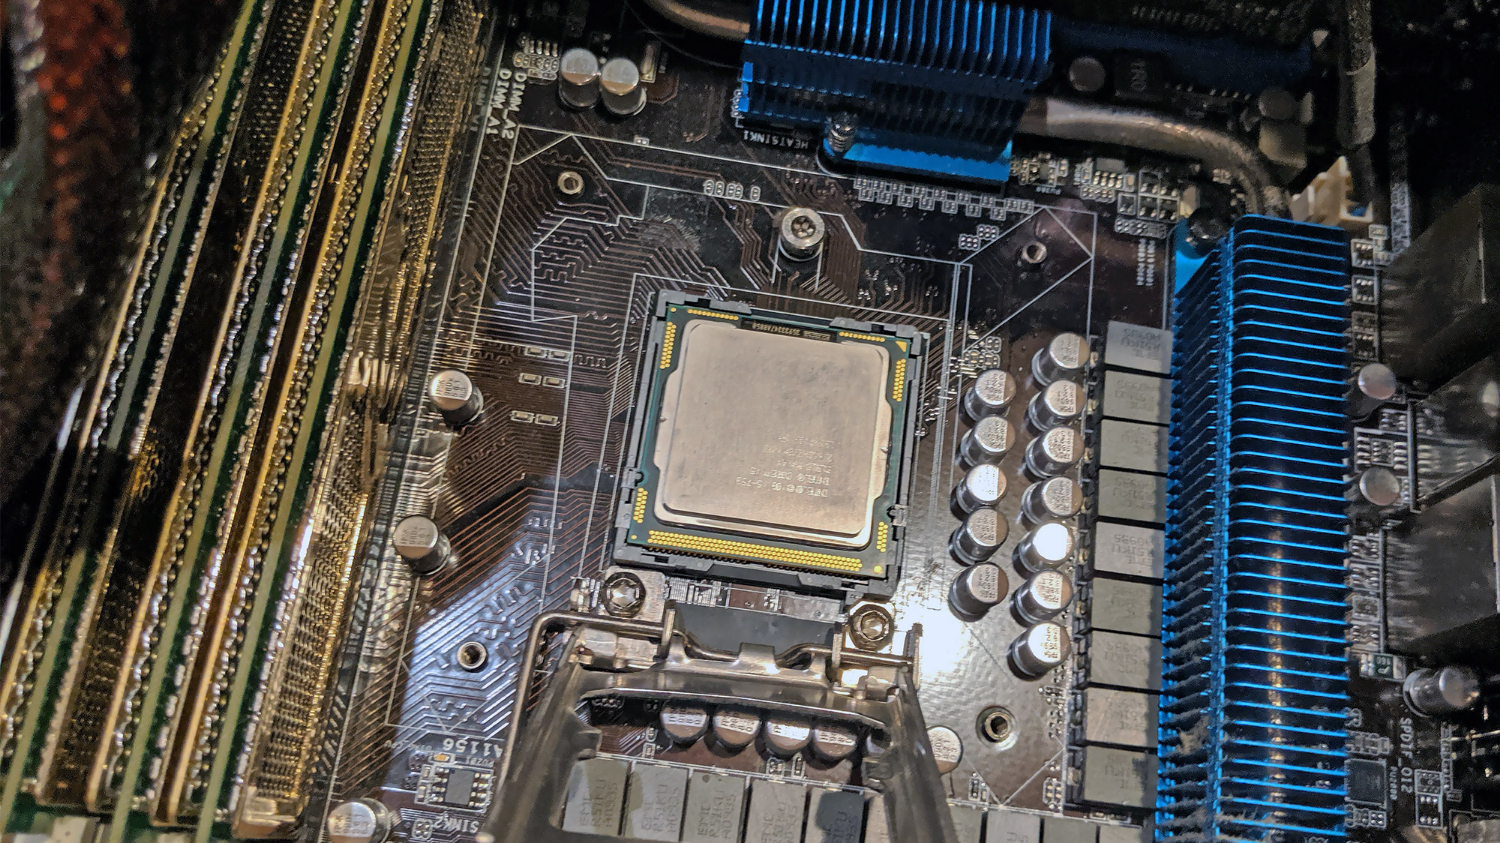
If you built your PC from scratch, then upgrading your central processing unit (aka processor, or CPU) shouldn't present too much of a challenge — just reverse the steps you used to install it. However, if you purchased a pre-built gaming desktop, or had some help from a more tech-savvy friend, rooting through your computer's guts to swap out its very heart may sound downright daunting.
The good news is that swapping out a CPU is not very difficult, provided you have all the right information and tools at your disposal. In fact, there's a good chance you'll spend more time prepping for the process than you will spend actually upgrading the processor. With that in mind, here are a few simple steps for choosing and installing a brand-new CPU for your favorite gaming or productivity PC.
- Buy one of the best gaming desktops
- Play the best PC games
- See how to benchmark your graphics card
Bear in mind that we took these photos with an Intel processor; installing or replacing an AMD processor will involve a slightly different process.
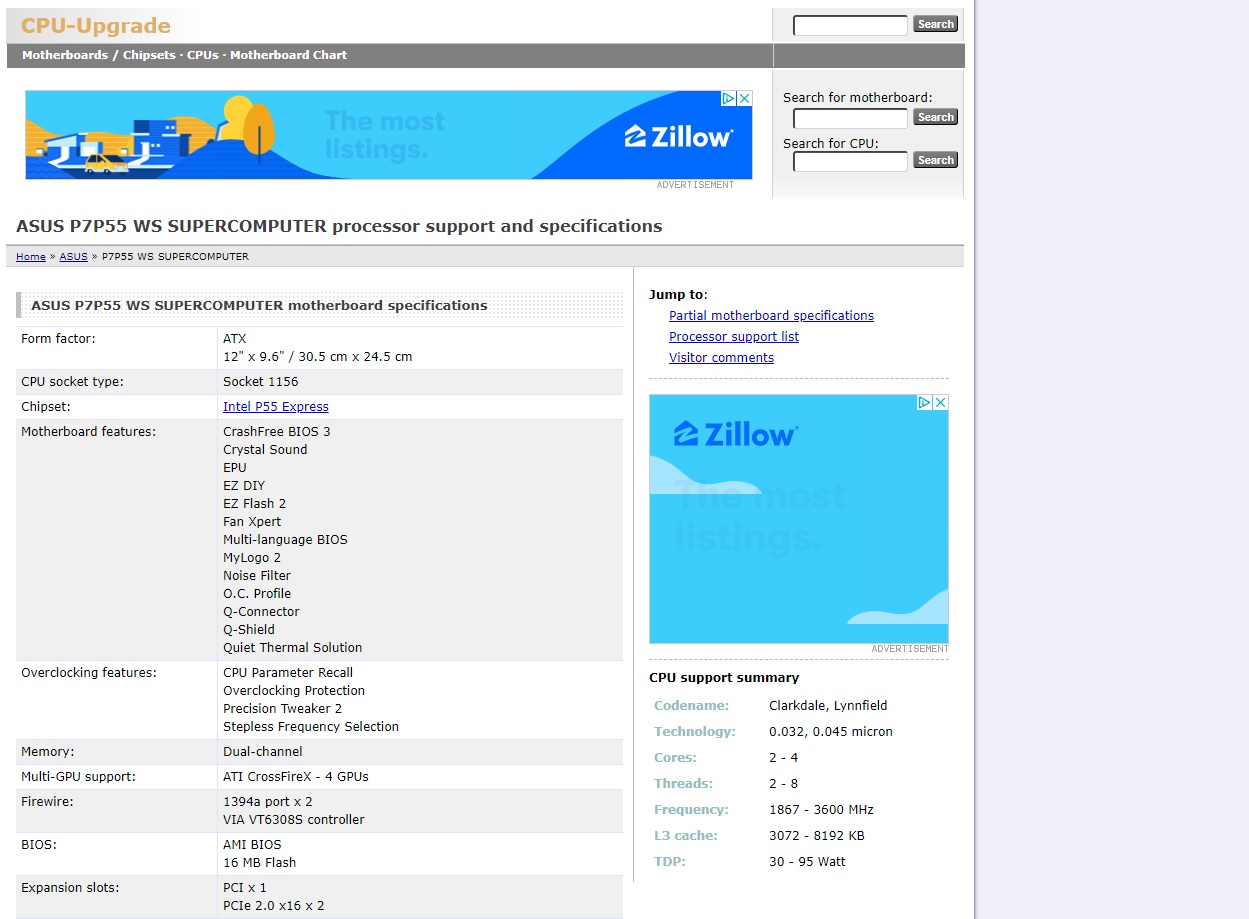
1. Ensure that your CPU is compatible with your motherboard.
Nothing will stop your CPU upgrade in its tracks faster than finding out that your computer can't support your new processor. The bad news is that this requires a lot of research up front to confirm what will and won't work; the good news is that there are lots of resources online to help you with that research.
The best tool I've found in my search is a site called CPU-Upgrade. This resource lets you look up your motherboard, then examine which Intel and AMD chips will work with it. The site isn't 100% complete — there are no Lenovo/Skybay motherboards listed, for instance — but it's an excellent place to start your search.
And yes, it's going to look a little imposing, because there are about 1,000 variables that go into motherboard/CPU compatibility. My best advice is just to dive in and stick to the broad strokes. Are your motherboard and CPU compatible? Good! Then you don't need to sweat the minutiae.
For the record, in order to find out what kind of motherboard you have, go into the Windows search bar and type "msinfo32." This will bring you to the System Information panel, where you'll find BaseBoard Manufacturer (e.g., ASUS) and BaseBoard Product (e.g., P7P55 WS SUPERCOMPUTER).
Get instant access to breaking news, the hottest reviews, great deals and helpful tips.
If, for whatever reason, you can't find compatibility info at CPU-Upgrade, do a Google search, or try Reddit or the Tom's Hardware forums. Someone will almost certainly help out, as long as you ask nicely.
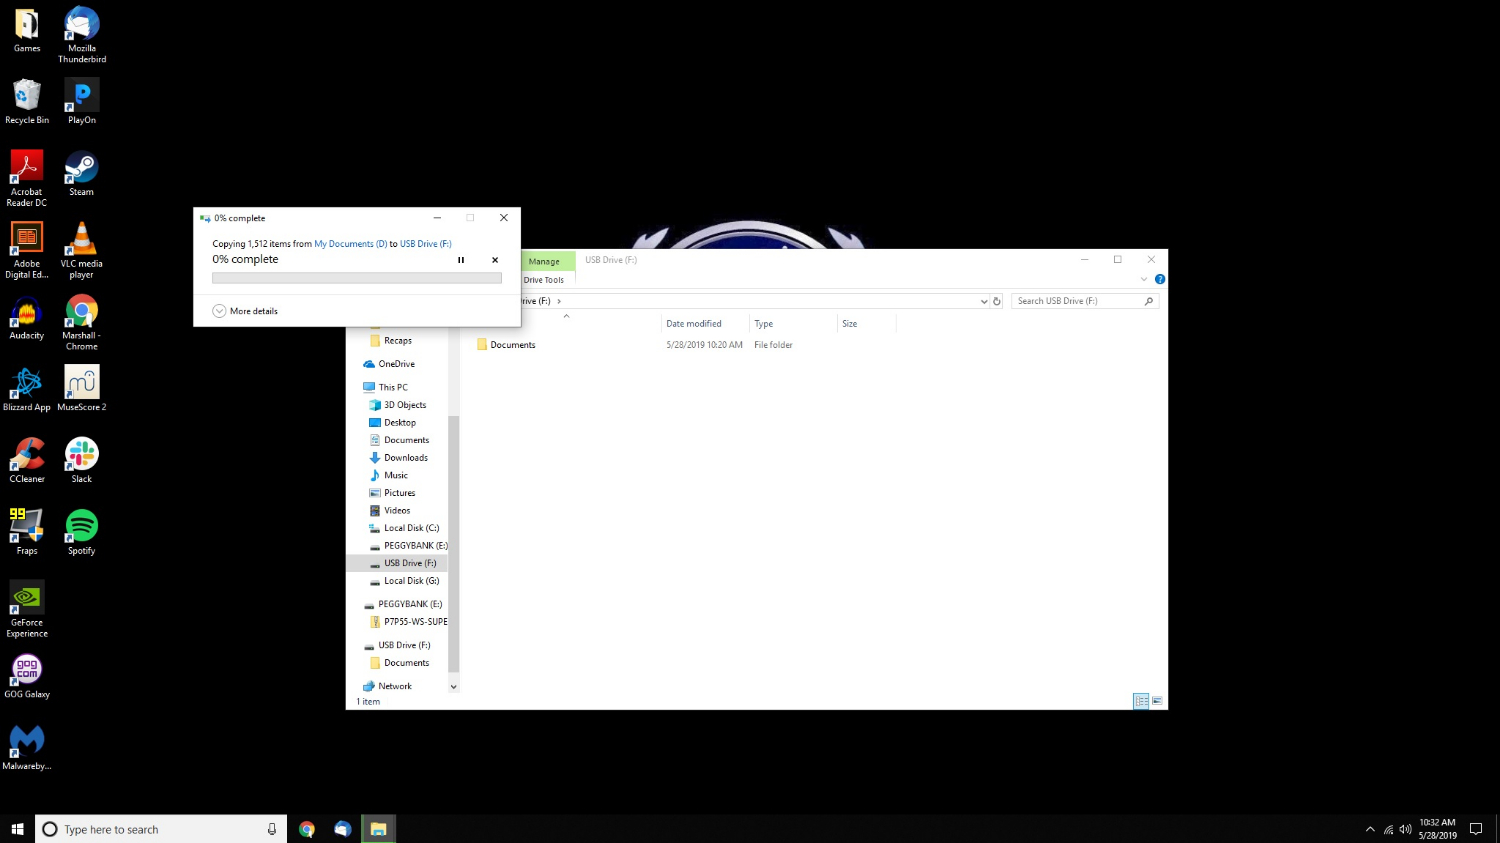
2. (Optional) Back up your data.
I admit that I'm a little superstitious about this, but my philosophy is this: If you're going to swap out a computer part, back up anything that you can't bear to lose first. Theoretically, swapping out your CPU should not affect your hard drive at all, even if you botch the process beyond all hope of repair. (Take heart; this is very hard to do.)
However, there are simply a lot of factors at play every time you crack open your computer case, and you'll be glad you backed up your files if you run afoul of static electricity, or screwdriver slippage, or some well-meaning pet knocking the whole system down a flight of stairs. So take a few minutes and save your files externally. You can upload them to a USB stick or hard drive — or you can employ one of the best cloud backup services to save your files online.
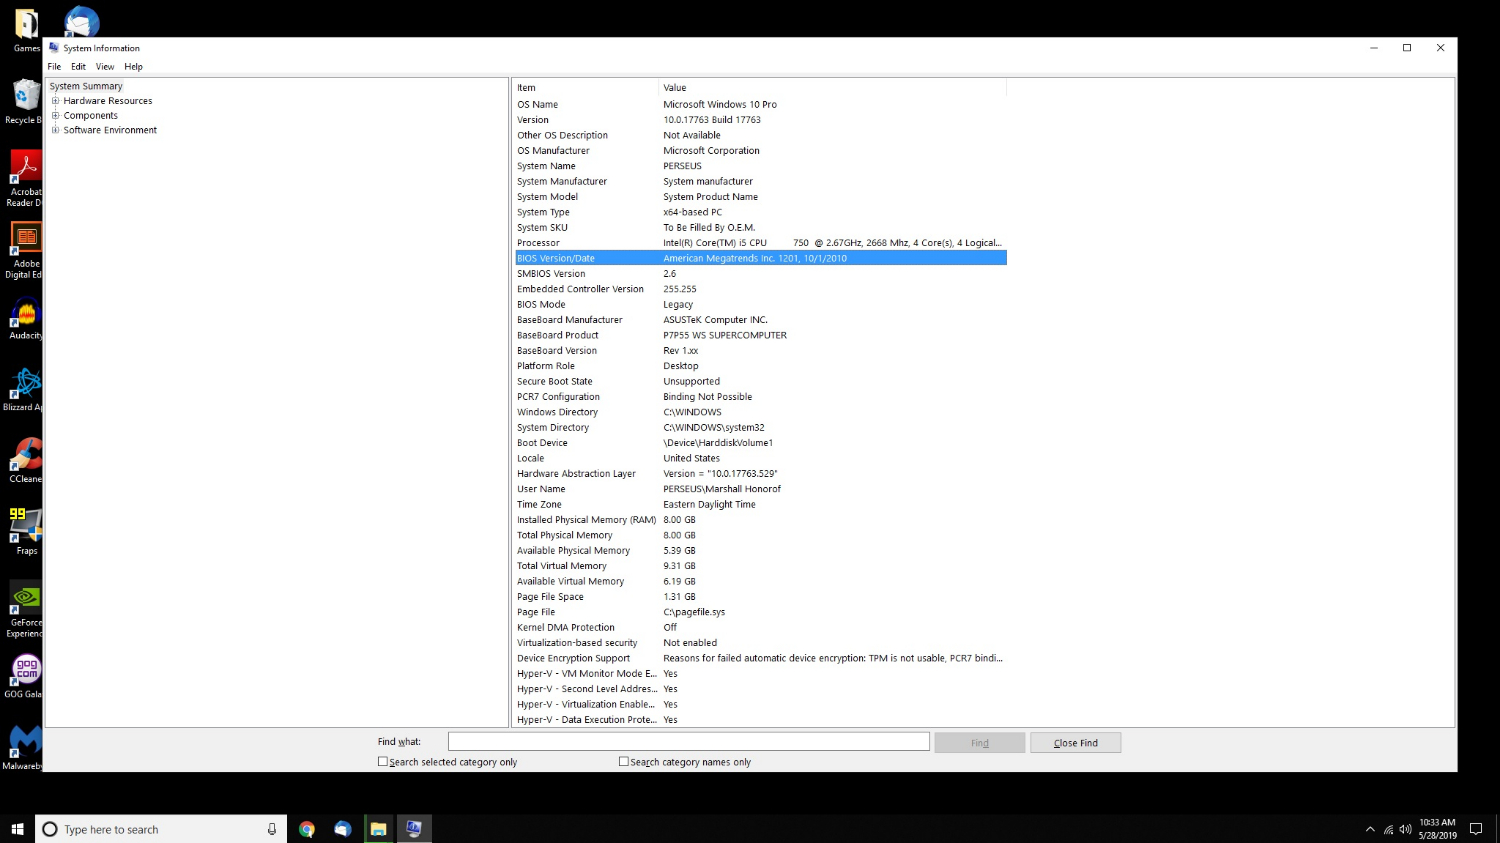
3. (Optional) Update your BIOS.
Updating your Basic Input/Output System (BIOS) is one of those things you don't strictly have to do, but could help head off a potential problem at the pass. Think of BIOS as your motherboard's operating system – the software that runs the computer if you don't have Windows or Linux installed. However, your BIOS version is extremely important, since it can influence settings like voltage and hardware compatibility. The odds of you needing to update your BIOS before you install a new CPU are small — but they do exist.
Unfortunately, there's no catch-all guide to updating your BIOS, as it really depends on what kind of system you have. Newer systems might have software packages built right into Windows; older systems might need you to download software to your hard drive and track it down during a restart. (If you haven't updated your BIOS in a few years, you may even have to upgrade to every version in-between yours and the current one first.)
As with many things, the best solution is to Google "(your motherboard) BIOS update" and see what comes up. Just be absolutely sure that you don't accidentally try to update your system with a similarly named BIOS program. The best-case scenario is that it won't work; the worst-case scenario is that it will brick your computer. See the Tom's Hardware's comprehensive guide to BIOS functionality.
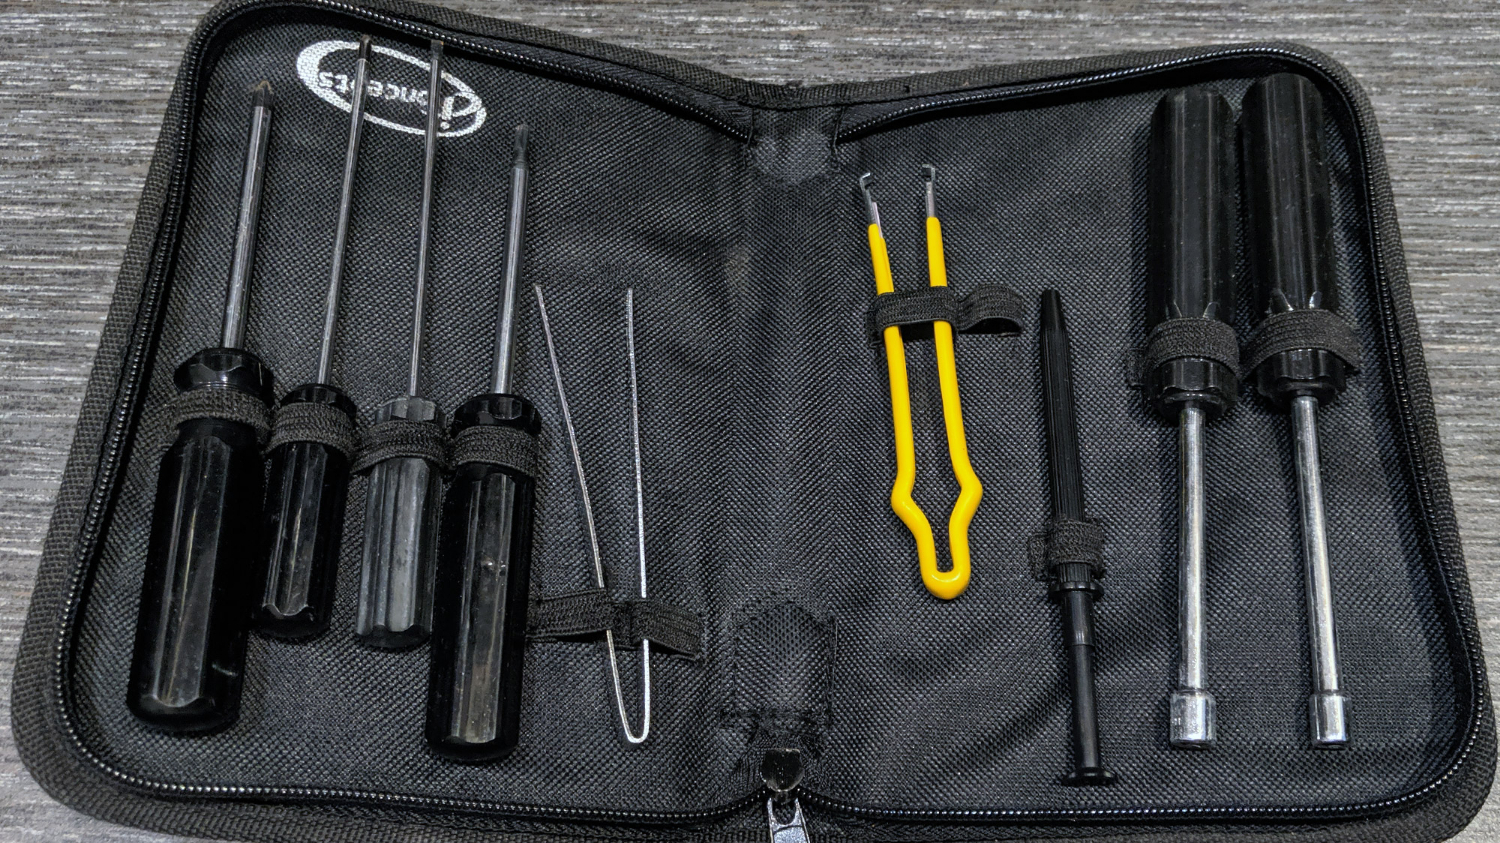
4. Gather your tools.
In order to upgrade your CPU, you'll need a soft cloth, paper towels, rubbing alcohol and thermal paste. You'll almost certainly need a screwdriver, although what kind depends on how your heatsink and computer case are secured. I got by just fine with a small Phillips head; your needs may vary.
You can also wear an anti-static band if you want to play things really safe. Personally, I found it easier to just ground myself every so often. You can do this with anything, from a sink faucet to the outside of your computer case, so long as it's made of metal.
Similarly, you'll want a hard surface on which to work, such as a workbench, or even a hardwood floor. (You should probably clean said section of floor first.) A bowl to hold loose screws never hurt anyone, either. Avoid rugs and carpets; take your socks off if you're especially superstitious, and don't wear a fuzzy sweater.
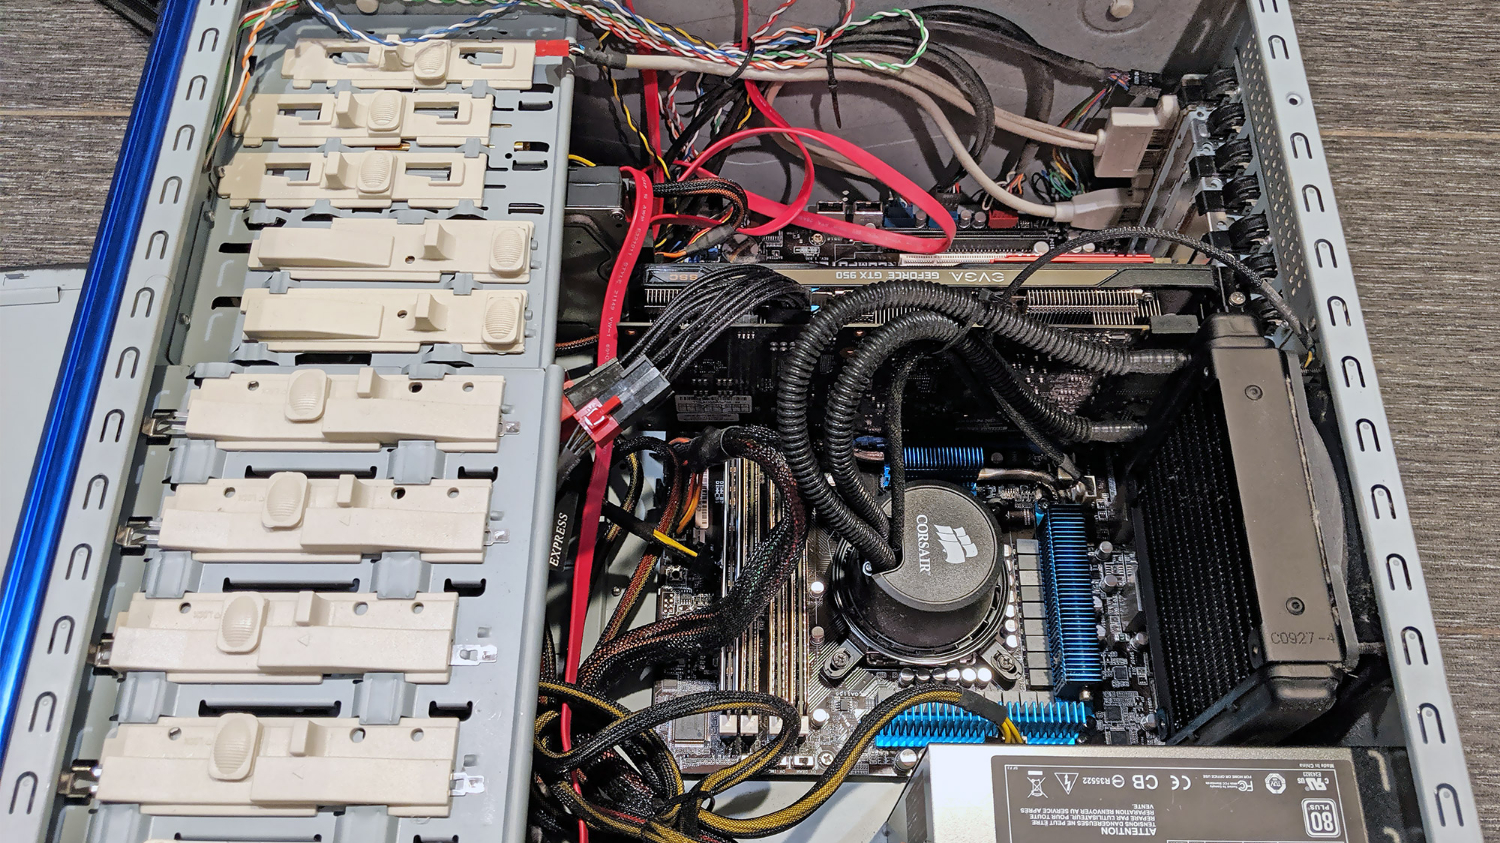
5. Crack open your PC.
Unsurprisingly, you've got to open up your PC before you do any work inside of it. (Apologies for the absolute mess of wires inside mine; you keep things as clean as you can, but at a certain point, you just accept the chaos for what it is.)
Since you've opened up your computer, it never hurts to grab a can of compressed air and blow the dust out of everything.
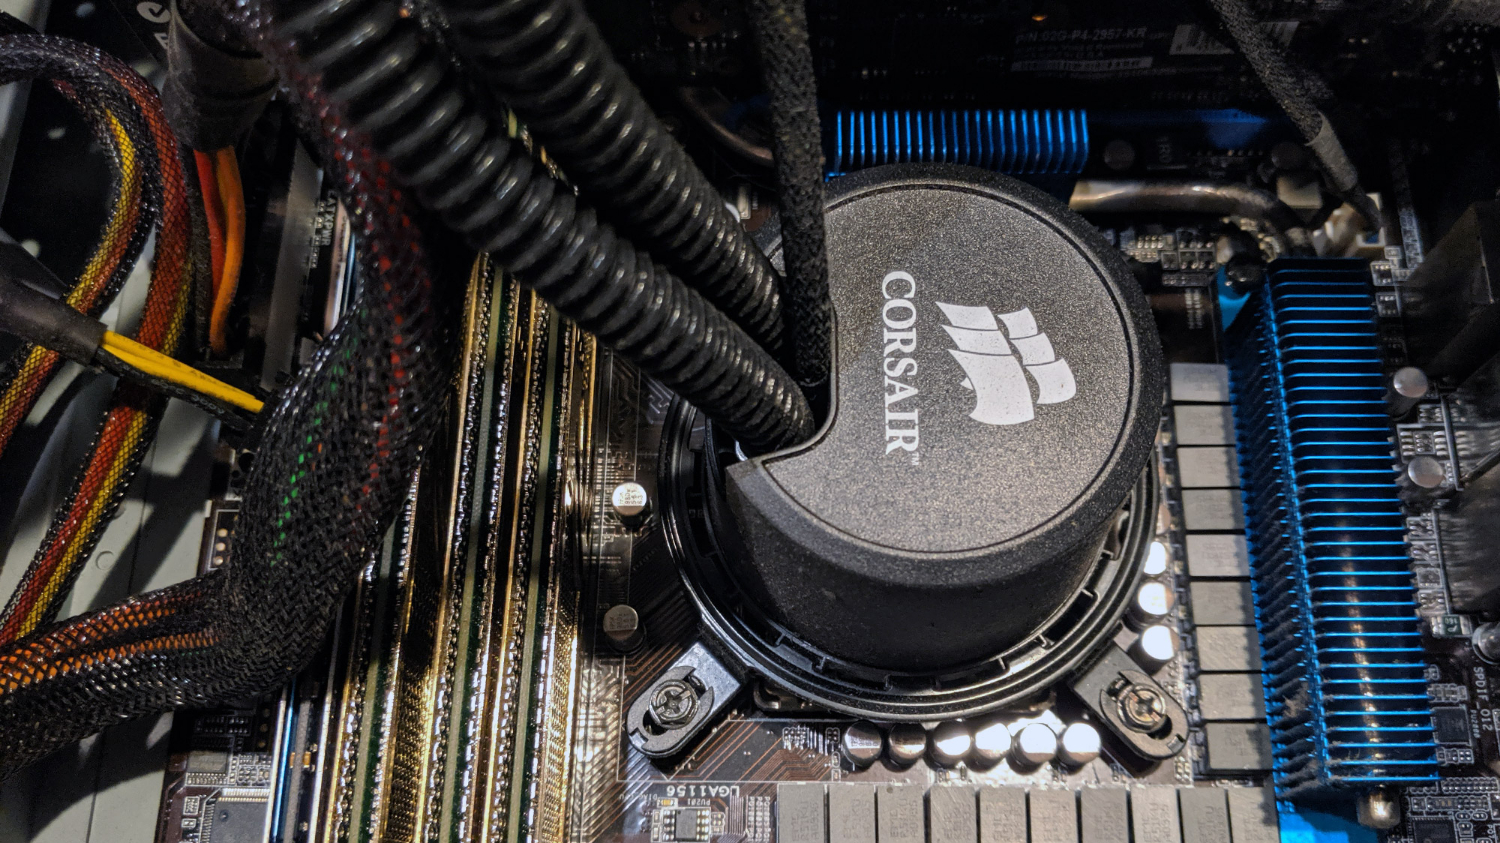
6. Remove the heatsink or fan.
The heatsink is the part of your computer that connects to your processor on one end, and your fan on the other end. You may also have a simple fan instead. The heatsink's function is to collect and dissipate heat generated by the CPU. The fan's function is to provide cool air inside your PC. As such, you'll have to remove either one before you can access the CPU itself.
Exactly how you accomplish this task will depend on what kind of heatsink or fan you have, but you'll probably have to unscrew whatever's keeping it in place first. Just use common sense here: Unscrew whatever needs to be unscrewed, and don't pull too hard if something doesn't come loose at first. If you have any trouble removing it, find the model number and look it up online. Someone may have tips on how to remove it safely.
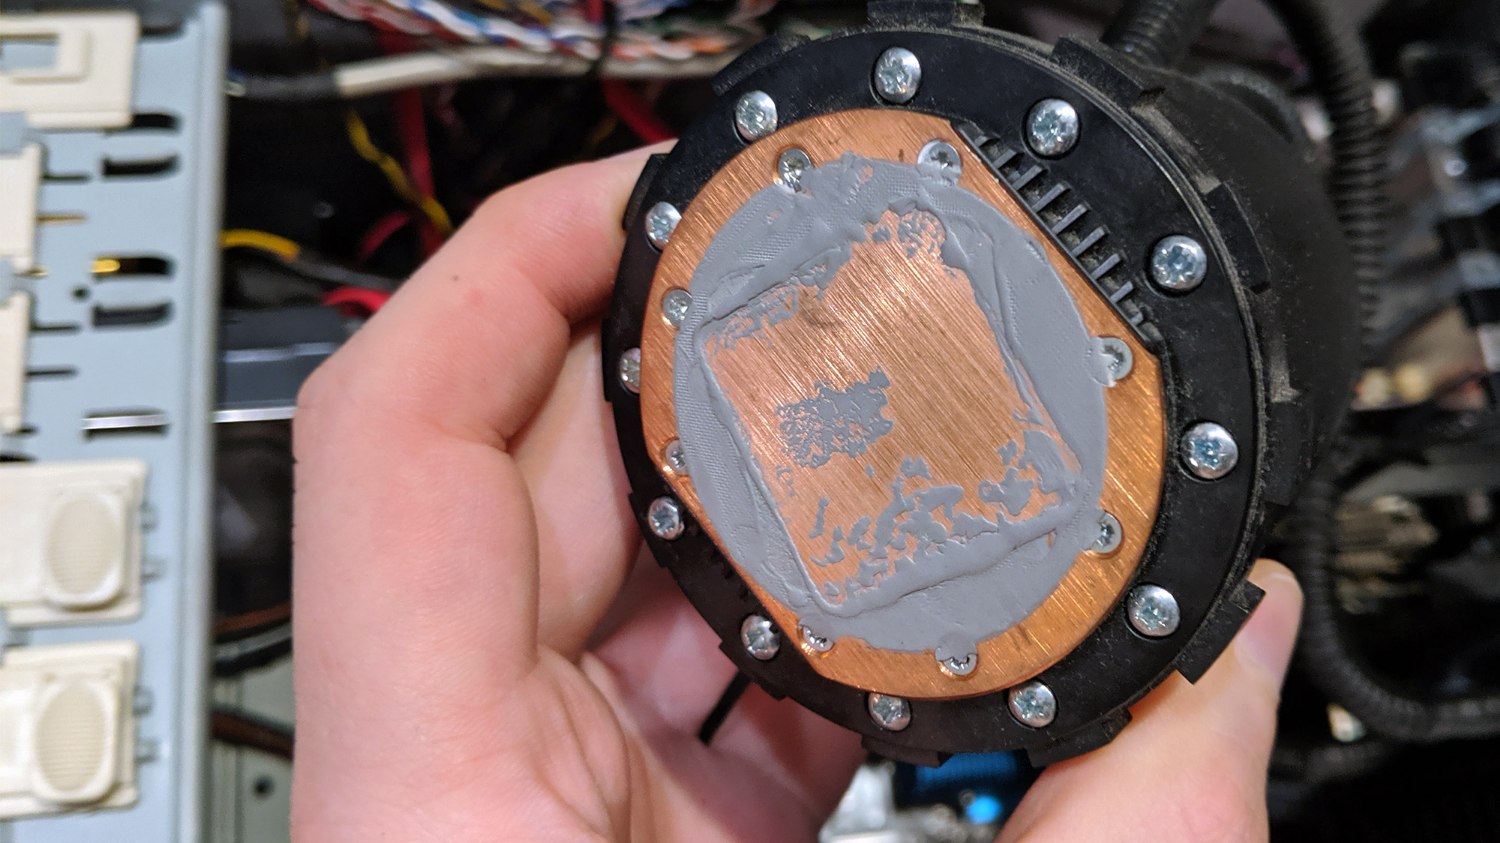
7. Clean off the old thermal paste.
Technically, the world wouldn't end if you leave old thermal paste on your heatsink or fan. But since you're about to apply a new coat anyway, it's better to get rid of the old stuff and start fresh. (You don't want a layer of thermal paste on top of another layer of thermal paste, since this would reduce its conductivity and render the heatsink less effective.)
Luckily, old thermal paste is very easy to remove. Just use some rubbing alcohol and a paper towel. If you get a few drops of alcohol elsewhere in your computer, it's not going to do any harm; just make sure you don't get any stray bits of paper towel in there.
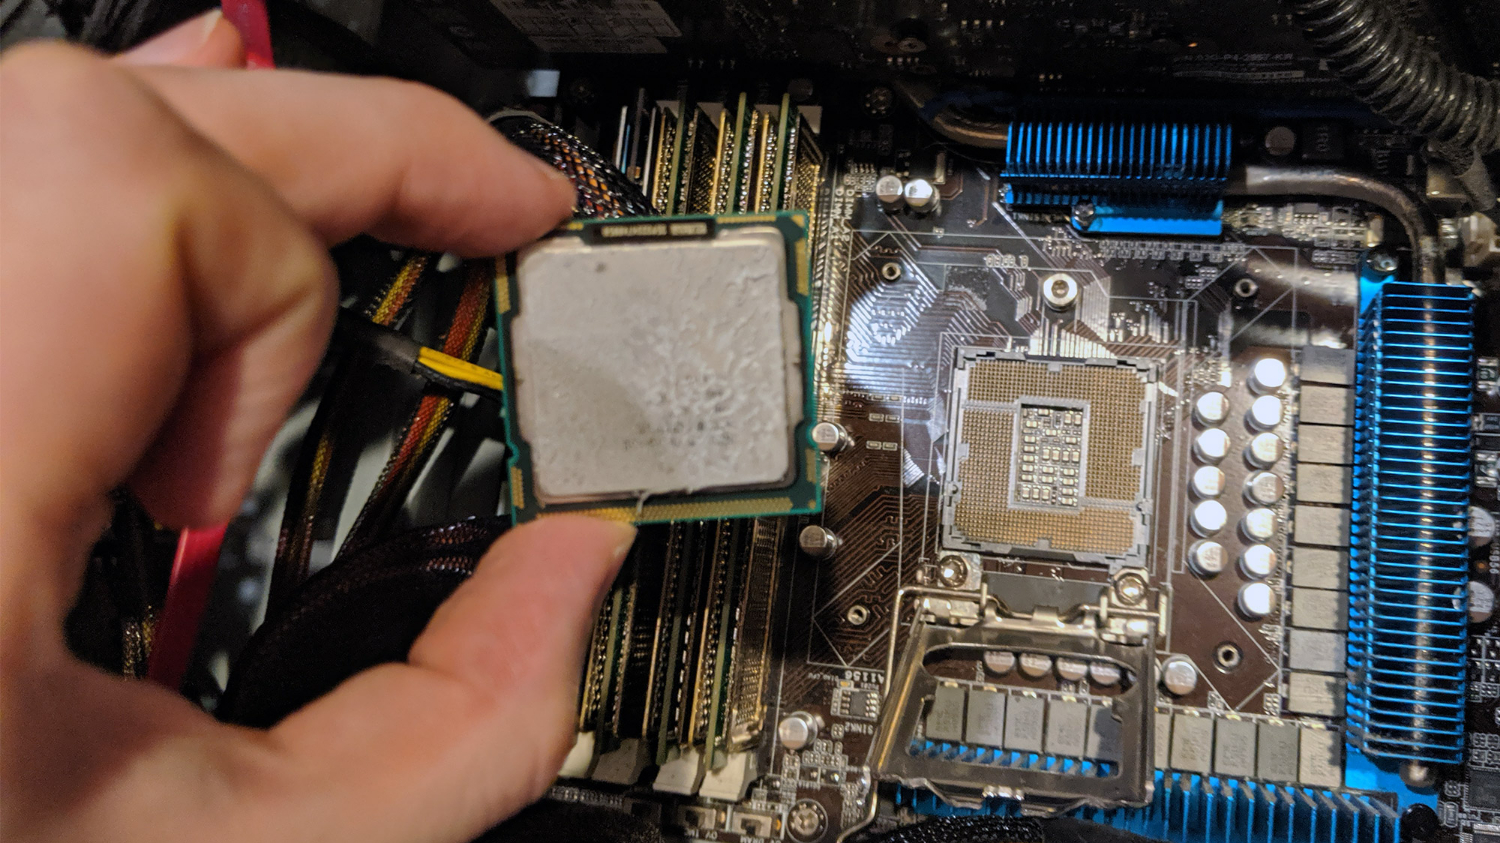
8. Remove the old processor.
Under the heatsink or fan, you'll see the old processor in its housing. There should be a small metal lever somewhere to lift the housing off. Word to the wise: You may have to gently press the lever down and to the side first. As with other steps in this process, if you find yourself pulling hard on a component, you're probably missing a very easy, gentle way to remove it.
Once you've raised the housing, all you have to do is lift the processor out. There's nothing else securing it.

9. Secure the new processor.
In what is, by far, the simplest part of the whole process, gently place your new processor down where your old one used to be. There will be two small indentations on the side of the processor, so make sure that they match up with the indentations in the housing. You'll know the processor is in correctly when it's sitting flat. Then, lower the housing and secure it with the metal bar again.
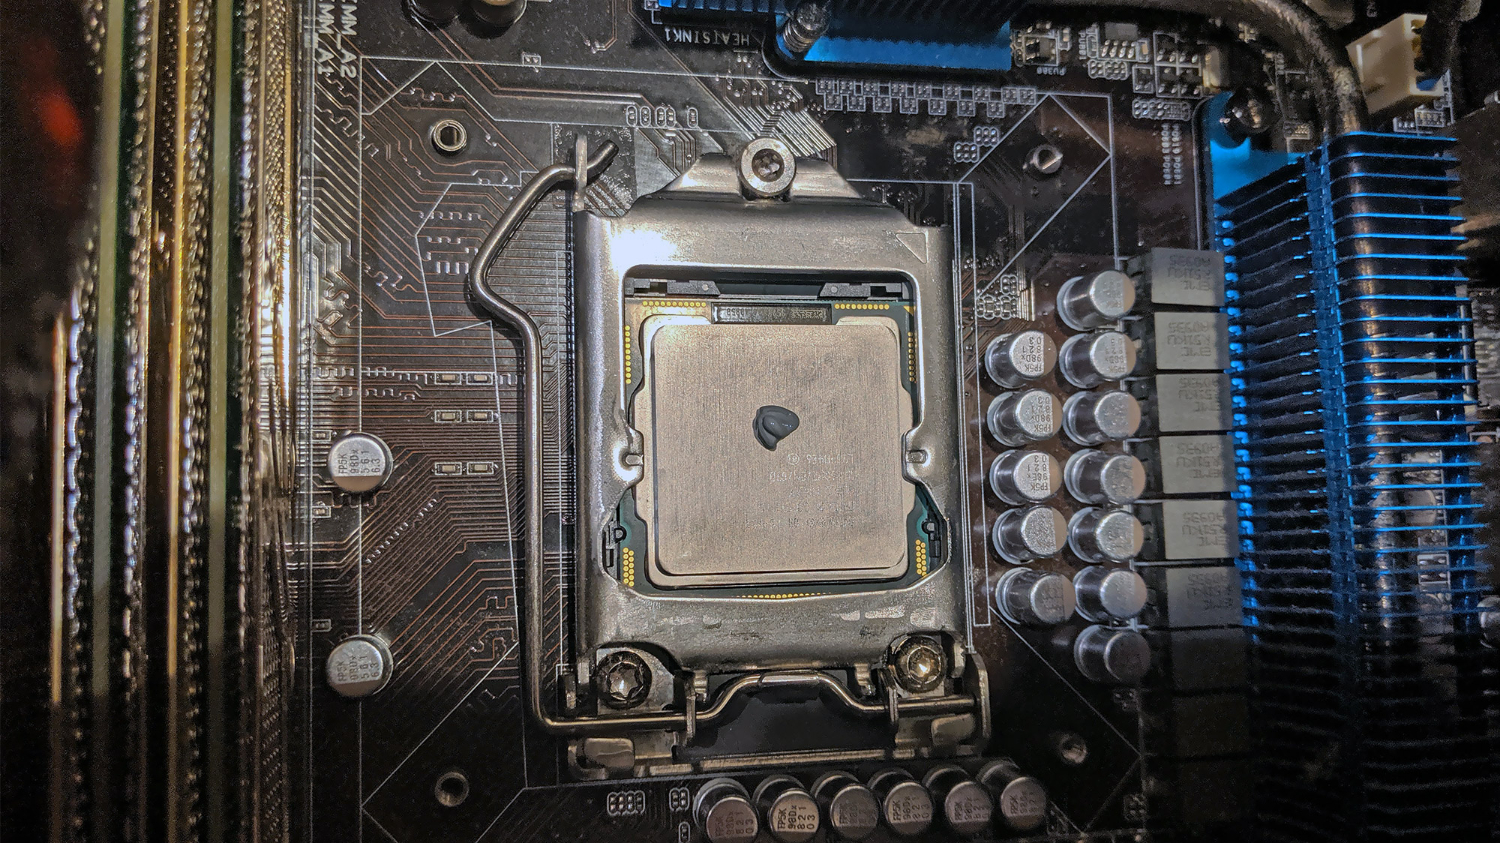
10. Apply thermal paste.
If you ask online, you're going to get a lot of opinions about the "best" way to apply thermal paste. Drawing an X, making a cross, spreading it in advance, letting gravity do the work — there are plenty of methods, and some evidence in favor of (and against) each one.
The short version is that unless you're building some kind of supercharged, overclocked powerhouse, how you apply thermal paste is not going to make or break the machine. I personally went with the "grain of rice" method, and made a very small ball right in the center of the processor. The heatsink — and the heat of the processor itself — should take care of spreading it over time.
Basically, when it comes to thermal paste, less is more, and you can always redo it if you find that your computer is running way too hot. It's the most open-ended part of the procedure, but it's not the hardest, unless you drive yourself crazy over it.
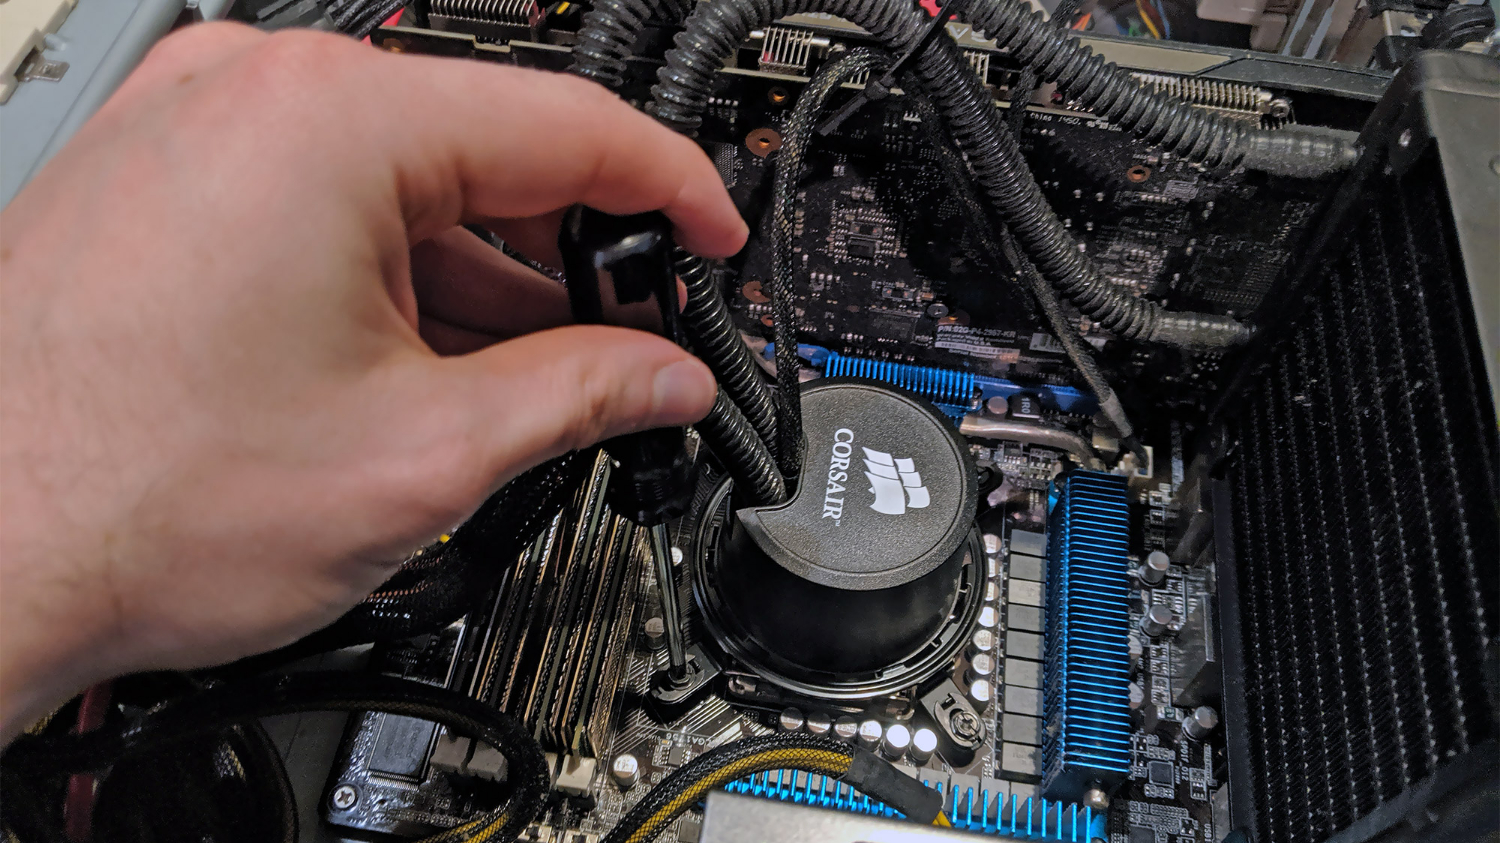
11. Reinstall the heatsink or fan.
Whatever you did to take the heatsink or fan out, reverse the process. Screw everything back in tightly, but not so tightly that it will bend or break the cooling unit's structure.
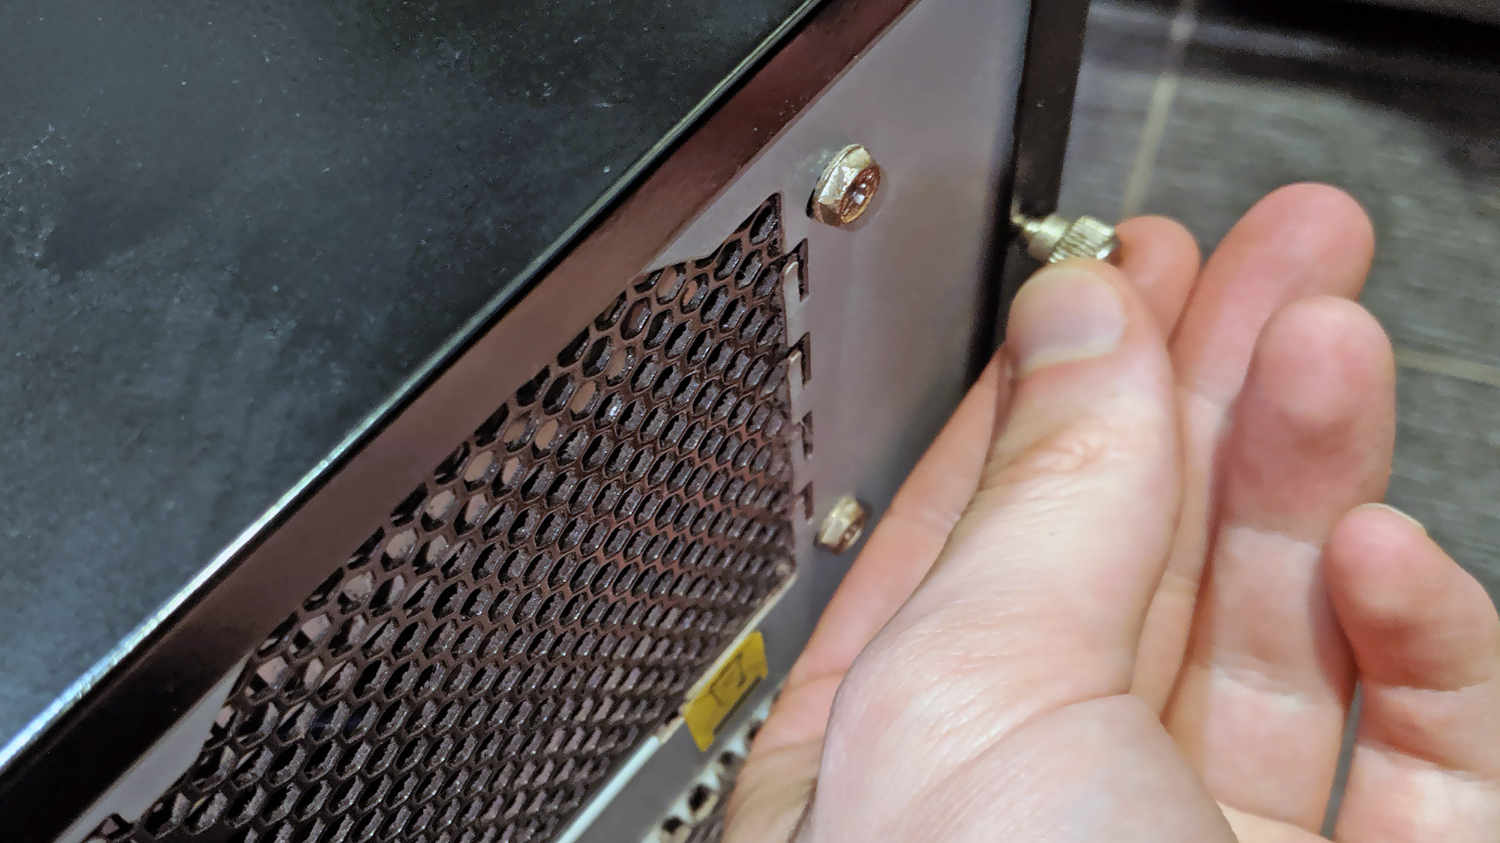
12. Close up the computer.
You're done! Reconnect your computer to its power source, boot it up, and makes sure everything is working properly. Your BIOS should recognize the presence of a new CPU and run through a short setup process. Just follow the prompts, then let the computer restart.
Since thermal paste spreads and settles by the application of heat, you'll want to run your computer for a few hours when you get a chance. You should do something taxing, like edit videos or play a demanding game, and ensure that the CPU's heat stays within acceptable parameters. (I like the Intel XTU software for this, but there are other options, too.) If it doesn't, there are ways to mitigate your heat output, such cleaning out the fans, or investing in better cooling options.

Marshall Honorof was a senior editor for Tom's Guide, overseeing the site's coverage of gaming hardware and software. He comes from a science writing background, having studied paleomammalogy, biological anthropology, and the history of science and technology. After hours, you can find him practicing taekwondo or doing deep dives on classic sci-fi.
 Club Benefits


