How to replace your PC GPU — 16 easy steps to upgrade your desktop quickly and easily
Remove your old GPU and install a new one in a few simple steps
Here at Tom’s Guide our expert editors are committed to bringing you the best news, reviews and guides to help you stay informed and ahead of the curve!
You are now subscribed
Your newsletter sign-up was successful
Want to add more newsletters?
Daily (Mon-Sun)
Tom's Guide Daily
Sign up to get the latest updates on all of your favorite content! From cutting-edge tech news and the hottest streaming buzz to unbeatable deals on the best products and in-depth reviews, we’ve got you covered.

Weekly on Thursday
Tom's AI Guide
Be AI savvy with your weekly newsletter summing up all the biggest AI news you need to know. Plus, analysis from our AI editor and tips on how to use the latest AI tools!

Weekly on Friday
Tom's iGuide
Unlock the vast world of Apple news straight to your inbox. With coverage on everything from exciting product launches to essential software updates, this is your go-to source for the latest updates on all the best Apple content.
Weekly on Monday
Tom's Streaming Guide
Our weekly newsletter is expertly crafted to immerse you in the world of streaming. Stay updated on the latest releases and our top recommendations across your favorite streaming platforms.
Join the club
Get full access to premium articles, exclusive features and a growing list of member rewards.
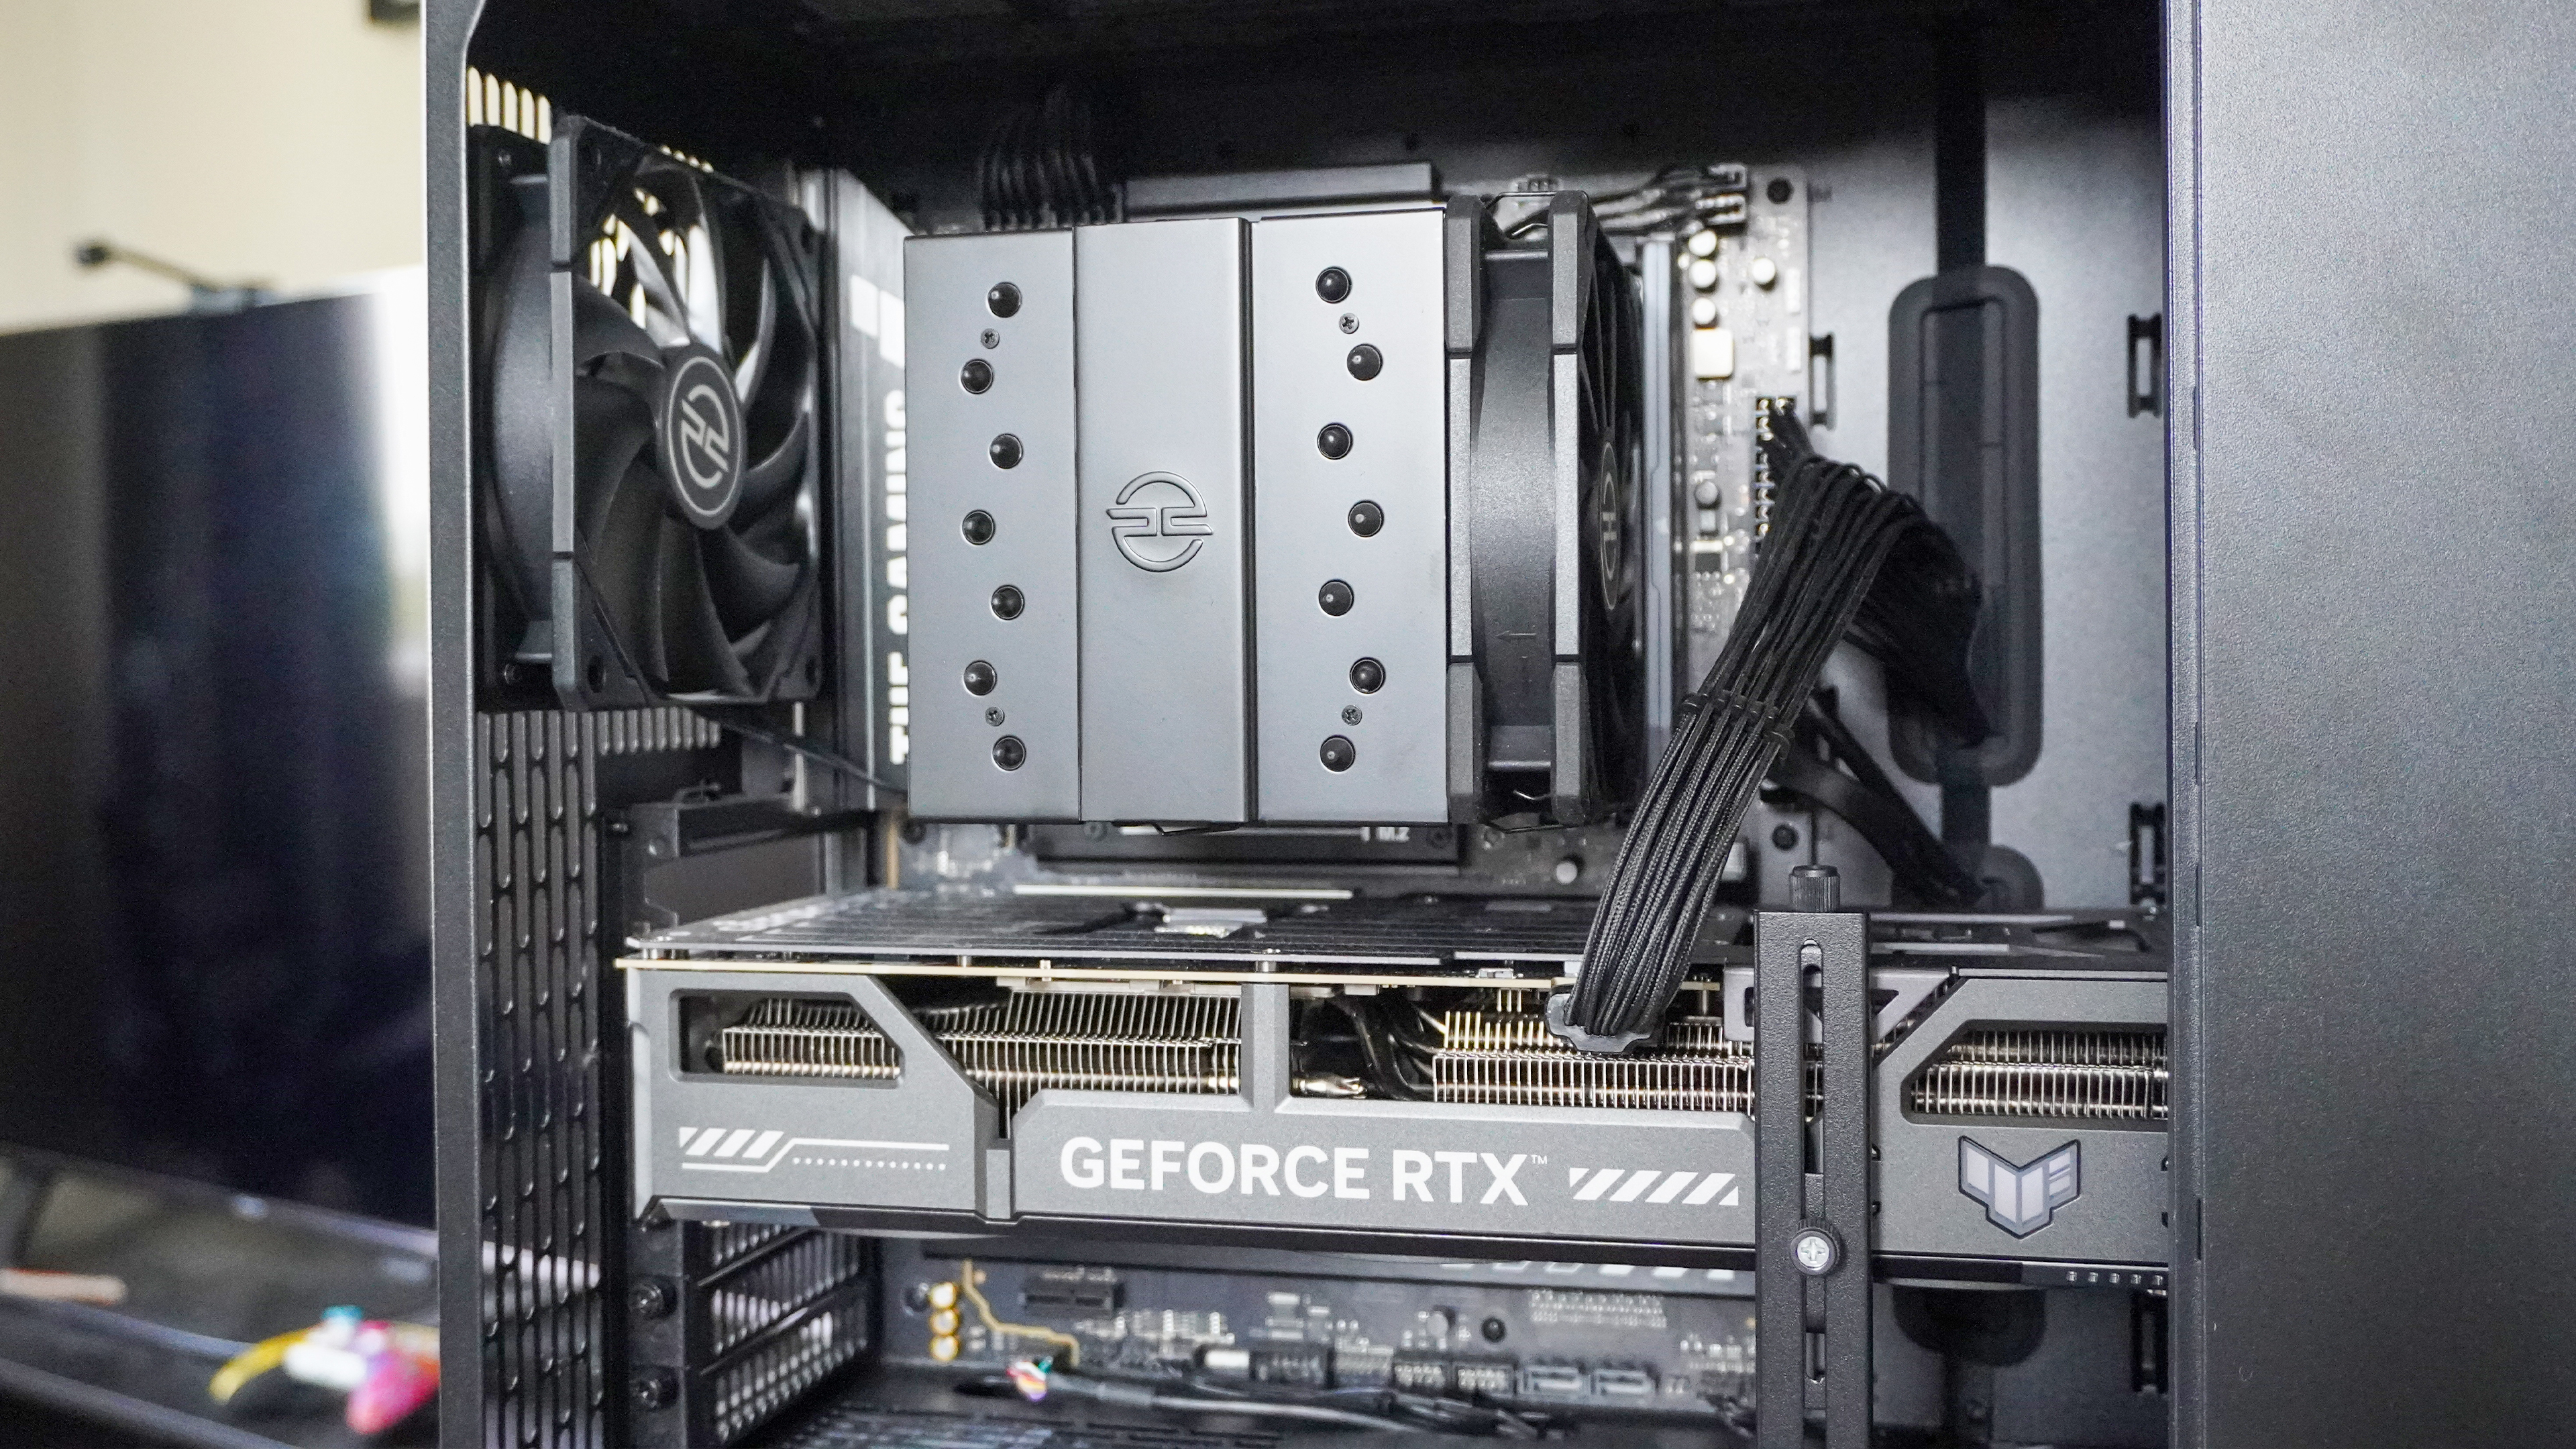
If you own a PC, the day will eventually come when you'll need to replace your graphics card (GPU), Maybe you just got your hands on Nvidia's beastly RTX 5090, or you made a more mid-range upgrade to the likes of the RTX 5060 Ti or the AMD Radeon RX 9060 XT.
One way or another, knowing how to take out your GPU and install a new one will come in handy, but it can be an intimidating process if you've never had to do it before.
It's been nearly 20 years since I built my first PC, so suffice it to say I've installed my fair share of GPUs. Below, I'll tell you everything you need to know and walk you through the process of replacing a graphics card quickly and easily.
Things to do before replacing your GPU
There are a few things to be mindful of before you're elbow-deep inside your PC case. Ideally, before you take out your old GPU, check out the following.
1. Check your power supply

Before you uninstall your existing GPU, make sure that your power supply (PSU) can support your new graphics card. If you’ve already researched compatibility while shopping for your GPU, you’re probably good to go — but it never hurts to double-check.
Your PSU needs to meet the wattage requirements of your graphics card. The easiest way to check whether it does is to look up your exact GPU model online, as manufacturers list recommended PSU wattage based on the card's power draw. Keep in mind that the rest of your PC needs to draw power from the same PSU, too, so GPU power requirements don't equal PSU wattage — you'll need headroom to account for your CPU, motherboard, fans, storage, and more.
Next, confirm that your PSU supports the correct power connectors for your new GPU. These are determined by the number of pins on the connector:
- 6-pin and 8-pin (6 + 2), common in older GPUs
- Some GPUs require dual 8-pin (2 x 8), dual 6-pin, or a combination
- Newer Nvidia GPUs use the 12VHPWR (16-pin) or 12V-2x6 (12-pin) connector, both of which may require an adapter (often bundled with the GPU)
Not sure which PSU is installed in your system? The easiest way is to power everything down, open up your case, and look for the label on your power supply, as well as scoping out the connectors. I'll talk about how to safely open your PC case below.
2. Other important checks
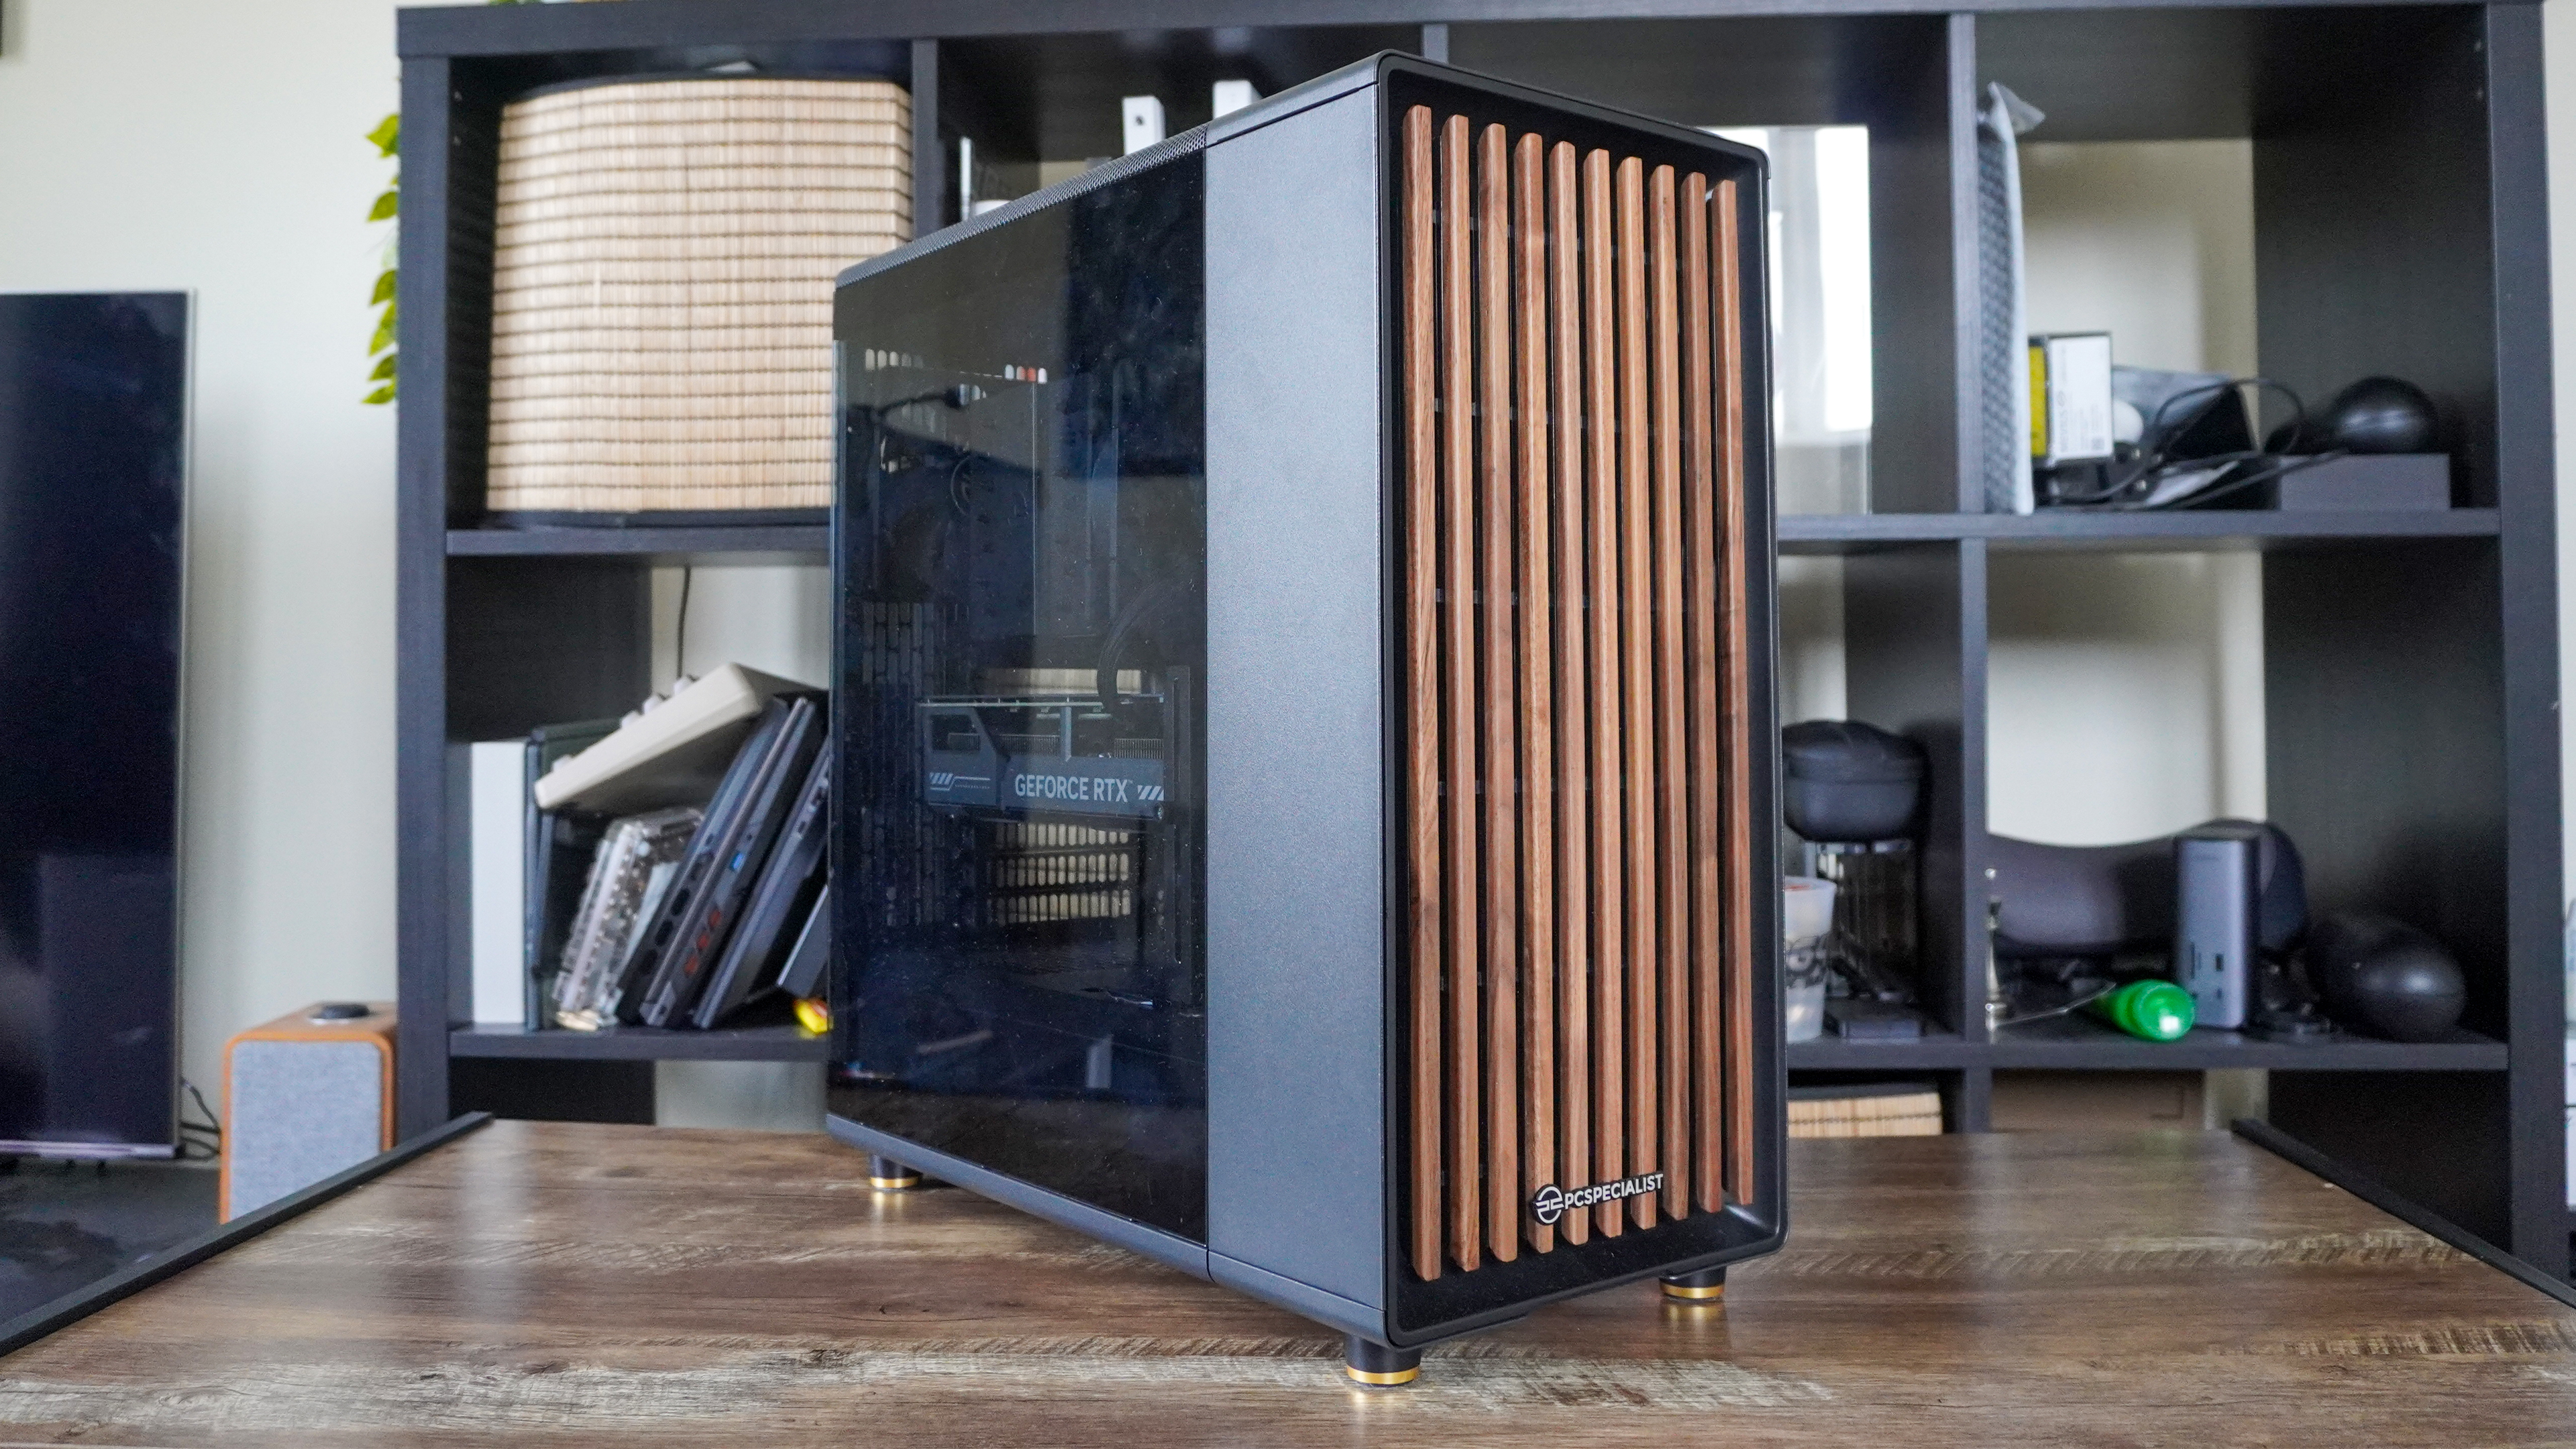
You've most likely checked this before shopping, but again, before you get rid of your existing GPU, check that the new one will fit with the rest of your system.
This includes:
- Case size and clearance, including power connector (it should fit without bending).
- Monitor compatibility, including whether you have the right cables and/or adapters.
- PCIe compatibility — this is less of an issue, as PCIe is backward compatible, so don't worry if you have an older motherboard.
3. Things to prepare beforehand

Before you open up your PC case and start meddling with its contents, it's important to set the stage and prepare a few things:
- Clear some room on your desk or on an otherwise clean, dust-free, non-static surface. Avoid setting your PC down on carpet; if you have no other option, put it down on a cardboard box instead.
- If you're installing a big, heavy GPU, make sure that you have an anti-sag brace or support bracket.
- Buy an anti-static wrist strap, if possible.
- Grab a Philips screwdriver, ideally a magnetic one to avoid dropping screws into your case.
- Prepare an anti-static bag to store your old graphics card.
With all that out of the way, it's time to remove your old GPU.
How to remove your old GPU
With all the pre-flight checks complete, it's time to roll up your sleeves and remove your old GPU. But first, drivers.
Get instant access to breaking news, the hottest reviews, great deals and helpful tips.
Hint: We also have a complete guide to building a PC if you need help picking your components as well as putting the build together.
1. Uninstall your drivers
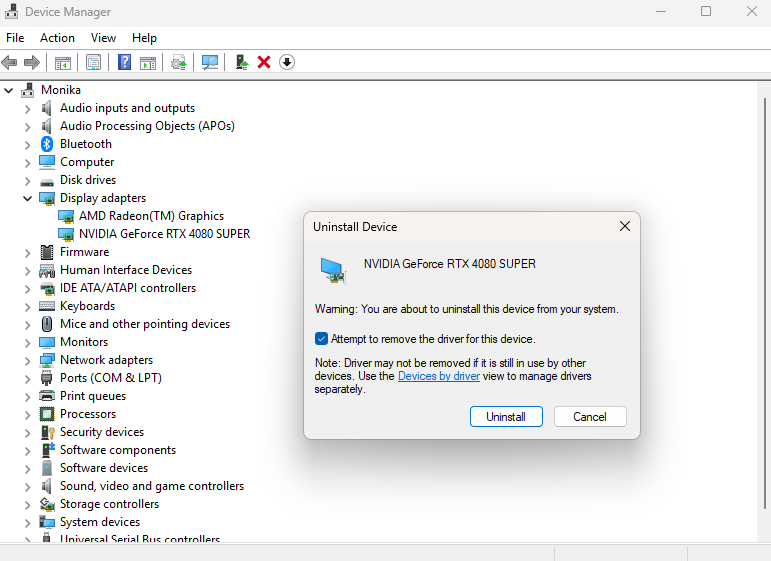
Start by uninstalling the drivers for your current graphics card. This gives your new GPU a fresh start and avoids driver conflicts.
You can do this by going into the Device Manager (right-click on the Windows icon on the taskbar and select it). Locate Display adapters, find your GPU in the list, and right-click on it. Next, select Uninstall device. If prompted, delete the driver.
Alternatively, I recommend using Display Driver Uninstaller (DDU) to ensure a completely clean uninstall. For a more thorough cleanup, use it in Safe Mode.
2. Power down your computer and unplug everything
Turn off your PC. Next, flip the power switch on your PSU at the back of your PC to power it down completely.
Unplug all the cables, as well as things like USB hubs or Bluetooth adapters. Be gentle and remember that some of them can't just be yanked out; for example, the Ethernet cable needs to be pressed down on.
3. Open up the side panel
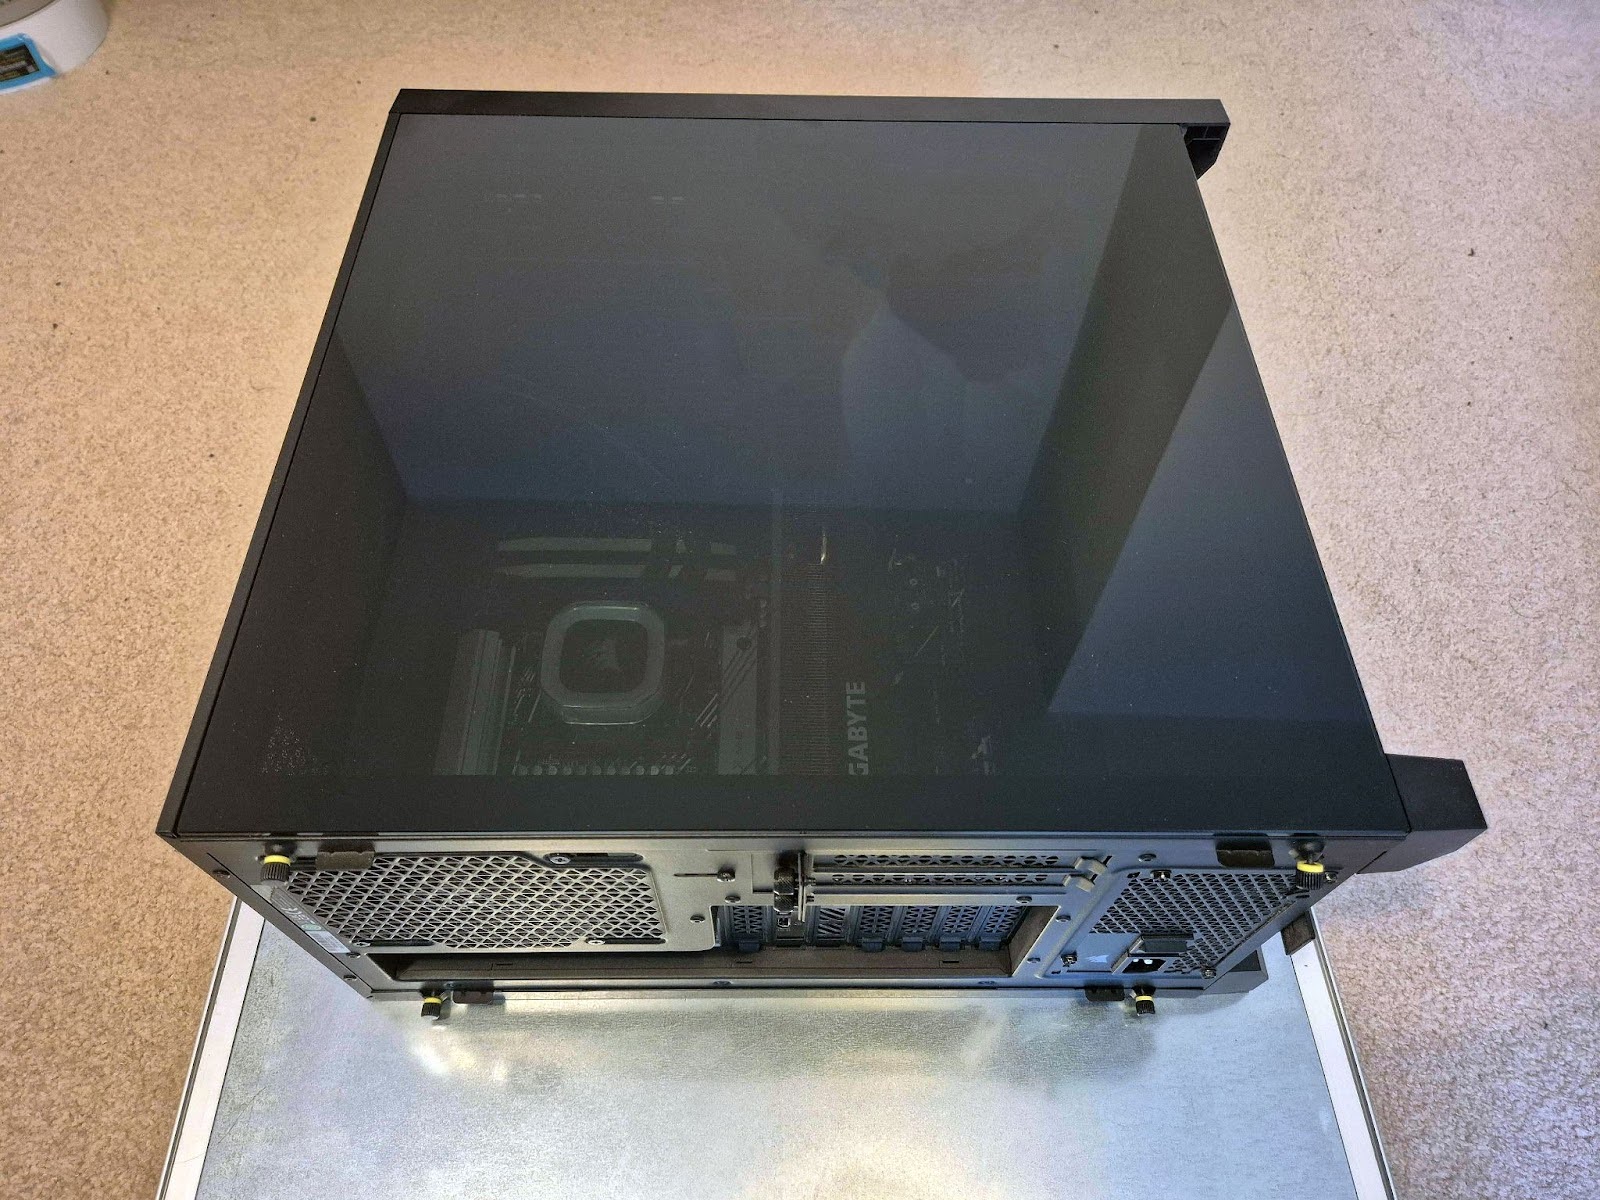
Place your PC on its side on a flat, dust-free, non-static surface. As mentioned previously, the rug won't do the trick — make sure there's something in between your PC and the carpet if you're using one.
Ground yourself, either with an anti-static wrist strap or by touching the metal part of your case with both your hands.
Time to remove the side panel. Depending on your case, this involves unscrewing regular screws or thumbscrews, or in newer cases, simply pressing down on a latch and pulling the side panel off.
4. Check your power connectors
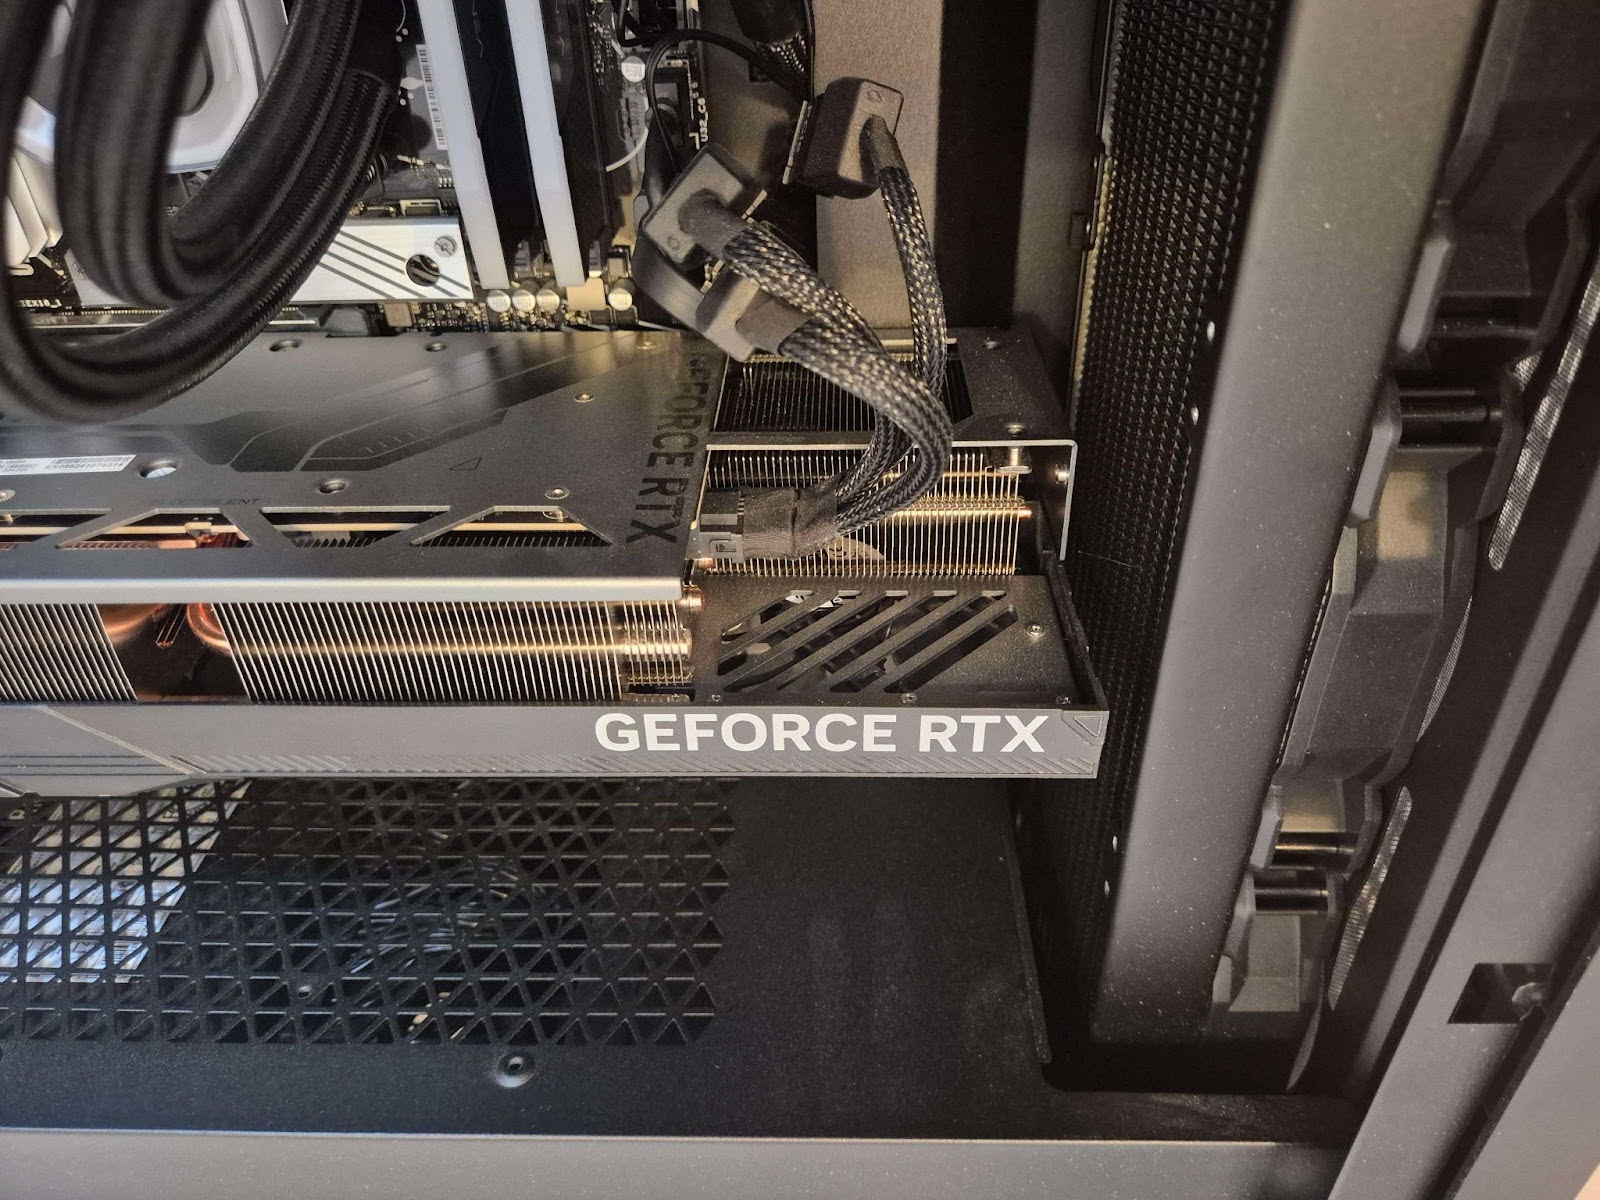
This is just a callback to the previous section.
If you need to verify whether your power connectors align with what your GPU needs, take a look at your power supply, seated somewhere at the bottom of your case. In the above image, the PSU is hidden away in an enclosure at the bottom of the chassis.
Verify whether you've got all the connectors you need for your new GPU. You might need to use an extra PCIe power connector if not, or an adapter if your PSU is older and your GPU is a new Nvidia model from the RTX 40-series or 50-series.
5. Locate your GPU
You won't need your glasses to locate the GPU — it's the most prominent component attached to your motherboard. It's attached to the PCIe slot and screwed in near your PC's back panel.
Take note of where all the screws are, whether there's an additional anti-sag brace, and where the PCIe latch is.
The PCIe latch is the easiest part to miss, but it's really important. It's a small, usually black, piece of plastic underneath your GPU.
6. Disconnect and unscrew the GPU

Ground yourself again (never hurts to be extra sure) and disconnect everything from your GPU. This mainly means the power connector that leads to the power supply. Press down on the clip (don't force it) and pull the cable straight out.
There might be some more cabling, such as ARGB headers for lighting. Disconnect all of those.
Next, grab your screwdriver and unscrew the GPU from the bracket that it sits in. You'll find all the screws near the back of the case (or in some cases, outside it), close to your display ports.
If you have a magnetic screwdriver, this won't be a problem. If not, a good idea is to start with your screwdriver and finish with your thumb in order to avoid dropping the screws inside the case, which is supremely annoying.
If you're using a large, high‑end GPU like an RTX 5080 or RTX 5090, it may include an anti‑sag bracket or GPU brace. Unscrew this, too — but usually, it can stay in your case. Your next GPU will likely fit into the same bracket.
7. Remove the graphics card

All you need to do now is go right back to that PCIe latch that you found before, somewhere beneath the GPU. It's a small, black piece of plastic.
You'll either need to press it or slide it, depending on the motherboard.
Remember: Don't force it. If the latch isn’t fully released, the GPU won’t budge — and that’s by design to prevent damage.
Be ready to hold up your GPU with your other hand as you'll release it from the PCIe slot.
8. Store your GPU safely
Now is your chance to gently clean off any dust from your old GPU (if you want to). If using compressed air, make sure to hold the fan blades to stop them from spinning, which can damage the bearings.
Put your GPU in an anti-static bag and store it somewhere safe.
How to install your new GPU
We're almost done! It's time to give your new GPU a new home. Here's how to install your GPU.
1. Plug your new GPU into the PCIe x16 slot

You know what I'm going to say: Ground yourself, yet again, by touching the metal part of your case.
Next, grab your new GPU and line it up with the topmost PCIe x16 slot, and then gently slide it in. You should hear or feel a click once the PCIe latch locks the card firmly in place.
Make sure that you have plenty of room around the graphics card for things like M.2 ports or the power connector. Remember: You shouldn't bend it, as that can end in disaster on some GPUs; the RTX 4090 had a lot of reported cases of the power connector melting due to excessive bending.
2. Screw the GPU in at the rear bracket
With one hand supporting the GPU, begin securing it to the case with the screws at the rear bracket, near the display outputs.
This is the same process as before, but in reverse, where you'll attach the GPU to the motherboard. You'll often have to use one, two, or even more screws, so keep supporting the GPU until it sits safely in the bracket.
If your model came with a dedicated anti-sag brace, now is the time to install it according to the manufacturer's instructions. You'll always do this after installing the graphics card into the PCIe slot first to make sure that the bracket aligns with its position and height.
There are a few different types of support brackets, but they're all fairly similar to install. Slide the bracket in from beneath the back end, opposite the PCIe slot.
The contact point should be under the backplate, not under the fans or PCB components. Some might have adjustable height, so adjust if needed, and secure it properly.
3. Plug the power connectors in

Depending on the graphics card, you might need one to four PCIe power connectors. In the case of newer Nvidia cards, you might also need an adapter to connect your PSU to the 12VHPWR or 12V-2x6 connector on the GPU.
Carefully plug all the required connectors into your graphics card. Be firm but gentle — you should hear or feel a click when each one is fully seated. If using an adapter, plug it into the GPU first, then connect all required PCIe power cables from the PSU into the adapter.
Warning: Avoid bending the adapter cable as much as possible.
4. Close your side panel and plug everything back in
With your GPU firmly in place, it's time to reattach the side panel. Depending on your case, you can just slot it in and leave it like that once it clicks into place, or you may need to deal with screws or thumbscrews.
Next, plug everything back in. Remember to plug your monitor(s) into the GPU and not the motherboard, and don't forget the small bits and bobs, such as USB hubs.
Flip the switch at the back of your PC, and then power your computer back on.
5. Install your new drivers

We're at the finish line. It's time to install your drivers.
The easiest way to do this is to use the proprietary software provided by each GPU manufacturer:
Alternatively, you can download the drivers manually. This makes for a less streamlined installation process, though. Here are the direct links:
Once you've got your drivers, it's time to power up your favorite game and enjoy your new GPU! Next step: Benchmark your GPU. Have fun!
More from Tom's Guide
- I wouldn’t buy a GPU with 8GB of VRAM — turns out, neither would you
- Prime Day graphics card deals are trash — here are the GPUs I'd actually buy
- I played 1,000 hours on Nvidia RTX 5070 Ti – here’s why it’s the MVP (if you don’t overpay)
You must confirm your public display name before commenting
Please logout and then login again, you will then be prompted to enter your display name.
 Club Benefits


