Tom's Guide Verdict
The AnyCubic Photon M3 is the cheapest resin printer we’ve seen, but beginners will find some issues off-putting, particularly when it comes to software. The Photon Mono X may be a better introduction to low-cost resin printing.
Pros
- +
Low cost
- +
Good print quality
- +
Easy setup
Cons
- -
Software has some issues with preparing prints
- -
Smaller print area than other resin printers
Why you can trust Tom's Guide
As 3D printing becomes more familiar, prices are falling, even on technologies that used to crowd out beginners. Take resin printing, where the Anycubic Photon M3 has set a new low for the cost of getting into this once pricey type of 3D printing.
For $300 or so, you can get a solid, no-frills printer from Anycubic that produces excellent results. The printer has some limitations, though, with a relatively small print area and no network connections. As we’ll also see in this Anycubic Photon M3, the printing process is also a bit hit-and-miss, sometimes requiring several tries and some tweaking.
Once you get over these initial issues it’s a great pick for the aspiring 3D printer who wants to try resin printing without spending a fortune, even if it won’t replace the resin-based devices at the top of our best 3D printers rankings.
Anycubic Photon M3 review: Price and availability
The Anycubic Photon M3 is available now and is priced at $299. We tested it with the AirPure filter which costs $25 for two.
To put the Photon M3’s price in perspective, the FormLabs 3+ is the best resin-based 3D printer we’ve tested — it’s $3,750, a mere 12.5 times the price of the Photon M3. Even the Photon Mono X, another low-cost resin printer from Anycubic, costs between $450 and $550 these days.
Anycubic Photon M3 review: Design
As a resin printer, the Photon M3 prints using a UV-sensitive resin. When UV light hits this resin, it solidifies. So, the printer lowers its flat print bed into a tray filled with resin, then UV light shines through a 4K LCD screen, like a small TV. Where the screen is opaque, the light is blocked and the resin remains liquid. Where the screen is transparent, the resin solidifies, forming a layer of the print.
The printer then raises the print bed, letting the liquid resin flood in, and the process repeats, creating the print layer by layer. These layers can be as thin as 0.0003 inches (0.01mm), although the software that creates the print defaults to a thickness of 0.001 inches (0.05mm).
Get instant access to breaking news, the hottest reviews, great deals and helpful tips.
The Photon M3’s 7.6-inch LCD screen has a 4K resolution of 4096 x 2560 pixels, meaning that the smallest area that can be printed (or not printed) is around 0.002 inches (0.004 mm). The bottom line of these numbers? The Photon M3 is capable of creating very detailed prints.
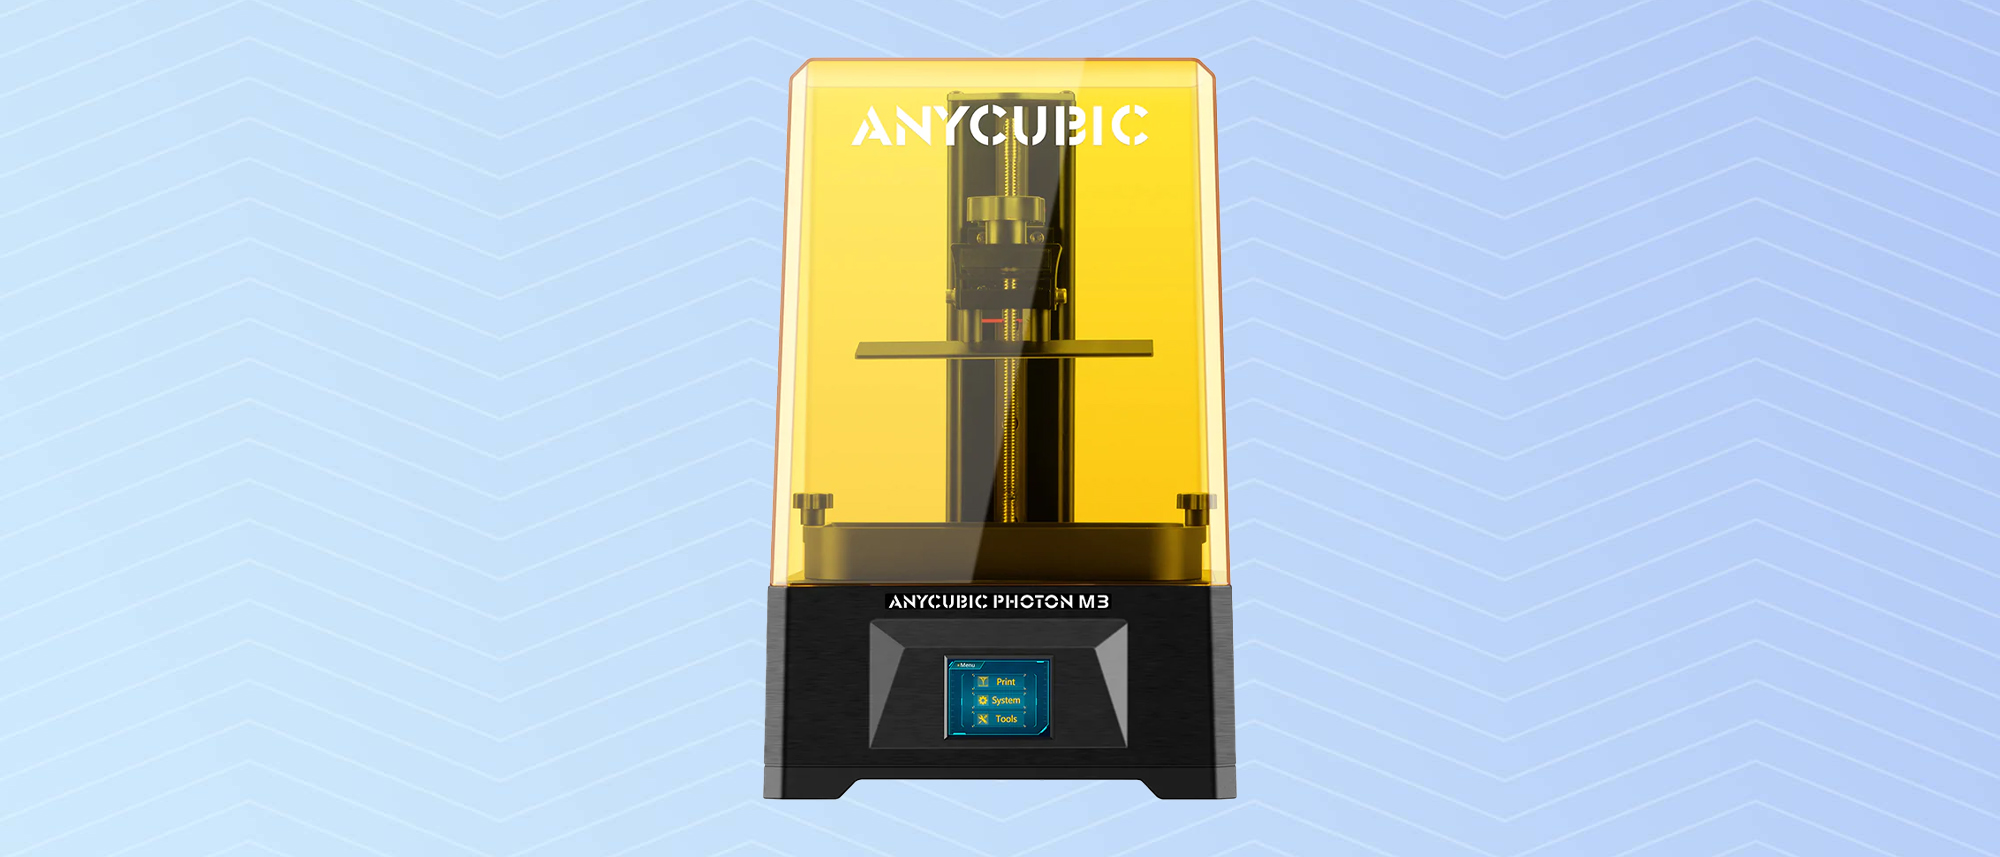
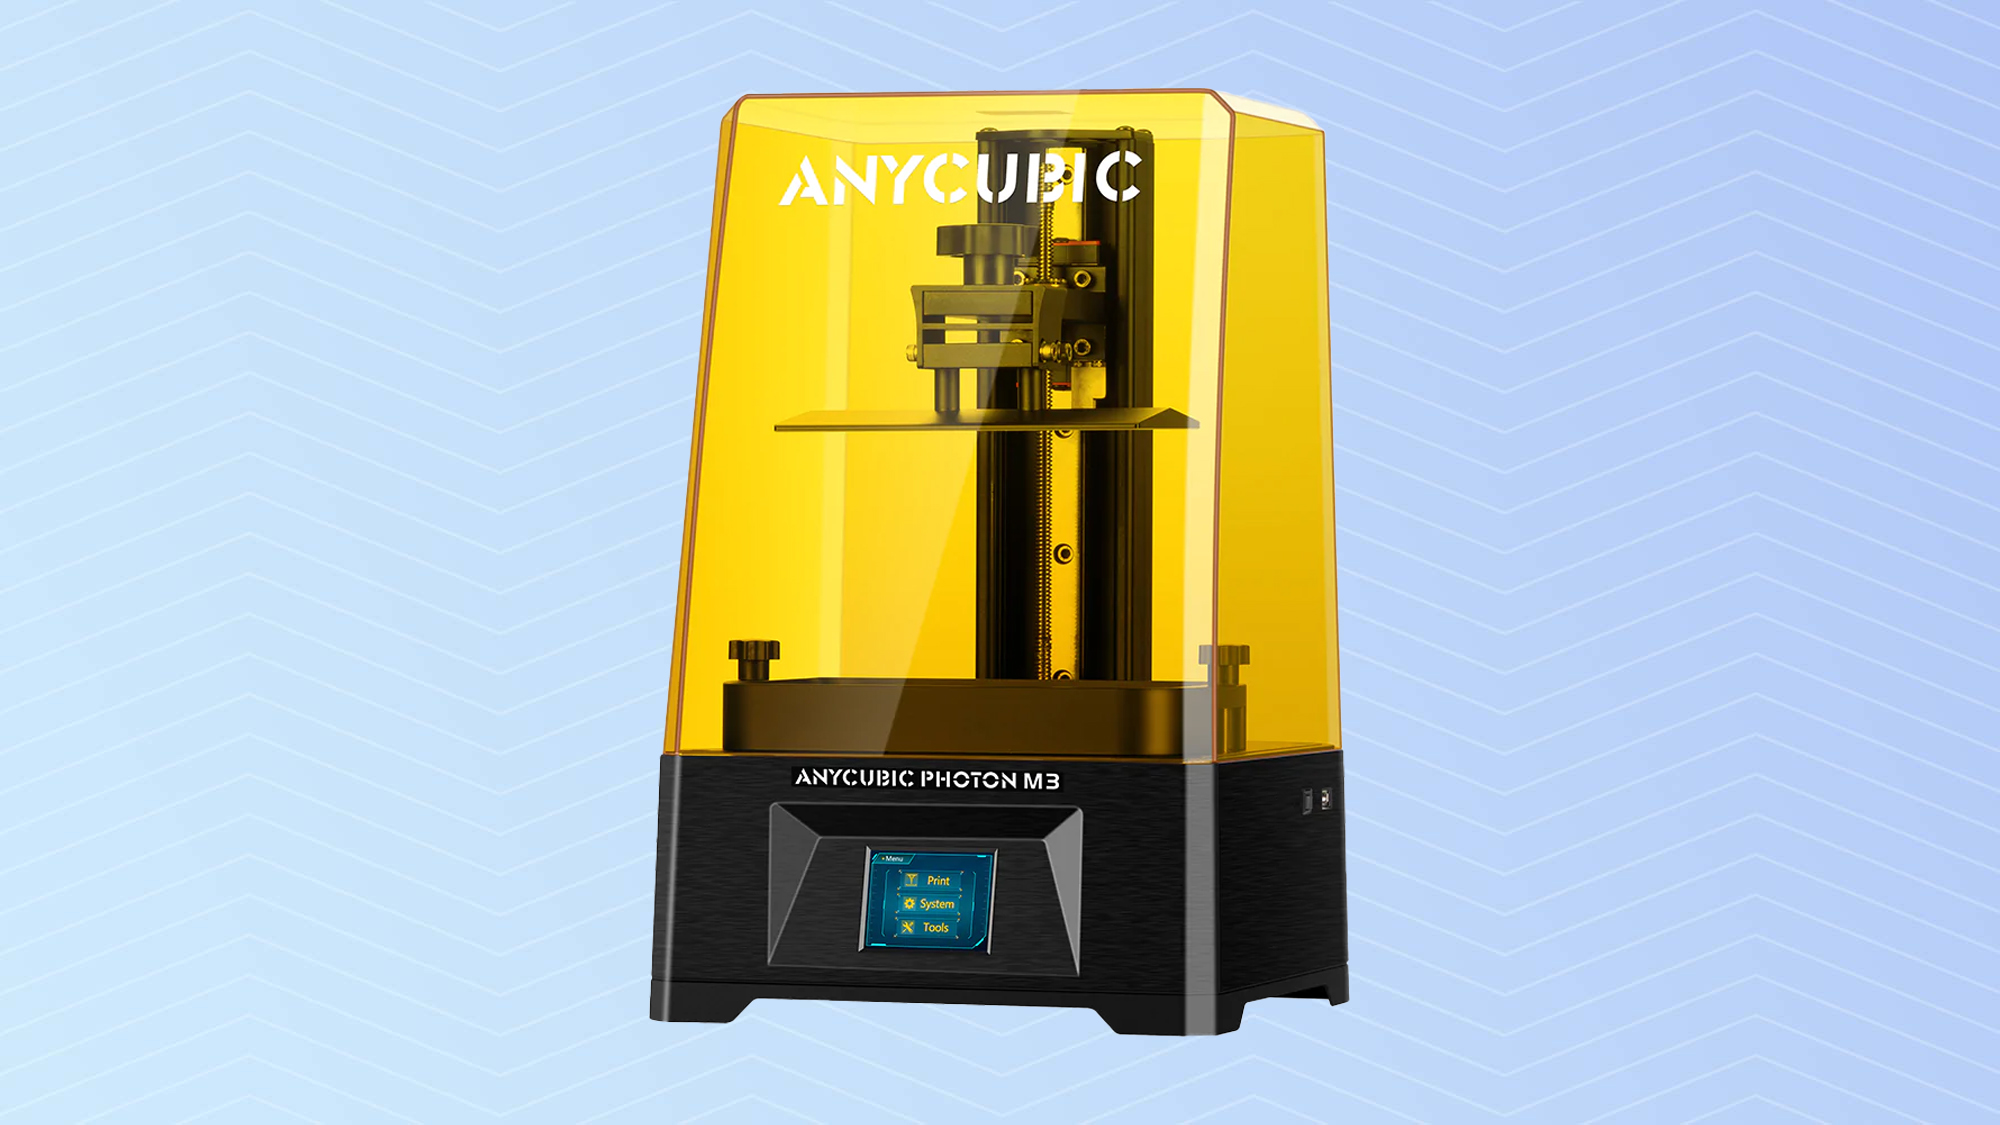
The Photon M3 has a simple, usable design that is focused on the business of printing. A large orange cover fits over the top of the printer, which shields the UV-sensitive resin in the print ray from outside light. The print bed fits onto an arm that is lifted up by a screw drive, so it lowers into the removable resin vat. This tray has a clear plastic base, so the UV light shines through it.
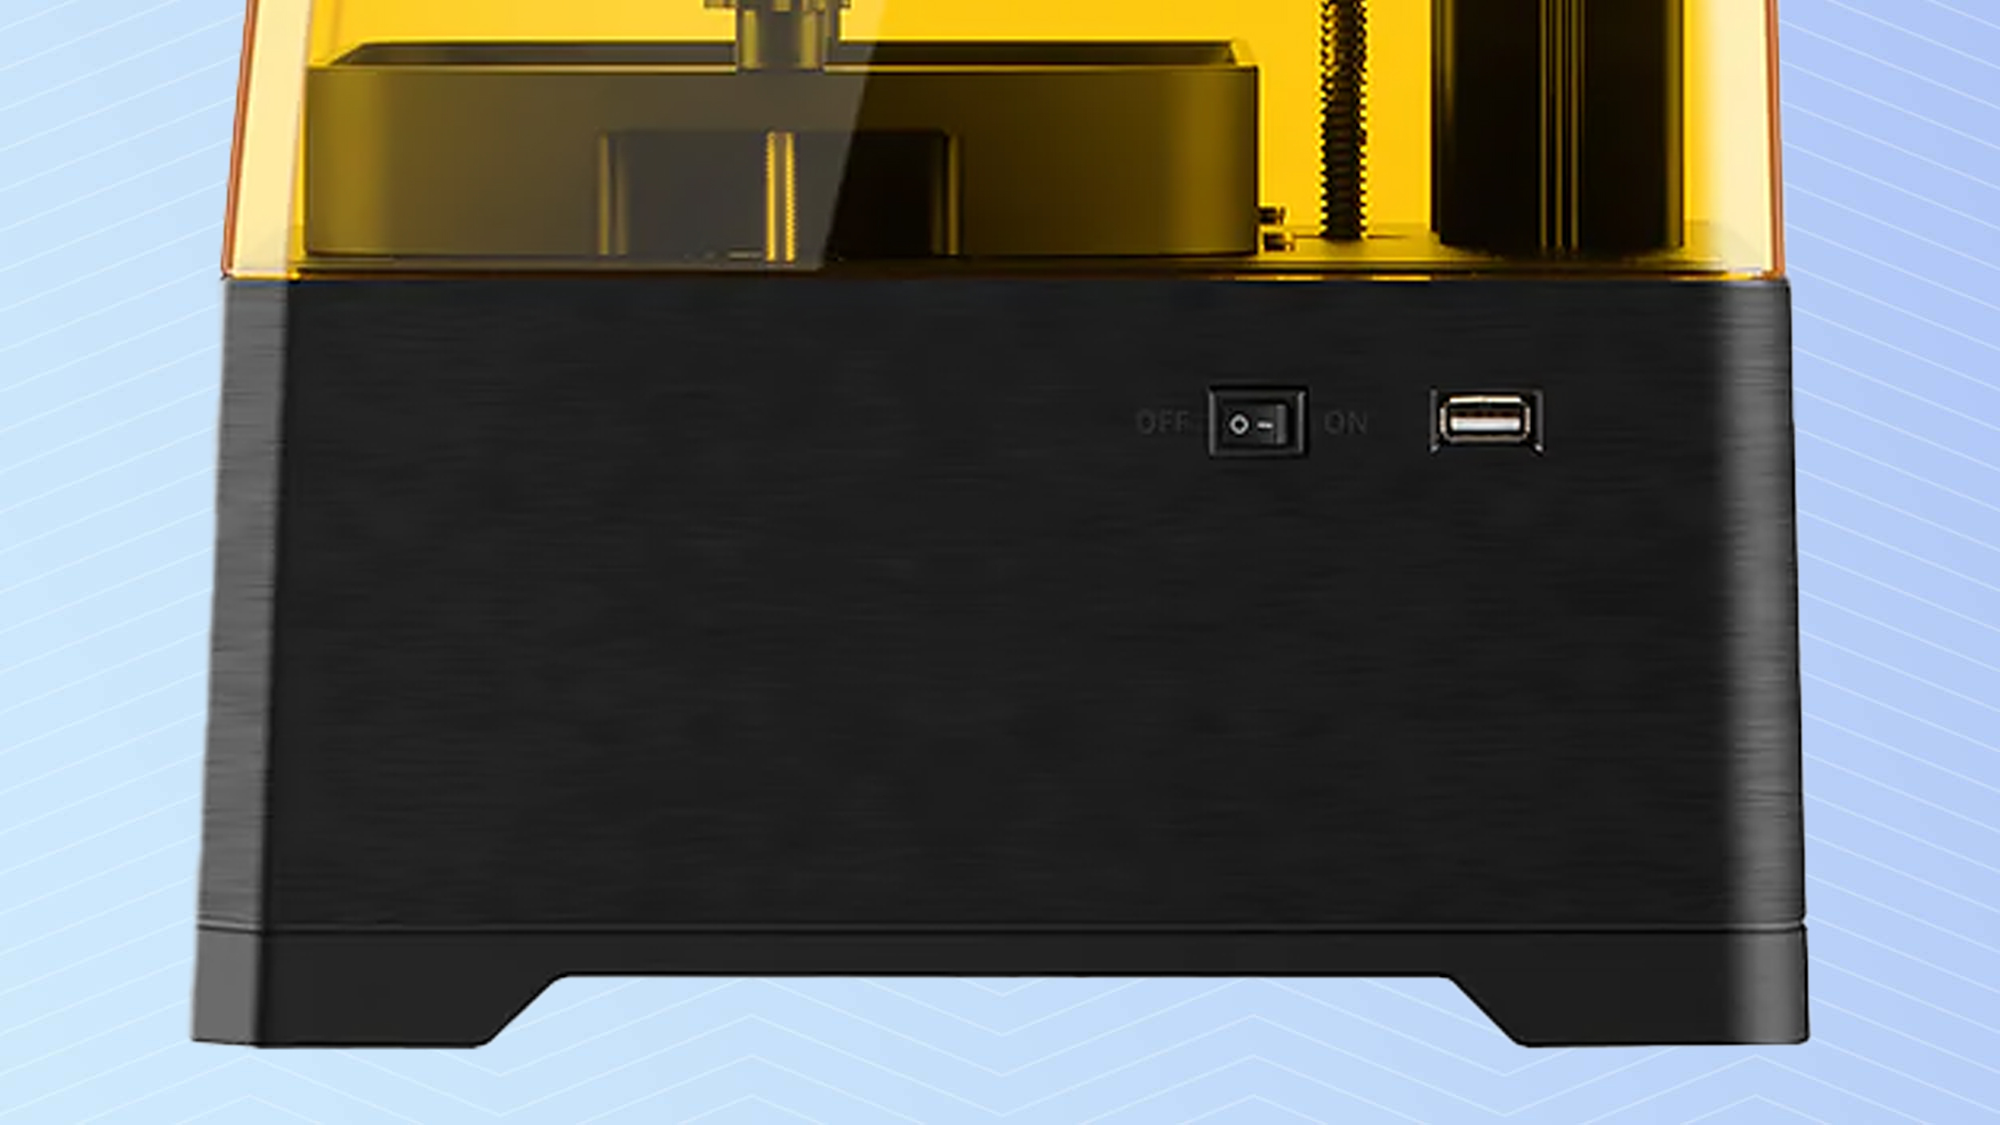
Missing here is any form of network connection. The Photon M3 can only receive files to print from a USB thumb drive, meaning you can’t control the printer from the web or monitor a print from afar.
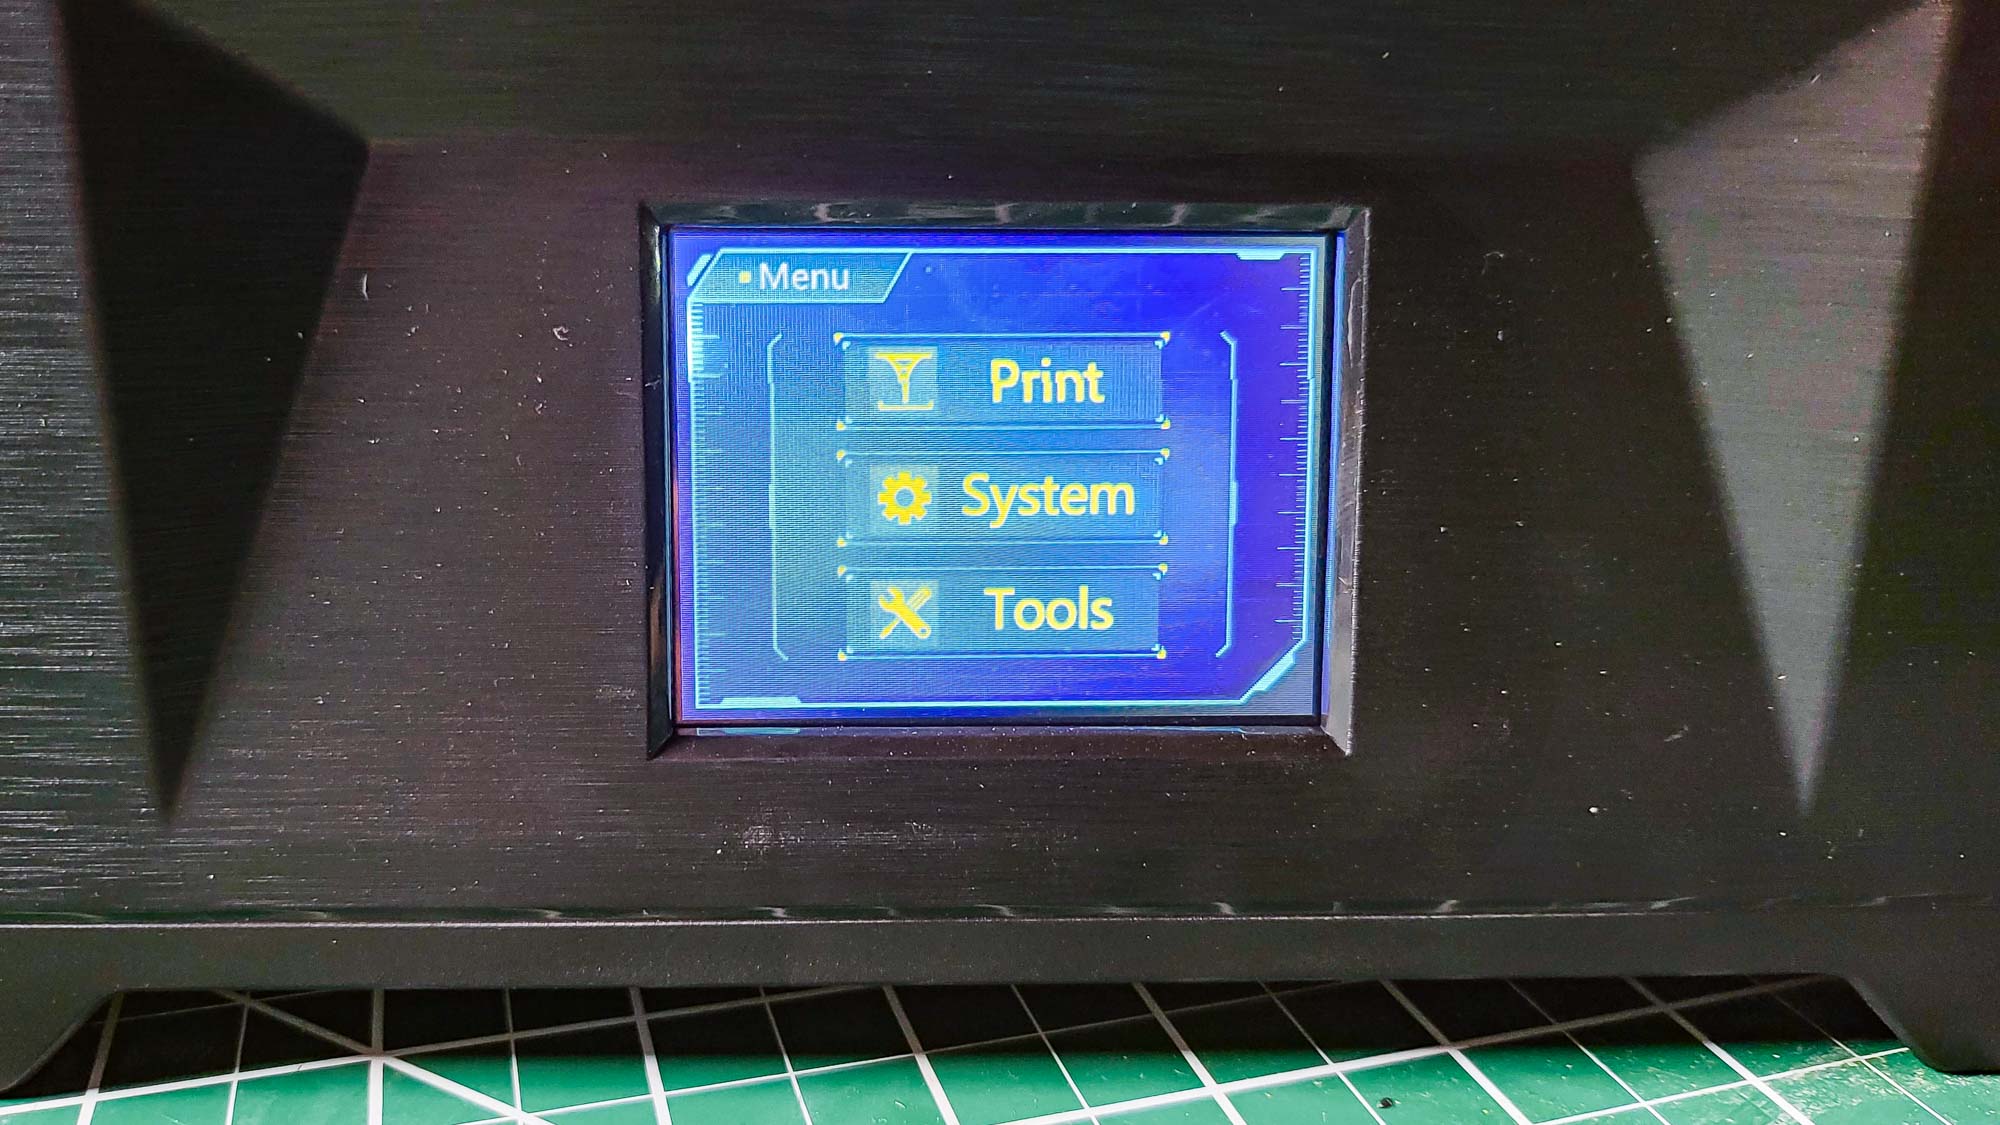
There is also no way for the printer to check if there is enough resin in the print tray; you have to check the level manually, and the only indication is a max fill line. Neither of these is a huge problem for home users, though such features are more important in places where multiple prints are required quickly, like an office or school.
For our Photon M3 review, Anycubic also sent us a couple of their $23 AirPure filters — small air filters with active carbon that you put inside the printer itself. This is a great idea: resin printing can be a bit stinky because of the distinct odor of the resin.
The AirPure filters definitely helped to contain this smell during printing, but it would be better if they were powered and controlled by the printer itself: as it is, you have to charge them separately via an included USB charging cable, then remember to turn them on when the printer is running and hope the battery doesn’t run out before the end of the print. The small batteries on the filters do last for several hours, but it would seem to be a feature that would be better built in than added later.
Anycubic Photon M3 review: Setup
This is a simple printer to set up: you just unpack the Anycubic Photon M3, install the print bed, and level it by loosening four screws. From there, you lower the print bed, then tighten the screws again. That ensures that the print bed fits snugly against the base of the resin vat to create nice thin layers.
You complete the printer setup by installing the resin vat and filling it. A test print is saved onto the included USB drive, so you just plug that in and select print to test it out. If it works, you wind up with a nice cubic model.
Anycubic Photon M3 review: Printing process
The print files are created in the Photon Workshop app, which is available free for Windows and MacOS. It’s a pretty easy-to-use program that imports 3D models in a number of common formats (.stl, .obj, etc.) and positions them on the print bed.
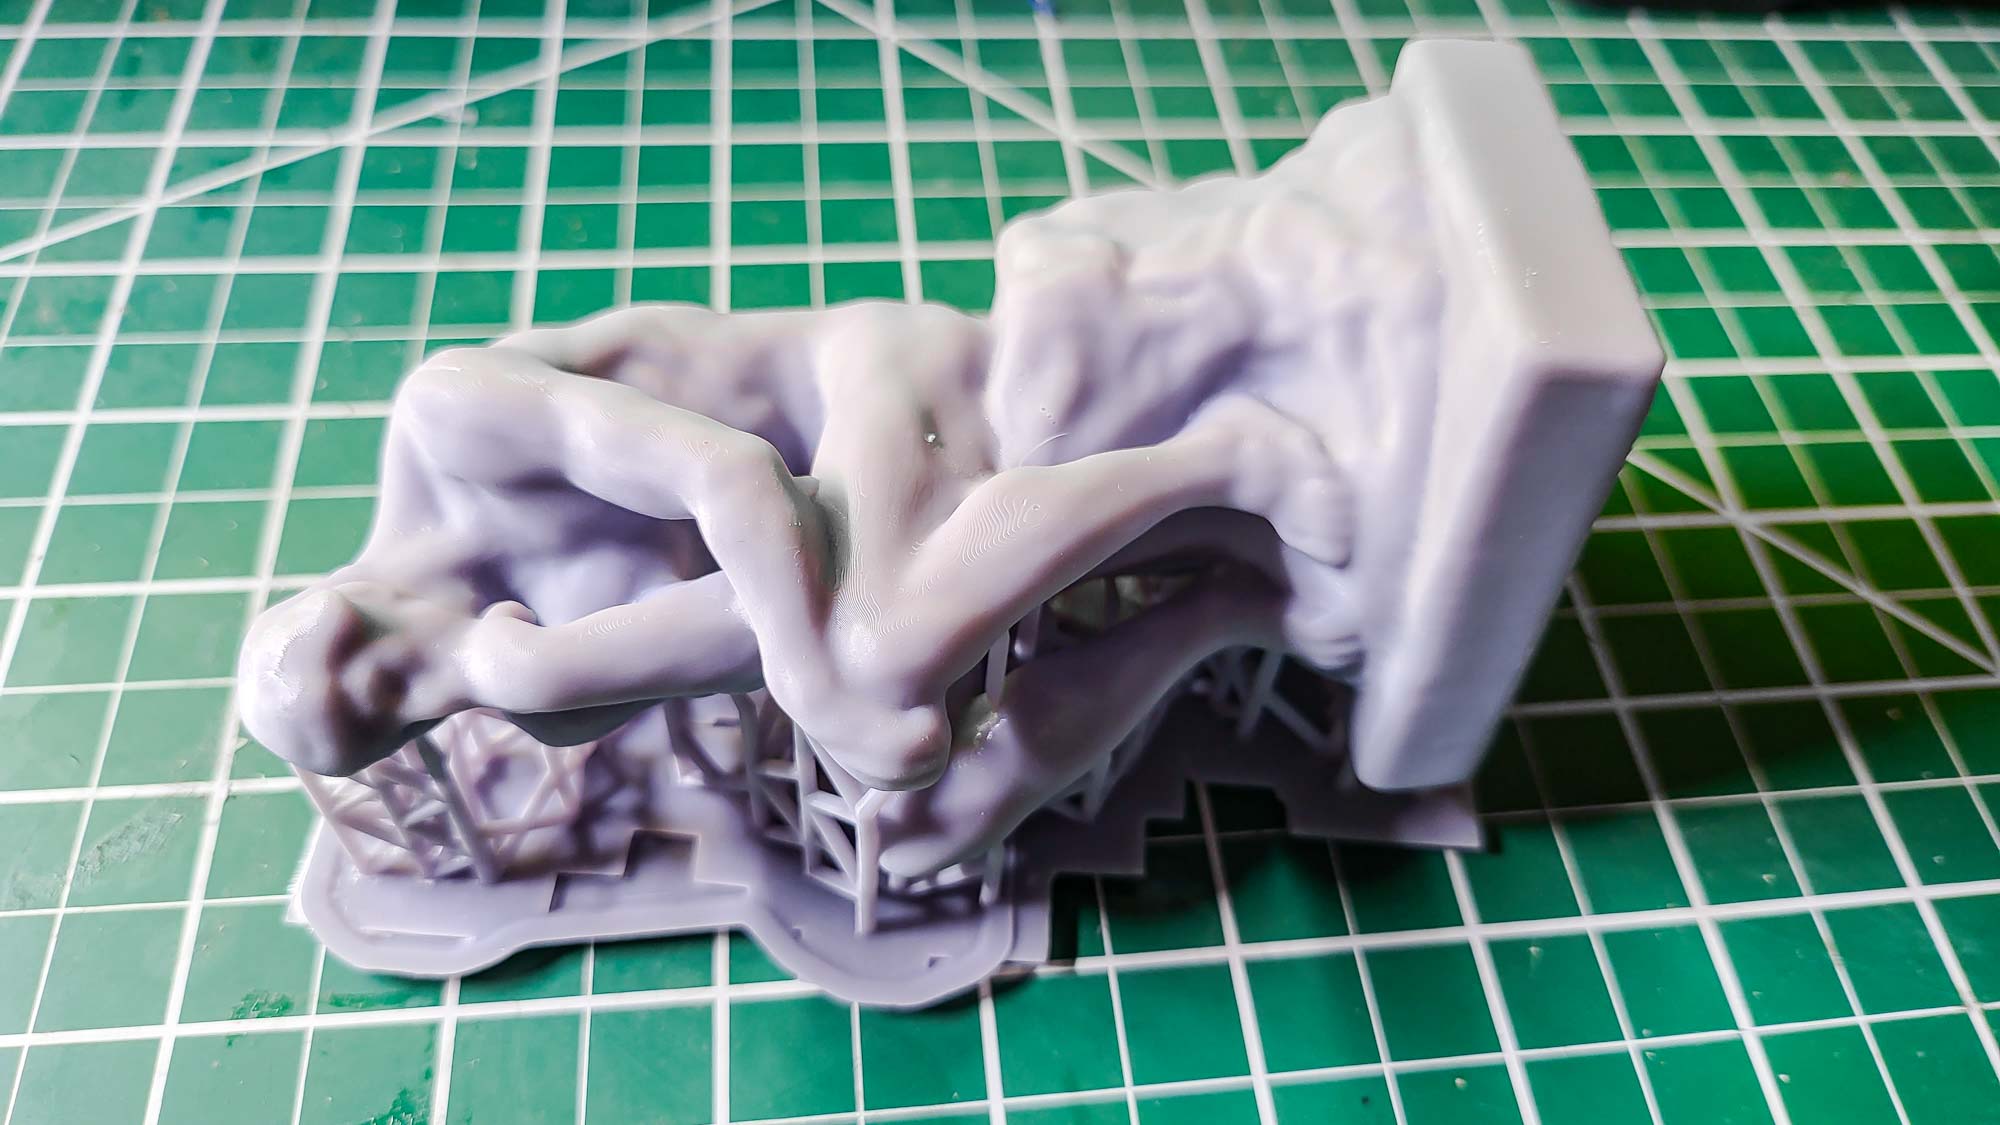
The software can also automatically add supports that hold the print in place during printing, but I found this process to be a bit unreliable. With our Thinker model, for instance, the software created supports for some parts of the model but left others completely unsupported. That meant the print failed and left pieces of resin floating around the resin vat that I had to remove.
I also found some issues with the printing process, due to a leak in the resin vat. This vat has a flexible plastic film made of a flexible material called FEP in the bottom that, as the print base lifts up and pulls the just-printed layer with it, stretches a bit to release the layer. Unfortunately, this also makes it rather fragile. When one of my prints failed, a piece of the print didn’t stick to the print bed and made a small hole in the plastic film, letting a small amount of resin leak out onto the LCD screen below. You can see this resin on the LCD screen in the photo below, illuminated by the UV light.
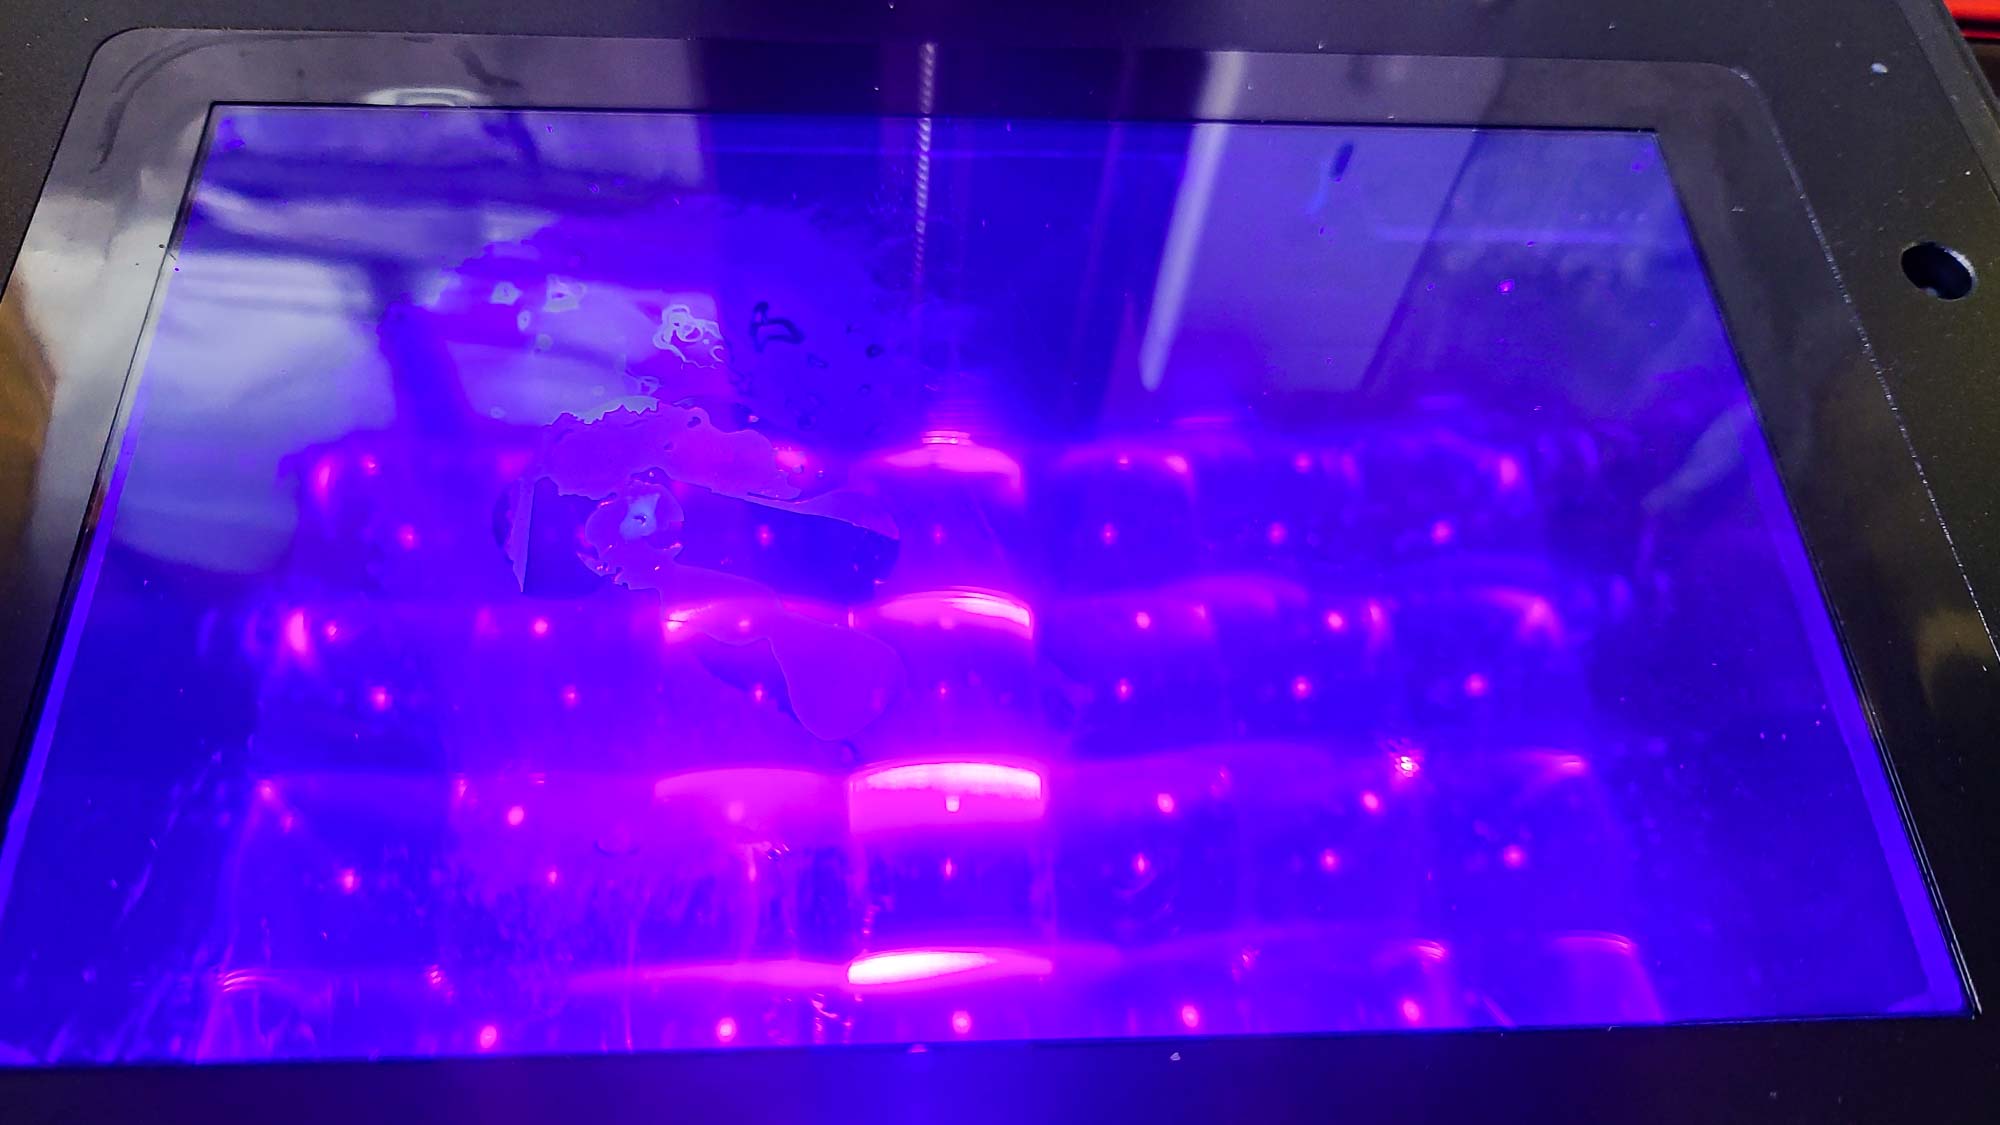
That’s bad news because the LCD screen is very fragile, and the only way to remove the leaked resin is to carefully scrape it off. Fortunately, Anycubic seems to be aware of this as a potential problem, as they include a screen protector, rather like the ones you put on your cell phone. Because I had installed this, I could simply remove and replace the protector and the plastic film of the resin vat.
Unfortunately, only one screen protector and the film of the resin vat are included, but additional parts aren’t expensive: you can get five of the screen protectors for $10, and two of the vat films for $20.
I also found that the default settings of the software required some tweaking. When you prepare a model for 3D printing in resin, you need to add supports that hold the print in place. (These are the long, thin bits you see in the photos with this review.) The Photon Workshop software has an option to create these automatically, but it doesn’t work that well. To create these, the actual print needs to be lifted up, so the supports can be created underneath it. The app doesn’t do this: instead, the automatic supports it creates won’t print because they are missing parts of the print.
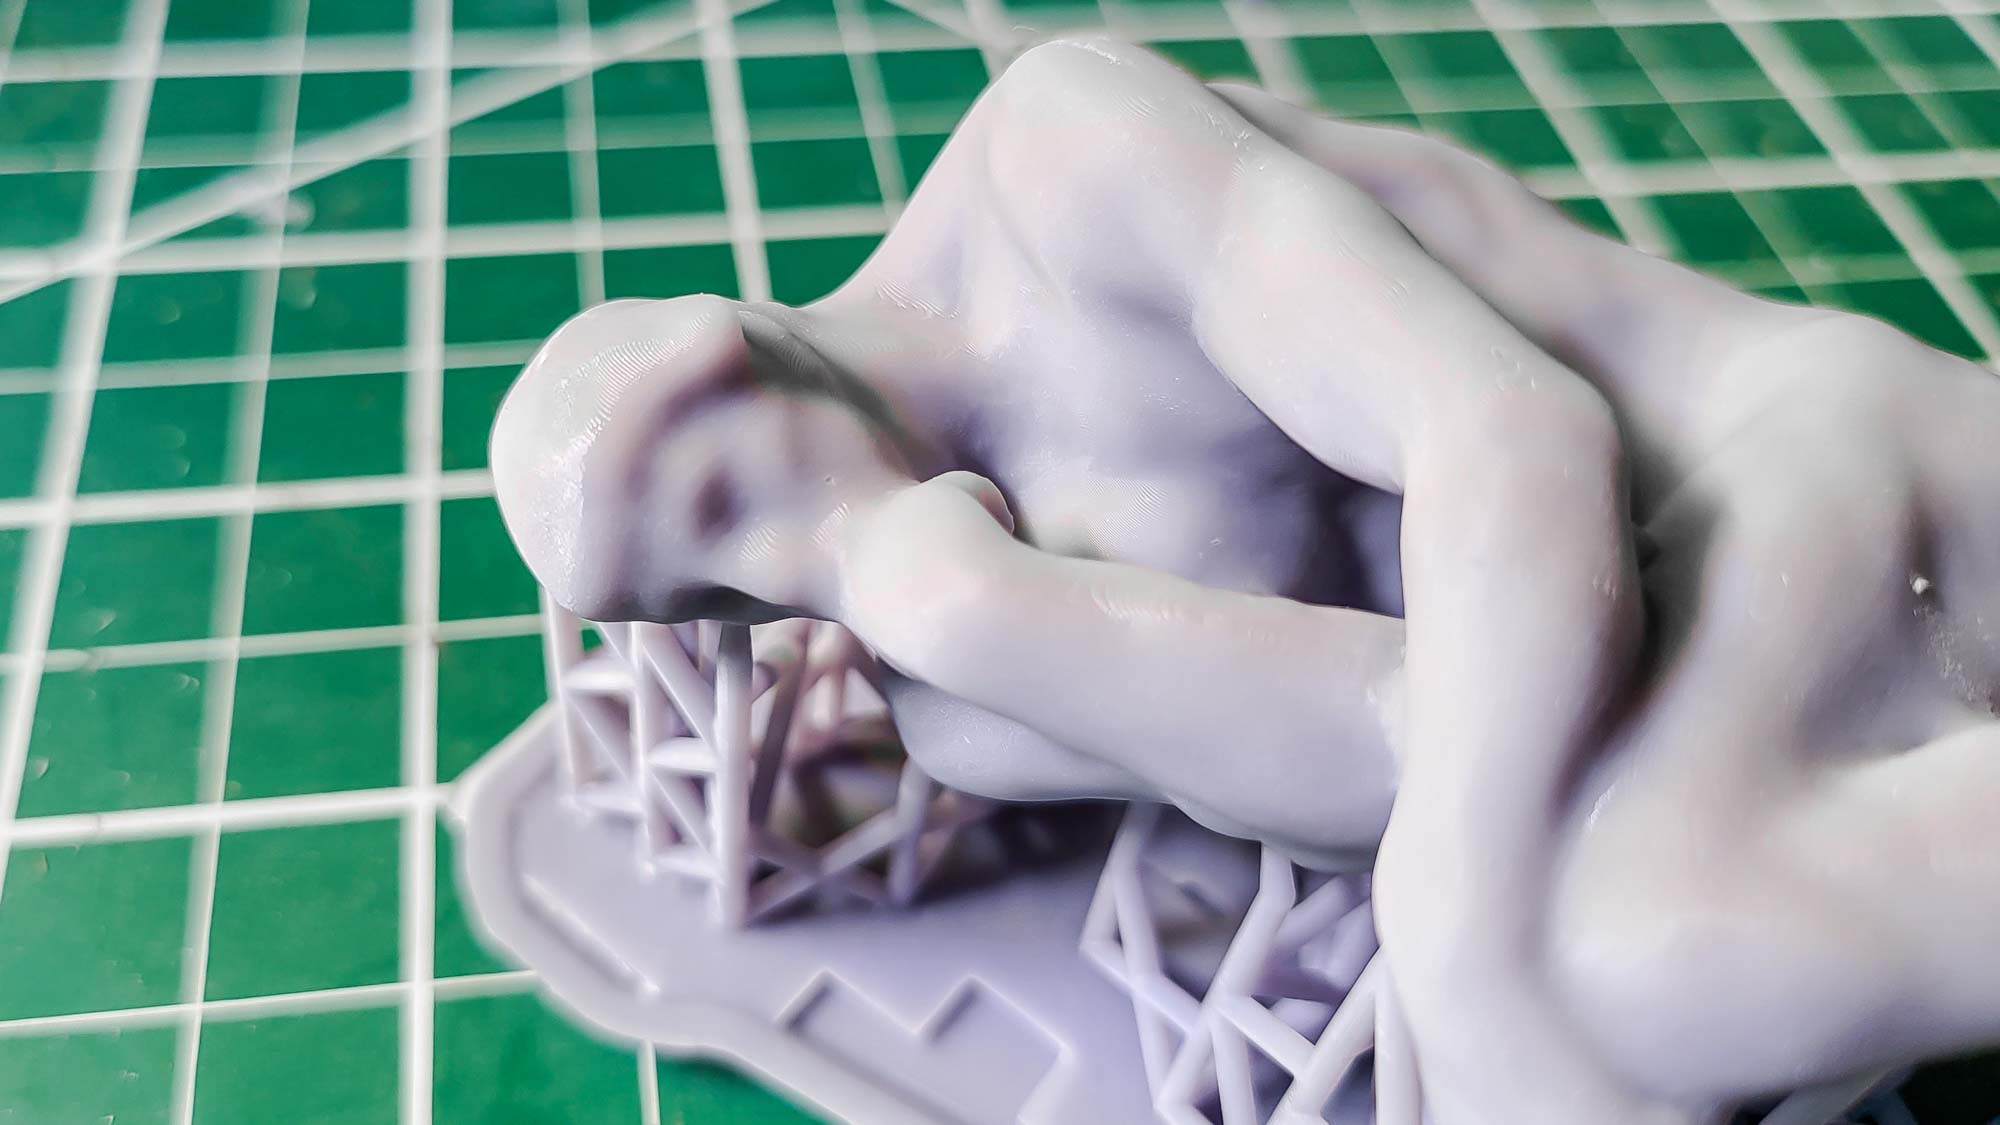
The fix is pretty simple: just manually move the print up by about 5mm, and the supports are created correctly.
The other issue is that the default exposure time for the resin in the software is incorrect. This determines how long the UV light is turned on for each layer, and each resin type needs a different amount of time. The Photon Workshop software only comes with a handful of presets that don’t correspond with AnyCubic’s own resins. This seems an odd omission: why didn’t Anycubic create presets for their own resins that they recommend with this printer?
While most of these problems are annoying, they’re easy enough to fix. However, you probably won’t realize they are wrong until you have had a few failed prints and know what to look for.
Anycubic Photon M3 review: Printing performance
Once I found the right print settings on the Anycubic Photon M3, I found that it produced good quality prints, with excellent detail and only barely visible layers. This quality was especially noticeable on our print of Rodin’s Thinker statue, a tough model to print as it has many fine details and smooth curves. The Photo M3 accurately reproduced the shoulders and muscles of Rodin’s realistic sculpture.
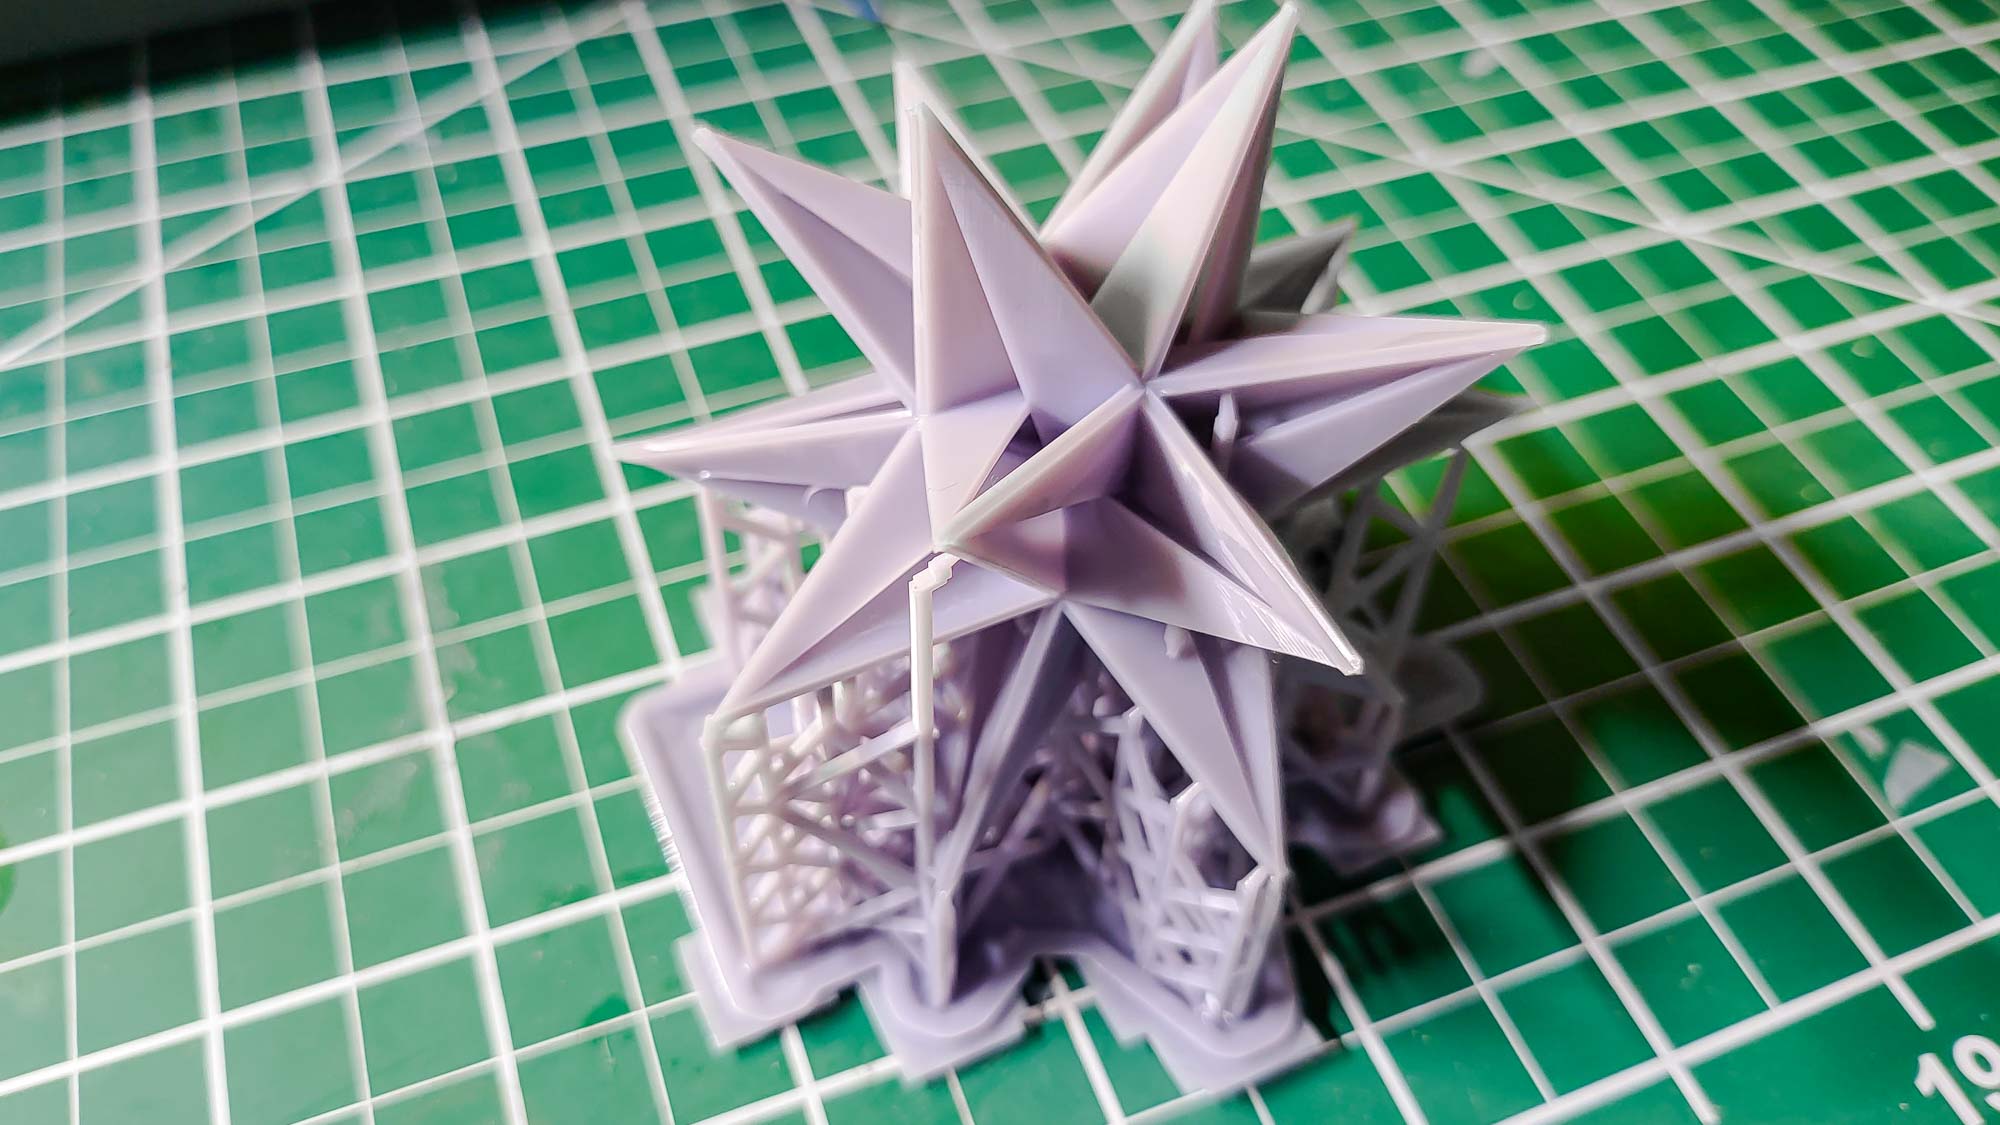
Similarly, the geometric sculpture we use for testing was well reproduced, with very sharp edges and points. This is a good test of how well a printer can capture edges at all angles, and we found no problems with this print.
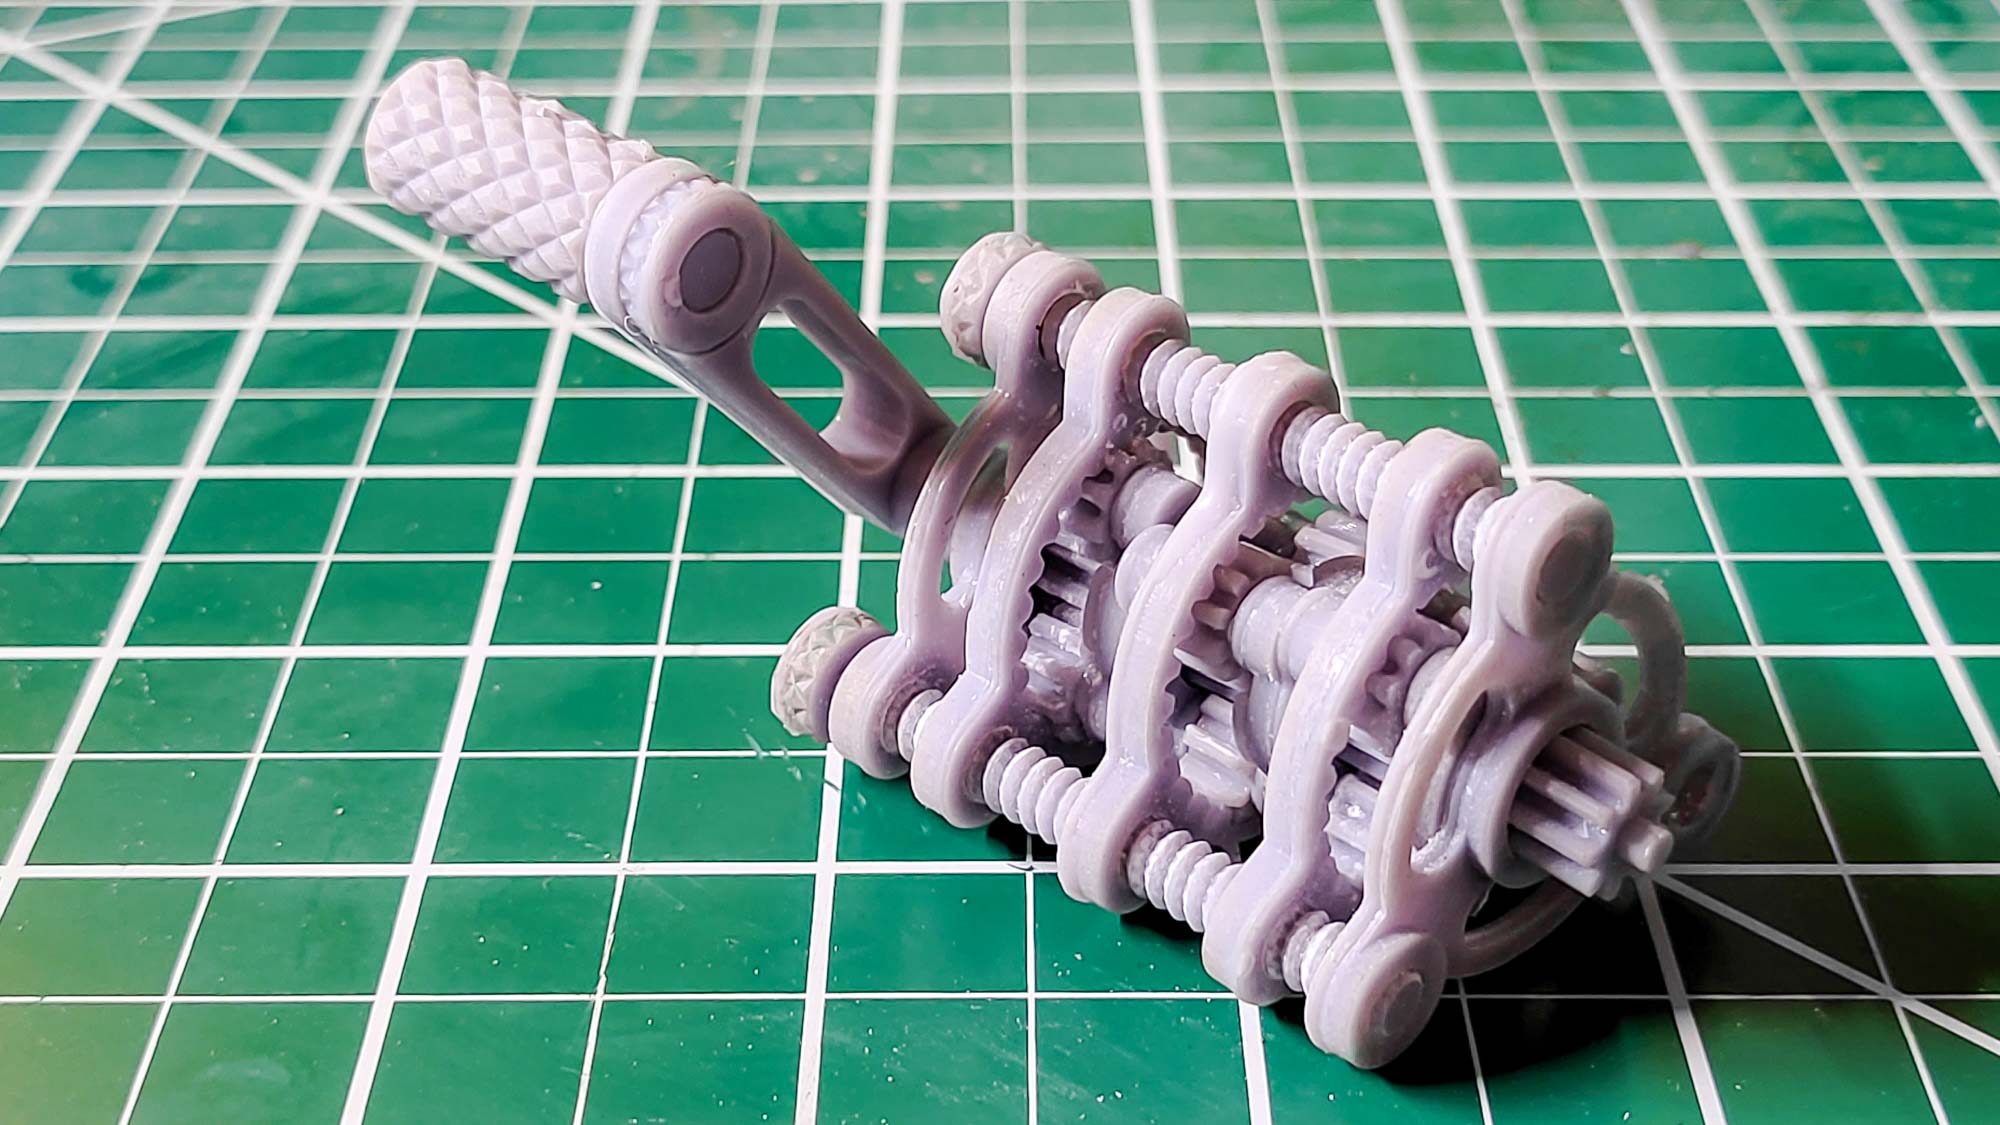
We also use a set of gears as a test model, and the Photon M3 produced clean, sharp-edged prints of these that fit well together.
Anycubic Photon M3 review: Printing speed
The Photon M3 is a middling printer in terms of speed. A 4-inch high print of our thinker model took 7 hours and 3 minutes. That’s somewhat slower than more expensive printers like the Form 3+ (which took 2.5 hours), but it is about the same speed as its more expensive sibling, the Photon Mono X.
The difference between the two Photon models is the size of the prints they can handle. The Mono X has a much larger print area — 9.8 x 7.6 x 4.7 inches to the Photon M3’s 7.1 x 6.4 x 4 inches.
Anycubic Photon M3 review: Materials
The Photon M3 can print with any brand of photosensitive resin that works with the 405nm UV wavelength light used by the printer. Because you fill the resin vat manually, you can put any type of resin you like in there.
This does also mean that you need to be careful and make sure that the Photon Workshop app is set up correctly for that resin, though, as different types of resin will require different exposure times to the UV light.
We tested two resins that Anycubic supplied with the printer: their light grey resin and the water washable white resin. Once we found the right settings in the Photon Workshop software, both resings performed well, producing clean, smooth prints.
The water-wash resin is very interesting, as it is much easier to clean than the standard resin. The usual process after printing with normal resin is to wash the print in Isopropryl Alcohol (IPA) to remove the residue of liquid resin on the surface. As you might expect, that’s a rather stinky process. The water-wash resin, as the name suggests, can be rinsed off in clean water, which is much more pleasant for the person doing the washing.
Anycubic Photon M3 review: Verdict
The Anycubic Photon M3 pushes resin 3D printing to a new low price — for around $300, you get a printer that can produce excellent quality prints, although they will be smaller than what a device like the Photon Mono X can produce.
The Photon M3 also requires some patience and tweaking to get the most out of it, which isn’t helped by some problems with the Photon Workshop app that prepares the prints. That might prove to be a problem for first-time 3D printers, who might have a couple of failed prints and give up. That would be a mistake, though, as the Photon M3 has great performance for the price once you work through the quirks.
For that reason, the Photon M3 probably should not be the first 3D printer that you buy. (Go for a simple filament printer like the Toybox instead). But if you’ve cut your teeth on another printer and want to explore deeper, then the Photon M3 is a great pick.
Richard Baguley has been working as a technology writer and journalist since 1993. As well as contributing to Tom's Guide, he writes for Cnet, T3, Wired and many other publications.


