Here at Tom’s Guide our expert editors are committed to bringing you the best news, reviews and guides to help you stay informed and ahead of the curve!
You are now subscribed
Your newsletter sign-up was successful
Want to add more newsletters?
Daily (Mon-Sun)
Tom's Guide Daily
Sign up to get the latest updates on all of your favorite content! From cutting-edge tech news and the hottest streaming buzz to unbeatable deals on the best products and in-depth reviews, we’ve got you covered.

Weekly on Thursday
Tom's AI Guide
Be AI savvy with your weekly newsletter summing up all the biggest AI news you need to know. Plus, analysis from our AI editor and tips on how to use the latest AI tools!

Weekly on Friday
Tom's iGuide
Unlock the vast world of Apple news straight to your inbox. With coverage on everything from exciting product launches to essential software updates, this is your go-to source for the latest updates on all the best Apple content.

Weekly on Monday
Tom's Streaming Guide
Our weekly newsletter is expertly crafted to immerse you in the world of streaming. Stay updated on the latest releases and our top recommendations across your favorite streaming platforms.
Join the club
Get full access to premium articles, exclusive features and a growing list of member rewards.
Shout out to one of the hardest squat variations around — the pistol squat. It’s one of the toughest technical moves to master, but the payoff is worth the pain for those who can nail it. Almost.
I took on a steep 90 reps a day for one week to test my leg strength and power. The single-leg squat involves extending one leg and both arms as you lower down. Fancy trying it? We cover how to do it below.
And if the bodyweight pistol squat isn’t enough, grab a set of the best adjustable dumbbells or resistance bands to add even more intensity. Read on for how this Tom’s Guide fitness challenge activated beast mode in my legs and why I won’t repeat it any time soon.
How to do pistol squats
Learn more about how to do pistol squats here.
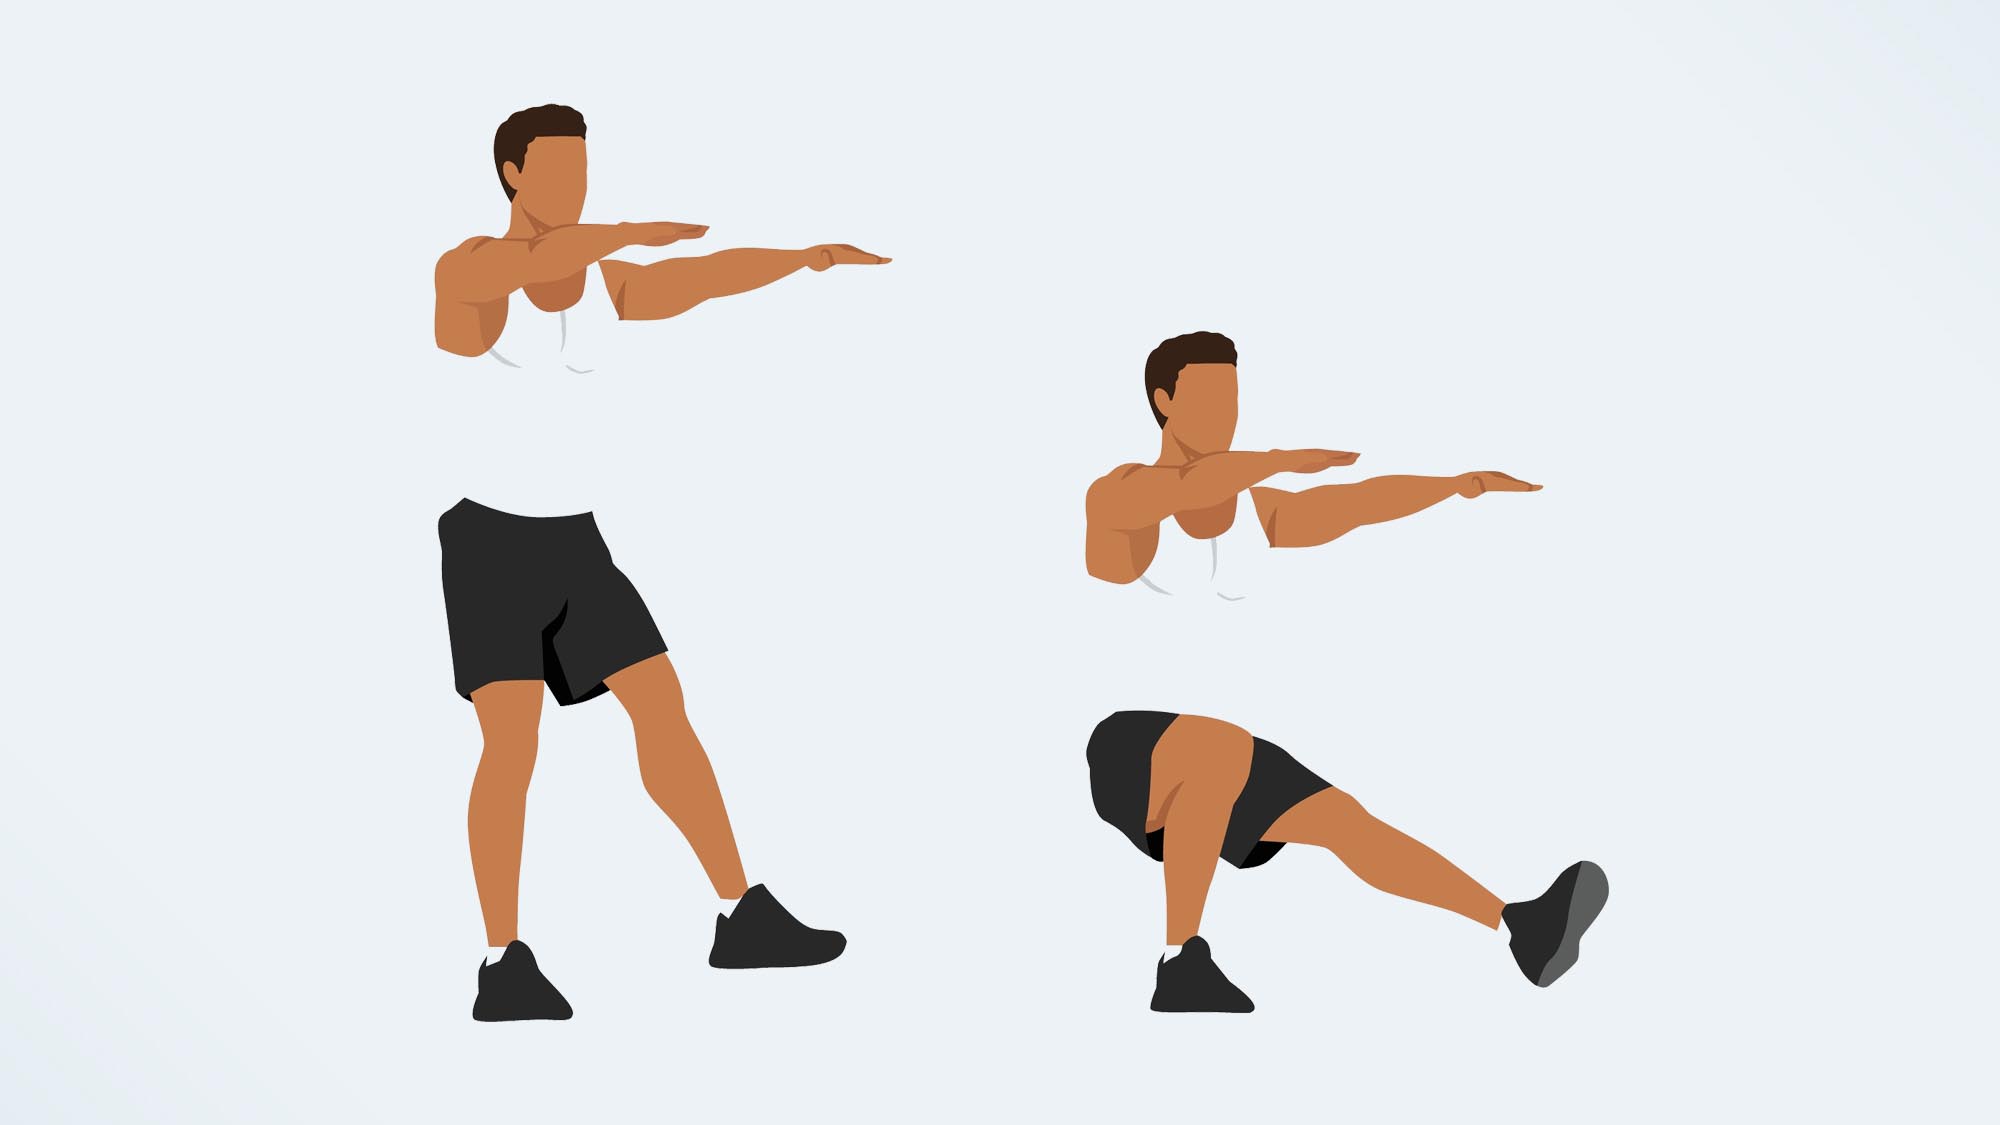
- Stand with your feet hip-width apart and toes forward facing
- Engage your core and stand tall through your spine
- Lift your left leg off the floor and extend it in front of you, foot flexed
- Extend both arms in front of you at shoulder height
- Bend your right knee and sit down into a squat position, lowering to the ground with control
- Lower as far as possible with your right heel planted down and keep your chest lifted and back straight. Keep your left leg and both arms extended in front
- Push through your right foot to stand up. Switch sides.
I did 90 pistol squats every day for one week — here are my results
I journaled my experience. Here goes.
Day 1
It won’t be a shock that I didn’t choose 90 reps per leg — 45 a side, more like. I don’t have a full pistol squat in my repertoire, and it’s a move I practice at CrossFit, so I decided on a doable plan of action for the week using variations.
For some people, pistol squats can take a lifetime to develop, but there are plenty of pistol squat variations for this reason. And depending on factors like flexibility, mobility and lower back health, pistol squats are off the table for others.
Get instant access to breaking news, the hottest reviews, great deals and helpful tips.
So, day one. Time to get the lay of the land. I opted for sets of 10 and a last set of five reps using a low bench for a ‘bum tap and go’ approach (without fully sitting down). Cooked already, I retreated to frog pose to rest my shaking legs and reassess my life choices.
The bench just wasn’t working for me.
Days 2 & 3
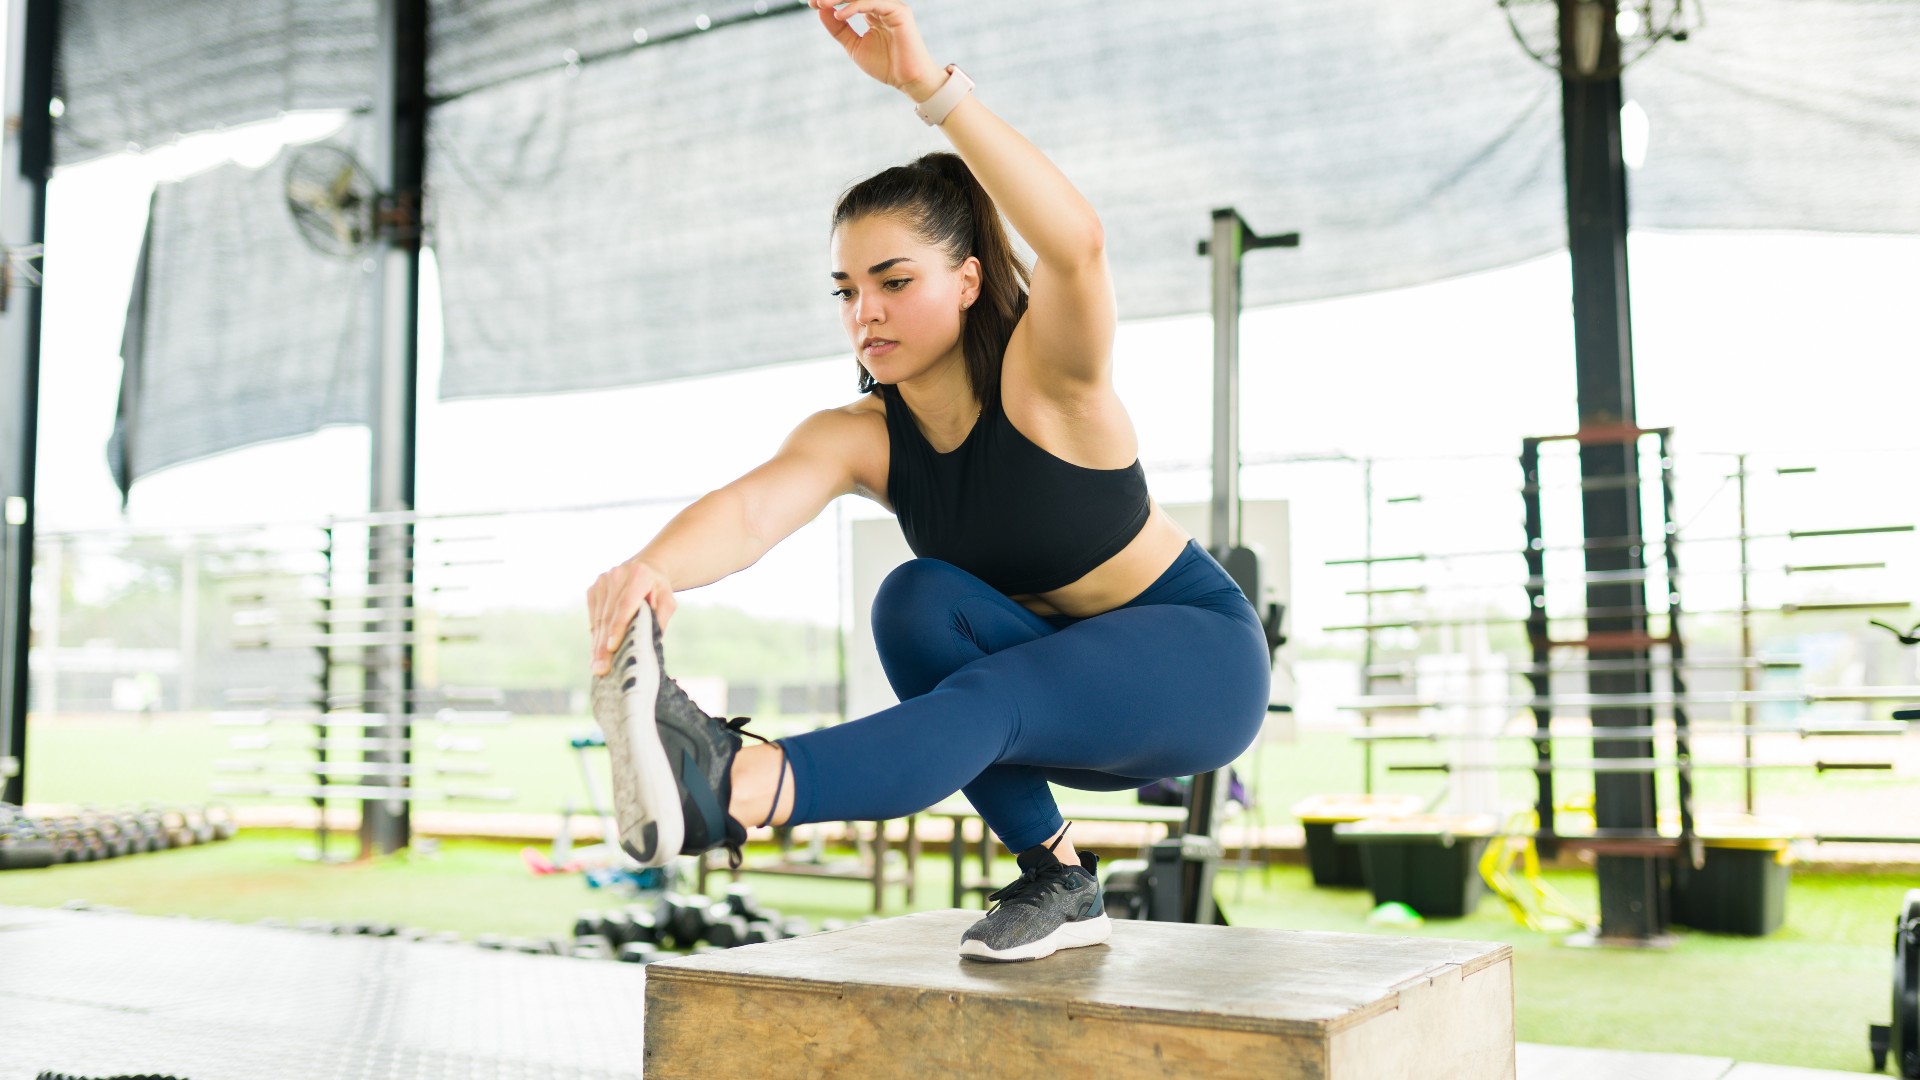
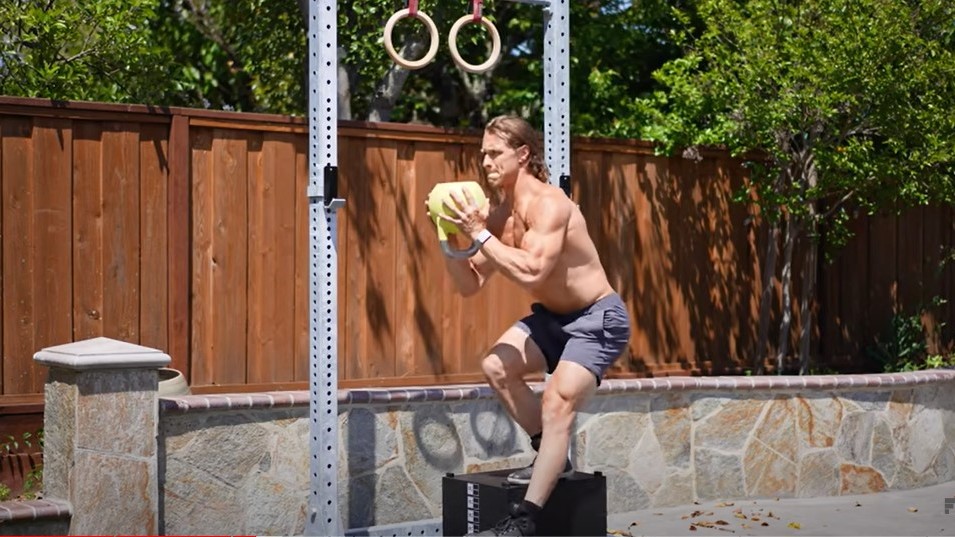
Refreshed and ready to go, on day two, I stood on a box instead. Placing my left foot close to the right edge of the box, I lowered my right foot to the ground in front of me. Without bouncing off my right foot, I drove my entire body weight up through my left leg to stand, keeping a tall spine throughout.
This tactic torched my legs and helped me work on single-leg strength and power by replicating the full range of motion and dropping deeper into my hips with the help of a deficit. You’ll get far more out of these variations than a poorly executed half-pistol squat, trust me.
I compare this to using your knees during a push-up — learning the proper movement pattern and hitting the same muscles while building foundational strength.
I continued this method into day three.
Days 4 & 5
Pistol squats are a unilateral compound exercise, so your stronger side can’t pick up the slack, helping your body achieve better balance, strength and mobility. In short, the exercise isolates and fatigues your legs to the limit.
You’ll quickly notice one side feels “easier” than the other, but ironing out these differences between dominant and weaker sides will improve the quality of your movements over time as you get stronger and help your body become more balanced.
For some people, pistol squats can take a lifetime to develop, but there are plenty of pistol squat variations for this reason
I’m about to start training for a 10K, so over the week, I removed other “big five lifts” like squats and deadlifts to reduce the risk of overtraining and injury.
By day five, I noticed more fluid movement and less wobbling on my weaker left side.
Day 6
Unless we’ve got it nailed down, personal trainers approach pistol squat class demonstrations with trepidation. It takes coordination, flexibility, control and focus, and with eyes on you, they’re easy to screw up.
If you have tight ankles, one way to help things along — elevate your heel.
For the next two days, I removed the box and worked on pistol squat depth with my standing heel resting on a barbell plate near a wall. I could slow things down and focus on sitting down with a vertical trajectory with some relief for my tight ankles.
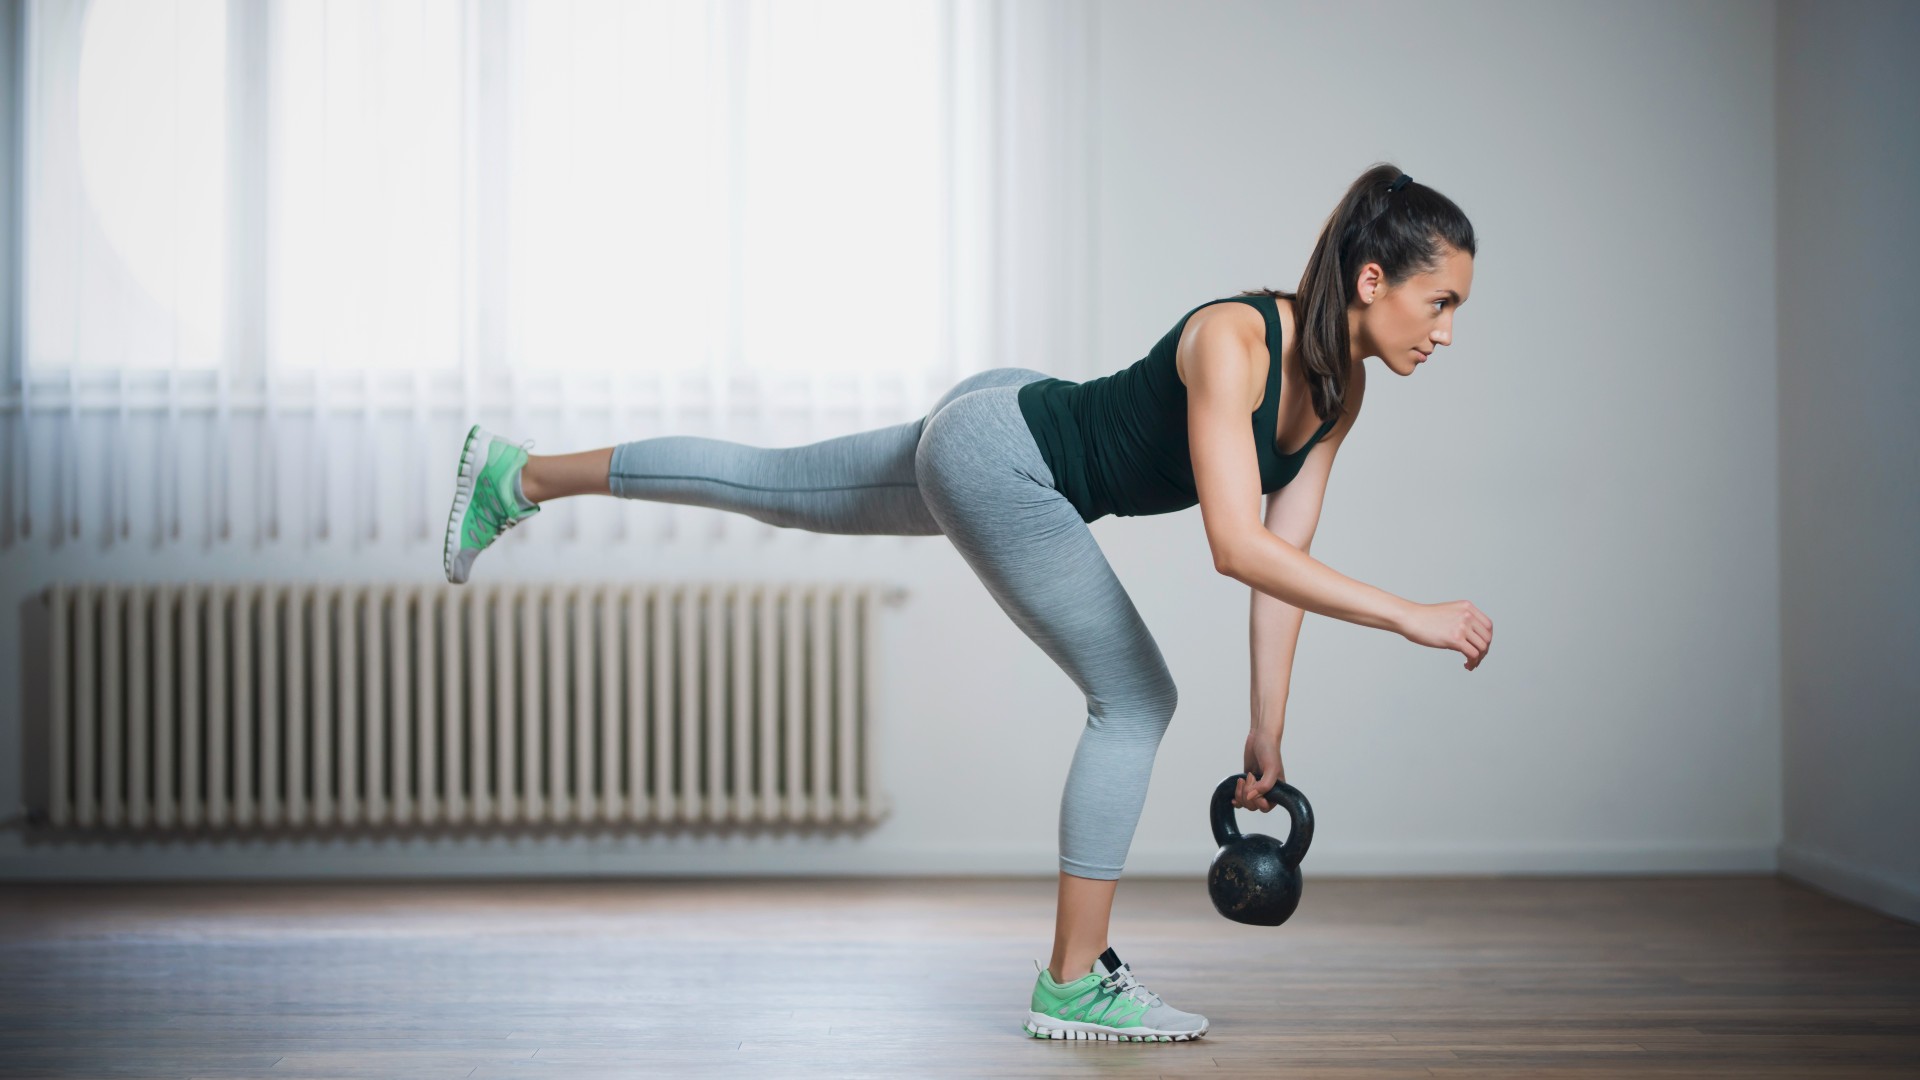
Although it helps, I recommend fixing the issue itself — lack of mobility. We cover how to improve hip and ankle flexibility in our article on butt-winking during squats here (yep, the two are related). You could also work on other single-sided exercises like single-leg deadlifts (see below) that teach coordination and control.
Day 7
As my legs hit their limit, I noticed discreet cheats creeping in — my knee slightly turning in, a heel attempting to lift, or a slight overlean on the eccentric phase (lowering toward the floor). Yep, it happens to PTs too.
Leaning forward isn’t criminal, but excessive overlean, hunching and poor posture could lead to back pain. For my final reps, I headed to the mirror and reverted to the box to finish with discipline. I was relieved this one was over.
Verdict
I didn’t notice any aggravation during this challenge, and in just a week, with some dedicated practice, my form made decent (ish) progress — I wobbled less and moved more powerfully, with more control and depth.
Pistol squats famously develop strength and explosive power, targeting your glutes, core, lower back, quads, hip flexors, hamstrings and calf muscles, and improve stability and flexibility around your joints.
Sure, they’re not fun, but if at any point you experience pain — stop. No fitness challenge is worth getting injured, and if you’re new to the exercise, scale back on the reps, give yourself plenty of rest and focus on your form.
More from Tom's Guide
- 6 stretches for beginners
- I did this exercise for a week and it dramatically helped my back pain
- How to burn calories by switching up your daily routine.

Sam Hopes is a level 3 qualified trainer, a level 2 Reiki practitioner and fitness editor at Tom's Guide. She is also currently undertaking her Yoga For Athletes training course.
Sam has written for various fitness brands and websites over the years and has experience across brands at Future, such as Live Science, Fit&Well, Coach, and T3.
Having coached at fitness studios like F45 and Virgin Active and personal trained, Sam now primarily teaches outdoor bootcamps, bodyweight, calisthenics and kettlebells.
She also coaches mobility and flexibility classes several times a week and believes that true strength comes from a holistic approach to training your body.
Sam has completed two mixed doubles Hyrox competitions in London and the Netherlands and finished her first doubles attempt in 1:11.
 Club Benefits


