If hip flexor pain has a habit of disrupting your workouts, this one move could soothe sore hip flexors and even improve your squats and lunges. By adding it to your exercise routine, you could benefit from better flexibility, range of motion around your hips, and posture.
Frog pose is classically a yoga pose, translating as Mandukasana in Sanksrit. But of course, TikTok has since scooped up Frog pose and sent it viral, amassing more than 40 million views under #frogpose, with TikTokers gushing over its perceived benefits. Users report that just 30 seconds to one minute a day could be a game-changer, from reduced stress and anxiety to a stronger pelvic floor.
While Frog poses many benefits, it’s helpful to discern fact from fiction concerning your health and hips. I tasked myself with giving the Frog pose a go every day for a week to open up my hips and improve range of motion. Here’s my verdict.
What is Frog pose?

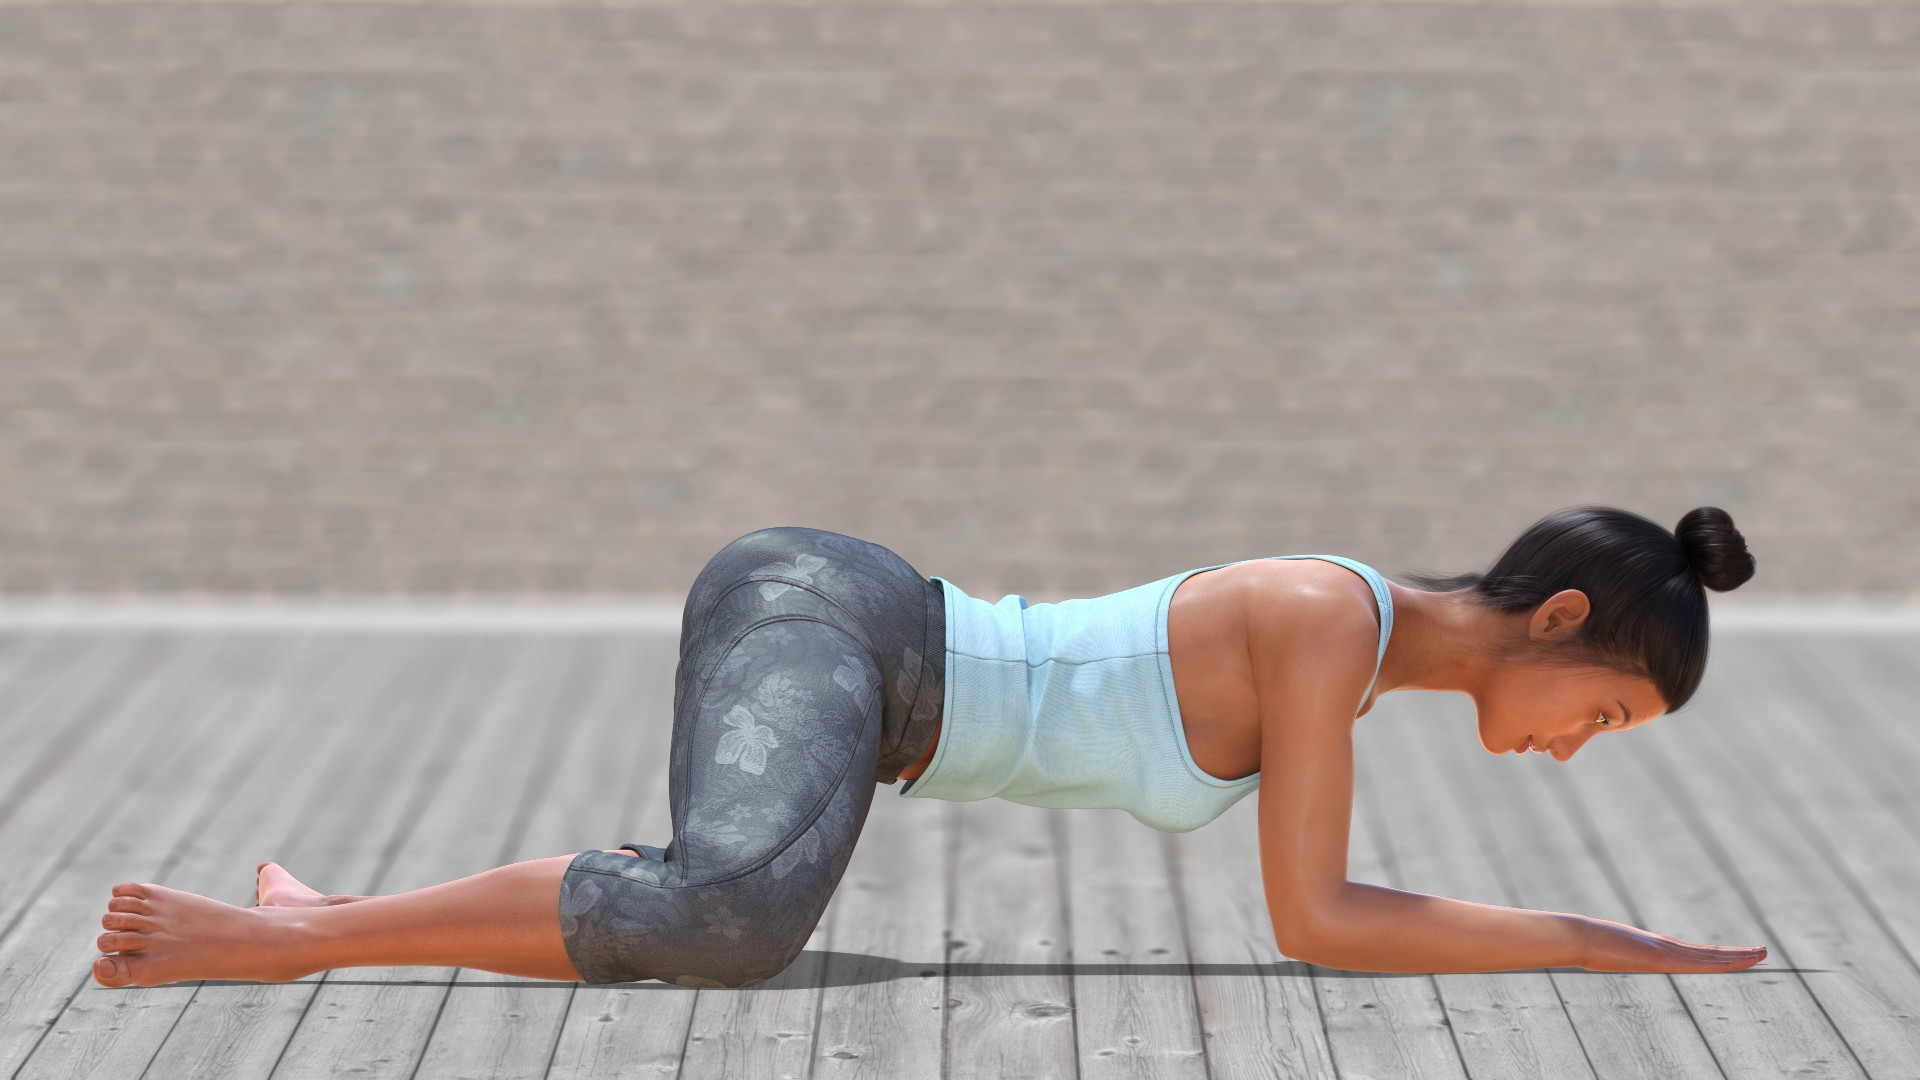
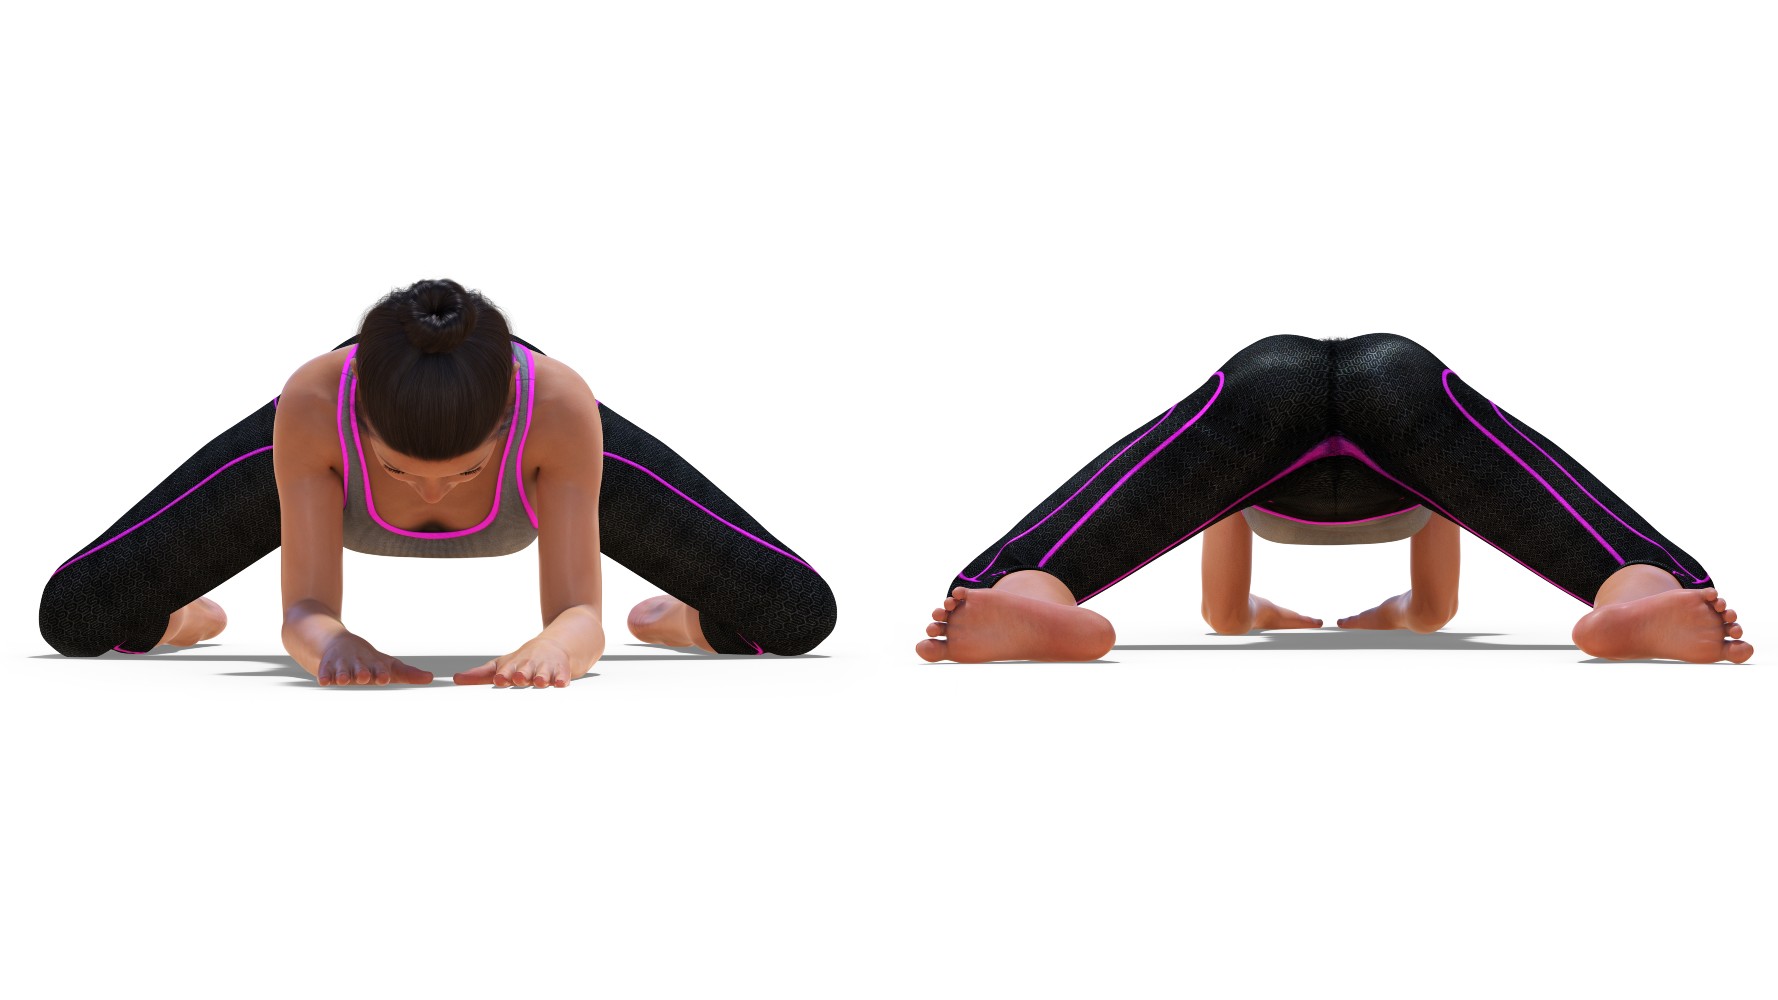
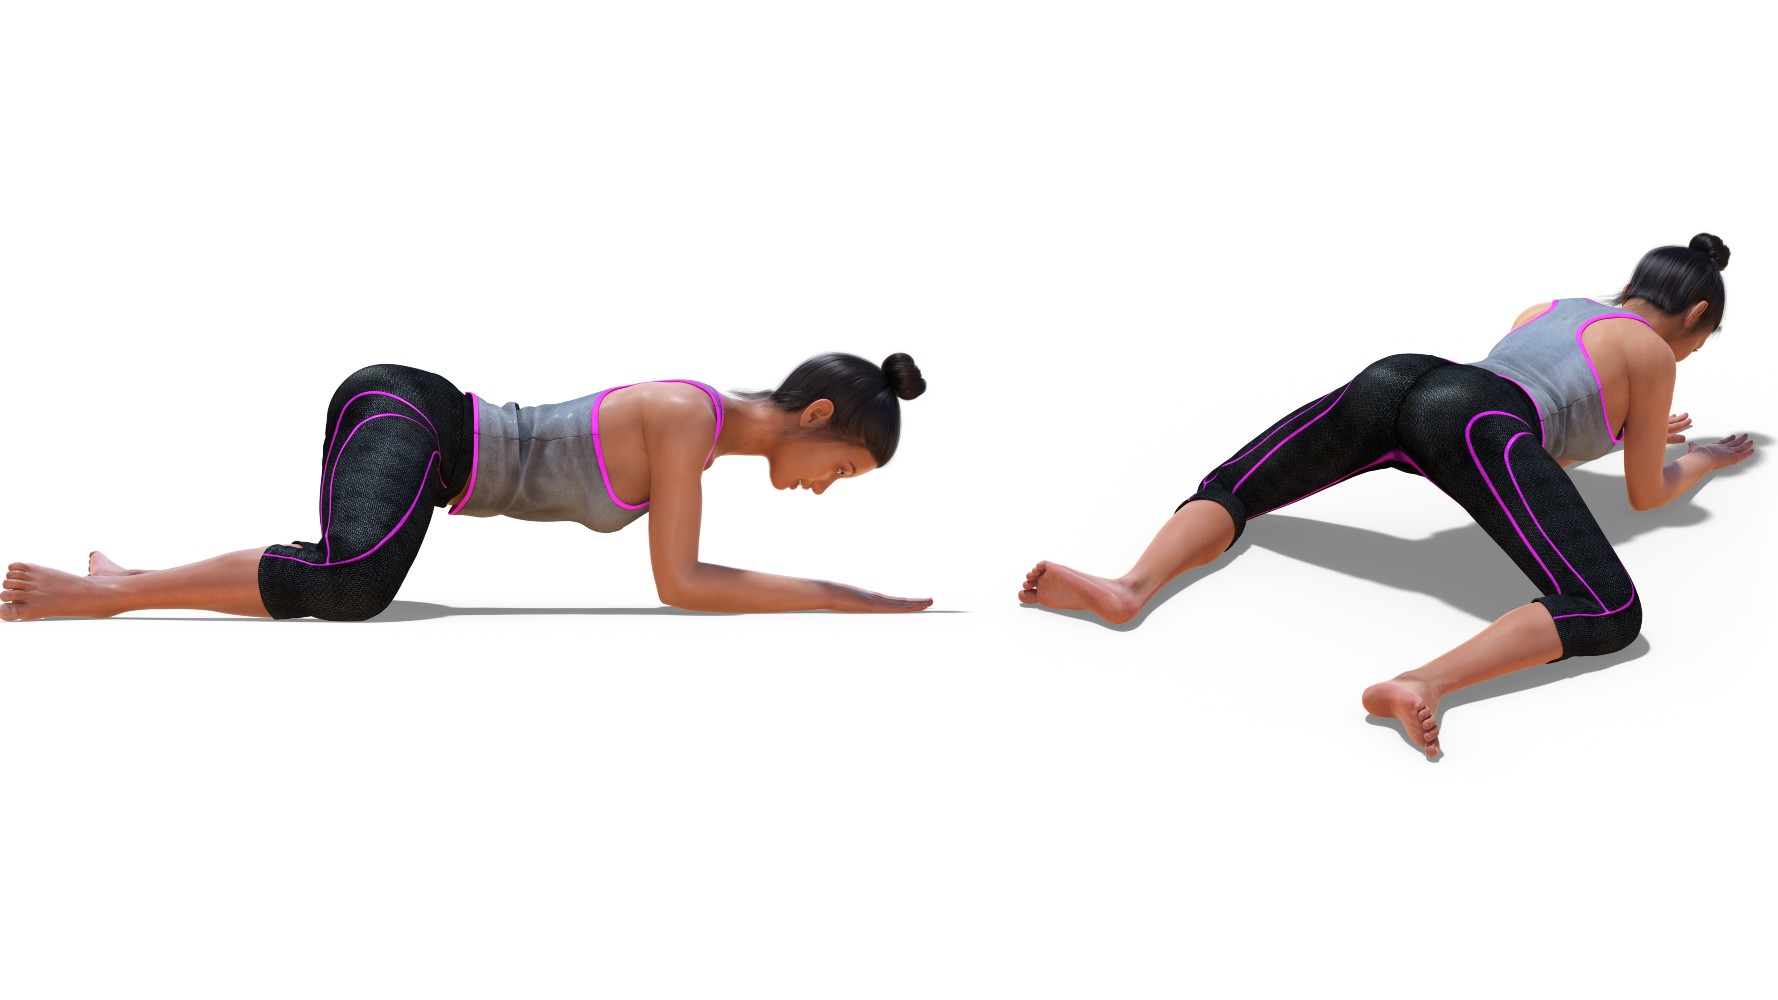
It might look a little uncouth (and uncomfortable), but the Frog pose has fast become a firm favorite in recovery and Yin-style yoga, like bedtime yoga. The pose stretches your hips and inner thighs and picked up the name “the pelvic breaker” for obvious reasons. Frog pose relies on external rotation of your hip joints at once, which can feel intense for most people, but couple that with a gentle pushing backward with the hips, and you’ve got a pretty tough stretch. But, the payoff is worth it, in my opinion.
Benefits of Frog pose
Many claims are floating around on TikTok about the perceived benefits of Frog pose — like improved sex life and better digestion — but what does it do?
Improves mobility and flexibility
Frog pose stretches your adductors (inner thighs) and lower back and acts as a deep groin opener that also opens around your hips. Overall, this helps to improve flexibility and range of motion, which could also improve your squat technique and lunge depth during workouts.
Eases pain
Frog pose could ease symptoms of sciatica and other lower back pain by relieving tightness in the area. Anyone who sits for long periods throughout the day could benefit from practicing the Frog regularly, as sedentary lifestyles can cause back pain and tight hip flexors. Because your hips and lower back play a crucial role in posture, a hip flexor stretch could help.
Get instant access to breaking news, the hottest reviews, great deals and helpful tips.
So, where’s the science? Well, existing research has shown that yoga can reduce chronic lower back pain and low-level symptoms, but research specific to Frog pose is more sparse.
Relieves stress and anxiety
Yoga teachers refer to hips as the “seat of your emotions,” and a popular school of thought is that your hips can store stress and anxiety. The adrenal glands — responsible for the “fight-or-flight” stress response — are located at the top of your kidneys, and the fascia surrounding your psoas (the deep flexor muscles of the hip) also connects with the kidneys.
The psoas is often referred to as the “fight-or-flight” muscle. It’s thought that when your body is stressed, the psoas muscle contracts, and when you experience perceived stress, it will tighten in response. Because the psoas is attached to the diaphragm, your breath could also be affected, so hip openers are believed to release tension in the hips and ease stress and anxiety.
There’s a lack of extensive research to back it up, but many leading yoga schools discuss it. That said, existing studies have shown that Yin Yoga involving long static stretches like Frog pose can relieve stress and anxiety and improve sleep, partly due to its meditative nature and strong breathwork focus.
Builds a stronger core
The International Journal of Yoga found that yoga poses that require pelvic and trunk movement, like the Frog pose, engage your core muscles, like your hips and diaphragm, which can help improve core strength. We also recommend the best ab exercises to strengthen your core muscles.
How to do frog pose
I recommend grabbing one of the best yoga mats with plenty of cushioning before trying Frog pose. Here’s how to do it:

- Start in a tabletop position on hands and knees
- Shift your weight forwards over your shoulders and slide your knees to the sides, ensuring your inner knees hug the mat
- Slide your feet outwards so that they’re in line with your knees, with the inner sides of your feet hugging the mat
- Gently push your hips back toward your feet
- If you can, lower your elbows to the floor and rest your head on the mat
My verdict
I’m not new to Frog pose, but I don’t practice it regularly, so I added two minutes a day for a week. Research aside, I find Frog deeply relaxing if not equally as uncomfortable. It teaches me to focus, breathe and sit in the ‘uncomfortable’ emotions that come with it, which can be deeply meditative if you stick with it.
It’s called the pelvic breaker for a reason. This pose isn’t supposed to be particularly fun, but it improves flexibility through your hips and adductors, and you can notice your body adapting fairly quickly with practice. I had the advantage of being familiar with the exercise, but dedicating two minutes was a challenging experience.
I used this 5-minute breathing exercise alongside the pose to regulate my breathing and take my mind elsewhere, which is helpful if you’re new to Frog. I also chose to perform the stretch before workouts as it helps my hips feel more open for exercises like squats and lunges. However, it’s a unique and personal exercise, so practice with care and give this yoga for knee pain a go if you suffer from a knee injury.
Who should avoid Frog pose?
Frog pose should be safe for most people, but if you suffer from a specific knee, hip, groin, or lower back injury, give it a skip or consult a qualified medical professional beforehand.
Start slowly with your heels relatively close together, and when you feel more comfortable, try to move your feet further apart. Over time, you should be able to sit further back. Rolling your mat or popping a small cushion under your knees can give extra support and a yoga bolster is brilliant for resting your arms.

Sam Hopes is a level 3 qualified trainer, a level 2 Reiki practitioner and fitness editor at Tom's Guide. She is also currently undertaking her Yoga For Athletes training course.
Sam has written for various fitness brands and websites over the years and has experience across brands at Future, such as Live Science, Fit&Well, Coach, and T3.
Having coached at fitness studios like F45 and Virgin Active and personal trained, Sam now primarily teaches outdoor bootcamps, bodyweight, calisthenics and kettlebells.
She also coaches mobility and flexibility classes several times a week and believes that true strength comes from a holistic approach to training your body.
Sam has completed two mixed doubles Hyrox competitions in London and the Netherlands and finished her first doubles attempt in 1:11.
 Club Benefits


