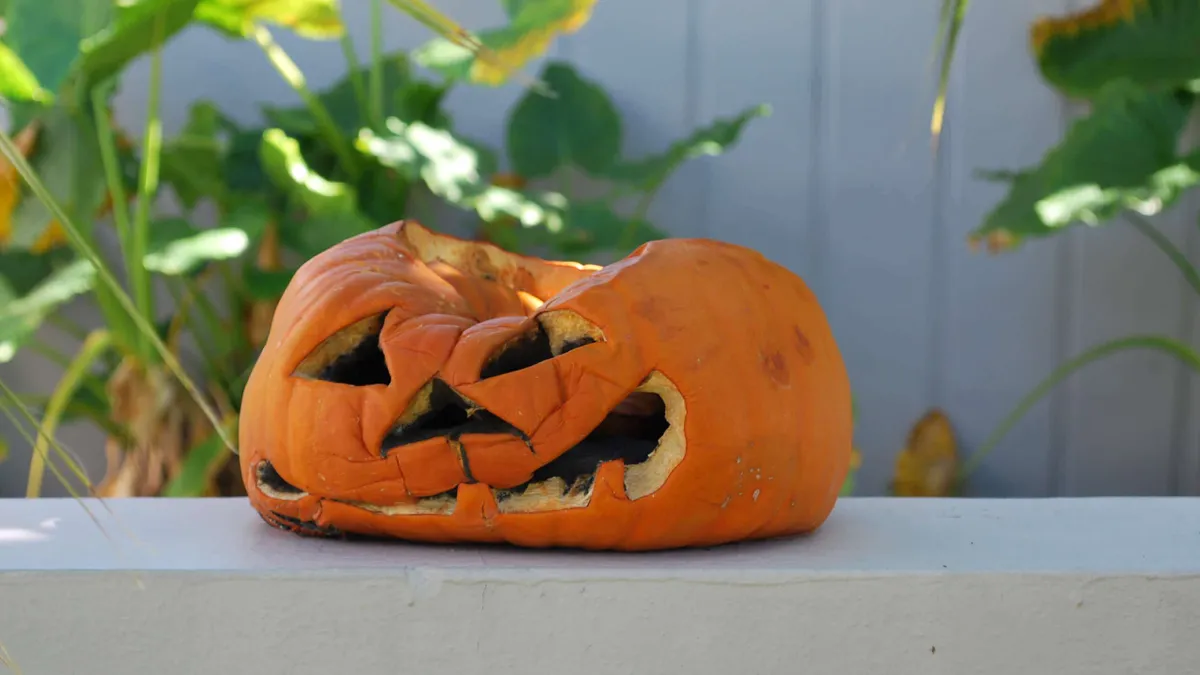
Halloween season is upon us, and now is the time to head over to the pumpkin patch and start carving out some spooky creations. While the festive, fun tradition of displaying beautifully carved pumpkins seems simple enough, knowing how to make your Halloween pumpkins last longer can be a little tricky.
After all, you don’t want to spend hours working on your masterpieces, to only have them shrivel up and rot after a few days. Typically, once a pumpkin is carved, it will last for three to five days, depending on the climate you live in. Good news if you live in a colder climate though — pumpkins can last up to two weeks.
While there is no permanent way to stop the decaying process, there are some smart and savvy ways to help extend our carved pumpkins’ life throughout the fall.

So if you want to preserve your spooky pumpkins, these useful tips and tricks will make them last longer into the Halloween season and beyond.
Also, check out 6 things you can do with pumpkin guts and seeds. Plus, check out Joanna Gaines porch decor ‘minimalist and modern take on Halloween decoration’ — according to experts.
How to make your pumpkin last longer
1. Buy from a local patch — If you have access to a local pumpkin patch, it’s better to buy there than from the store. Since pumpkins are grown on-site, there won't be any damage from shipping or transportation.
Also, when choosing your perfect pumpkin, make sure you feel for any soft spots —these indicate it will rot as soon as you’ve carved it. The firmer the skin, the longer it will last.

2. Soak in a bleach-bath — Once your pumpkin is completely gutted and free of seeds, you need to clean the inside and outside to keep it fresh and healthy. The best way is to soak your carved pumpkin in a bleach-bath solution. Simply mix one part bleach to 10 parts water in a bucket or large container.
Then, let your carved pumpkin bathe in the solution for up to 24 hours. Be sure to stir it around to make sure all sides get ‘bathed’. You can also reuse your bleach-water solution as a daily spray to revive your pumpkin’s skin.
3. Make sure your pumpkins are completely dry — Once your pumpkin is washed, make sure it’s completely dry. If the pumpkin is still wet when you place it outside, this will lead to mold and it will quickly rot. Bear in mind that liquid likes to pool at the base of the stem, so ensure that area is extra dry.
You can use a towel to dry the inside of the pumpkin or leave it in a cool, dry, ventilated place. Never leave it to dry outside as the elements will speed up the decay, and don’t use a blow dryer as it will only heat it up and contribute to the rotting process.

4. Moisturize the skin — As well as washing your pumpkin, you need to give its skin some TLC to prevent it from drying out. By applying a coat of coconut oil or olive oil around the carved areas of the pumpkin, this will help to keep it fresh and wrinkle-free. In addition, you can rub lemon juice on the outside to keep insects away, maintain its vibrant color and delay the drying process.
5. Make a peppermint pumpkin spray — Another natural way of rehydrating your pumpkin is to condition it with a peppermint oil spray. Simply mix one capful of liquid peppermint soap with six drops of peppermint essential oil in an 8-ounce spray bottle Peppermint has anti-fungal properties which prevent mold and fungus from forming. What’s more, it will leave your pumpkin smelling fragrant.

6. Keep pests away — Since pumpkins are a fruit (yes — you heard us right) they are prone to fruit flies. If you notice any lurking around, you can place a fruit fly trap nearby to keep them at bay. Check out our tips on how to get rid of fruit flies fast if you need help.
In addition, if you want to avoid ground pests such as ants or squirrels, it's best to keep your pumpkins off the ground. You can sit them on a window sill, on a step, or stack them in decorative baskets.
7. Pick a great location — Make sure you leave your pumpkins in an ideal spot, away from harsh temperatures. When left outside, a covered or shaded area is best. If you live in warmer climates, the sun will dry it out, while freezing temperatures will affect it too.

8. Store in the fridge overnight — After displaying your scary pumpkins out during the day, you can also wrap them in plastic and store in the refrigerator overnight. If you have an extra large pumpkin, store in a cool part of the home, such as the basement. The cool temperature will prevent it from decaying, especially if you live in a warmer climate.
9. Don't use real candles inside your pumpkin — This may take all the fun out, since candles are what makes a Halloween pumpkin glow. However, a real flame will essentially heat the pumpkin and ‘cook’ the inside, contributing to the decay process.
Instead, you can illuminate your pumpkin with battery-operated tealights, flickering flameless candles or even glow sticks to create a warm glow. In any case, it's the safer option!