
 Club Benefits


It’s easy to take thousands of photos with a smartphone and digital camera, and it’s hard to imagine losing even one. Each represents a memory that can’t easily be replaced or recreated, so it’s important to make sure every image is safe, no matter what happens to your devices.
Better cameras mean higher-quality pictures, which means more space is required to store them. CDs, USB sticks, and external hard drives have fallen out of fashion because they can’t hold all files in a time-efficient, affordable manner: instead, they’ve been surpassed by the best cloud storage services.
There’s no better option than backing up photos with cloud storage. Whereas a physical hard drive can fail or become corrupted, cloud storage servers are incredibly well maintained, and kept safe from malicious attackers. It's also cheap and scalable—most services allow you to upgrade instantly if you need more storage.

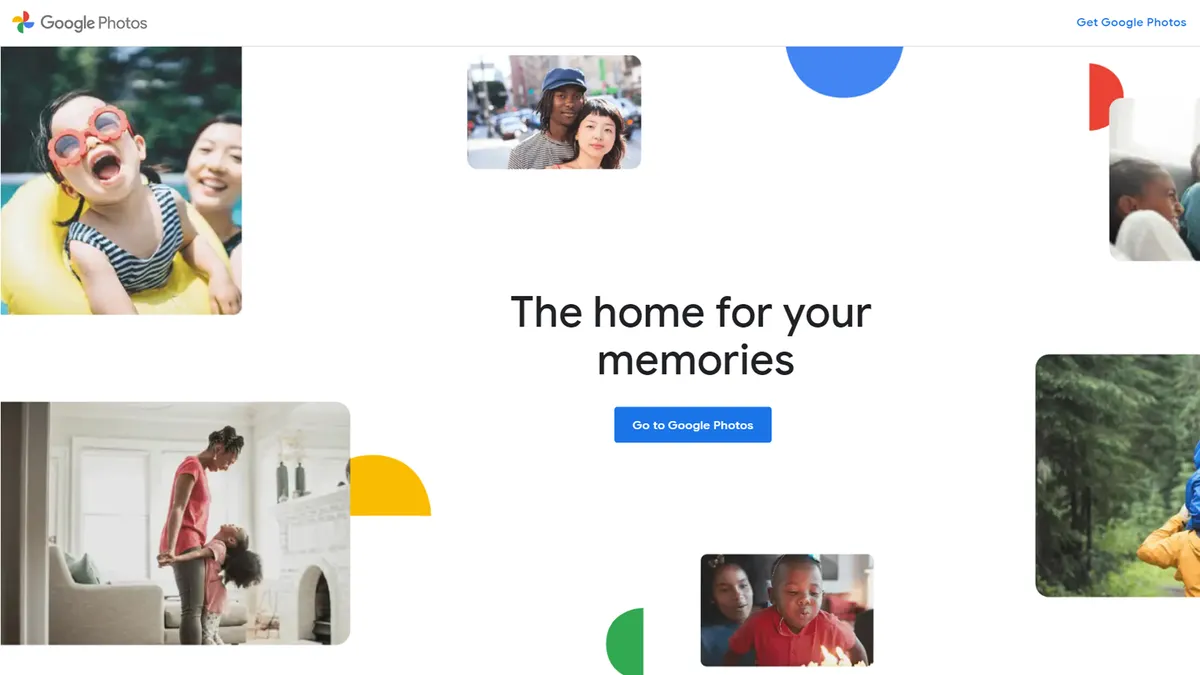
Best of all, when photos are uploaded, you can access them from any device whenever you want to look back at your memories. Google Photos is among the best cloud storage for photos, and comes preloaded with most Google and Android devices, but you can use it from an iPhone or a Windows computer too.
It also includes a range of features for organizing photos, so that you can easily find a specific image when you want it. We’ll walk you through the process for uploading images from your smartphone, tablet, and computer; explain how to make a backup of your library; and how to sort images for easy retrieval later.
Google Photos: Storage options and upload limits

Before you start backing up images to Google Photos, it’s important to understand the difference between high and original quality backups. When you select high quality backup, Google will compress images slightly before transferring them. If you’re uploading from a smartphone, you likely won’t notice any drop in image quality. Google’s compression is very efficient, especially for JPG image files.
The advantage is that these backups are completely free. They don’t count towards the 15GB of free cloud storage you get with a Google account, so you can store as many images as you want. Note that Photos also accepts videos, and high quality uploads are stored in 1080p, which is already the maximum resolution at which many cameras are capable of recording.
If you’re shooting with a DSLR or thinking about printing photos, though, you might not want any compression. In that case, select original quality, which will upload the full-size image. Keep in mind that you can back up RAW image files, but check Google’s support documentation to see what types of RAW files are supported.
Original quality photos and videos do count against your 15GB limit, and remember that this limit is shared among all Google services, from Photos to Drive and Gmail. If you need more Google Cloud storage, you can sign up for a Google One subscription. There are three plans providing 100GB, 200GB, and 2TB of data respectively, and for each, paying annually saves you 16%
The 100GB plan costs $1.99 a month, or $11.99 a year. 200GB costs only fractionally more at $2.99 a month, or $29.99 a year. The 2TB plan will set you back only $9.99 (or $99.99 for the year). Benefits include the ability to share data with family members, priority customer support, and discounts on items purchased from the Google Store (3% for the 200GB plan and 10% for the 2TB plan).
Google Photos: How to back up photos from a phone or tablet
Uploading images from an iOS or Android smartphone or tablet is incredibly easy. To get started, just download the Google Photos app from Google Play or the Apple App Store for free. Once it’s installed, log in with your Google account. If any photos were previously tied to your account, they should appear automatically.
When you first sign in, you can decide whether to back up original or high quality images, as well as whether to enable uploads when your device isn’t connected to Wi-Fi. We recommend only allowing uploads on Wi-Fi (the default option) since uploads can quickly chew through your mobile data plan.
However, if your mobile plan provides large amounts of data, you can override this and upload photos and videos on Wi-Fi and mobile networks. Users can also implement different settings for photo and video uploads. For example, you can upload photos over Wi-Fi and mobile data, but prevent videos from uploading until you connect to Wi-Fi.
When you first launch the app, it will ask you to turn on automatic backup and syncing too. Because you’re reading this article, we’ll assume you want to do this, so follow the on-screen prompts. You’ll need to provide the app with permissions, such as access to your photo library. If you previously didn’t set up automatic backup and sync, you can activate it by going to the account control screen.
Notably, Android devices have additional options, including the ability to select specific image folders that you want to backup. This is especially useful if you only want to sync your camera roll.
One of the best things about Google Photos is that you can use it to free up space on your device. In Settings, select "Manage device storage". The "Free up space" option will automatically delete any photos from your device that it has already backed up.
Once you’ve made your upload decisions, click "Confirm", and your photos will begin uploading. After some time, your photos will be securely available from any device connected to your account. Preparing to back up to Google Photos on a tablet is similar: first download the app, and once launched, the process for setting up backup and syncing is much the same.
Google Photos: How to back up to photos from a PC or Mac

Google Photos also enables you to back up photos from your desktop or an external hard drive. The easiest way to do this for one-time transfers is to use the Google Photos browser interface. Sign in, select "Upload", and then choose what photos you want to copy to the cloud.
Uploading multimedia from your computer is a slightly different process than for phones and tablets. If you’re using a Windows 10 device, the first thing you’ll need to do is download the Google Photos client. If you want automatic backups to ensure all photos are synced, you’ll need Google’s Backup & Sync desktop app.
Install the software, and then select which folders you want to sync. If you want to upload files from an external hard drive or SD card, those will need to be connected to your computer to select for backup within the app. After logging in, proceed to the next step, where you’ll be prompted to set up automatic backup and sync.
At this step, you’ll need to choose whether to upload photos and videos only, or all file types. The app isn’t limited to uploading photos, but any image and video files will automatically be sent to Google Photos. Choosing all types will result in data being uploaded to Google Drive as well as Photos. This is ideal if you want to backup your entire device.
However, if you want to solely focus on photos and videos, choose the first option. Going forward, the app will run in the background, and initiate uploads anytime you add new files to your synced folders.
You’ll need to select the folders and drives that will be uploaded. At this stage, you’ll also need to select the resolution you’d like to upload photos at, just as with phone and tablet setup. After you complete the two previous steps, all that’s left to do is click "Confirm", ensure your computer is connected to Wi-Fi, and wait.
Depending on connection speed and the size of your library, this may take several hours. However, once the initial upload is complete, you’ll have seamless access to your photos across your devices.
Google Photos: How to upload photos from Google Drive

Until mid-2019, there was no distinction between Google Photos and Google Drive. If you uploaded photos to one service, they were automatically copied over to the other. However, that joint management system has been modified to prevent users from accidentally deleting photos.
Now, photos uploaded to Drive won’t automatically show up in Photos, and vice versa. If you want to copy images from Drive to Photos, you’ll need to do it manually. In the Photos web interface, find the "Upload" button in the upper right corner and select "Upload from Google Drive".
You can then choose which images you would like to copy, and whether to upload them in original or high quality. Since the photos are already in the cloud, the transfer is nearly instantaneous. Once your images are copied over, you have the option of deleting them in Drive to help free up storage.
Note that this is true even for images that were uploaded prior to 2019—when Google separated Drive and Photos, it applied the management change to all images in your cloud account. Of course, it’s a good idea to double check that images are sitting safely in Photos before you delete copies from Drive.
Google Photos: How to back up analogue prints

If you have reams of old 4x6 prints sitting around your house, Google can help you digitize and then back them up. Download the Google PhotoScan app for iOS or Android to start scanning your photos one by one.
The nifty thing about the app is that it can eliminate the bright spots that normally appear when you try to take a photo of a glossy print. The app requests four scans of each photo from different angles, then stitches those scans together to give you a perfectly digitized rendering. Every photo you scan will be automatically uploaded to Photos for storage.
Of course, you can also use another photo scanning app or physical scanner to digitize your photos. If you go this route, you can upload your images to Photos from your smartphone or computer as described above.
Google Photos: How to manage and organise your photos

After uploading images from all your devices and some of your old glossy prints, you likely now have a small mountain of images to sort through in the cloud. Thankfully, Google Photos offers plenty of options for organizing photos.
The simplest thing you can do to sort photos is to create albums. Google makes it easy to select any number of images and group them into a new album, or add them to an existing album. Navigate to the "Albums" section of the mobile app or web interface to create a new album, then select which images you want to add to it with just a tap or click.
It’s worth noting that you can’t create albums inside of albums, so think carefully about a naming scheme that will help you stay organized. You also can’t tag photos, although you can add individual descriptions. Any text in these descriptions is searched when you enter terms in the search bar.
Once you have an album set up, you can easily share it with anyone. If your friends and family have Google accounts, they can comment on photos. You can also invite them to add their own images to an album, which is a great option for sharing everyone’s images from a trip or event. Photos others add to an album you shared don’t count against your storage limits, unless you save copies to your account.
Of course, this is a Google platform, so it involves some magic in the form of machine learning. Google automatically scans every image you upload, and detects faces and objects (for better or worse, you give up some privacy when you use Google services).
It won’t automatically connect a name to a face, even if that person has a Google account, but you can tag someone, and it will apply that tag across all images where the same person appears. Then, if you search for a name or specific object, Photos will automatically show all images with that person or object in them.
Machine learning can also help categorize images into albums. Your photo library is automatically sorted into People & Pets, Things, and Places, and then into hundreds of categories like Mountains, Cooking, Dogs, Boats, and more.
It’s uncanny how good Google is at doing this, and it can be pretty neat to explore these categories, since they bring together photos from different times in your life. You can also improve Google’s image categorization by giving feedback on whether your images were identified correctly.
Google Photos: How to edit your photos

One of the only major features missing is a capable image editor. Whether using the app or the browser interface, you can only make basic touch-ups and crops. Within Google Photos, open any image and click or tap the sliders icon.
You’ll see a few options for adjusting the lighting, color, and pop of your image, as well as a simple pen tool for marking up images. You can also choose to apply any of around a dozen filters, or use the "Auto" function to have Google automatically adjust your image for you.
These options are far from comprehensive, but they’re good for making quick improvements to images on the go. Another inclusion is the "For you" tab, where you’ll find already edited and stylized versions of some of your recent photos. If you like the edits that the algorithm made, you can keep changes or even order prints.
How to back up your Google Photos library to a hard drive

Google Photos is a highly secure option for storing photos in the cloud. But with files that are impossible to replace, it’s a good idea to keep at least two complete backups. Photos serves as one of these backups, and creating a hard copy of your library on a physical hard drive can serve as another.
Before we dive into how to create a backup, it’s important to understand one major catch: there’s no simple way to keep your physical backup automatically synced with your Google Photos library. That means it’s important to occasionally add all the photos you’ve uploaded since your last backup to your physical drive.
To download some or all of the images in your Photos library, you’ll need to use Google Takeout. You can access this directly or navigate within Google Photos to Settings > Manage your data and personalization > Download your data. Click "Deselect all" (unless you want to back up other data from your Google account, not just photos) and then select "Google Photos".
This will automatically export your entire photo library. If you only need to back up a subset of your library, uncheck the "All Photo Albums Included" box, and then deselect any albums you don’t want to download.
Before your download begins, you’ll need to decide on a couple of options. You can send photos directly to another service, or get an email download link. You can also modify compression settings and choose the maximum size for each download. If your library is larger than the maximum size you select, you will receive multiple download links.
Note that Google also lets you schedule automatic, recurring data exports. But, if you choose this option, you won’t only get download links for the new photos you’ve added to your library in the meantime—Google will export your entire photo library each time.
Once you begin the export, Google Takeout will create a downloadable copy of all the files you selected. If you have a large library, it may be several hours or more before you receive a download link. Download the files to your hard drive or an external drive to keep as a spare physical backup.
Google Photos: Summary
Setting up automatic backup and syncing across all your devices will ensure seamless access to your photo library across all your devices.
You can also now begin taking advantage of Google Photos’ excellent features, such as smart search capabilities that make it easy to sort photos by content type, location, or even the people captured in the image. This saves time, and ensures you can always pull up the perfect shot at the perfect moment.
Further reading on cloud storage
Take a look at our cloud storage checklist, our five things to consider when selecting online storage, and our tips for businesses in data backup and recovery.

