How to Set Up Lenovo’s Smart Display
How to Set up Lenovo’s Google Assistant-Powered Smart Display
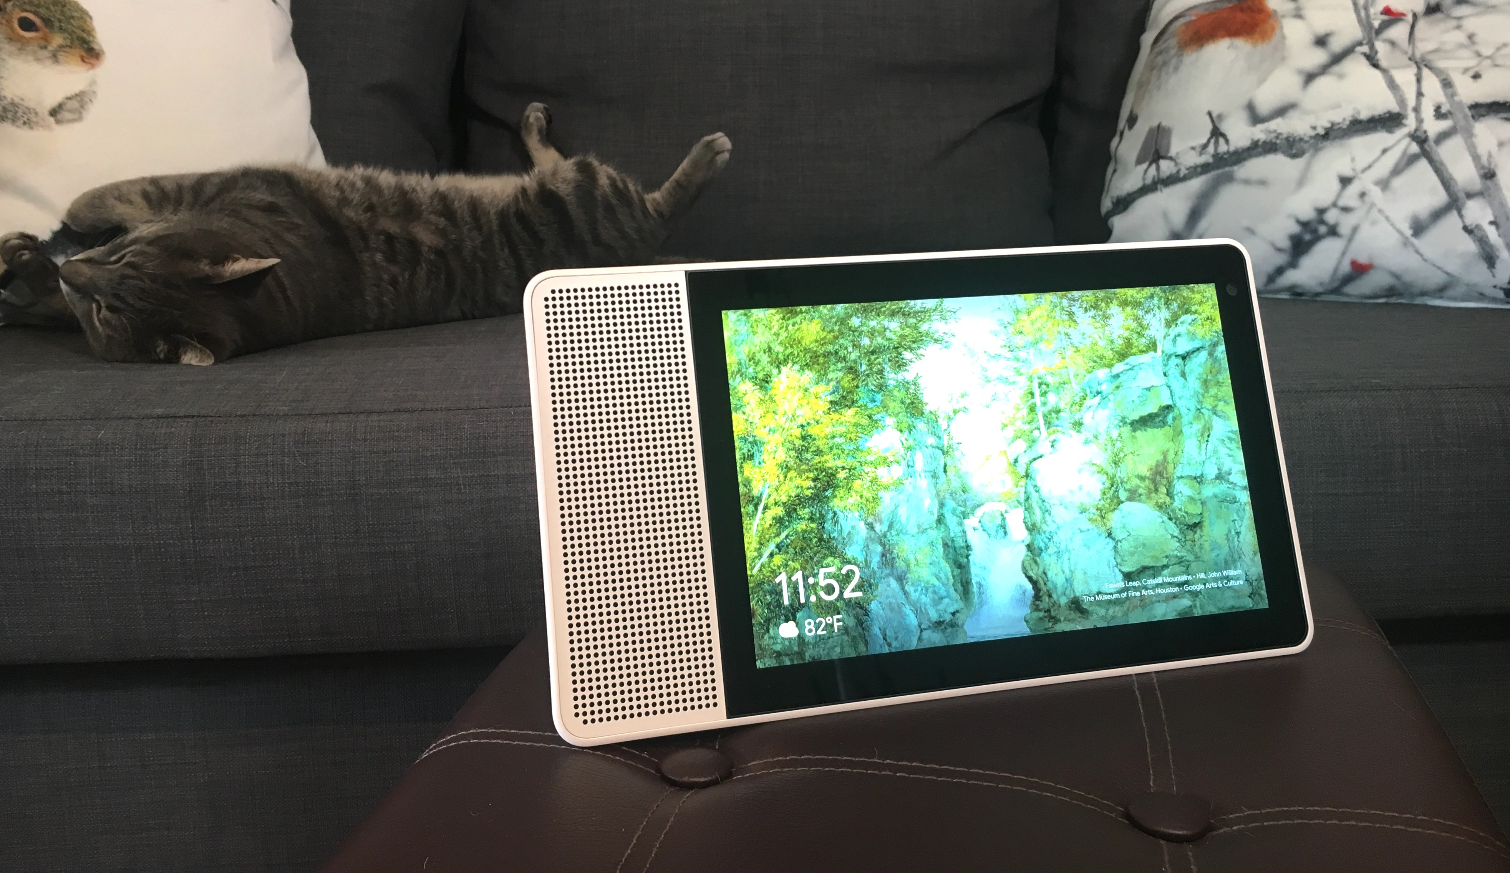
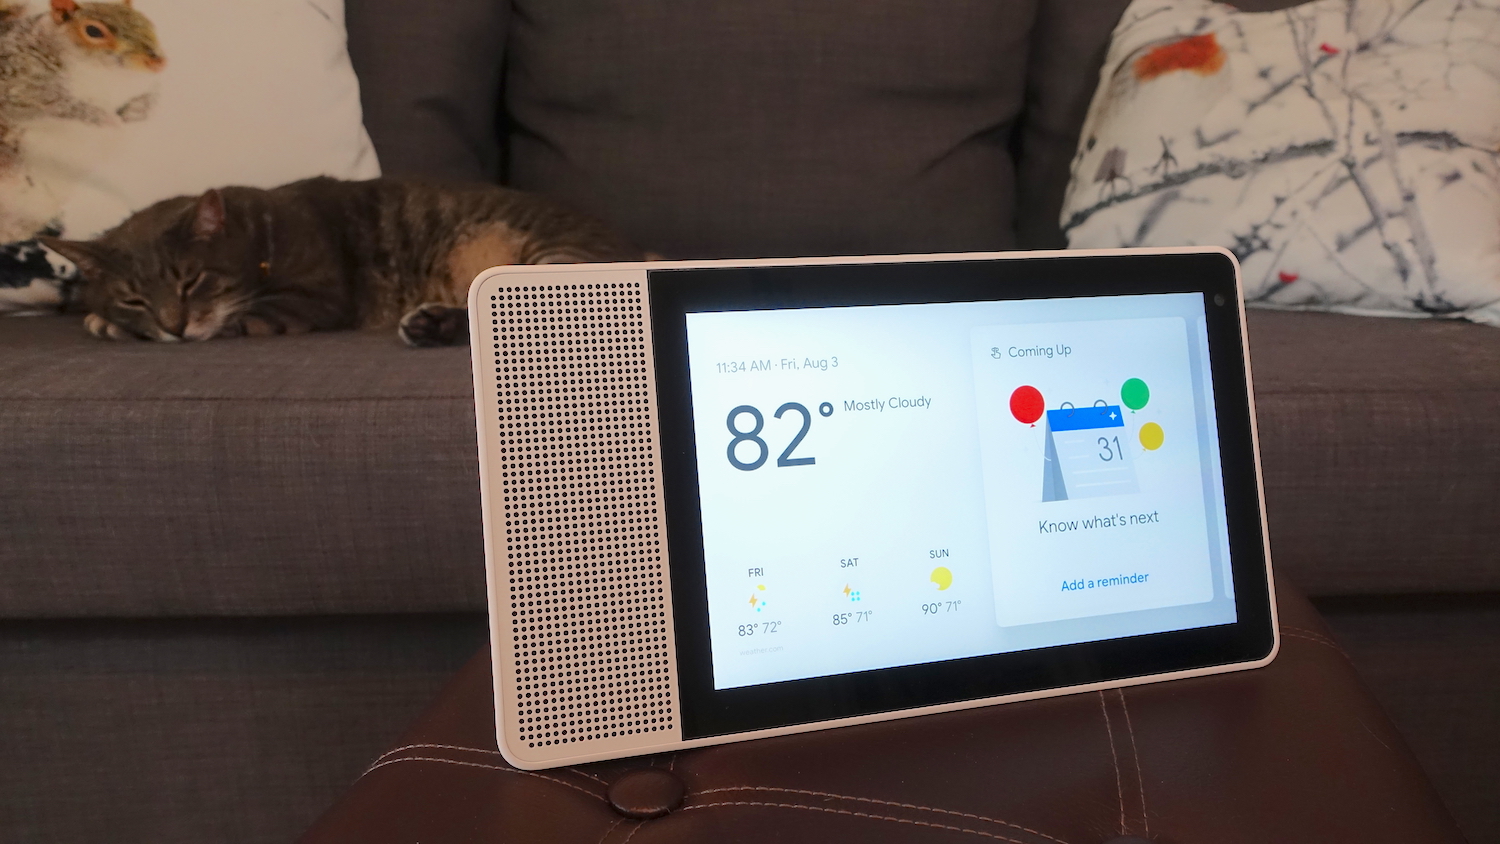
Lenovo’s Smart Display is the first Google Assistant-powered device that has a screen, and which lets you do a lot more with the Assistant than you can with a Google Home or other smart speaker. Using the smart display, you can look up recipes, watch movies, make video calls, and control smart home devices more easily; not only do you get audio cues, but information pops up on the display, and lets you interact with it directly using the touchscreen.
Here’s how to set up the Lenovo Smart Display.
1. Plug in the Smart Display. When it boots up, you should see a screen asking you to download the Google Home app.
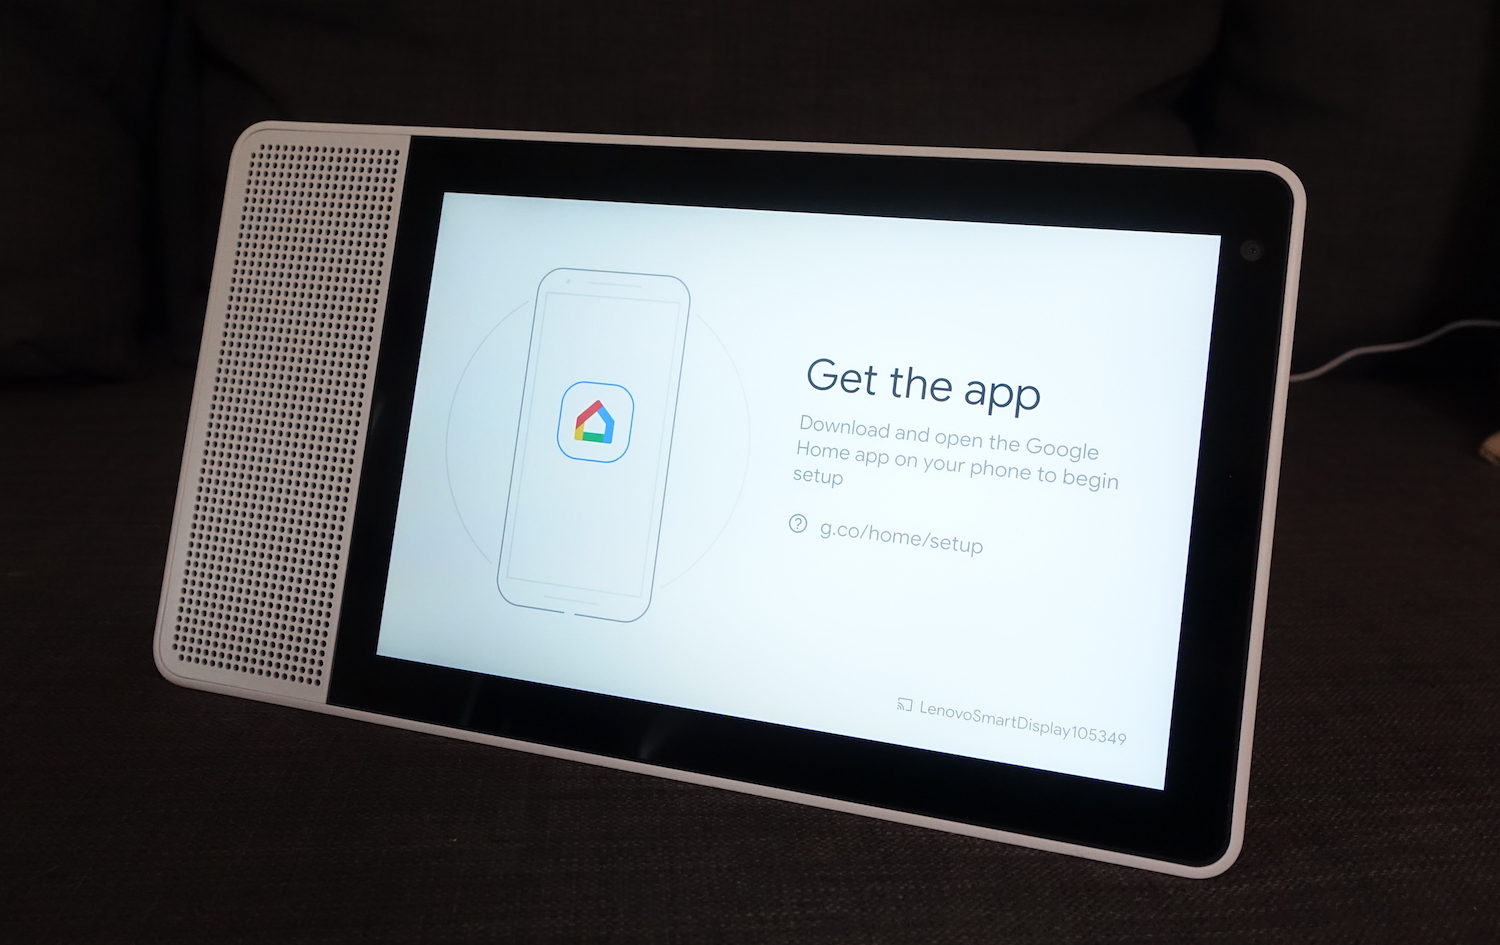
2. Download the Google Home app to your smartphone or tablet. There are versions for both Android and iOS devices.
3. Open the Google Home app and sign in with your Google account.
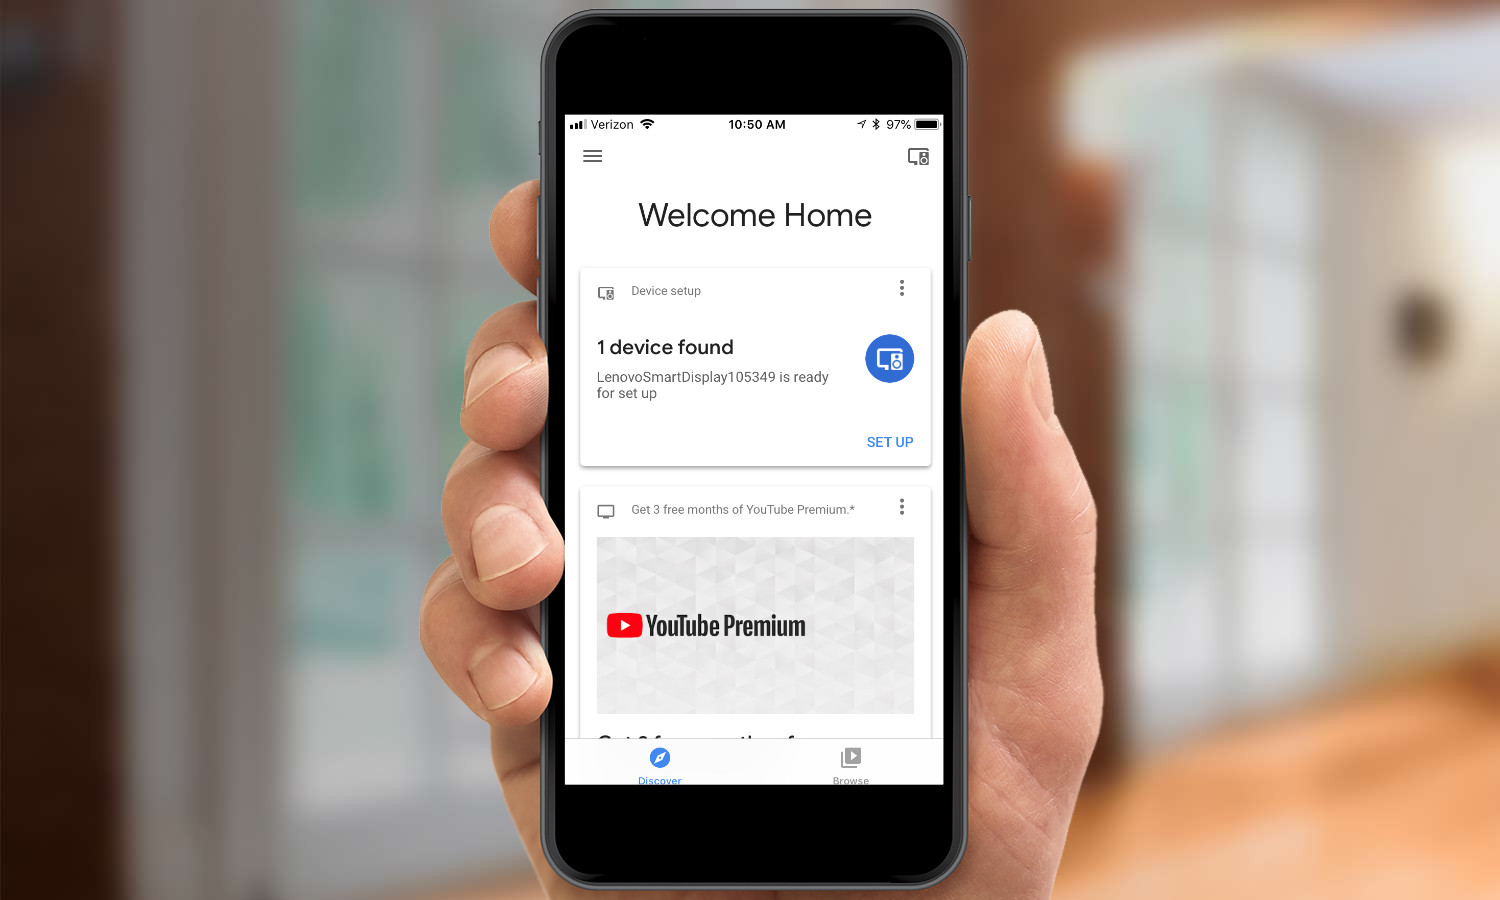
4. At the top of the screen should be a card that says “1 device found.” Press Set Up in the lower right corner of the card.
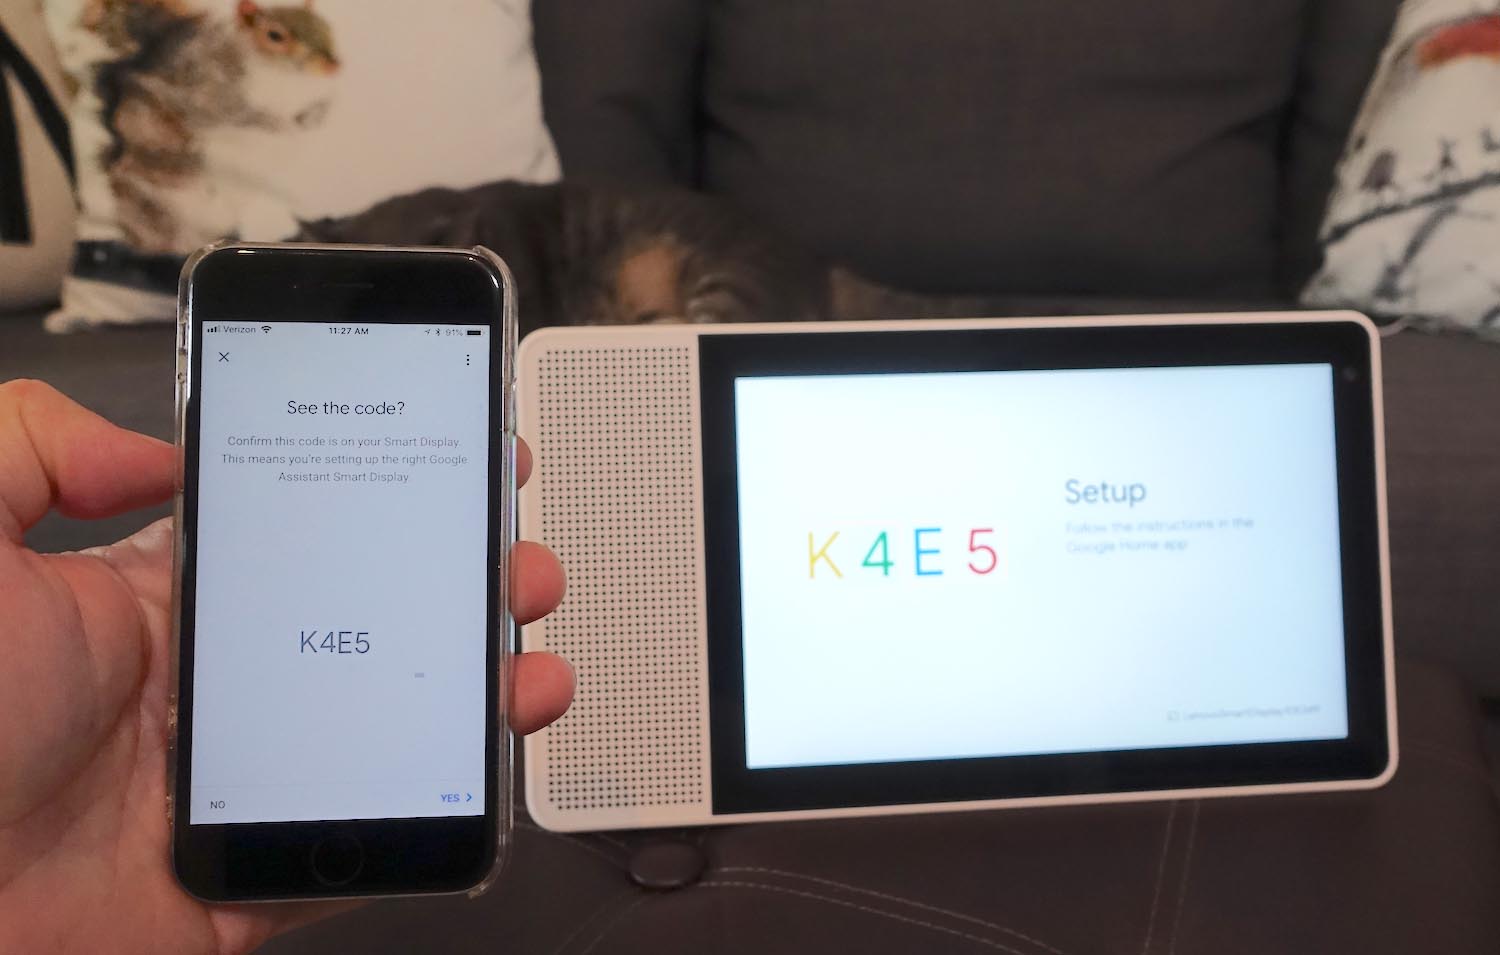
5. A code should appear on both your phone and the Smart Display. If it matches, press Yes on your phone.
Get instant access to breaking news, the hottest reviews, great deals and helpful tips.
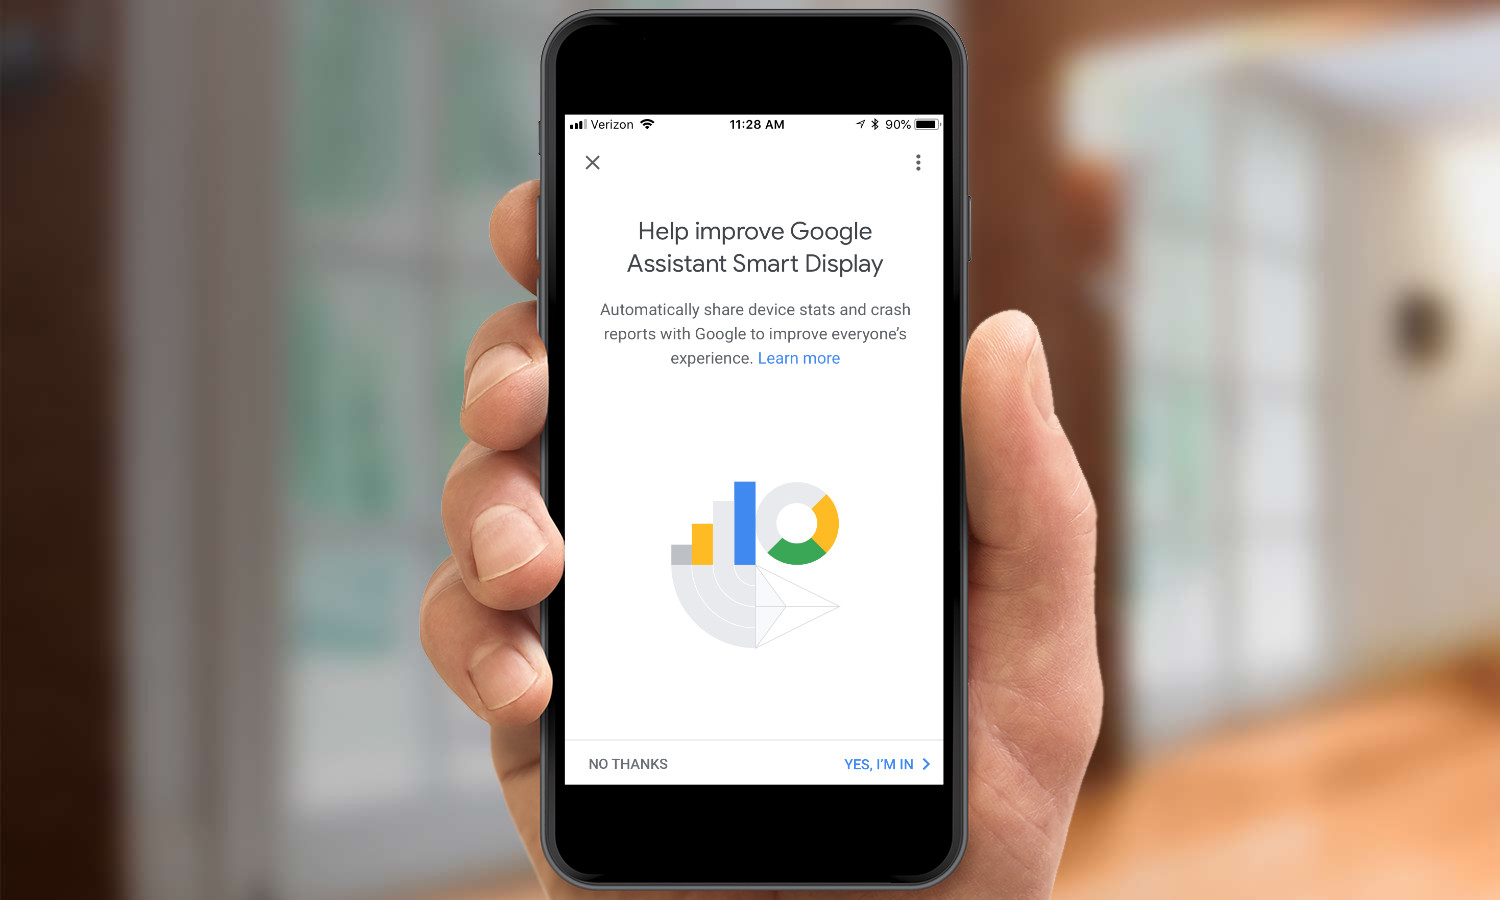
6. Press “Yes, I’m In” on the next screen if you want to share data about the Smart Display’s performance with Google.
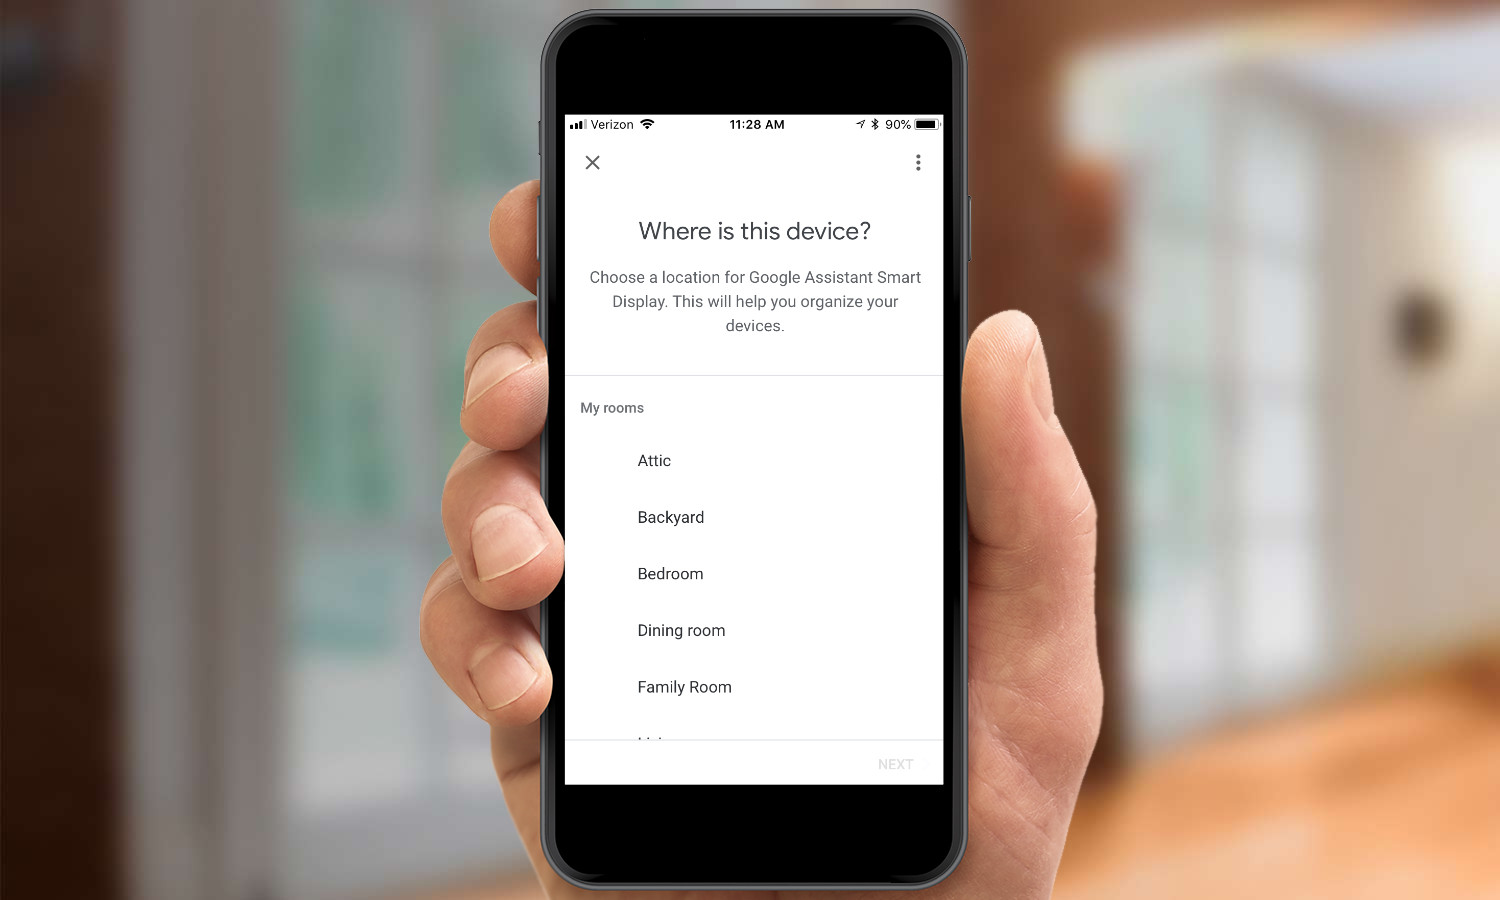
7. Select the room in which you’ll be using the Smart Display. In the Google Home app, you can control various devices by room. You can change this later if you decide to move the display to a different room.
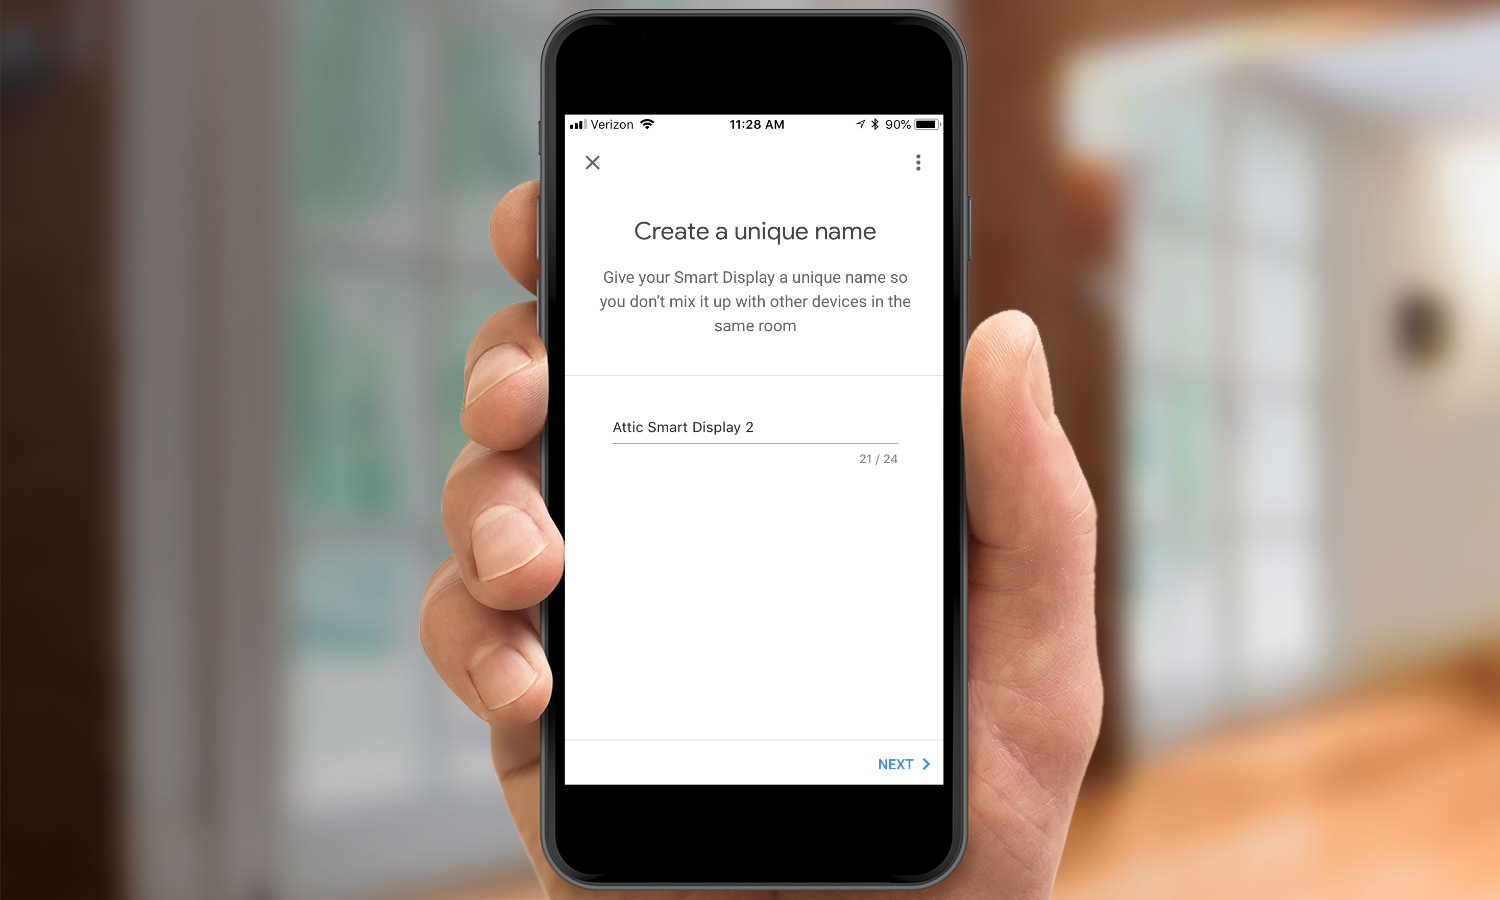
8. Name the Smart Display (you can change the name later if you like).
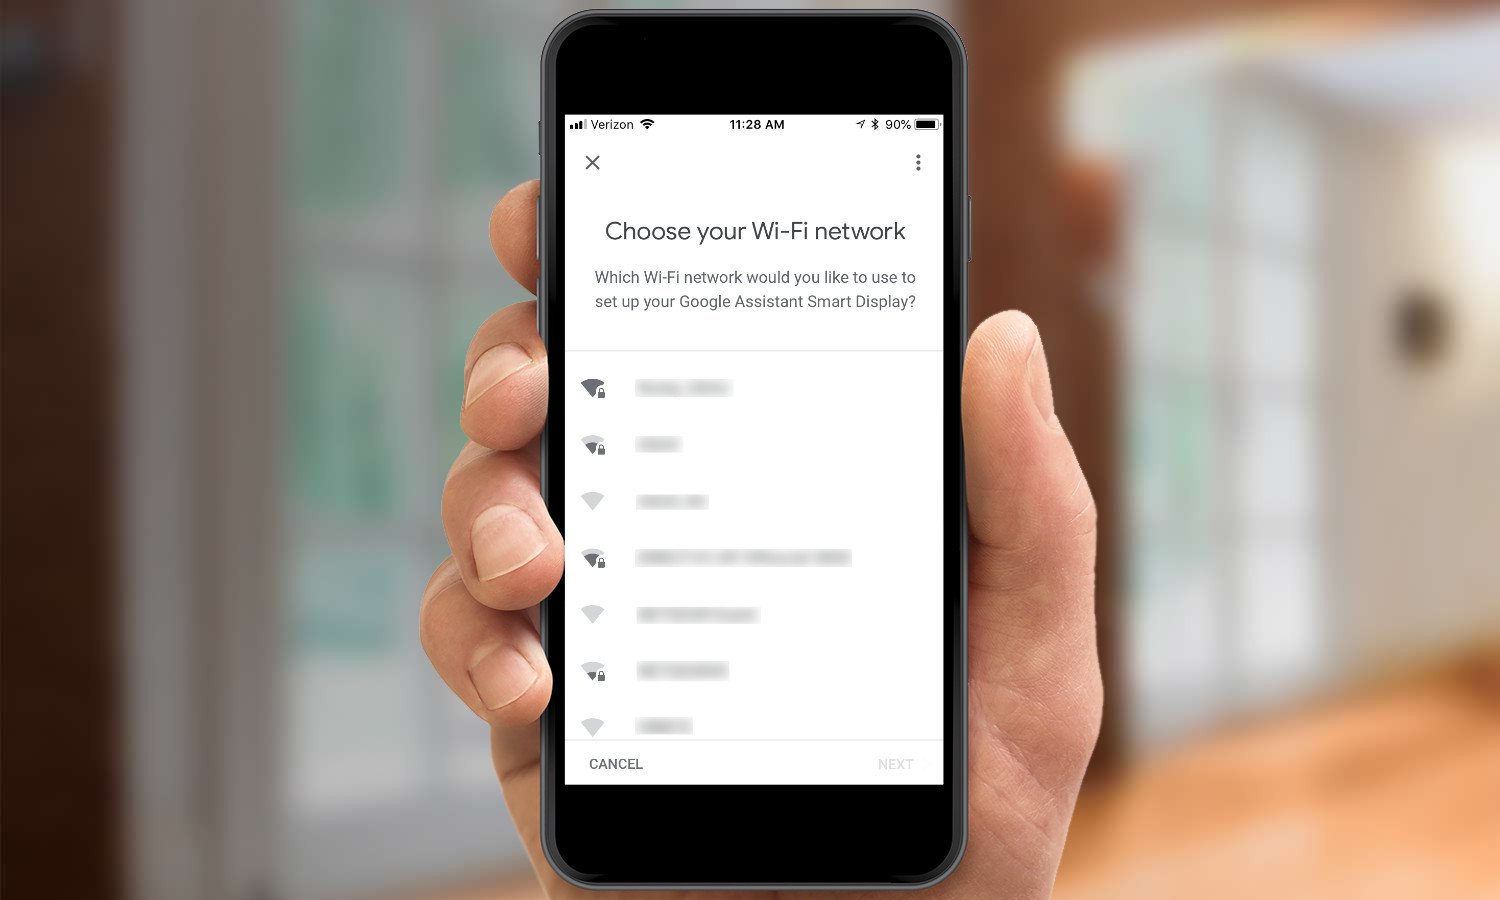
9. Select the Wi-Fi network to which you want to connect the Smart Display. If the Wi-Fi network’s password is saved in your phone, you should not have to re-enter it.
10. Press Next after reading the terms and conditions regarding privacy and security.
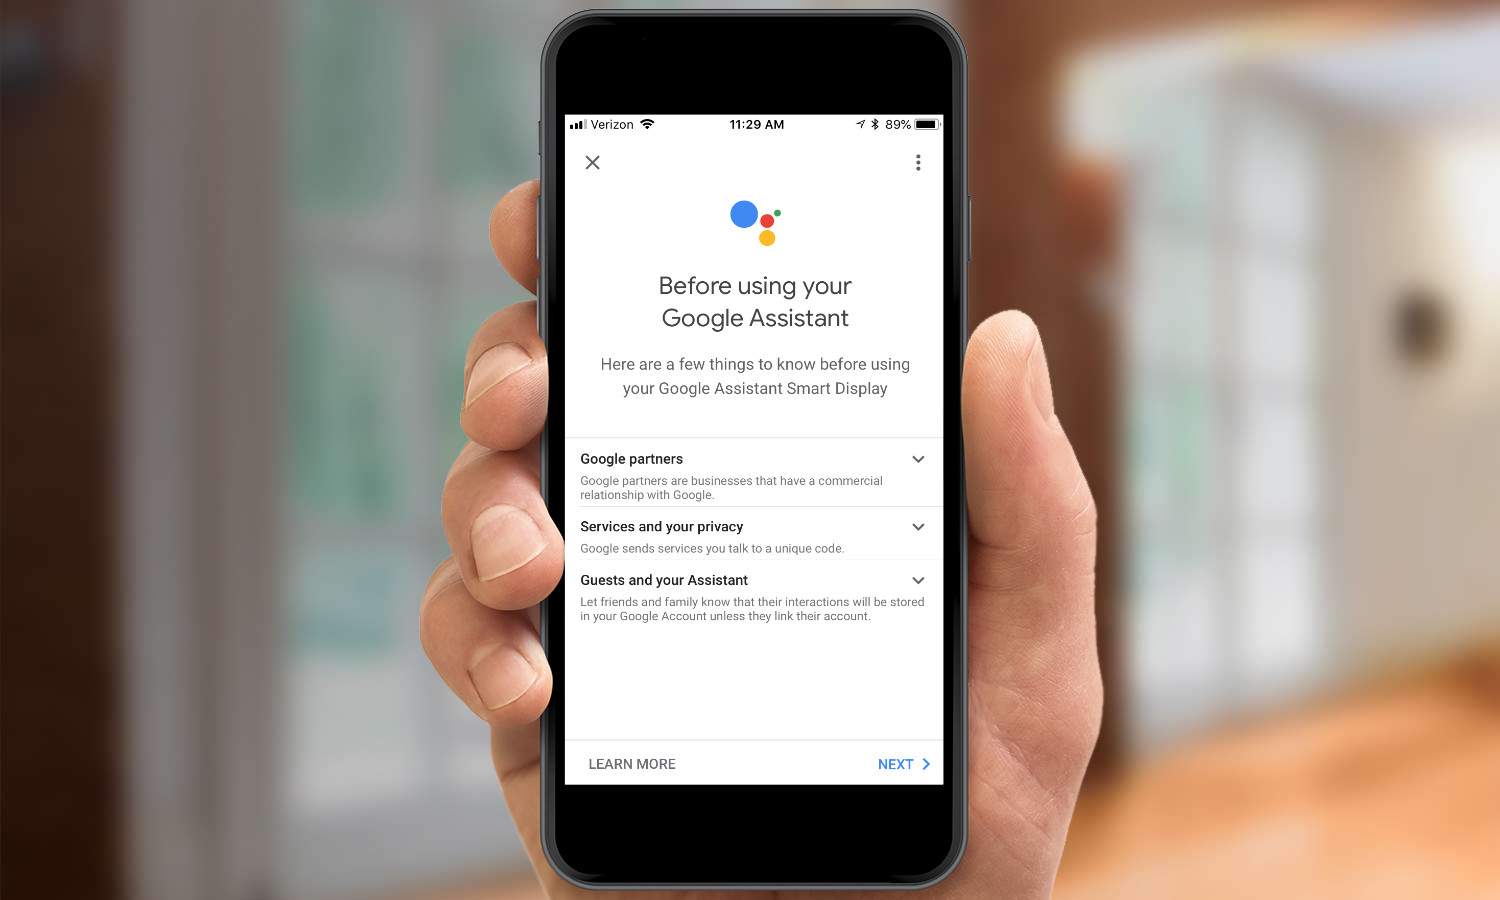
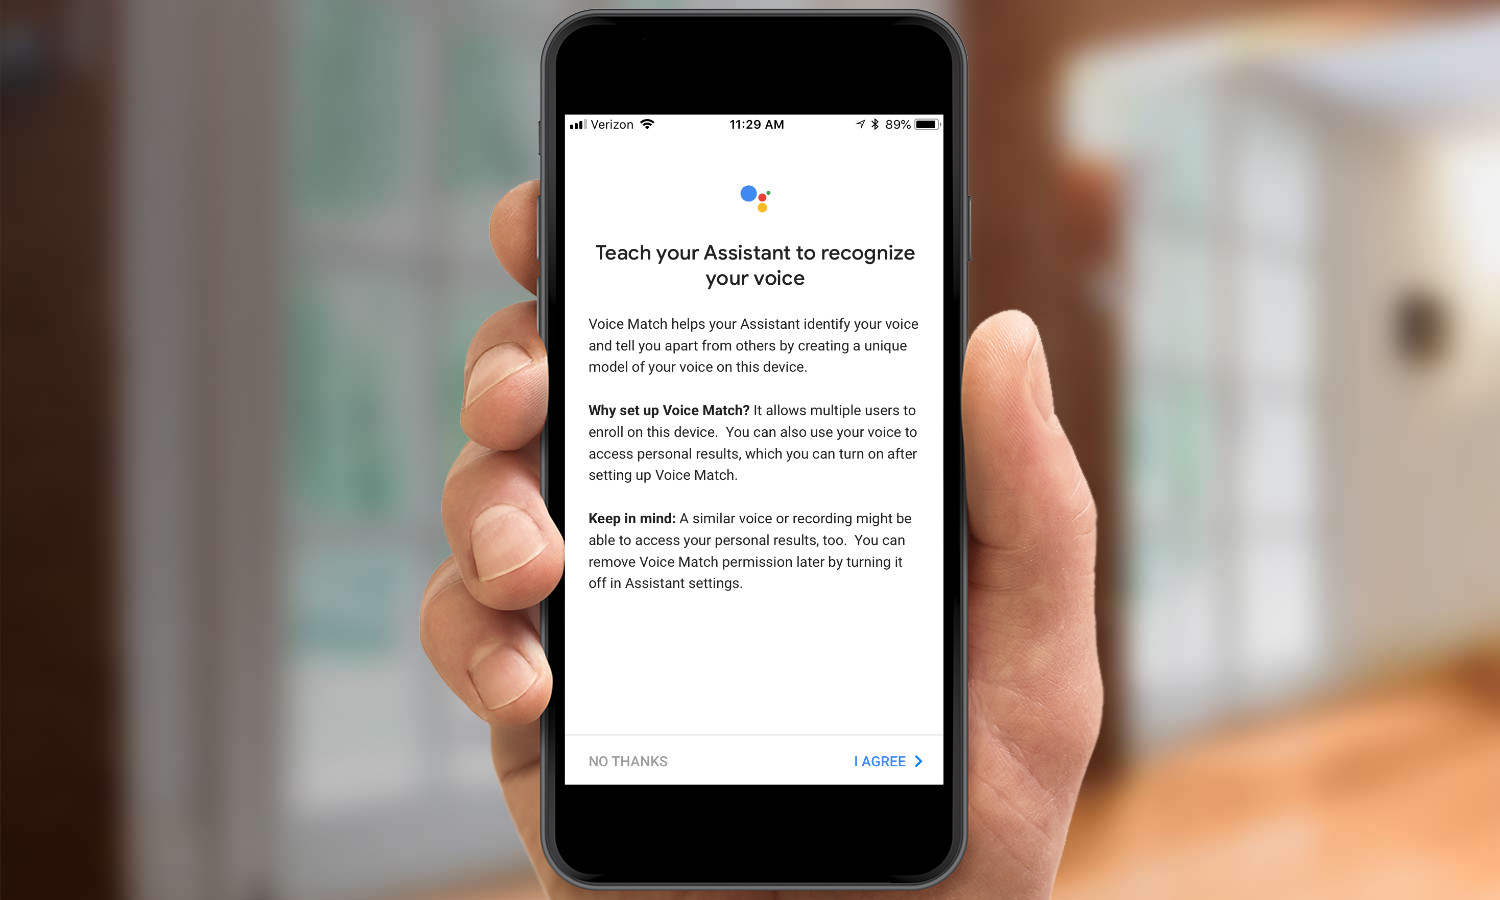
11. Teach Google Assistant to recognize your voice. This optional step is so that the Assistant can recognize different individuals, and deliver personalized results. You can skip this step if you want.
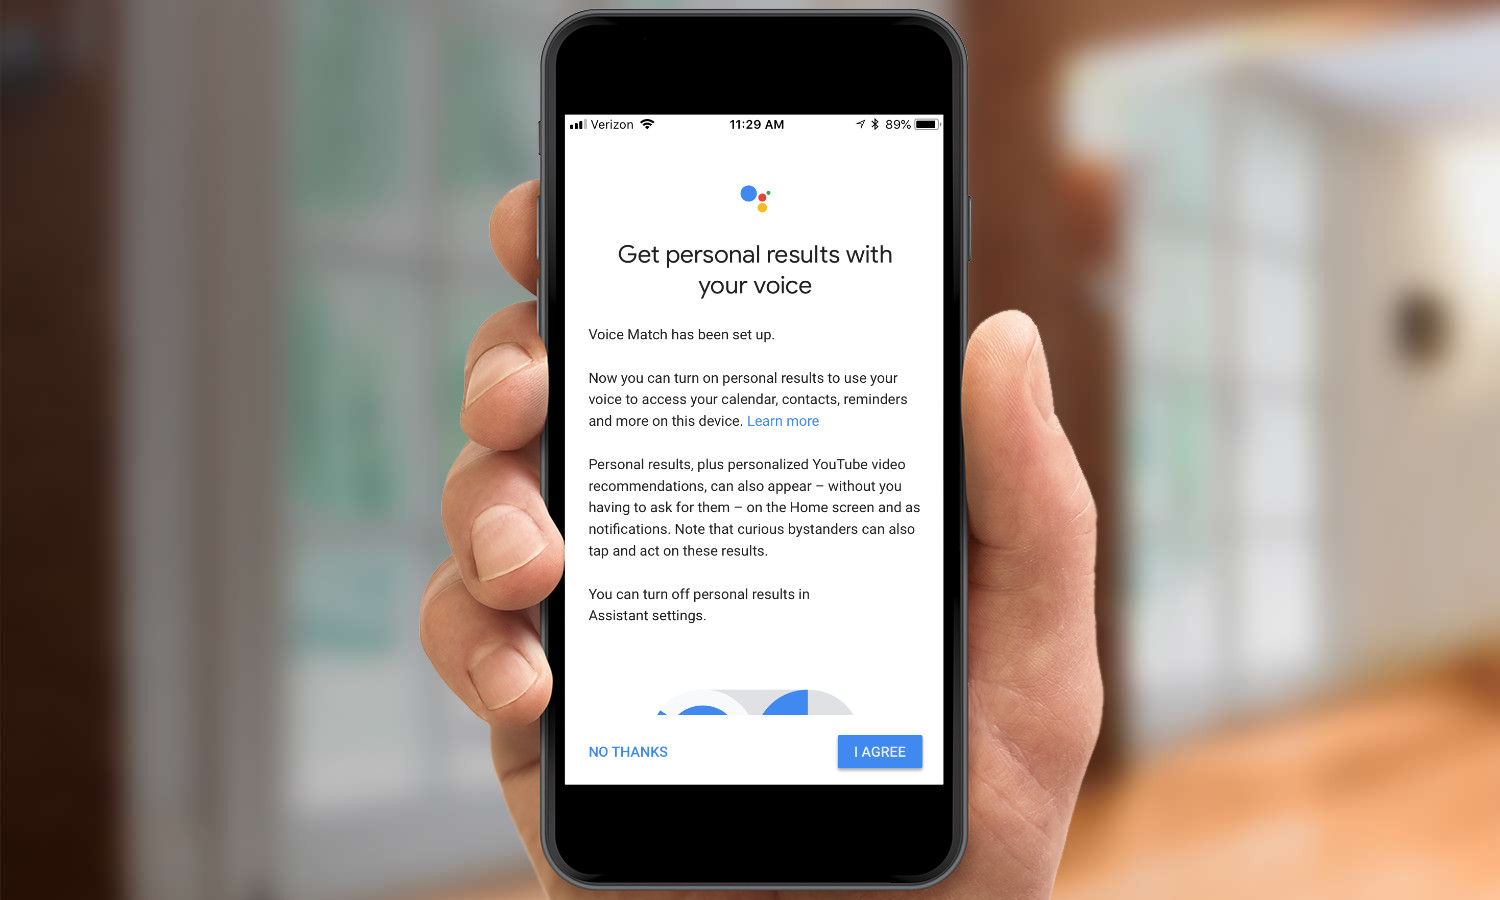
12. Press I Agree if you want to receive personalized results. This step is optional, too.)
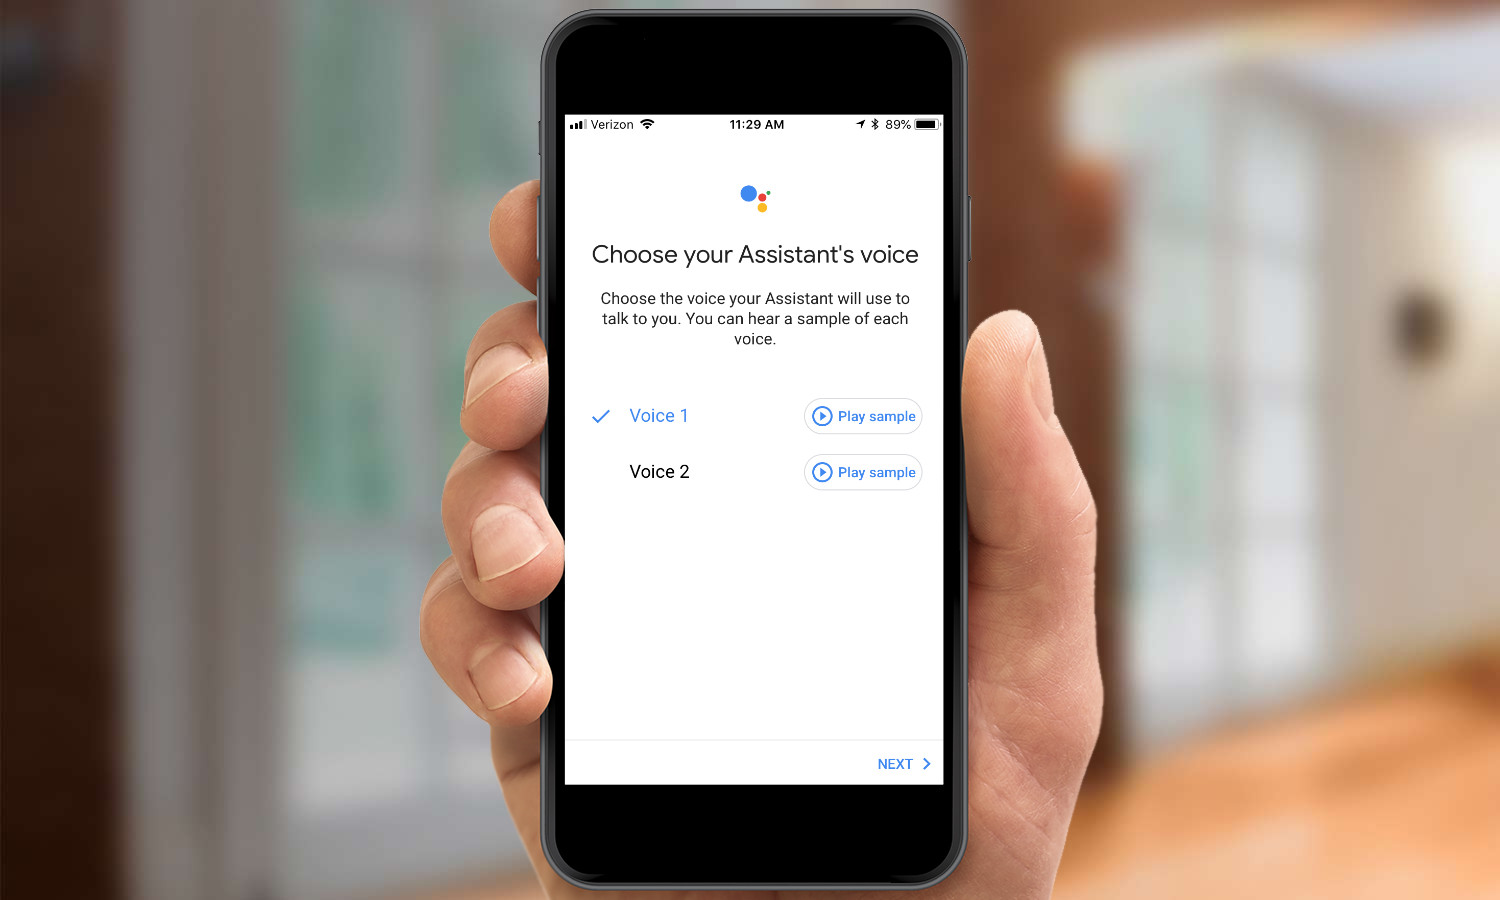
13. Choose Google Assistant’s voice. Although other Google Home devices let you choose from eight voices, only two are currently available for the Lenovo Smart Display.
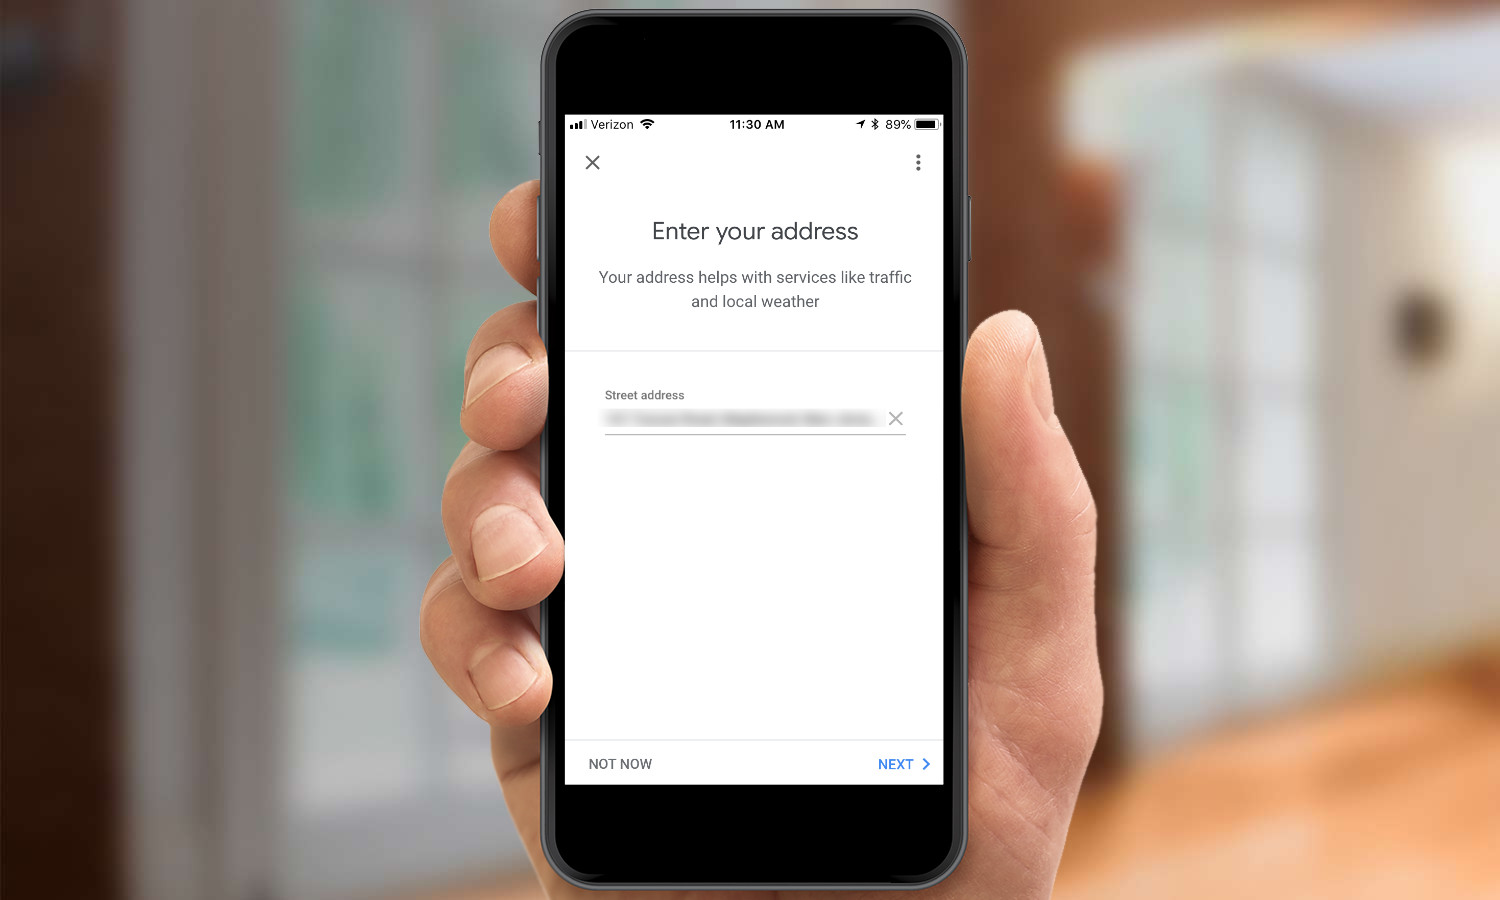
14. Enter your street address. This is an optional step, but makes it easier for Google Assistant to provide local traffic, weather, and business information.
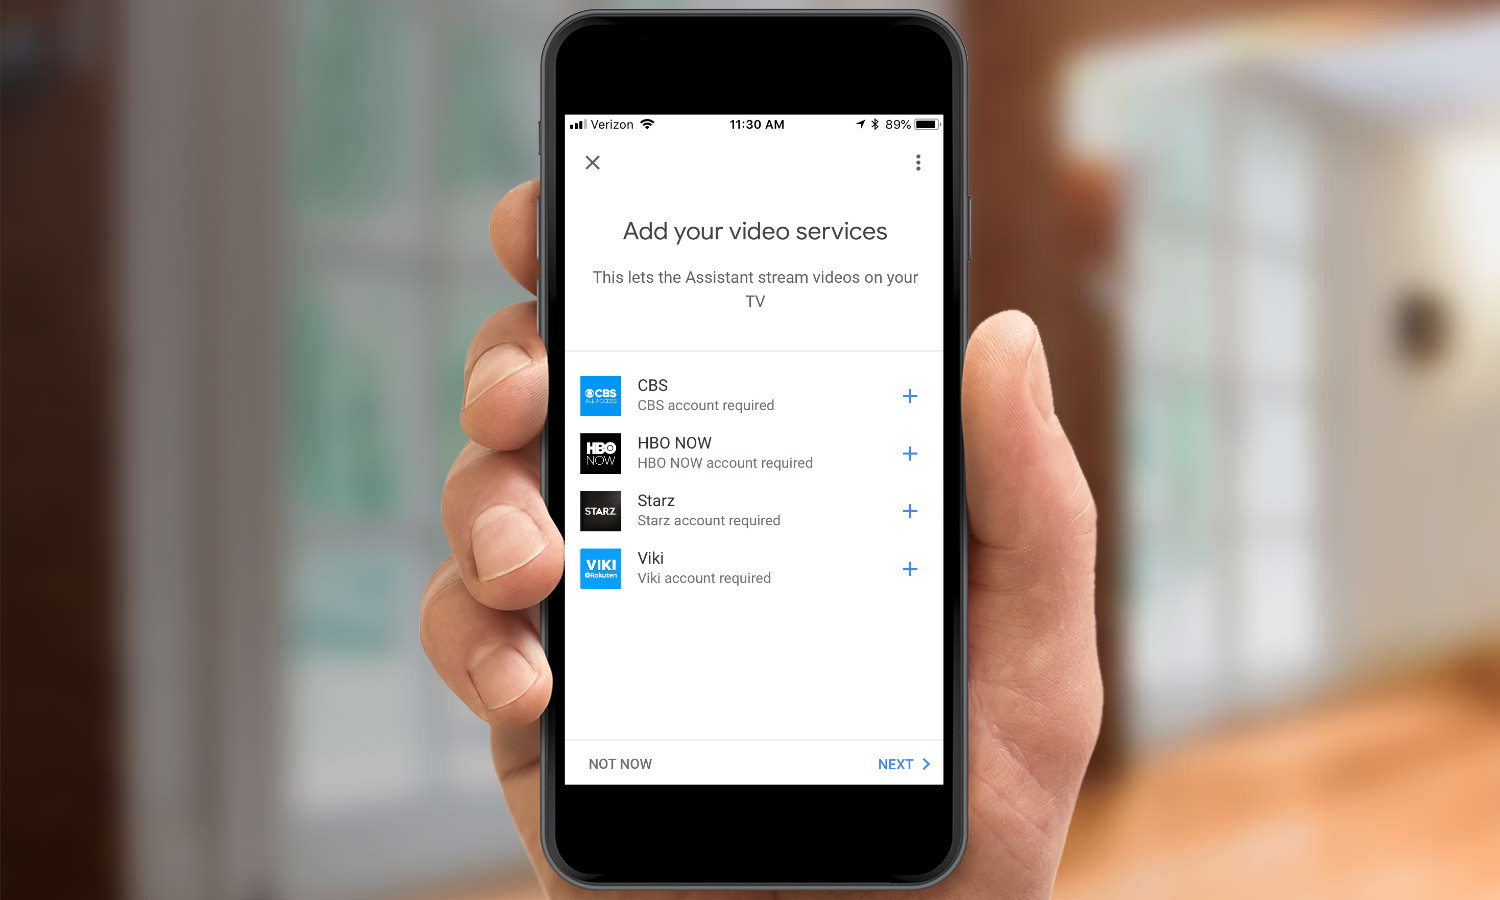
15. Add video services. If you have a CBS, HBO Now, Starz, or Viki account, you have the option of adding them so that you can stream videos from those services on the Smart Display.
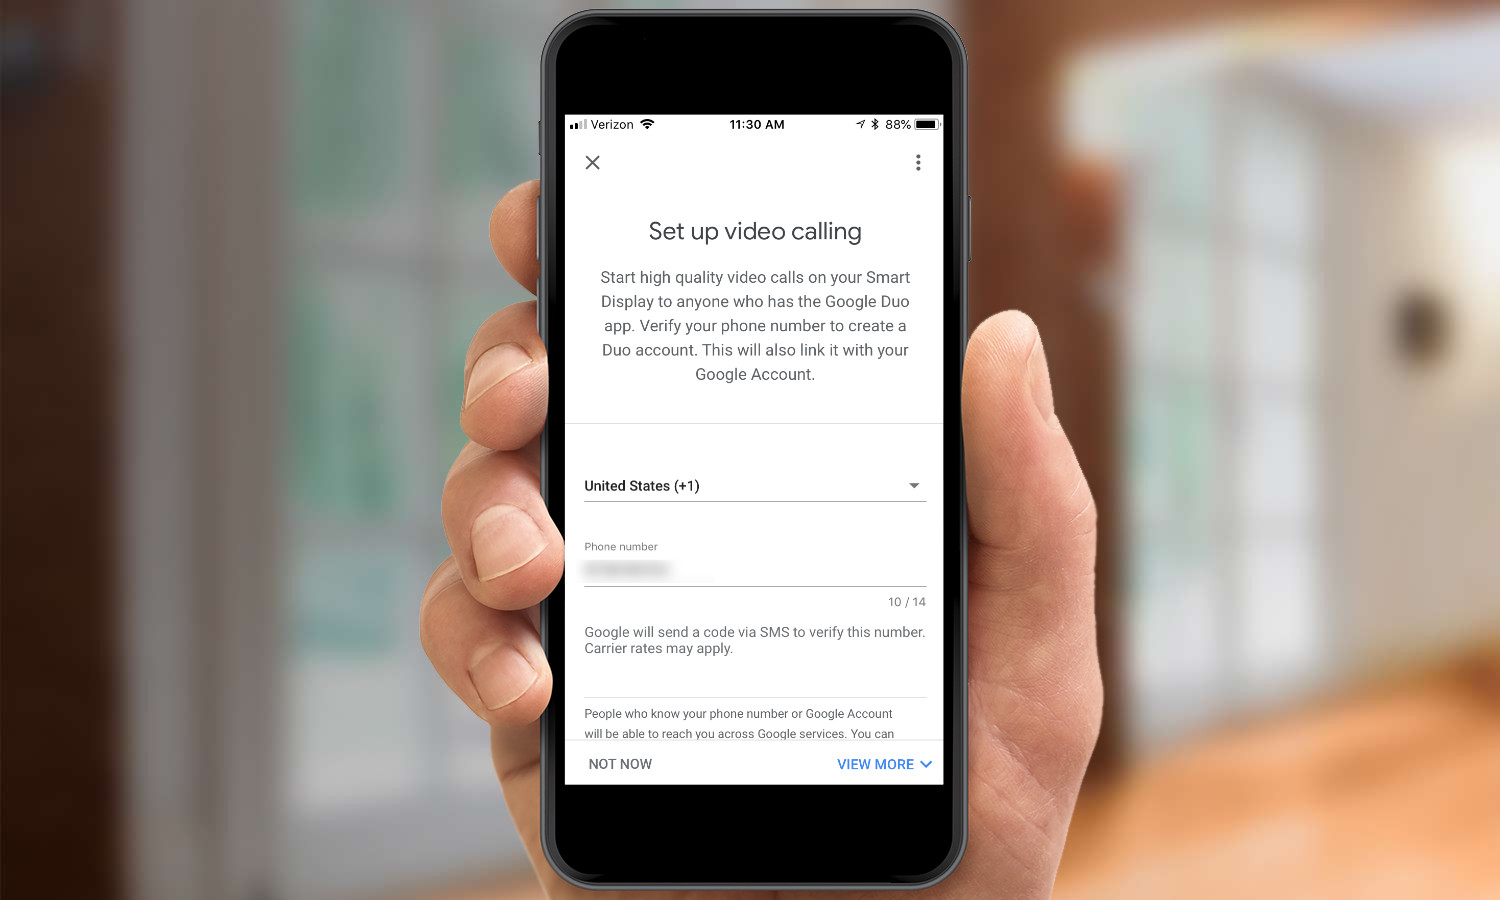
16. Set up video calling. Using the Smart Display, you can make video calls to contacts who have the Google Duo app, or who have a Smart Display of their own. To set this up, you’ll have to enter a number of a phone that can receive SMS messages. You have the option to skip past this step.
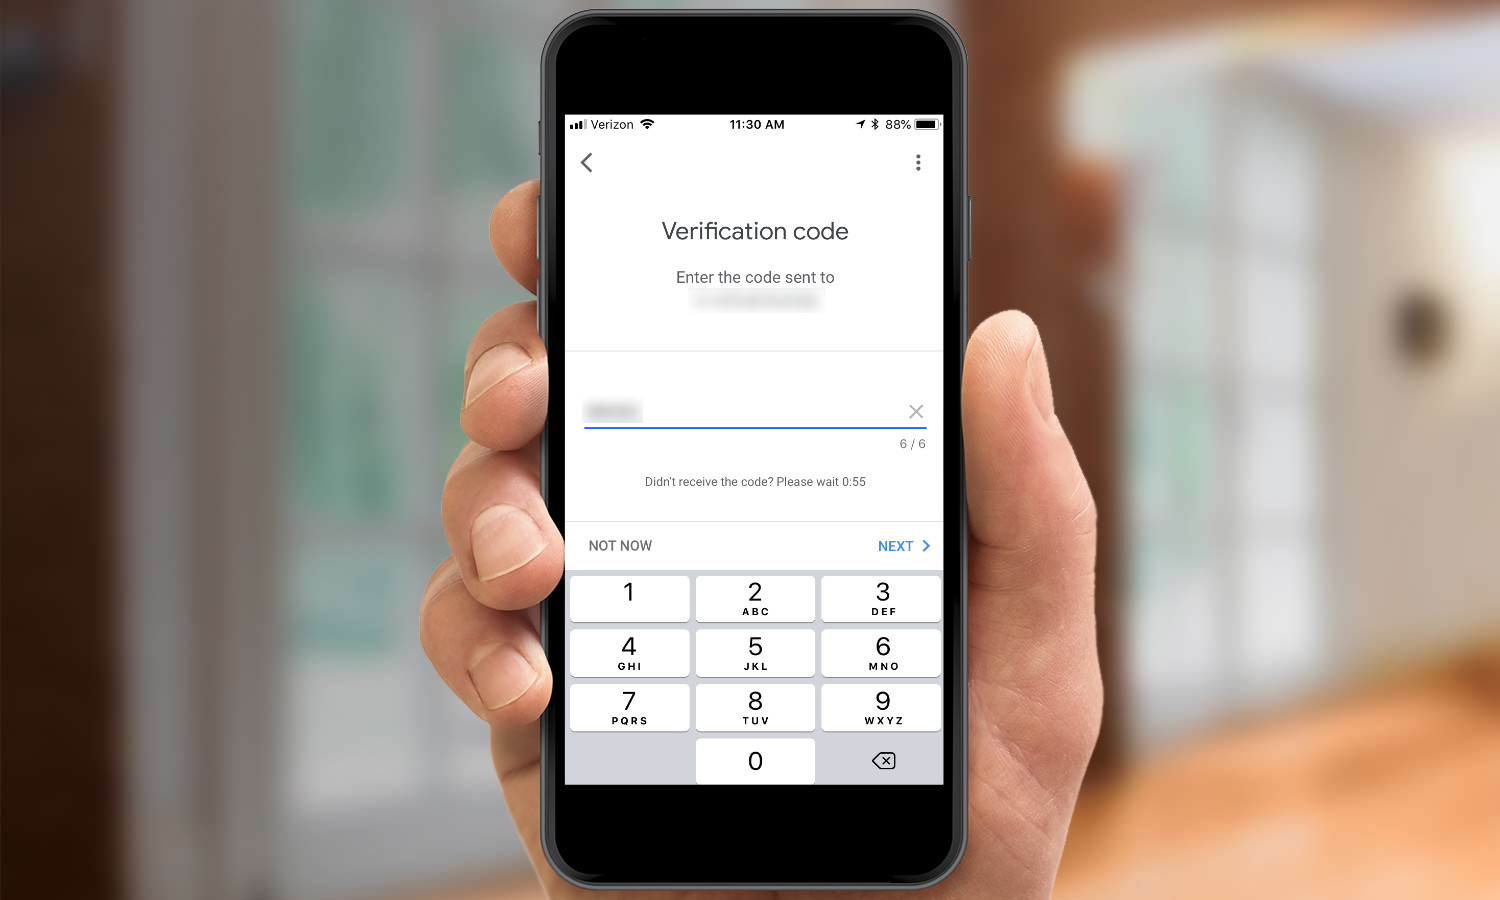
17. Enter the code that Google sends to your phone.
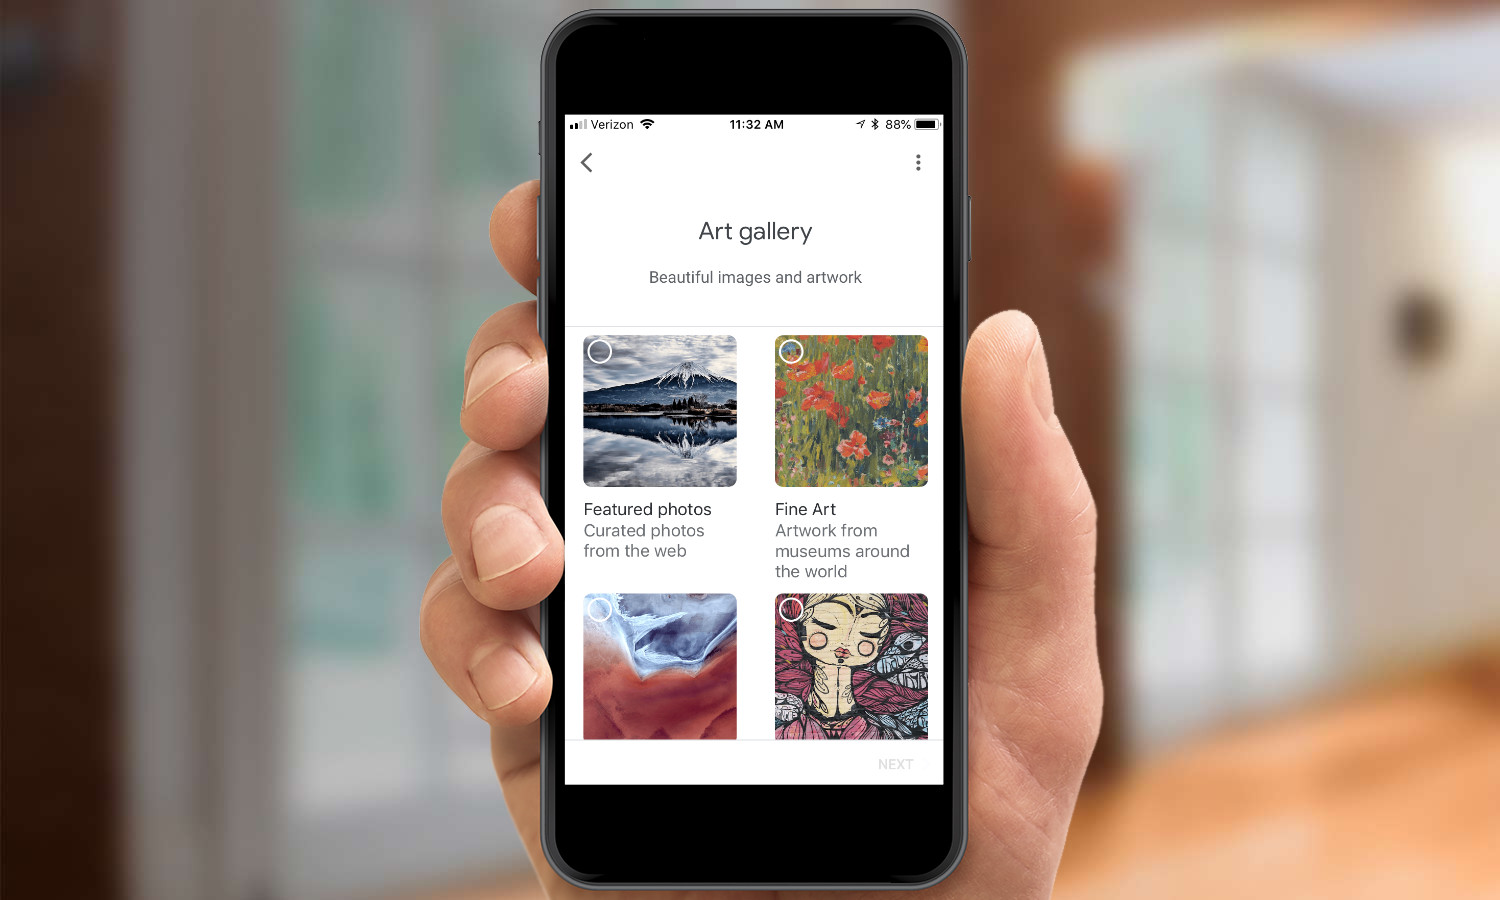
18. Choose what the Smart Display will show in ambient mode. When you’re not using the Smart Display, it can show images from your Google Photo account, as well as famous artwork and other nice-looking scenes. Or, you can simply have it show the time.
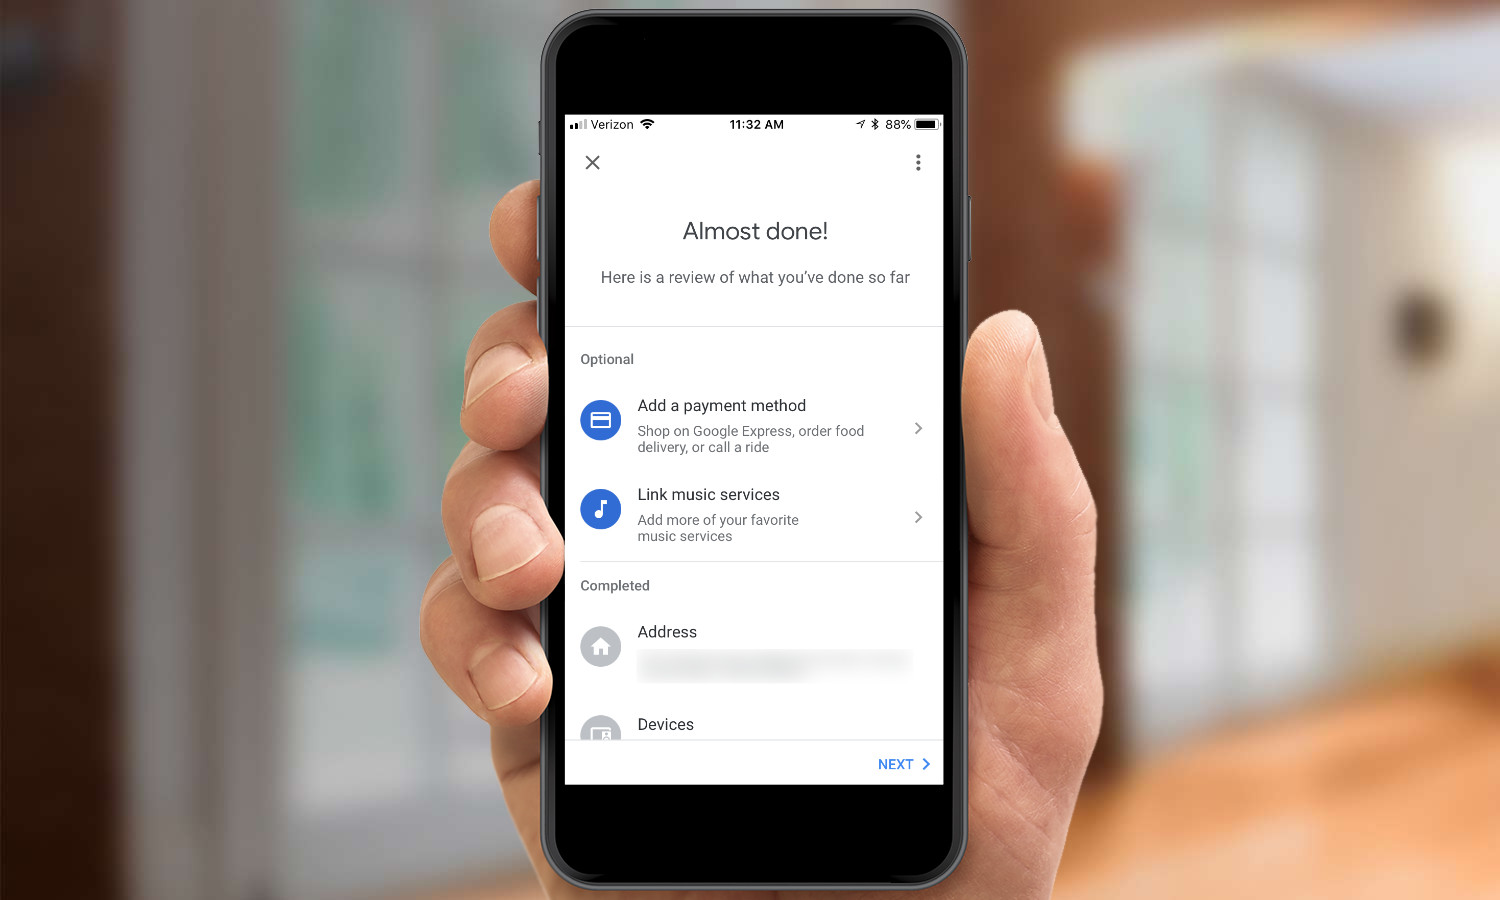
19. Add payment method and link music services. If you want to shop using Google Express, or place orders online, you can add your credit card information — or skip the step if you have no plans to shop from your Smart Display. Likewise, if you want to link your Spotify, Google Play Music, YouTube Music, Pandora, or Deezer accounts, you can do so here too.
20. You’re all set.The Lenovo Smart Display will now play a little introductory video. After it’s done, just say “Hey Google” to use the display, or swipe on the screen.

Michael A. Prospero is the U.S. Editor-in-Chief for Tom’s Guide. He oversees all evergreen content and oversees the Homes, Smart Home, and Fitness/Wearables categories for the site. In his spare time, he also tests out the latest drones, electric scooters, and smart home gadgets, such as video doorbells. Before his tenure at Tom's Guide, he was the Reviews Editor for Laptop Magazine, a reporter at Fast Company, the Times of Trenton, and, many eons back, an intern at George magazine. He received his undergraduate degree from Boston College, where he worked on the campus newspaper The Heights, and then attended the Columbia University school of Journalism. When he’s not testing out the latest running watch, electric scooter, or skiing or training for a marathon, he’s probably using the latest sous vide machine, smoker, or pizza oven, to the delight — or chagrin — of his family.
 Club Benefits


