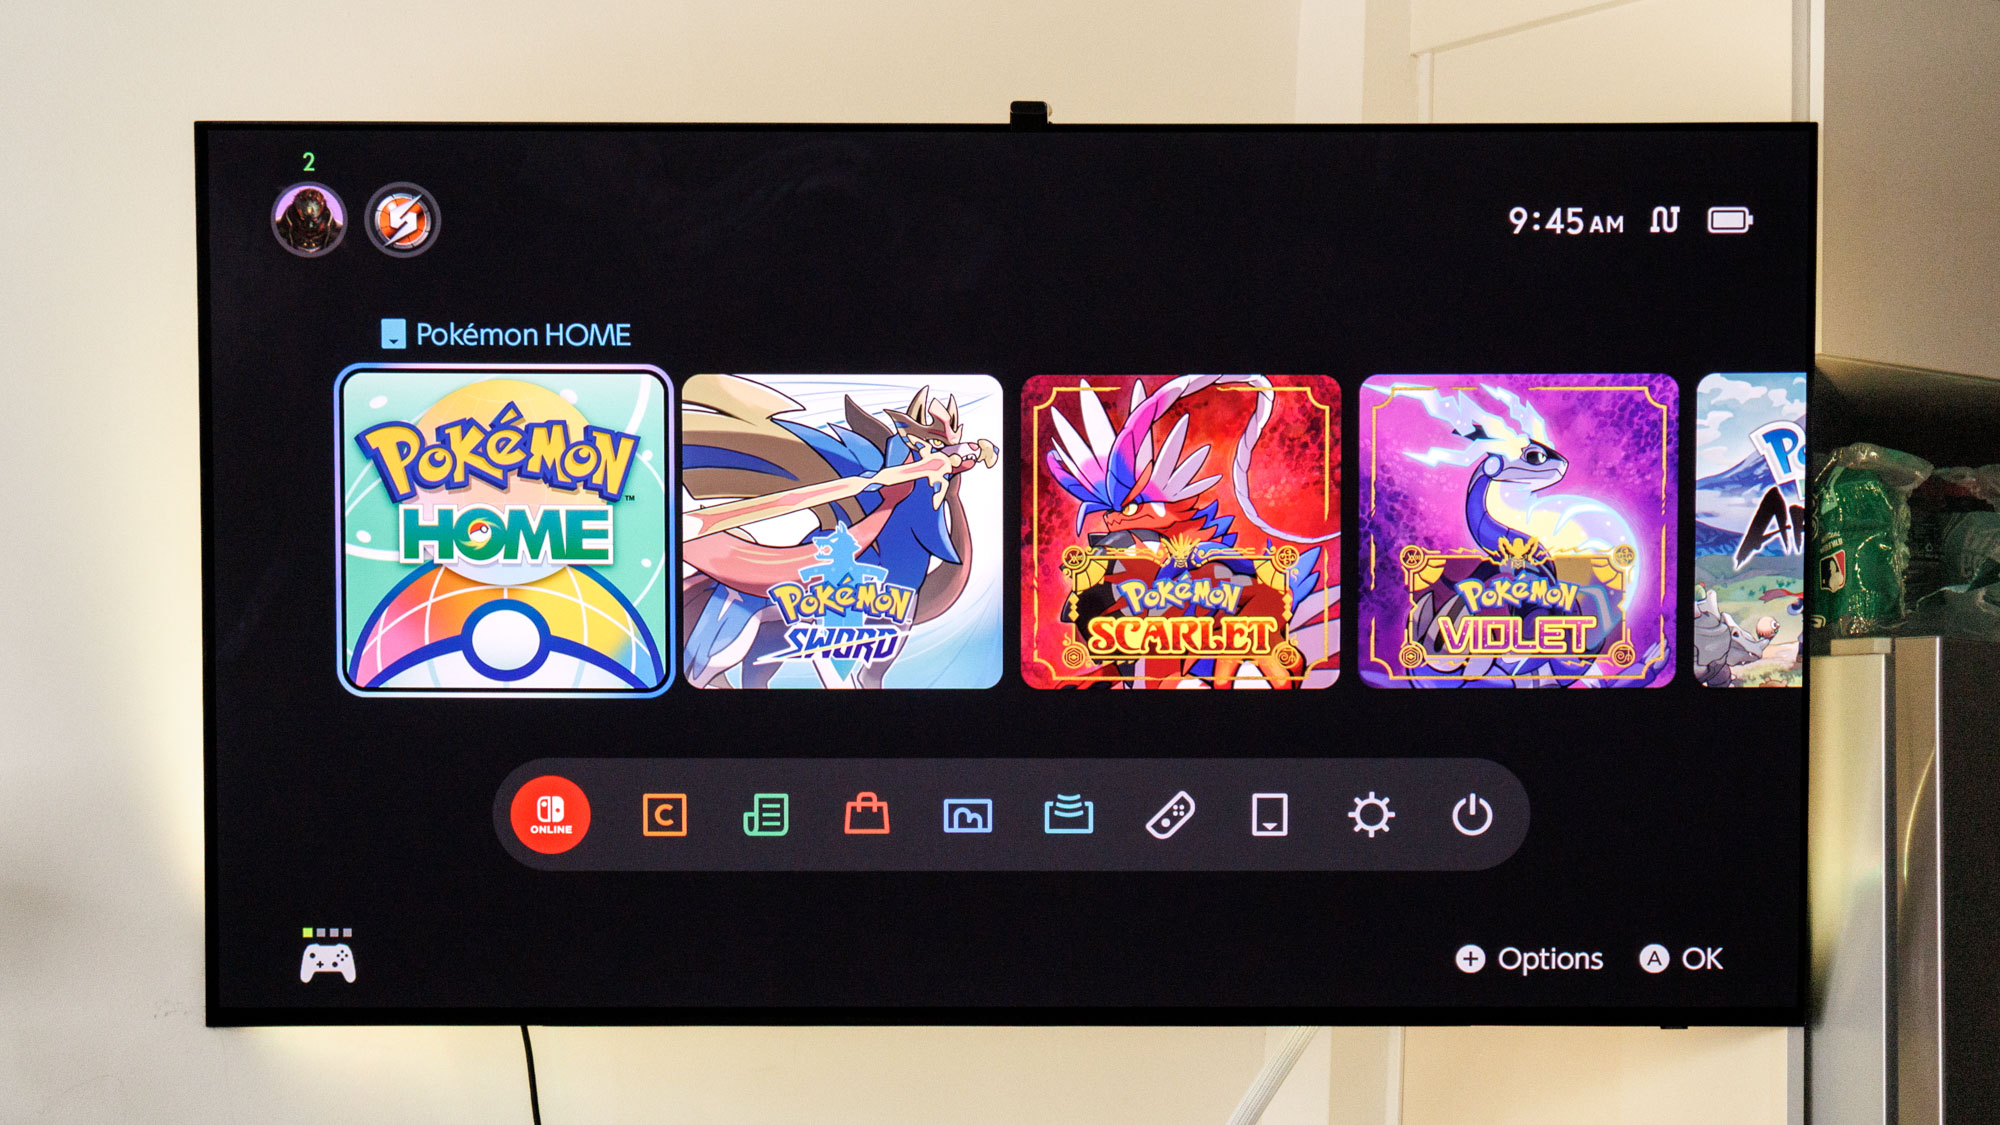
The Nintendo Switch 2 has landed, bringing with it tons of awesome gameplay opportunities thanks to its improved hardware.
With all of the hype surrounding Nintendo's new console, you might dive in head-first to the new hardware and neglect the myriad of settings available to tweak. Some are clear cut and made perfect right out of the box, but it's handy to note their existence and understand what they do.
Trust me, I'm just as excited to rip into Mario Kart World on my new Nintendo Switch 2. Several key elements still need to be considered before proceeding, especially if you're planning on playing games primarily docked and connected to one of the best TVs.
So let's get into all the ways you can boost picture and audio performance on your Switch 2 by delving into these settings below.
HDR Output
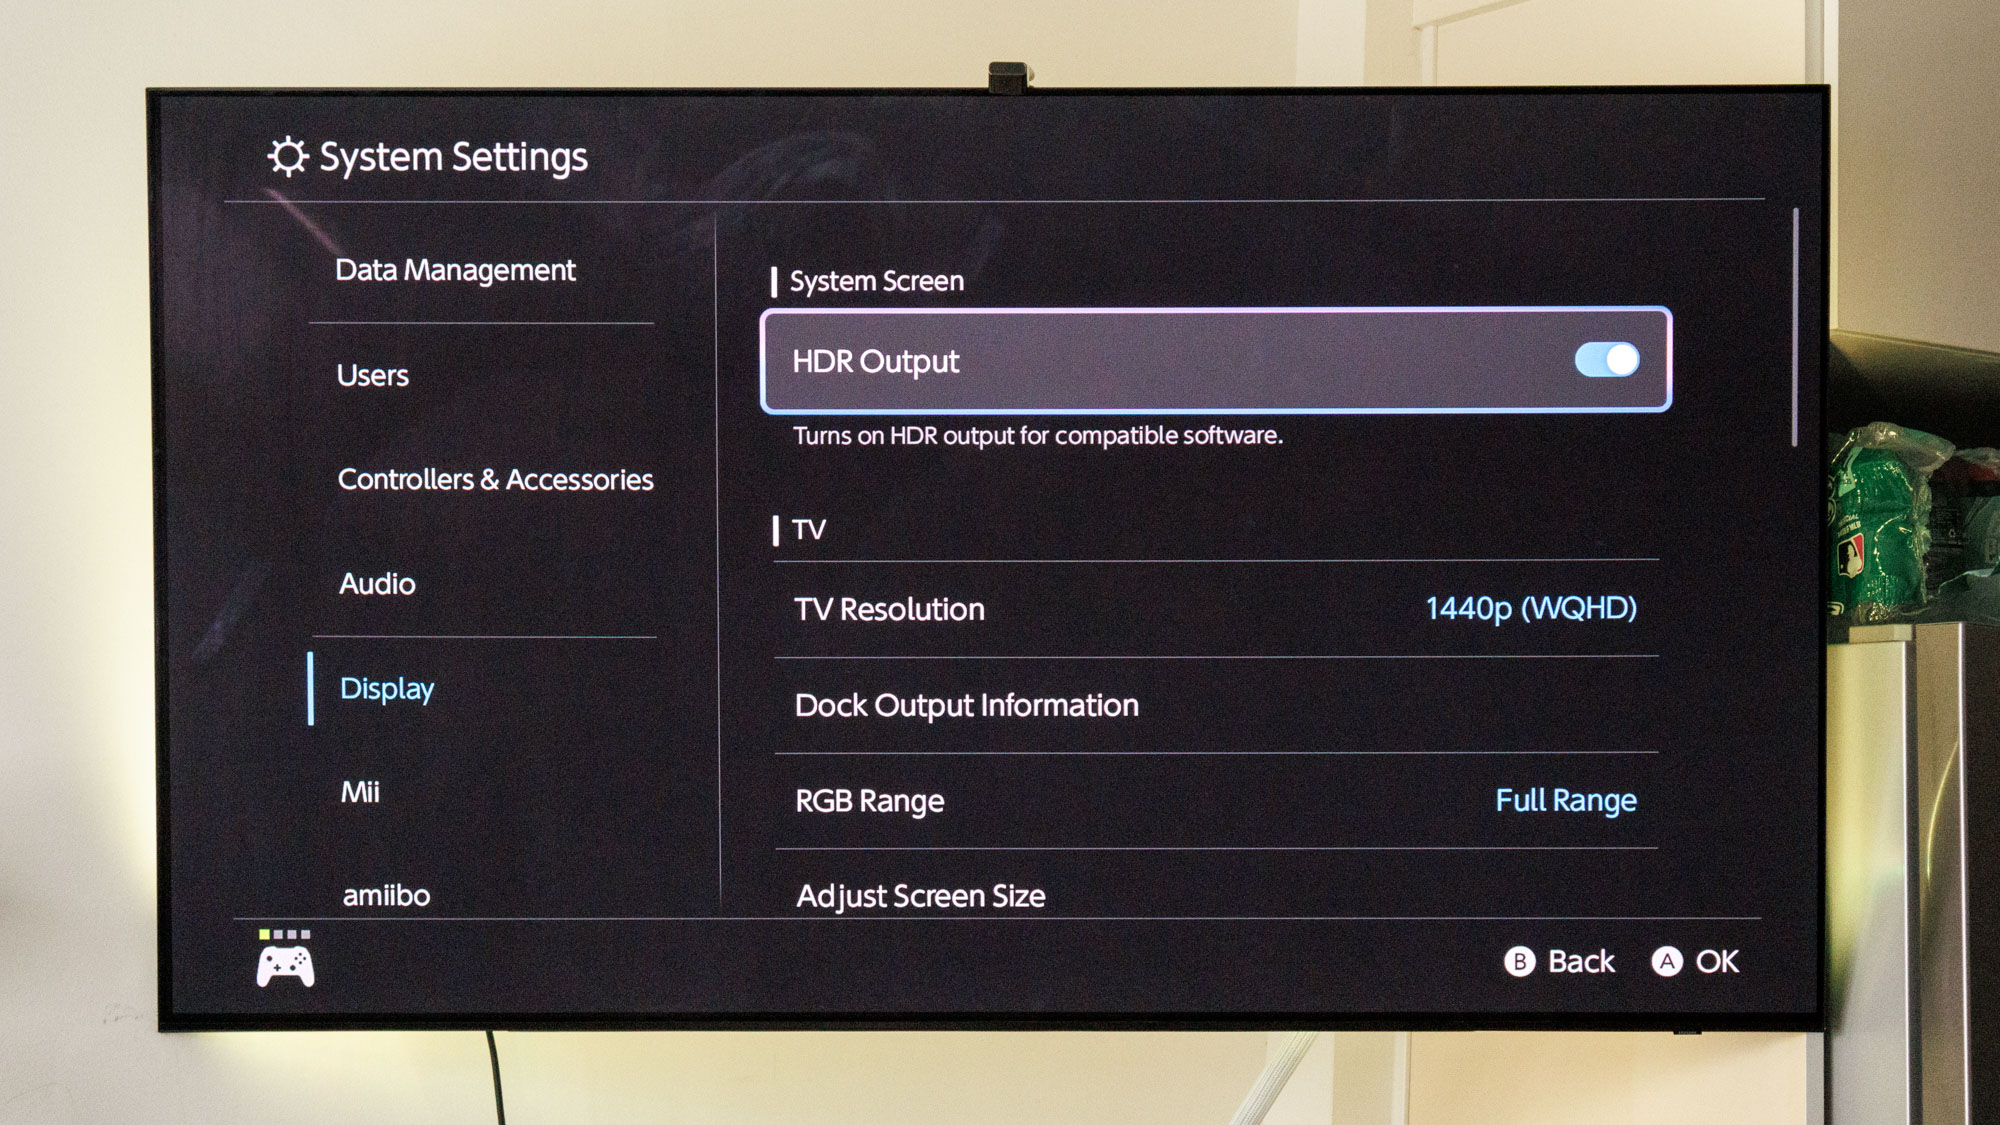
You'll notice there are actually two different display settings on your Switch 2 dedicated to "HDR Output." I'll go over both of them here as they sort of go hand-in-hand and it wouldn't really make sense to talk about a similar setting later on.
The one found at the top of the settings simply just toggles HDR and it will most likely be turned on by default. This really only pertains to you if you're using an HDR-enabled TV.
However, the best course of action is to just keep this setting on, even if you don't have an HDR-enabled TV. In the event you upgrade in the future, the Switch 2 will automatically recognize the HDR and you won't have to go and change this setting.
Get instant access to breaking news, the hottest reviews, great deals and helpful tips.
The second HDR Output relates to the Switch 2's software. You can toggle this second setting to three different modes, including "Off," "Compatible Software Only," or "For all Software." The latter setting is on by default, but you can set it to "Compatible Software Only" so it works specifically with games and apps that support the format.
I actually recommend setting it to "Compatible Software Only" as this won't warp the colors of non-HDR titles being played on the Switch 2.
TV resolution
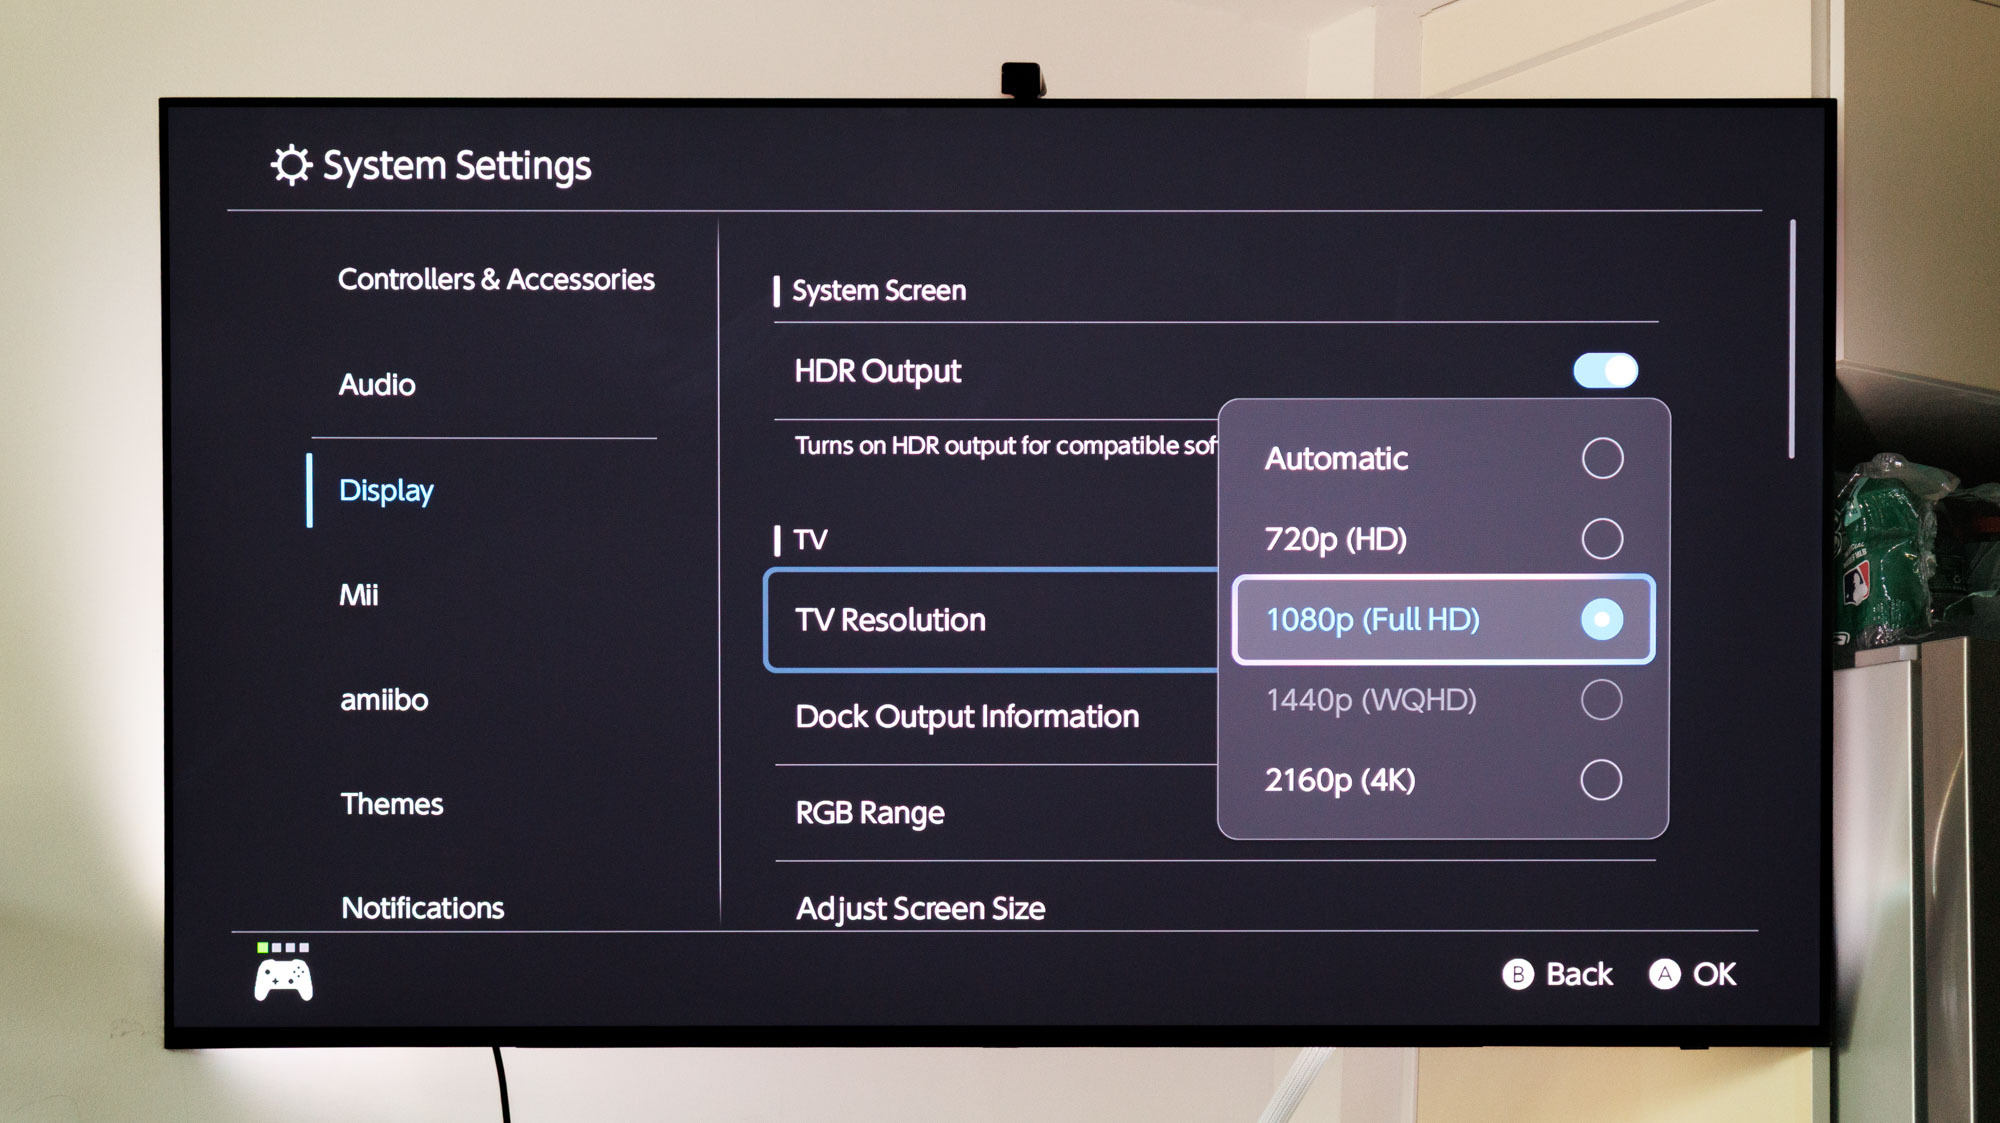
The Switch 2 now finally has the potential to hit 4K resolutions, but before you go and switch it to the highest specification let's take a step back and assess first.
"Automatic" is probably the best setting if you're relatively tech illiterate and aren't sure what resolution your TV has — but you can check this via "Dock Output Information" right below the resolution setting.
For me, I prefer keeping the Switch 2 in lower resolutions, either 1440p or 1080p. This allows the Switch 2 to run at a faster 120Hz refresh rate at either resolution. In 4K, you're stuck at 60Hz (and 60fps in most titles).
While it's still unclear which games might actually hit above the 60fps mark, I would rather have it set to a lower resolution for better performance.
RGB range
Essentially, this setting lets you choose between allowing your TV to catch the full range of RGB color values (0-255) versus a limited amount of them (16-235) to best suit your TV's color output.
Out of the box this will be set to "Automatic," which is probably the best setting for most users. However, you'll want to change this to Full RGB to ensure the best possible results.
Some TVs will be better equipped to handle the "Limited Range" setting, but you can always double check this by seeing if your TV can handle Full RGB in the user manual or online. Most modern displays, especially some of the best Samsung TVs and assorted LG models, can handle Full RGB.
Match TV power state
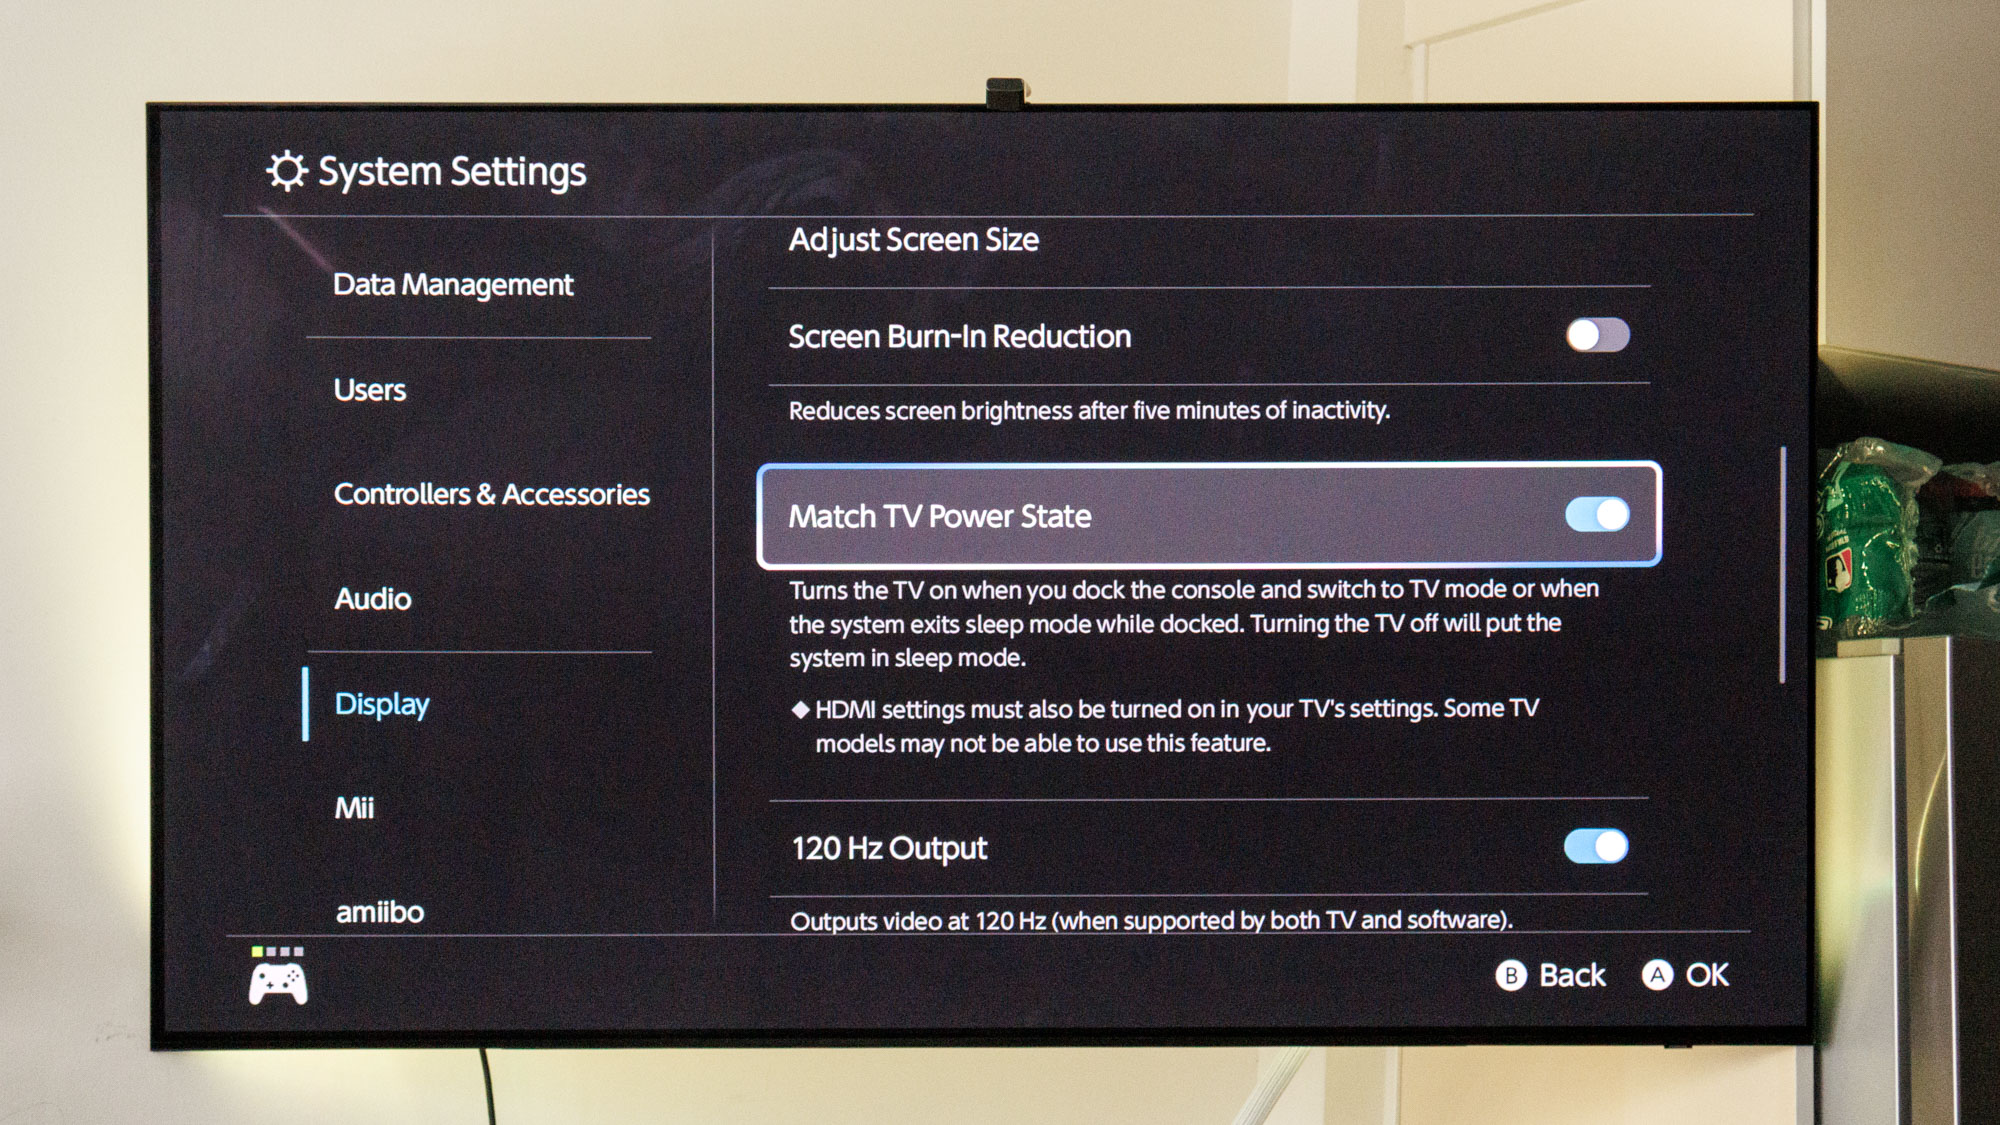
Most modern consoles have what's called CEC (Consumer Electronics Control), which allows a particular device to automatically turn on the TV when it's powered on. The Switch 2 comes equipped with this very function, only Nintendo calls it "Match TV Power state."
This comes down to preference, but I like having that capability of grabbing a nearby controller and turning on my Switch and TV at the same time. I don't have to worry about scouring the couch for my TV remote, and it jumps right into the HDMI output my Switch 2 is connected to.
It's a handy feature and you'll want to make sure it's enabled.
120Hz and ALLM
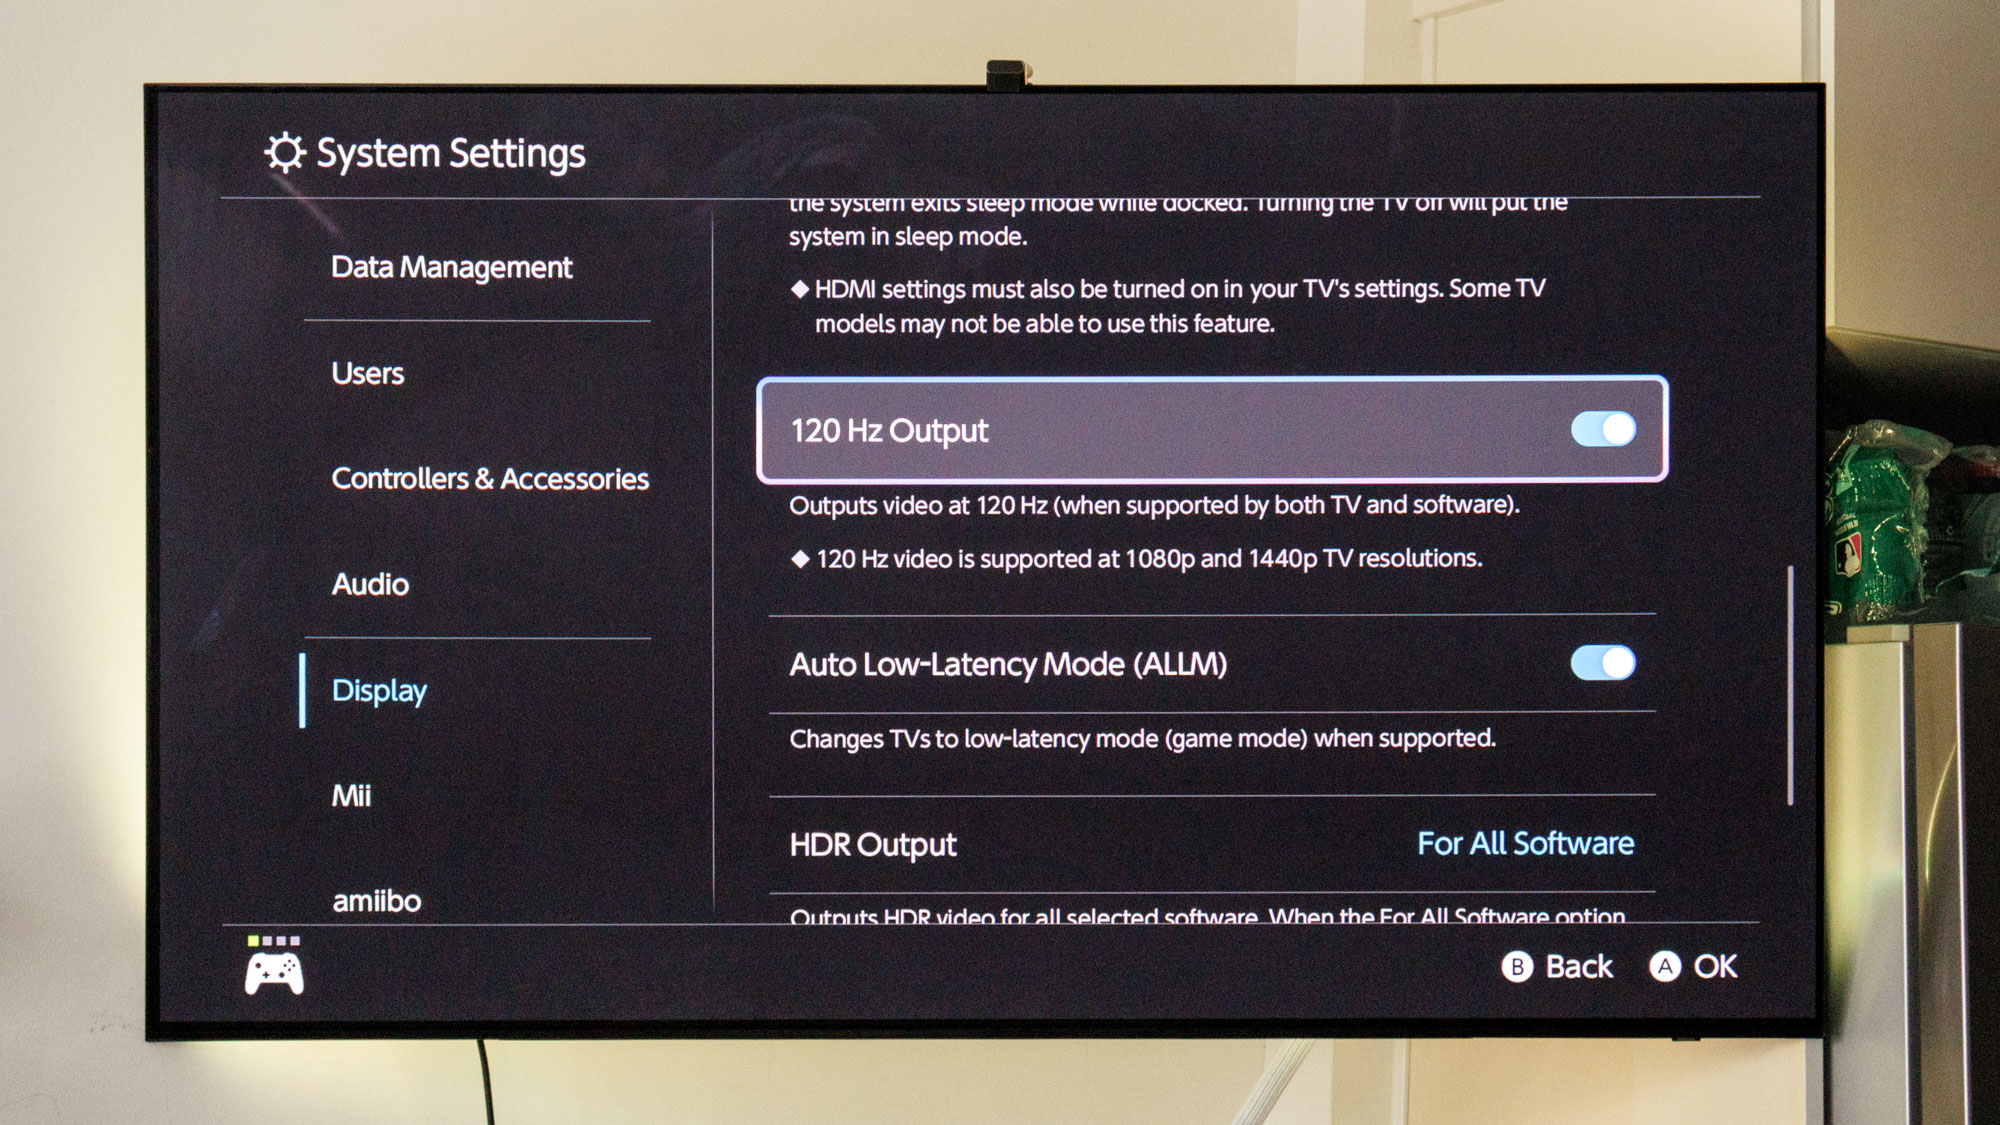
The final two pieces of our display settings rundown for the Nintendo Switch 2 are ALLM and 120Hz mode. The former, which stands for Auto Low Latency Mode, is a setting largely tied to a TV's game picture setting and increases responsiveness, so it's best to ensure this is enabled, which it should be right out of the box.
You'll also want to keep 120Hz mode enabled as already mentioned in the TV resolution section. This will ensure that games can run at 120Hz when playing in 1080p or 1440p, thus granting you crisp 120fps in some games.
Which titles might actually hit that number is another story entirely. I've run a few Pokémon games so far and only saw locked 60fps gameplay even in 1080p, so it's hard to tell where you might see upgraded performance. We'll just have to do a bit more testing on this front.
Audio settings
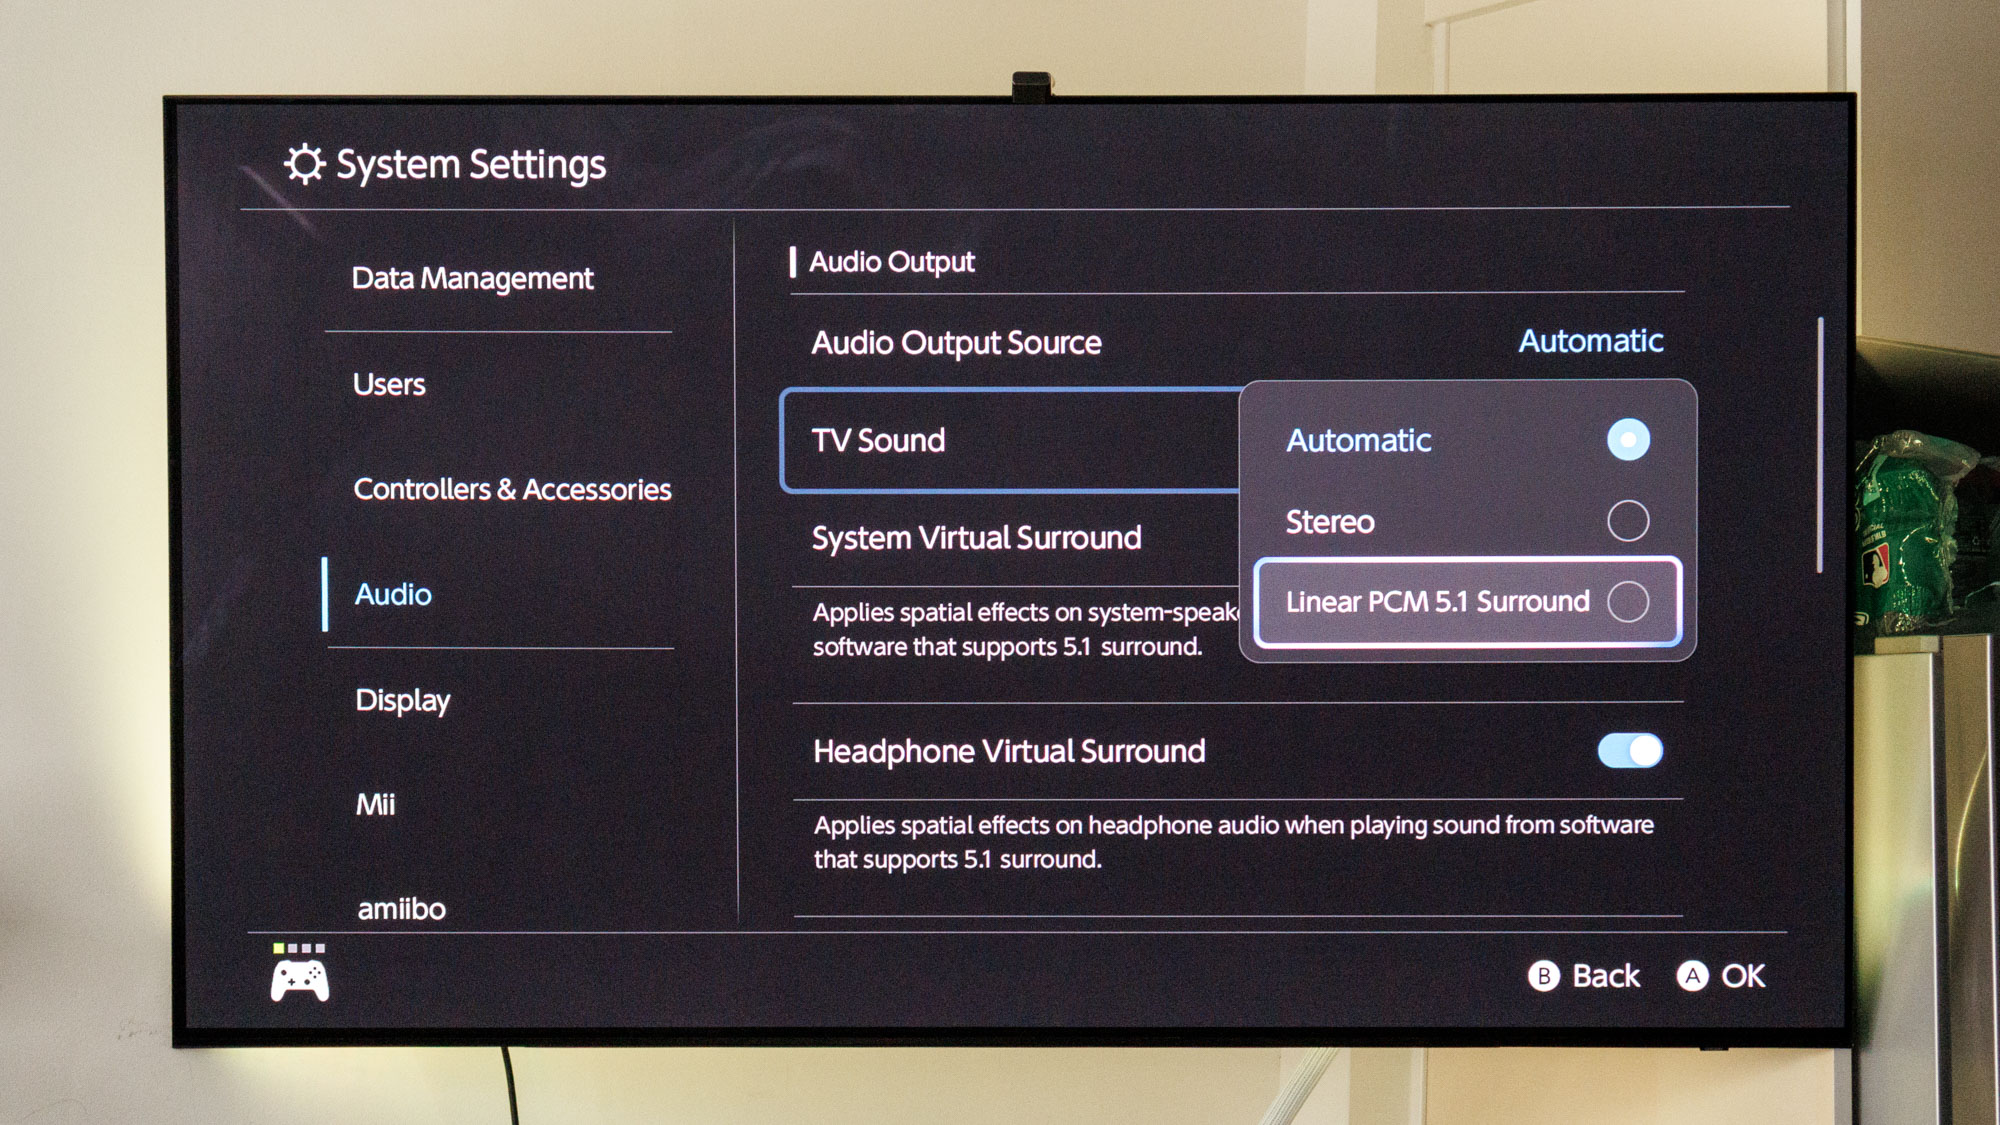
Much of the audio settings are cut and dry. They don't require too much if any tweaking, but one thing I will specify is TV Sound. Like most other settings on the Switch 2, you could leave this as "Automatic," but if you have a more bombastic audio system that supports 5.1 linear PCM, go ahead and change it to that setting.
It's a bit unfortunate that the Switch 2 doesn't come equipped with Dolby Atmos support, but at least you can get some surround sound when it's docked.
There's a variety of soundbars on the market that support 5.1 PCM, like the Sonos Arc and the Amazon Fire TV Soundbar, but check our best soundbars to find the one that fits your budget.
Bluetooth pairing
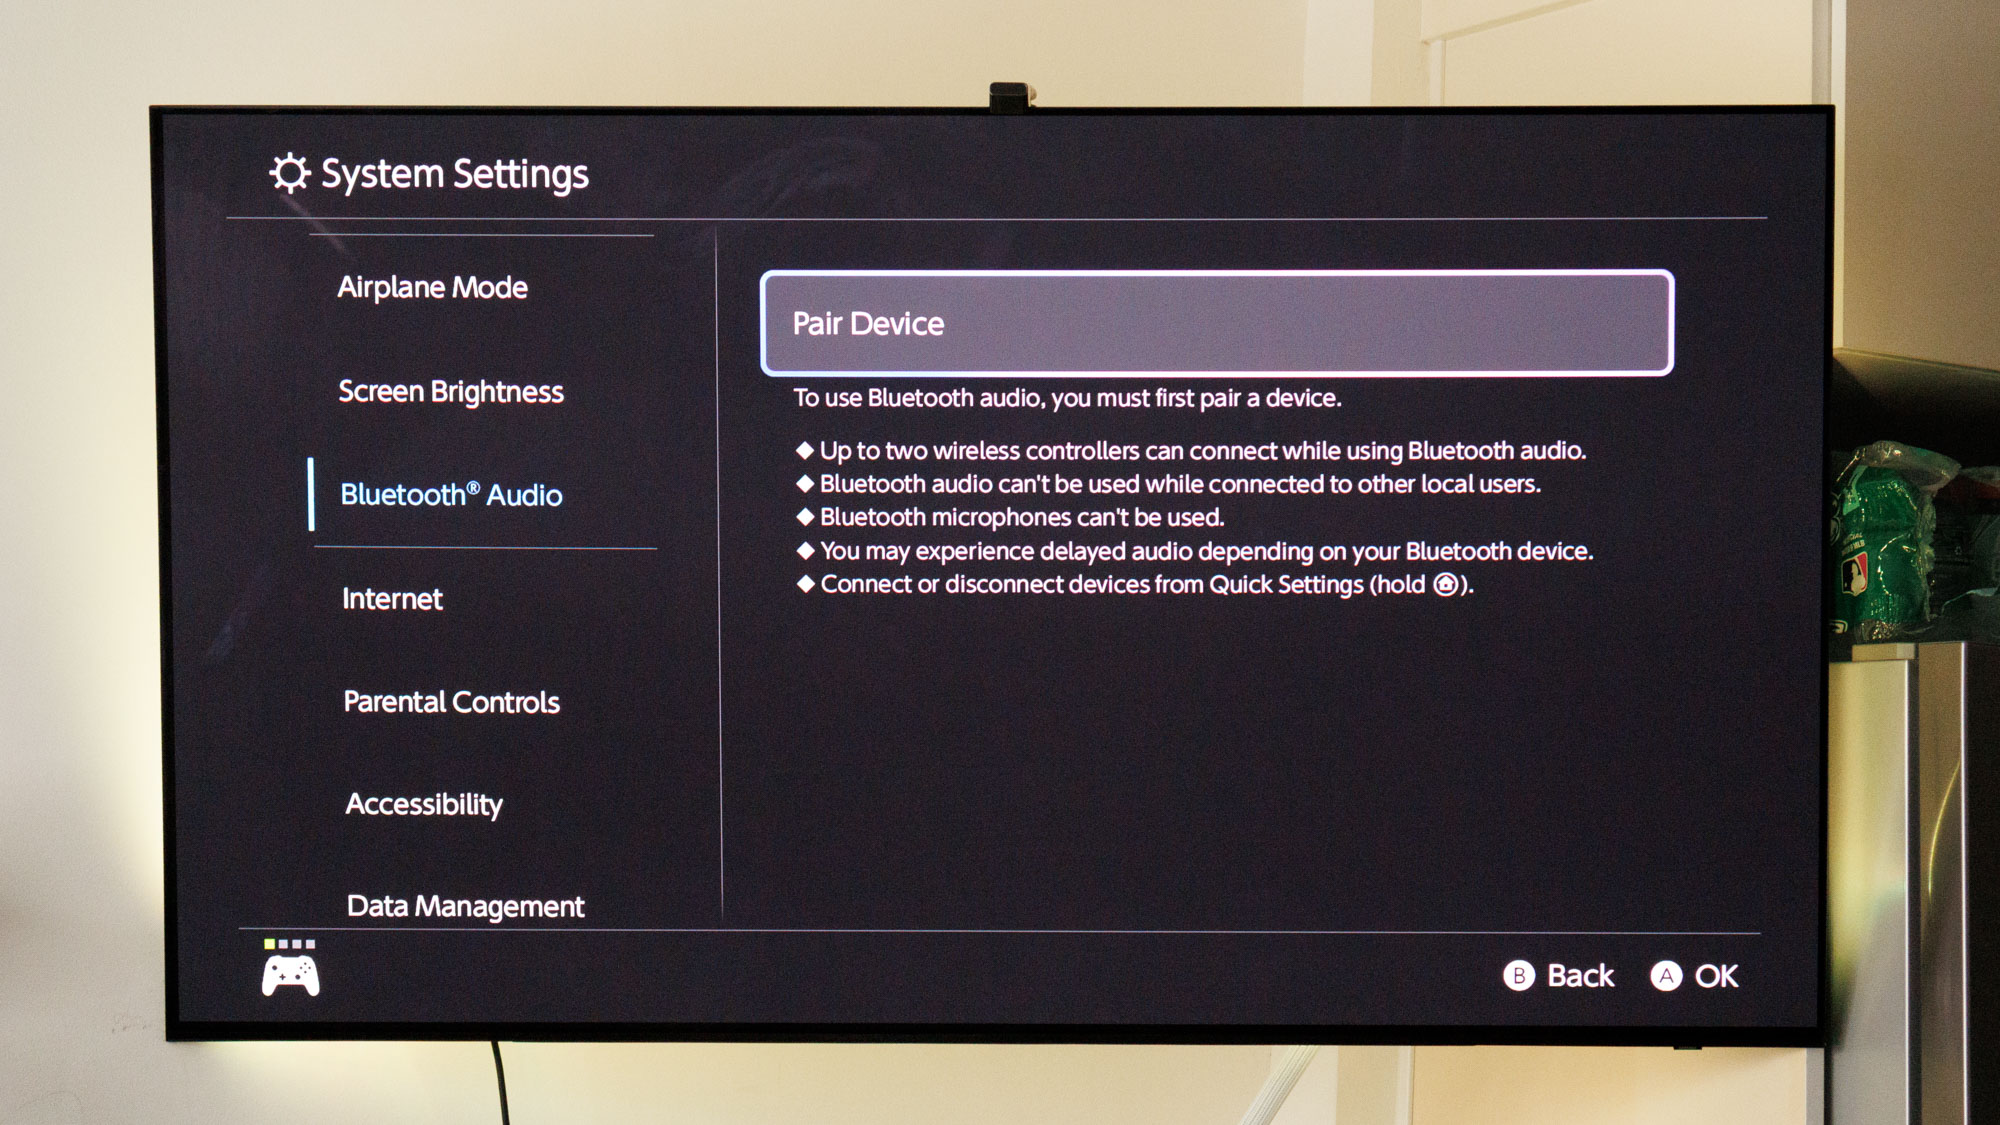
Don't forget about Bluetooth audio. If you have a baby or a loved one sleeping next to you, some of the best wireless headphones will come in handy. You can also use this setting to pair up Bluetooth speakers if you're so inclined.
On a side note, you will want to change one specific setting in Audio tied to headphones connected to the Nintendo Switch 2 and its Pro controller. Called "Lower Maximum Headphone Volume," the audio setting protects your ears from damage, but it largely reduces audio in a way that makes it much too low for general use.
More from Tom's Guide
- Samsung OLED TVs are set to get even thinner — here’s how
- Apple TVs just got a big Dolby Atmos boost thanks to tvOS 18.5
- Forget OLED TVs — this ultra short throw projector can hit 4,000 lumens at 120 inches

Ryan Epps is a Staff Writer under the TV/AV section at Tom's Guide focusing on TVs and projectors. When not researching PHOLEDs and writing about the next major innovation in the projector space, he's consuming random anime from the 90's, playing Dark Souls 3 again, or reading yet another Haruki Murakami novel.
You must confirm your public display name before commenting
Please logout and then login again, you will then be prompted to enter your display name.
 Club Benefits


