How to stream on Twitch
Here's how to start streaming on Twitch
If you're a prospective streamer, knowing how to stream to Twitch is important. With over 9 million unique users, Twitch has evolved beyond gaming to host diverse content, from e-sports to cooking shows.
Getting started is surprisingly accessible, requiring only basic equipment like a computer, webcam, microphone, and stable internet. This guide will help you set up quickly while also touching on more advanced options.
As the platform evolves, Twitch has increased subscription prices to drive more revenue to streamers, demonstrating its commitment to content creators. For deeper insights, our ultimate guide to Twitch offers comprehensive information, complemented by useful Twitch tips and tricks to enhance your streaming experience.
Whether you're just curious or committed to pursuing streaming seriously, this guide provides the foundational knowledge for beginning your Twitch adventure, regardless of your experience level or streaming goals.
How to stream on Twitch: Picking your software
Thanks to its ability to enable streaming from a variety of platforms, streaming on Twitch is a lot easier than you might think. But some of the most common places to stream Twitch from are gaming PCs as well as reasonably powerful gaming laptops. To do so, you're going to need the right software to get your stream up and running.
The two major choices are XSplit, which is a Windows-centric tool, and Open Broadcaster Software (OBS), which is available on Mac, Linux and Windows. With an intuitive interface, XSplit is the easiest to use, though it requires you to pay for it. OBS is a great free alternative and is probably one of the most popular pieces of streaming software, but it will require you to roll your sleeves up and do a bit more initial setup.
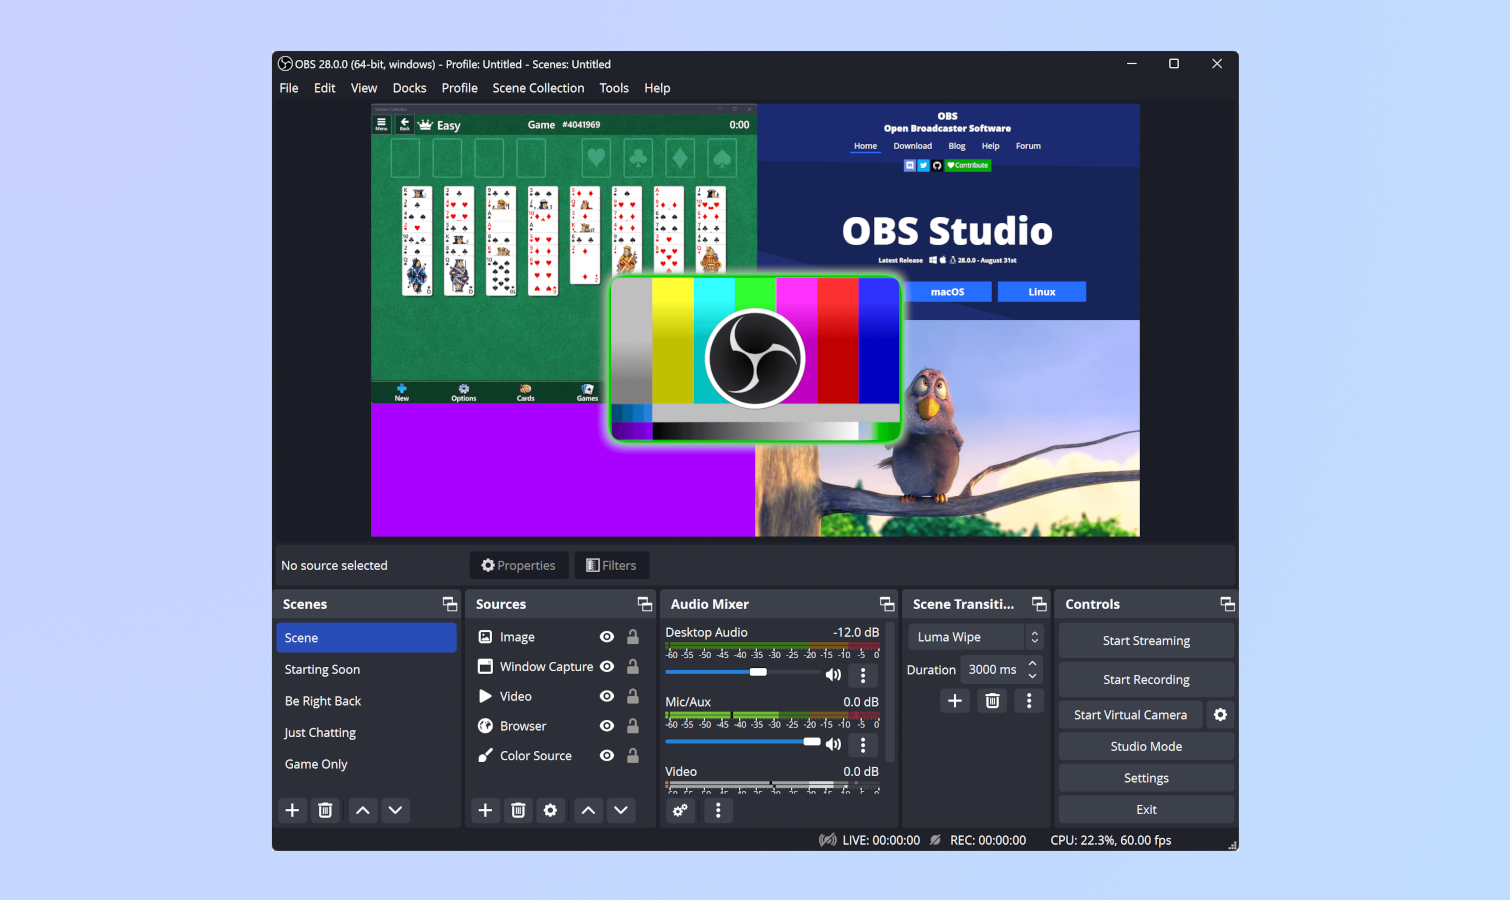
There are also custom versions of OBS available, including Streamlabs OBS and StreamElements OBS.Live. These programs sync up with Streamlabs and StreamElements respectively to let you easily set up custom layouts, alerts and more.
Get instant access to breaking news, the hottest reviews, great deals and helpful tips.
Those new to the world of steaming can take a look at Twitch Studio, Twitch's very own streaming app that's designed with beginners in mind. This app is free and offers guided setup for the main devices in your streaming setup, such as webcam and game feed. It also offers customizable templates to get your streaming career started quickly.
How to use OBS
Configuring Your Stream
1. Open OBS.
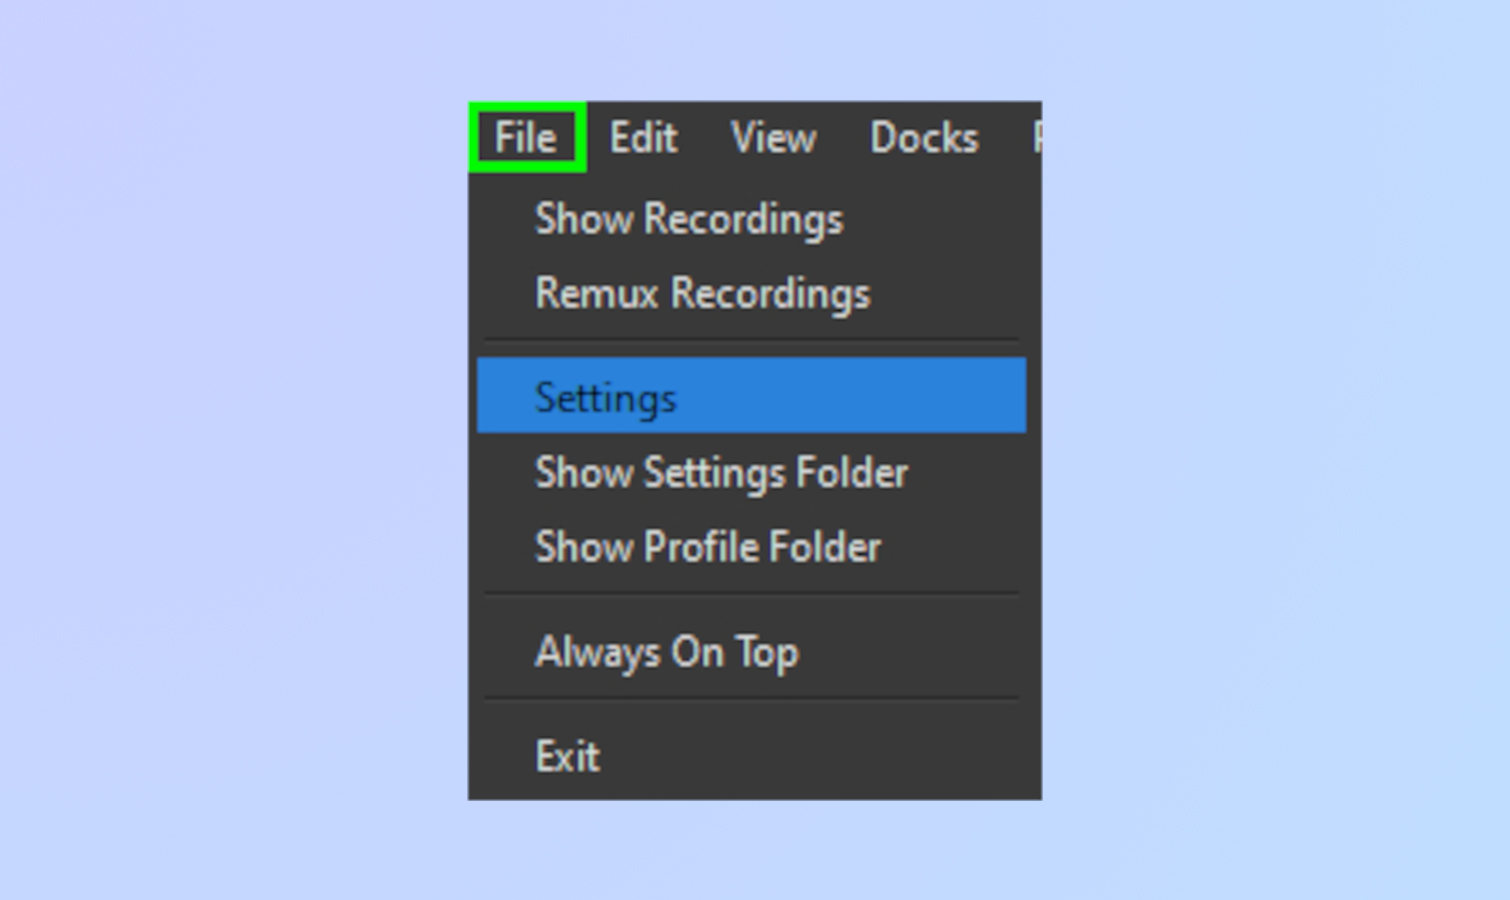
2. Click File then click Select Settings.
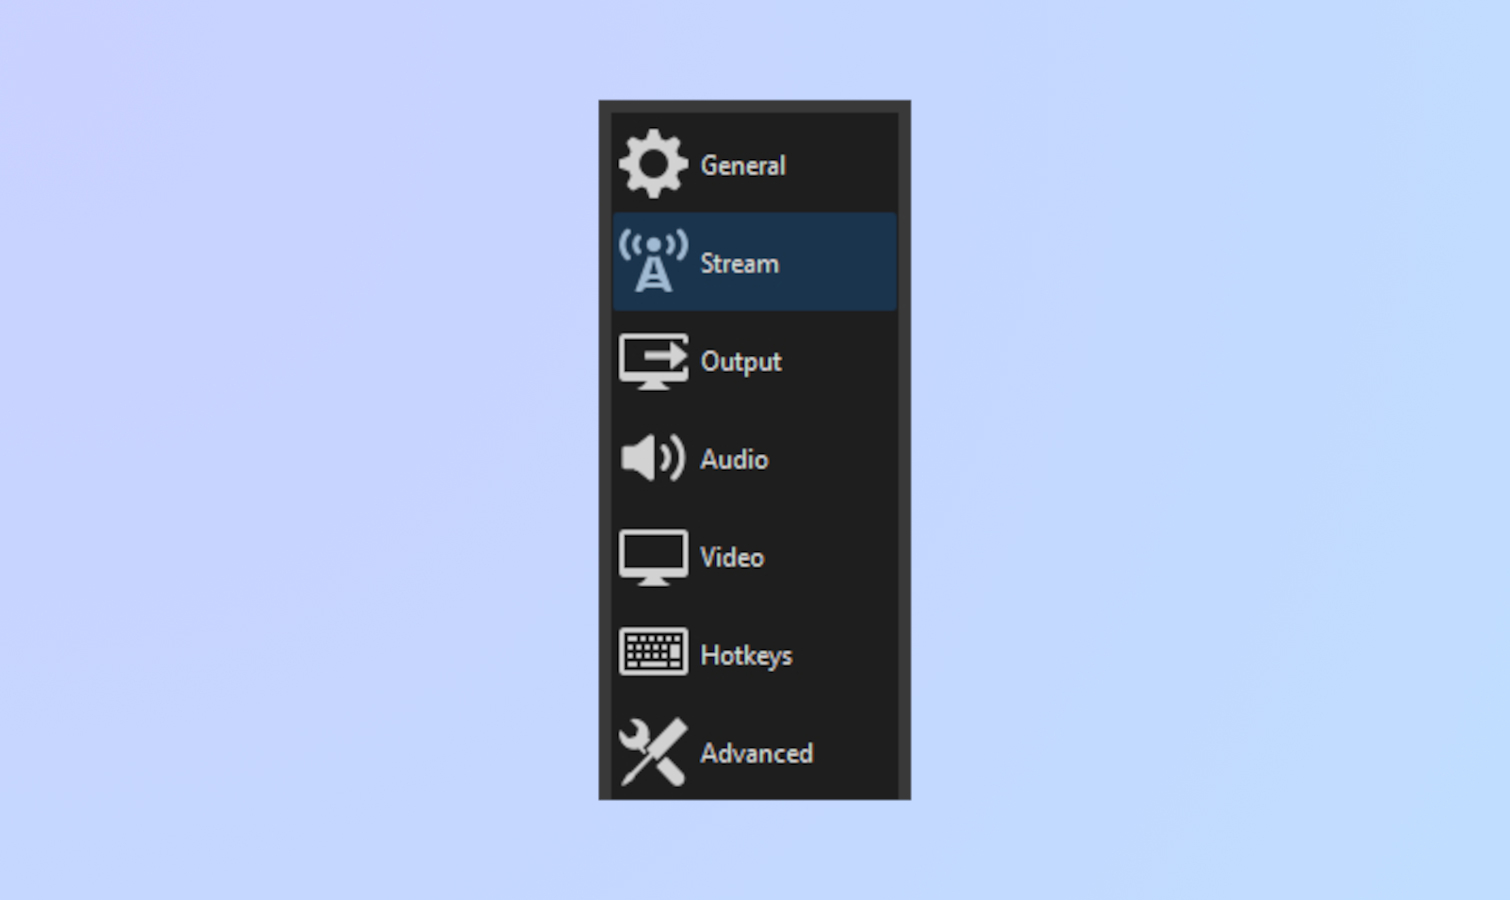
3. From the left-hand side menu, select Stream.
4. Set Service to Twitch. After that, click on Connect Account for the quickest setup.
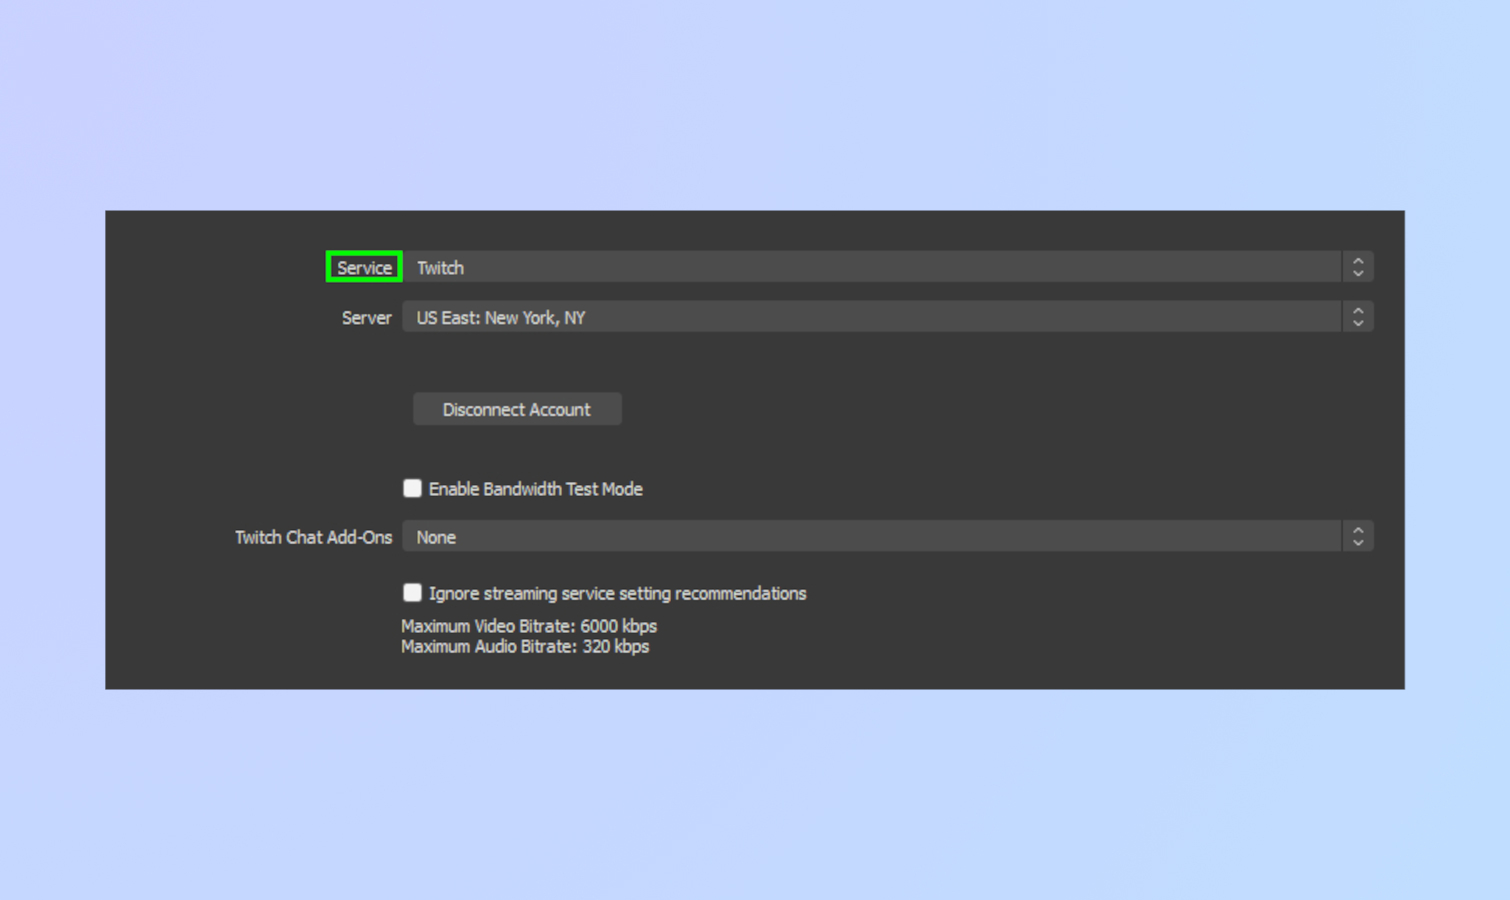
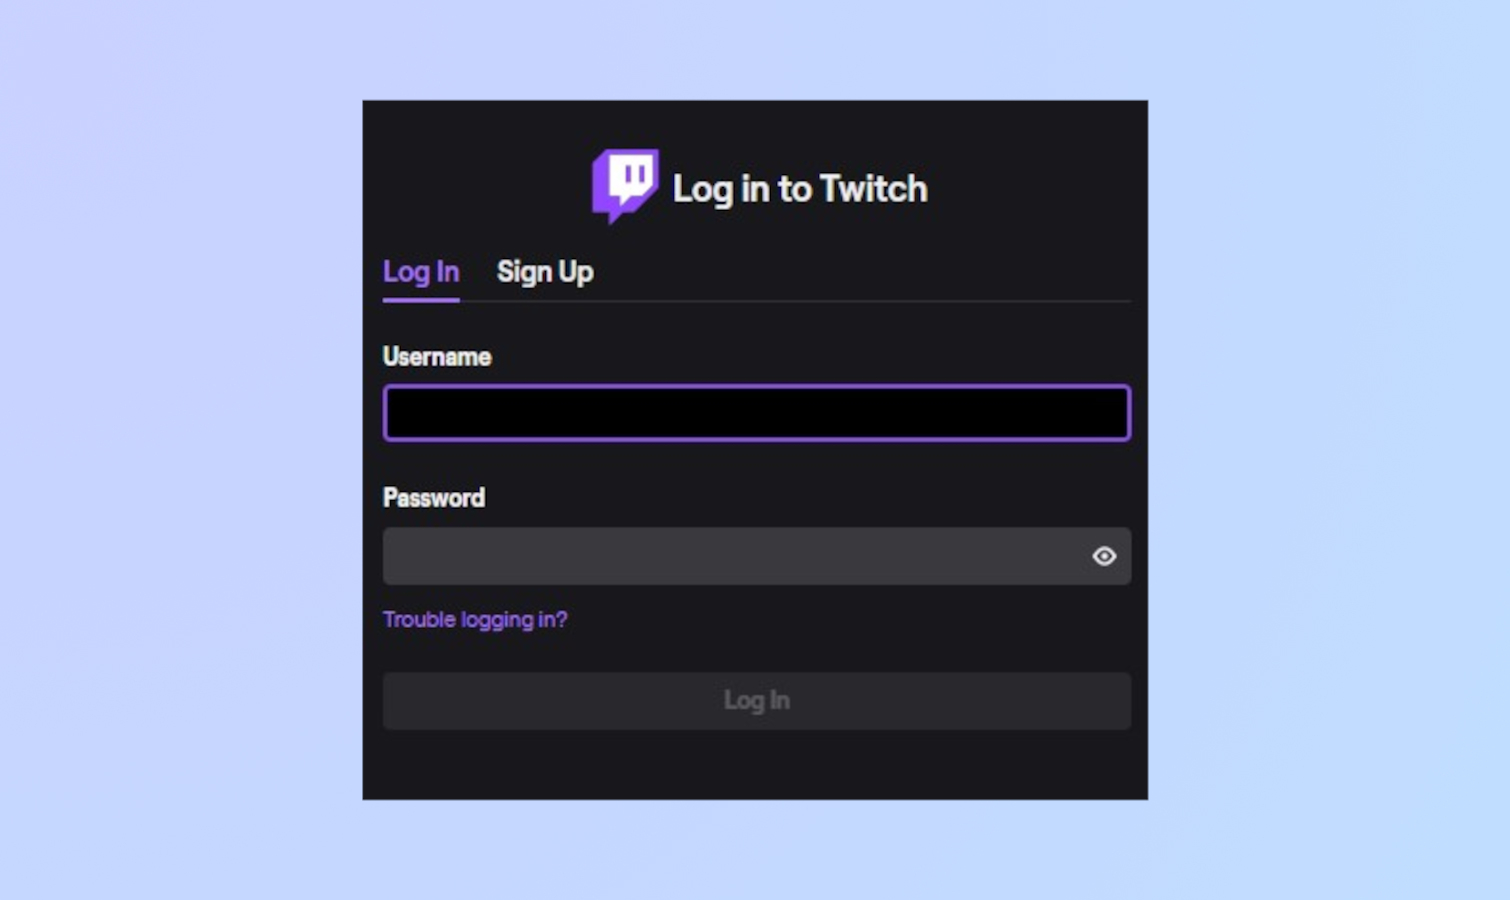
5. Log in to Twitch with your username and password. You're all set! (skip to Setting the scene and going live if you do this. If you prefer to use a stream key, follow Step 6.)
6. If you don't want to connect your account directly, you can link Twitch to OBS via a stream key. To do this, return to your Twitch dashboard by clicking on your profile picture on the top right corner. Select settings from the left-hand corner. Click Stream to open up another menu. You'll see your stream key at the very top.
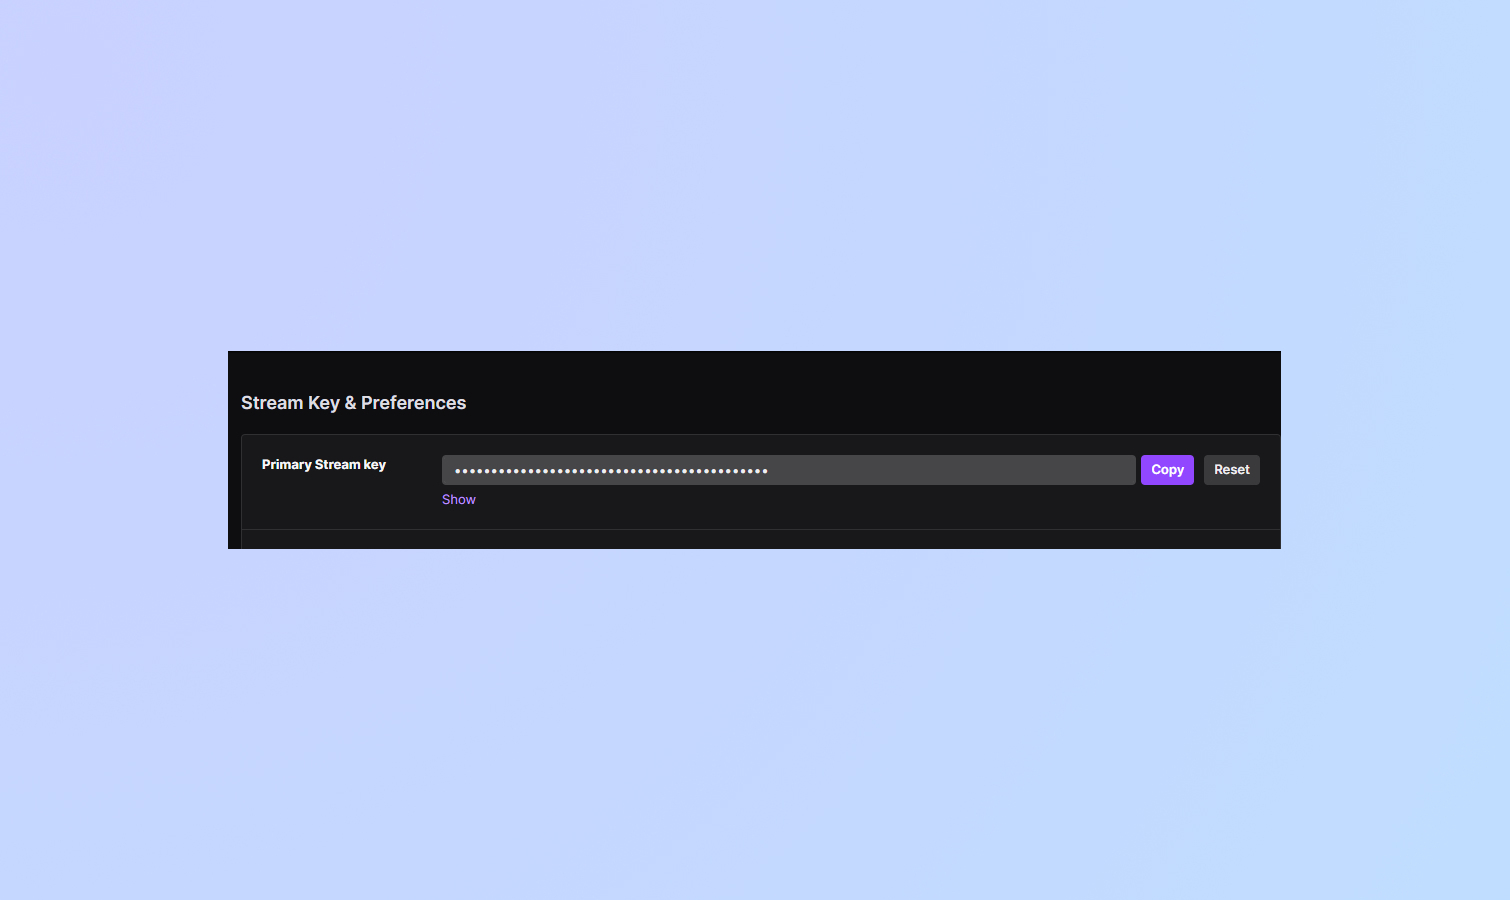
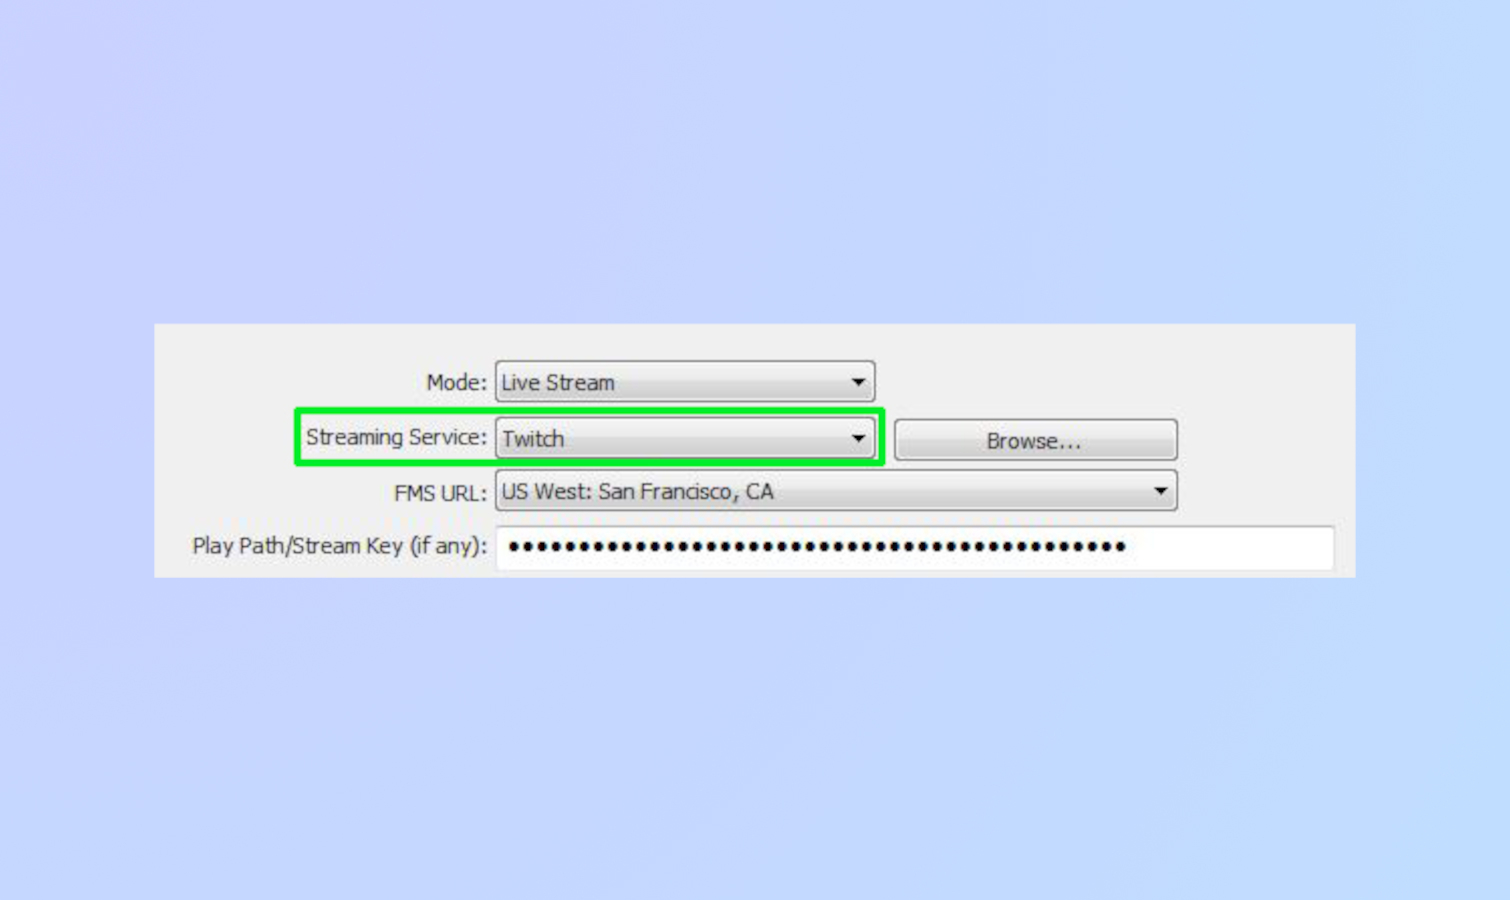
7. Copy and paste that code into the Stream Key box in the Broadcast Settings menu. Select 'OK'.
Setting the scene and going live
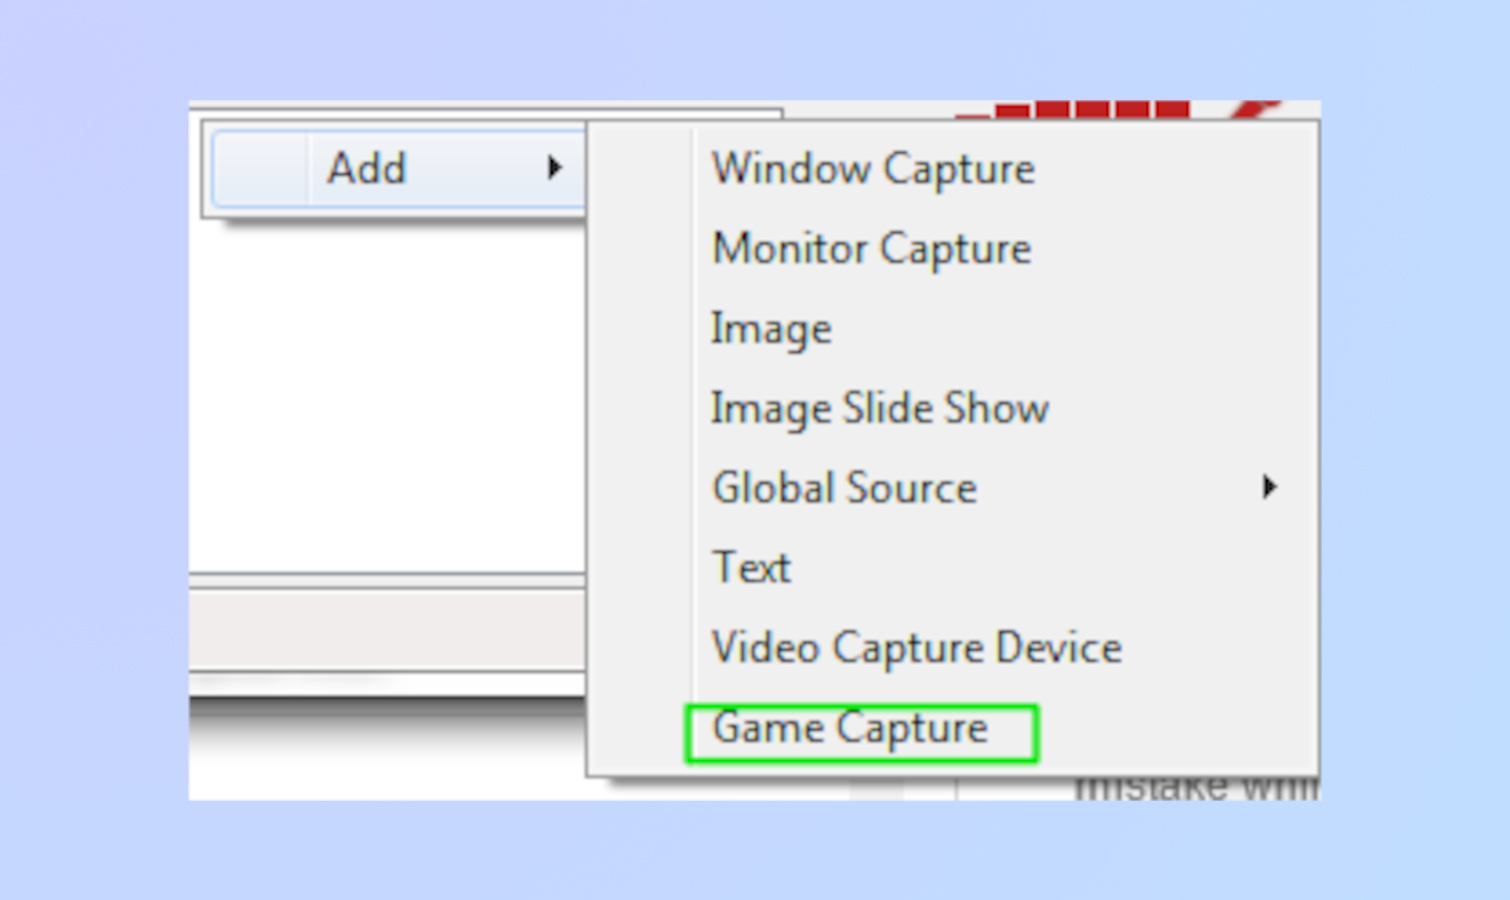
1. On the main OBS interface, right-click the Sources box and select Add, then Game Capture.
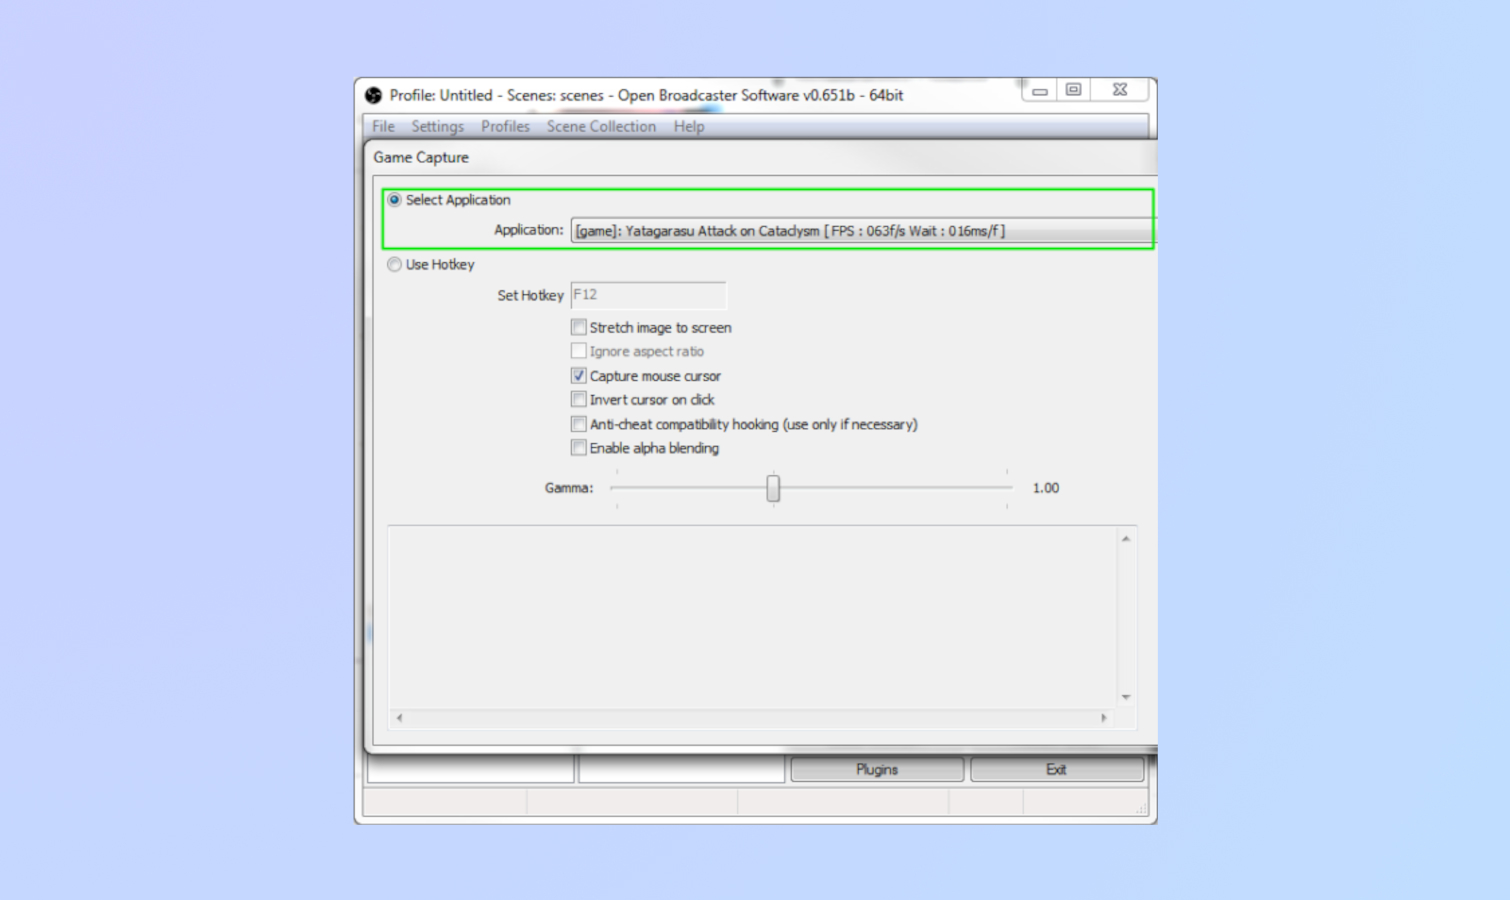
2. Select your game of choice from the drop-down menu and click OK.
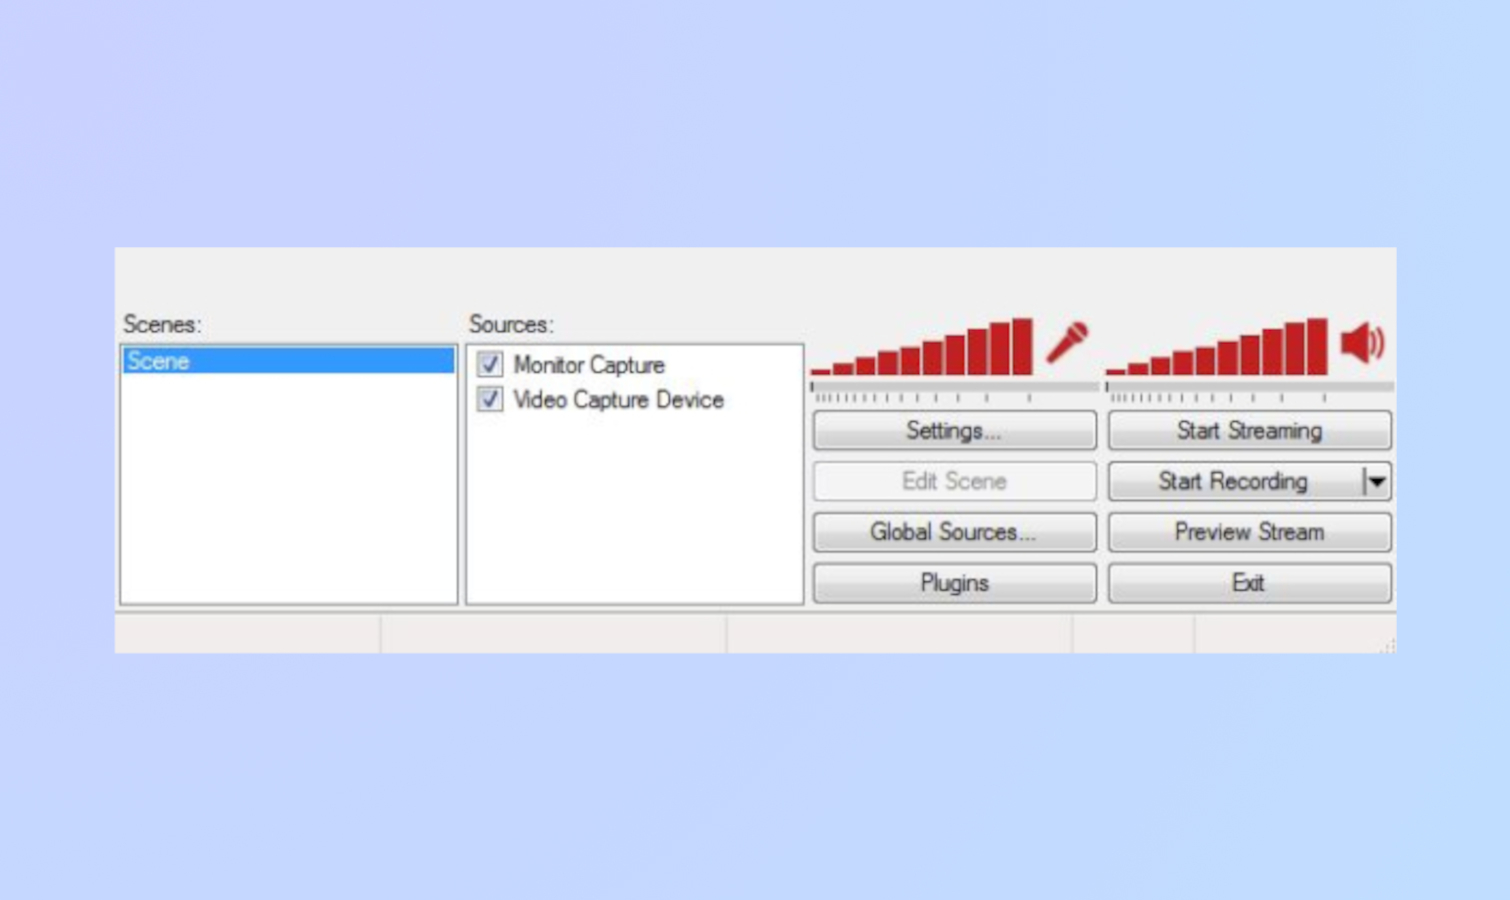
3. Right-click the Sources box again to add any additional feeds. You can add images and text to customize your layout, use Monitor Capture to show anything on your display or select Video Capture to use your webcam.
4. Select Preview Stream and Edit Scene to tweak your stream layout to your liking. For example, you might want to feature your gameplay stream prominently, with a small box in the corner that shows your webcam feed.
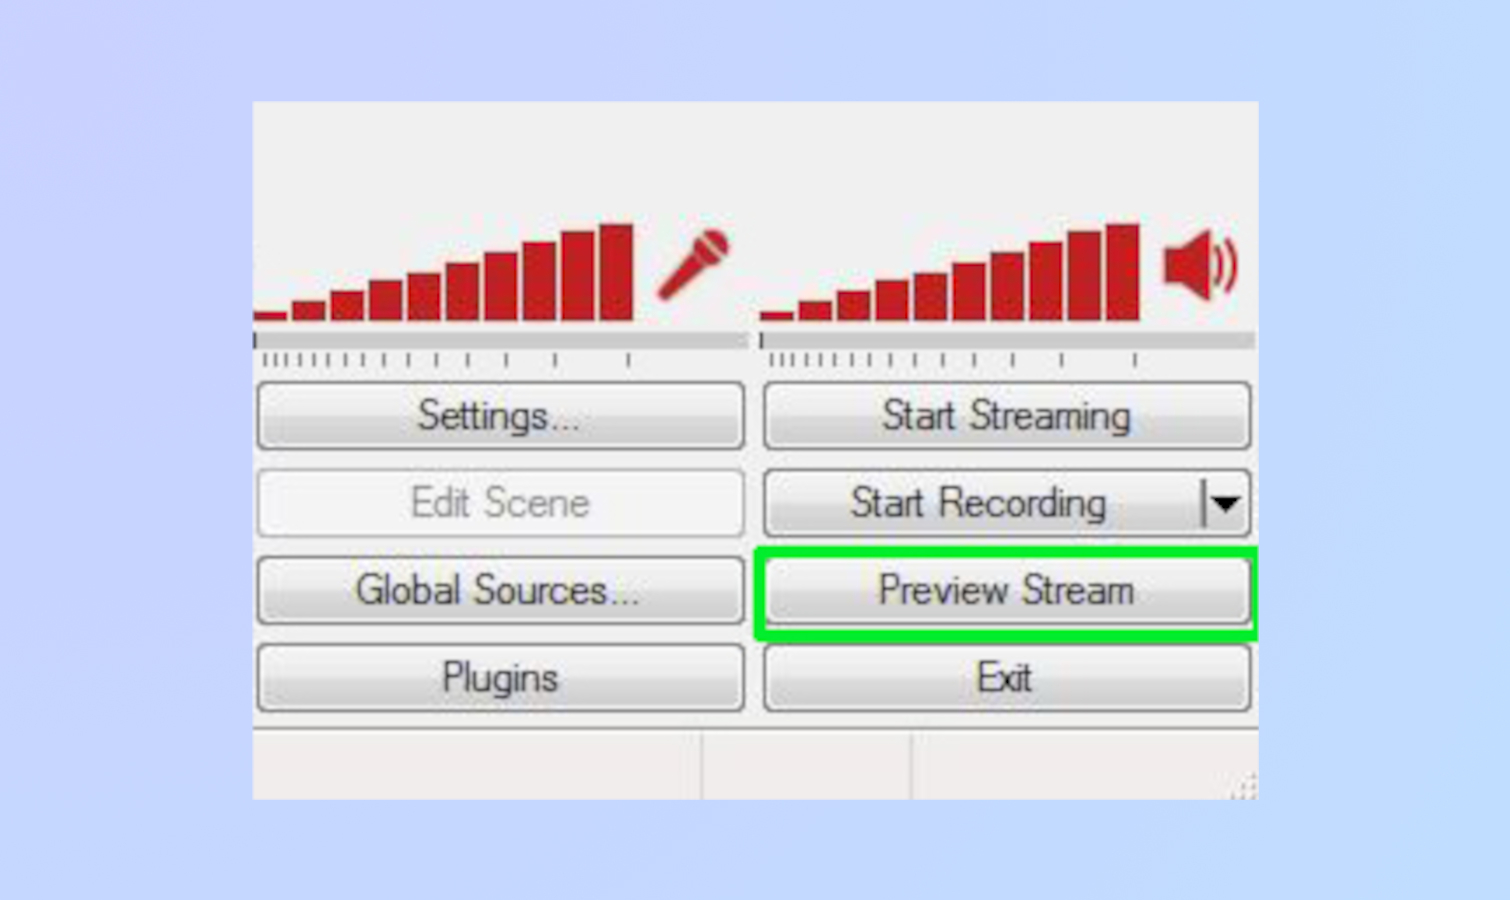
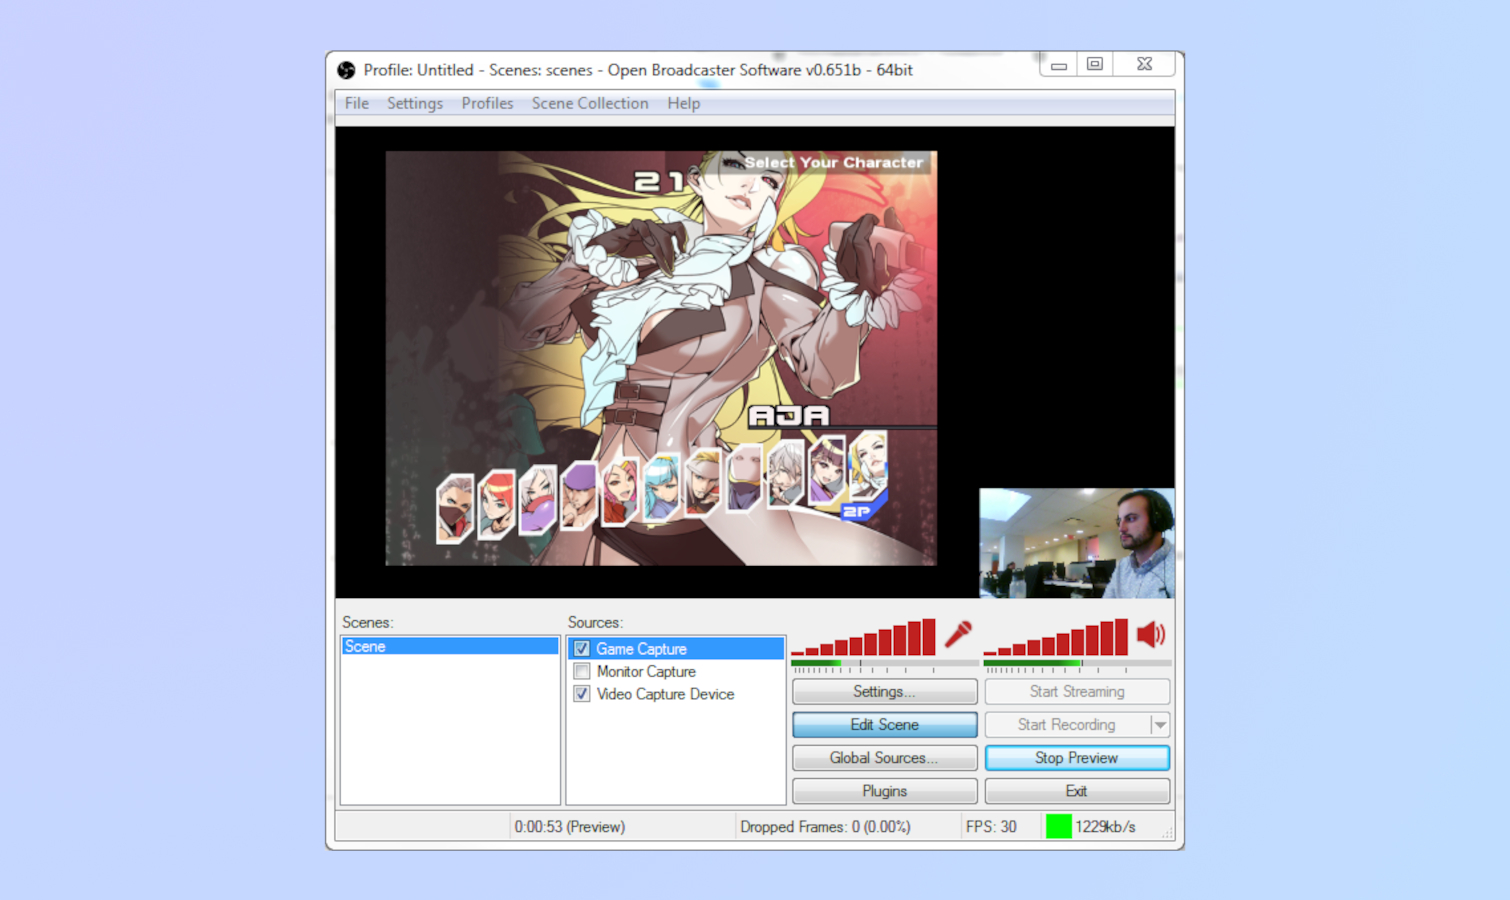
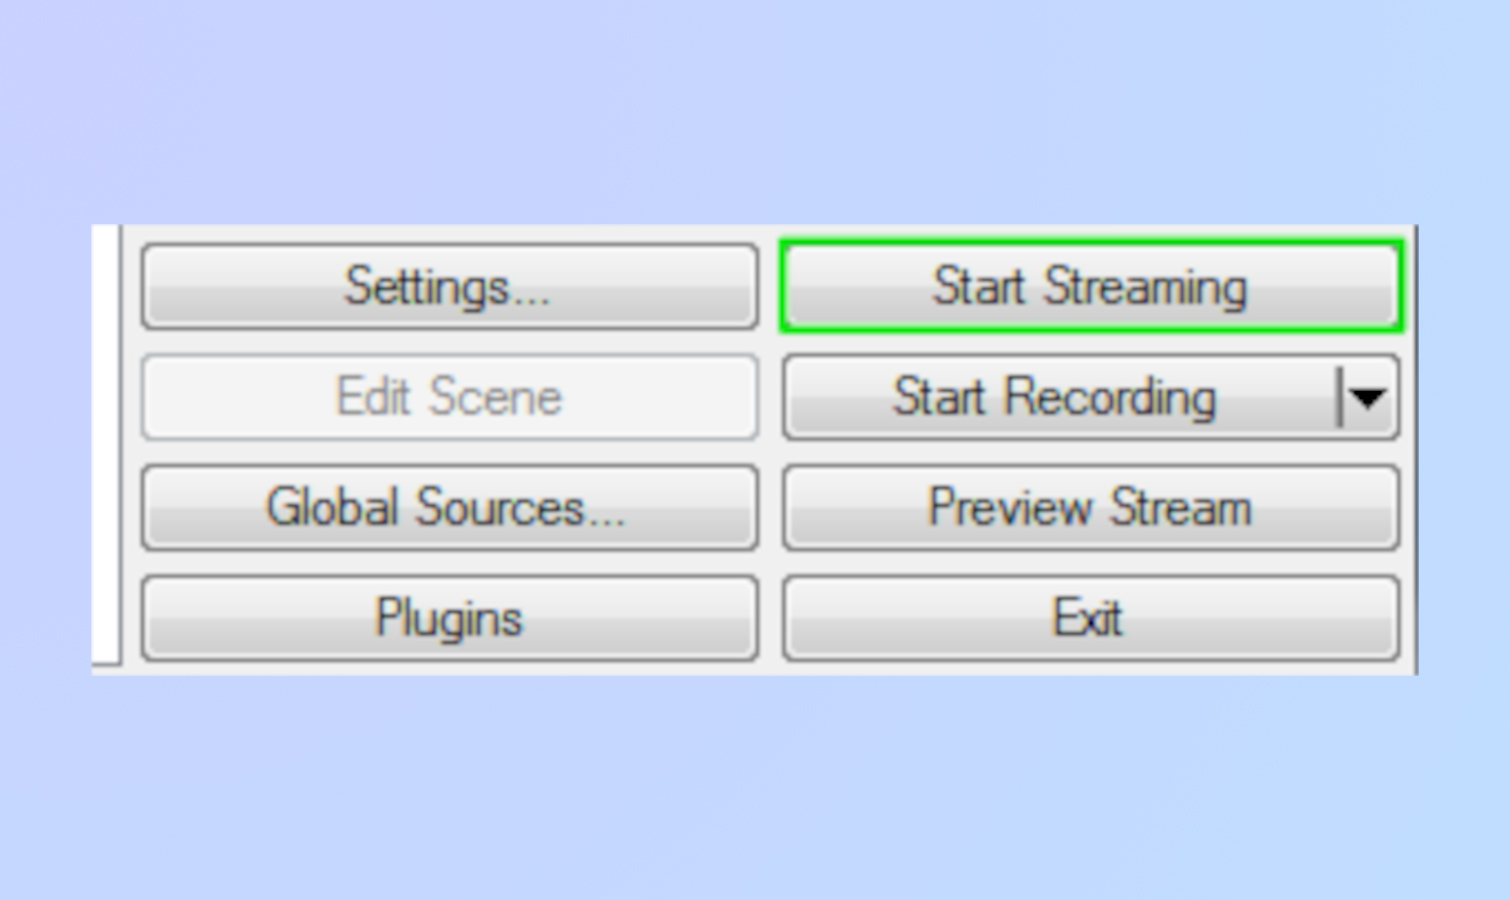
5. Select Start Streaming on the OBS dashboard. You're now live!
How to use XSplit
Configuring Your Stream
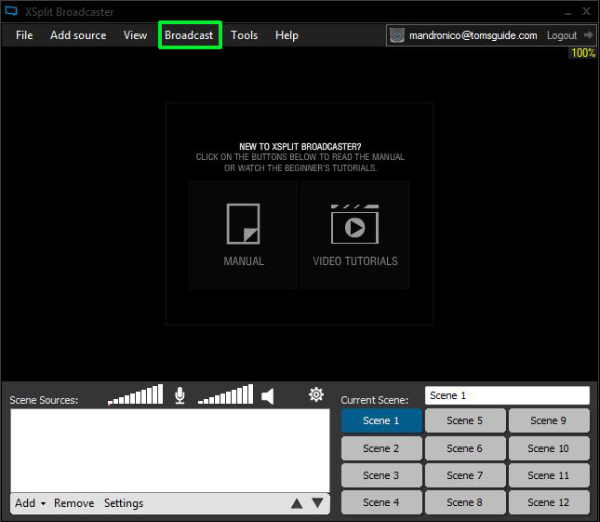
1. Open XSplit.
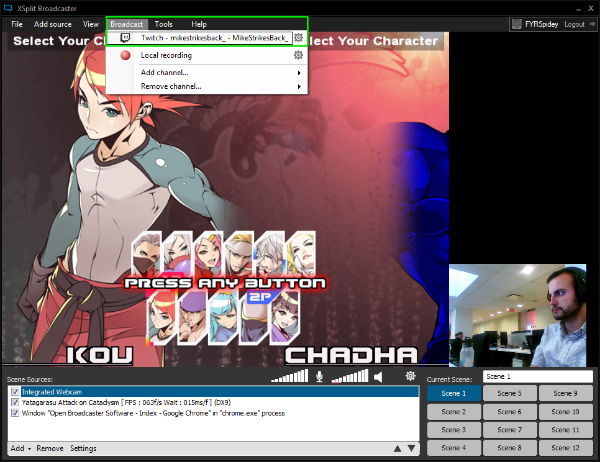
2. Select Broadcast, then Add Channel, then Twitch.
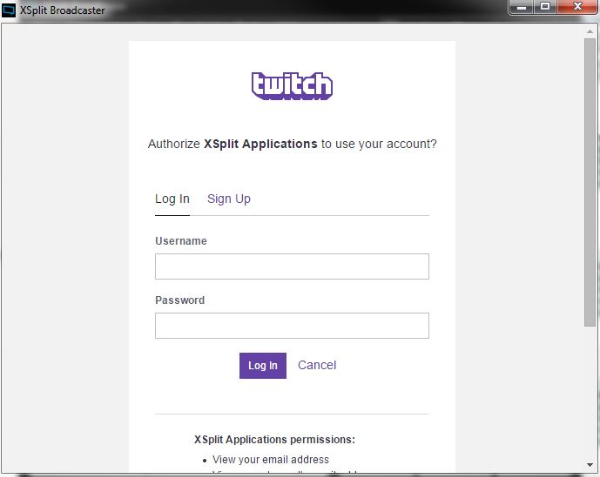
3. Select Authorize and enter your Twitch username and password.
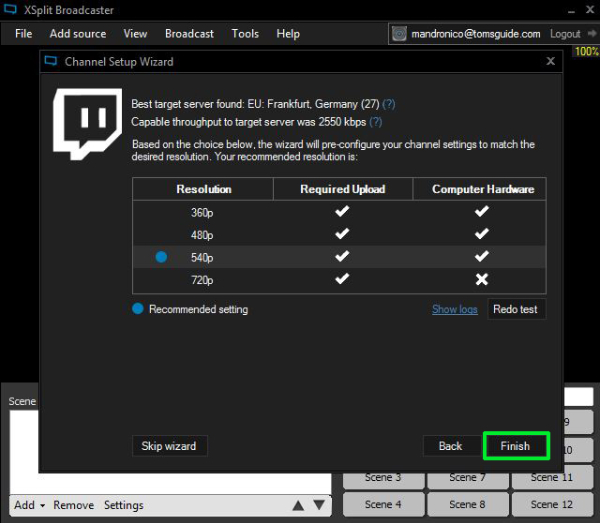
4. Select Finish. XSplit will automatically set an optimal resolution.
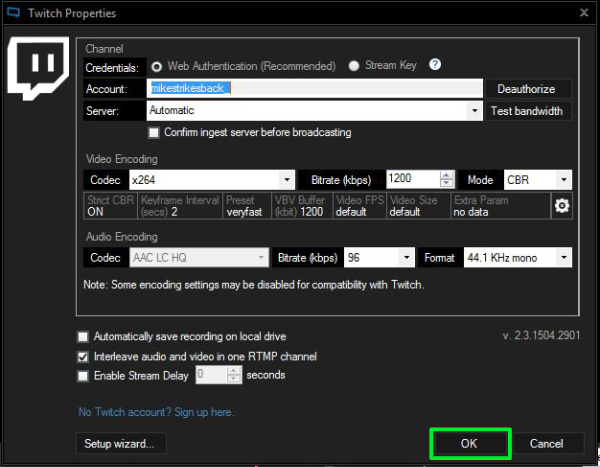
5. Edit your stream properties and click OK.
Setting the Scene and Going Live
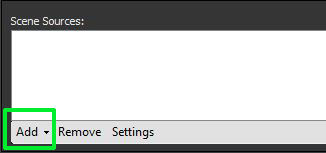
1. On the Screen Sources section on the bottom left of the XSplit interface, select Add.
2. Hover over Game Capture and select your game of choice.
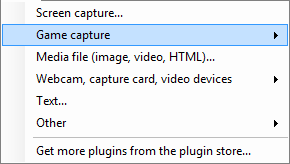
3. Select Add again to bring in any additional sources, such as images or your webcam feed.
4. Drag and resize each source to your liking. For example, you may want to feature your Game Capture feed prominently, with a small box in the corner that shows your webcam feed.
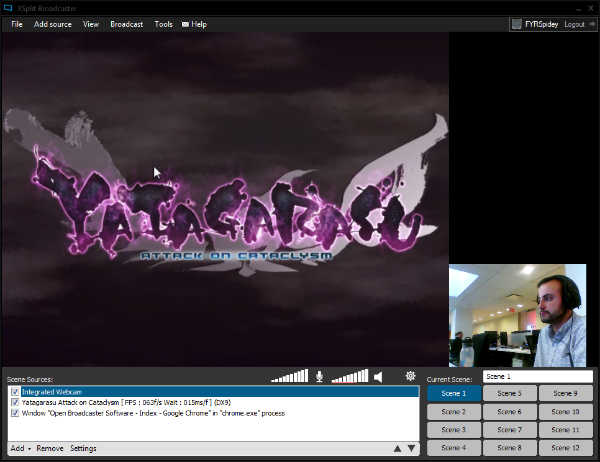
5. Select Broadcast, then Twitch. You're now live!
Layouts, alerts and more
Once you have the basics of OBS and XSplit down, you can start customizing your stream with layouts and custom alerts. There's a brace of popular toolsets for enhancing the look and feel of your stream are StreamLabs and StreamElements.
StreamElements is an all-in-one, browser-based tool that lets you design entire layouts (or pick from a variety of pre-made ones) complete with widgets, animations and more. Once you've created a theme, you can easily bring it to OBS or XSplit with a simple browser code.
StreamLabs offers a variety of customizable widgets, such as an Alert Box that shows on-screen notifications when viewers do things such as subscribe to your channel or make a donation. You can also use StreamLabs to set up Bots that help moderate your chat room.
How to stream to Twitch from PS4, PS5, Xbox One and Xbox Series X/S
If you have a PS4, PS5, Xbox One or Xbox Series X/S, you can broadcast directly from your console without having to worry about any external hardware or software.
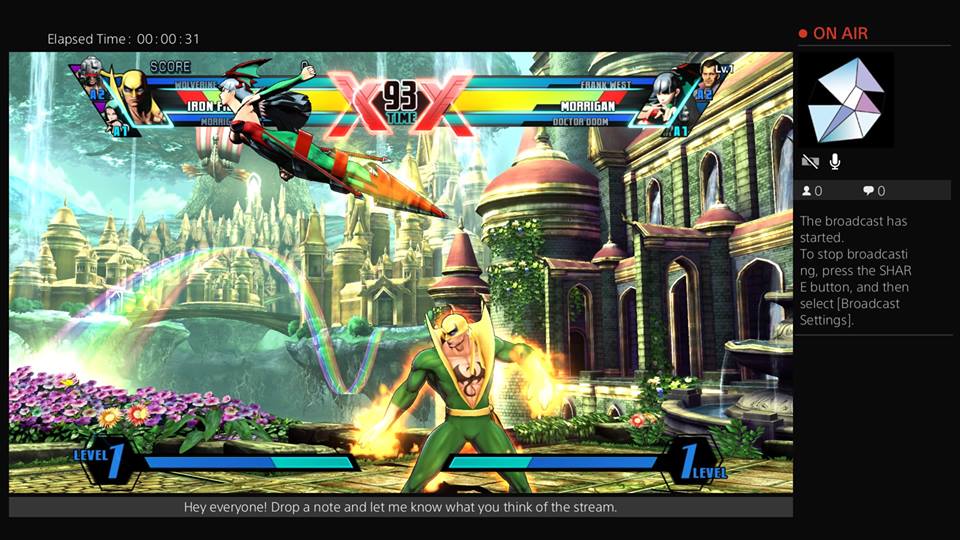
To stream on Twitch via the PS4 or PS5, simply press your controller's 'Share' button, select Broadcast Gameplay and choose Twitch. Once you're logged in, you can go live with the push of a button.
Meanwhile, streaming on Twitch via the Xbox One or Xbox Series X/S is similarly simple, however, you will have to download the free Twitch app from the Xbox Store before you get started. Once you have the app and are logged in, fire up whichever game you want to stream. Then, open the Twitch app and select Broadcast from the main menu.
Both Sony and Microsoft also let you chat with your viewers straight from your headset, as well as stream your webcam via either the PlayStation Camera or Microsoft's Kinect. You won't get to customize the look and feel of your stream the way you can on a PC, but console streaming is a great way to test Twitch's waters and start building your audience.
For Nintendo fans, learning how to stream Twitch to Nintendo Switch can open up new possibilities. If you're looking to expand your gaming options, check out our guide to the best cloud gaming services in 2024. And to ensure comfort during those long streaming sessions, you might want to invest in a quality setup. Considering a gaming chair? This one is so comfortable you won't want to go back to the couch.

Denise is a Life Reporter at Newsweek, covering everything lifestyle-related, including health, relationships, personal finance, beauty and more. She was formerly a news writer at Tom’s Guide, regularly producing stories on all things tech, gaming software/hardware, fitness, streaming, and more. Her published content ranges from short-form news articles to long-form pieces, including reviews, buying guides, how-tos, and features. When she's not playing horror games, she can be found exploring East London with her adorable puppy. She’s also a part-time piano enthusiast and regularly experiments in the kitchen.
-
TheWookieWay Step 4, the information you seek is no longer across the top of the dashboard.Reply
You must click settings on the LEFT side of your dashboard, and then you can select stream key
https://www.twitch.tv/thewookieway/dashboard/settings
