Google Pixel 2: Features to Enable and Disable
Got your hands on a brand-new Pixel 2? Here are the features and settings you should enable and disable from the moment you unbox Google's latest phone.
It can be overwhelming to set up a new smartphone exactly how you want it. Fortunately, the Pixel 2 and 2 XL — the latest devices from Google — have been designed to be as easy to use as they are powerful.
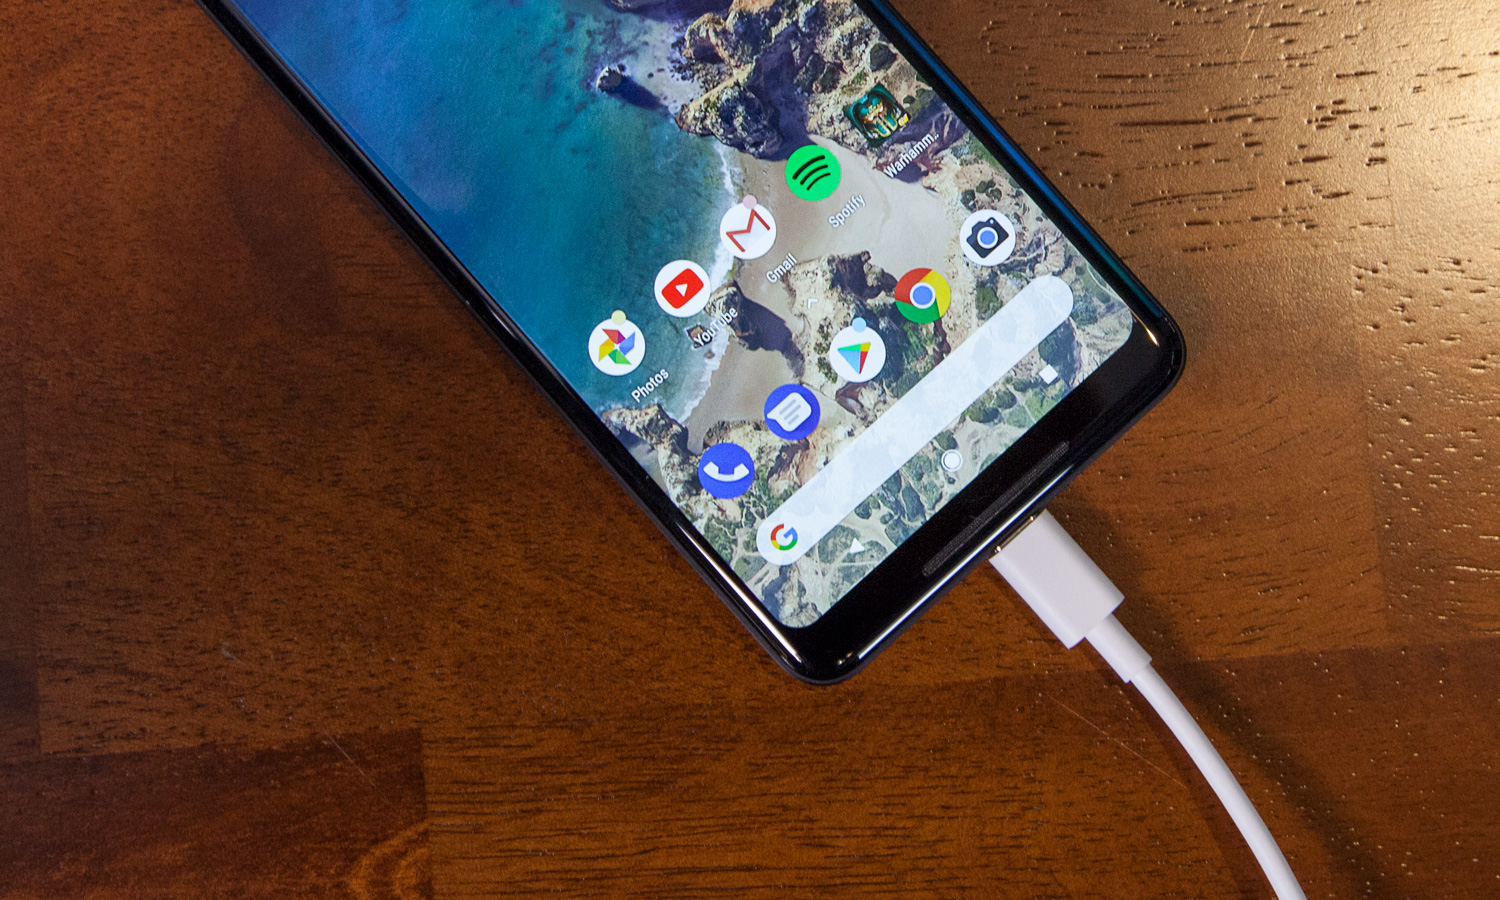
Some Android phones bury features and customization options behind menu after menu. But the Pixel 2 and 2 XL are remarkably simple and refined despite their state-of-the-art AI capabilities. In this guide, we'll show you how to get your shiny, new smartphone up and running in no time by tweaking a few settings here and there.
Set Up Google Assistant
Google's AI companion is perhaps the most versatile out there, so setting it up is one of the first things you'll want to do with your Pixel 2.
Upon starting up any Android phone for the first time, you'll be asked to link the device with a Google Account. You may also be asked to opt in to Google Assistant during this process. However, even if you skipped that step, it's still easy to get started later on.
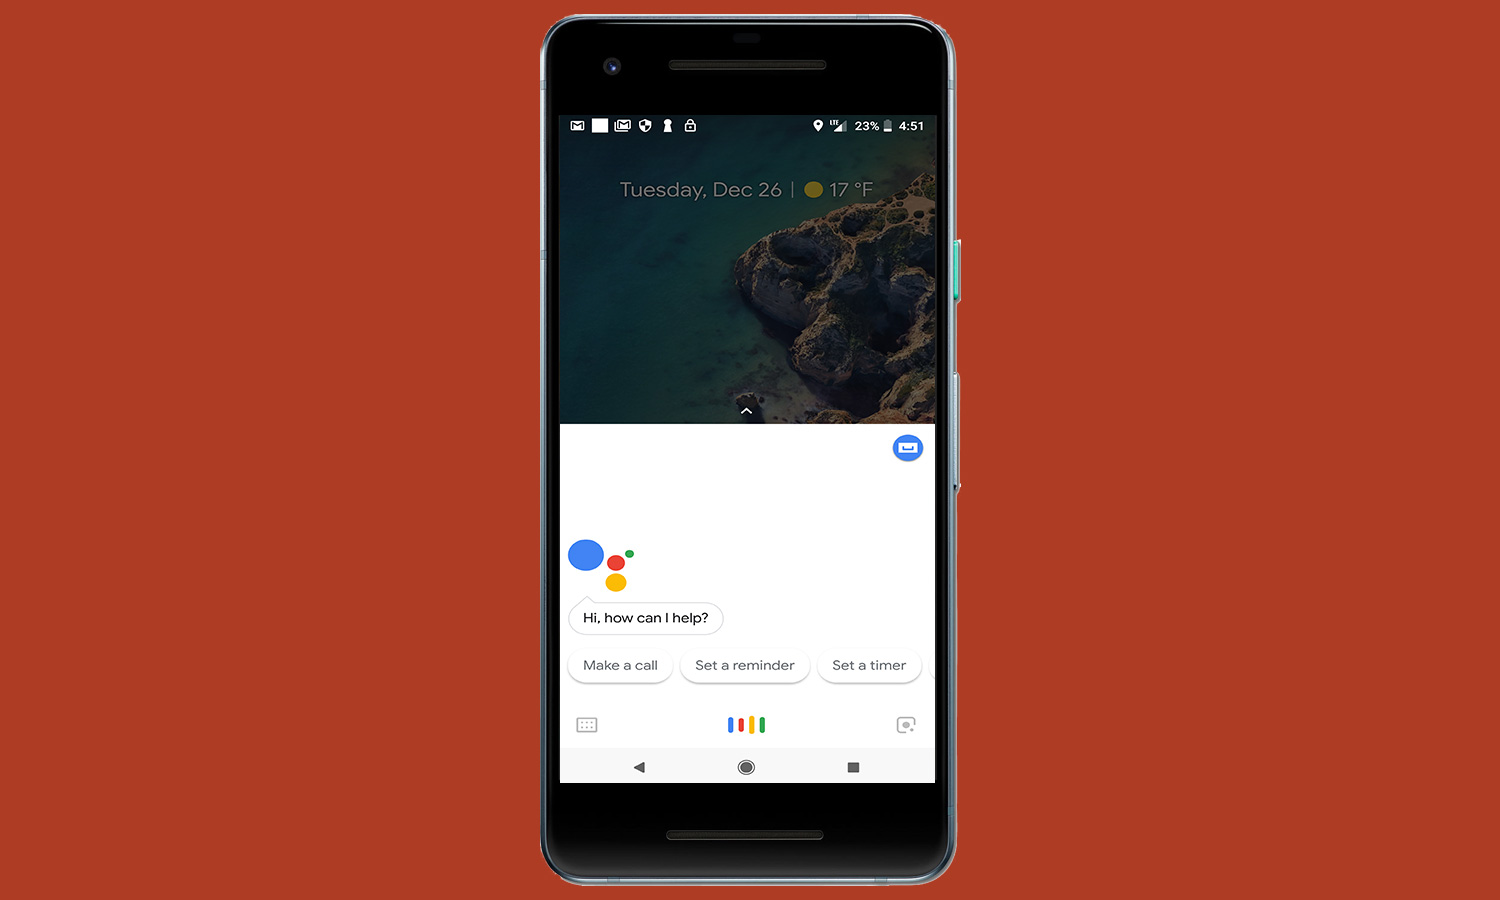
Here's how: Press and hold the home button, or squeeze the sides of the phone to call up Google Assistant. From here, Google will ask you if you'd like to turn on Voice Match, which allows the Assistant to respond to you through voice commands, even when the screen is off. From here, follow the on-screen prompts so the Assistant can learn your voice. Alternatively, you can skip this stage as well.
Finally, you'll be asked to grant Google Assistant permission to be able to see and respond to queries about what's on your device's screen. This is one of Google Assistant's unique capabilities compared to Siri and Alexa, though you're not obligated to turn it on if you're concerned about privacy.
Configure Squeezable Sides
Active Edge is Google's name for the Pixel 2 duo's squeezable sides. The feature lets you summon Google Assistant just by squeezing your phone; squeezing can also be used to silence alarms, timers and incoming calls.
Get instant access to breaking news, the hottest reviews, great deals and helpful tips.
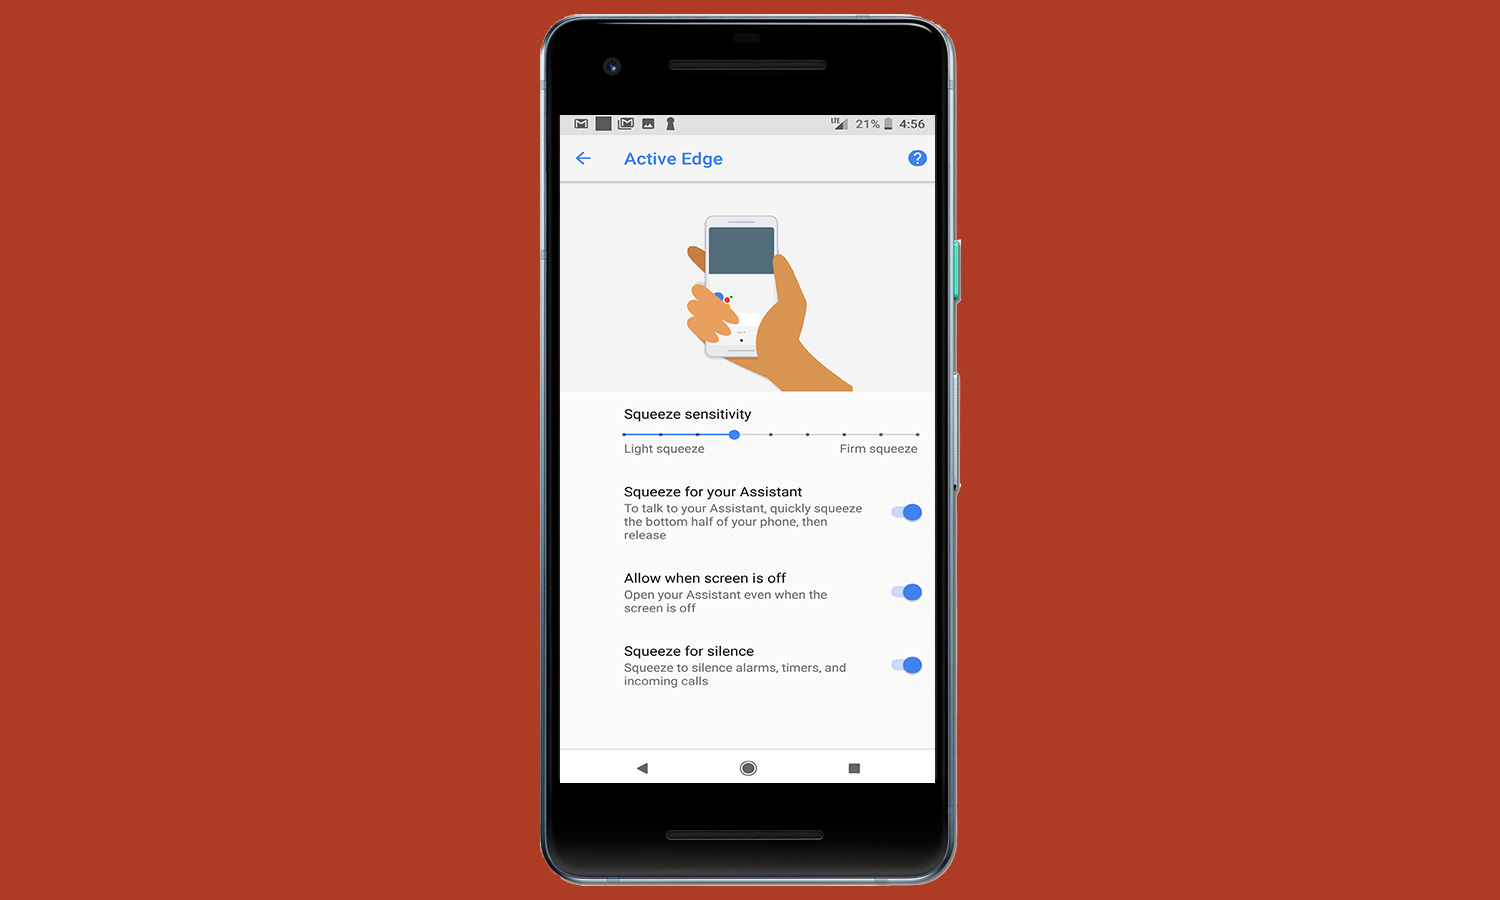
Here's how: Open Settings, then System, then Gestures. From there, tap Active Edge to access various settings related to the feature. You can adjust the sensitivity of the sides of the phone so that it requires more or less force to trigger Active Edge. You can also set it up so Active Edge can be used to answer calls and silence alarms, or summon Google Assistant while the phone's screen is off — though you'll still have to authenticate before using some of the Assistant's features.
Choose Display Mode
Like many high-end Android smartphones, both the Pixel 2 and 2 XL feature several different display modes that let you customize the range of on-screen colors to your preference. If you don't like the way the OLED screen looks out of the box, choosing a different setting could help.
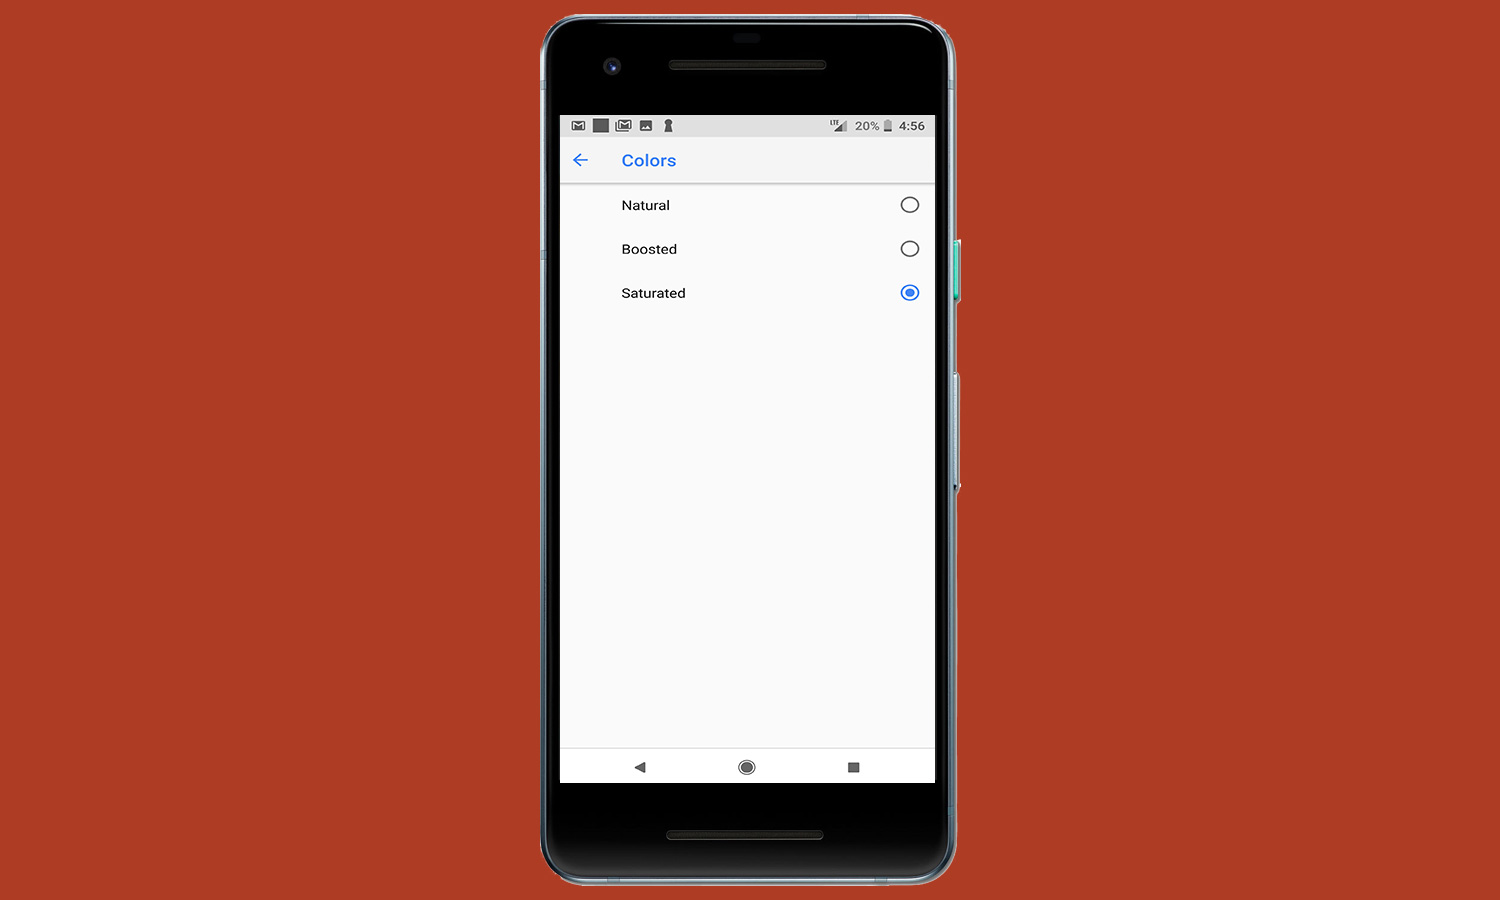
Originally, both phones launched with two subdued color profiles based on the industry-standard sRGB gamut. But complaints about the Pixel 2 XL's washed-out hues forced Google to release a software update with a third, even more-saturated option.
Here's how: Go to Settings, then Display. Tap Advanced to reveal more options, then Colors. You'll see three choices: Natural (sRGB), Boosted (sRGB plus about 10 percent saturation) and Saturated (the most intense). Natural is the default option.
Activate Night Light
Some users prefer to activate blue-light filters on their phones' displays to cut down on harsh light and eye strain, especially at night. On the Pixel 2, this feature is called Night Light, and you can even set it to automatically activate daily via a timer.
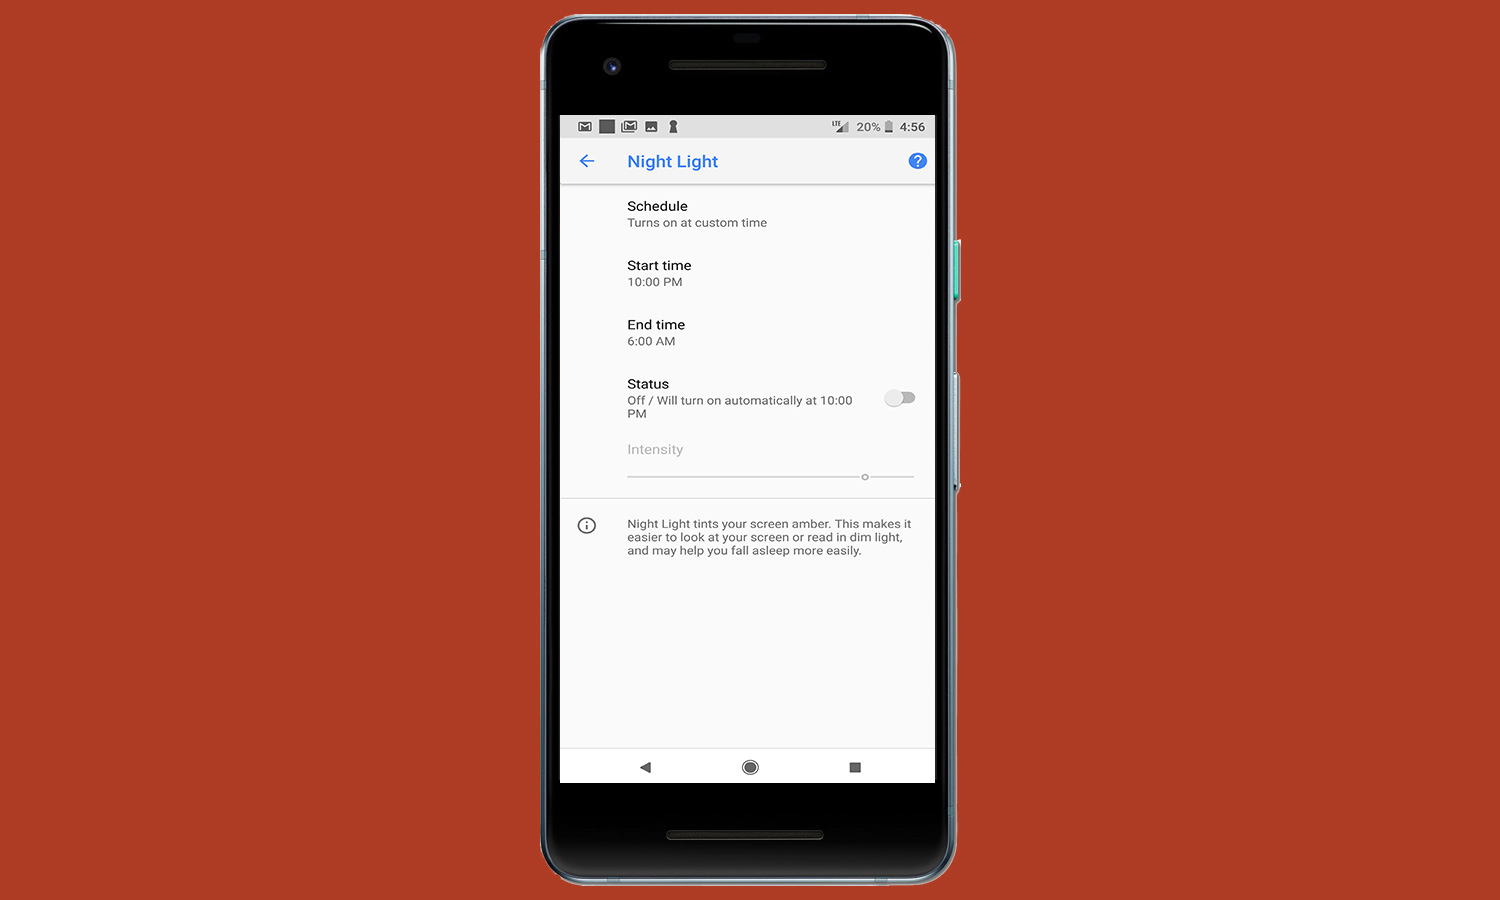
Here's how: Open Settings and tap Display. Night Light should be the second option. Tap it, and from the following menu you'll be able to turn the feature on or off, set an intensity for the filter, or schedule it to turn on at a custom time. A quick toggle of an option residing in the notifications shade also makes it easier to access Night Light; if you long press the icon, it'll take you to the relevant Settings menu.
Schedule Battery Saver
We found the Pixel 2 XL to be among the longest-lasting smartphones in our recent testing. But if you're looking to eke out a little more longevity on a charge (and who isn't?), Battery Saver can help.
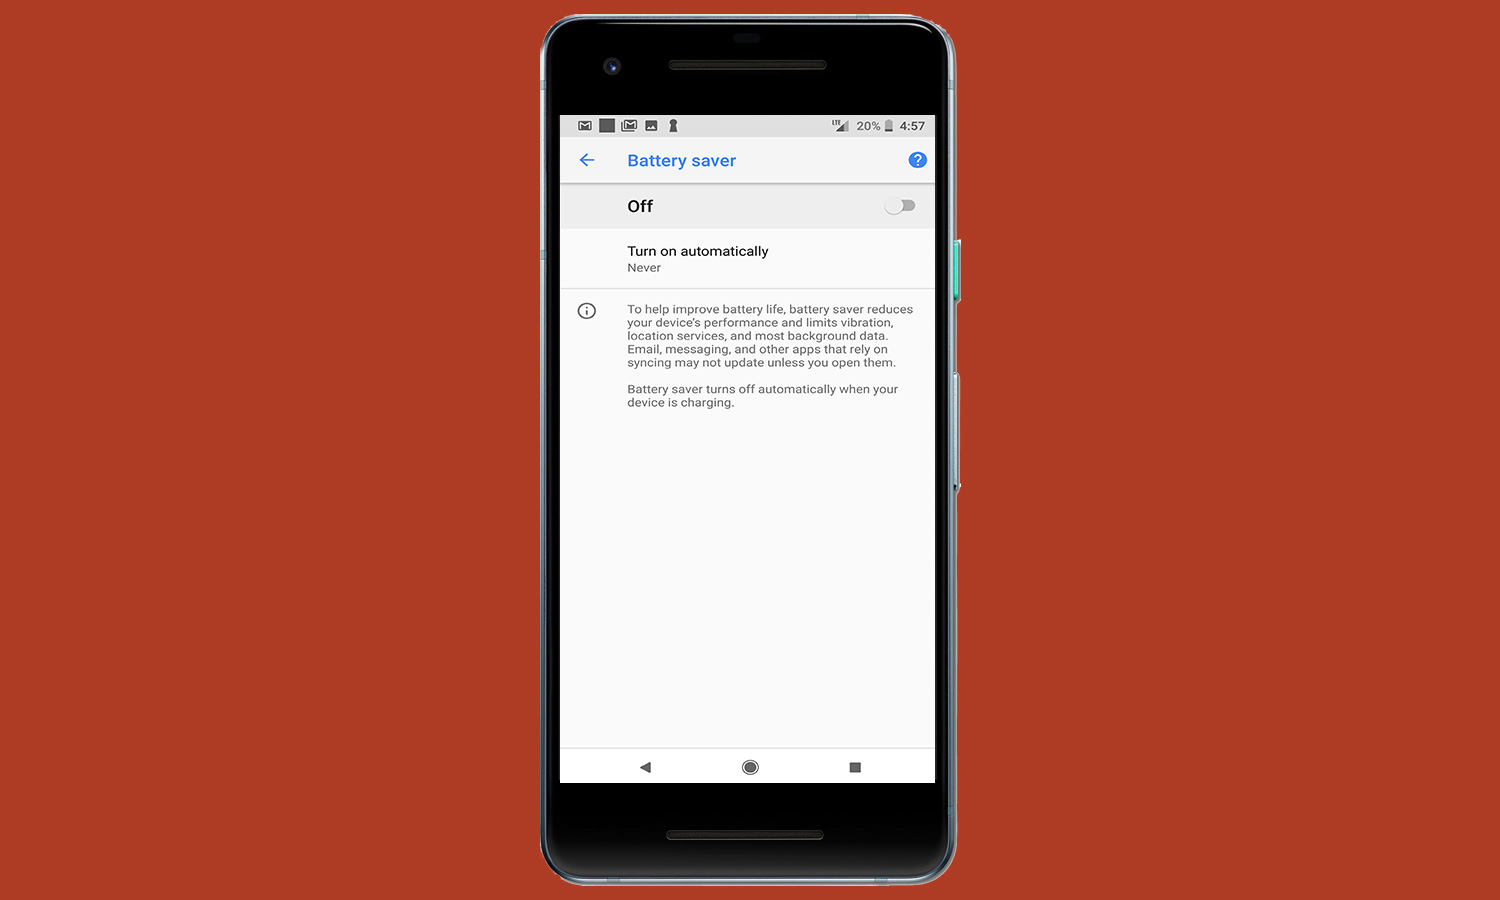
Battery Saver is Android's built-in power-saving mode, which reduces performance, limits vibration, and turns off location services and background data for most apps. However, it doesn't turn on by default. You can manually activate Battery Saver whenever you like, but we believe it's most useful to set the feature to automatically turn on once your battery percentage has fallen below a certain threshold.
Here's how: OpenSettings, thenBattery. Under Power Management, there will be an option for Battery Saver. You can turn it on and off from the adjacent toggle, but if you tap on the menu item, you can set Battery Saver to intervene when your device falls below 15 percent or 5 percent capacity. Battery Saver will automatically turn off once you begin charging your phone again.
Enable Android Pay
Mobile payments provide one of the greatest conveniences of modern smartphones, and Android Pay makes the process very simple. If you already have a Google account with an enrolled payment option, you'll simply have to confirm some security details, like your credit card's CVC number. If not, follow these steps to add one.
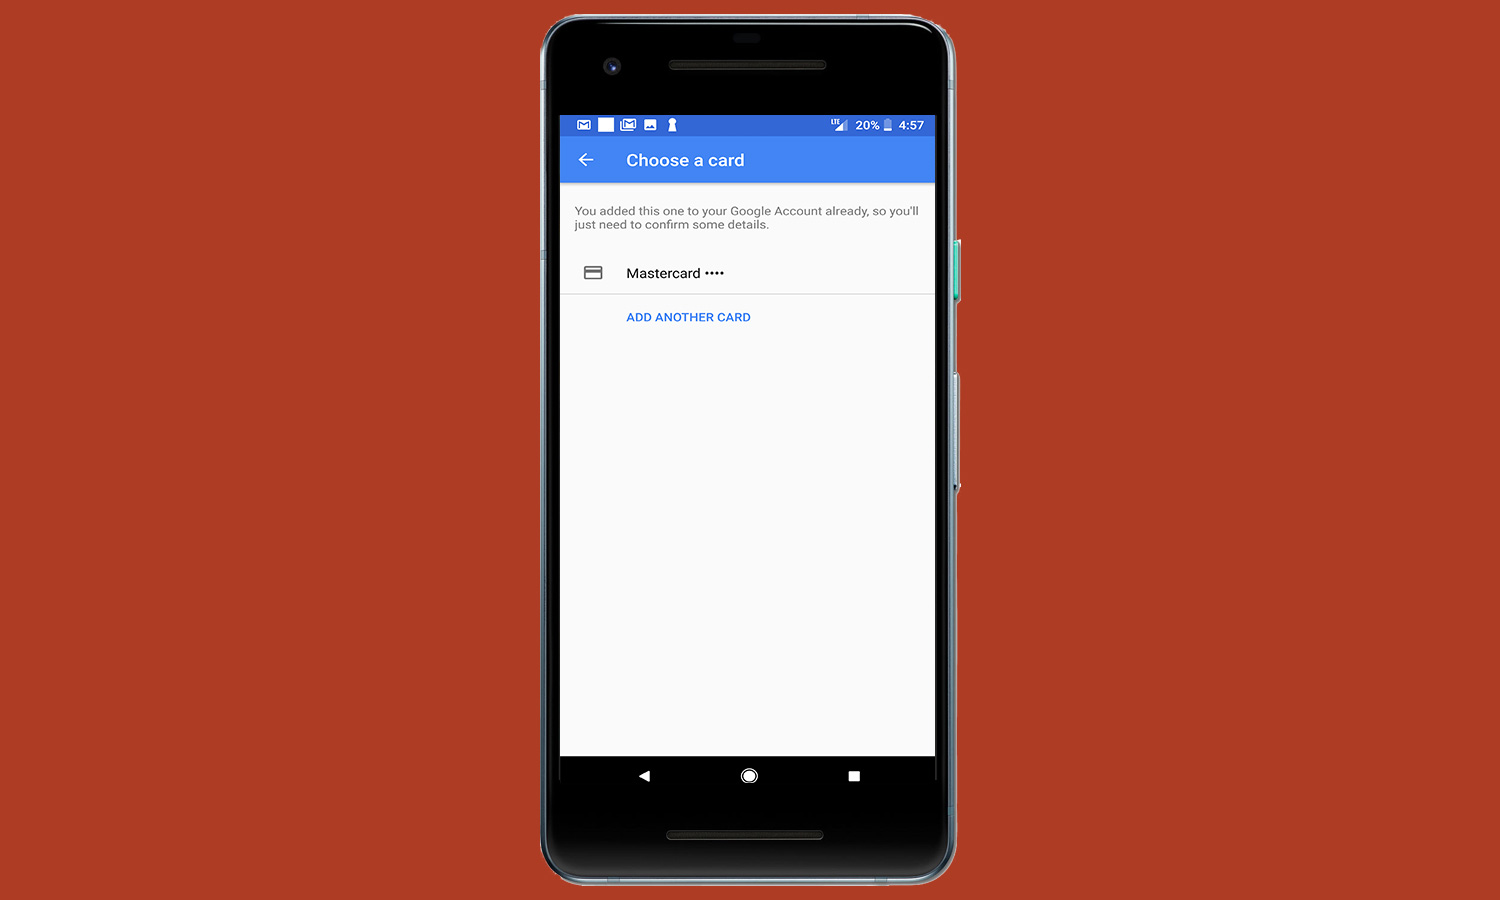
Here's how: Open the Android Payapp and tap Get Started on the splash screen. To add a card, you can use your phone's camera. Simply line up the on-screen frame with the card; you can also enter your credit card info manually. On the subsequent form, enter the information that remains, like your name and billing address. Once Android Pay has validated your card, you're all set.
Enable Always-On Ambient Display
Thanks to the Pixel 2's OLED technology, the phone can momentarily present basic notifications as white text on a black screen without significantly reducing battery life. This feature is known as Ambient Display. However, you can also set your Pixel 2 to show the Ambient Display at all times, even when the phone is technically sleeping. Be advised that doing so will consume more battery power.
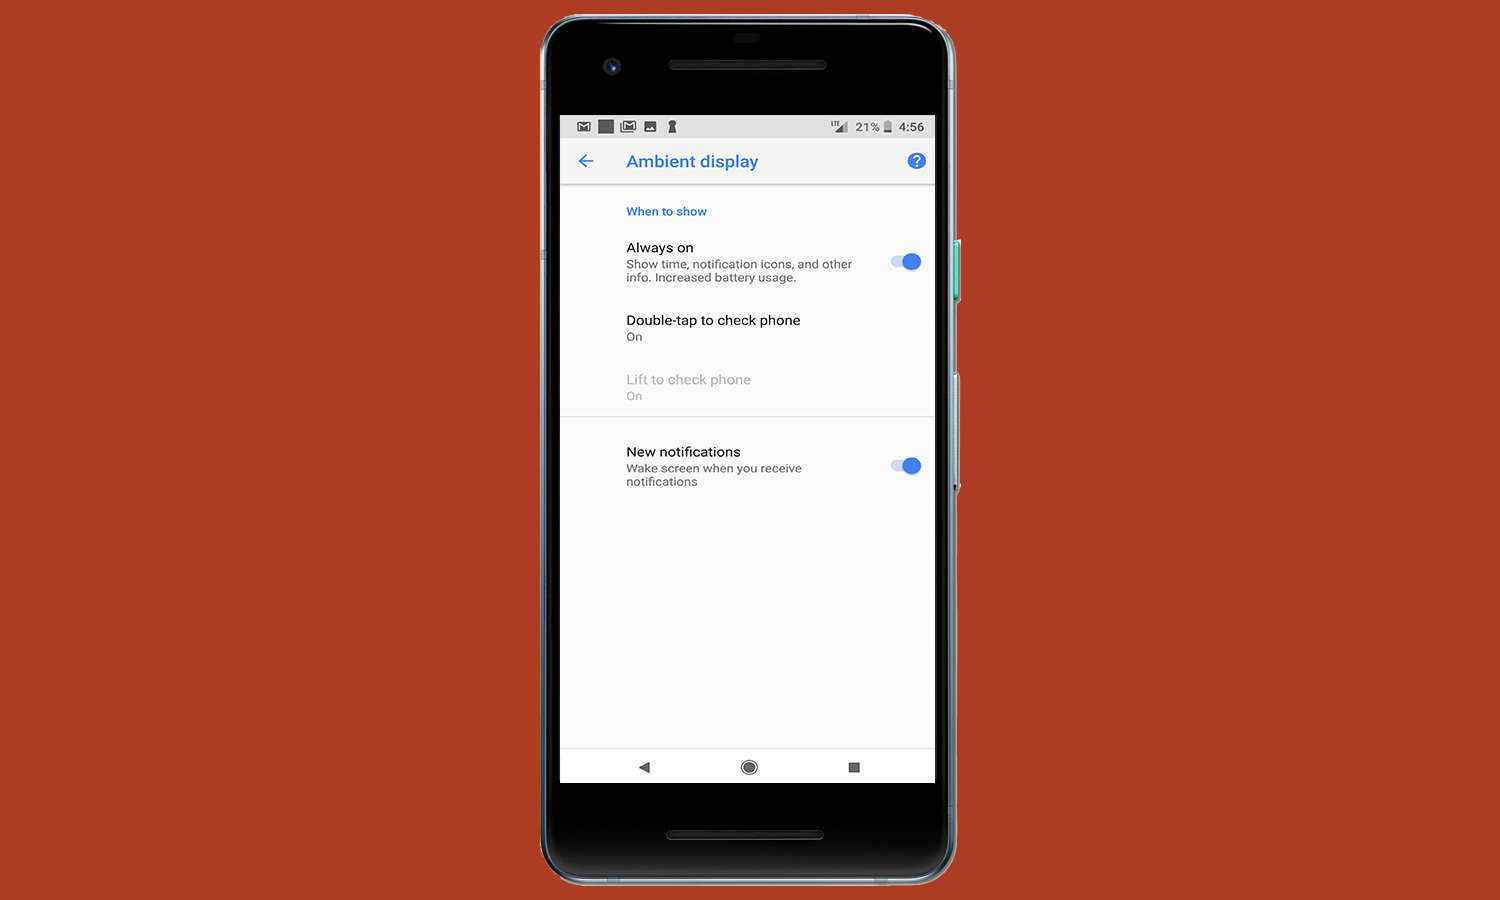
Here's how: Open Settings, then Display, then Advanced. The Ambient Display option appears close to the bottom of the list. Tap it, and you'll see the Always On option at the top. There are also toggles to enable a double tap to reveal notifications, auto-waking when the phone is lifted (though this does not apply when Always On is already activated) and a setting to wake the screen when new notifications arrive.
Use Fingerprint Sensor to Check Notifications
The Pixel 2's fingerprint sensor can be used to open the phone's notifications shade with a quick swipe. However, this feature is off by default, so you'll need to go into the settings to activate it.
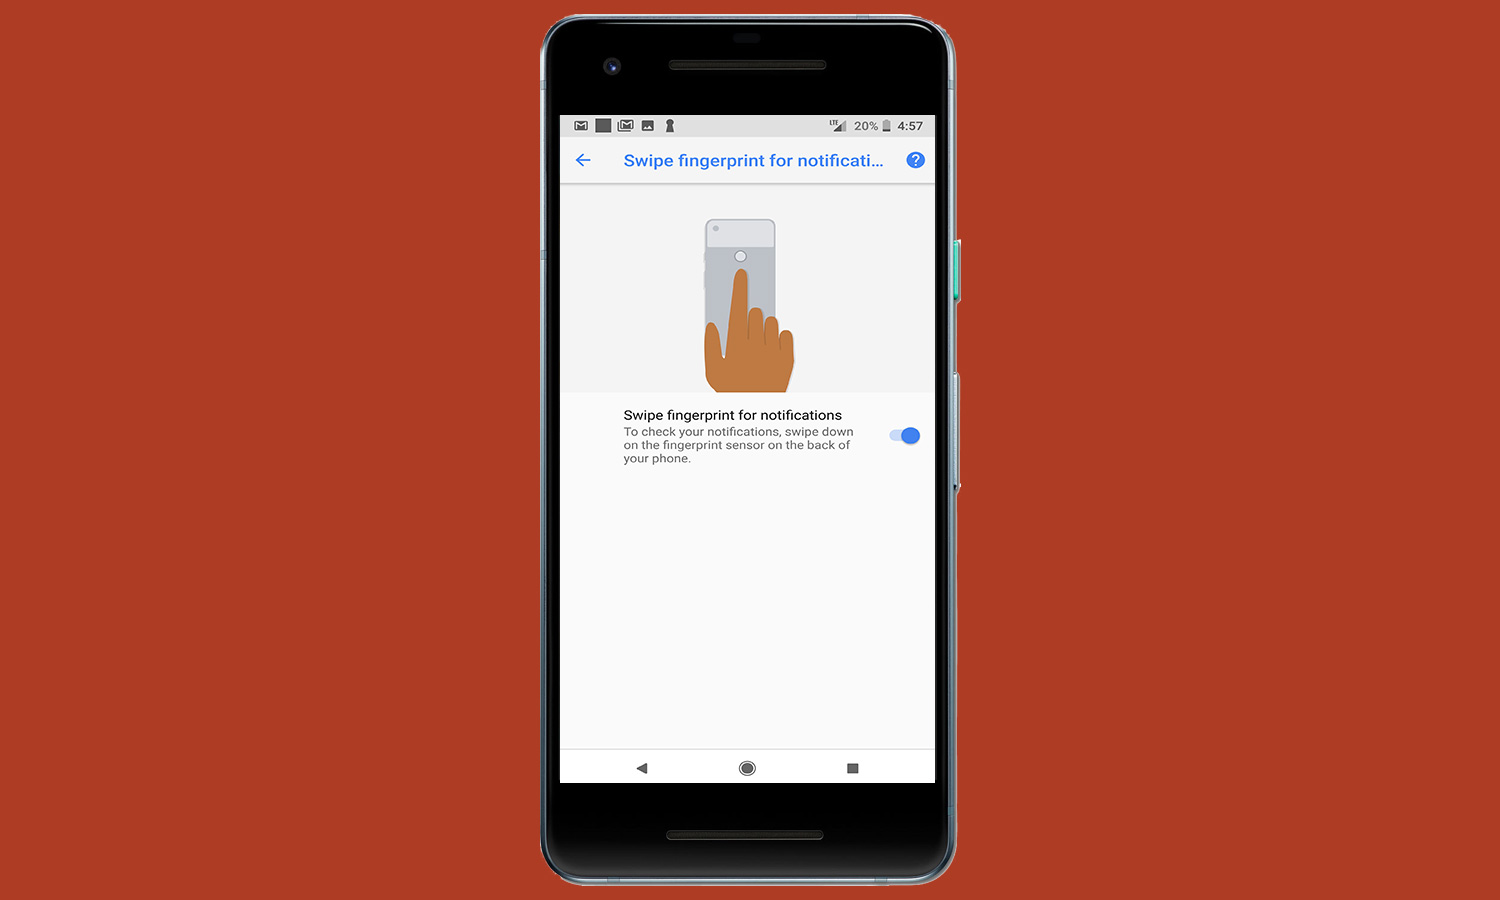
Here's how: Open Settings, then System, then Gestures. Underneath Active Edge at the top, you'll see Swipe Fingerprint for Notifications. Once this feature has been turned on, you can swipe down on the sensor from any screen to reveal notifications, swipe down again to show quick toggles and swipe back up to close the shade.
Use Smart Storage to Free Up Space
Thanks to Google Photos, you can use the cloud to automatically store copies of all the photos and videos taken with your Pixel 2. With everything kept on Google's servers, there's little need to keep the same files on your phone's local storage.
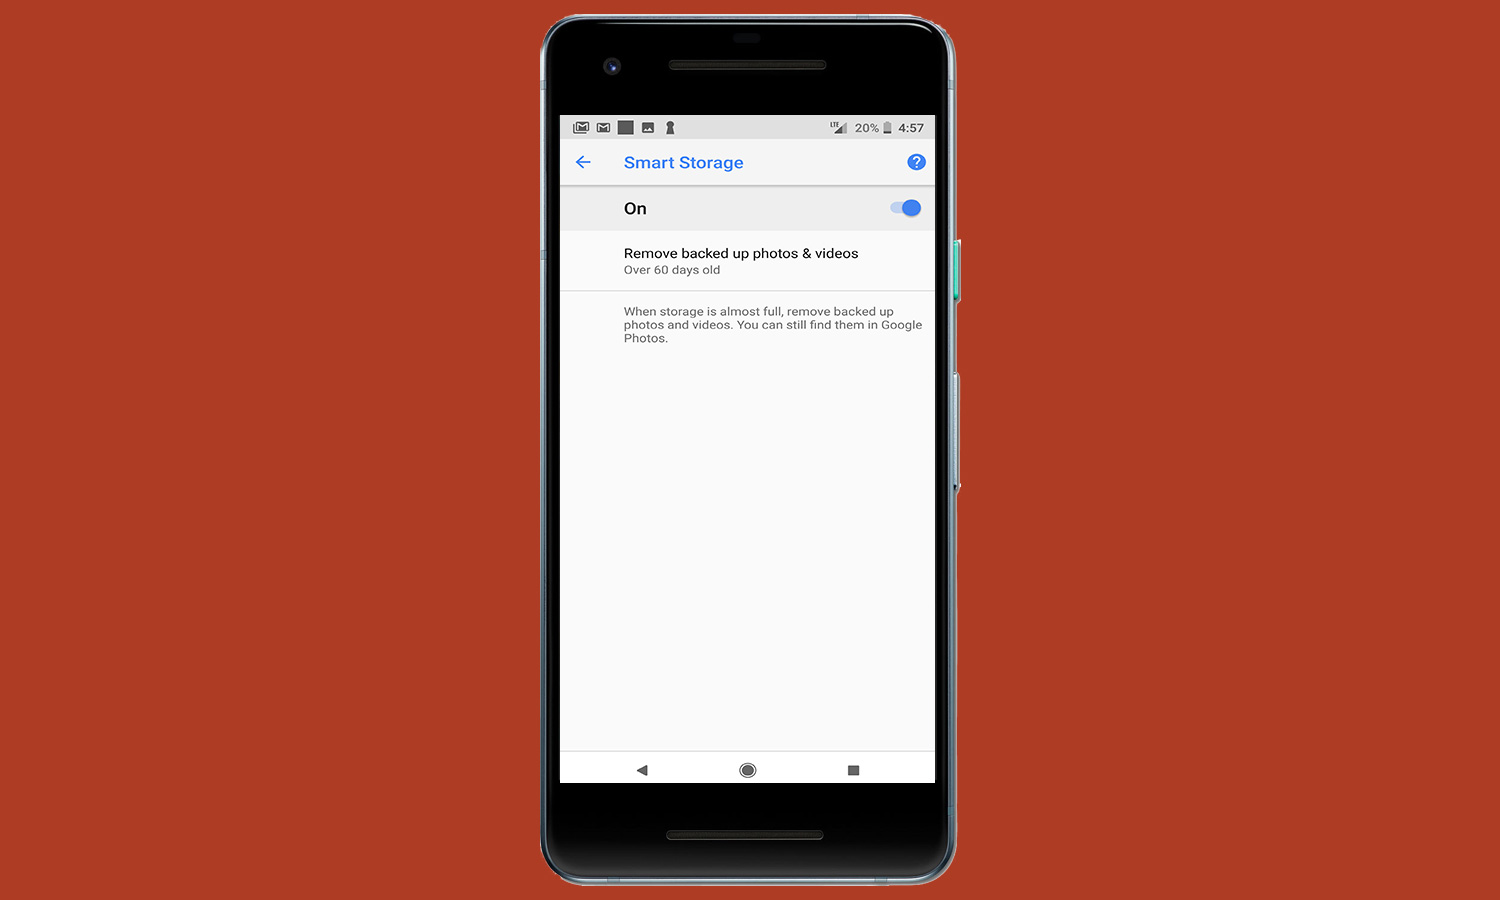
To that end, Google included a feature beginning with the original Pixel called Smart Storage that frees up on-device memory by disposing of local copies of media after a certain number of days, if they have already been backed up. And Smart Storage returns with the Pixel 2.
Here's how: Open Settings, then Storage. This menu offers a breakdown of what's taking up space on your device's flash memory, but we're interested in the Smart Storage option near the top. Tap the menu item, then select Remove Backed Up Photos & Videosto set an interval after which old media can be deleted from local storage. You can instruct your phone to automatically delete content that is 30, 60 or 90 days old, but rest assured, the cloud-saved copies will remain available through the Google Photos app.
Adam Ismail is a staff writer at Jalopnik and previously worked on Tom's Guide covering smartphones, car tech and gaming. His love for all things mobile began with the original Motorola Droid; since then he’s owned a variety of Android and iOS-powered handsets, refusing to stay loyal to one platform. His work has also appeared on Digital Trends and GTPlanet. When he’s not fiddling with the latest devices, he’s at an indie pop show, recording a podcast or playing Sega Dreamcast.
