How to clean and protect your sneaker collection like a sneakerhead
The expert collector's guide to maintaining your most-precious kicks
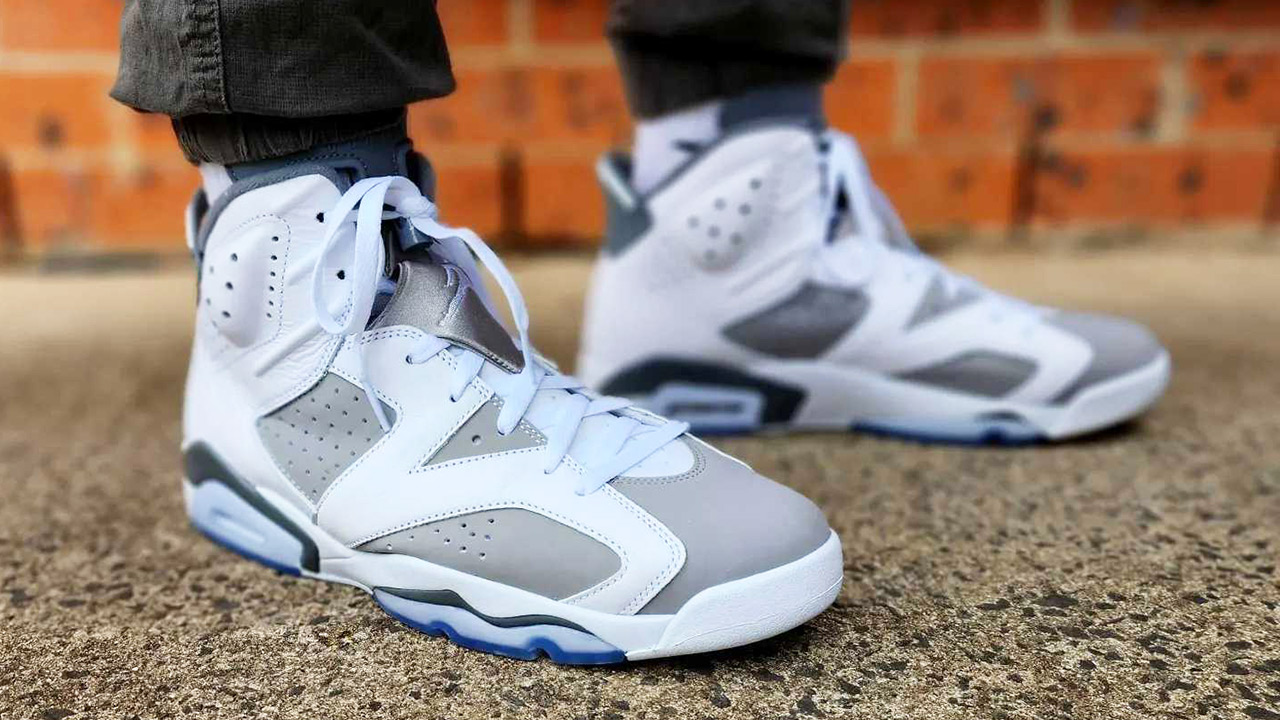
Sneaker culture has taken off in a big way over the last few years, with more people than ever seeking out limited edition kicks and retro releases of established classics, shelling out hundreds — sometimes thousands — for their most sought-after shoes.
What started as a hobby for devoted basketball fans has gone on to become a financial juggernaut, with the resale market alone now estimated to be worth billions of dollars. Even luxury fashion brands like Gucci and Louis Vuitton now sell basketball sneakers.
Given how expensive it is to be a sneaker collector, it's important to keep your kicks looking (and smelling) fresh and clean for as long as possible — especially if you plan to resell them later on.
While we've offered general tips on how to clean sneakers and how to clean white shoes in the past, not all of these methods are going to apply to your high-end holy grail kicks (we wouldn't recommend running your pricey Air Jordans through the washing machine, for instance).
Some materials, such as nubuck, suede and patent leather, are more delicate than others, and require specific methods of cleaning and detailing.
Thankfully, there are a number of measures you can take to keep your precious sneakers in tip-top condition for years to come. Additionally, there are several simple things you can do to protect your sneakers ahead of time and prolong their integrity.
Right, let's get started. Here's everything you need to know about how to clean and protect your sneaker collection like a sneakerhead.
Get instant access to breaking news, the hottest reviews, great deals and helpful tips.
Pre-emptive protection
Before you wear your sneakers out of the house for the first time, there are a number of protective measures you can take to keep them seeming new for longer. Following these steps will help shield your kicks from the elements, and even work hard to prevent unwanted odors from seeping in.
1. Spray on a protective barrier
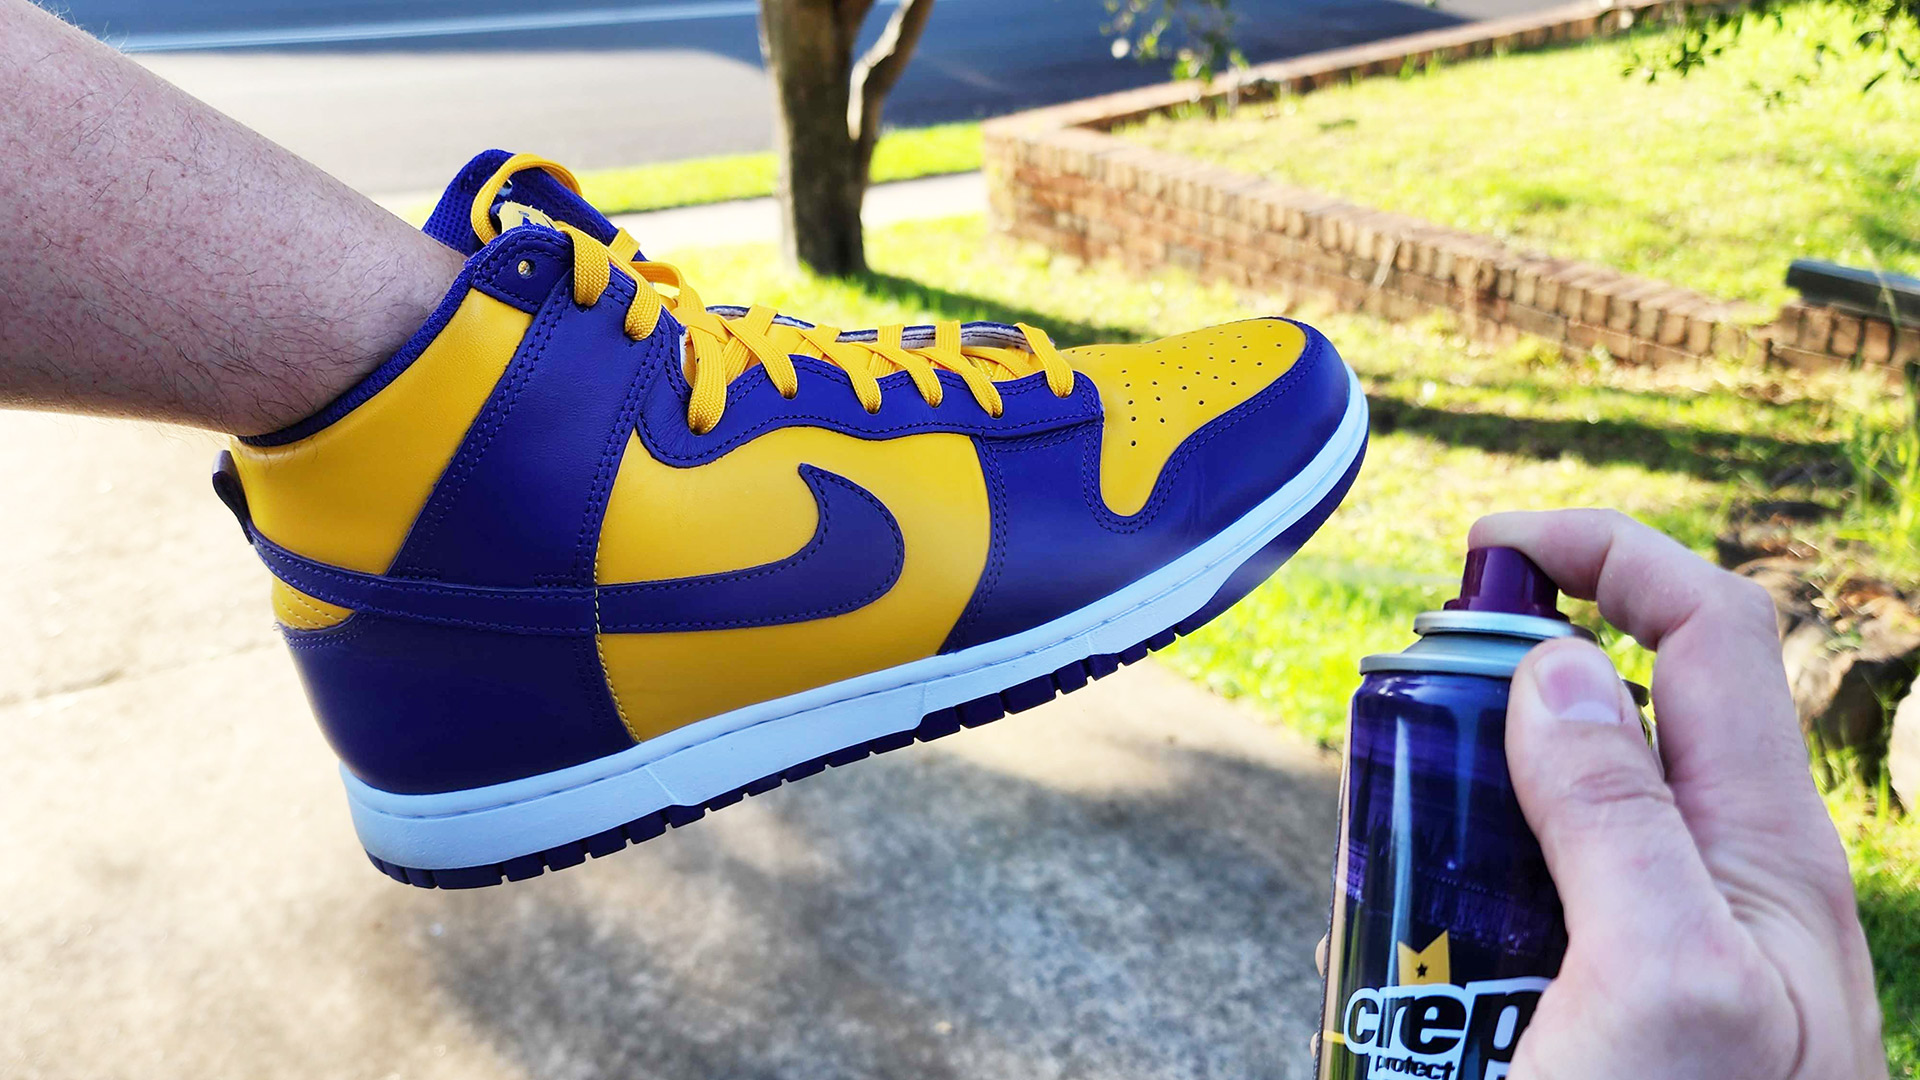
As most sneakers are vulnerable to liquids and other substances responsible for stains, it's a good idea to spray on an invisible protective barrier before wearing them outside.
Popular protectant sprays like Crep Protect disperse a super-hydrophobic coating that will cause splashes of liquid to bead off rather than soak in. This is especially important for suede or nubuck shoes, which are more susceptible to water damage. Protective sprays will also make it easier to wipe off dirt and help prevent stains from forming.
To apply your protective barrier, go to a well-ventilated area (preferably outside) and evenly spray each shoe from a distance of around 7-8 inches (roughly 20cm). Next, set the shoes down to dry for around ten minutes. Repeat the spraying process once more and allow another 15 minutes for the sneakers to fully dry.
2. Insert odor fighting insoles
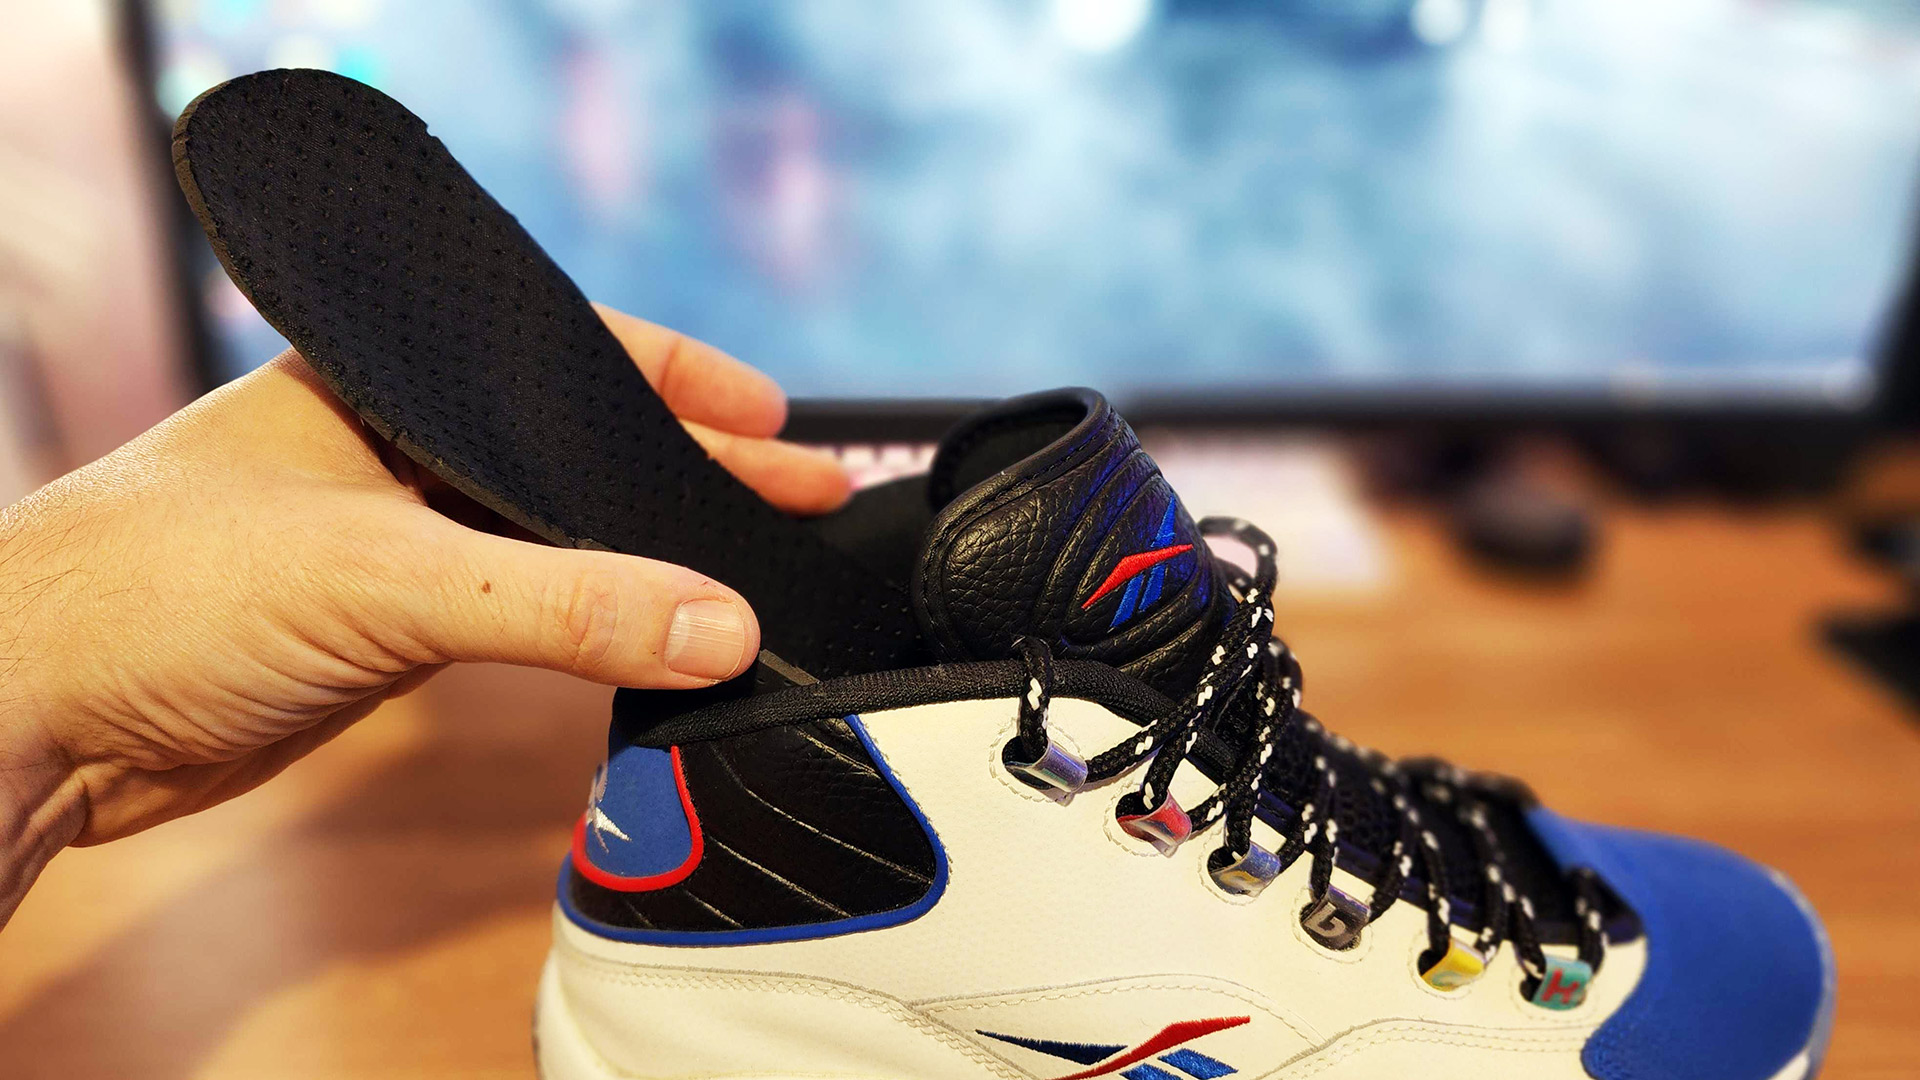
No matter how clean your socks or feet are, moisture and bacteria will eventually set into unprotected shoes, leaving a musty smell that can be difficult to dispel once there. Sprays designed to fight shoe odor do exist, but they often leave your kicks powdery on the inside or smelling like the shoes you hire at a bowling alley.
For these reasons, it's better to prevent odors from occurring in the first place, and the best way to do this is with odor neutralizing insoles. Speaking from experience, this inexpensive solution will absorb moisture and help keep your sneakers smelling practically brand new for years to come. And, as an added bonus, they will also protect the official insoles that came with your kicks.
Odor control insoles are available in a number of different options and are carried by most supermarkets. In terms of sizing, they can usually be cut to size with a pair of scissors. Some offer additional padding, while others take things up a notch by using activated charcoal to nullify smells.
3. Use crease protectors (optional)
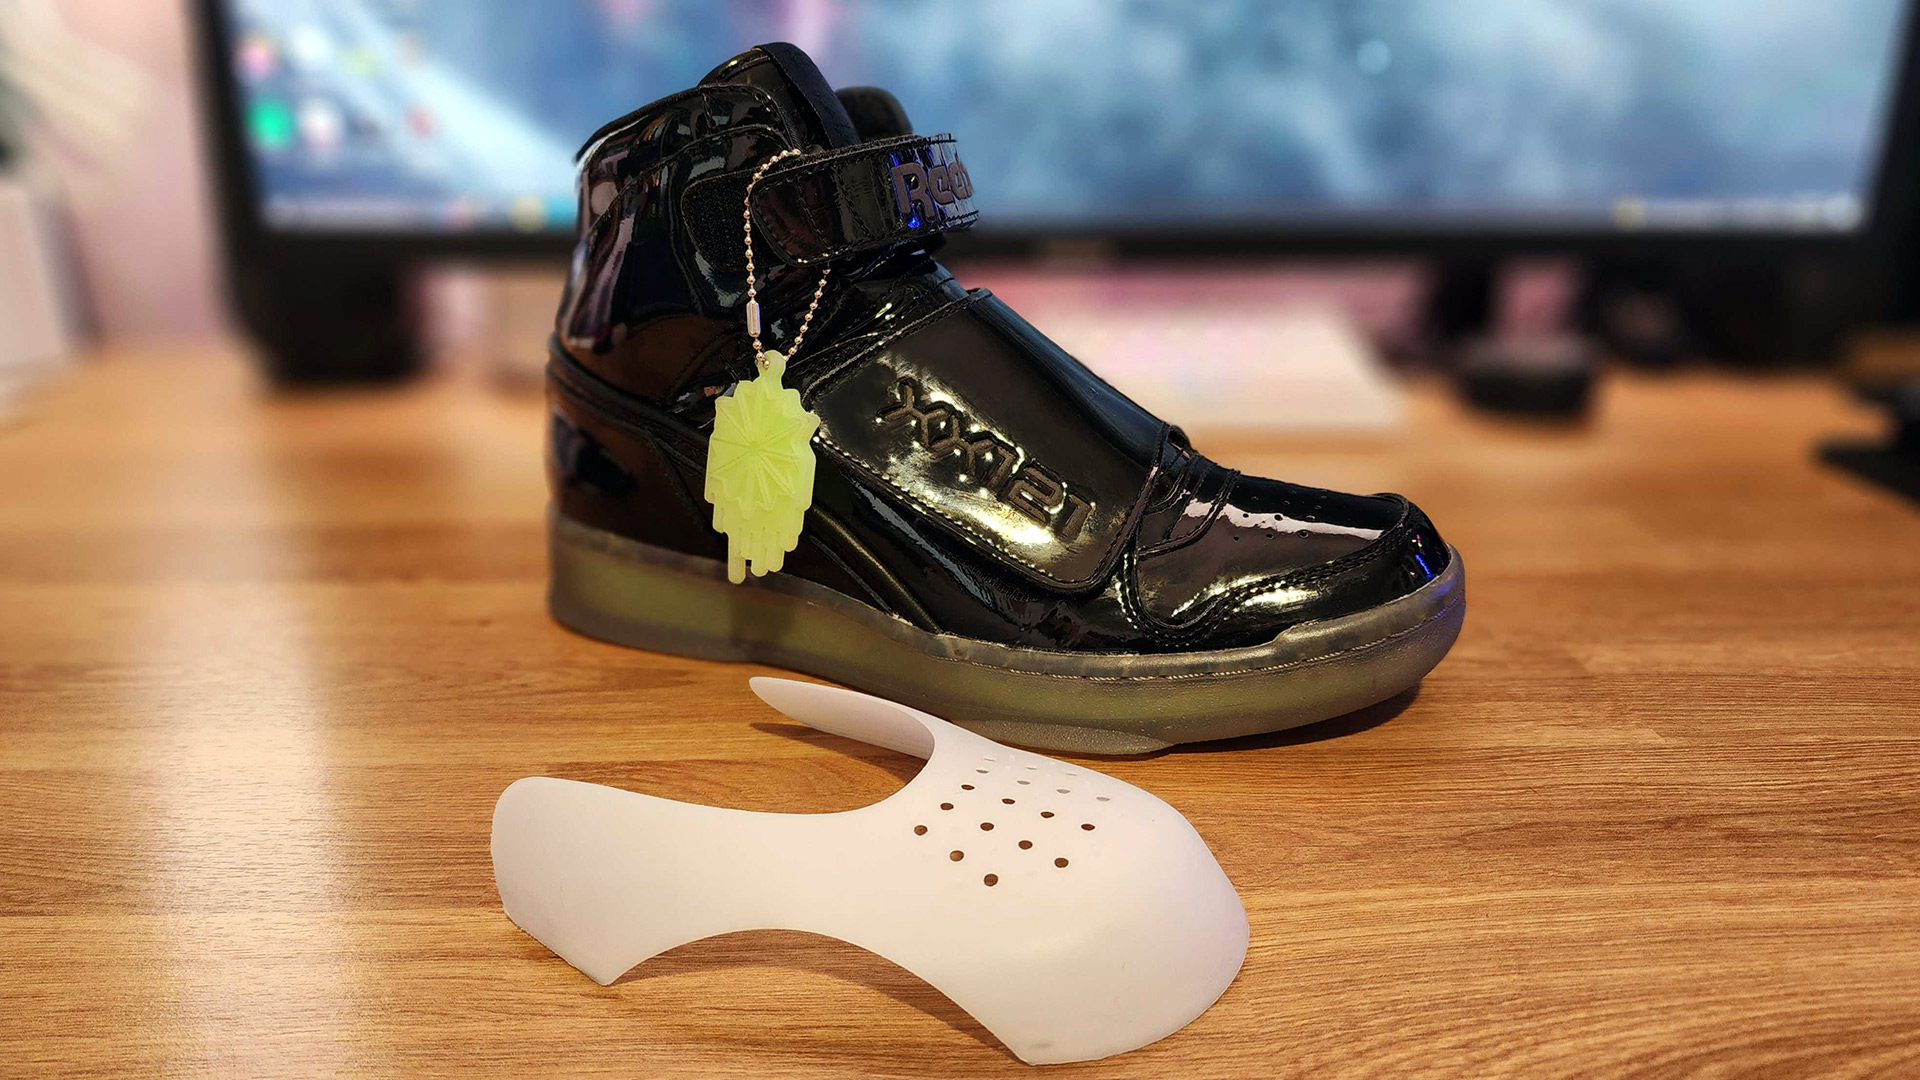
If you're worried about creasing your fancy leather sneakers, you may want to consider inserting crease protectors. Usually made of curved plastic, crease protectors can be slipped inside your shoe's toebox area to prevent it from bending harshly when you walk.
Of course, crease protectors may be uncomfortable for some people, and even downright painful for others, which is why we're classifying this tip as optional.
For the most part, we'd really only recommend using crease protectors inside patent leather shoes, which have a tendency to crack and peel over time.
It's worth noting that you probably shouldn't worry too much about creases in regular leather shoes anyway, as there are simple ways of ironing and steaming them out, which we'll discuss later.
4. Take measures to slow yellowing soles
One thing to know about shoes which use translucent or 'icy' gels in their soles, is that they will yellow over time due to oxidation.
Oxidation is a chemical process that occurs when the thermoplastic polyurethane in icy soles is exposed to oxygen. Obviously there is no way to avoid oxygen, so your sneakers' soles will go yellow eventually.
Thankfully, you can delay this effect by keeping your shoes in an enclosed box when not in use, which should limit the amount of oxygen and moisture they're exposed to. Additionally, sunlight can accelerate the oxidation process, so keeping them in a dark shoe box will slow this, too.
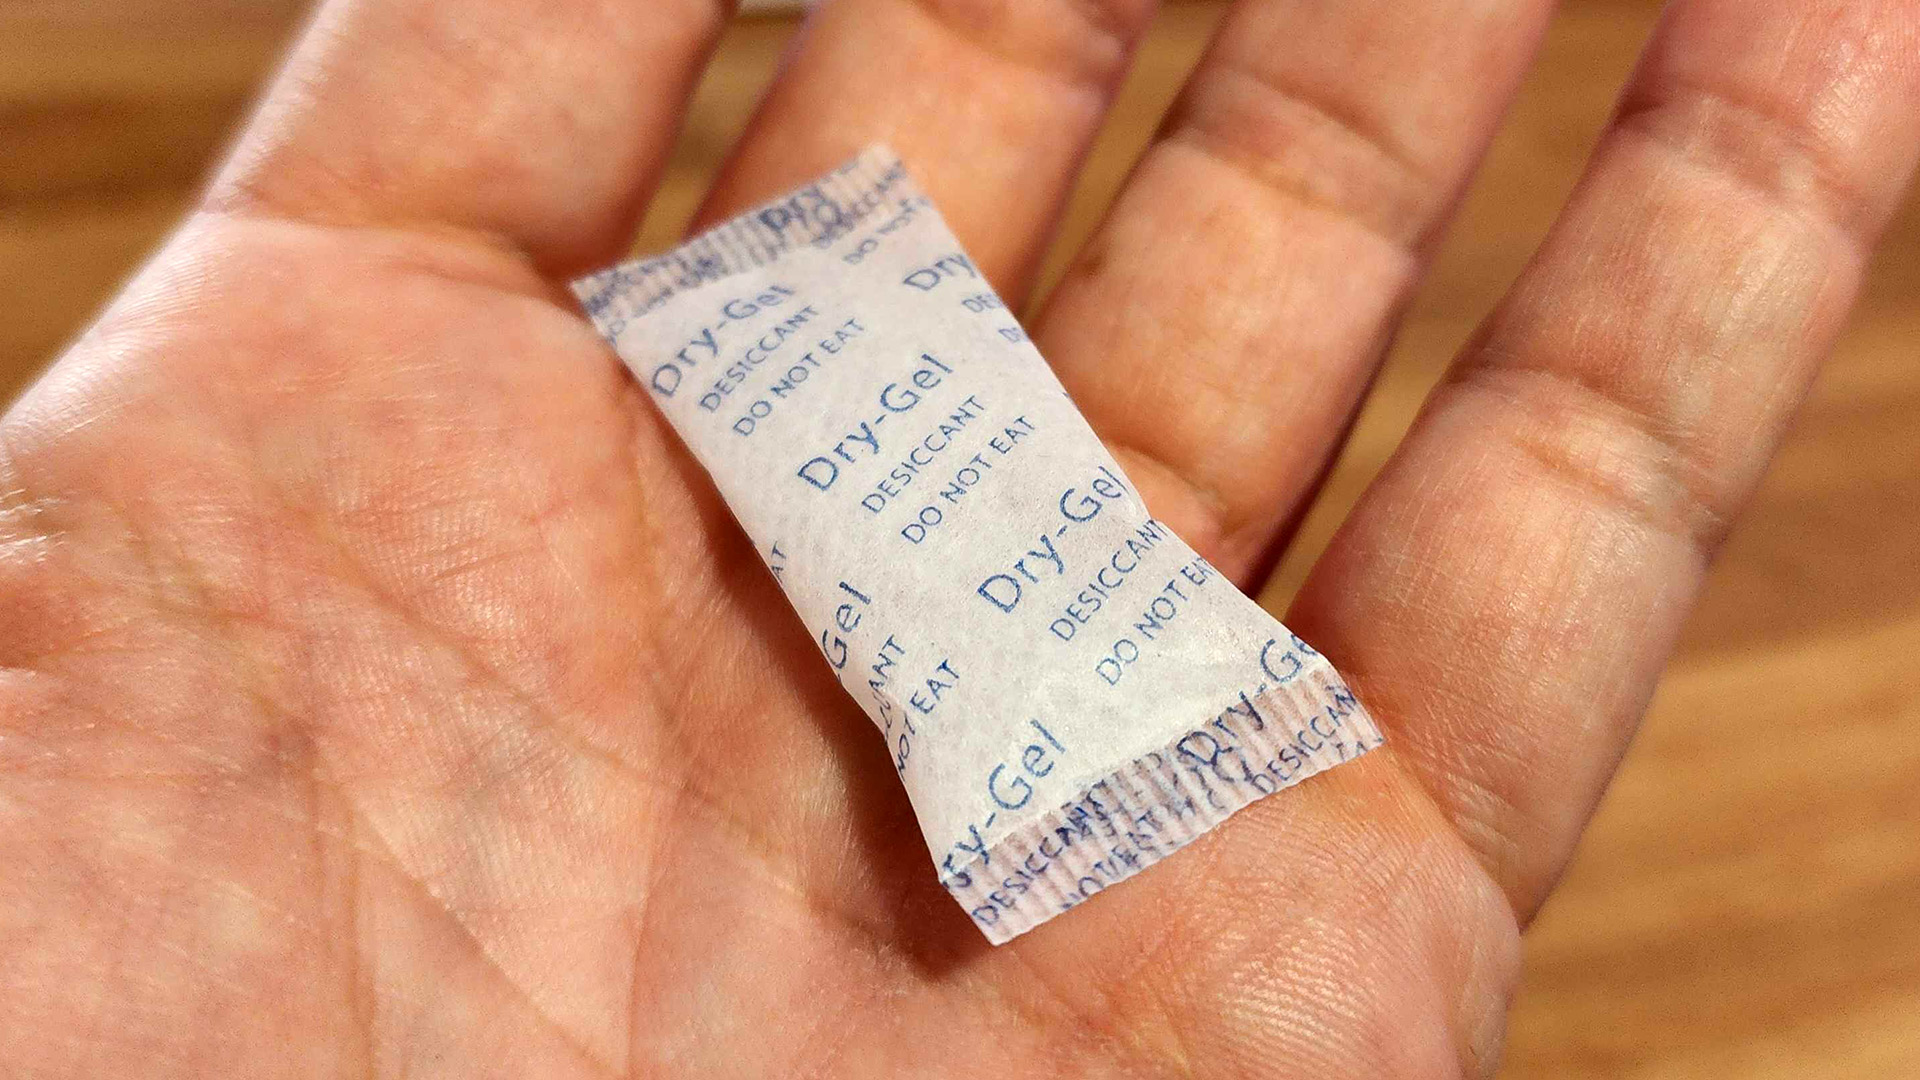
And finally, an optional measure you can take to delay oxidation is to throw a couple of silica gel packets into the box with your shoes. These will suck up any moisture in the box and keep your shoes fresh for longer, though they will have to be replaced every few months.
Please note, you should definitely not add more than two small silica packets, as overdoing it could dry out the glue that's holding parts of your shoes together, causing them to crumble. The best way to avoid this is to periodically give your shoes some fresh air and even wear them on occasion.
5. Keep your sneakers in a sneaker case
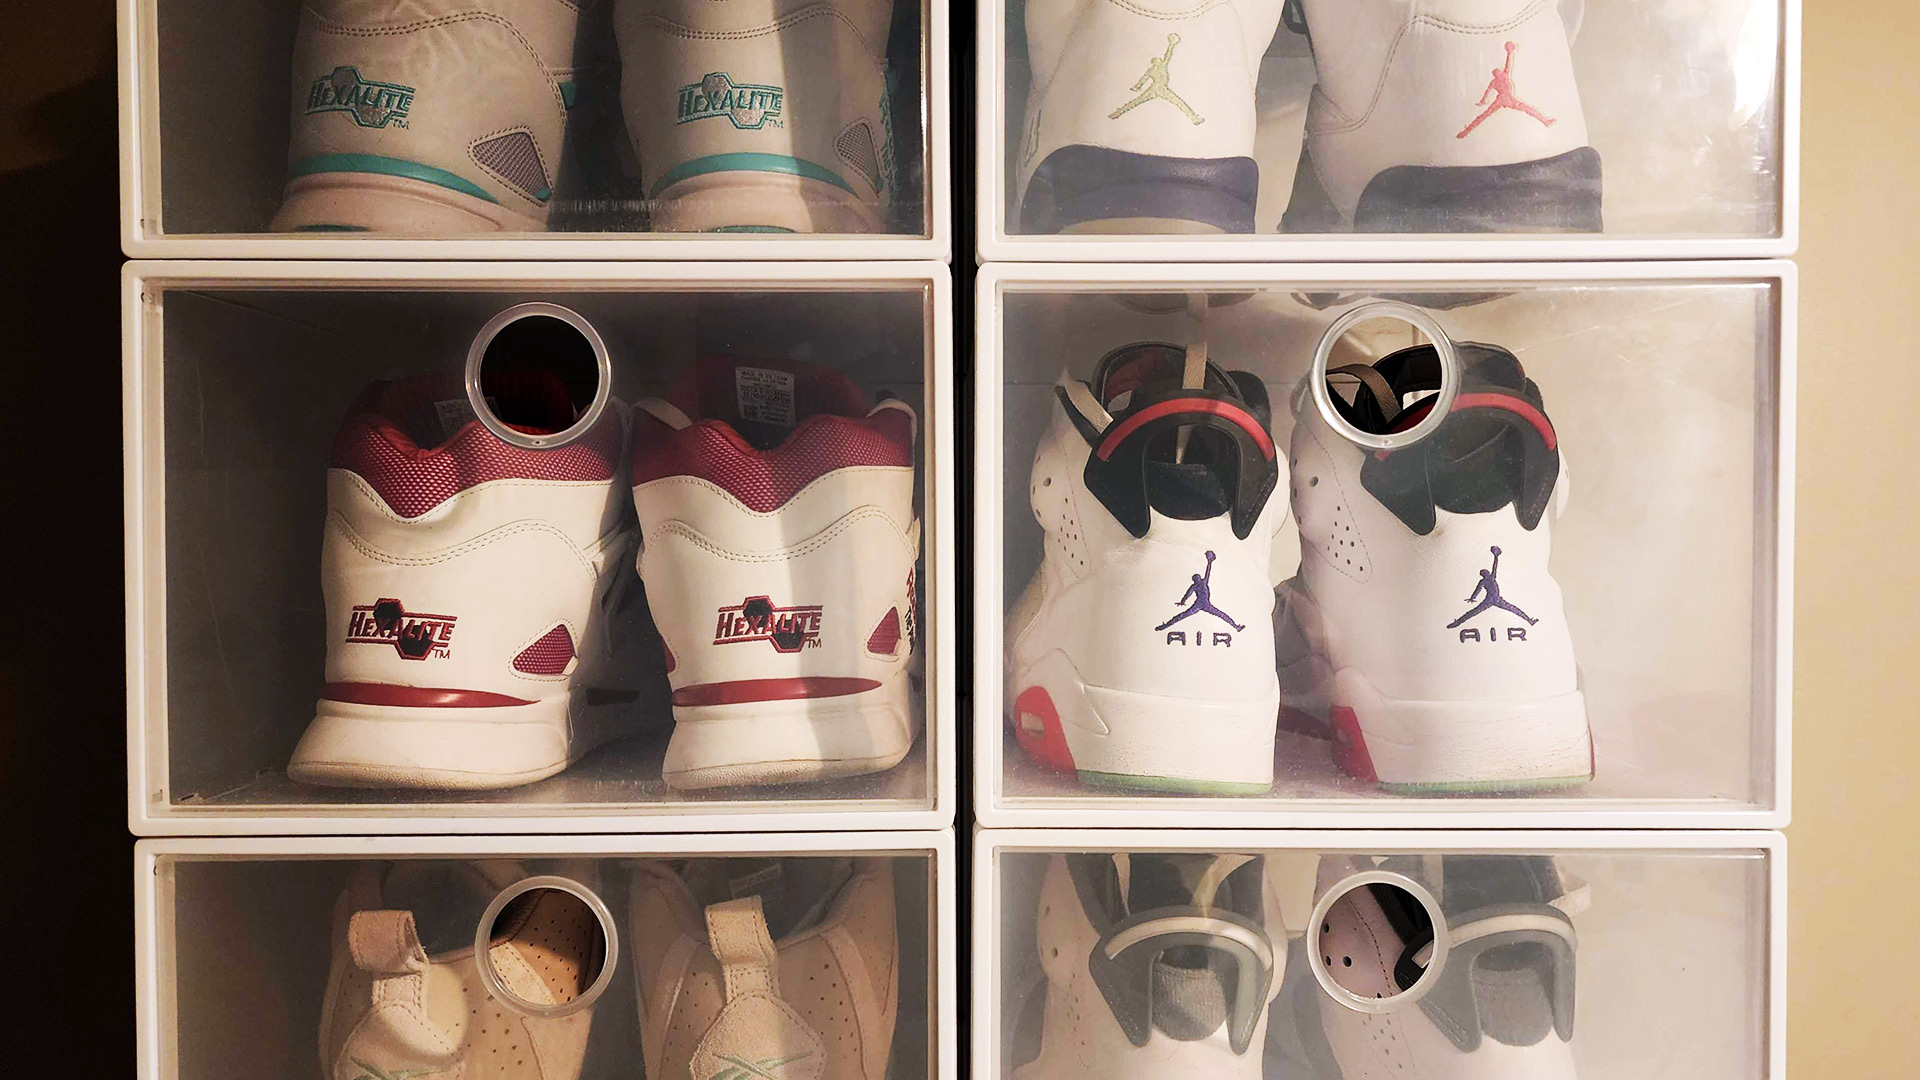
On top of being an awesome way to display your sneaker collection, sneaker cases are a great way to store your kicks safely, offering protection against dust, damage or spills. There are a number of great sneaker case solutions of varying quality, with doors on either their front or side — the only limit is your budget. If you have a large collection, a set of stackable sneaker cases will probably be the most convenient option.
And, despite what we said about oxidation of icy soles earlier, sneaker display cases should have holes which allow shoes to breathe after they've been worn (especially if you aren't using odor control insoles), or else bacteria and mold could set in.
Cleaning collectible sneakers
Now that we've gotten the protective measures out of the way, it's time to explain how to clean your sneakers and keep them in tip-top condition. Following this guide should help you maintain your sneakers' like-new appearance for longer.
Invest in sneaker care products
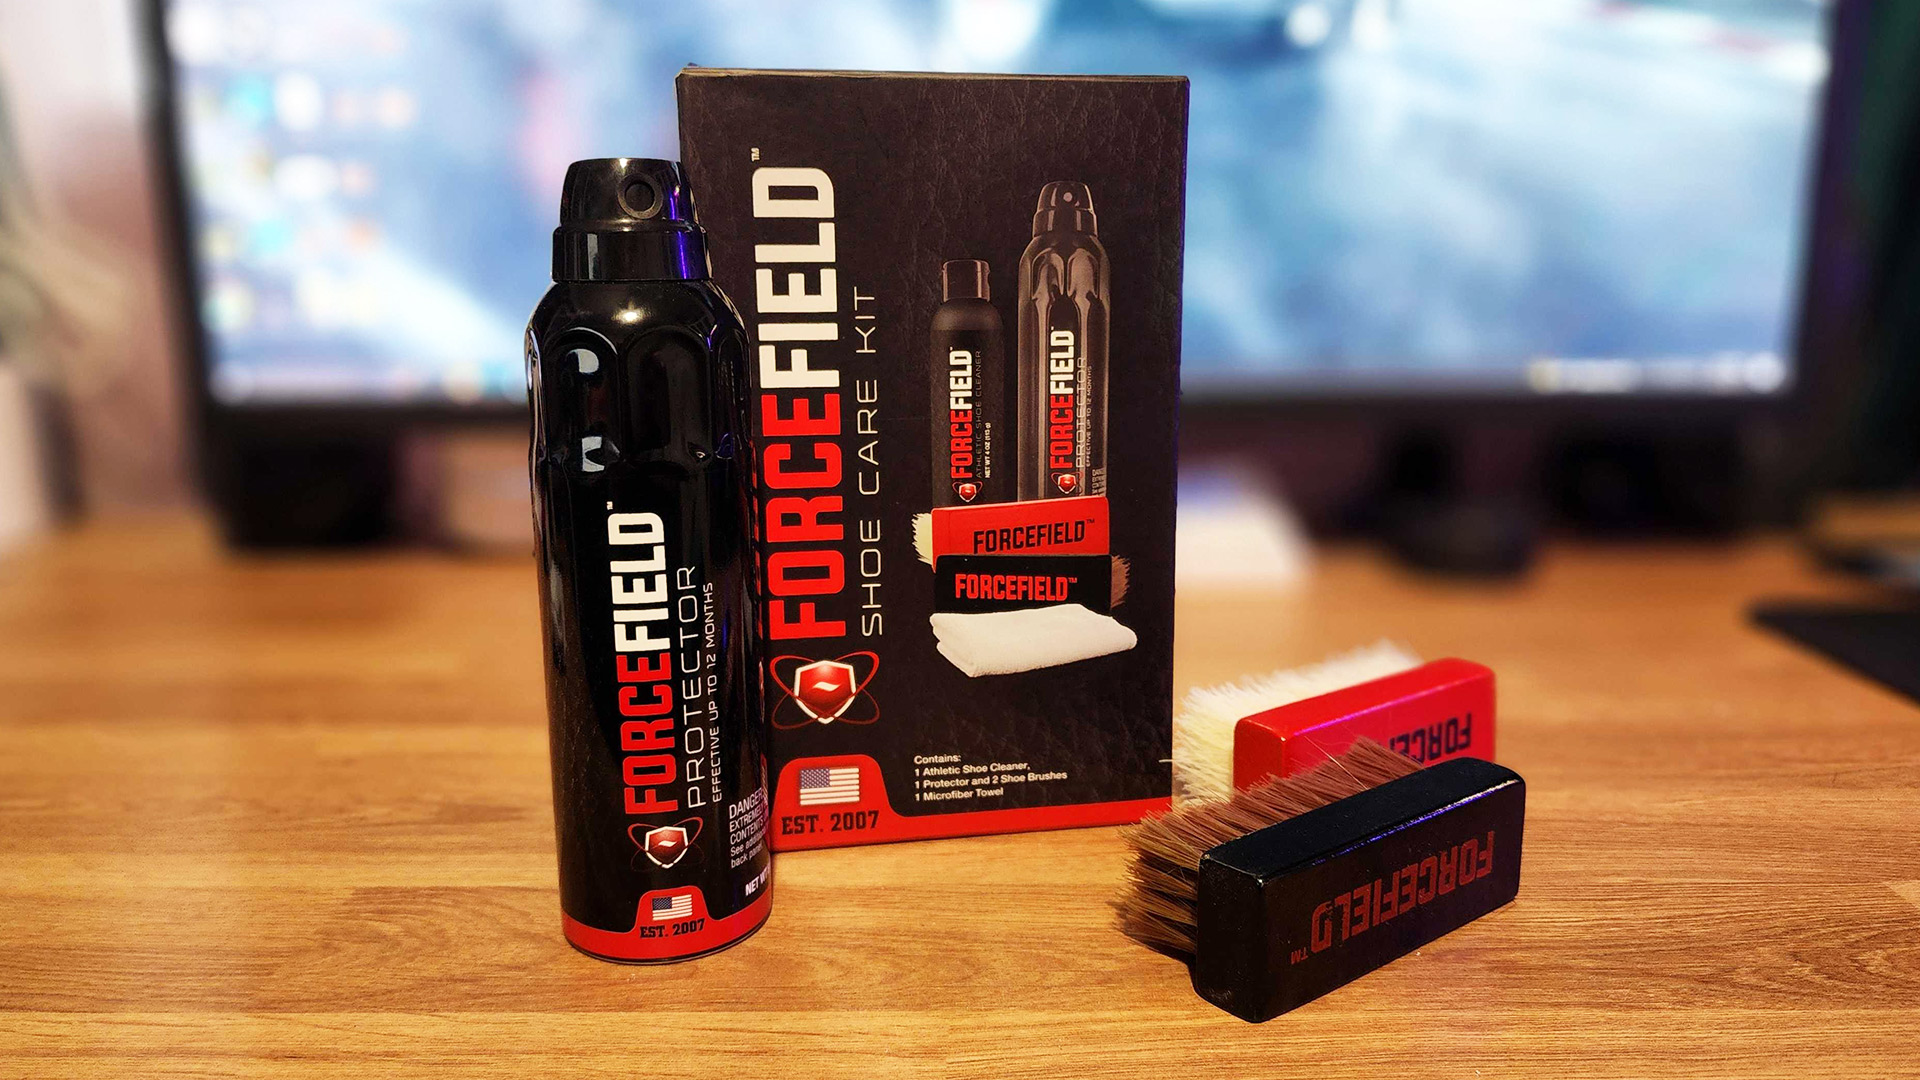
The first thing you should do in order to maintain your sneakers' fresh appearance is invest in a sneaker care kit. Typically, these kits will include brushes, a microfibre cloth, and some form of liquid cleaning solution or foam. The best kits come with a hog hair or horse hair brush, which are effective at cleaning more delicate materials such as suede, nubuck, Flyknit and mesh.
For the most part, cleaning your sneakers will involve a brush and some shoe-centric cleaning solution.
If you've already invested in a sneaker cleaning kit, chances are you already have a cleaning solution. If not, you can pick one up from the likes of Foot Locker and JD Sports, or even your local supermarket.
Leather sneakers are generally quite resilient, which in turn will make them the easiest shoes to keep clean in your collection. However, you'll be surprised to know with a bit of extra care and drying time, that same solution can be used to restore suede and nubuck shoes.
And, if you want to go all out, a dedicated device such as the Philips Sneaker Cleaner should prove affective in getting grime off your kicks. This battery operated device comes with three brush heads: a hard one for textured rubber and soles, a soft one for mesh and canvas shoes, and a third sponge head which is ideal for leather sneakers, as well as suede and other delicate materals.
Get a scuff eraser for suede or nubuck shoes
If your shoes are marked up, the first thing you should do is use a dry brush to scrub the area. In some instances, this will be enough to bring your sneakers back to a clean state. For suede and nubuck shoes, make sure you use a hog hair or horse hair brush with fine bristles.
Alternatively, you could opt to purchase a scuff eraser, such as the Crep Protect Eraser for suede and nubuck shoes. As you'd expect, this looks and acts the same way as a pencil eraser and should do a decent job of removing any scuffs. Make sure you don't rub too furiously or you may damage your shoe.
Using cleaning solution
Dry method not cutting it? Then it's time to bring in the cleaning solution. For this you'll need a bowl of warm water, a microfibre cloth, and the aforementioned brush and cleaning liquid.
First, dip your (preferably) hog hair brush into the warm water to wet the bristles. Next, apply a decent amount (several drops) of cleaning solution to your brush, then dip it in the warm water again.
Now, brush the upper of your shoe in circular motions, creating a soapy lather as you move over the entire area. If your sneakers are exceptionally dirty, you may need to scrub a little harder. Please note, you should only use a hog hair or horse hair brush on suede or nubuck sneakers, as a harder brush could damage them.
Once you've confidently brushed both shoes all over, wipe them down with a microfibre cloth to remove any remaining lather. If your sneakers are leather, you probably only need to let them dry for around 15 minutes or so before wearing them. That said, you should allow around 24 hours of drying time for suede or nubuck sneakers.
If you're in a bit of a rush, you could also opt to use disposable sneaker wipes. These moist wipes are best suited for leather sneakers, as they may leave behind residue that could affect the integrity of suede shoes.
Cleaning midsoles
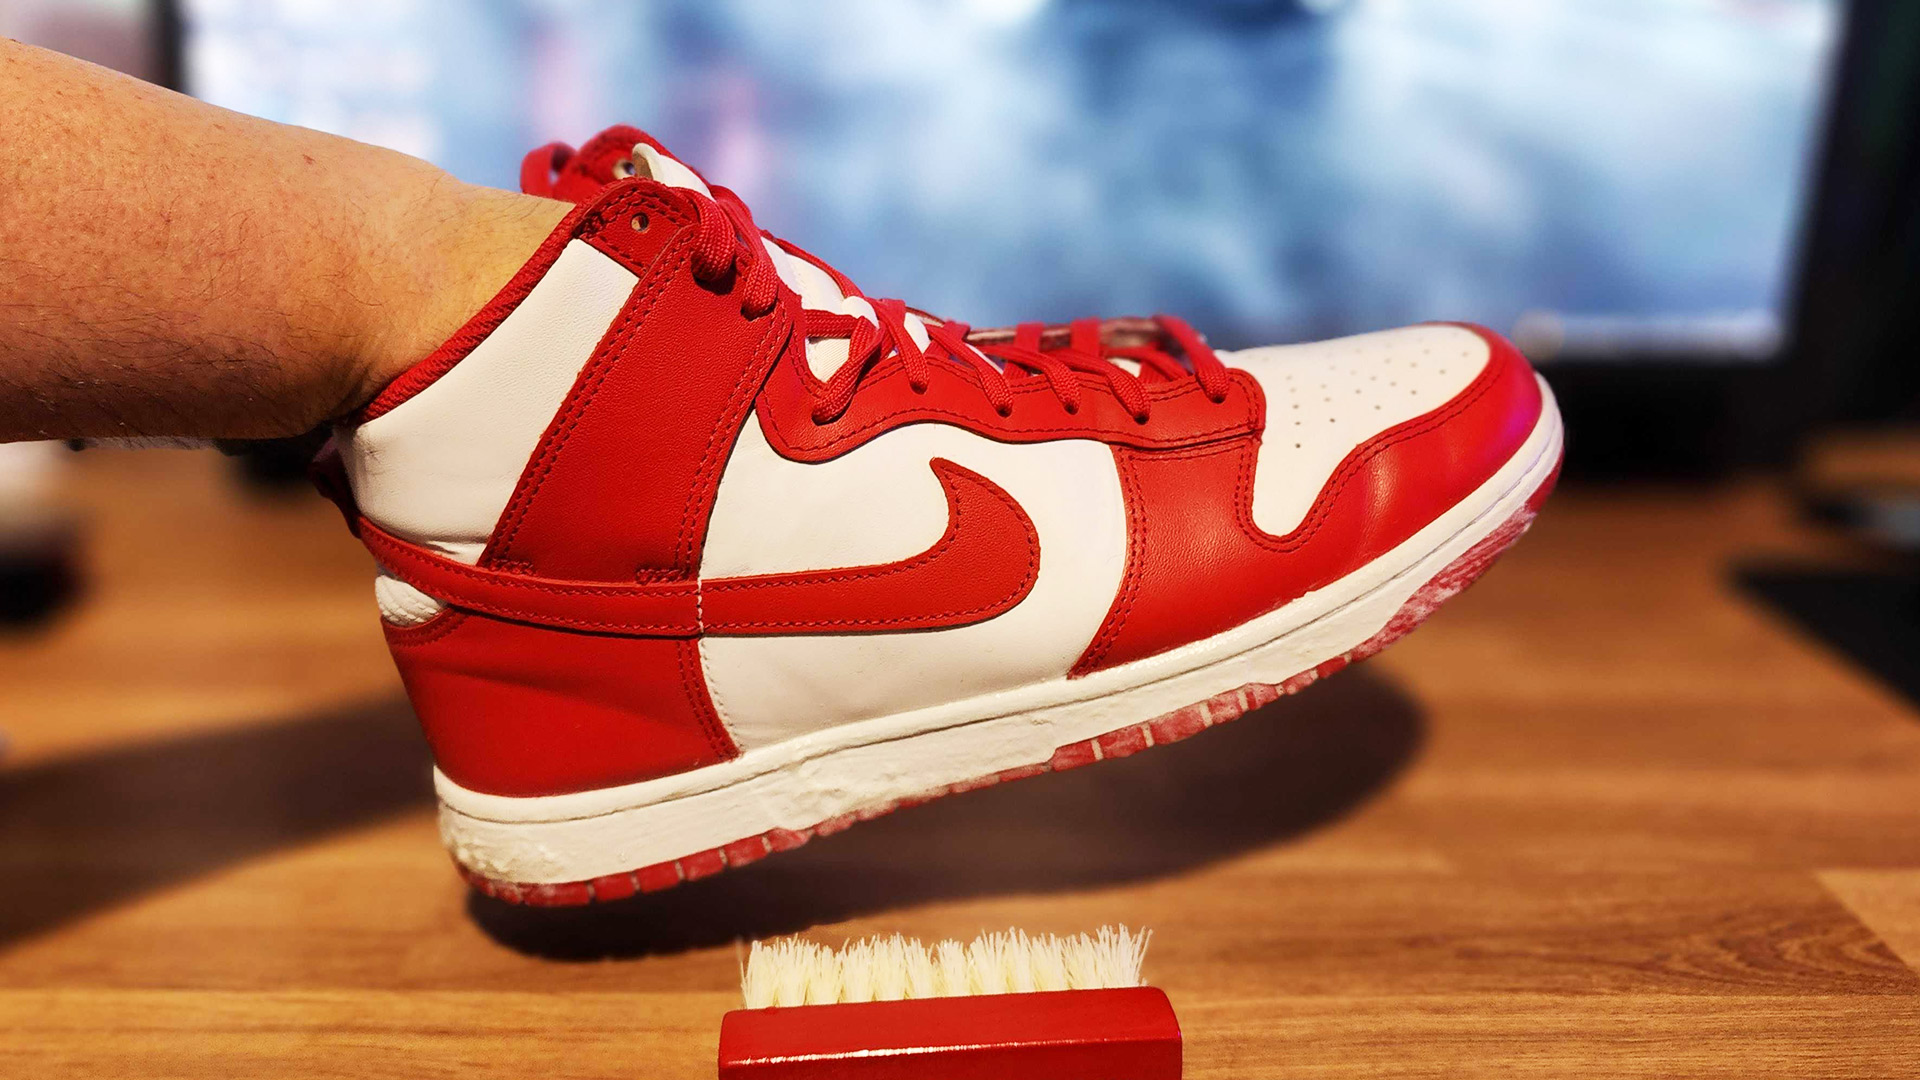
If there's one thing that ages sneakers above everything else, it's dirty or yellowed rubber midsoles — especially if they were once white. Like the icy soles we mentioned earlier, yellowing will happen to white rubber over time, but there are ways to restore your midsoles and soles to their former glory.
If your midsoles have yet to go yellow, but have been scuffed up from contact with dirt, mud or grass, cleaning them up is relatively easy and straightforward. Best of all, you can get them clean again with everyday household items.
Simply apply a line of white toothpaste (not gel) all around your sneakers' white midsoles, making sure not to get any on the uppers. Then, dip a firm brush with plastic bristles (such as a nail brush) into water and scrub the midsoles vigorously, working up a lather in the process. Once you're done scrubbing, wipe the lather off with a damp towel.
That said, if you've badly scuffed up your shoes while out and about and need a quick solution, you could opt for a cover-up product like Crep Protect's Midsole Custom Pen, available for both black and white midsoles. Be warned, this works almost like a paint, so only use if the scuff mark is particularly harsh.
Restoring yellowed soles
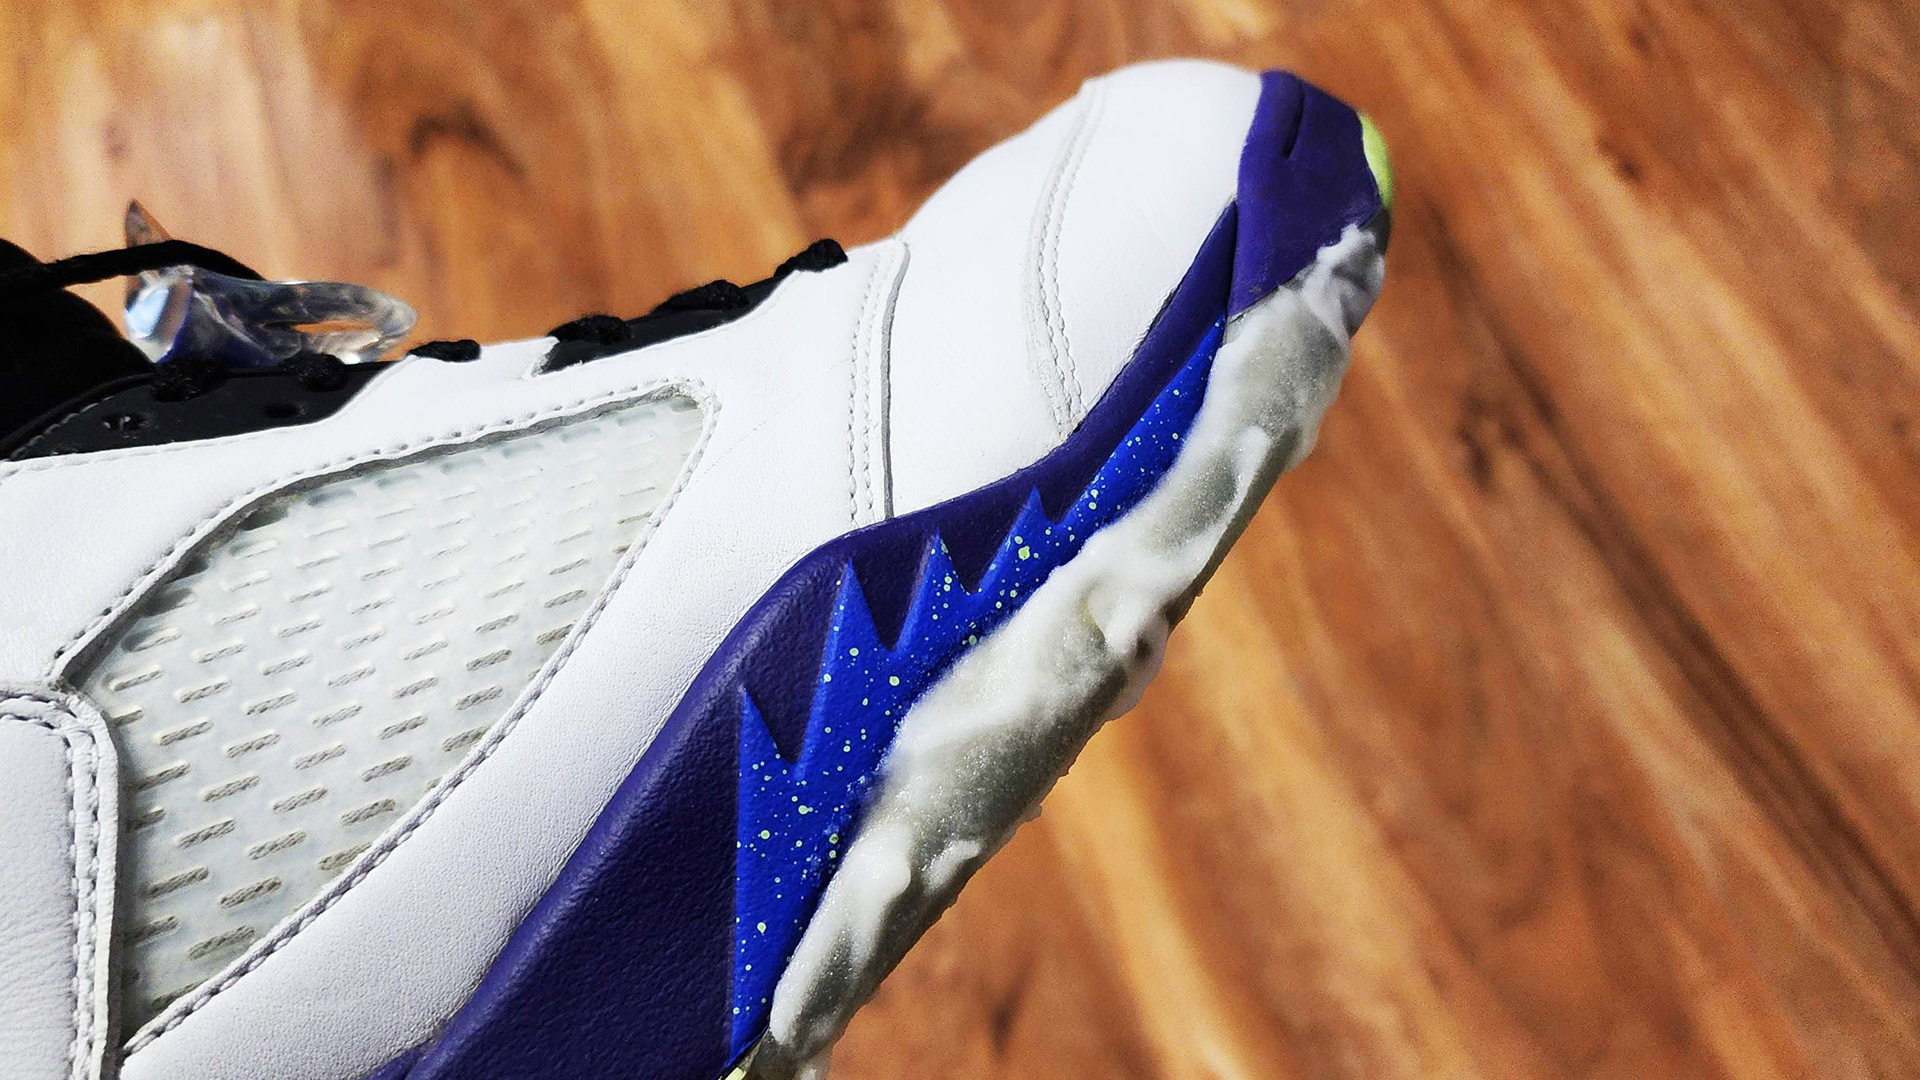
For white or icy soles that have turned yellow, you'll want to create a foamy paste using bicarbonate soda and a tablespoon each of white vinegar and warm water. Simply keep adding the bicarbonate soda and mixing it until it's foamy and not runny.
Then, use a brush to scrub the clear or white parts of your soles with the mixture, taking care not to get any of your sneakers' uppers, or on colored sections of your soles. Then, allow to dry in the sun for no longer than 30 minutes.
Once the mixture has turned dry and powdery, brush it off while rinsing under warm water. You should already see a fairly significant improvement after one attempt, however, you can repeat this process multiple times to bring your shoes' soles back to icy glory.
Alternatively, you can also purchase Sole Bright from the brand Angelus. No, it isn't a Buffy villain — it's a product that's said to reverse oxidation using UV rays in a similar way to the foamy paste detailed above.
Please note: both methods should only be used on white or clear soles and midsoles and must be kept away from your shoes' uppers, as they may burn or discolor materials like leather and suede.
Removing creases
Many sneakerheads will go to extreme measures to keep their kicks wrinkle and crease-free, such as wearing uncomfortable crease protectors inside their shoes, or even walking like a duck.
But what if we told you that there are a number of Nike-approved ways to remove creases from your leather sneakers? Simply follow these easy methods and you'll have uncreased kicks again in no time.
Before we get started, make sure to stuff your sneakers with as much packing as they can take. Use the paper that came in your shoes and shoebox, or if you no longer have that, socks will do the trick. You could also purchase a shoe tree from IKEA if you want to go all out.
One method involves using an iron on medium heat, with a damp cloth or towel acting as a buffer between your shoe and the iron. Do not apply the iron directly to your shoes under any circumstances!
As explained on Nike.com, place the cloth or towel over the crease you want to remove and iron over it in 10-second increments. After each pass, check your shoe to make sure it isn't being damaged and to see if the crease is starting to disappear. Once the crease is gone, you can turn off your iron. Leave the stuffing inside your shoe to maintain shape while it cools off.
Alternatively, you could steam your shoes with a hot towel. Simply wet a towel and wring it out until it's just damp, then place in a microwave-safe dish. Microwave it for 30 seconds and then safely place it over the shoe, rubbing the creased area gently. After this, stuff your sneaker or insert a shoe tree to maintain the shoe's shape while it cools off.
More from Tom's Guide

Stephen Lambrechts is the Managing Editor of Tom's Guide AU and has written professionally across the categories of tech, film, television and gaming for the last 15 years. Before Tom's Guide, he spent several years as a Senior Journalist at TechRadar, had a brief stint as Editor in Chief at Official Xbox Magazine Australia, and has written for such publications as APC, TechLife Australia, T3, FilmInk, AskMen, Daily Telegraph and IGN. He's an expert when it comes to smartphones, TVs, gaming and streaming. In his spare time, he enjoys watching obscure horror movies on physical media, keeping an eye on the latest retro sneaker releases and listening to vinyl. Occasionally, he also indulges in other non-hipster stuff, like hiking.
 Club Benefits


