


We all get into a routine when it comes to cleaning. We might occasionally attempt to declutter — have you tried 5 best ways to declutter your home? — but for the most part, we stick to the same list of chores, often in the same order. Naturally, some items need cleaning more often than others, but by sticking to a routine, odds are things are going uncleaned for longer than they should.
Some things are actively avoided as we clean for one reason or another. Perhaps we know it’s going to be a time-consuming chore, or we’re wary of how nasty it is to deal with (here’s 9 gross things you forget to clean around your home). Or, maybe cleaning it is a complicated task in itself. Whatever the reason, there’s likely things around the home you’d rather not face cleaning. The trouble is, these items still require attention, and leaving them longer than necessary can make matters worse.
If you want to know the kind of things we’re talking about, we’ve listed 7 things which we generally avoid cleaning here along with how to best clean them and why you should start incorporating them into your routine.
1. Oven

While we can physically see the grease and food residue building up whenever we open the door, the oven is still something many of us will put off cleaning until it’s absolutely necessary. This is because it’s known to be a time consuming and awkward chore, requiring a lot of elbow grease. However, cleaning the oven should not be avoided.
First of all, it can impact the smell of future meals, impairing the quality of what you cook. Should food burn on the surfaces, it can create a toxic smoke in use too, which carries carbon monoxide amongst other harmful gases. In extreme cases, it can be a fire hazard and impact the lifespan of the appliance, so cleaning it should be scheduled on a regular basis.
Cleaning it regularly will make the task an easier one when the time comes, so it feels like less of a burden. We recommend lightly cleaning your oven once a month and deep cleaning it every 2-3 months. A baking soda paste can be used to shift light stains from the interior and glass door, while the racks should sit in a solution of dishwasher detergent and hot water. For step-by-step guidance, see how to clean an oven.
Of course, if you’re dealing with heavy set stains, you can use a proprietary cleaner, such as Easy-Off Heavy Duty Oven Cleaner ($4, Amazon). You could also use the oven’s self-clean function to make things easier, although always follow the manual's instructions for this — if your oven is overly dirty, it may not be suitable.
2. Range hood

The range or vent hood is used to ventilate the steam and grease as you cook on the stove, reducing odors and pollutants from the kitchen. This doesn’t sound like it could accumulate much dirt, but that’s where you’d be wrong. Just take a look from the underside of the hood and see the effects. Paper filters can yellow, while grease can show on the surfaces. This appliance often goes uncleaned for a long time because the dirt's not obvious, but you must get into the habit of inspecting it.
If not cleaned, a range hood will fail to absorb and vent gases as effectively, reducing its efficiency and filling your kitchen with these pollutants instead. As dirt, grease and grime build up within the hood, it can also encourage mold and bacterial growth, not to mention attract unwelcome pests. On top of that, you’re looking at a potential fire hazard from the excess grease too, so it’s essential that you keep on top of cleaning your range hood.
Specific instructions for doing this will vary from model to model, so you should always check your manual for guidance. Generally speaking, you need to wipe down the exterior and underside of a ducted hood using a solution of one part white vinegar to one part water, then soak and clean the metal filter with soapy water and replace once dry.
If you’ve got a ductless hood, it may contain paper or carbon filters and these will need to be replaced every few months or so — again, follow instructions from the manufacturer. Aim to clean your range hood monthly, checking the ducts at the same time, and calling in a professional to clean the excess grease if necessary.
3. Trash cans

No matter how much care we take as we throw things into the trash, residual stains always crop up in and around the lid, down the sides, and even inside should a bag split and leak. Over time, these stains build up, leading to unpleasant smells and bacterial growth. But, seeing as it’s amongst the trash anyway, it often goes ignored in our cleaning routine. It’s a pretty gross thing to clean, considering the mess of old spills and stains, so it’s never at the top of our to-do list. But, you must take the time to clean your trash cans, both internal and outside. Otherwise they can attract pests to your home, and introduce unwanted smells.
Cleaning your indoor trash can is pretty straightforward. Wait until it’s empty to make things easier, then wipe away immediate stains using a damp microfiber cloth and warm, soapy water, followed by rinsing. Leave it to dry before refitting a bag. If it’s still smelly, you can sprinkle baking soda beneath the bag to deodorize. Here’s how to deodorize your trash can in 5 easy ways.
Dish soap and water, followed by scrubbing, is all you need to clean your trash can outdoors too. Alternatively, you can apply a solution of one part white vinegar to two parts water and let that sit for 30 minutes to disinfect, before scrubbing and rinsing. You can always use a hose to make rinsing easier. Make sure you do this where you can drain the water easily. Check for spills in the surrounding area too which might need cleaning.
4. Toilet brush

This is a particularly disgusting one, and it’s something no one wants to clean — that’s why it makes the list. As we use the toilet brush to wipe the inside of our toilet, residue and water will always be transferred back to the holder. The result is a puddle of disgusting water hidden in the holder, laden with germs and bacteria which we’d rather not think about. But, of course, this too must be cleaned. Otherwise, it can start dripping on your floors as you carry the brush to the toilet, not a pleasant thought.
First, tip any excess water into your toilet and flush it away, taking care to avoid the backsplash. To clean the brush itself, simply dunk it in clean toilet water and then spray with a disinfectant. Allow it to stand for 15 minutes and then rinse with hot water. Leave to air dry before replacing. The same method can be used for the holder. You should clean your toilet brush and holder weekly and look to replace it every 6 months.
5. Toothbrush holder

Another source of grossness in the bathroom which we prefer to ignore is the toothbrush holder, or more specifically what collects in the toothbrush holder. A damp toothbrush will naturally drain excess water and drip into this container, resulting in a slimy residue which contains no end of germs and bacteria. This will slowly build up until your toothbrush is sitting in a puddle of the stuff — a pretty disgusting thought, and not something you want near your mouth. Cleaning this item more regularly will make such a chore less gross, so get into the habit of checking it as and when you clean the bathroom.
Soap and water is all that’s needed to clean your toothbrush container, leaving it to dry before replacing your brushes. Going forward, try to dry the handle of your toothbrush after use — less moisture will slow down its accumulation in the container. You could always upgrade to one of the best electric toothbrushes instead — that way, they can stand on their own. But, even these need care and maintenance. Check out how to clean a toothbrush.
6. Shower curtain
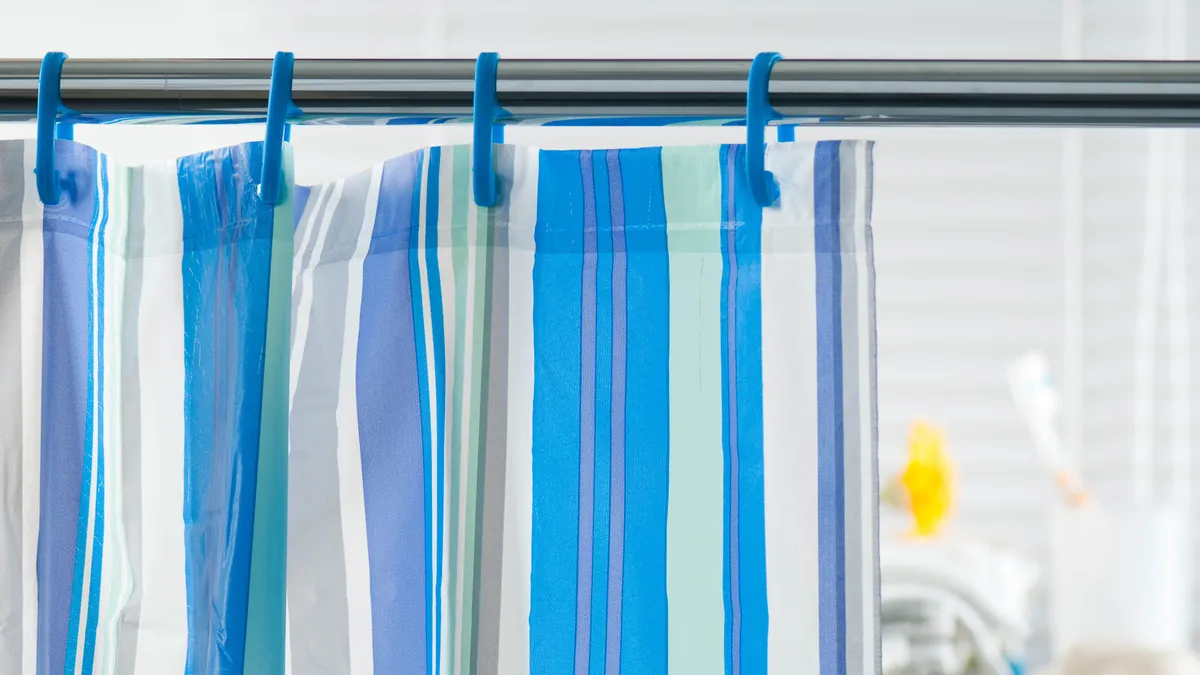
We’re not finished in the bathroom yet. If you use a shower curtain, these often look worse for wear. We tend to avoid cleaning these products due to inconvenience alone. It’s an awkward item to unhook and wash, and once down, it prevents the household from taking showers. Consequently some will opt to buy a new one before attempting to clean it. But, cleaning your shower curtain is actually a straightforward task, and an essential one too. With everyday use, these accumulate residual soap, mold and limescale — not an attractive sight or smell as you shower.
Most shower curtains (plastic and fabric alike) have care labels to give you directions on how to wash in the best washing machines. You will want to bulk out the load with towels, otherwise your washing machine can become unbalanced and start shaking as it attempts to spin. A gentle cycle is usually best, following the temperature on the care label, usually cool for plastic and hot for fabric. Don’t bother spinning if you’re washing plastic. Then hang it back up, unfurled, to air dry. You can alternatively hand wash shower curtains, see how to clean a shower curtain for details. Aim to wash your plastic shower curtain every 1-2 months.
7. Garbage disposal

You can’t see what accumulates in your garbage disposal, so cleaning it is often put to the back of our minds, unless it starts to smell. Even then, it’s a task that makes everyone uneasy — considering the power of this appliance, great care must be taken around it to prevent accidents. But, when approached carefully, it’s another item which is straightforward to clean. And unless you want a smelly kitchen and a garbage disposal filled with rotting residual food, it needs to be done.
Cleaning a garbage disposal unit is an intricate step-by step process, which you can read all about in how to clean a garbage disposal. The main safety precaution is to ensure that the power is disconnected while you clean it — switching it off at the wall, as well as on the unit and flipping the circuit breaker to the kitchen. Make sure it’s switched off before you start cleaning. You also never want to make direct contact with the impellers as a safety precaution and don't remove any blockages by hand either — again, refer to our guide for what to do here. It's a good idea to wear protective safety gloves in the process too.
If it still smells after cleaning, citrus peels can refresh your disposal unit. Just cut them up and feed them in with running water, and power on the unit.
Of course, if the smell persists, or you’re uncomfortable cleaning the unit yourself, you can always call in a professional to help.
More from Tom's Guide

