How to build a website with Square Online
Get the advantage of simple setup and automatic sync with Square
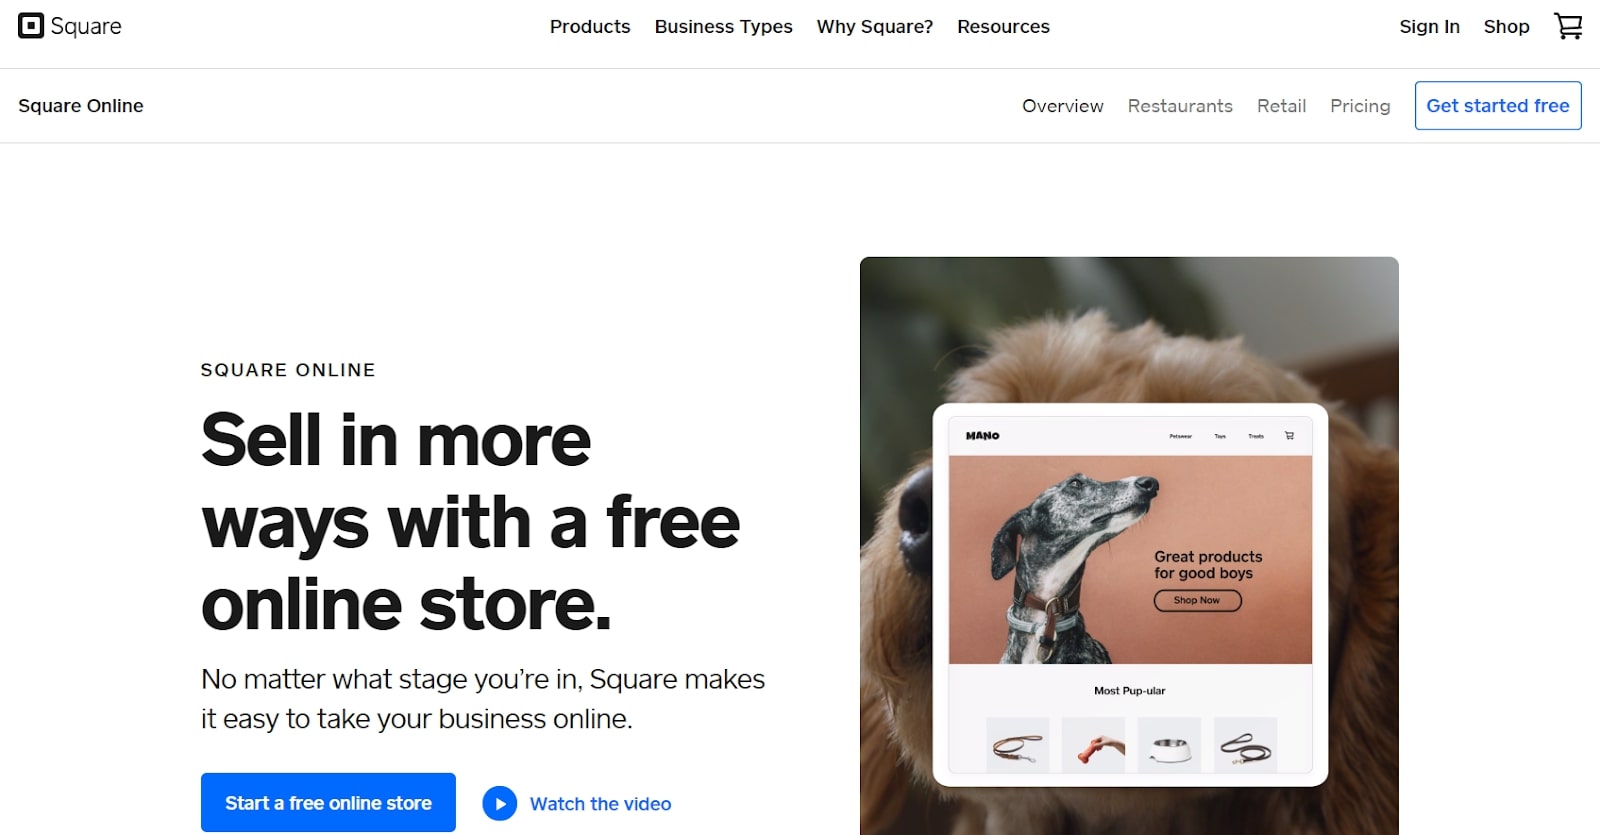
Building a website is now simple for anyone to do, thanks to the abundance of the best website builders. Anyone can open a Square Online store, but it’s specifically geared to selling products and services, and is not a traditional website builder. Instead, it's aiming to be one of the best ecommerce website builders.
Your store can be tailored to your specific type of business, and you can even accept donations or collect membership fees online. Here, we'll look at what you need to do to build a website with Square Online (not to be confused with Squarespace), in a step-by-step guide.
How to build a website with Square: Preparation
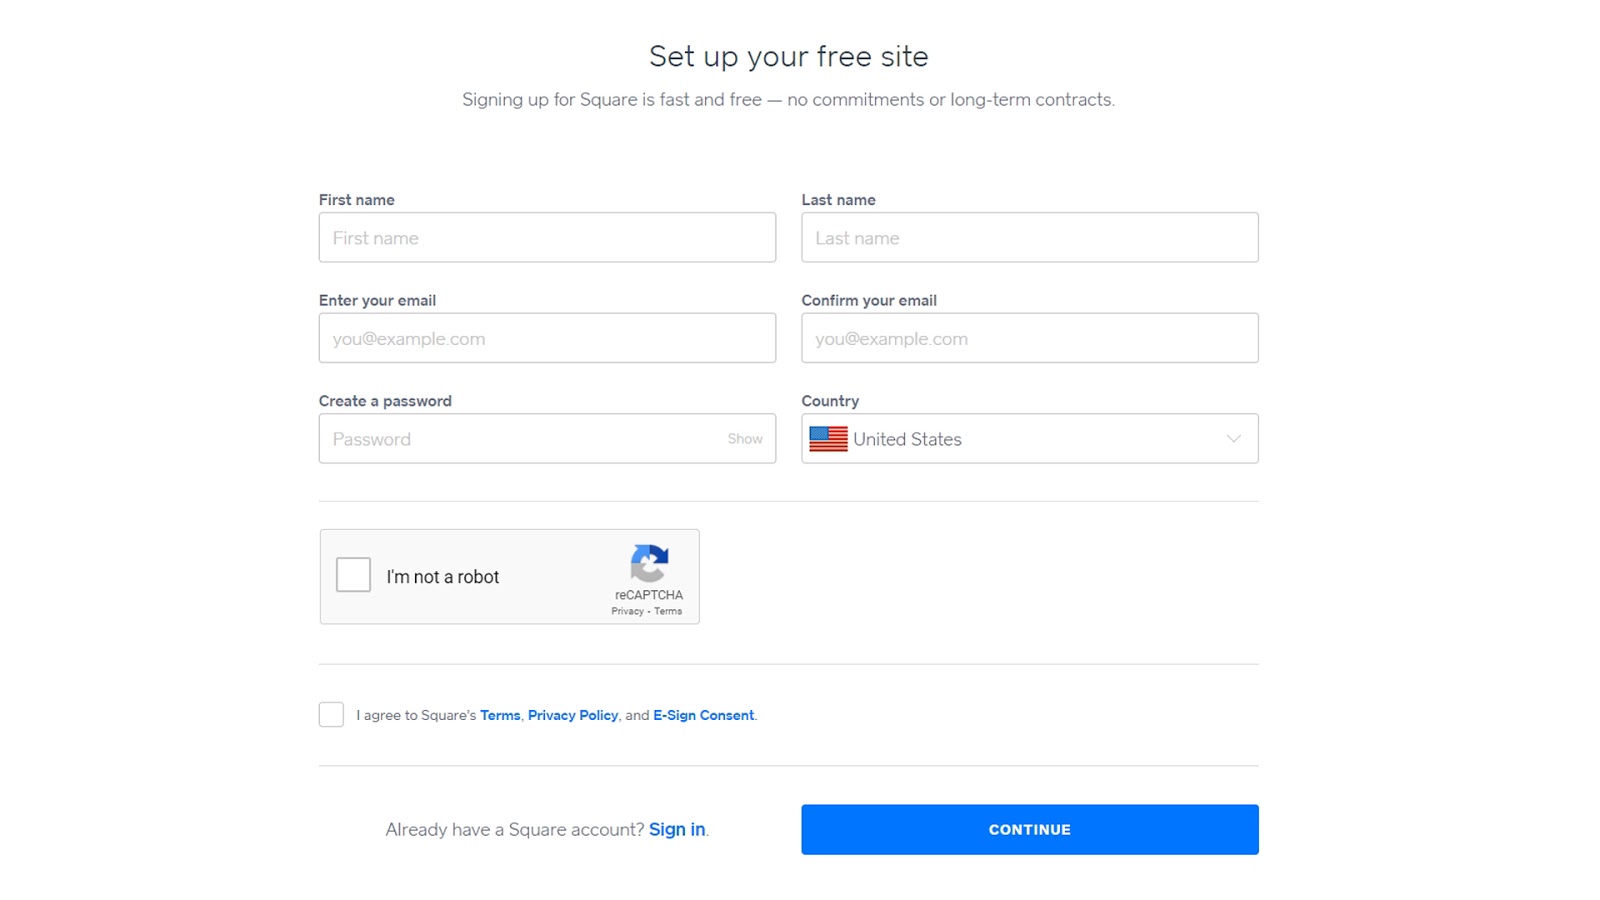
Before you start creating your Square Online store, you need to open a free Square account. This gives you access to the Square dashboard, where all your business tools and online store controls will be. Setting this up is very quick and easy: all you need is your email address and a password (make sure it’s a secure one, as sensitive info like identity and bank information is connected to your profile).
To enable you to accept payments through your Square website, you’ll have to provide your legal name, the last four digits of your Social Security number, or your individual taxpayer identification number. You’ll also need to provide a phone number, so that Square can confirm your identity, and to link a bank account so you can get access to funds from your sales on the website.
Step 1: Choose your store settings
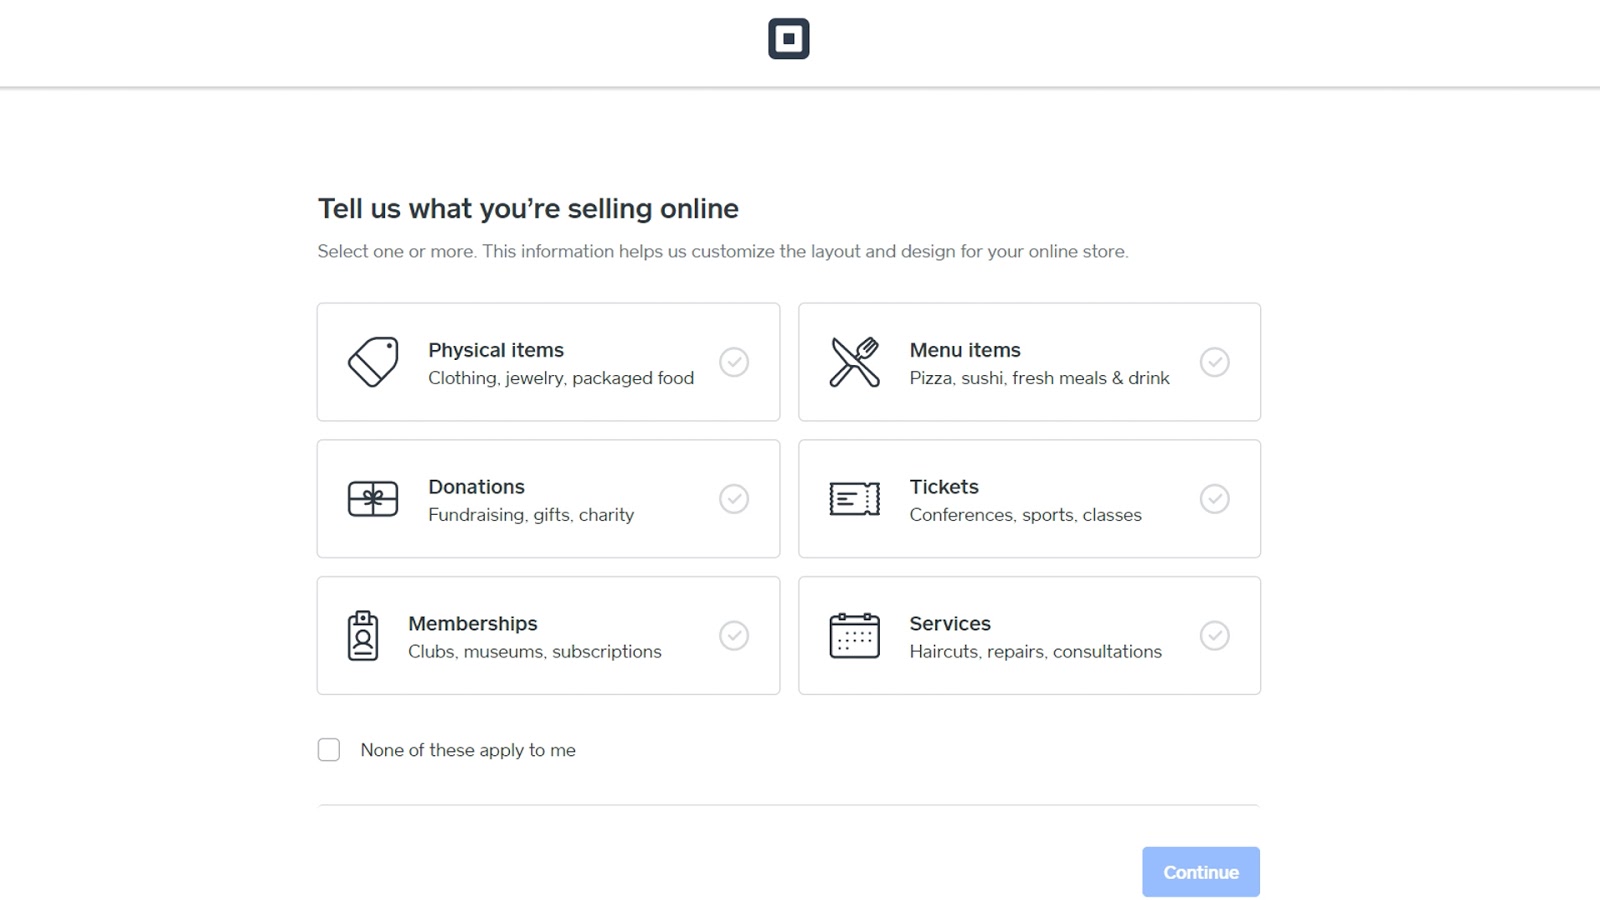
When you have your account set up, you can start building your website. To make it easy, Square guides you through the process of deciding which kind of store is best. All settings you choose now can be changed later in the dashboard, so it’s fine if you change your mind about something.
The first step is to choose what you want to sell online. Next, add features from the list, including invoicing, selling gift cards, accepting donations, selling online, and sending marketing messages to customers. Square will then bring up a list of site styles that will suit your business, such as a single-page site for quick orders, or a site with an online booking page.
Step 2: Design your website
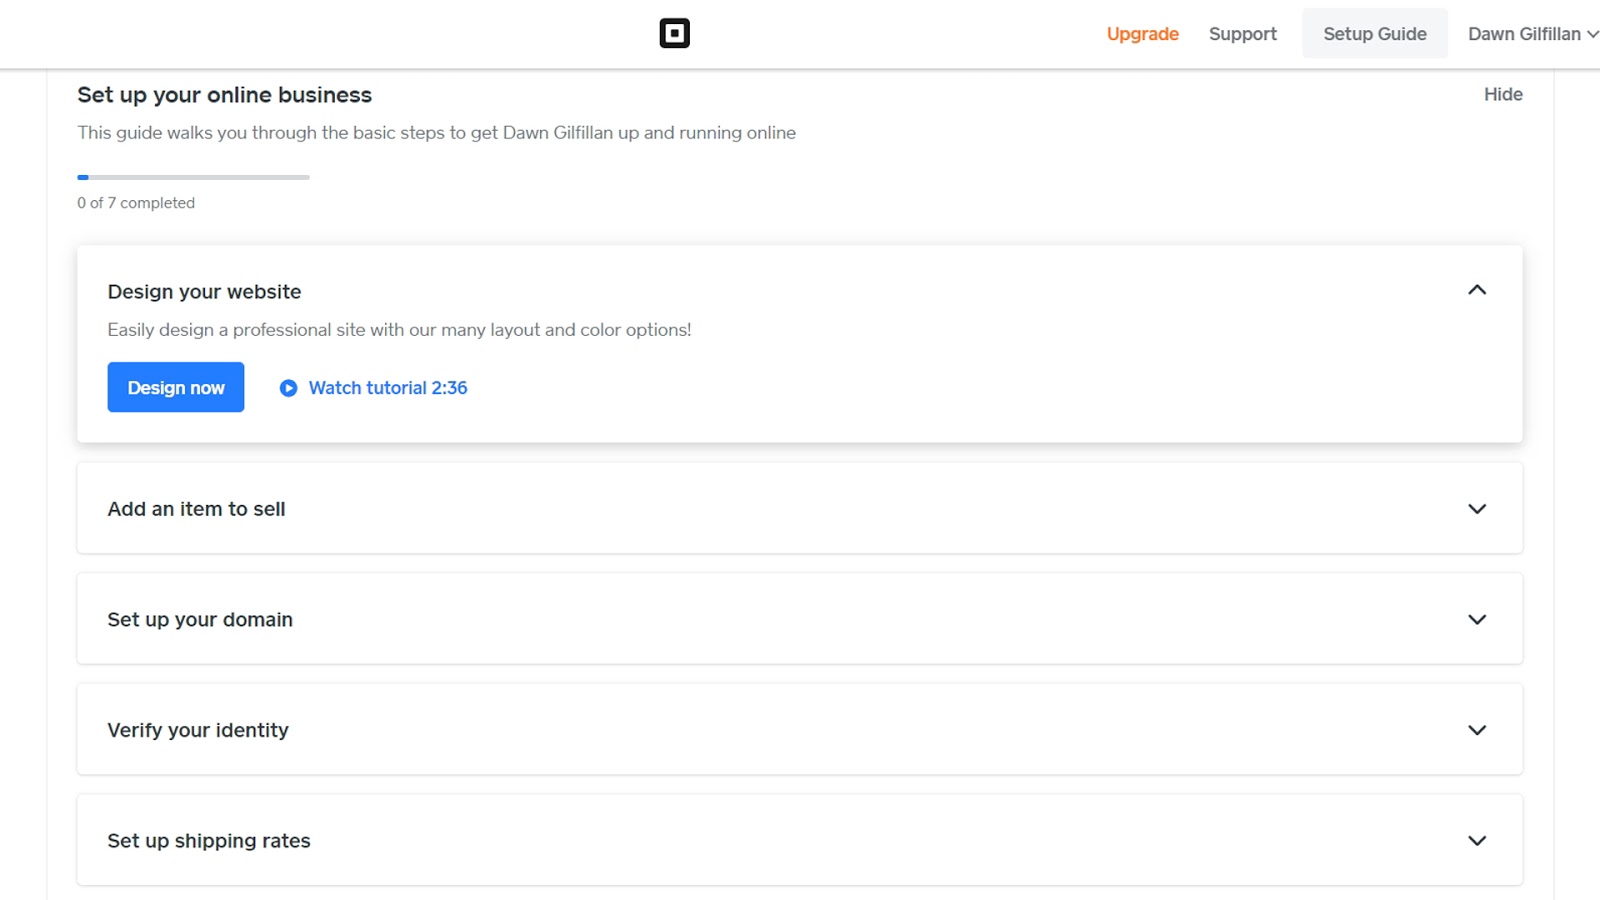
Square’s automated prompts will guide you to the Square dashboard, which is where everything to do with your site can be found. There are options to watch video tutorials or let the setup guide help you build your store. For this article we used the setup guide, which lists the steps you need to take.
Get instant access to breaking news, the hottest reviews, great deals and helpful tips.
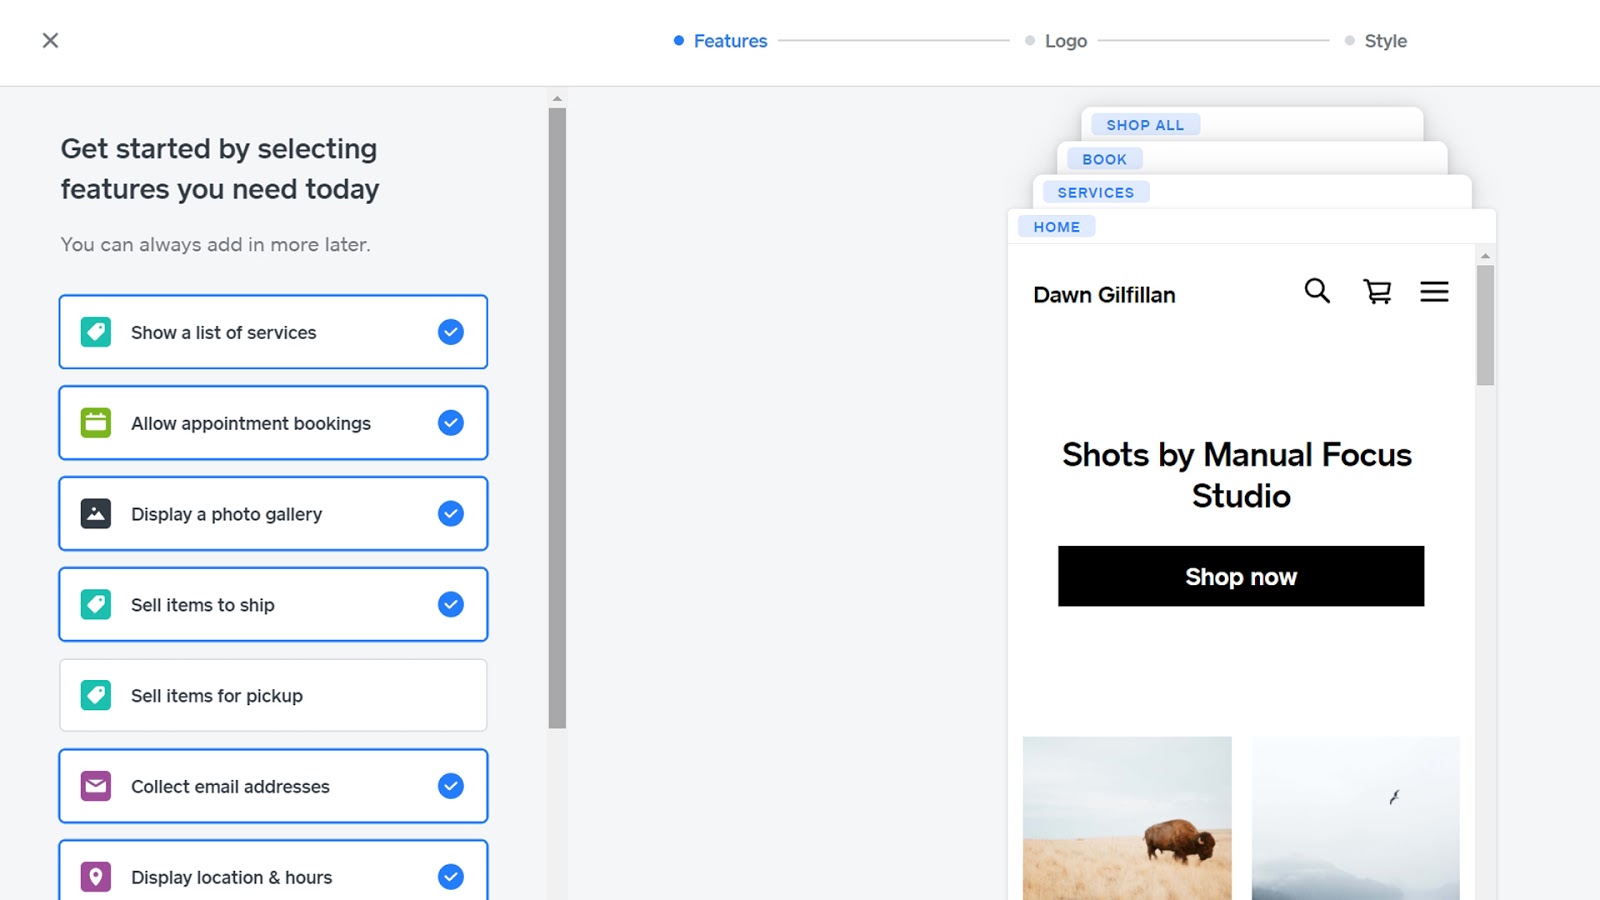
Click "Design" now, and you’ll be taken to a store mock-up with a list of features you can add or remove down the left-hand side. The mock-up will change in real time as you add or remove features.
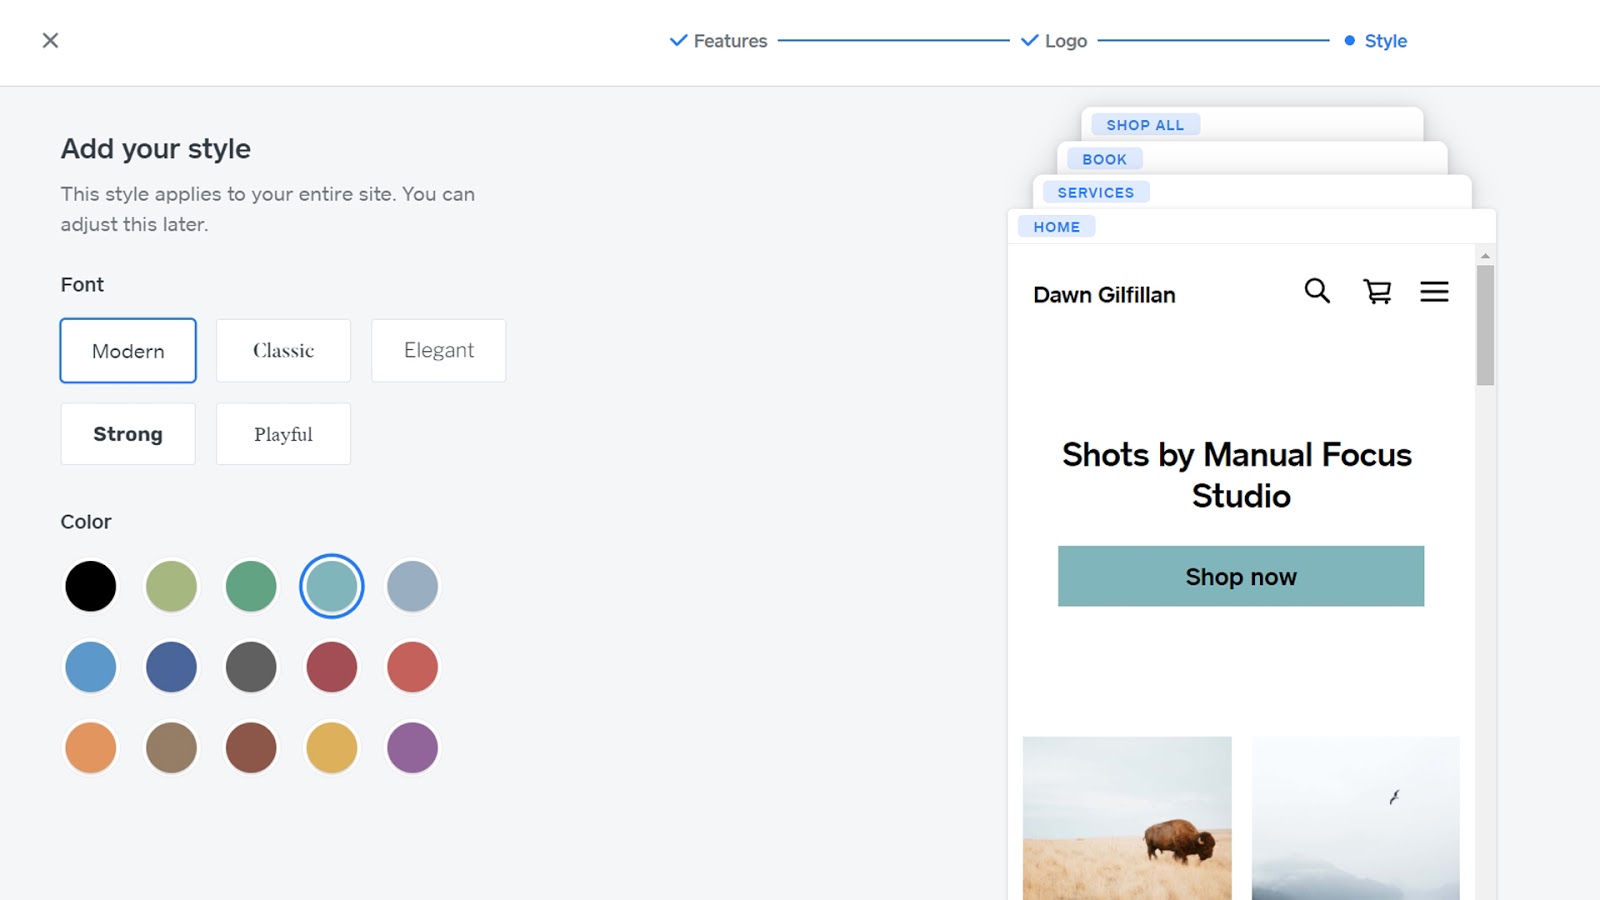
Click "Next" to add your logo, or skip this step if you don’t have one and go to "Style", where you can choose the font style and main color.
Step 3: Set up the URL
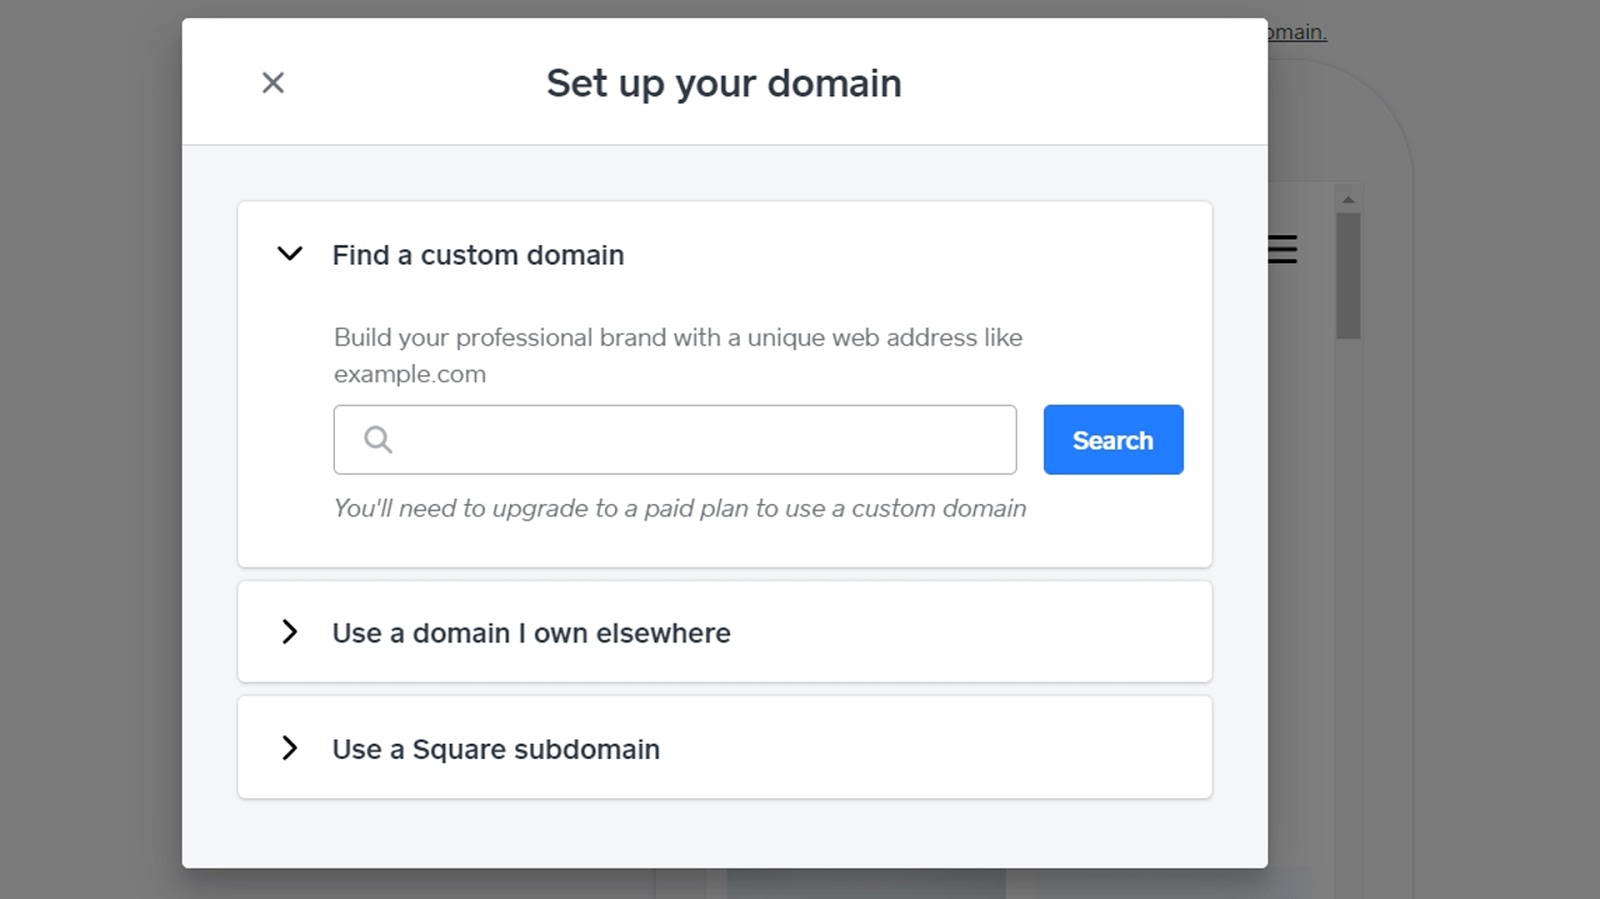
Square will ask you to set up a domain or URL for your website and store. You have three options—buy a domain from Square (you’ll need to upgrade to a paid plan), connect an existing domain, or use a free Square subdomain.
Step 4: Customize your homepage
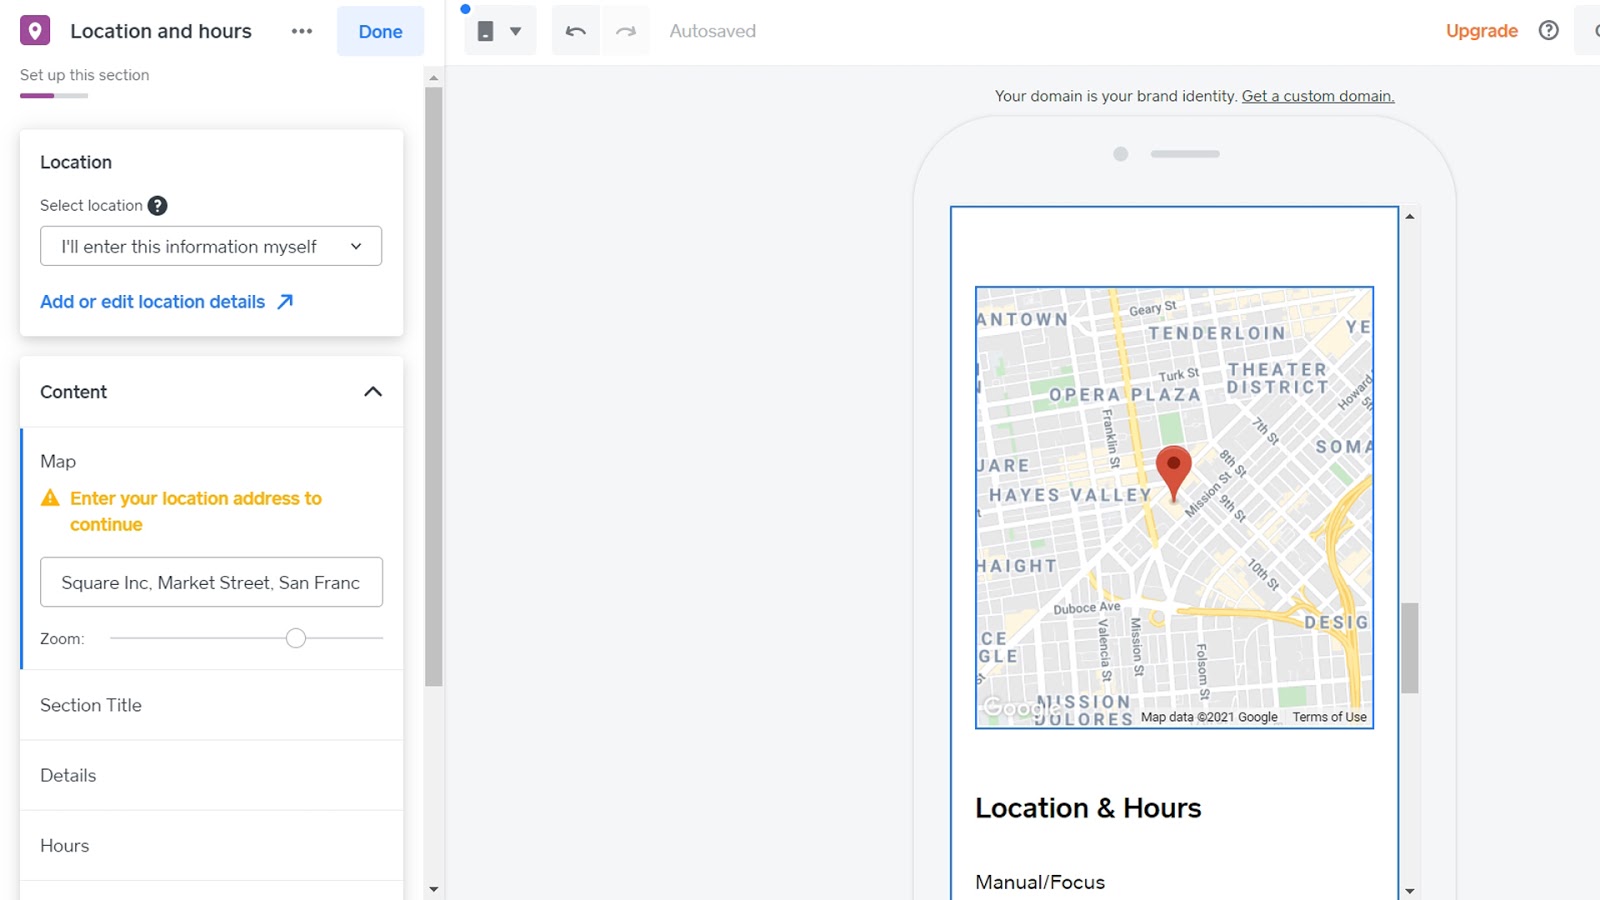
Use the navigation bar on the left-hand side to work through the elements from header to footer. You can also add or change text, buttons, color, and font in each section. If you would prefer, you can get a professional designer to handle the web design aspect, and Square gives you that option starting at $199.
Finish off your homepage by adding your opening hours and contact information in the location section.
Step 5: Add your products
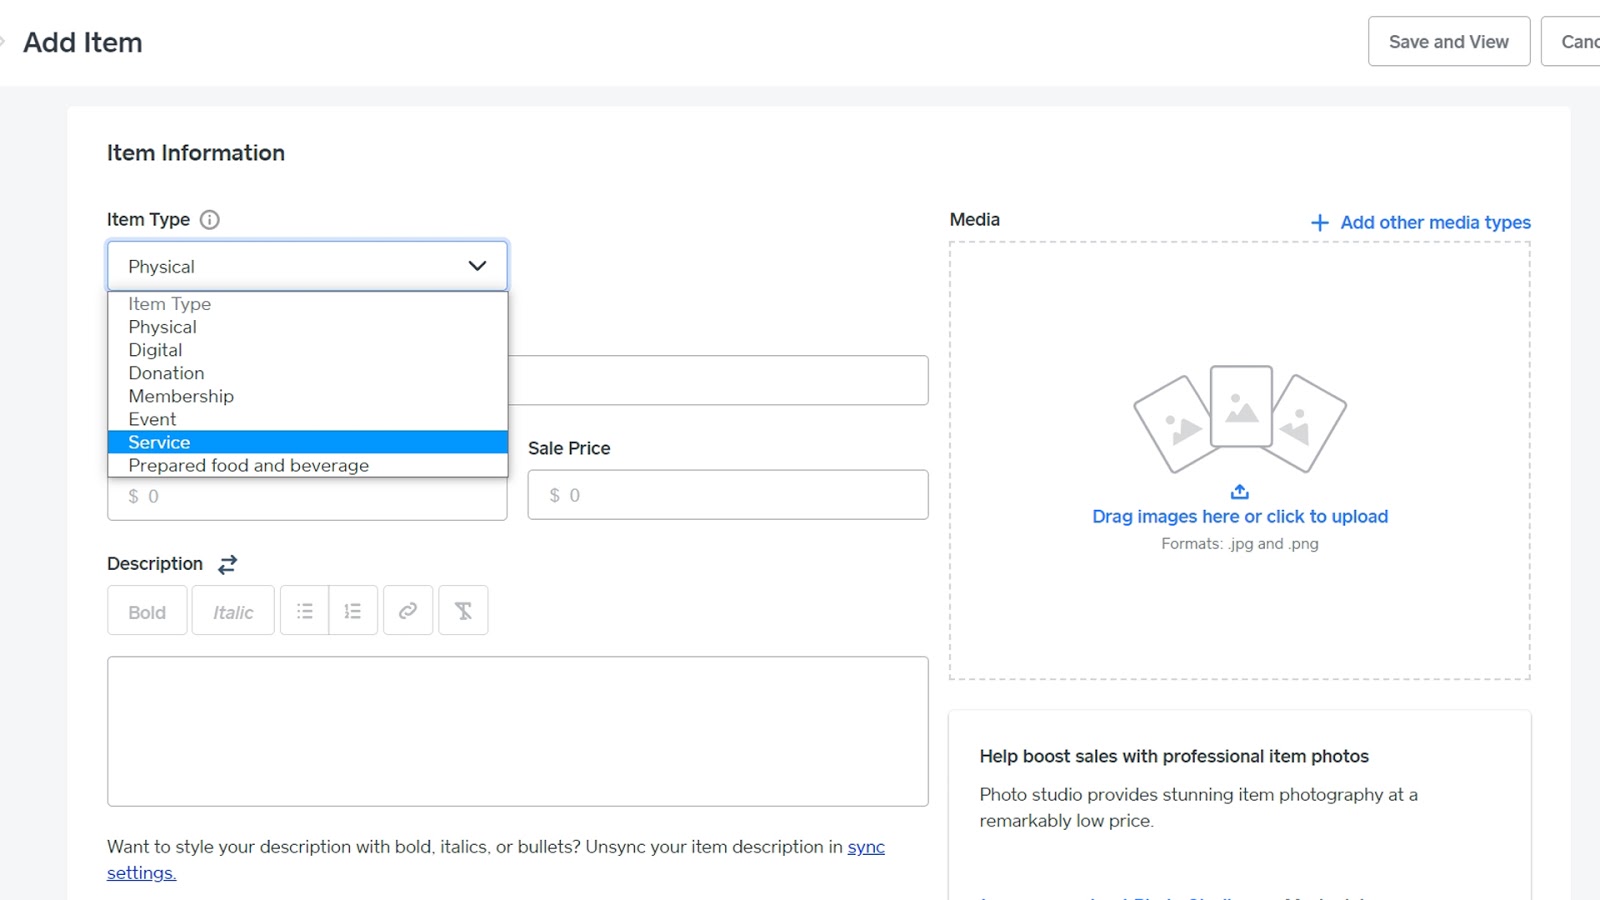
Once you’ve finished setting up your pages, head back to the dashboard and the setup guide. Click on "Add Items", and the next step is to choose what type of item to add from a dropdown menu. Next, create the price, title, and description, and drag product images onto the media section. You can add different media types here, too.
You can also upload items in bulk using an Excel or CSV file. If you are already a customer of Square POS, then your items will automatically transfer to your website. To bulk upload, go to the dashboard, click on "Items", download the Excel or CSV template, add your items into the spreadsheet and save. Then, upload your spreadsheet to Square to import your items.
Step 6: Set your shipping rates and delivery options
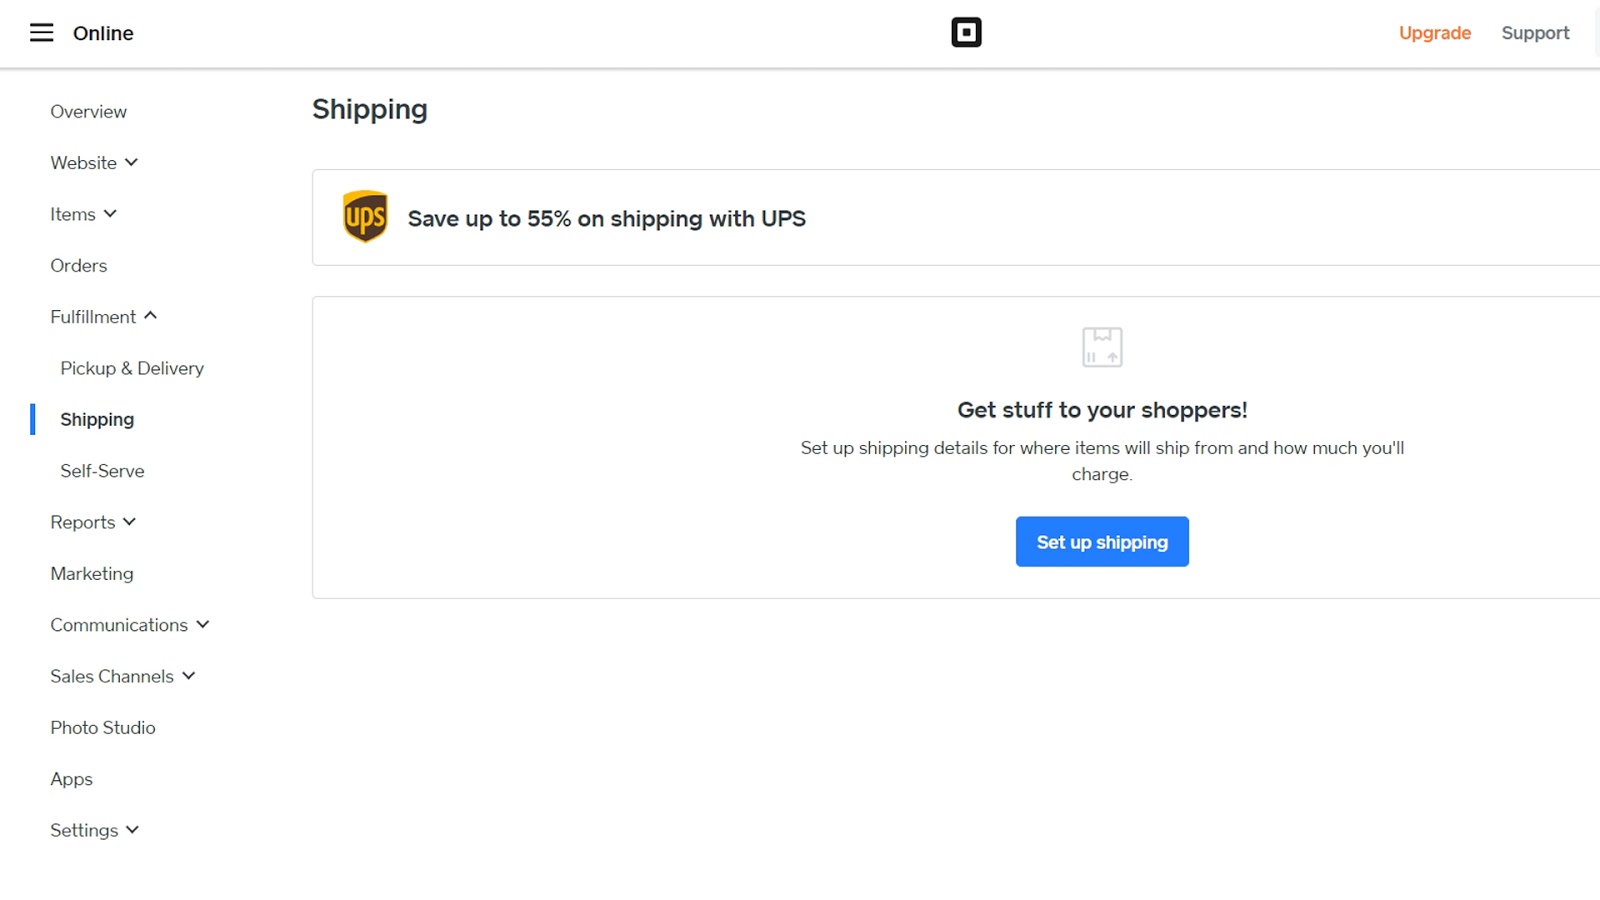
To ship, you need to enter the address you’re shipping from, pick your destination regions, and set the shipping rates.
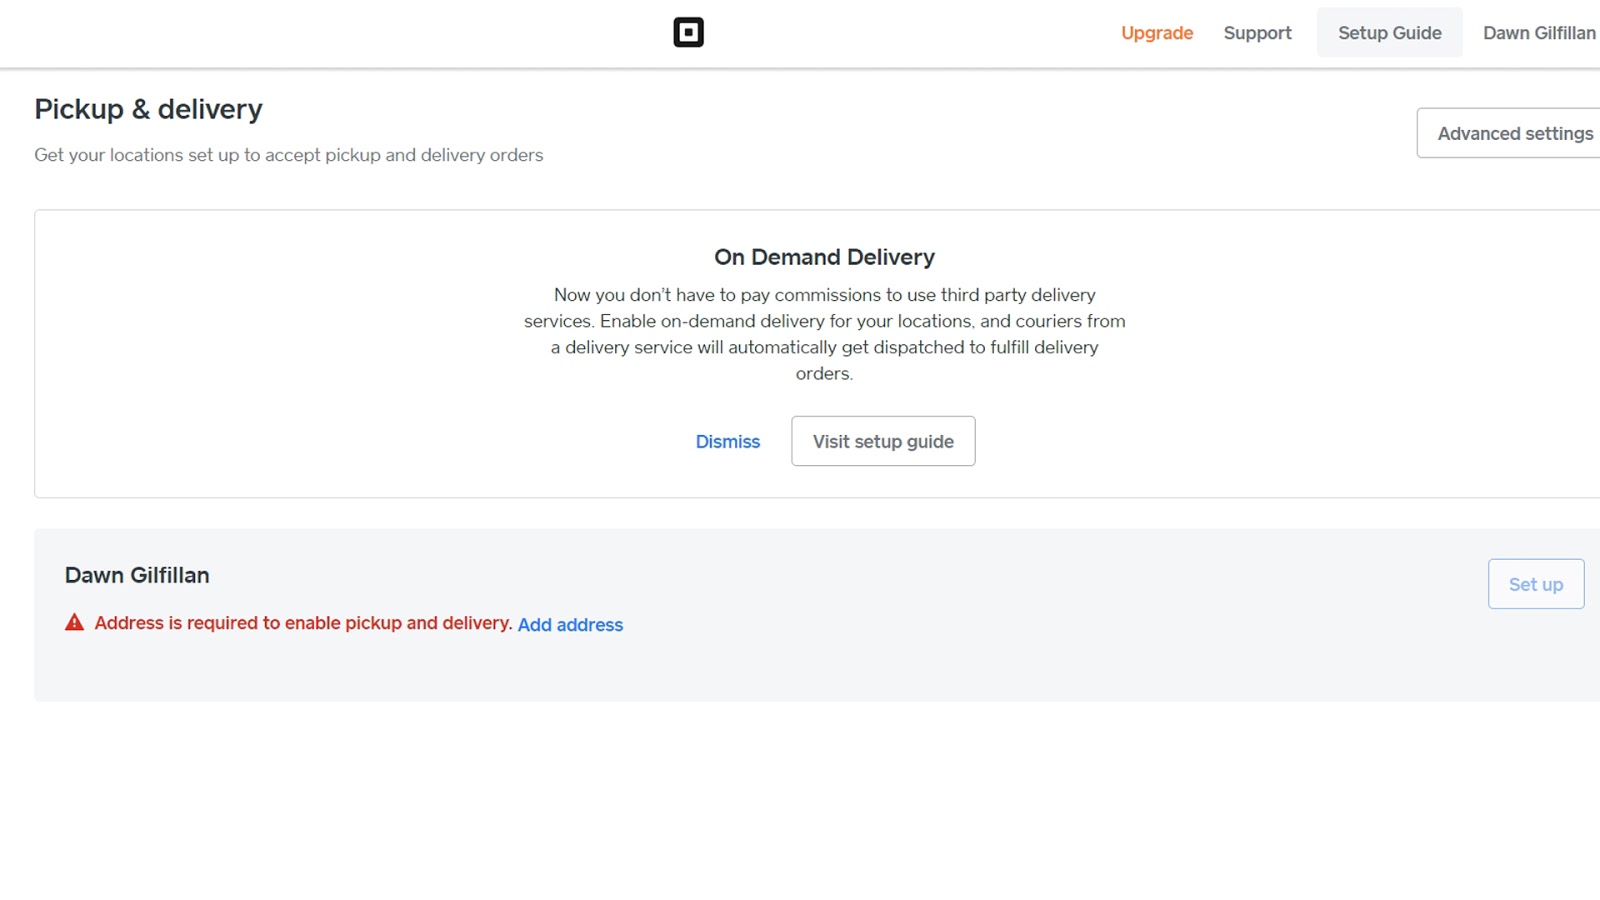
You can enable curbside or in-store pickup with Square, as well as order delivery. If you want to use order pickup, you’ll need to confirm your physical store’s time zone and set specific hours for pickup. You’re also required to add the preparation time you need to have the item ready, because Square uses that to calculate a pickup time for the customer.
Step 7: Set up your checkout
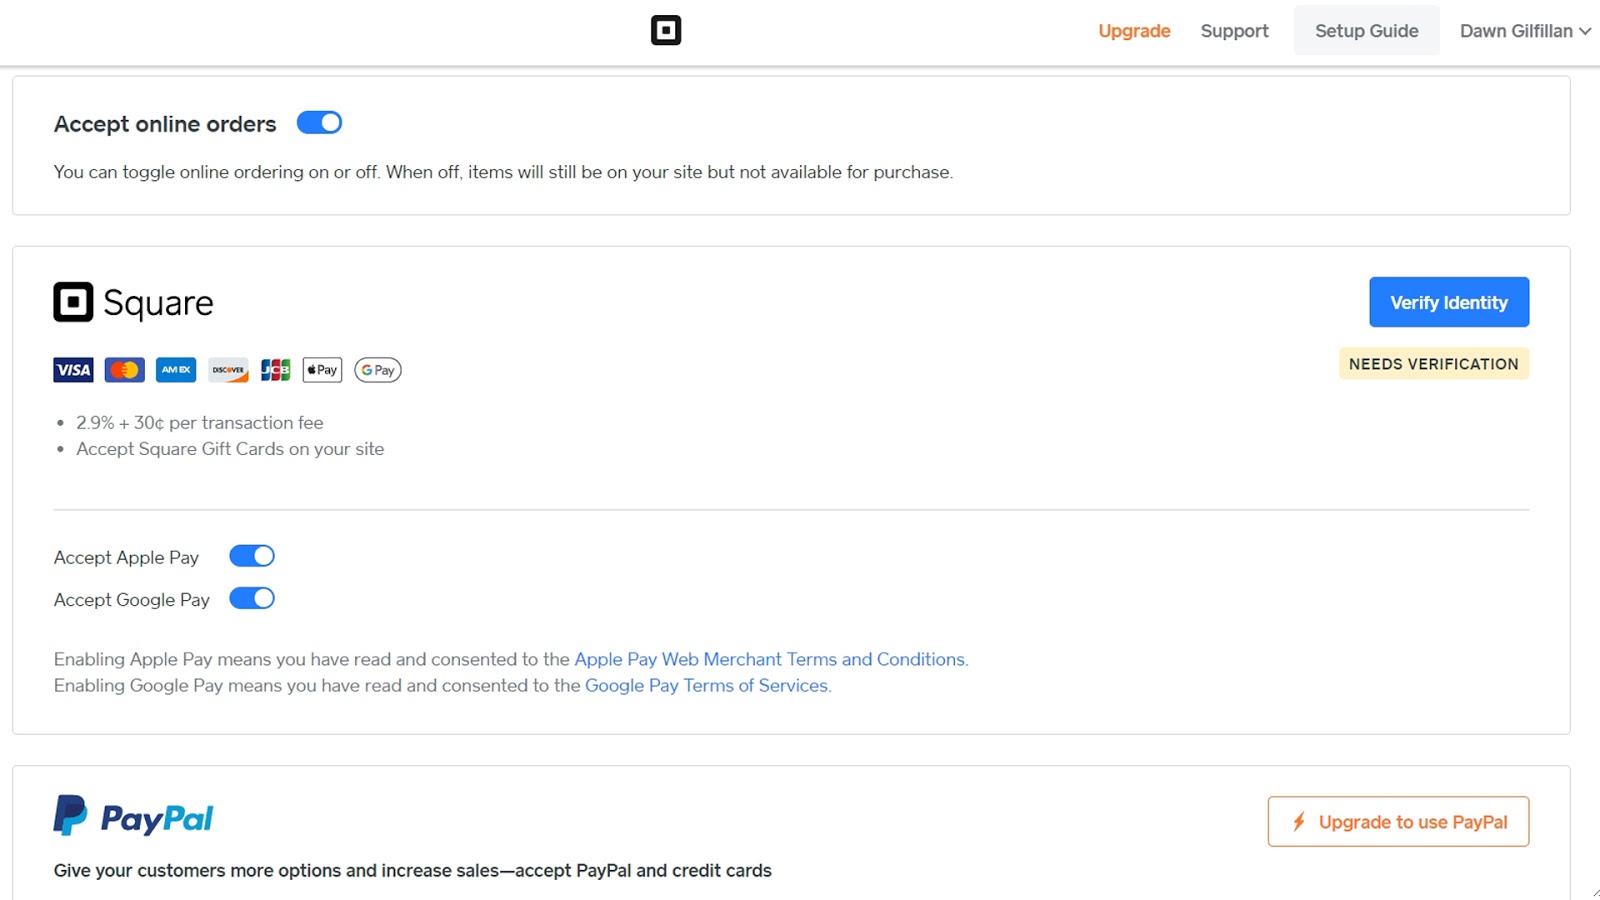
Go back to your dashboard and choose "Checkout" from the options on the left-hand side, or follow on with the setup guide.
Square Online is set up to accept your online payments through Square. Payment methods include credit cards, debit cards, Square gift cards, and mobile payment options. If you want to use PayPal, you’ll need to upgrade to a paid plan, though.
Step 8: Set up tax collection for online orders
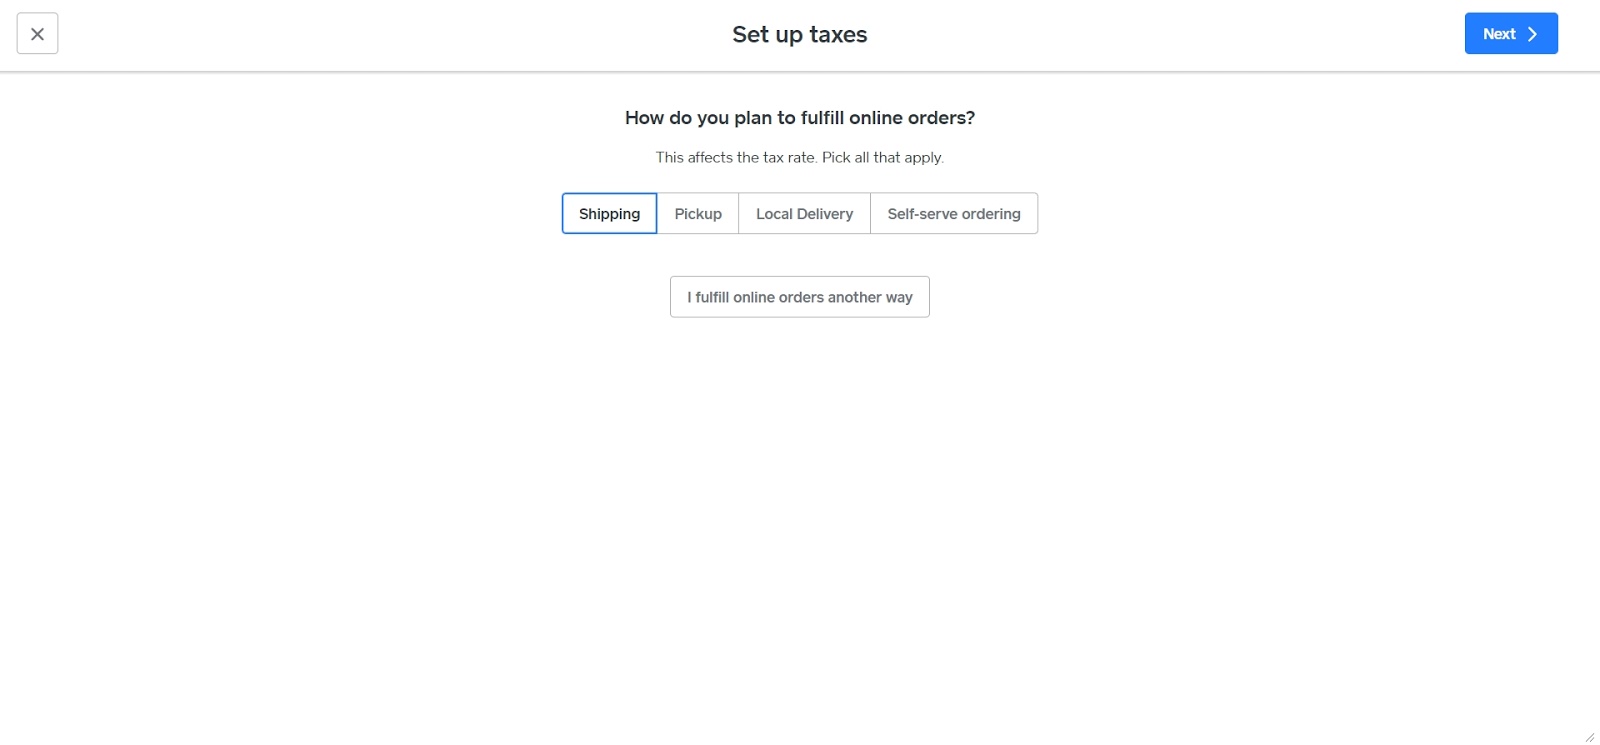
Square has an automatic US tax calculator for working out sales tax based on your physical store address and the customer’s shipping location. Follow the instructions to set up the correct tax calculations for your business.
Step 9: Preview and publish
Now you can take a final check by clicking "Preview" in the top right-hand corner of the website editor. Make sure everything is how you want it to be, and click "Publish" to make your website live.
How to build a website with Square Online: Summary
Now you can use your Square Online website to sell your products and services online, enable your customers to book appointments or order food, offer different collection and shipping options, and sell on Instagram and Facebook.
Further reading on website builders
To find out more about building ecommerce sites, check out our step-by-step guide detailing how to build an ecommerce website. There's also another option open to those with more experience seeking more flexibility and customization: WordPress, via the best website builders for WordPress and the best WordPress hosting. Ensure you check your chosen host ranks among the best web hosting services too.
Dawn is a freelance writer and photographer who writes mostly in the creative and tech space, but who loves to learn and write about many other topics. Her published content can be found on Fotor, SLR Lounge, Medium and TechRadar, to name a few. She lives in northeast England with her family, which includes two very spoilt guinea pigs!

