Whether your kitchen looks dated or simply in need of a makeover, you’ll need to know how to paint kitchen cabinets. From bold colors to bright pastels, a fresh coat of paint will instantly give your old kitchen cabinets a new lease of life. What’s more, if your pockets can’t stretch to buying a brand new kitchen, learning how to paint kitchen cabinets will transform them on a budget without buying new.
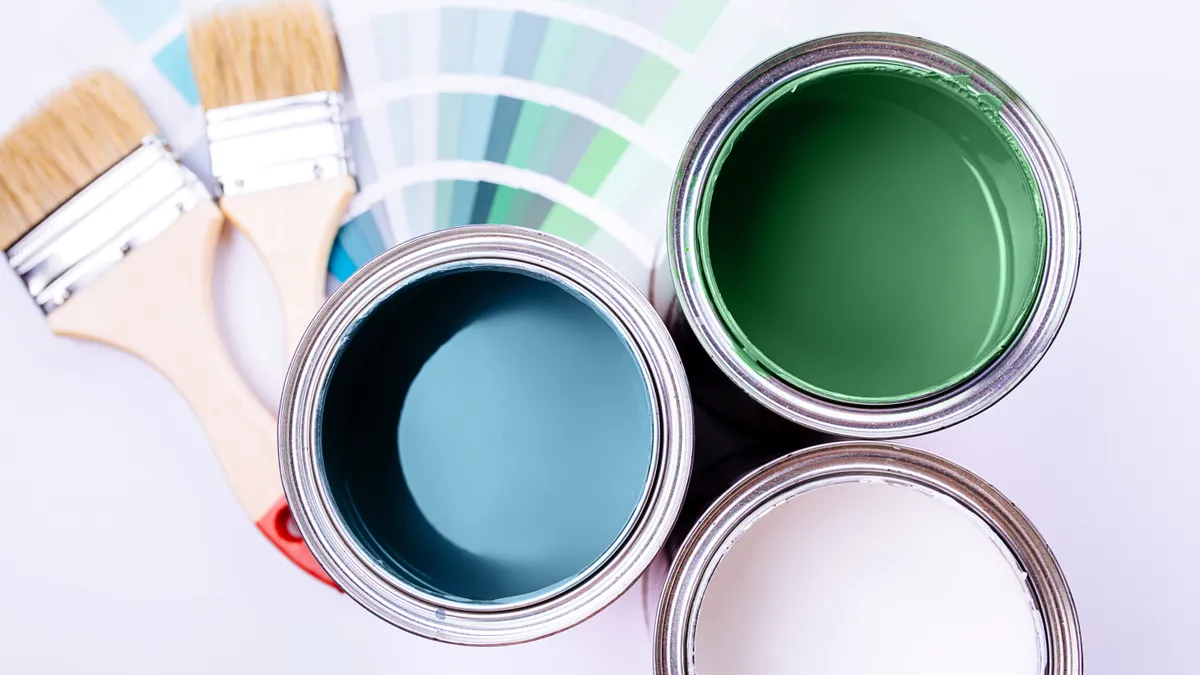
Plus, you can customize your cabinets with your own style and design, making the heart of the home truly unique. It’s also important to consider the right paint finish for your kitchen cabinets. Generally, satin, semi-gloss or gloss paints are good choices for kitchen cabinets as they’re far easier to wipe down and are more resistant to grease and cooking fumes. Here are a few guidelines on choosing the best paint for your interior finish.
While this may seem like a challenging job, don’t despair. It’s actually not that hard to learn how to paint kitchen cabinets yourself with these simple steps. So before you even consider splashing out on a new kitchen, here’s how to paint kitchen cabinets to transform them on a budget.
If you decide to go with wallpaper instead, here's how to wallpaper a room like a pro so you save a ton of money. And if you're stripping walls, you'll need to know how to remove wallpaper before painting. Or if you're selling up, these 9 decor tips could help you sell your house fast!
How to paint kitchen cabinets
Drop cloth/protective coverings
Painters tape
Screwdriver
All-purpose cleaner or degreaser
Lint-free cloths
Sanding paper
Paintbrush
Small rollerbrush
Primer
Paints
1. Prepare the room — Paint jobs can be messy so cover countertops or floor with drop cloths or protective sheets. You don’t want any splashes staining your surfaces. It’s also advisable to empty out all the contents of kitchen cabinets and drawers before painting and apply painters tape around edges or borders like this painter’s tape ($12, Amazon), to avoid paint marks.
2. Remove kitchen cabinet doors, drawers and handles
While it seems convenient to paint kitchen cabinets whilst hung up on their hinges, it’s always best practice to remove doors, drawers and shelves. Unscrew all hinges with a screwdriver, and lay items down on a covered, flat surface, floor or table. Then, label each door or item with a numbered piece of painters tape, so you’ll know which door or drawer goes where when putting things back. Finally, remove all the cabinet handles, door knobs or any decorative fixtures to make the surface easier to paint properly, avoid unsightly drips, and get a nice finish.
TIP: if you can’t remove the cabinets from the hinges, or are struggling for space, you can cover the hinges completely with painter’s tape. Just ensure you conceal all the metalwork, and take care when painting around them.

3. Clean your cabinets. Always clean cabinets with soap, degreaser or an all-purpose cleaner. This will remove any grease or grime from surfaces, and create a smooth canvas. Wipe off any residue with a damp cloth before allowing items to dry.
4. Sand the cabinets — Once the cabinets are dry, lightly sand with a fine grit sandpaper (220-grit sandpaper will do) to ensure the surface is completely smooth for painting. Then, use a lint-free cloth to wipe away any excess dust. If you have any gaps or cracks on the surface, fill these in with a quality ready mixed filler before sanding again. We recommend this Everbuild All Purpose Ready Mixed Filler ($19, Amazon) to fix any imperfections.

5. Prime the cabinets — Before painting, apply a wood or melamine primer depending on the type of surface. This will prevent any stains or blemishes showing through the new coat, which is often the case if you’re painting over dark tones. Pour your primer into a paint tray, and prime the cabinet units with a paint roller or large square brush. Once all covered with primer, leave to dry thoroughly before painting.
6. Start painting the cabinets — Once you’ve decided on your chosen color, open the paint can and stir the paint around with a wooden stick. Start by painting around the frame of the cabinets using a paintbrush, before using a rollerbrush to paint the entire door or surface, applying an even pressure. After the first coat is completely dry, lightly sand to ensure a smooth, quality finish, and wipe off dust with a clean, damp cloth. It’s recommended to wait for around 12 hours before applying another coat but always read the guidance on the paint tin.

7. Put kitchen cabinets back together — Once the second coat is completely dry to the touch, you can start putting everything back in its place. First, put back the handles, door knobs and any fixtures before putting back on the cabinet doors, drawers and shelves in their rightful places. If you really wanted to spruce things up more, you can even replace old door handles or knobs with new, modern ones.
Now you can stand back to admire your handiwork, and enjoy your newly revamped kitchen.
What type of paint should I choose for my kitchen cabinets?
Matte or chalk paint — These create a more rustic feel that may work well in a country cottage kitchen, although a matte finish is generally harder to wipe down and less durable to chipping. In which case, it can be a difficult choice to maintain in a high traffic kitchen. Matte paints are often water-based though, so you’re more likely to find an eco-friendly and low VOC (volatile organic compound) option.
Satin, semi-gloss or gloss paints — These are ideal for kitchen cabinets as they’re generally far easier to wipe down, more resistant to grease and cooking fumes, and less prone to chipping or scratching than their matte counterparts. However, these finishes tend to be solvent or oil-based, which can be tricky to paint with and are likely to contain more strong smelling and harmful chemicals.
After painting your kitchen cabinets, you’ll need to read how to remove stains from painted walls to make sure they stay stunning. And if you want to take it a step further, check out our guide on how to paint a room like a pro with quick tips.
For more cleaning tips check out how to clean a leather couch and how to remove red wine stains from carpet. Also find out the 10 things you didn't know you could clean with baking soda and also Can I use malt vinegar for cleaning? — here is the best vinegar to clean with.