How to create a new Gmail account
Want to know how to create a new Gmail account? We've got you covered

It's always worth knowing how to create a new Gmail account, especially now with Google's mass account deletions affecting inactive users. Even if Gmail isn't your primary email service, having multiple accounts can be useful for managing work, social media, clubs, or even for creating throwaway accounts for online activities.
With no limit to how many you can create and free access to all, it's a practical choice. Plus, with a new account, you can easily separate personal and professional emails, helping you stay organized. Gmail's reliability makes it one of the best services available, and it recently received a big boost from Gemini, Google's AI platform, enhancing its features like search and smart replies.
With 15GB of free storage, powerful spam filtering, and seamless integration across devices, it remains a top choice. Let’s walk through how to set up a new Gmail account, accessible on any device through a web browser.
1. Go to the Gmail website
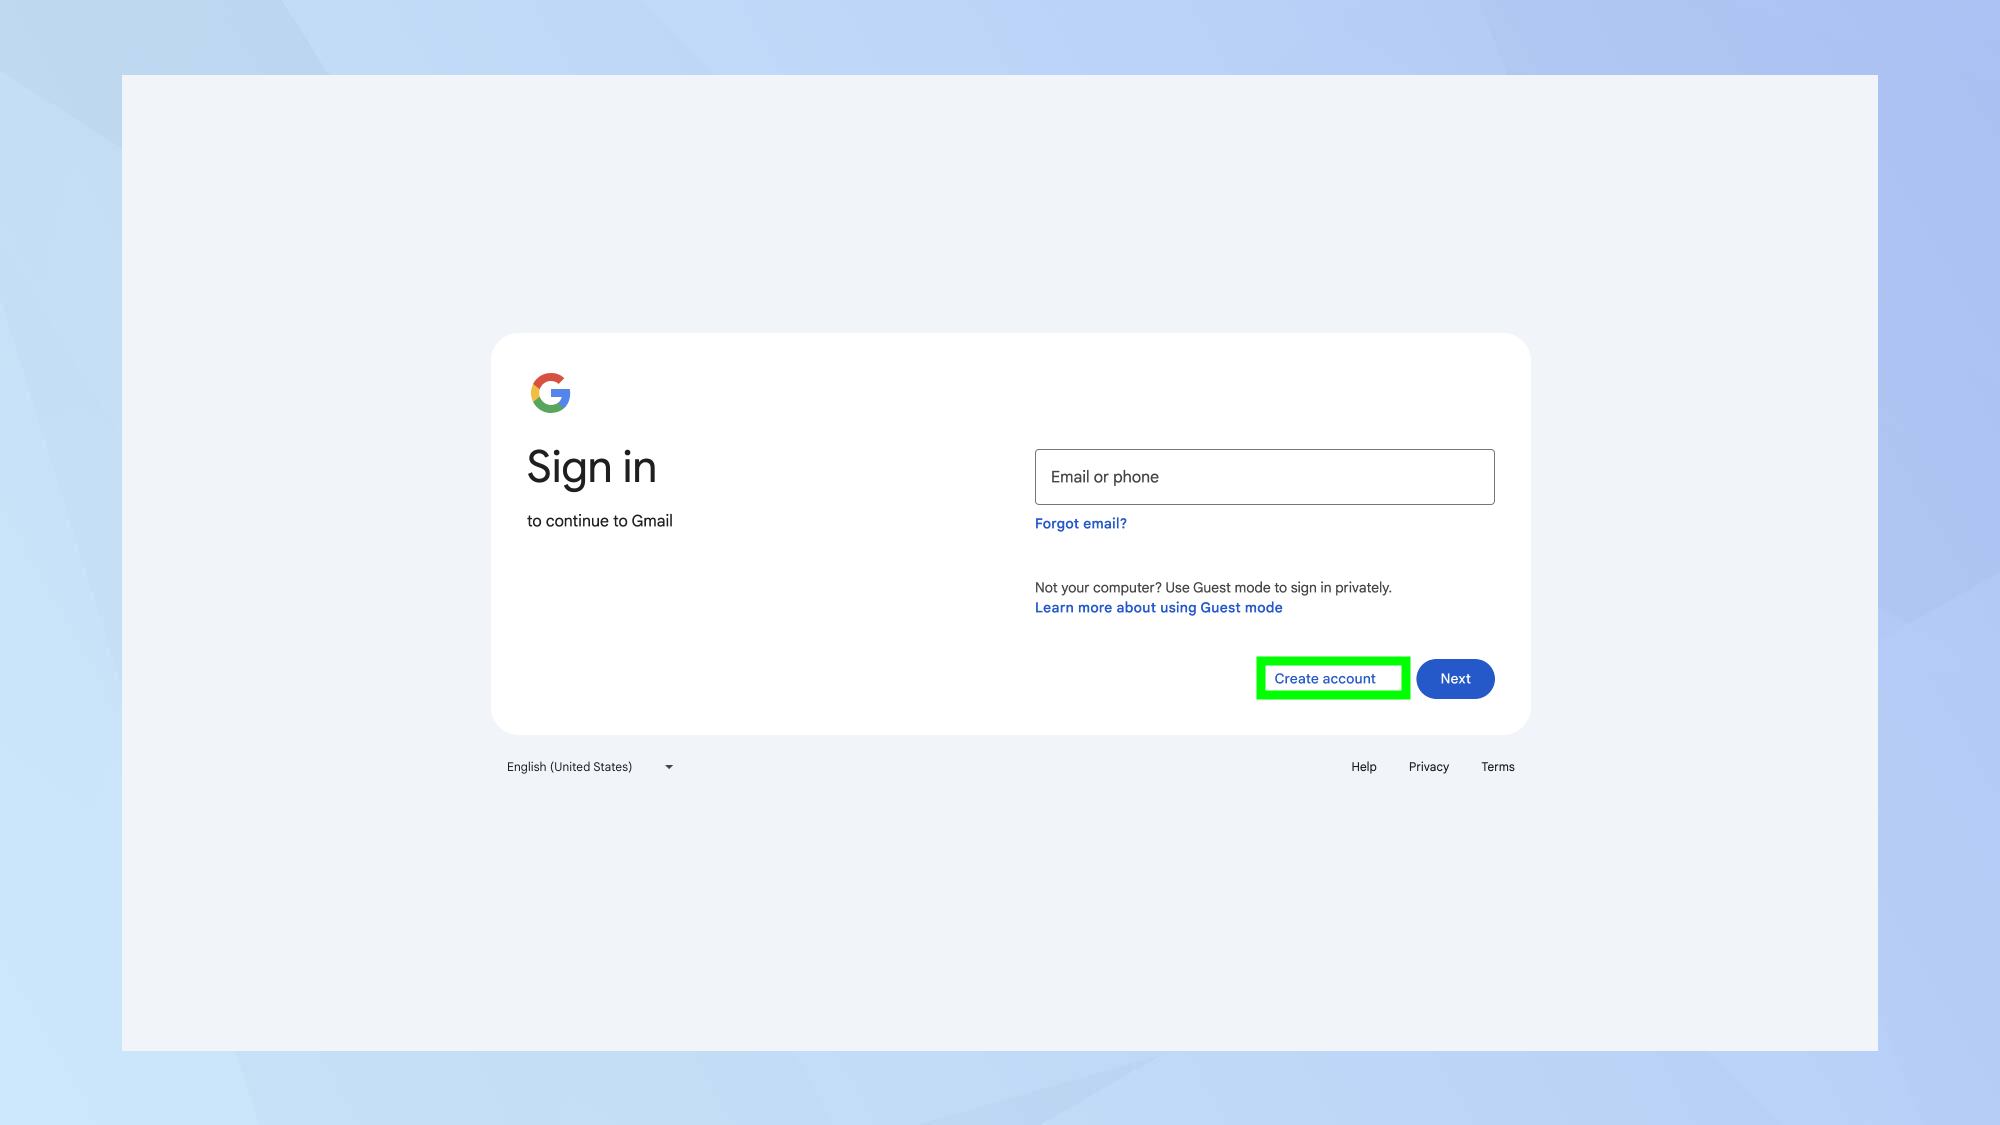
Navigate to Gmail. Then, click Create an account.
2. Create a Google Account
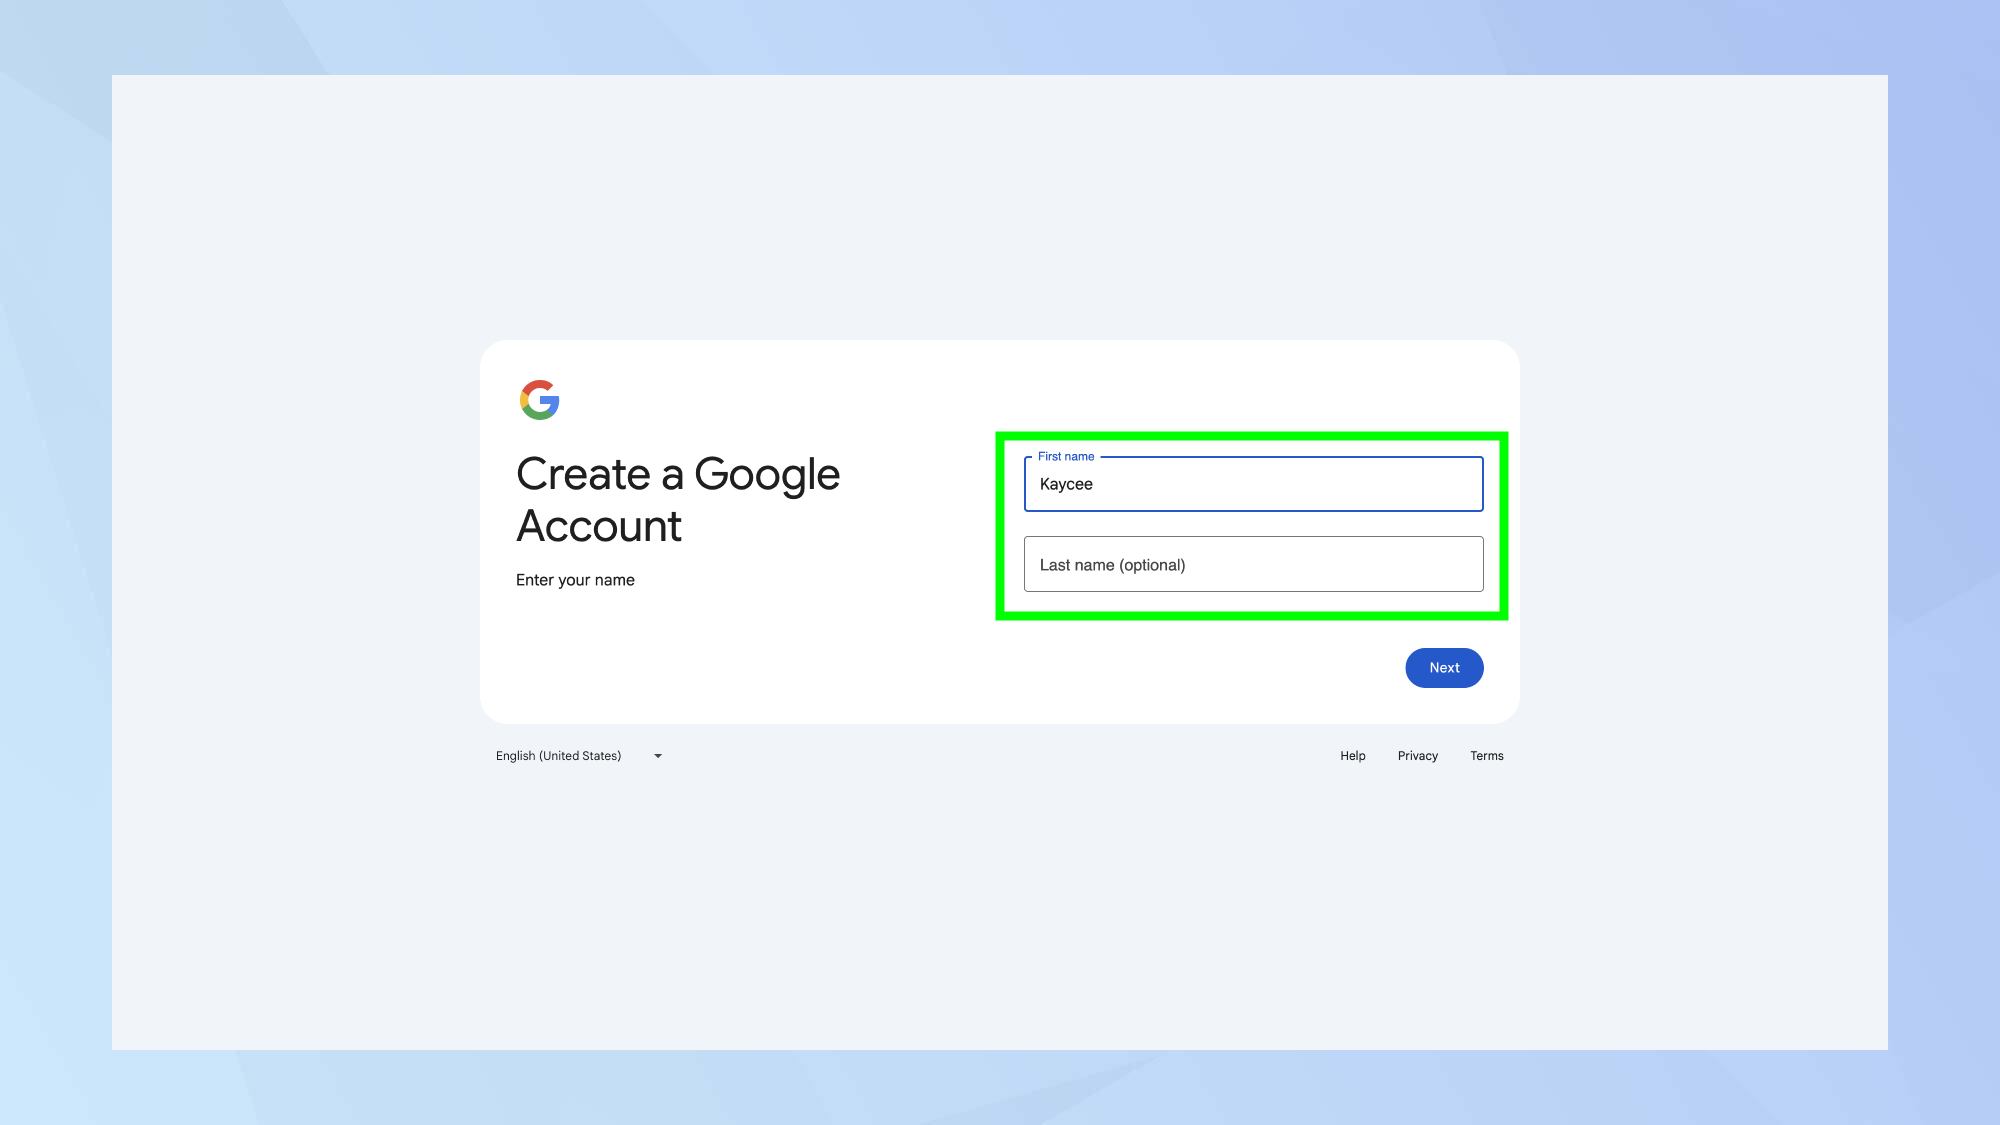
You will now need to sign up for a new Google Account. Enter your name in the two boxes (you don't have to input your surname if you don't want to) and click Next.
3. Input basic information
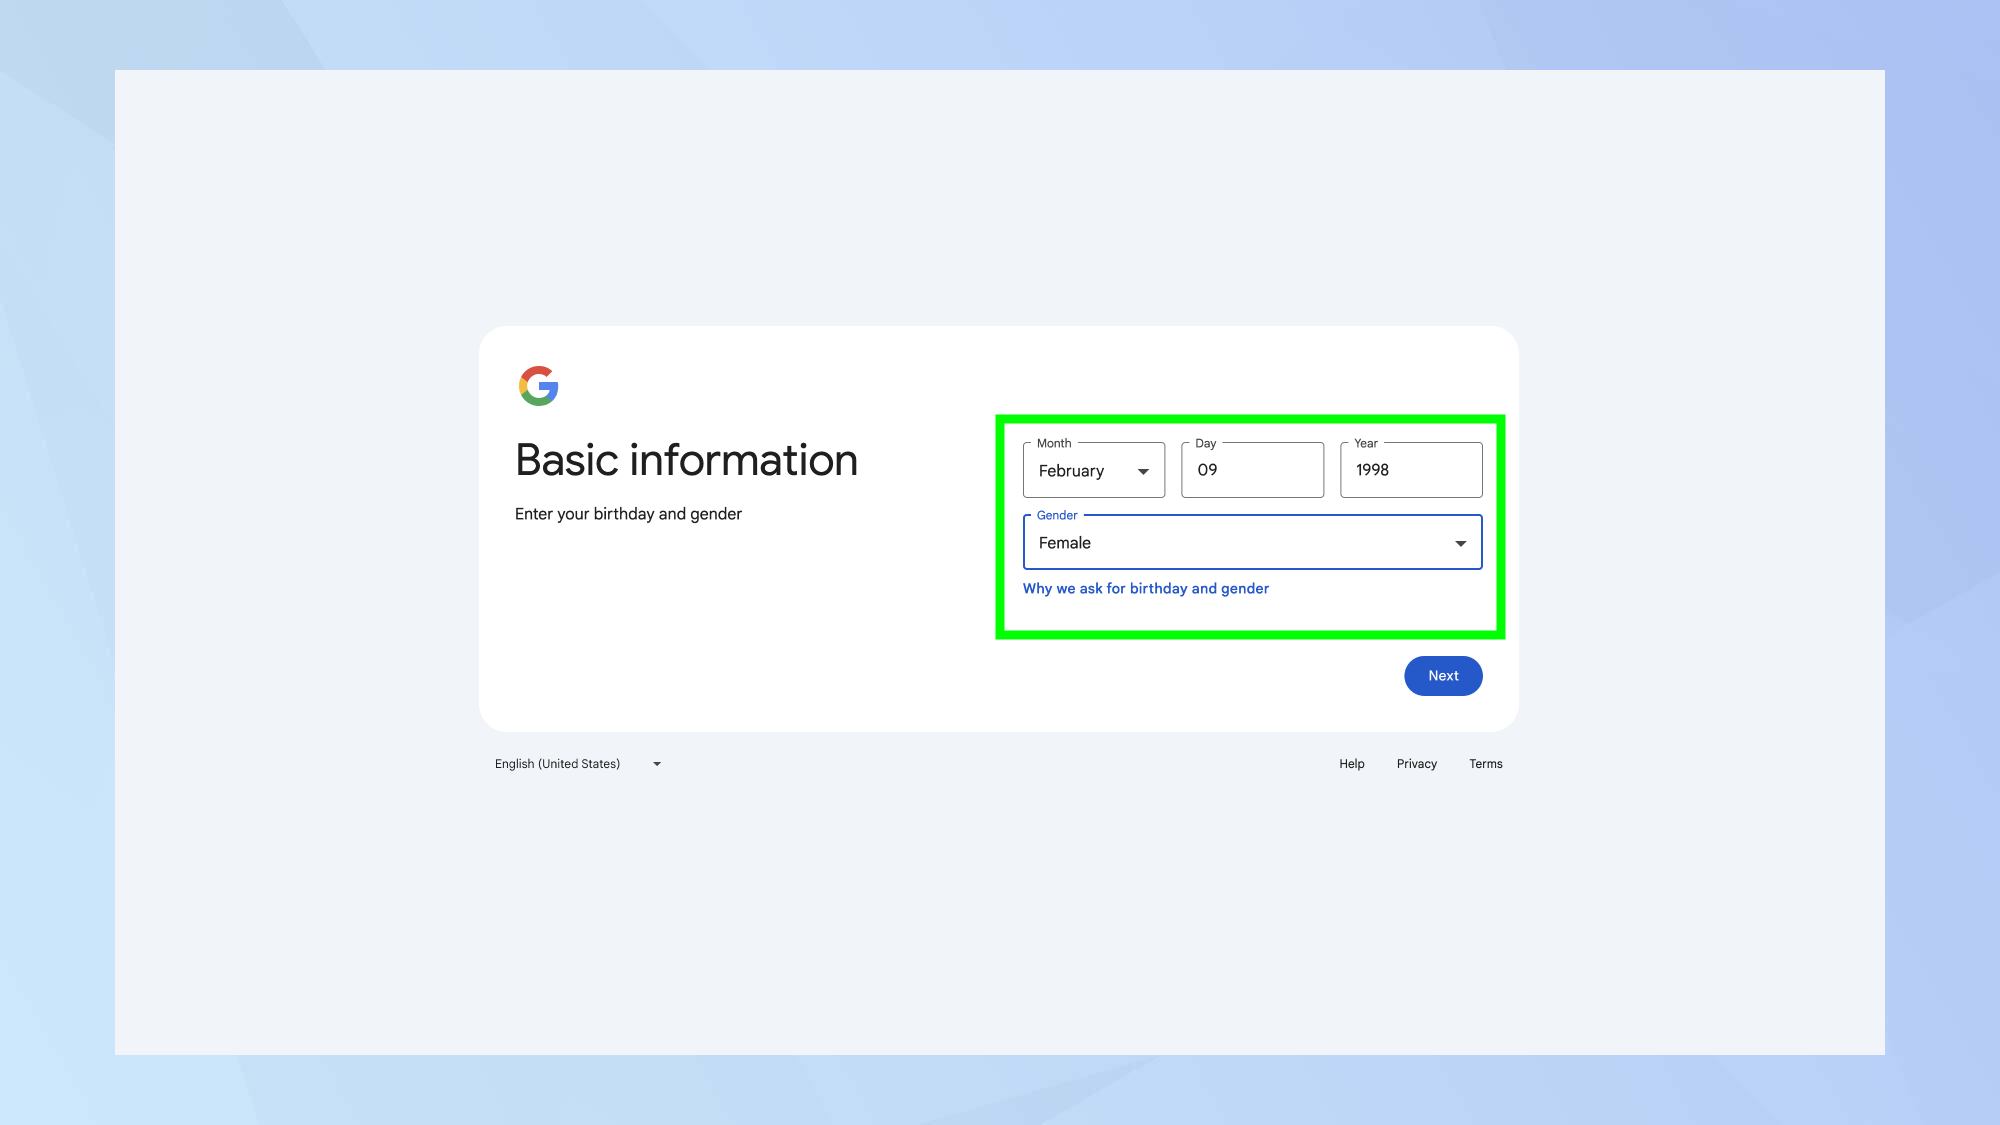
Next enter your date of birth (you can select the month using the dropdown menu) and enter your gender (you can select Rather Not Say or select custom if you wish). Then, click Next.
4. Choose an email address
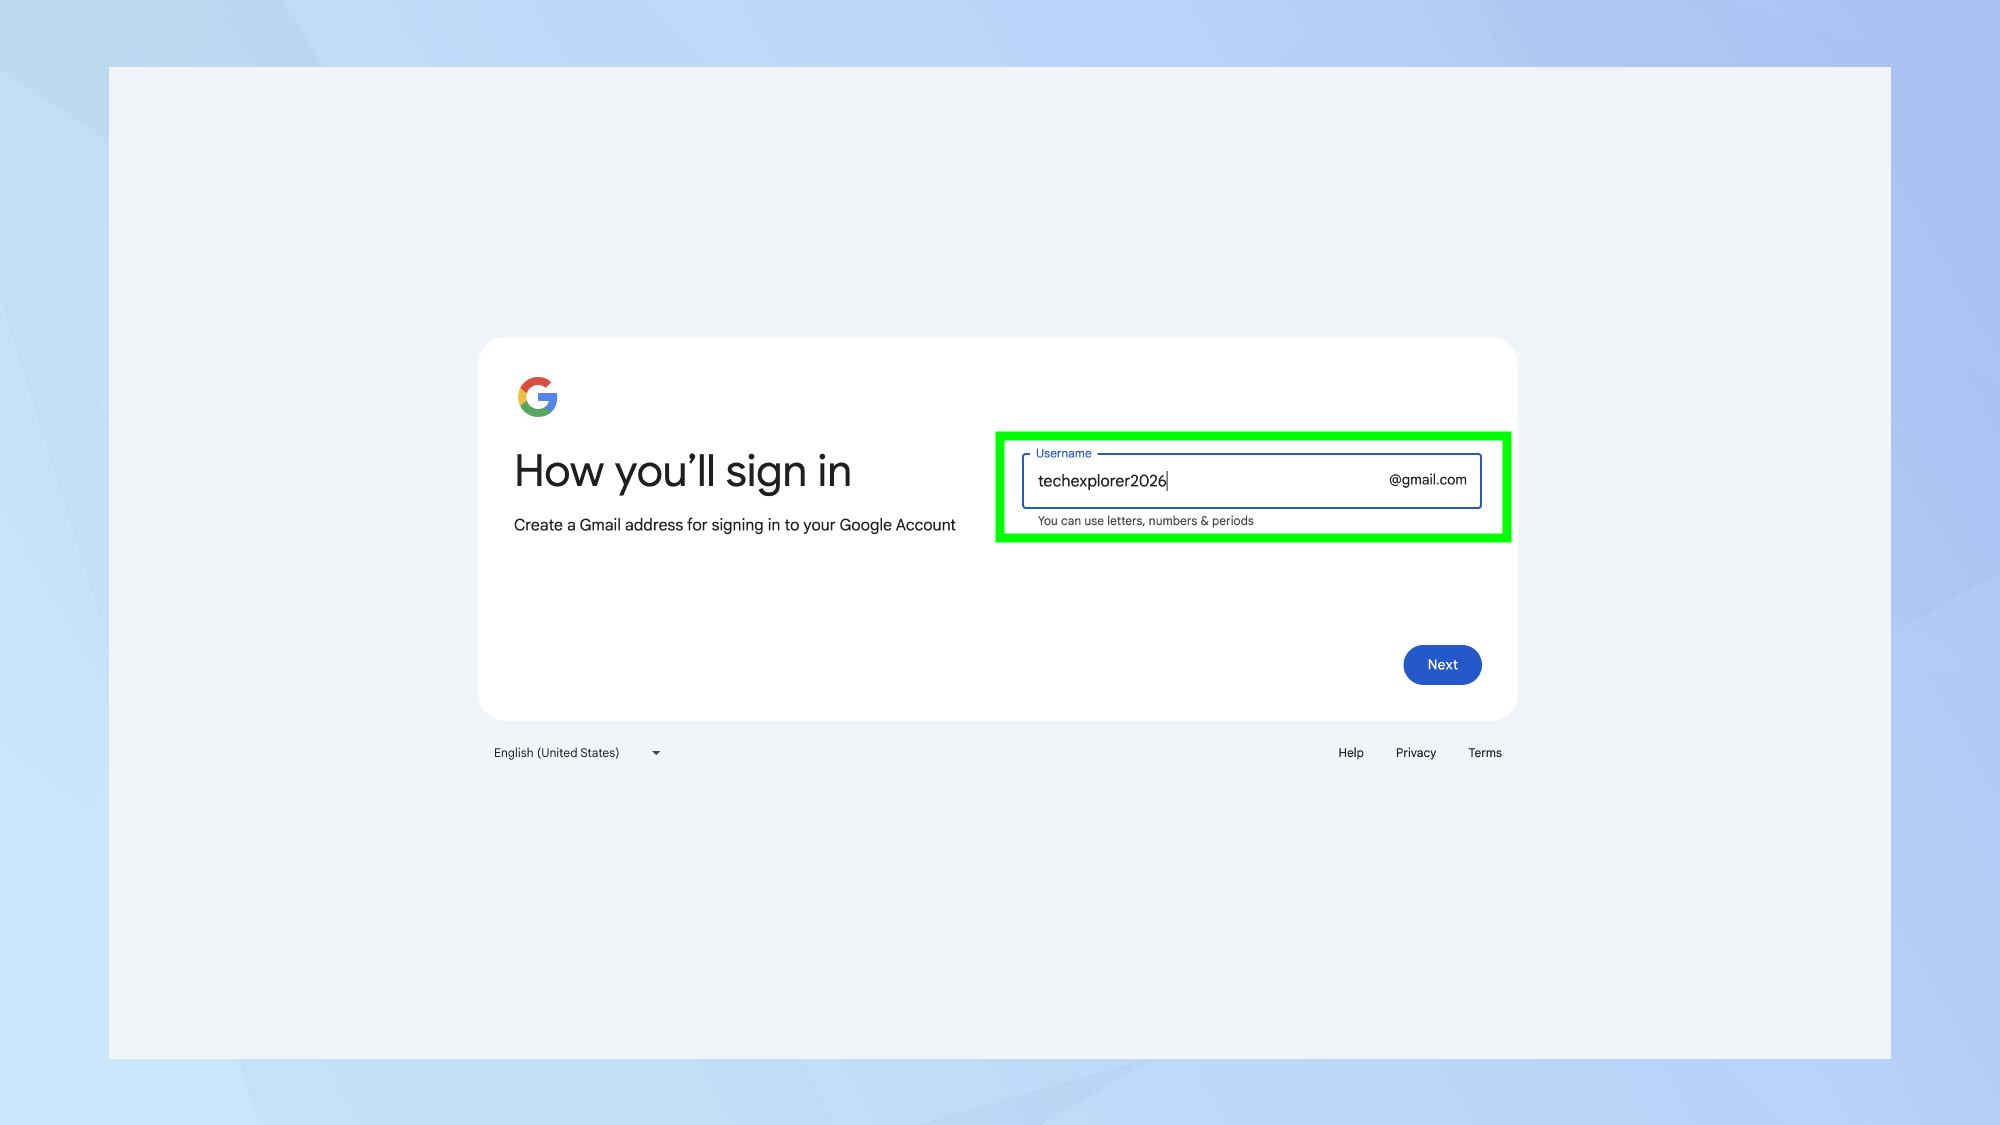
Now for the fun part — choosing an Gmail address which will always end in @gmail.com. Simply enter a username (periods will be ignored) and click Next.
But be warned: you may not be able to get the email address that you want. Gmail has been around since 2004 and lots of usernames have been taken since then. Unless your name is really unusual, it's very unlikely that you'll get the dream firstnamelastname@gmail.com address.
You may need to be creative — perhaps include an initial, your profession or a series of numbers that's memorable to you. Avoid anything that could be useful to cybercriminals looking to steal your details for phishing attempts.
5. Enter a password
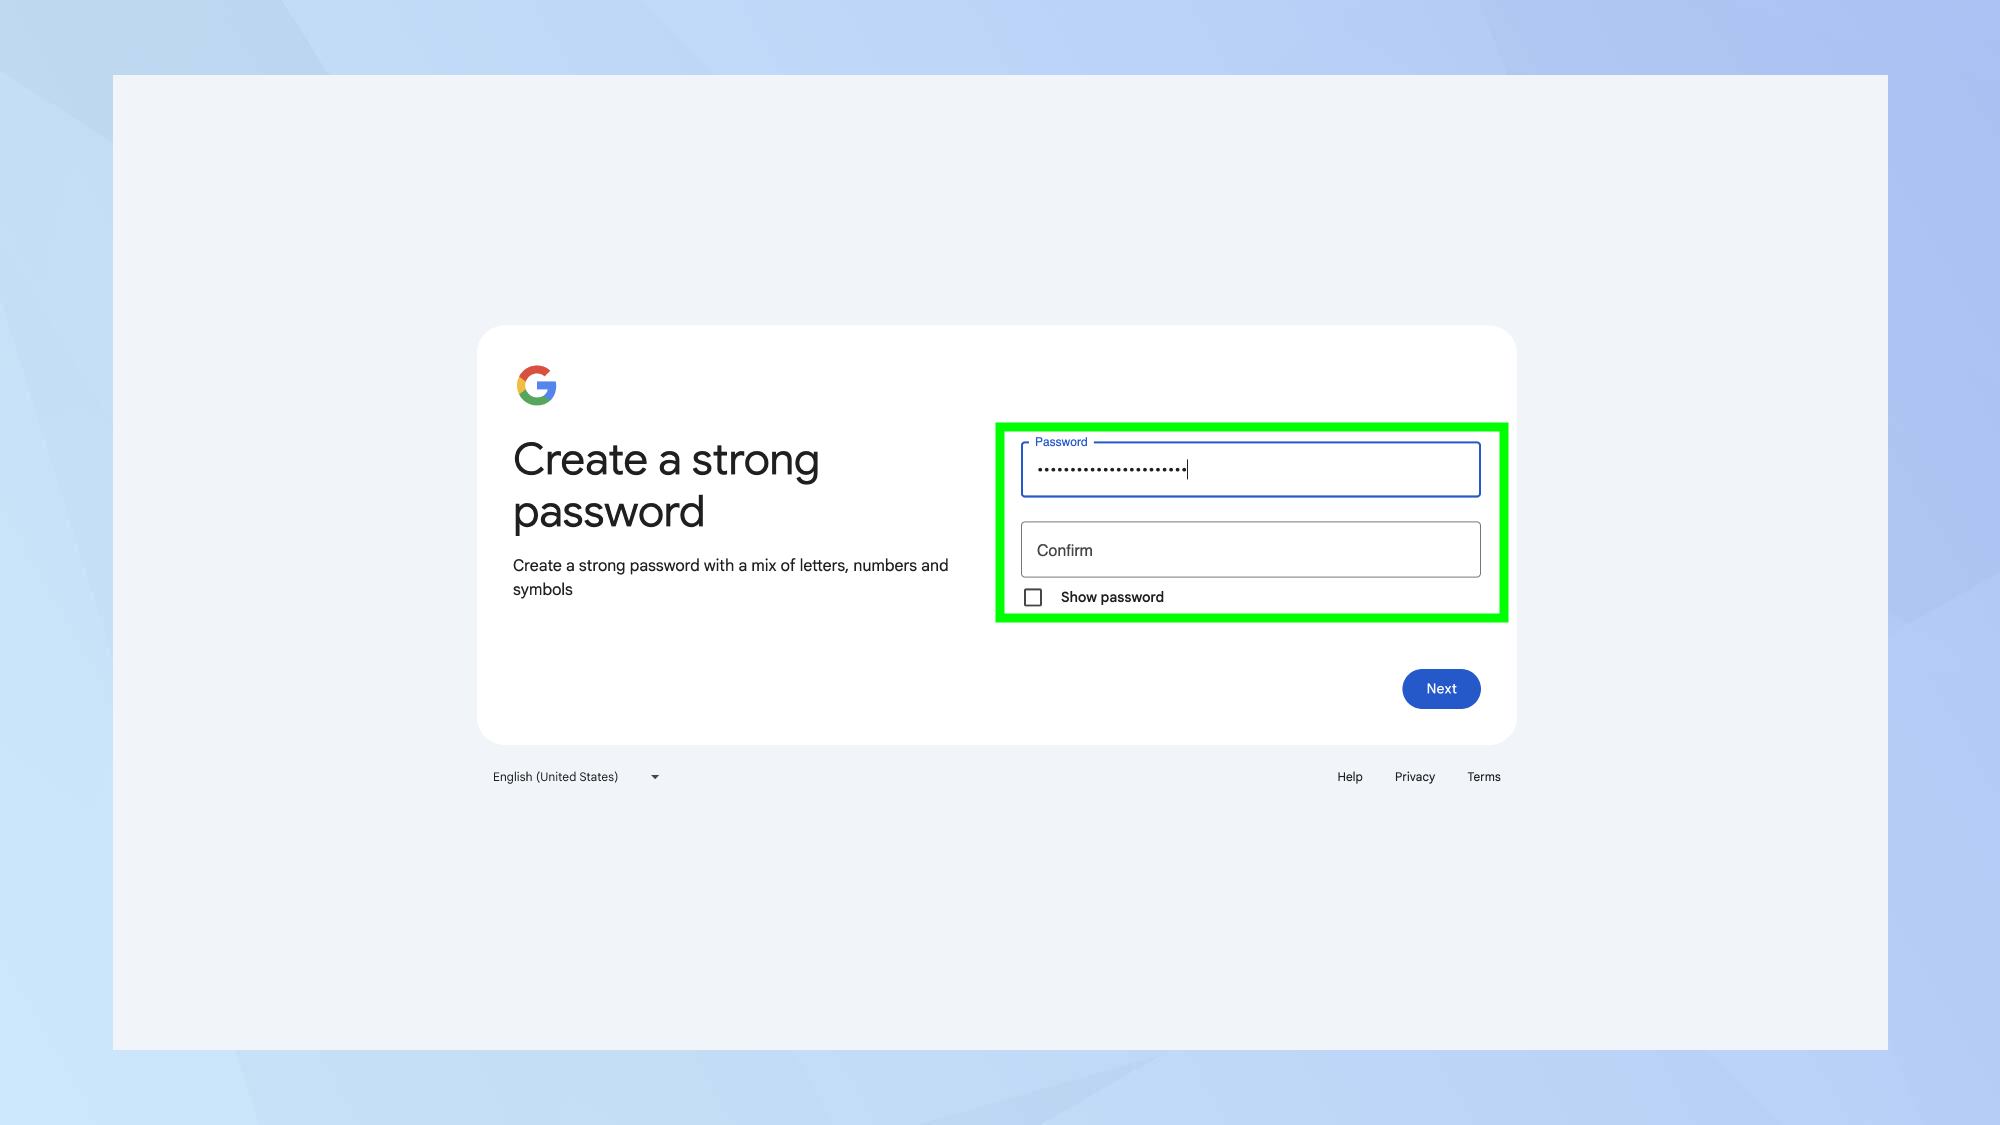
To ensure your Gmail account is secure, you will need to enter a password — you will have to type it twice to ensure that it's typo free.
For your safety, it's important to know how to create strong passwords.
6. Add a recovery email
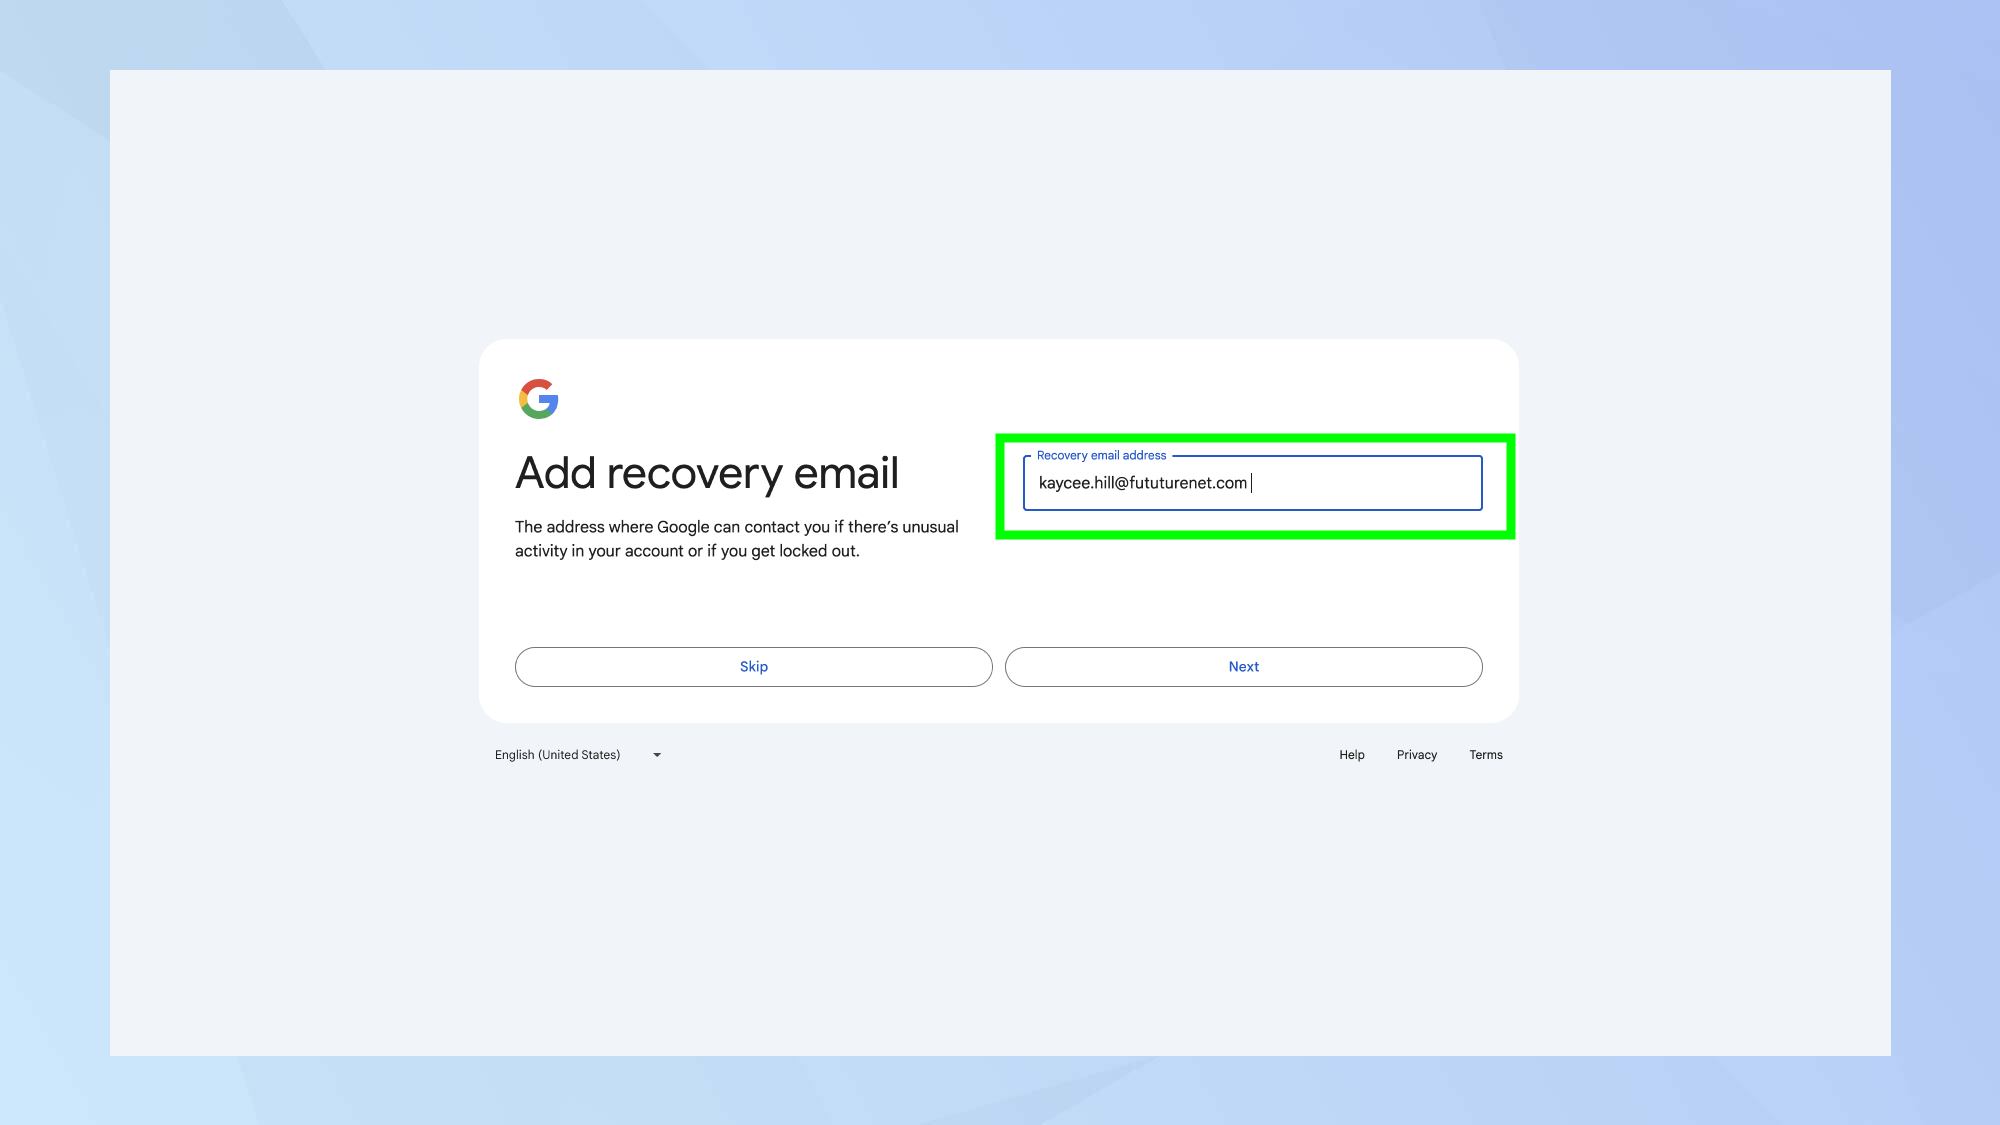
Next, for added security, enter a recovery email address. You can skip this step if you wish but it's not advisable. It's very useful should you find yourself locked out of your account.
Likewise, you can enter your phone number for added security or you can skip this step — you may feel it's less necessary than adding a recovery email and you can always add it later.
7. Finish setting up
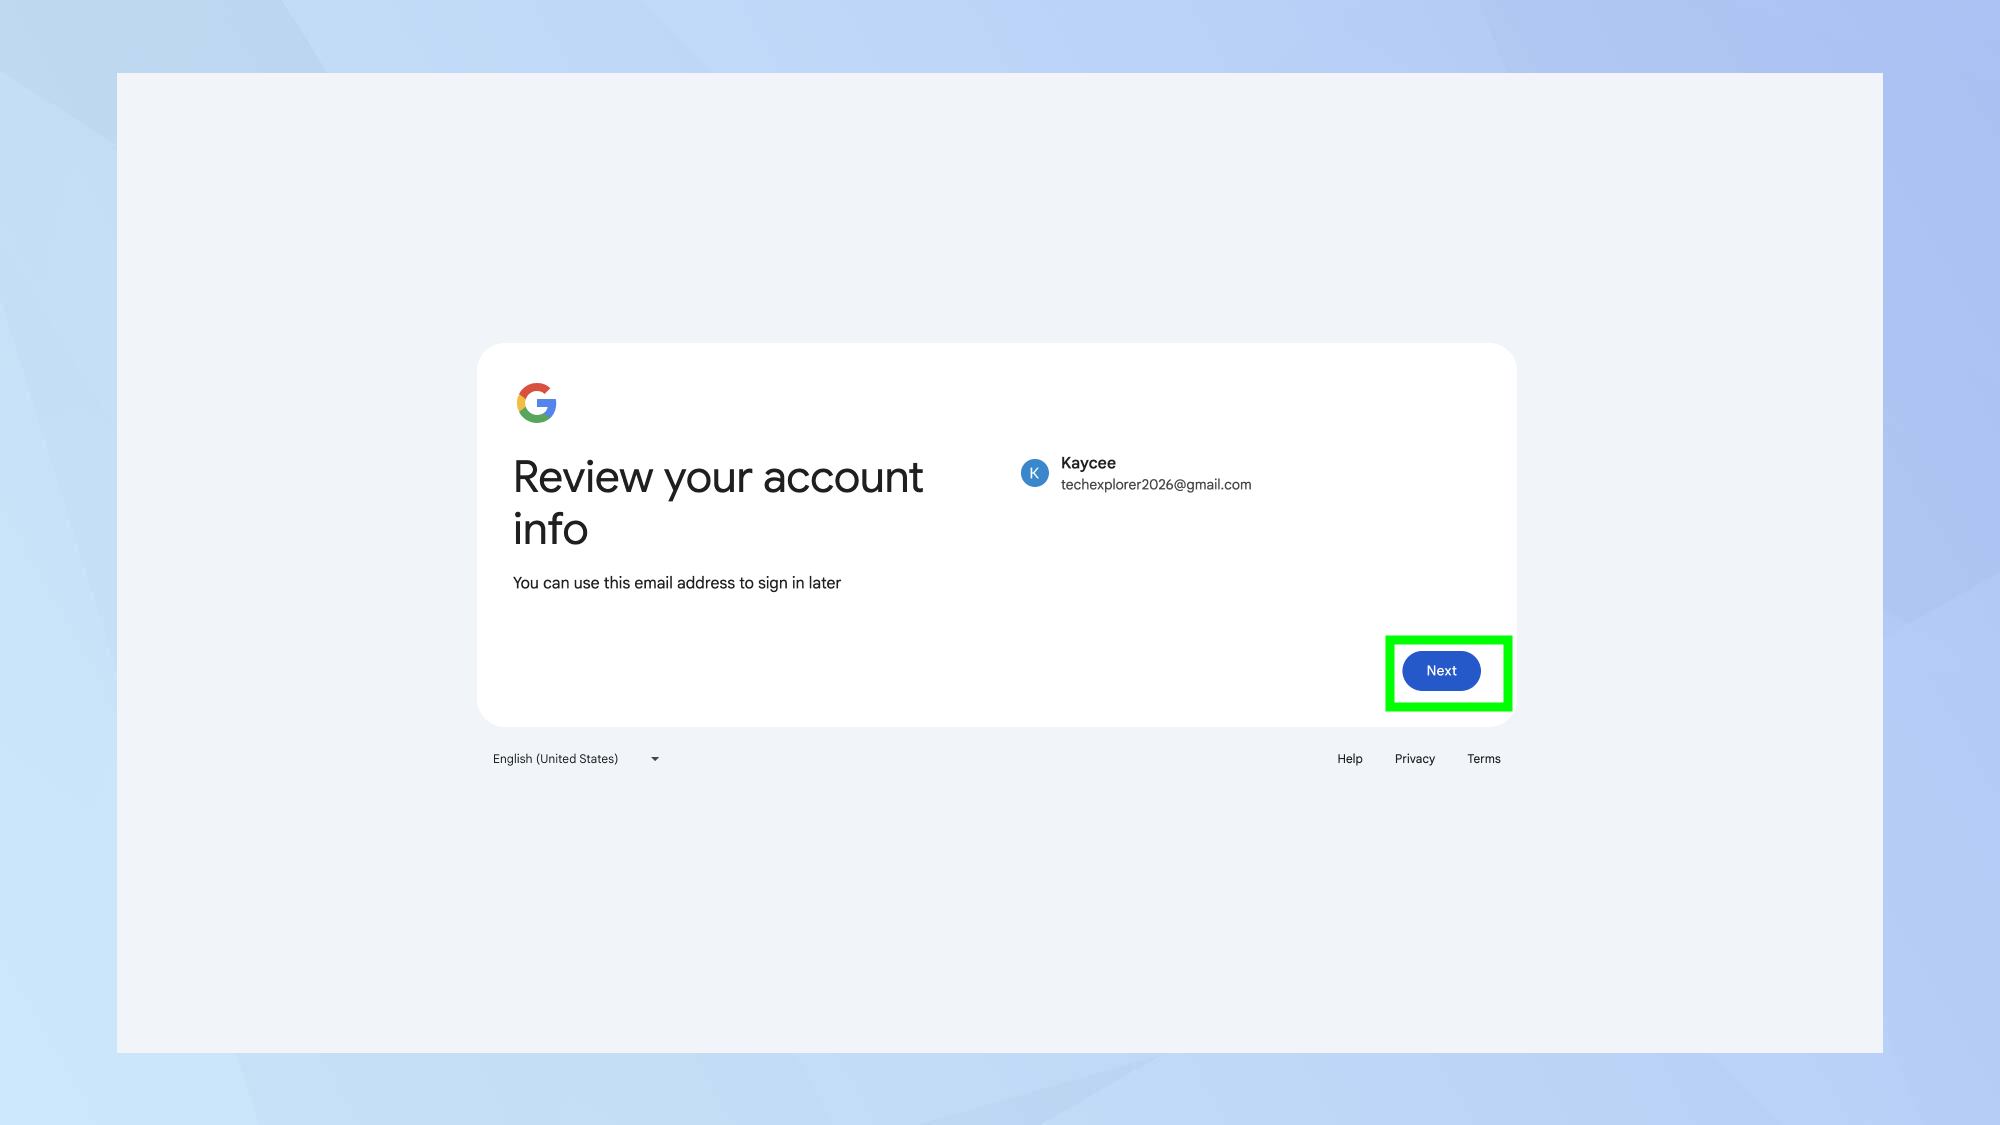
Take a look at your new Gmail address. Looks great, doesn't it? At this stage, just click Next.
8. Choose your personalization settings
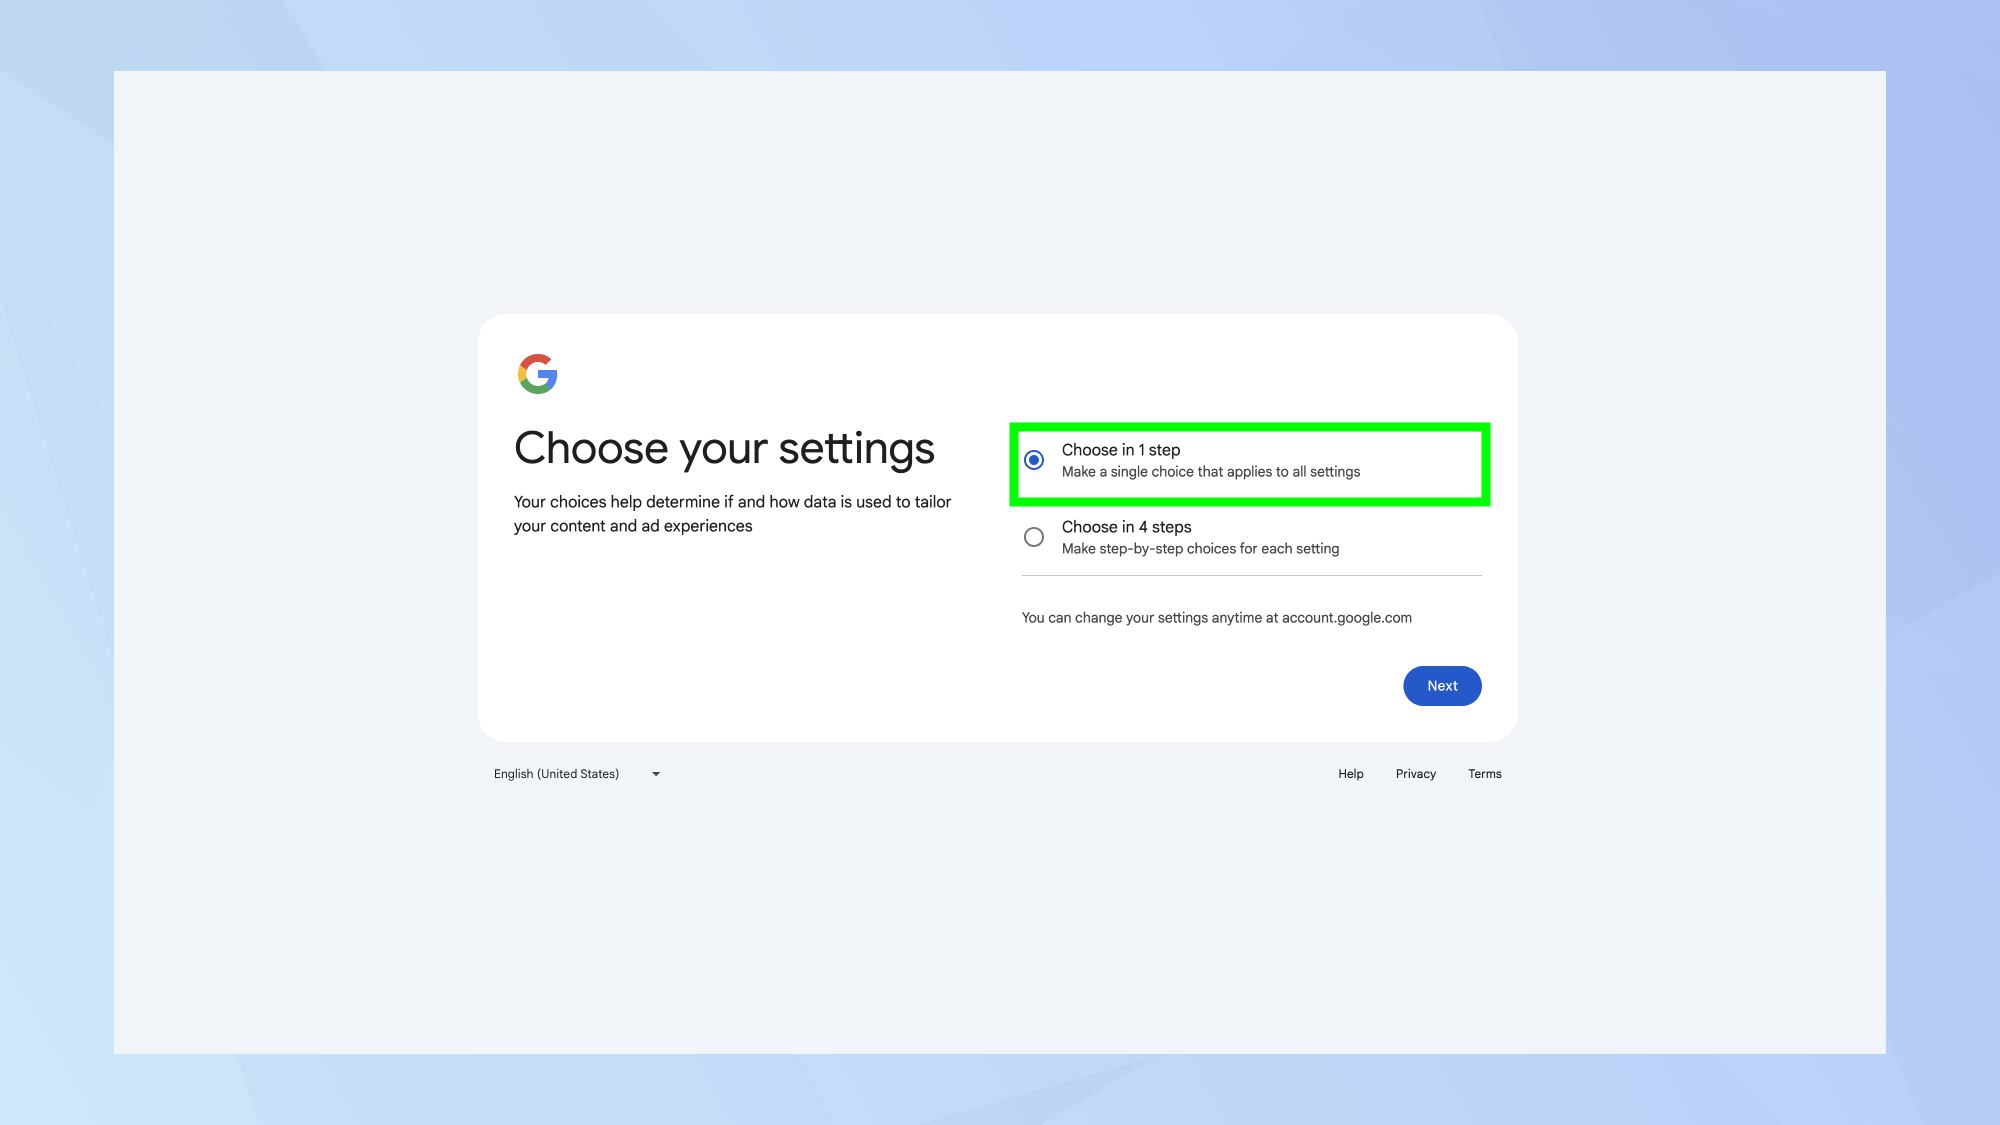
You now have two choices. You can either make a single choice that applies to all settings, or choose in four steps. Then accept the terms of your choice and confirm by clicking I Agree.
Now that you're set up and ready to use your new Gmail account, why not check out our other Gmail-themed guides. Learn how to back up Gmail, or how to change your password in Gmail. Or discover how to disable Gmail's smart features and prevent tracking.
Get instant access to breaking news, the hottest reviews, great deals and helpful tips.
Freelance contributor Alan has been writing about tech for over a decade, covering phones, drones and everything in between. Previously Deputy Editor of tech site Alphr, his words are found all over the web and in the occasional magazine too. When not weighing up the pros and cons of the latest smartwatch, you'll probably find him tackling his ever-growing games backlog. He also handles all the Wordle coverage on Tom's Guide and has been playing the addictive NYT game for the last several years in an effort to keep his streak forever intact.
- Kaycee HillHow-to Editor
 Club Benefits


