


Cleaning can be quite a therapeutic process. Whether you break up your chores across several sessions, or tackle everything in one sitting, there’s nothing quite like looking back over your work and appreciating it (for as long as it lasts anyway). But, even if you have a ton of experience, there are still cleaning mistakes everyone can make — particularly in the kitchen.
The kitchen requires more attention than most spaces of the house when it comes to cleaning. We use it multiple times a day and it’s naturally a hot spot for spills and stains. And while we might regularly tend to this chore, there are often areas here which are either missed, or cleaned incorrectly. Here, we break down 7 kitchen cleaning mistakes everyone makes, so you know what to avoid and what to do instead.
Be sure to also check out 9 gross things you forget to clean around your home. And here are 7 underrated cleaning tools that will cut your cleaning time in half. Don't forget the bathroom as well, here are 7 common mistakes making your bathroom dirtier.
1. Not cleaning appliances

Few people will admit to giving their appliances the care and attention they deserve, but the fact is these need cleaning routinely, too. The dishwasher in particular is often neglected until it starts to smell, or the wash performance deteriorates.
However, it’s essential that you learn how to clean a dishwasher so you can keep limescale and mildew at bay. If you don’t incorporate this into your cleaning routine, it can ultimately lead to expensive repairs and perhaps a full-blown replacement. You should deep clean your dishwasher once a month for guidance — it doesn’t take as long as you might think.
Cleaning your appliances doesn’t stop there either. Make sure you clean the interior of your refrigerator when required, and keep on top of your oven, too. The oven is another appliance which can get dirty quite quickly, and this one will need more elbow grease to scrub clean. Again, you must take the time to do this, otherwise the residue can impact the smell of your food and produce excess smoke with each use. It can even lead to fires, so this chore can’t be ignored. For step-by-step guidance, see how to clean an oven.
2. Using white vinegar on the wrong surfaces

White vinegar is an amazing natural cleaner. That’s why it’s one of the products you will find in my cleaning cupboard. In fact, it’s such a versatile product, that it’s all too easy to get carried away in the kitchen. Hold yourself back though, as there are some surfaces unsuitable for distilled white vinegar. Marble and granite are two such surfaces — the high acidity levels of the vinegar can actually wear away and damage the stone, making it appear rough and dull over time and potentially discoloring it, too. Stick to using dish soap and water to keep your marble and granite surfaces clean. Then buff with a microfiber cloth.
Take care to avoid using white vinegar on your hardwood floors as well. The acidity can once again take its toll on the surface, leaving it more dull than shiny. Once this protective finish is worn away, it leaves your wood more exposed to water damage as well. Instead, use a dedicated hardwood floor cleaning solution, as recommended by your flooring manufacturer. For full guidance, check out how to clean hardwood floors without damaging them. Plus, here are 7 things you should never clean with white vinegar.
3. Too much water on hardwood floors

Speaking of which, when you mop your hardwood floors, make sure you don’t leave an excessive amount of water standing on the surface. While you might think this gives you more to work with as you scrub, and a potentially deeper clean, the fact is you’re doing more harm than good. Excessive water will actually distort and warp hardwood floors, leading to an uneven appearance and expensive repairs. This happens because the wood expands and compresses unevenly once penetrated by moisture.
To avoid this, make sure your mop head is only damp, rather than sopping. Don’t soak the floor as you clean it either — just lightly pass your damp microfiber mop evenly over the surface with added pressure where necessary for stains. Once you’ve finished, make sure you dry the floor as best you can, using a dry microfiber cloth or mop. Do not leave excessive water sitting on the wood.
Open windows and doors if possible to speed up the drying time. Above all else, follow the cleaning instructions recommended by your flooring manufacturer. That way, any warranties will remain valid and you can avoid any surprises.
4. Scratching the glass stove
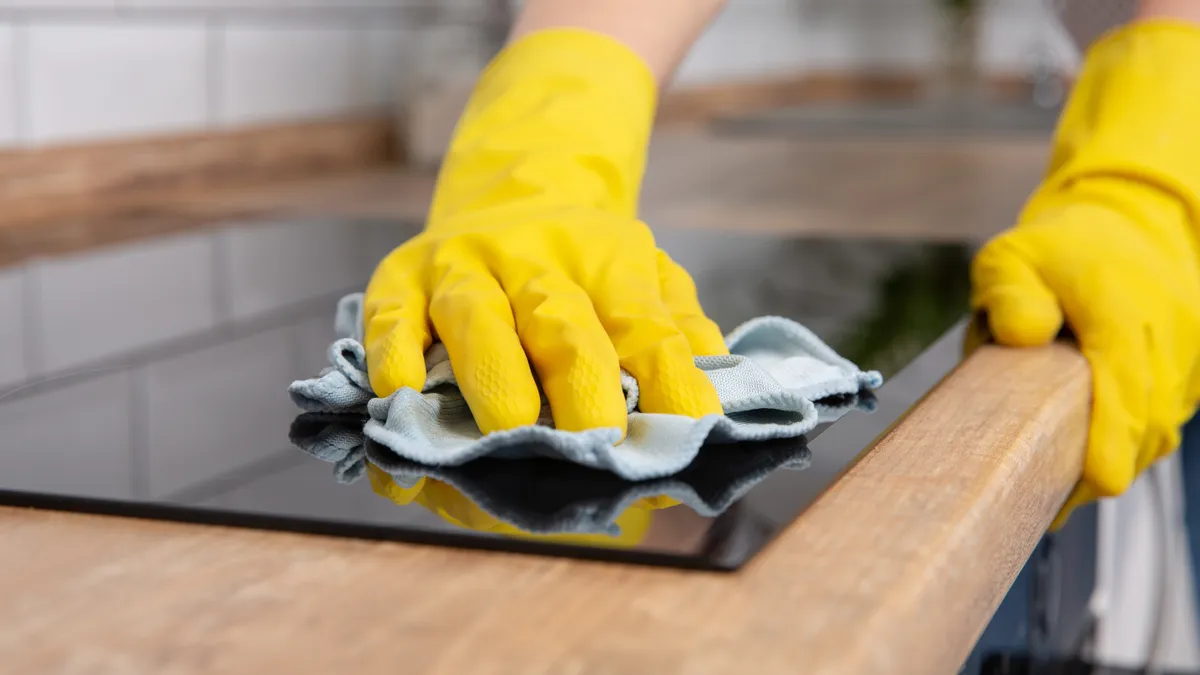
While you might clean your glass stove regularly, burnt stains and scorch marks often remain on show week-after-week. These occur when food spills or spits from our cookware, burning to the surface of the glass stove on contact. It’s unfortunately an inevitable stain, and if you’ve tried to clean it before you will know all too well how difficult it is to shift. You shouldn’t ignore these ugly stains because they only get more burnt-on and stubborn with each meal. But, you need to be careful as you remove them too, because a glass stovetop is quick to scratch if you use the wrong tools and technique — a common mistake people make.
The good news is that you don’t have to put up with burnt residue and scorch marks on your glass stove. By using a scraper tool, and learning how to clean a glass stove, you can get it looking like new again, scratch-free. It admittedly takes time and effort, but the results are worth it. And by keeping on top of this chore, less effort will be required with each session in the future.
5. Letting the drain get clogged
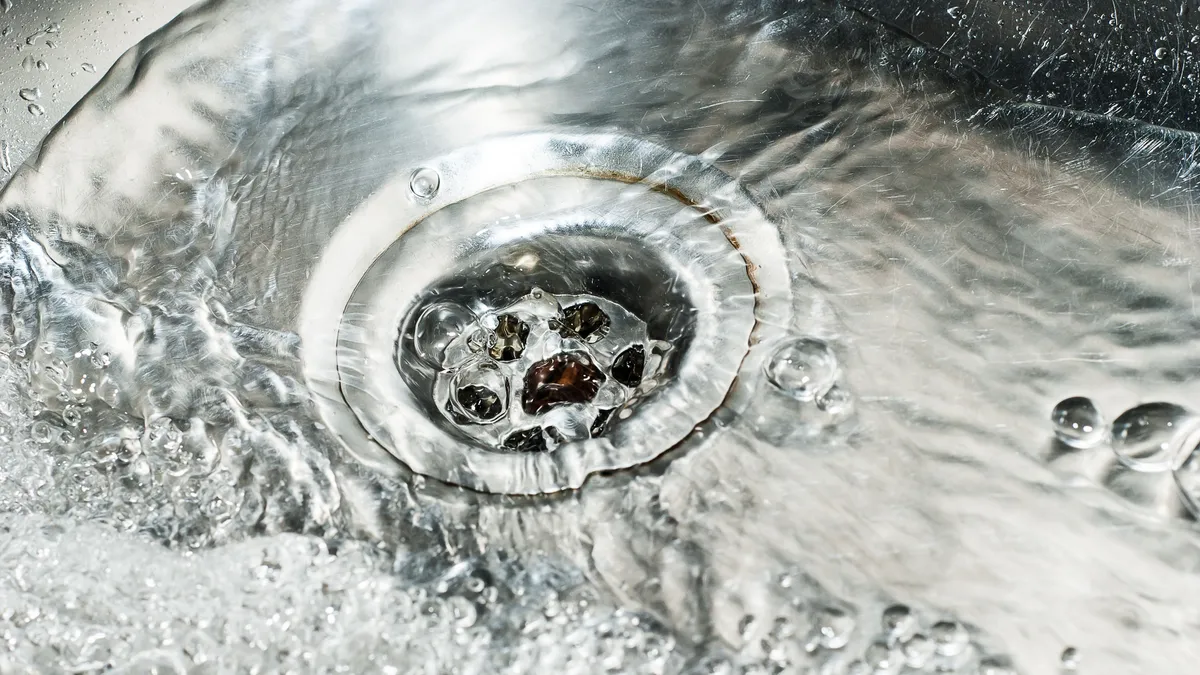
Unfortunately, most drains will get clogged at one time or another, and the kitchen sink is no exception. You can usually tell when a drain is starting to struggle because the water won't flow through so quickly. Soap suds can also appear to backup excessively for the same reason. It’s admittedly an easy chore to ignore until you have to deal with it. But, always try to address a clogged drain as soon as you can. The smaller the blockage, the easier it will be to remove, and by letting it build up, you’re only encouraging unwanted smells and a more serious issue when the water won’t drain at all.
Most clogs can be dissolved easily with some white vinegar and baking soda. But, you can also opt to use a drain snake for more serious situations, such as the Forlivese 3 Pack 25 Inch Drain Clog Remover ($6.99, Amazon). For full step-by-step guidance, see how to unclog a drain. To prevent your kitchen sink from clogging in the future, invest in a sink strainer and watch what you pour down the drain. Fats, oils and food debris are all no-goes. Run a deblocking solution down the drain once a month as well, to keep on top of potential blockages.
6. Leaving limescale in the electric kettle
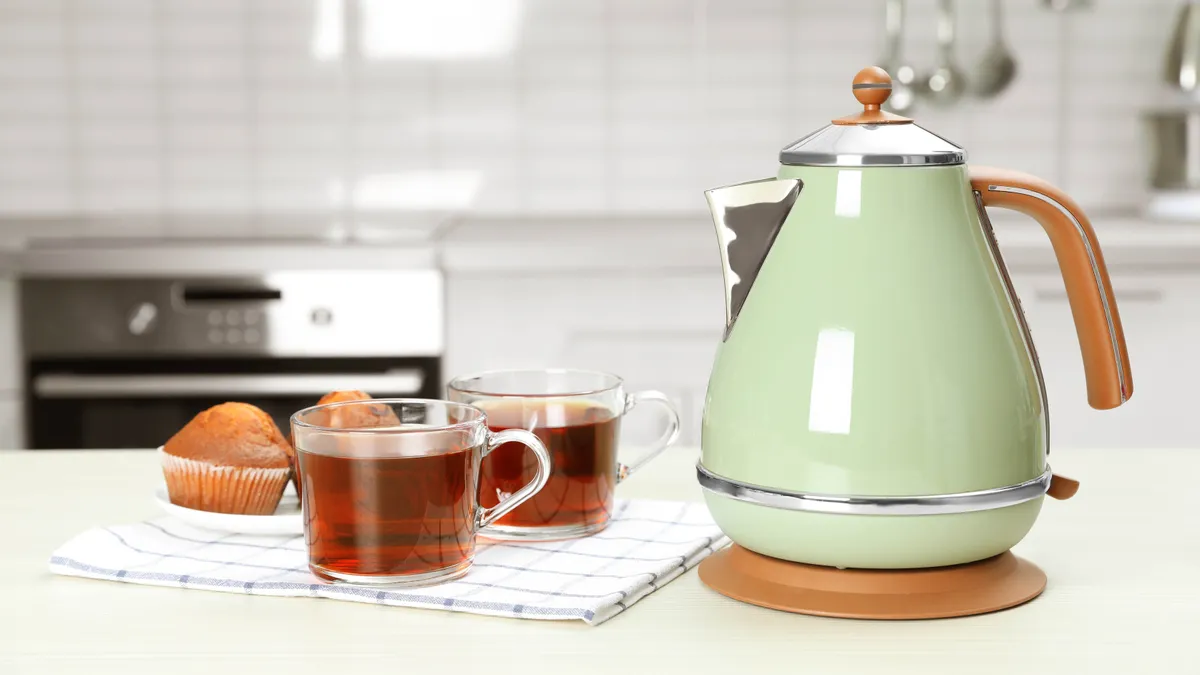
Electric kettles are something we use daily for quick and convenient access to hot water. The trouble is, everytime we boil hard water, limescale forms inside of this appliance. Before you know it, there’s floating flakes in your hot water, which adds a crunch when you drink it — not a pleasant experience.
Even the best electric kettles will need descaling occasionally to prevent this problem. And while you might not think of this as a top priority, especially because you can’t see it, it still needs addressing. Otherwise your guests won’t be impressed by the texture of your tea to say the least.
Descaling a kettle is very quick and stress-free. Simply add a solution of half water and half distilled white vinegar to your kettle, then bring it to a boil and leave it to soak. Rinse away once you’re finished. And voila, the inside of your kettle will look as new. For full instructions, see how to descale a kettle.
7. Failing to clean the trash can

The kitchen trash can is admittedly the last place most of us want to clean, but this area is essential. After all, you’re throwing your garbage in there daily, which means all kinds of spills, stains and bacteria can build up around the lid, both inside and out. Plus, it can soon start to smell as a consequence, even when empty.
Wait until you’ve taken out the trash to tackle this chore — this will make things much easier. Wipe down any obvious stains using a damp microfiber cloth and dish soap, then rinse with a damp cloth. You can use an old toothbrush to reach into any crevices during this process. Let it dry out completely before refitting a trash bag. You can always sprinkle some baking soda in there to help deodorize — see how to deodorize your trash can in 5 easy ways.
Be sure to check out 7 things you forget have an expiry date, and 10 cleaning mistakes that will ruin your home. Plus, here's 9 things you’re hoarding, which you should throw away right now.

