


Strengthening your core — the muscles around your stomach that include the six-pack abs muscle — helps boost your balance, improve your posture, and makes everyday tasks like walking and lifting easier. But you don’t need to do endless sit-ups to see results — you can use this personal trainer’s six-move bodyweight workout instead.
You don’t need any equipment, although it can help to roll out a yoga mat for support if you have one. But you won’t need weights or gym space to get started, so it's an ideal routine if you want to take your exercise outdoors or pack in a session while you’re traveling or away from home.
The session, designed by personal trainer Ollie Thompson, is made up of six bodyweight exercises designed to engage your core and strengthen the connection between your upper and lower body, whether you want to train at home, in your garden, or at a local park.

According to Thompson, “[you can do this session] in as little as 10 minutes and effectively target all major movement functions of your core, helping you build a robust mid-section that not only looks lean and athletic but also enables you to move well and prevent back pain.”

Ollie Thompson is a London-based personal trainer with over 10,000 hours of coaching under his belt. His sessions equip clients with fitness and well-being strategies to regain control of their health, thrive with high energy, prevent burnout, and develop a strong, robust, and pain-free body that’s built to last.
How to do Ollie Thompson’s 6-move bodyweight core workout
Although you can do these exercises in any order or add several into your regular routine, Thompson suggests doing all 6 moves as a circuit, doing each for 30 seconds (or 30 seconds on each side), taking a 15-30-second rest, then starting the next exercise.
This is an exercise style known as high-intensity resistance training (HIRT), where the aim is to work your muscles intensely in short bursts with minimal rest. This helps strengthen your muscles even when you're tight on time and raises your heart rate to boost your metabolism.
"If you prefer a shorter workout, go through each move once and be finished in under 10 minutes. However, if you want to challenge yourself further, aim to complete 3-5 total rounds," explains Thompson.
1. Dish hold


- Lying flat on your back, raise your legs off the ground with soft knees. Simultaneously, use your abs muscles to lift your head and upper back off the floor, leaving only your lower back and bum on the ground.
- From here, simply hold this position and control your breathing for 30-45 seconds.
- To make this move more challenging, maintain straight legs and straight arms overhead.
- To make this move easier, bend the legs to bring the knees over the hips and lower your arms to be by your sides.
2. Plank shoulder taps


- Start in a high plank position, with your hands under your shoulders and your feet roughly 1-1.5 times shoulder-width apart.
- Maintaining this position, slowly alternate tapping the opposite shoulder.
- Each time you lift your hand to tap your shoulder, your weight will shift into your supporting arm, and your hips may want to rotate. It's crucial here to drive your feet into the ground and use your core to resist this hip movement, keeping your body stiff as a board.
- Aim to complete either 10 reps on each arm or a total of 30 seconds.
3. Alternating kneeling plank
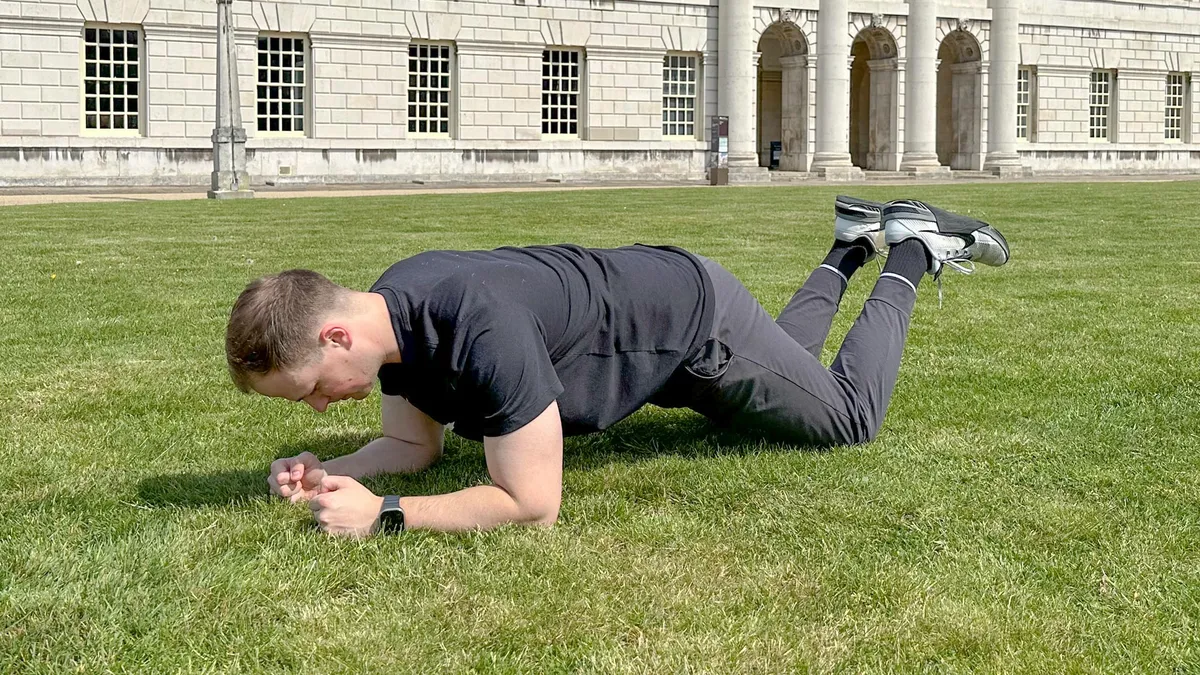

- Begin in a conventional kneeling plank position, with your elbows under your shoulders and driving into the ground, creating one straight line from the crown of your head to your knees, which are planted firmly on the ground.
- Similarly to the previous shoulder tap exercise, alternate lifting one knee at a time and hold that knee up off the ground for three seconds at a time.
- While this knee is lifted, you'll feel your weight shift over to your supporting knee, and your pelvis may want to rotate, causing you to collapse. The most important element of this exercise is to use your core muscles to resist this hip movement.
- Aim to complete a total of 30-45 seconds, which should equate to roughly 5-7 leg lifts on each side.
4. Reverse crunch


- Start on your back in a crunch position, slowly driving your knees up towards your chest with bent legs.
- While doing this, drive both of your arms down into the floor on either side of you to help maintain stability.
- The most important part of this move is lifting your tailbone off the floor as the knees come towards the chest, then slowly controlling your legs back to the starting position. Think about your lower back regaining contact with the ground one vertebra at a time.
- Repeat the process for 30 seconds and aim to repeat 10 times.
5. Side plank rotations


- Begin by lying on your side, driving your elbow into the ground, and lifting your entire body off the ground. I prefer to position my feet one in front of the other rather than stacking them on top of each other as it feels more stable.
- Start with your top arm up towards the sky. To perform one repetition, bring that arm down and reach under your body, enabling your torso to rotate slightly as you reach that arm through.
- The most important part of this exercise is maintaining your hips off the ground and creating plenty of rotation as you reach the arm through. This is a challenging move, but a very effective one.
- Aim to complete 15 reps or 30 seconds on each side.
6. Long-lever plank


- Start by holding a conventional plank position with your elbows under your shoulders and your body straight, engaging your abs and glutes.
- Then, while maintaining this full plank shape, shuffle your feet back 6-10 inches until your ears are now between your elbows.
- This will put a tremendous amount of pressure on your ab muscles as you fight to prevent your hips from collapsing.
- If you have a history of lower back issues, take this exercise slowly and try it for 5-10 seconds at a time, as it can place some strain on your spine if you lose abdominal or glute tension. Otherwise, aim to complete 30 seconds unbroken.
More from Tom’s Guide
- Build a stronger chest and arms with this 5-move dumbbell workout
- Forget the gym — you only need these 5 moves and a kettlebell to build upper-body muscle
- I tried a 10-minute walking meditation every day for a week — here's what happened


