How to convert and MBR partition to GPT on Windows 11
Convert an MBR partition to GPT on Windows 11
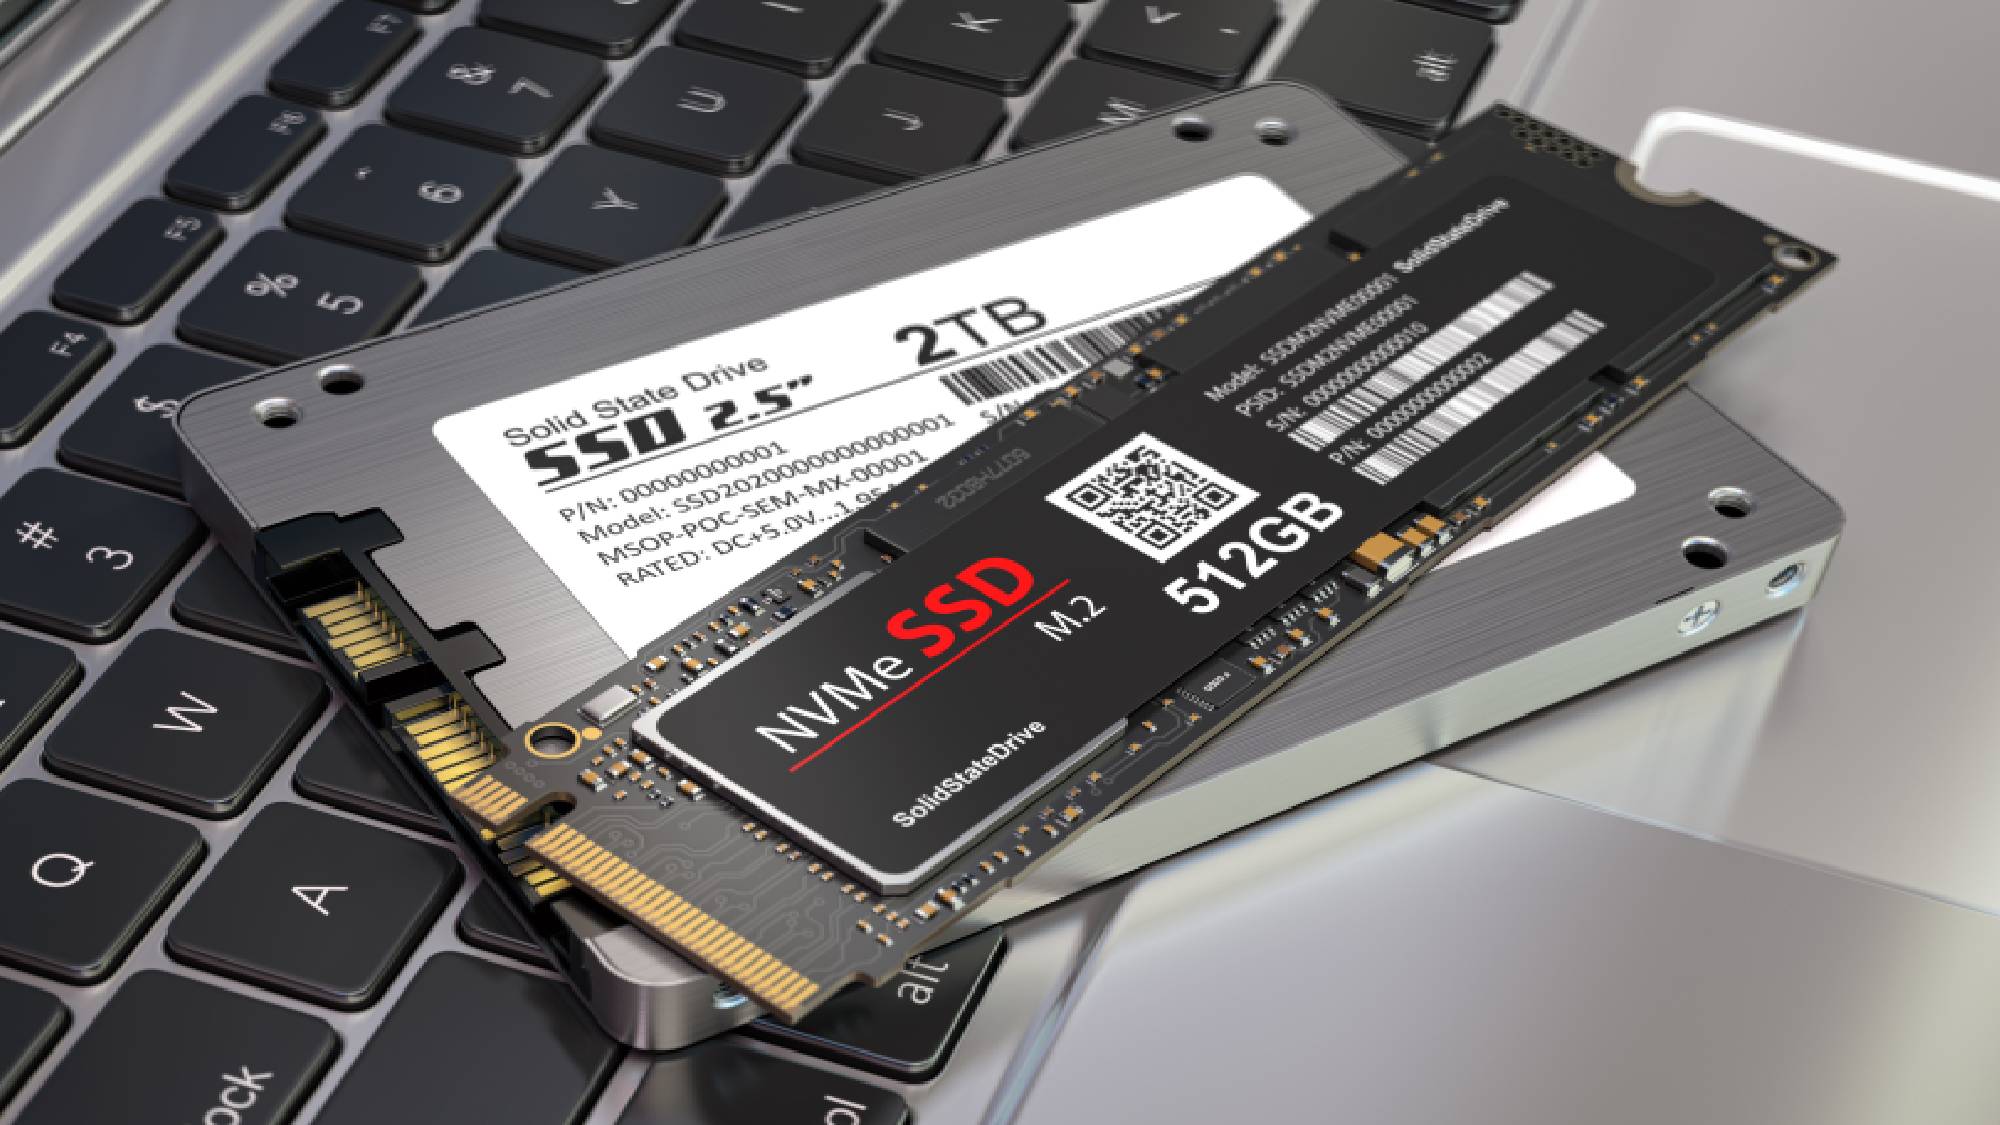
Learning how to convert MBR to GPT partition on Windows 11 will keep your computer better organized.
A GPT partition (GUID Partition Table) is superior to an MBR partition because it allows for 128 partitions and supports partitions much larger than 2 TB (with each partition supporting up to 18.8 million TB of space). The MBR partition (Master Boot Record), on the other hand, can only manage four partitions with a size limit of 2 TB per partition.
With a GPT partition, your computer will have secure data recovery, improved organization, and excellent compatibility with computers that have UEFI firmware.
In this guide, we'll walk you through the exact steps to convert your disk structure from MBR to GPT. For more on partitioning, check out how to create a drive partition in Windows.
How to convert MBR to GPT partition on Windows 11
Note: Before you convert an MBR partition to GPT, backup your data for safety. You can learn here how to make an image backup in Windows 11.
1. Open Disk Management and confirm partition style
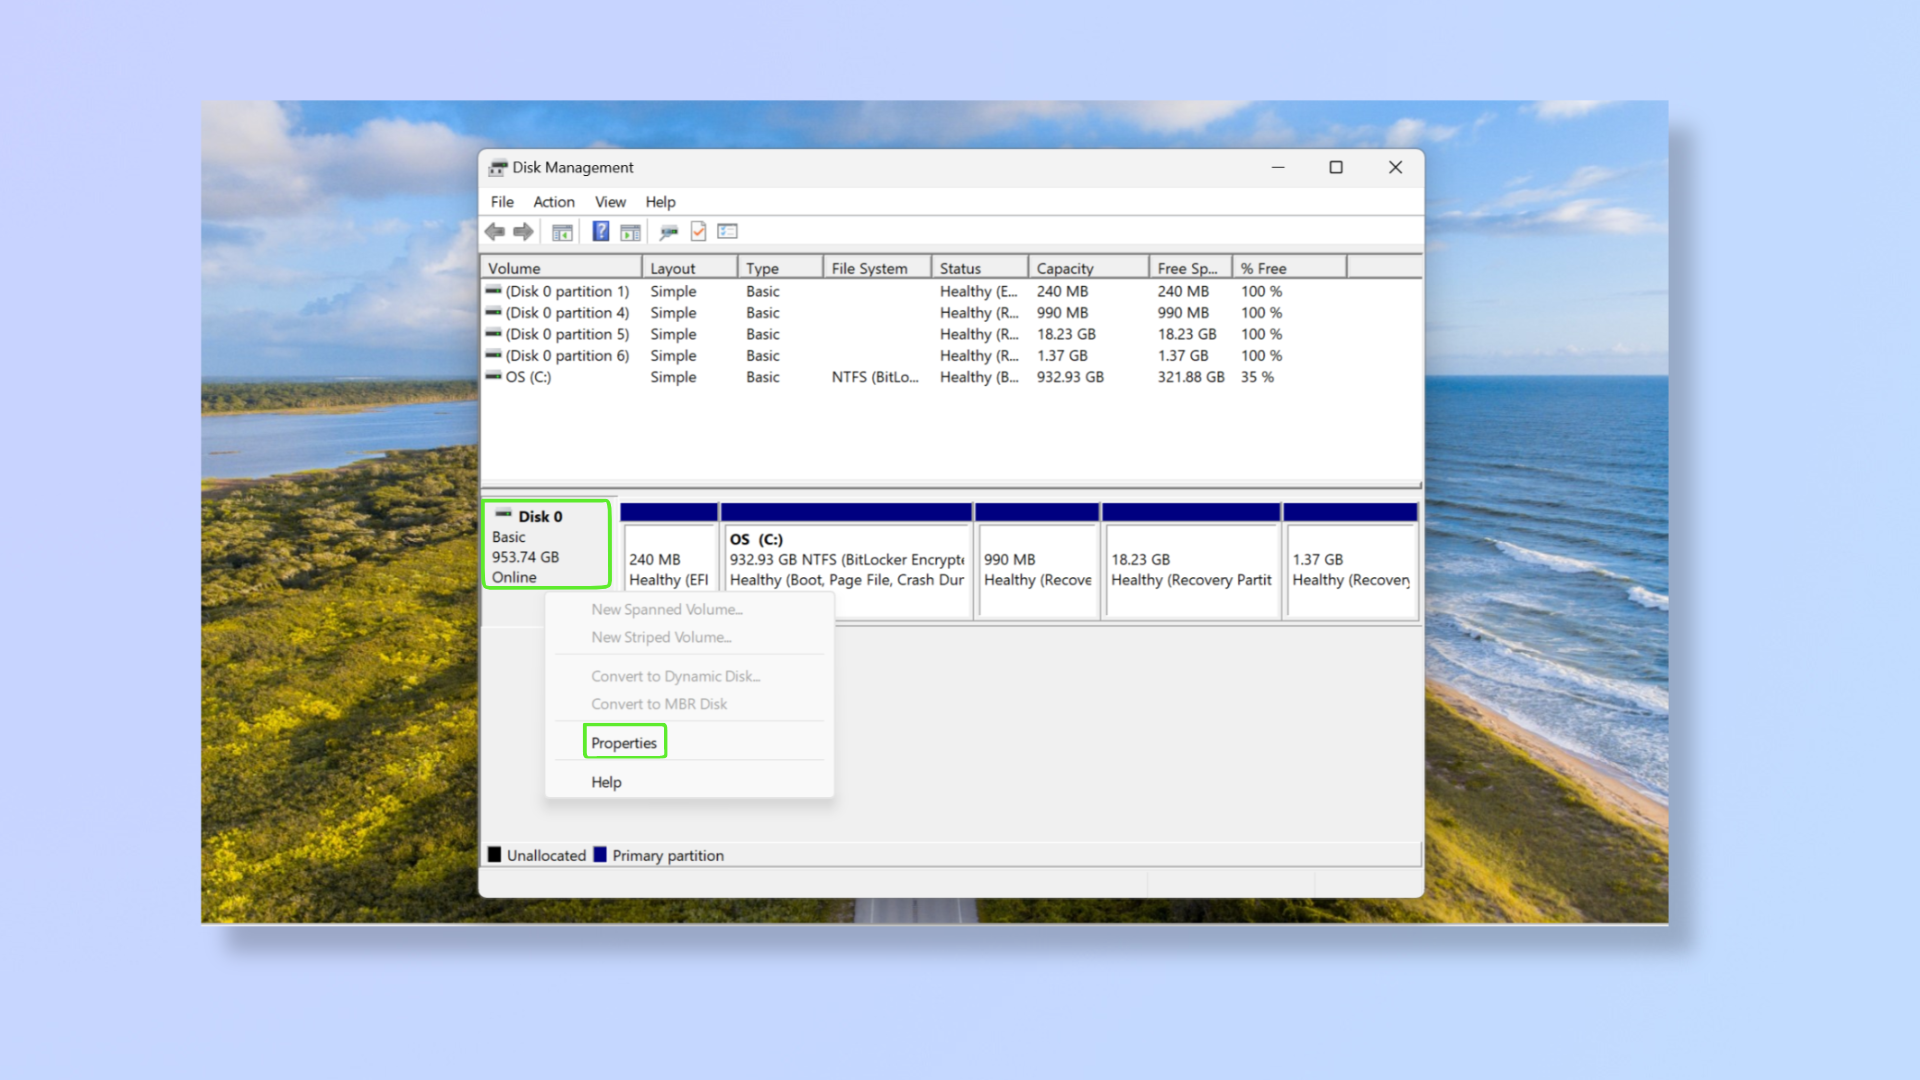
Press Windows + X to bring up the Quick Link menu and click Disk Management. In the bottom-half of the window, right-click the disk you want to convert and click Properties. Click the Volumes tab and check the Partition style.
If the Partition style is GUID Partition Table (GPT), there’s no need for conversion. If it says Master Boot Record (MBR), follow the steps below.
2. Go to Run and open diskpart
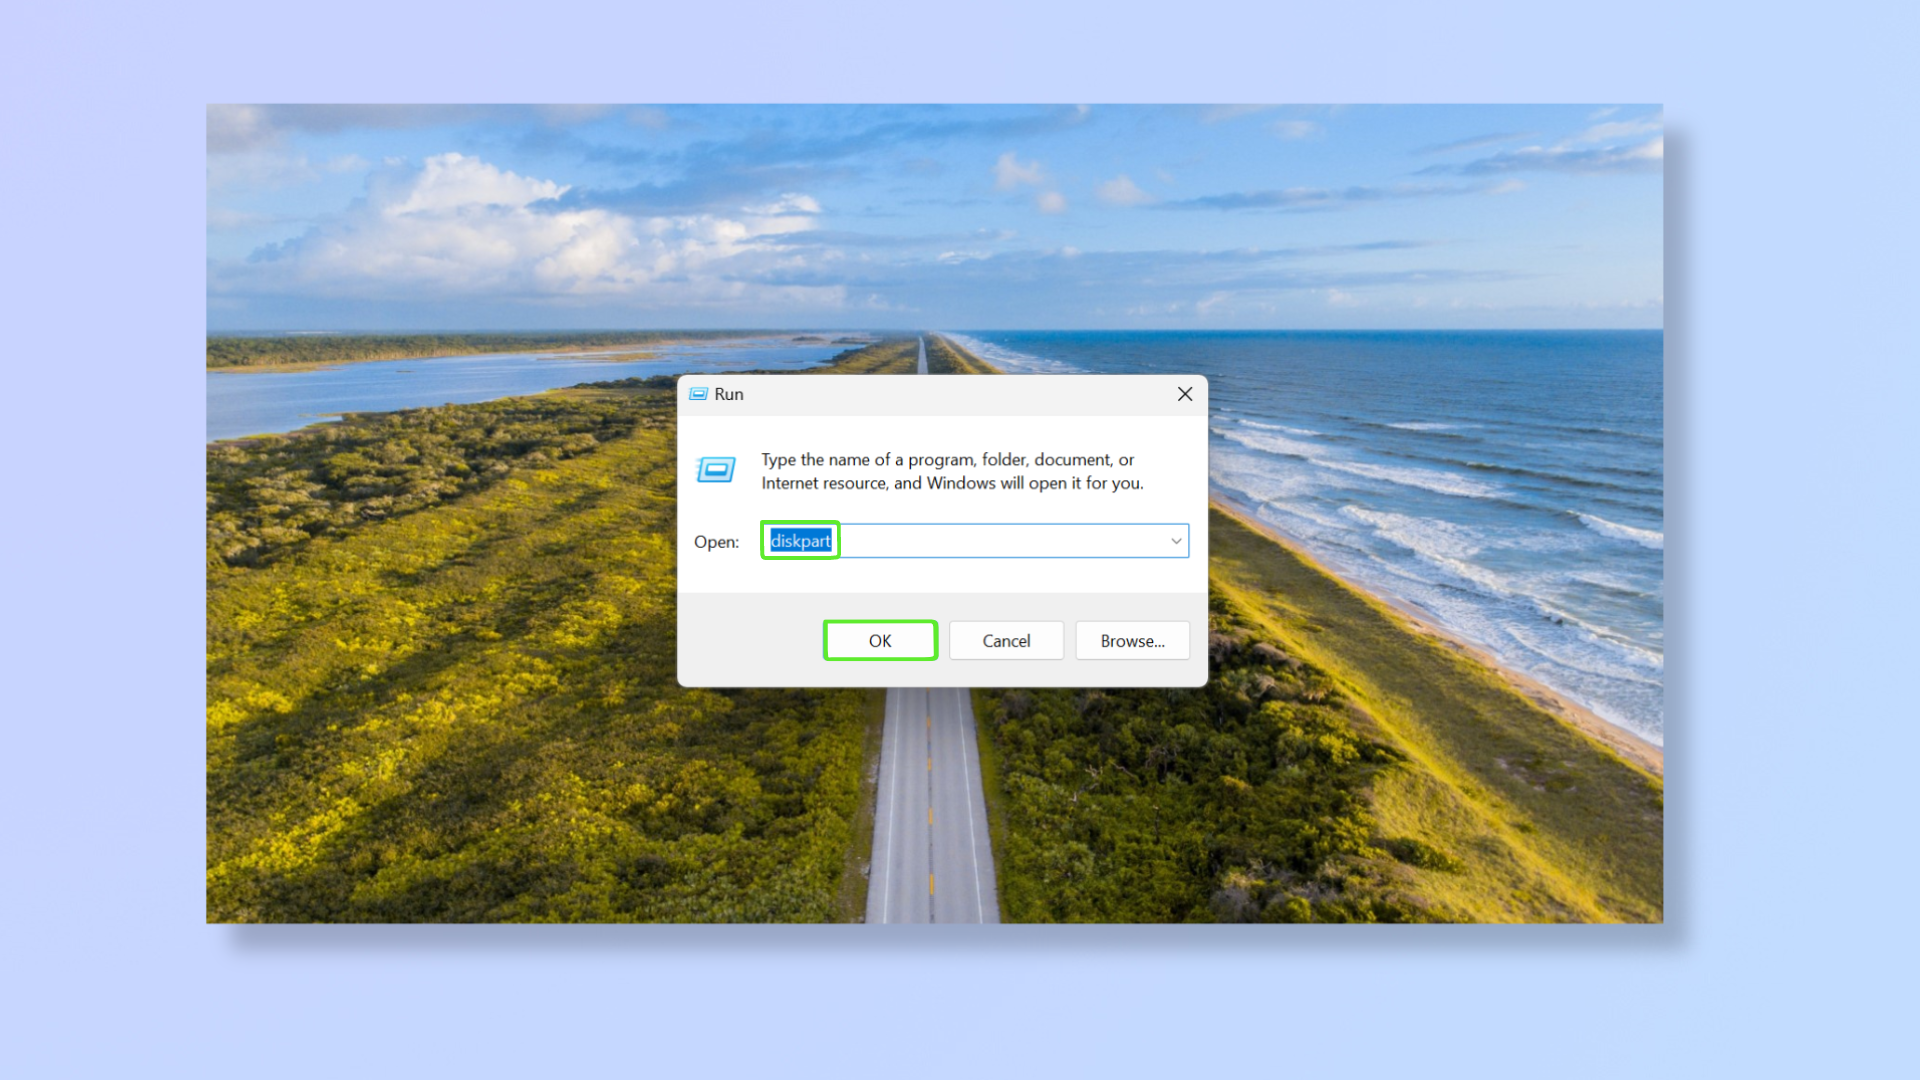
Hit Windows + R to open the Run menu, then type diskpart, and press enter or click OK.
3. Locate disk and enter "convert GPT"
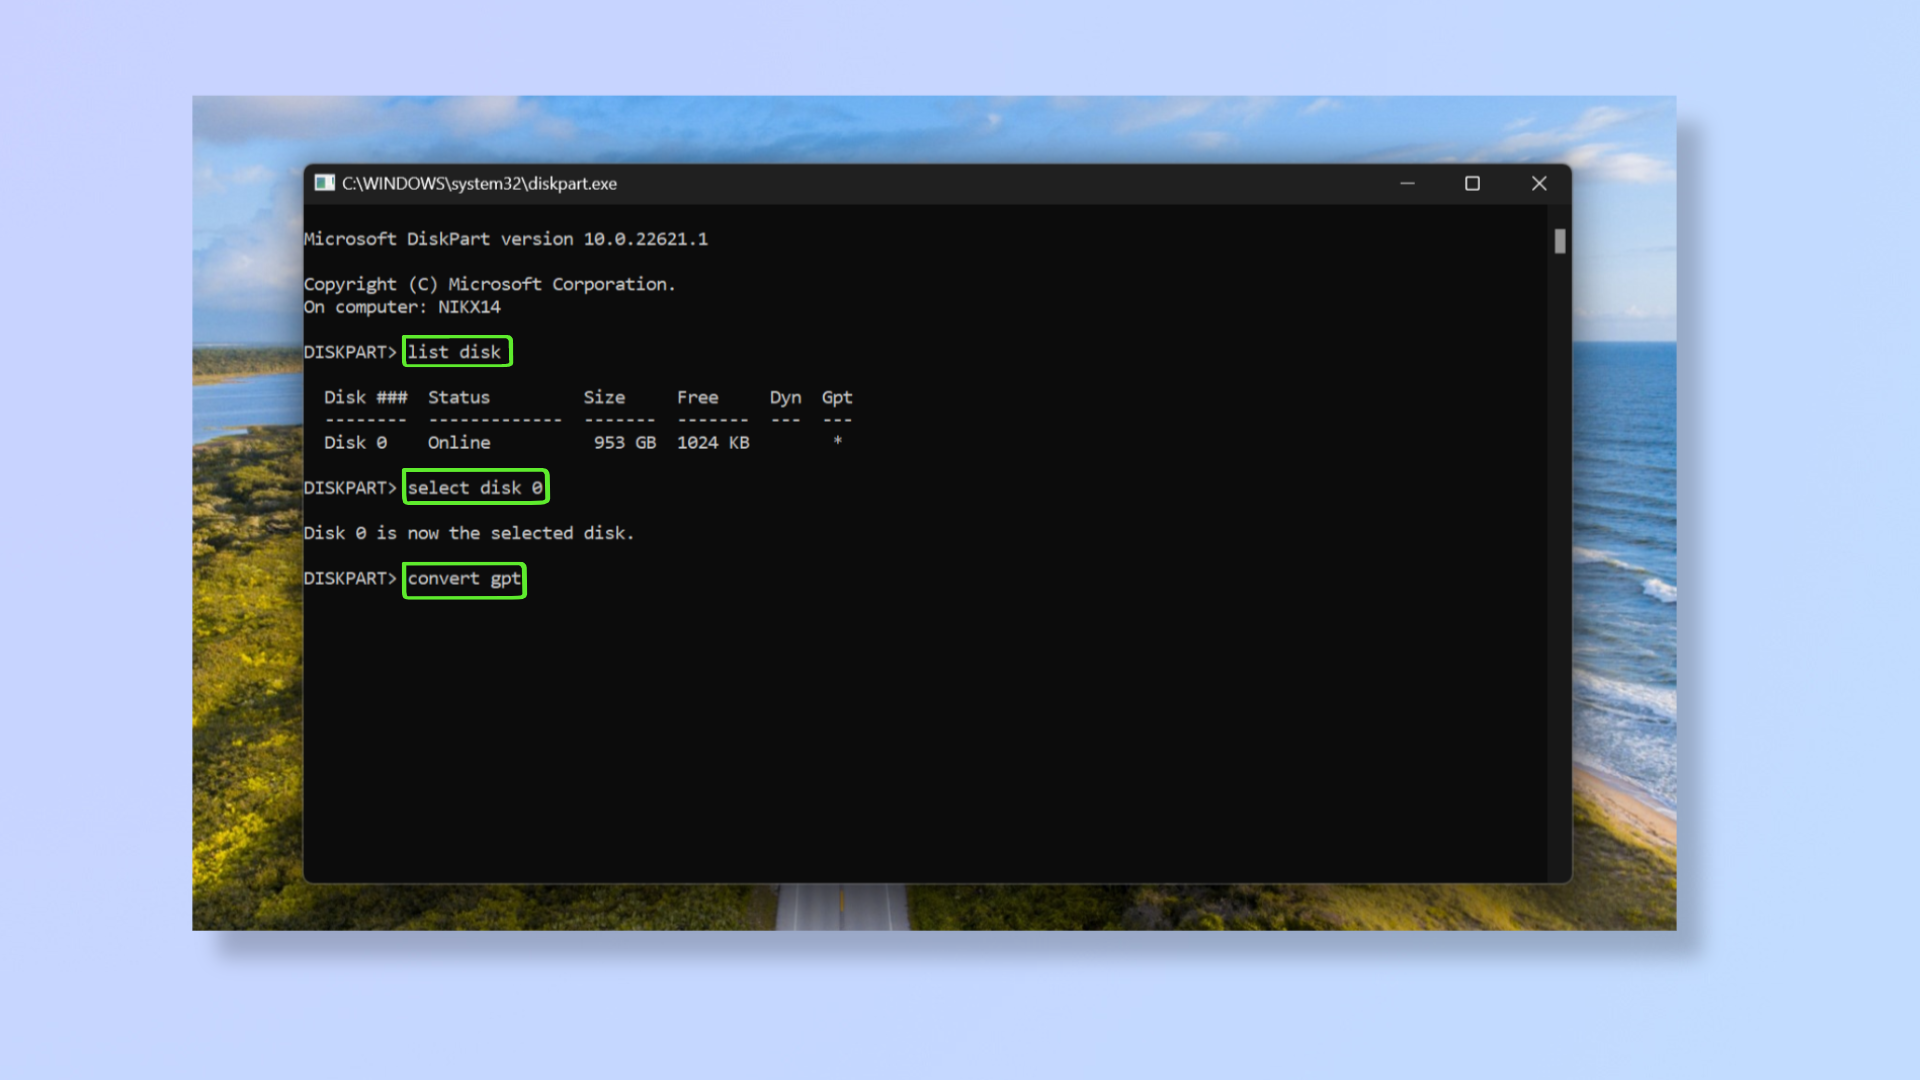
Type "list disk" in the Command Prompt menu and press enter. You’ll now find all the connected disks on your computer.
Press Windows + X to open the Quick Link menu and click Disk Management. Confirm the number of the disk you want to convert to GPT.
Return to the Command Prompt and type "select disk [X]" (replace X with the disk letter you want to convert). You’ll get a prompt that the disk has been selected.
Type convert gpt and hit enter. The conversion may take time to complete depending on the disk size.
Once done, head to the Disk Management menu to check the properties of the disk you converted and verify its Partition style, which should now read GUID Partition Table (GPT).
Now that you’ve successfully converted to GPT partition, your computer will be more secure, orderly, and efficient. For more on Windows 11, read our guides on how to find your computer's specs on Windows 11, how to speed up Windows 11, and how to use Windows 11 PowerToys Peek.
Get instant access to breaking news, the hottest reviews, great deals and helpful tips.

Nikshep Myle is a freelance writer covering tech, health, and wellbeing. He has written for popular tech blogs like TechRadar, GadgetReview, SlashGear, and Creative Bloq, and has extensively reviewed consumer gadgets. When he’s not writing, you’ll find him meditating, gaming, discovering new music, and indulging in adventurous and creative pursuits.
 Club Benefits


