How to carve a turkey for Christmas
Here’s how to carve a turkey the easy way
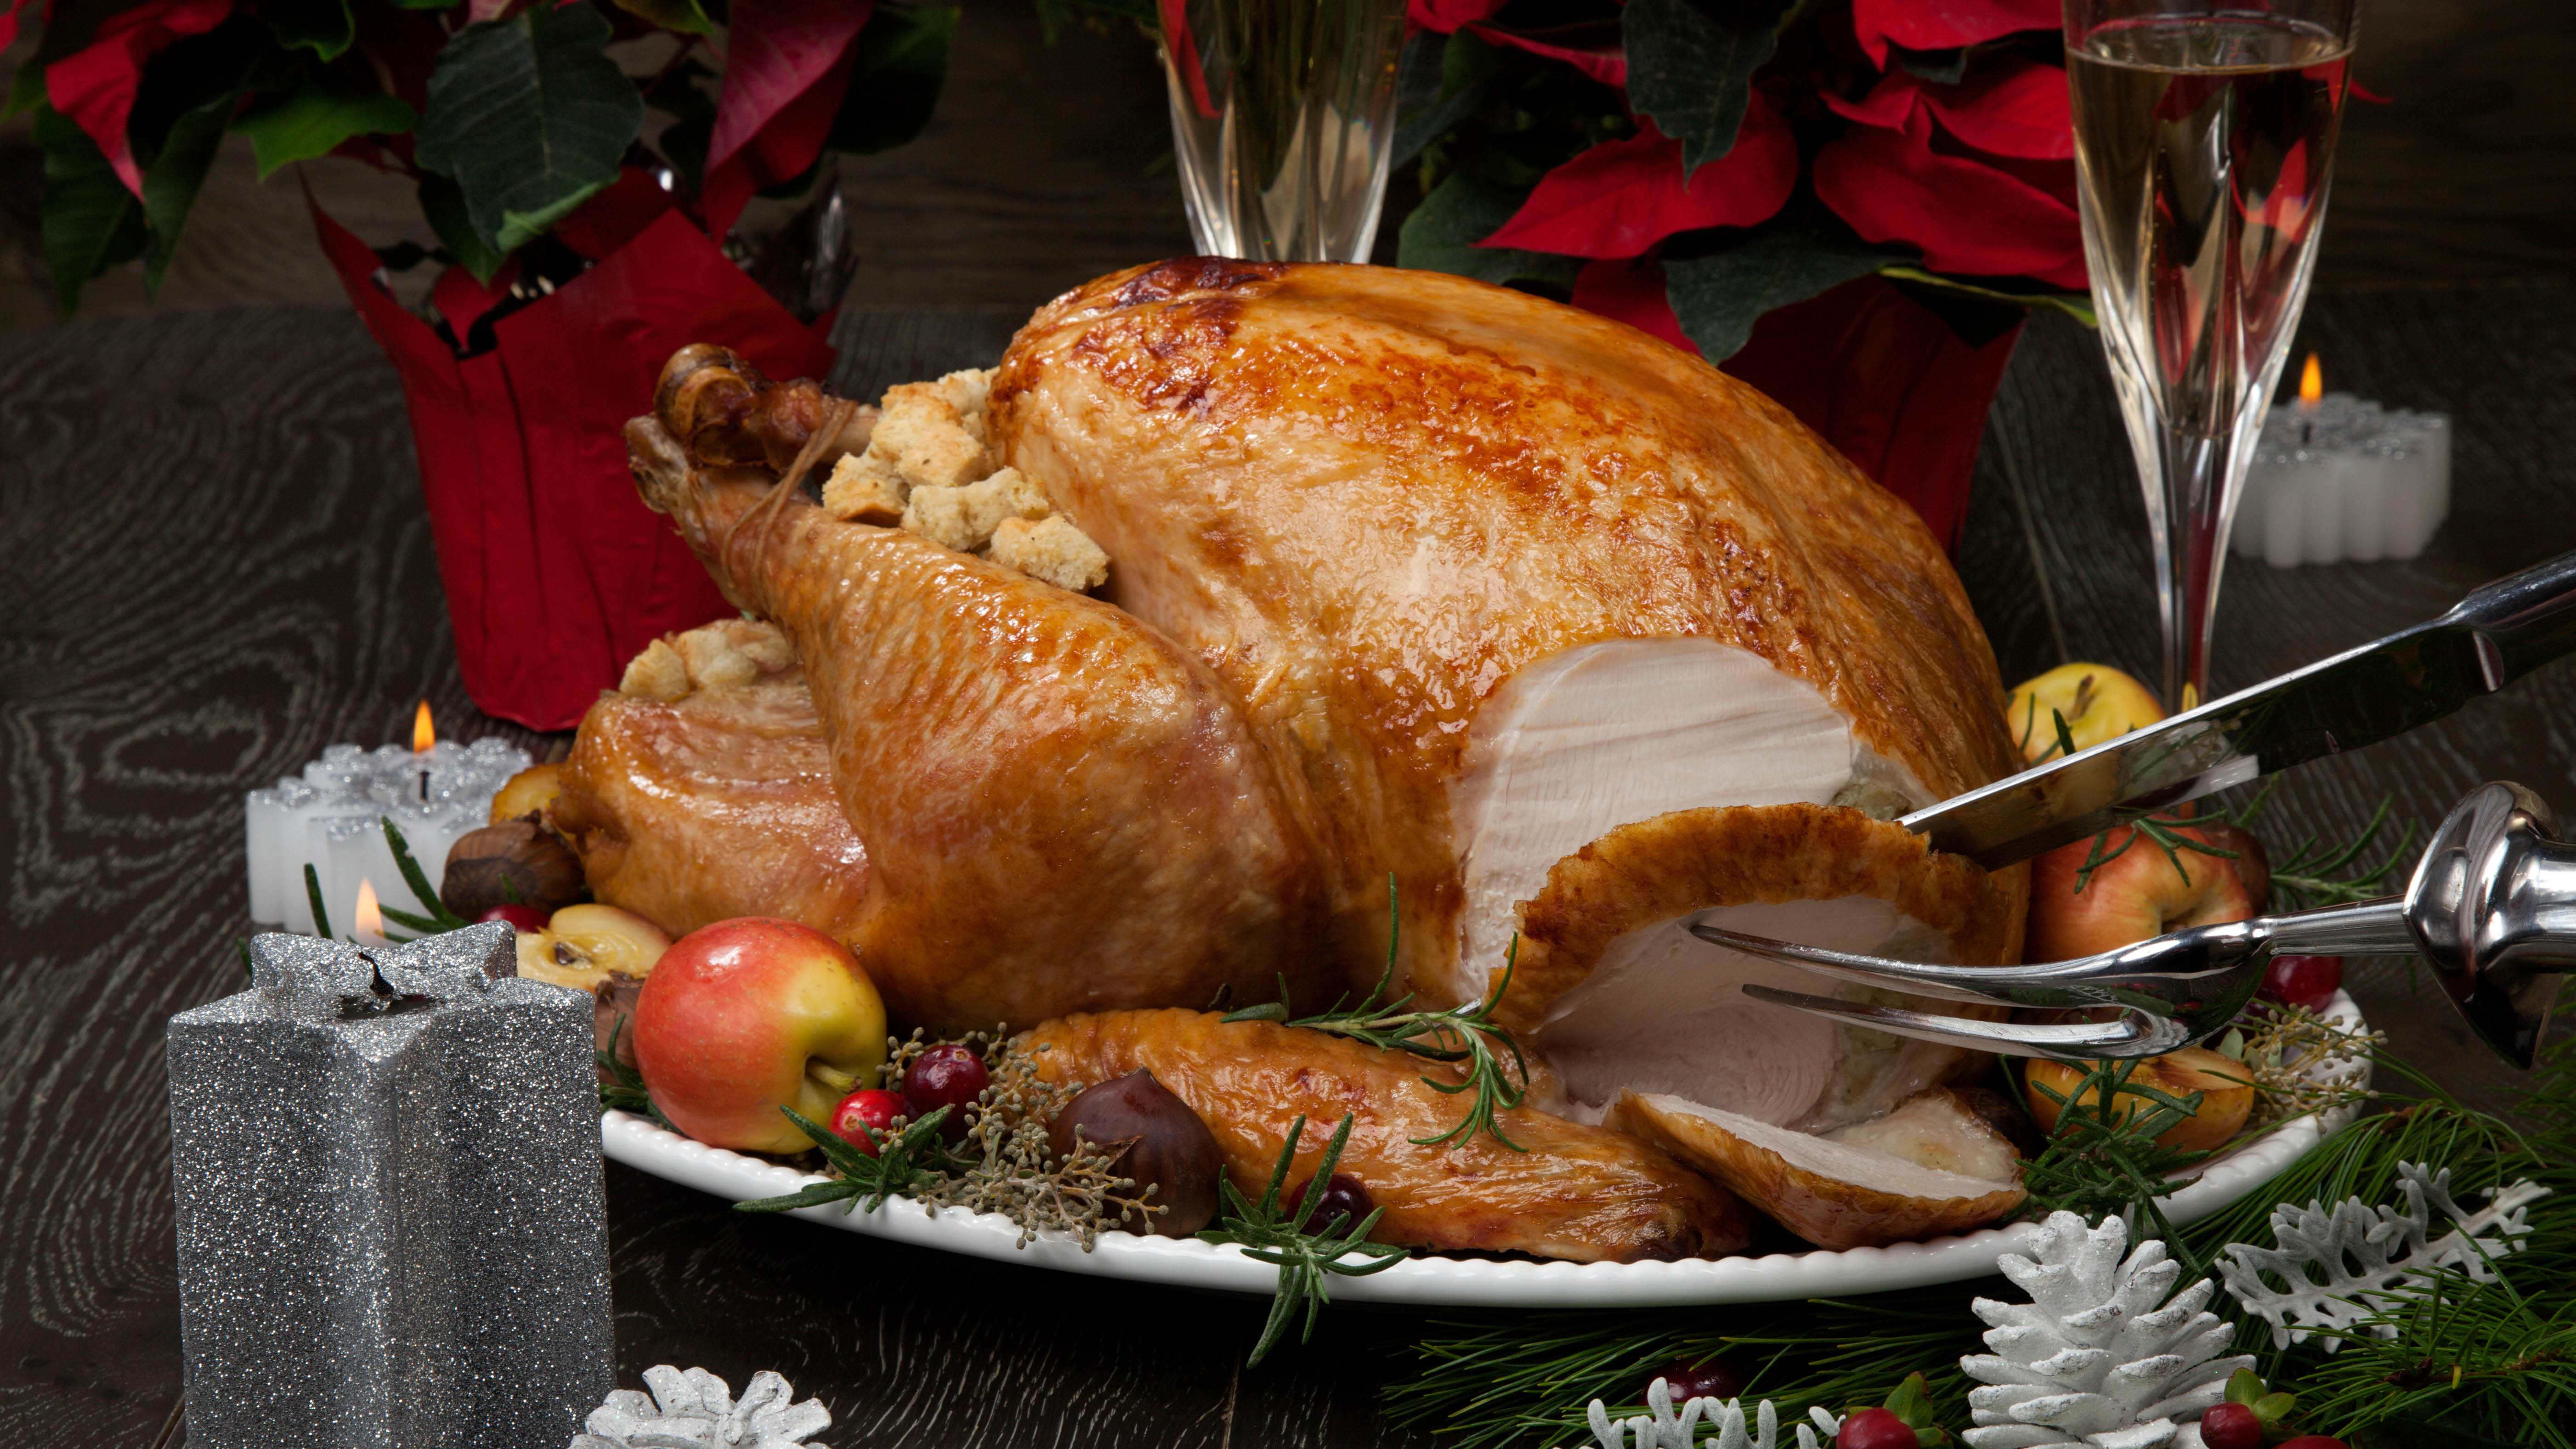
If it’s your first time serving up Christmas dinner, you’re no doubt wondering how to carve a turkey the right way. While we can put all of our energy into roasting and seasoning this bird, it’s of little consequence if you make a mess of it when dishing it out — even if you’ve used one of the best turkey fryers. And the last thing you want is all eyes on you as you try to work out where to start.
But, fear not, carving a turkey is more simple than you’d think. And once you’ve got the method down, the whole task is quick to do and much less stressful on the whole. Here, we will take you through exactly what you need to do step-by-step to carve a turkey like a professional. Follow our advice, and you can ensure you’re using the best tools to get the most meat out of your turkey this Christmas. Here’s how to carve a turkey.
Make sure you’ve got one of the best meat thermometers to hand if you’re cooking a turkey this Christmas. And if you're worried about what's to come, here are 10 tips to make this year's Christmas dinner less stressful.
How to carve a turkey
Large-sized cutting board, preferably with ridges to catch the juices
Sharp chef's knife or slicing knife
Serving tongs or fork
Serving platter
Paper towels
1. First thing’s first, leave the turkey to rest for about 30 minutes before placing the turkey on one of the best cutting boards. Resting will allow the juices to redistribute within the meat, making it a more delicious turkey, and keeping all those juices from spilling out.
Once you’ve set up your carving area, remove the trussing string tying the legs together using the tip of your chef's knife. A chef’s knife is ideal but a slicing knife will work just fine. If your blade is dull, you’ll need to know how to sharpen a knife to make the job easier. In addition, you can remove the wishbone if needed to make carving easier.
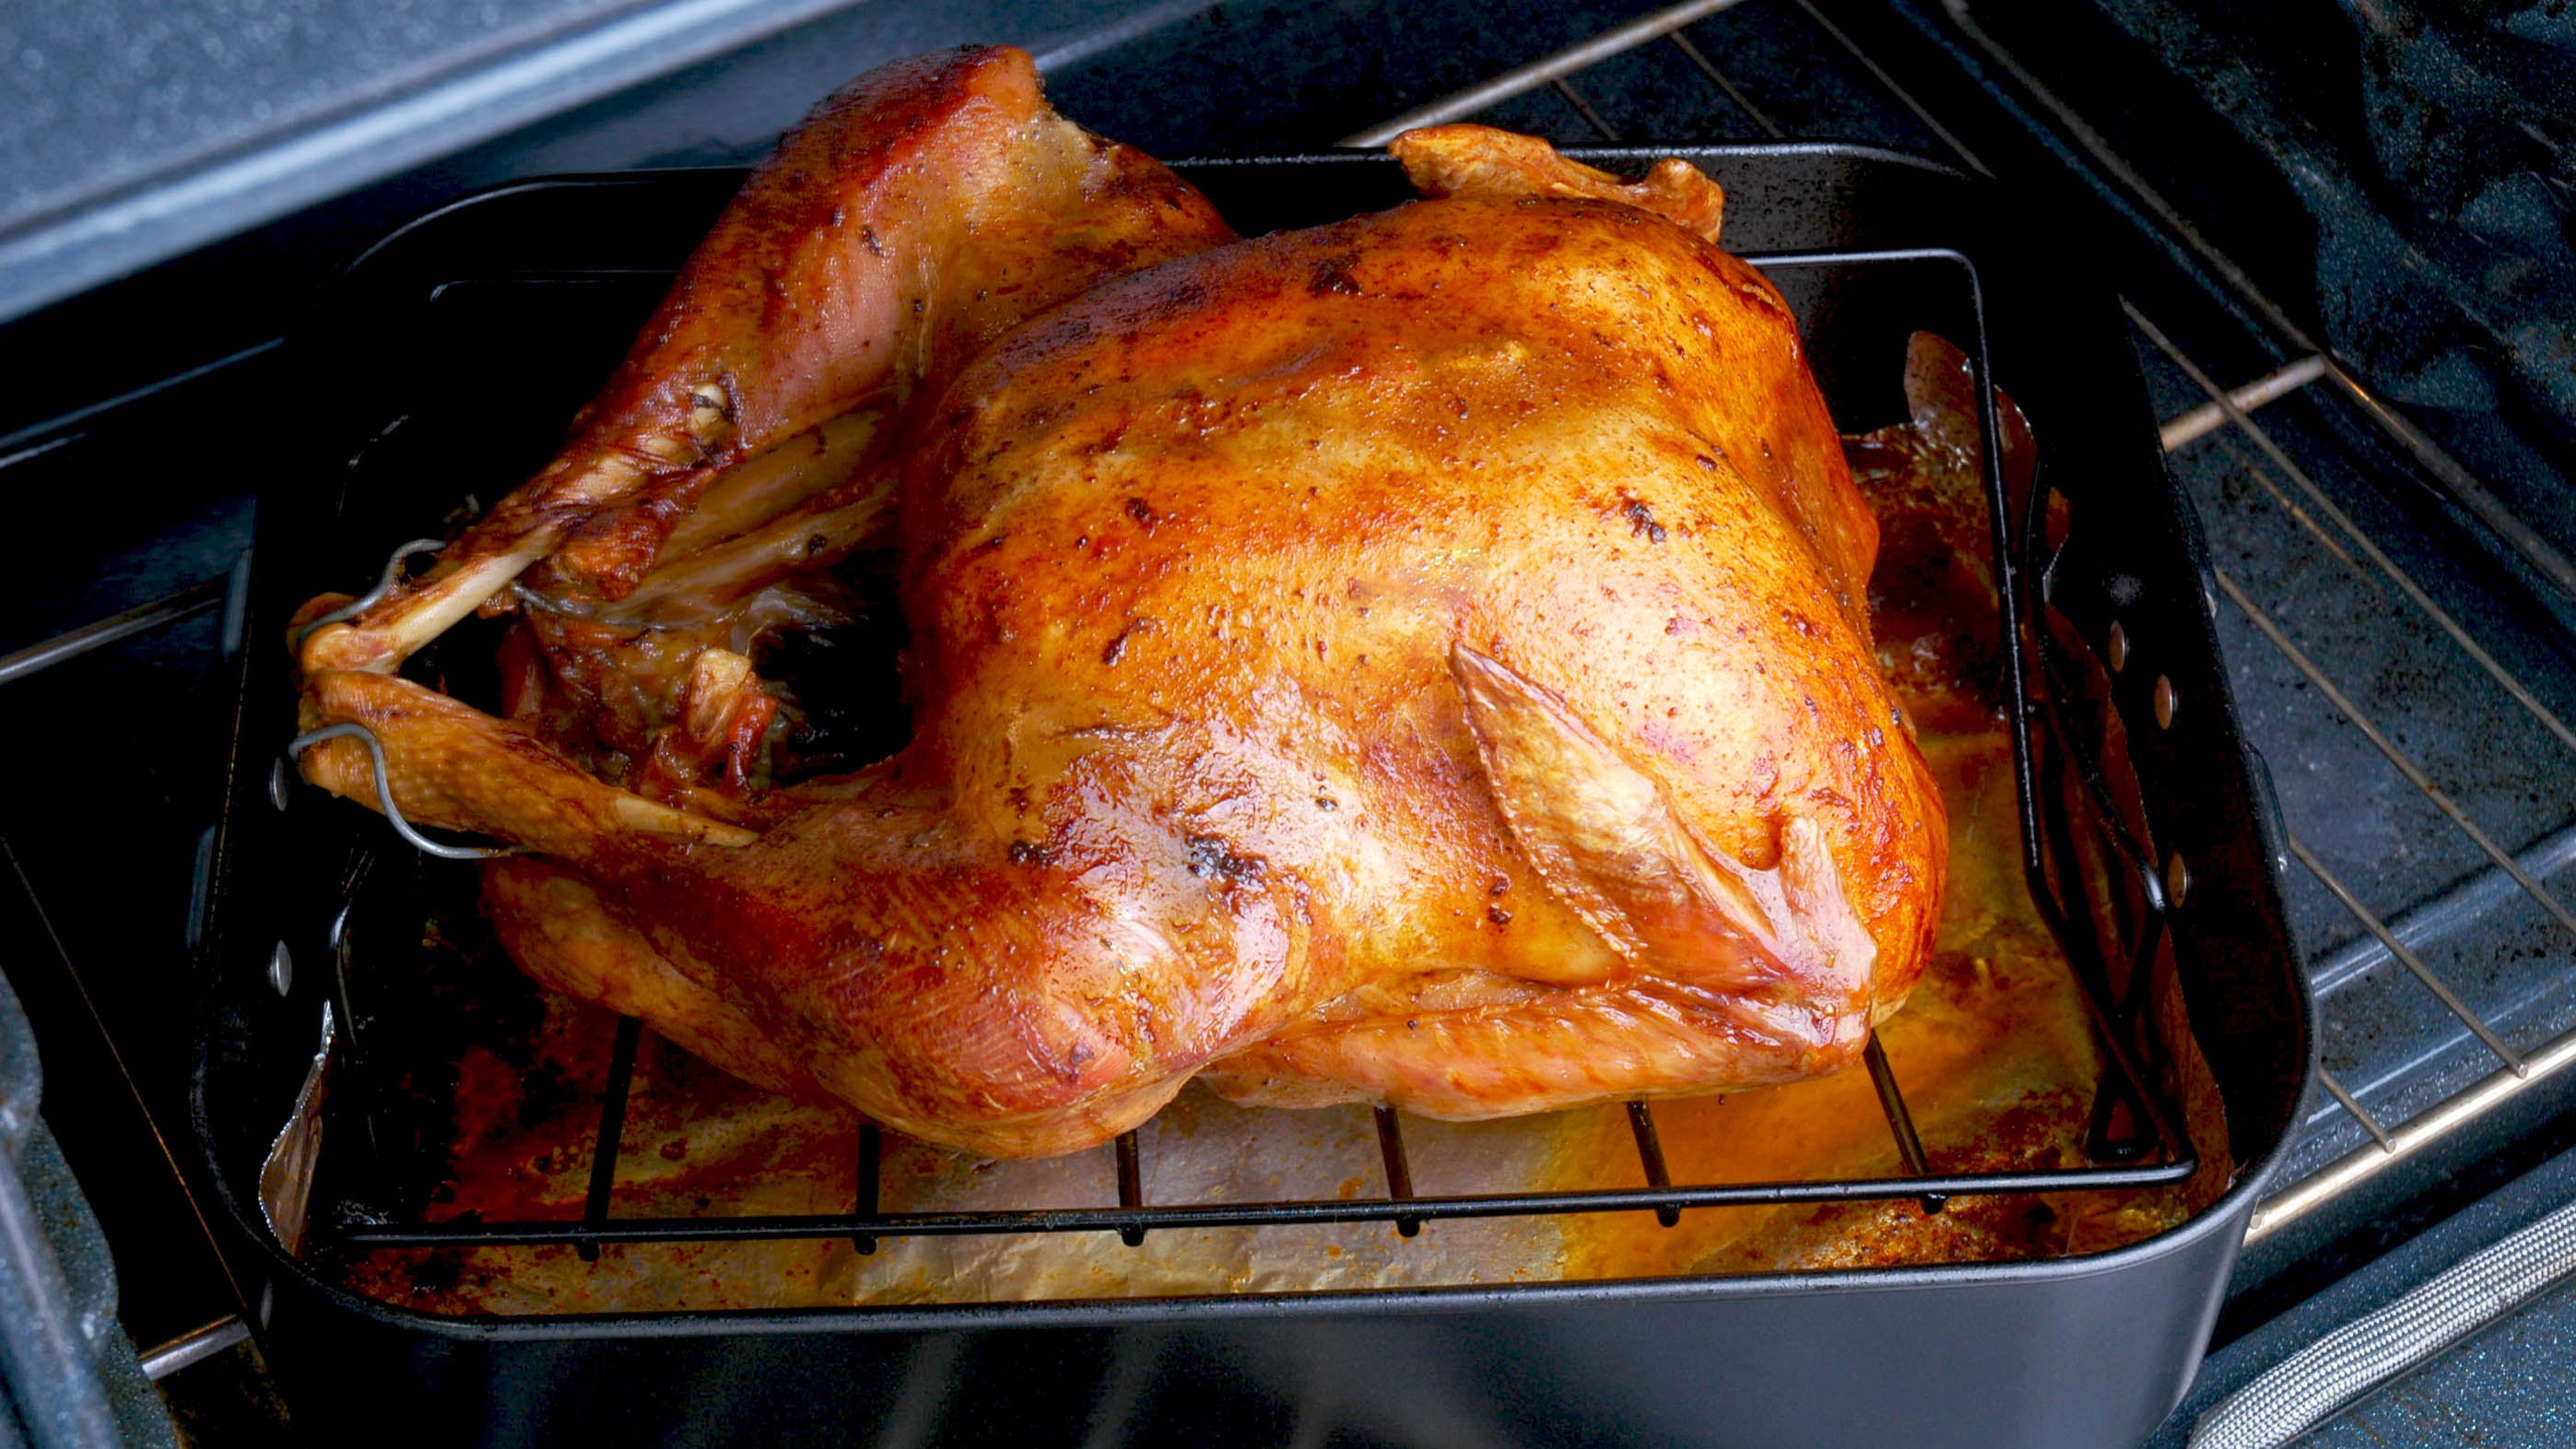
2. Next, remove the legs by cutting through the skin that connects the leg and breast, slicing down until you reach the joint. Bend the thigh outwards, then slice through the joint to remove the leg. (You should be able to clearly see where the leg connects to the body.) Do the same with the other leg. Then, place one leg skin-side up, before cutting through the knee joint. This will separate the thigh and drumstick. The thighs can either be served whole or carved, making it easier for portion sizes. Then you can cut through the shoulder joints to remove the wings.
3. Then, start carving turkey slices from the crown. There are two ways to carve the breast, so you can choose your preference. The classic way is to carve slices from the carcass. For this, you need to make a horizontal cut with your sharp knife below the breast towards the breastbone. Then slice vertical cuts down the breast, using a carving fork to grip the turkey. This will allow the slices to come off easily. You can slice to your preferred thickness from the breast top and down.
Get instant access to breaking news, the hottest reviews, great deals and helpful tips.
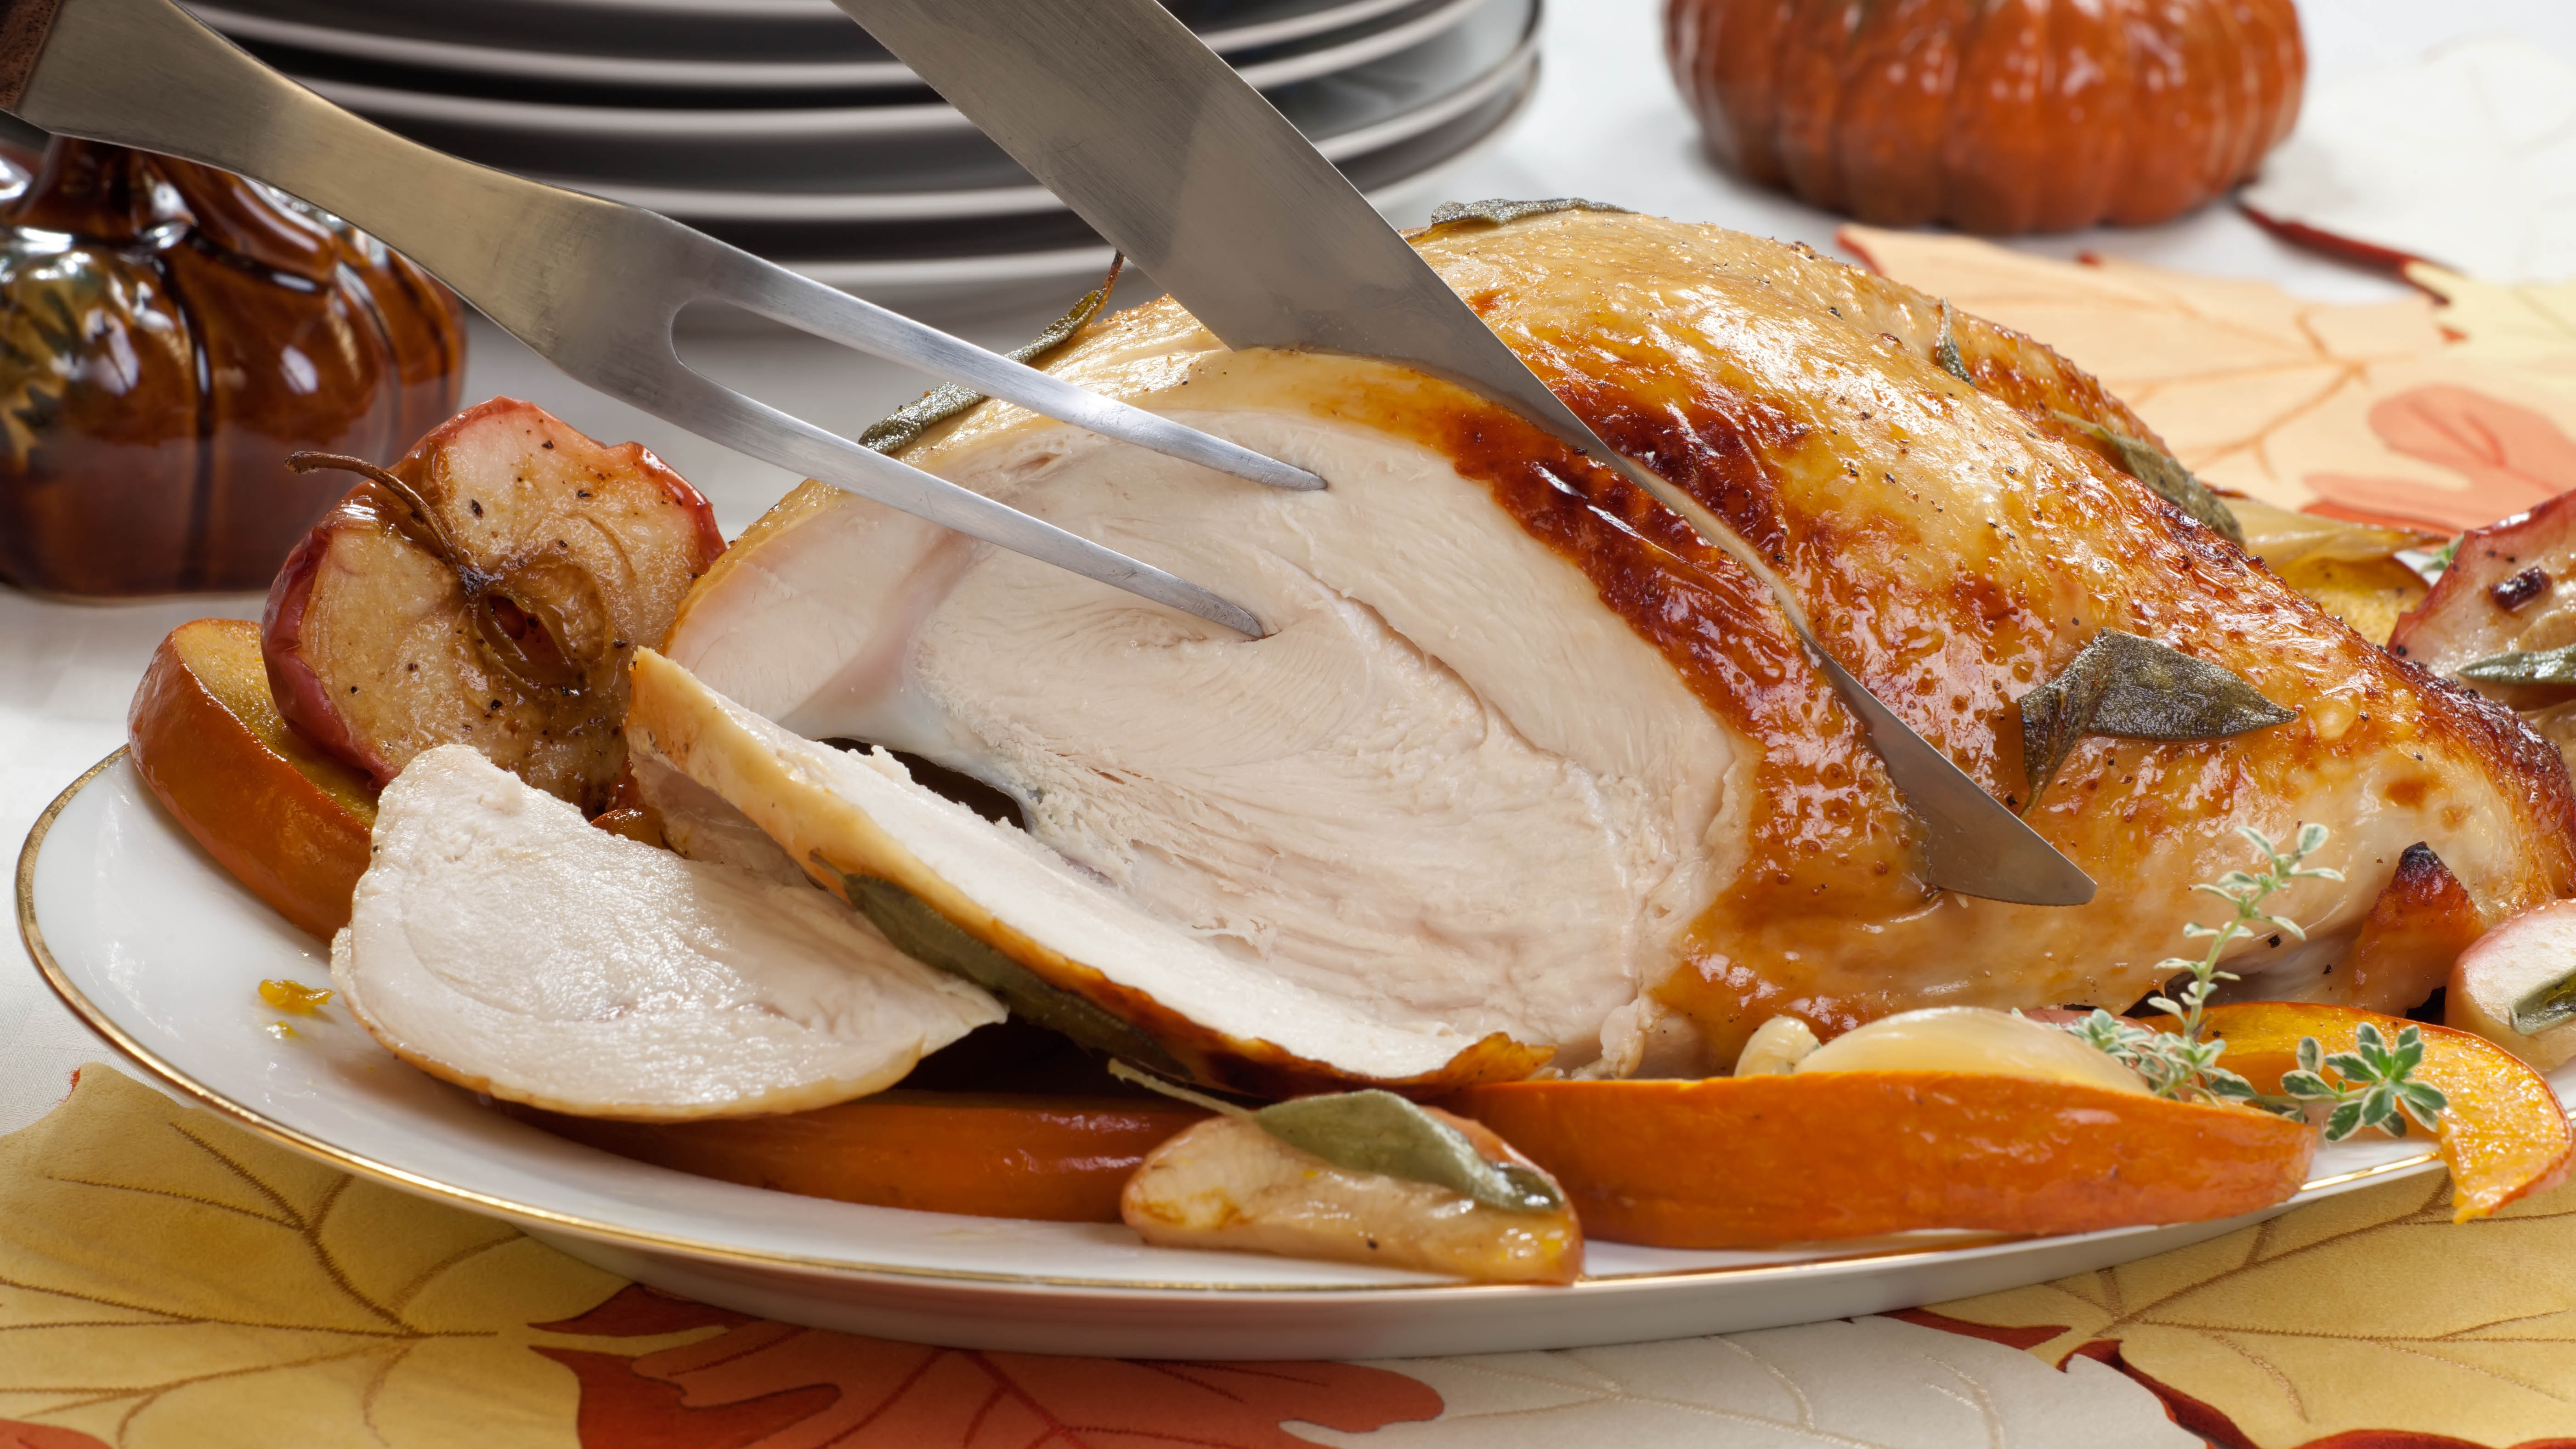
4. The second method is to carve out the turkey breast first. Simply cut a horizontal line beneath the breast before making a long cut down the side of the breastbone. This will remove the whole breast, gently pulling it away as you cut. Once all cut, place skin-side up on a cutting board and make individual slices as needed. Repeat with the other breast.
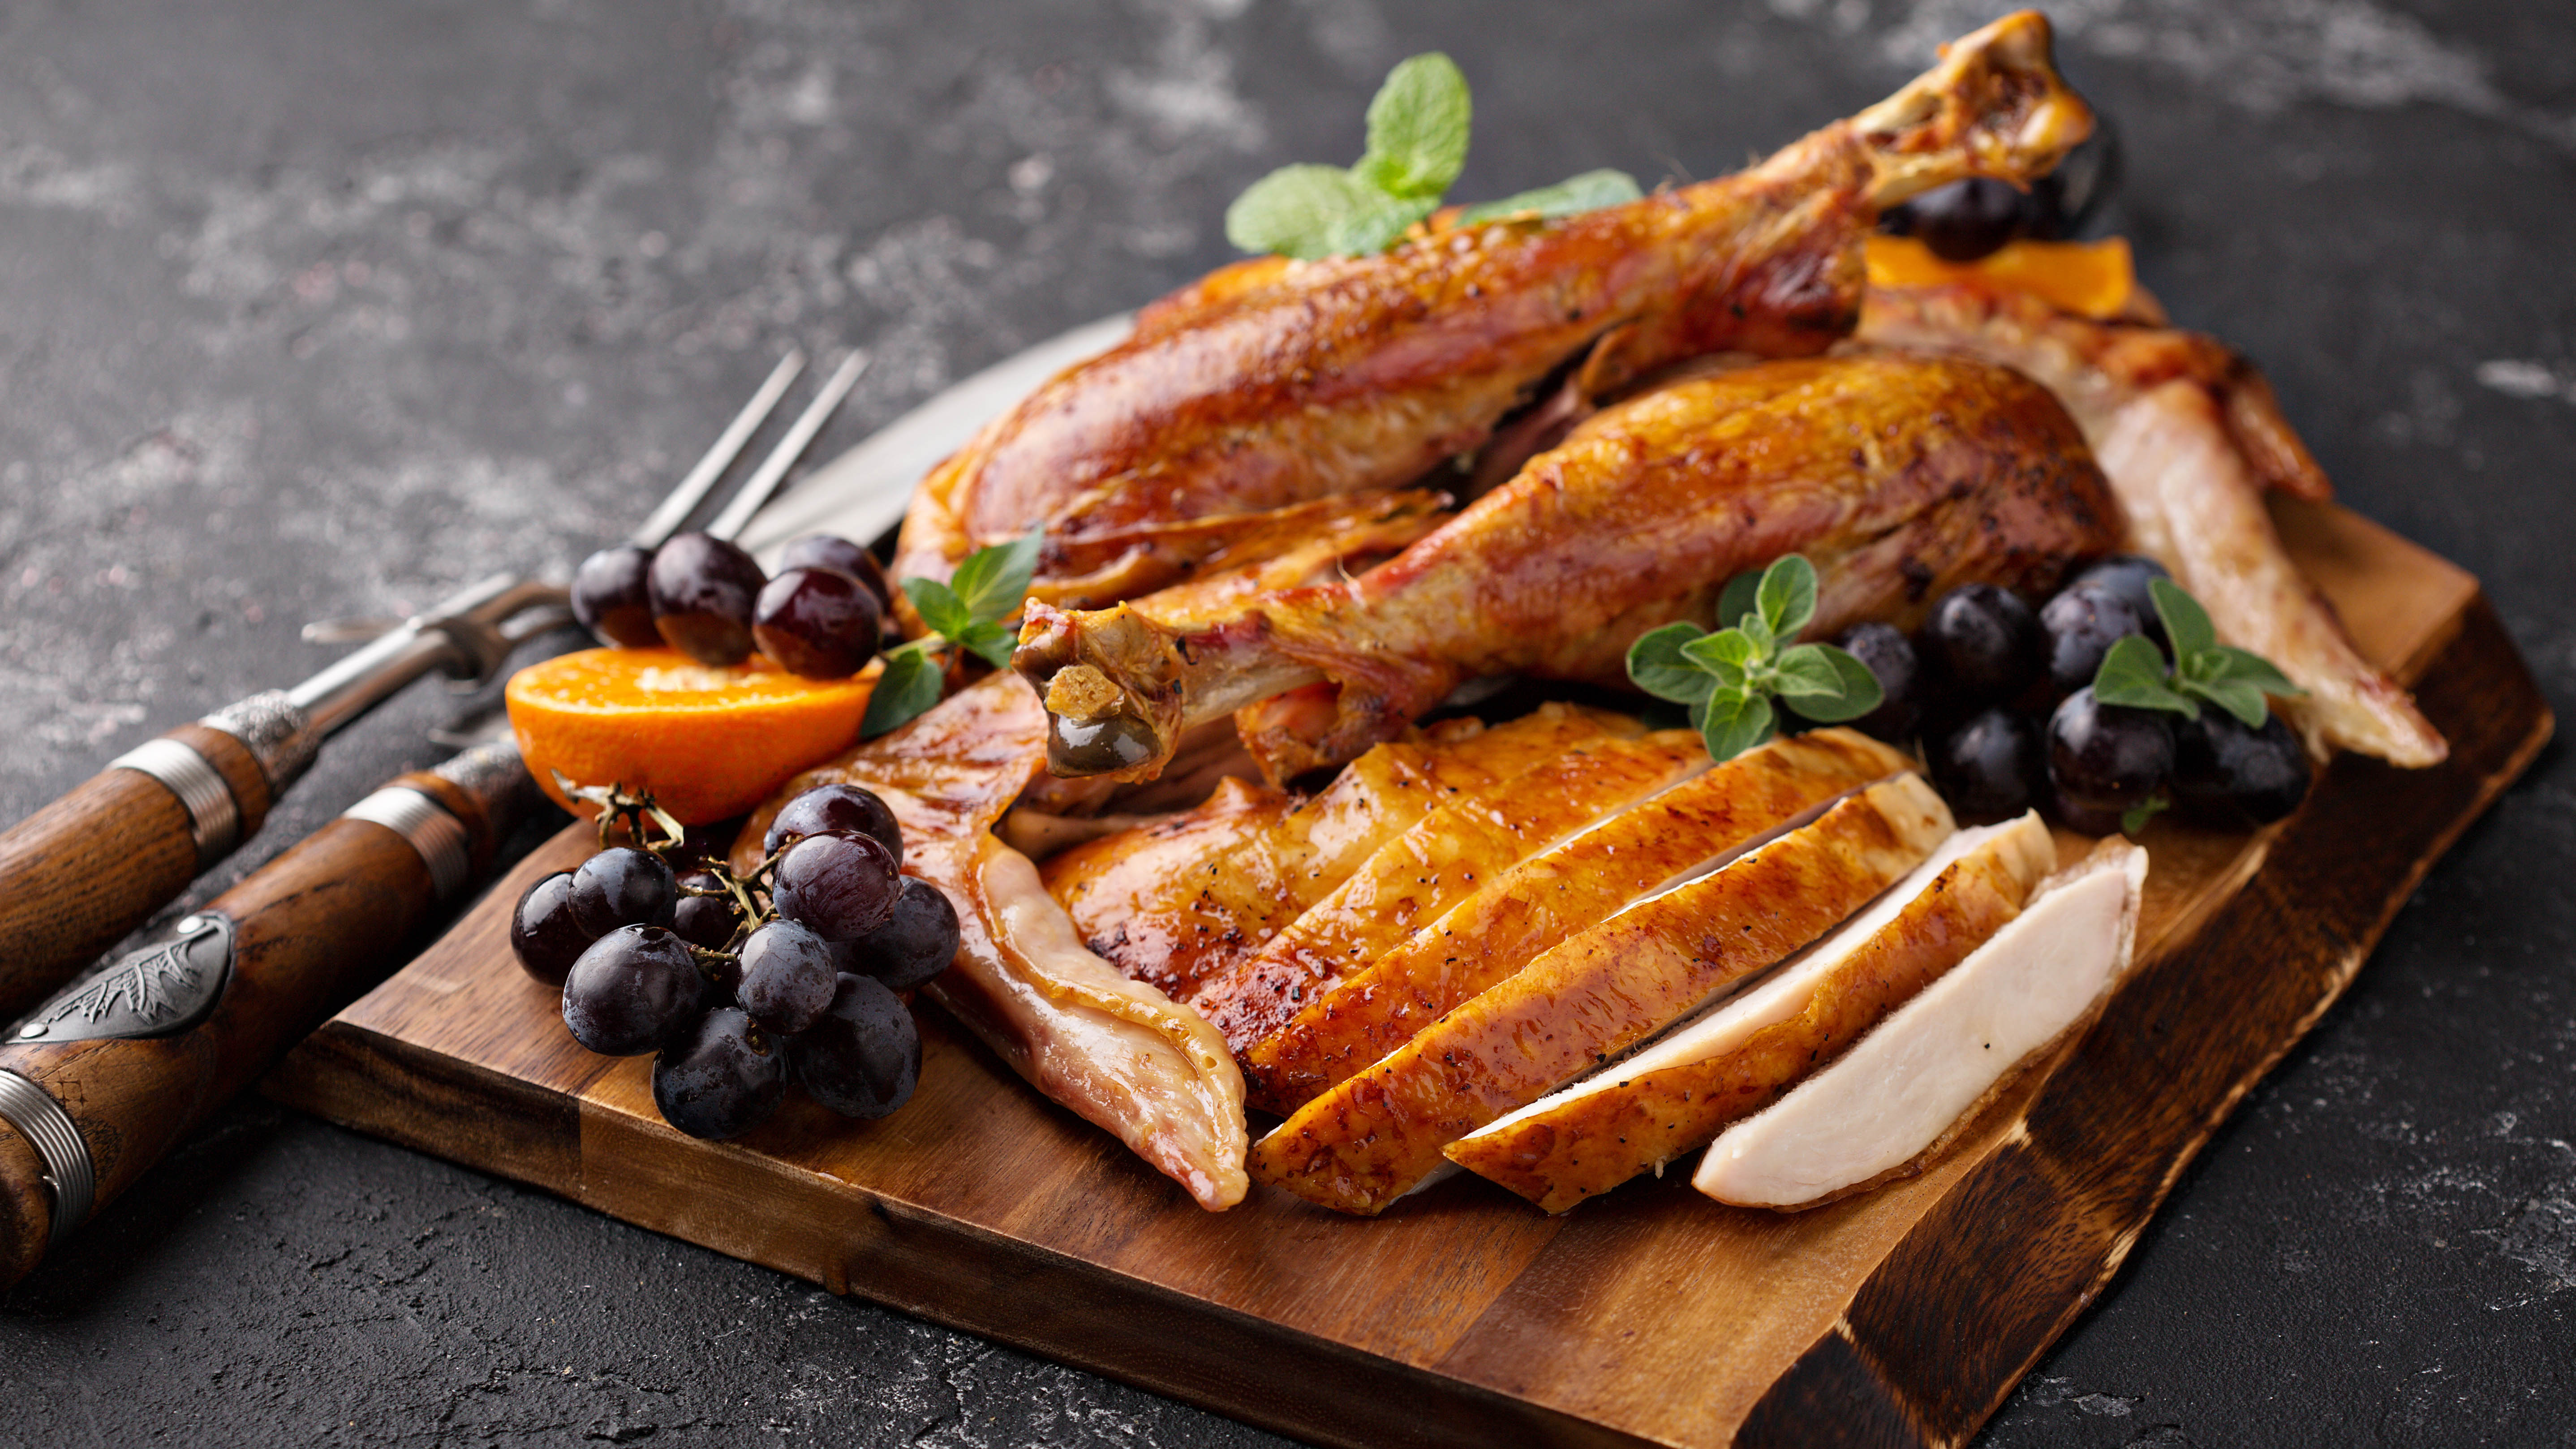
5. Finally, you can arrange turkey pieces onto a warm platter to serve. Use the tongs to transfer and position pieces neatly to a platter. You can garnish your plated turkey with fresh sage, roast potatoes or anything of your choice. Now, your turkey is ready to serve for your delicious feast.
How do you keep a turkey moist after cooking?
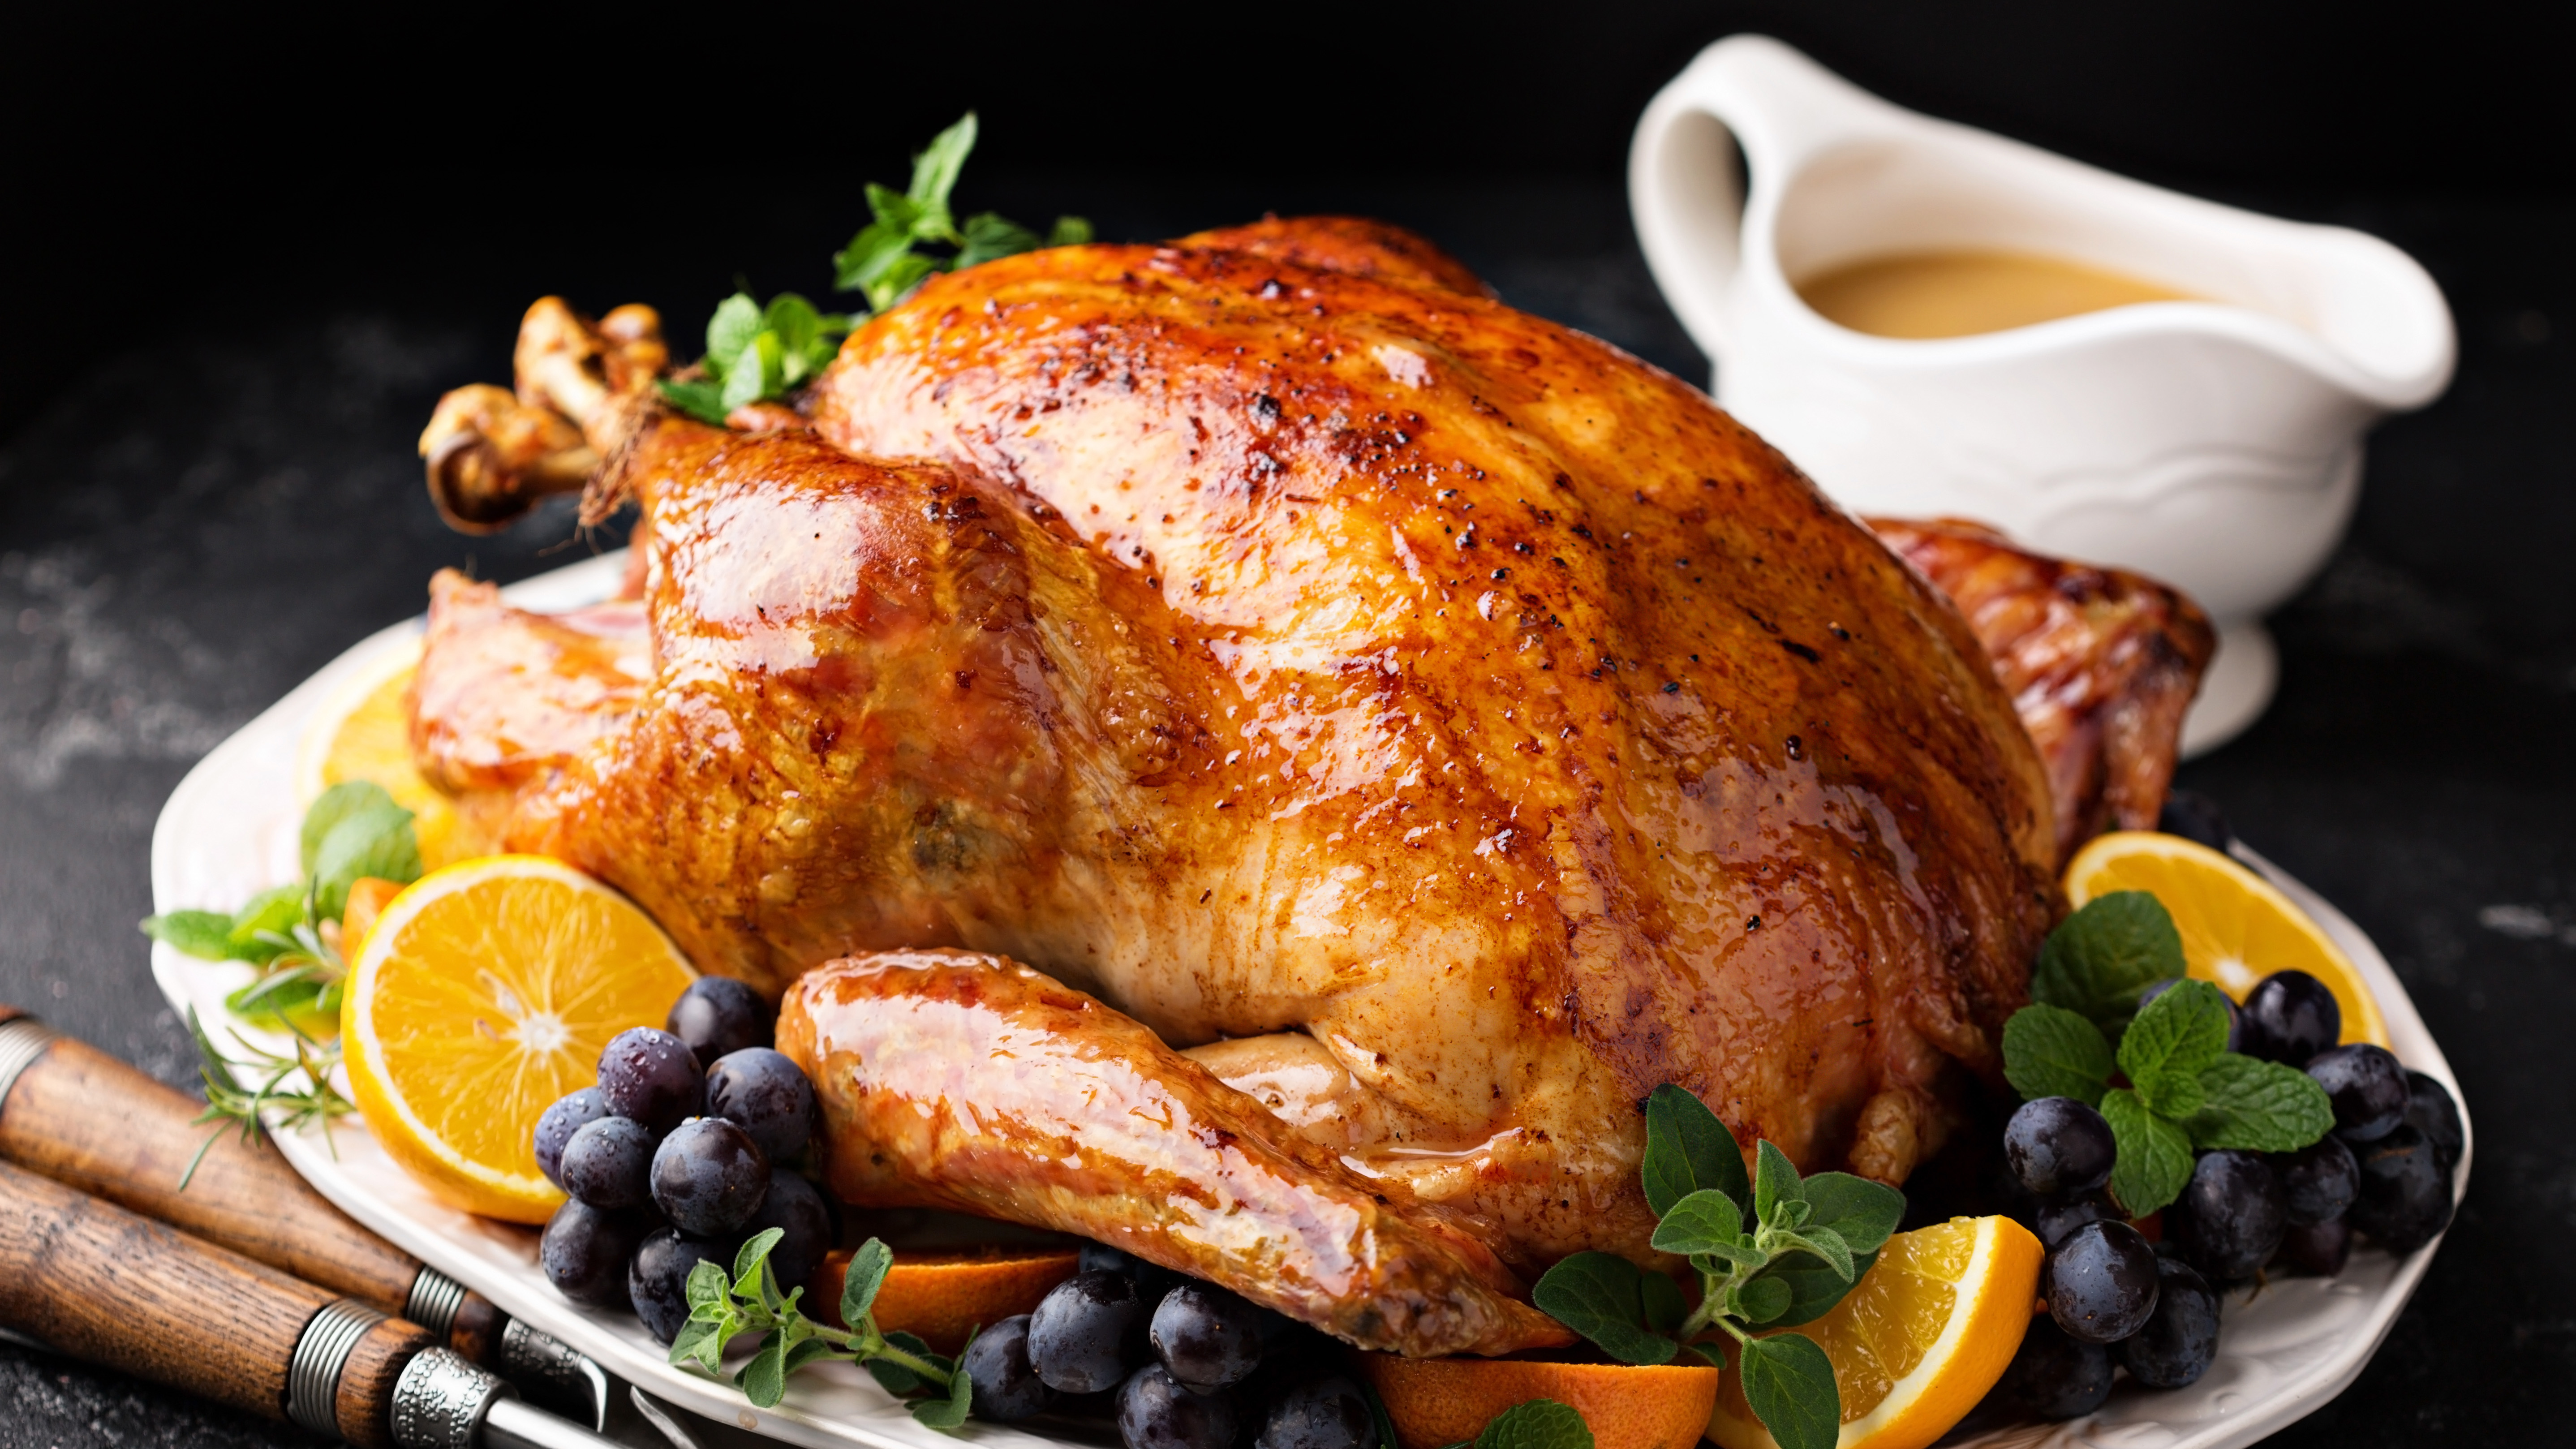
One method to prevent turkey from drying out is to cover it fully with aluminum foil, and place a kitchen towel over the foil. This will help to keep the meat warm and moist for the next serving.
Before you start, you may want to know how to season a turkey to impress your guests, or even how to spatchcock a turkey for crisp results. And if you are using a turkey fryer for the holidays, be sure you know how to use a turkey fryer safely.
Also check out these 10 kitchen gadgets guaranteed to make your holidays less stressful and here's how to wrap a gift the right way this season.

As the Homes Content Editor, Cynthia Lawrence covers all things homes, interior decorating, and garden-related. She has a wealth of editorial experience testing the latest, ‘must-have’ home appliances, writing buying guides and the handy ‘how to’ features.
Her work has been published in various titles including, T3, Top Ten Reviews, Ideal Home, Real Homes, Livingetc. and House Beautiful, amongst many.
With a rather unhealthy obsession for all things homes and interiors, she also has an interior design blog for style inspiration and savvy storage solutions (get rid of that clutter!). When she’s not testing cool products, she’ll be searching online for more decor ideas to spruce up her family home or looking for a great bargain!
- Katie MortramHomes Editor
 Club Benefits


