How to Customize Your Controls in Super Smash Bros. Ultimate
Wondering how to tweak your controller settings in Super Smash Bros. Ultimate? Here's what you need to know.
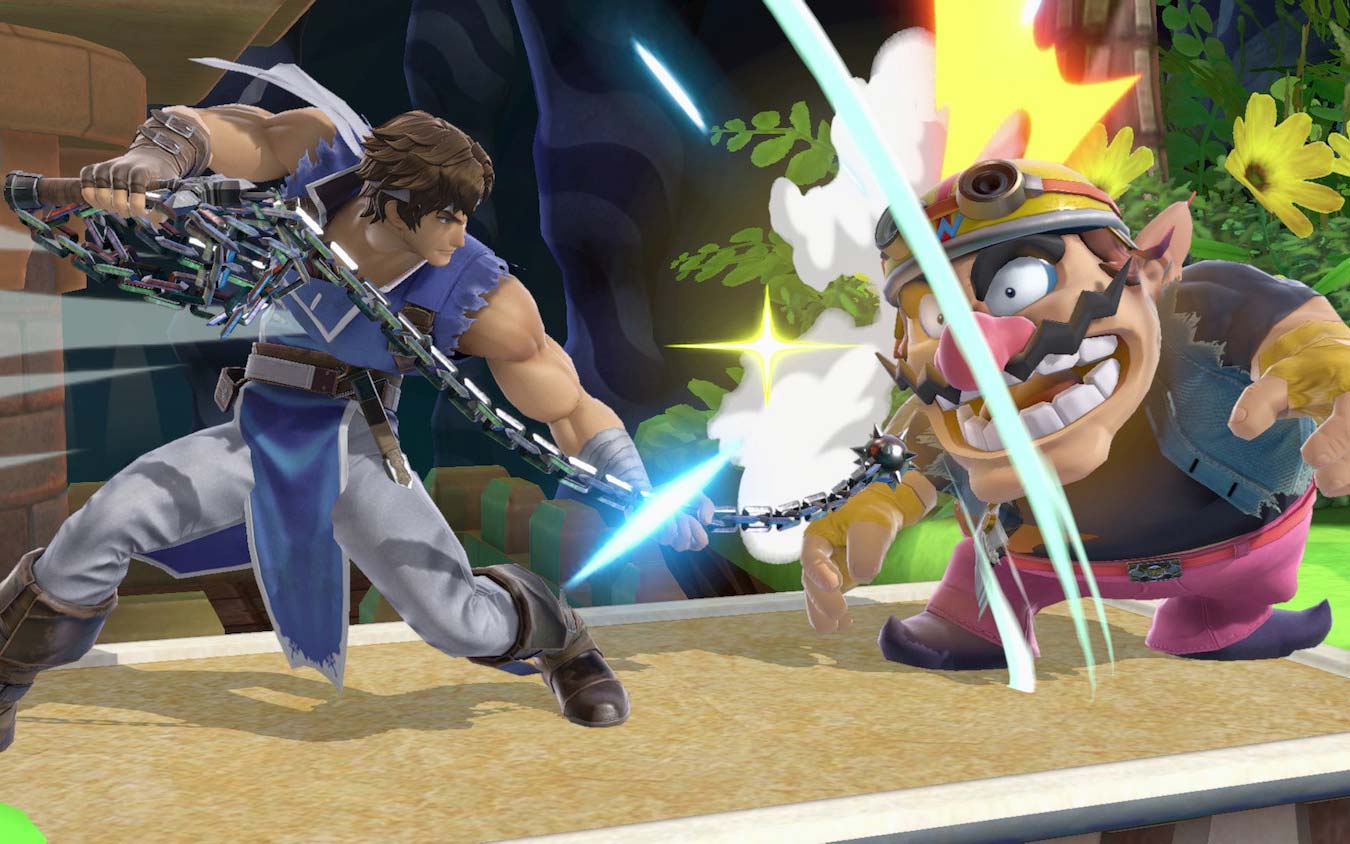
Super Smash Bros. Ultimate gives players a lot of choices in how they play. The massive playable roster, the game's offline and online modes, and the single-player and multiplayer modes all give Smash players a lot to pick from. But you may have overlooked one of the most important choices Smash Ultimate provides: controller customization.
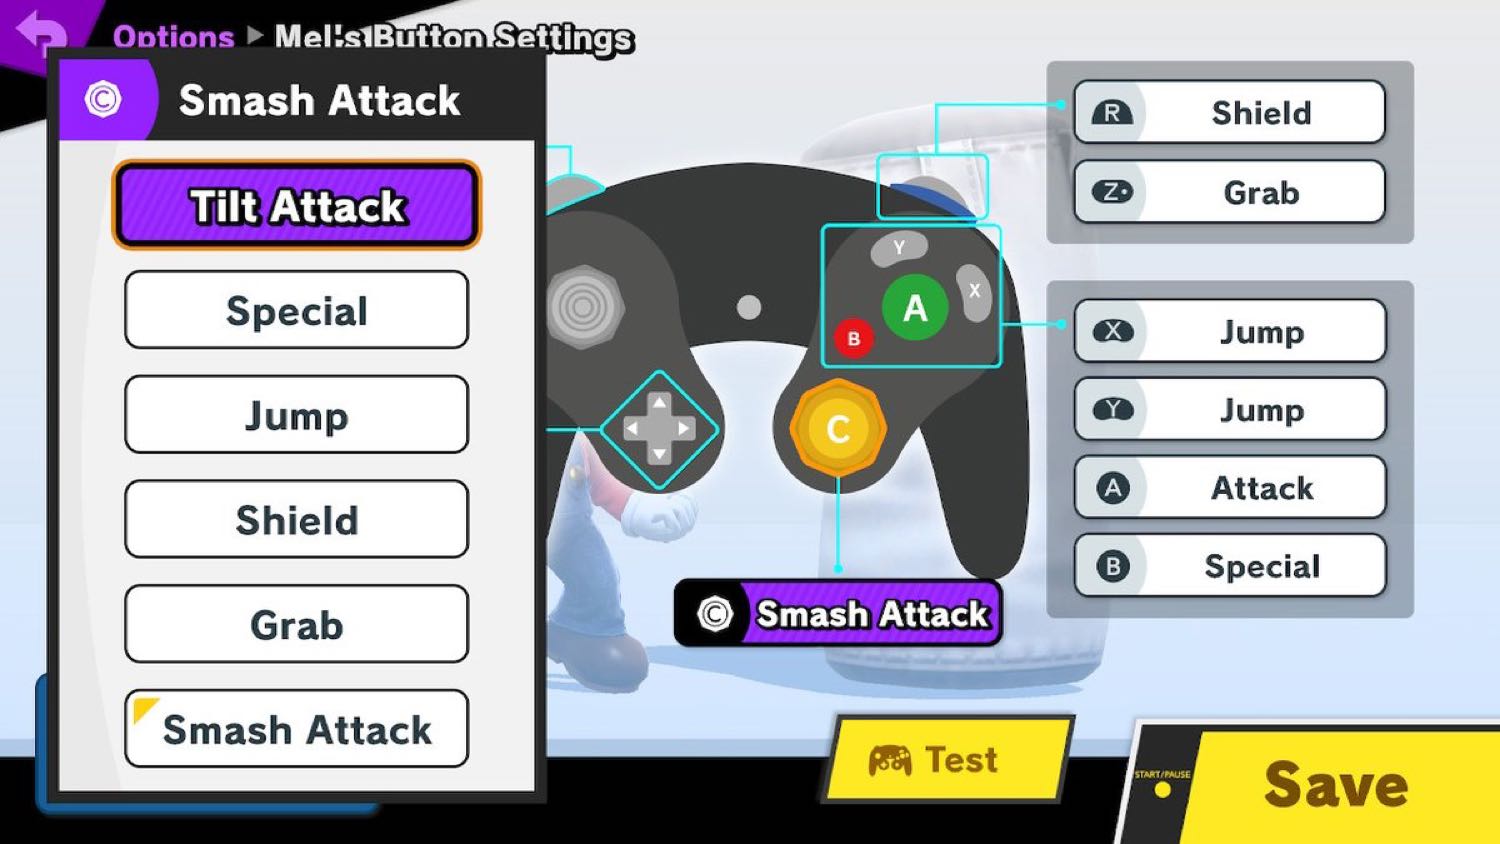
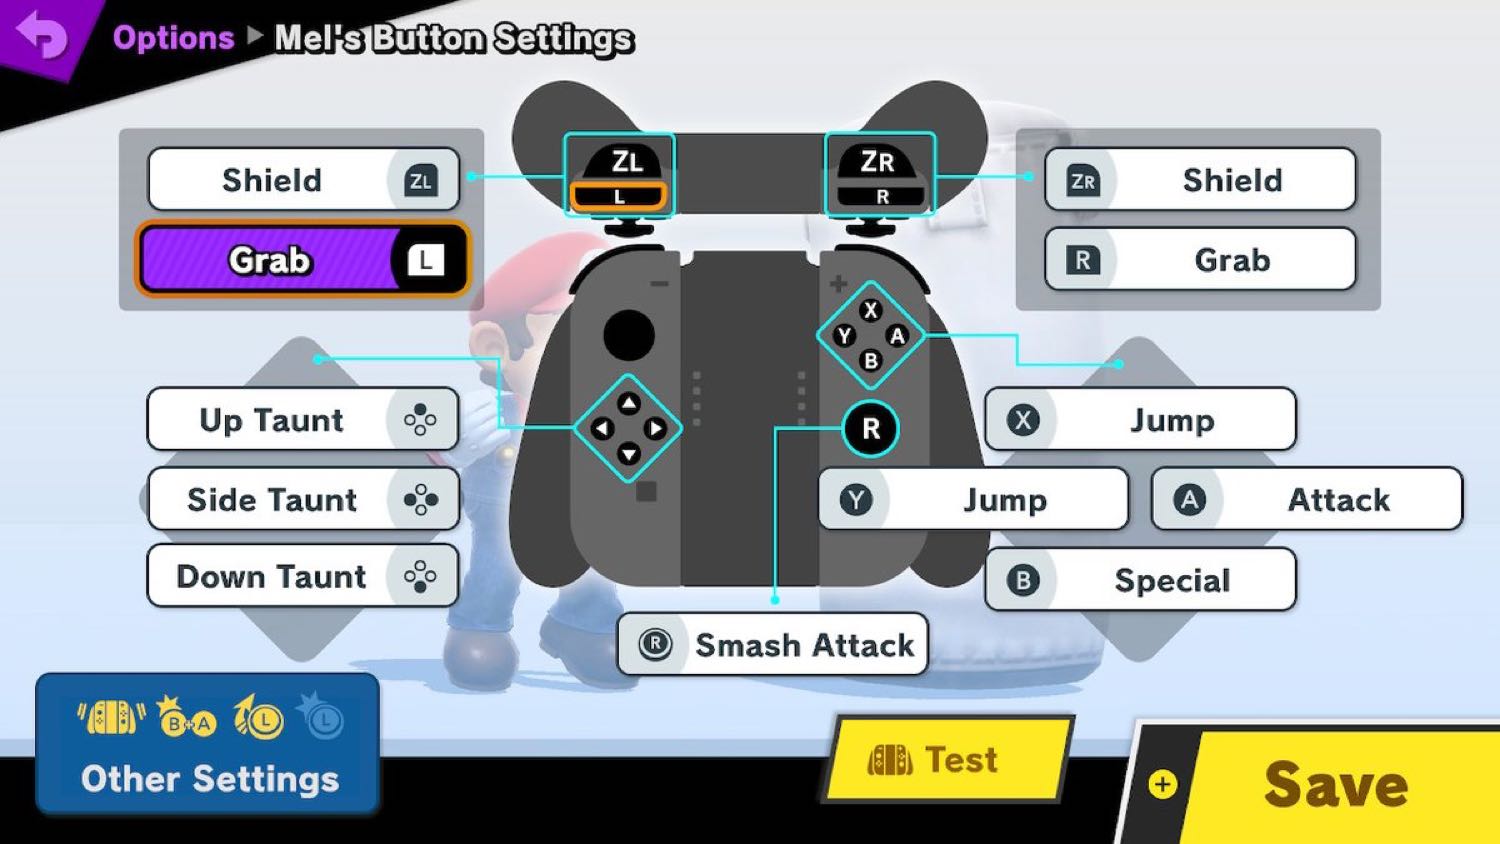
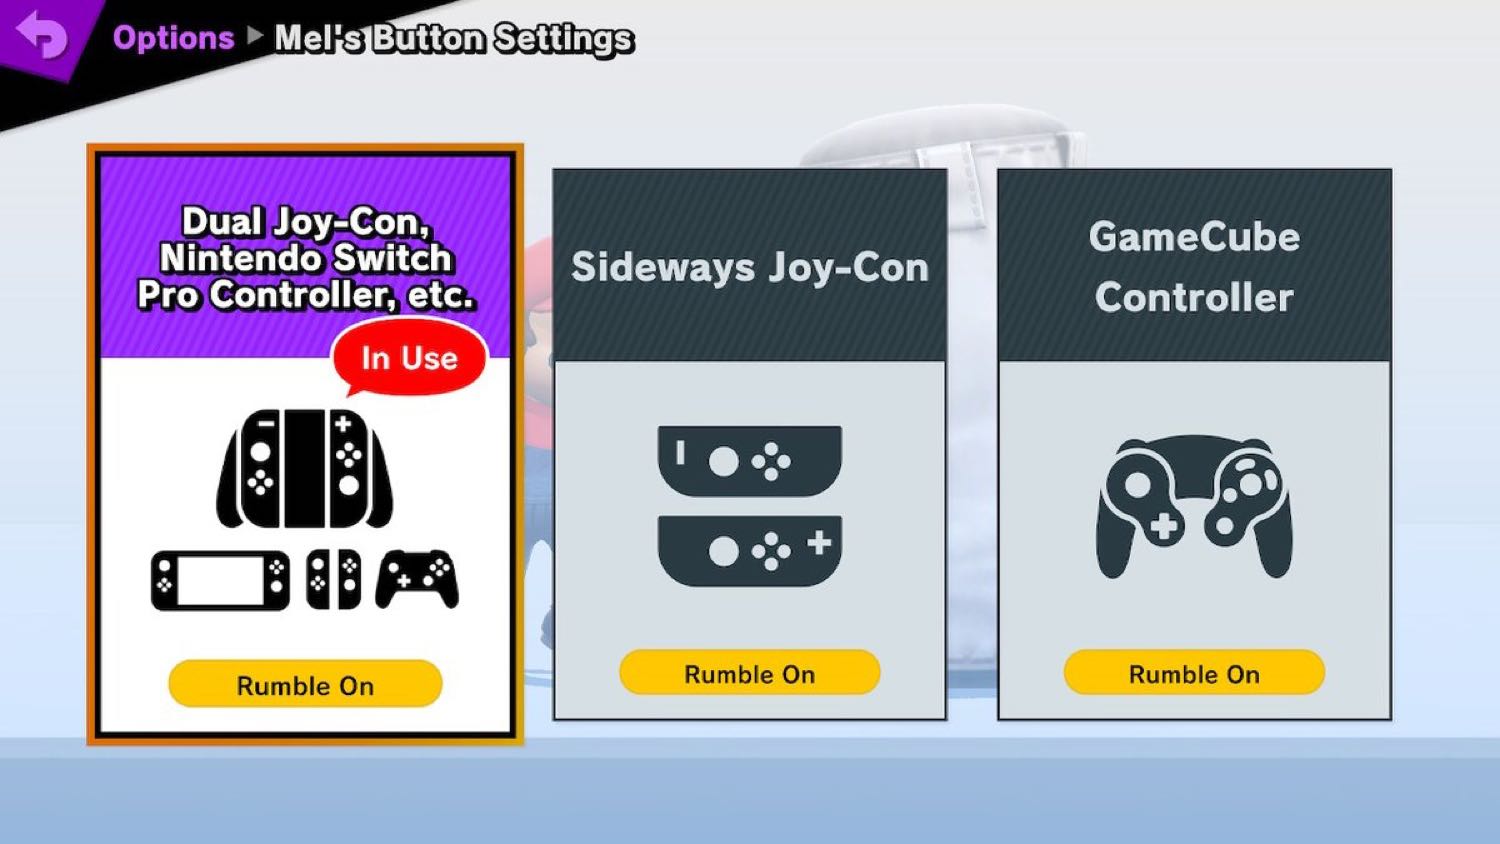
On Smash Ultimate, you can use dual Joy-Con controllers, a single Joy-Con, a Switch Pro Controller and the original GameCube controllers (when you're using the adapter). And with all of these controllers, you can customize what each button does.
If you're new to Smash and need all the help you can get to make the game easier, or if you're a returning veteran looking for the best possible button layouts on your vintage GameCube controller, this guide has answers for you. It will go through how to set up custom button layouts, with a few suggestions along the way.
Access the Options menu
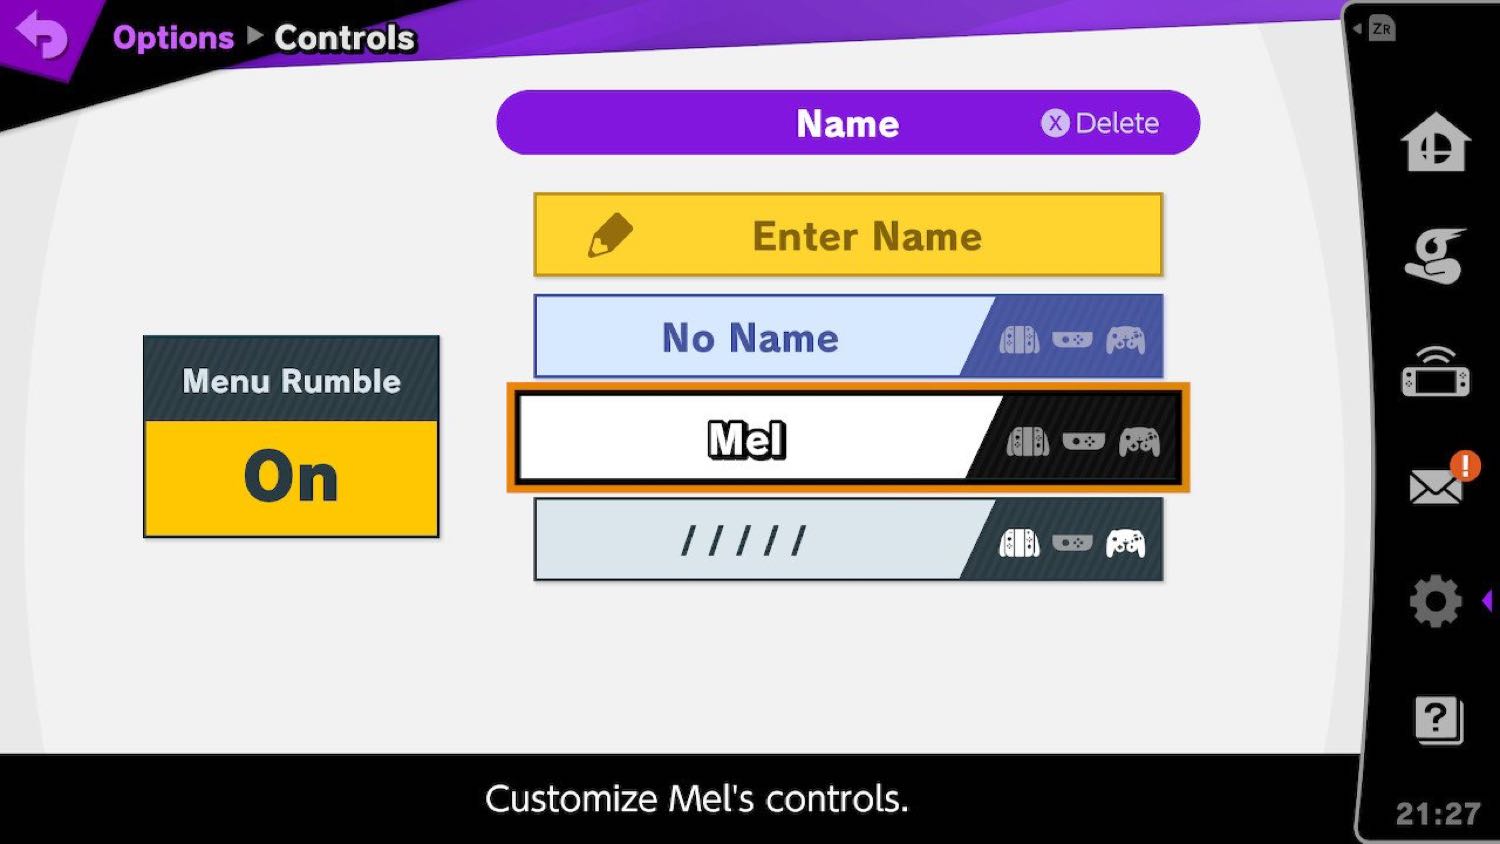
From the main menu, press the ZR trigger (or Z trigger on a GameCube controller) to access the dashboard menu, then select the gear icon to get into the game's primary options menu. From there, choose Controls.
MORE: The Best Nintendo Switch Accessories So Far
Enter a name to store your preferences
Get instant access to breaking news, the hottest reviews, great deals and helpful tips.
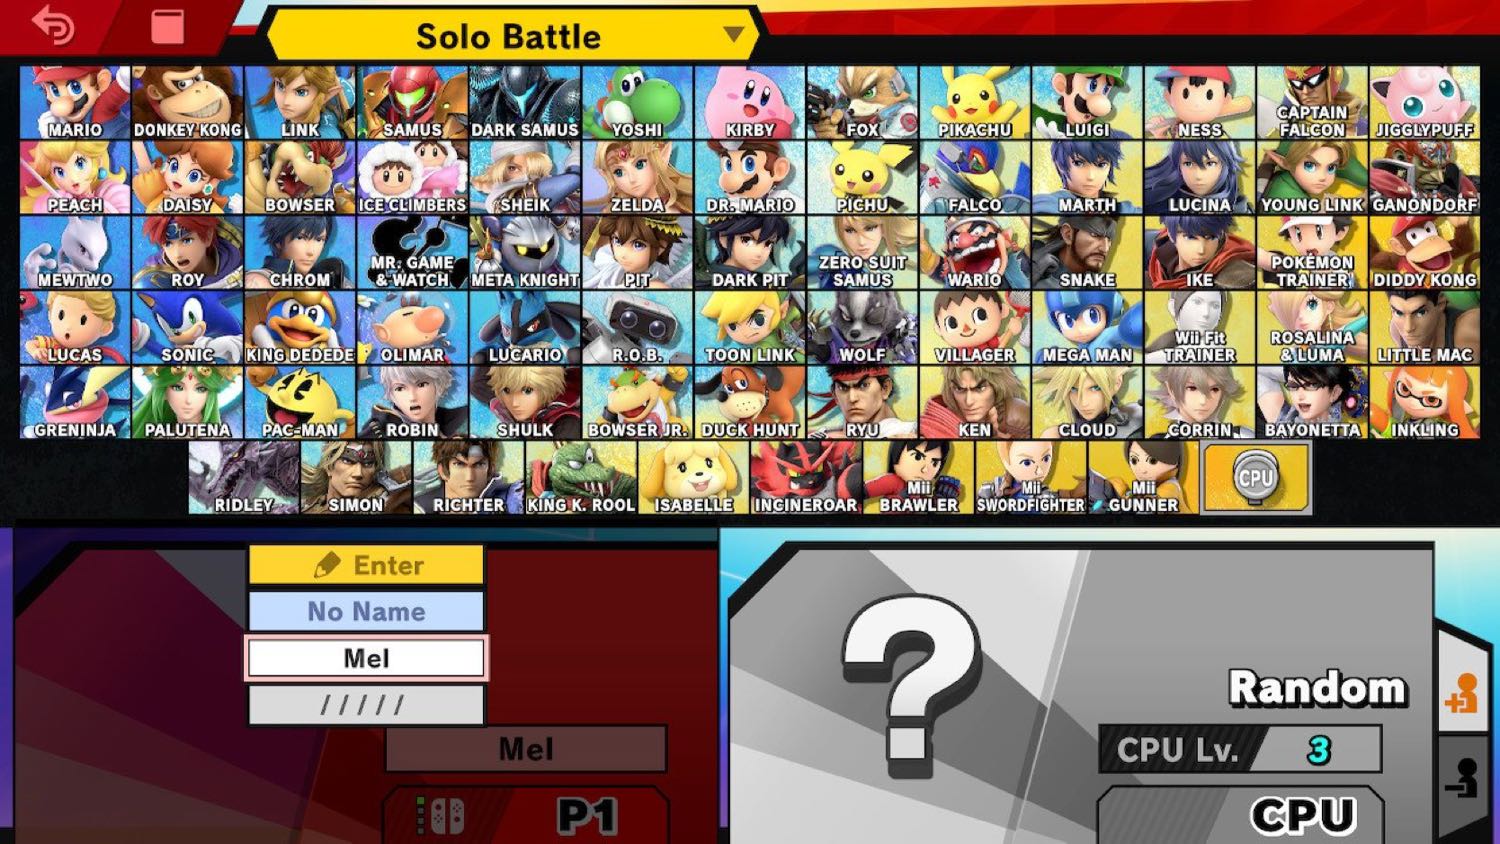
Next, you make a name, also known as a tag, that will be displayed over your head during gameplay. This name also stores your button-layout preferences; you can select this name from the character-selection screen before you go into any of the game's single-player or multiplayer modes.
Choose your controller type
Pick your preferred controller type from the three displayed options to begin remapping your buttons.
Credit: Tom's Guide
Andrew Melcon is a freelance writer who specializes in covering games and gaming hardware. He's tackled everything from PC game controllers to Pokémon and PUBG and his work has appeared on sites including Tom's Guide, Tom's Hardware, Laptop Mag, and more.
 Club Benefits


