How to use Starfield photo mode to snap space shots
Enable Starfield photo mode with our quick and simple guide
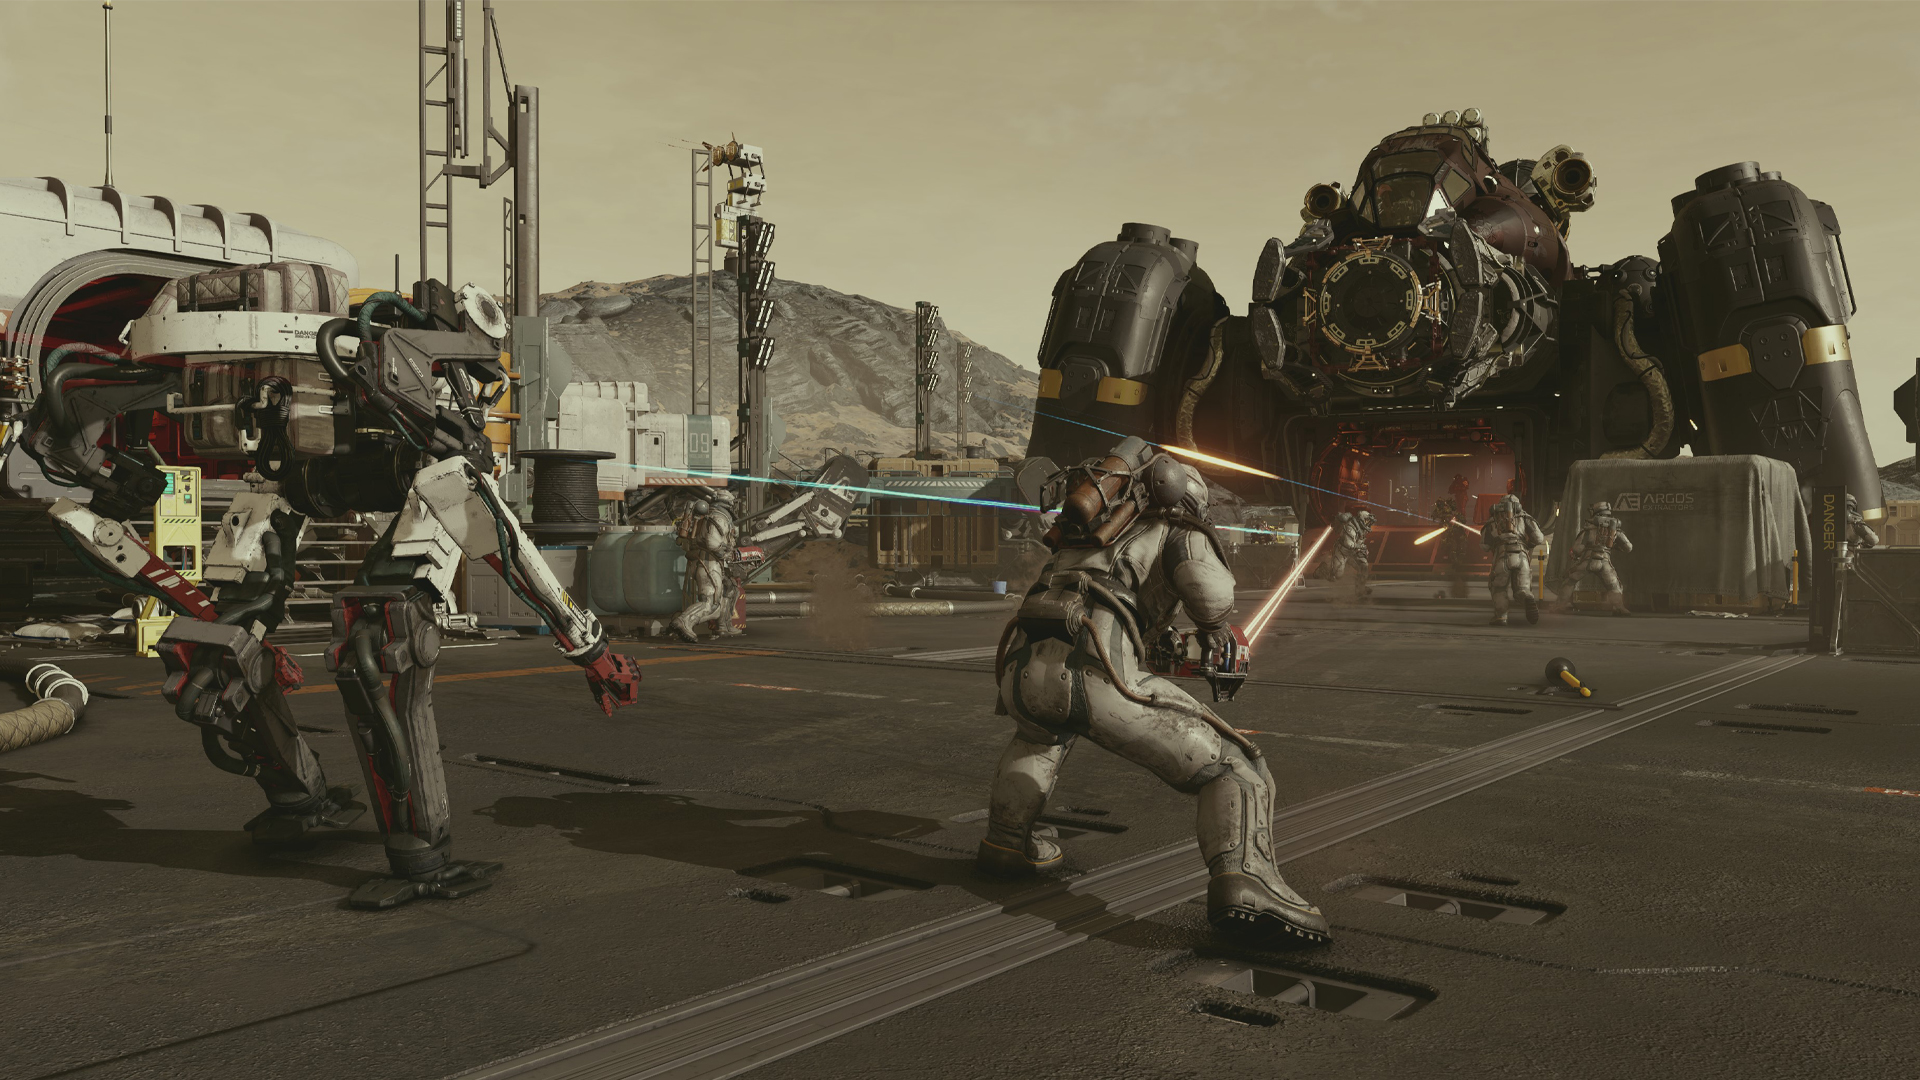
Want to use Starfield photo mode but find yourself perplexed about how to enable the snap-happy feature? Don’t worry, we’ve got you covered.
Starfield is inarguably the biggest exclusive game to come to Xbox Series X and Xbox Series S in years, and as you explore its thousands of procedurally generated planets, you’ll undoubtedly want to document your adventures via virtual photos.
Initially, the process of actually getting photo mode to work in Starfield seems needlessly complicated. Though it appears in the pause menu right from the beginning of Bethesda’s epic sci-fi quest, it’s grayed out by default.
Before you can start taking proper pics in Starfield, you’ll first need to play through the opening ten or so minutes of the open-world RPG until the feature opens up.
There are actually two ways to initiate Starfield’s photo mode. Though the one that first pops up is a little more tricky to use than the second option that soon becomes available after you enter your hero’s spaceship and blast off from the game’s initial mining colony.
Below, we’ll guide you through the steps needed on how to enable photo mode in Starfield to ensure you’ll be an alien-snapping expert in no time at all.
Please note: The following guide assumes you are playing Starfield with a gamepad, and so certain steps show Xbox controller buttons, rather than keyboard inputs.
Get instant access to breaking news, the hottest reviews, great deals and helpful tips.
How to use Starfield photo mode
- Complete the opening mine section until you reach 'the Artifact'
- Once you awaken, press the Menu button, then the View button
- Navigate to the ‘Photo Mode’ option, then enter it to start snapping
- Leave Vectera and travel to Kreet to unlock the scanner
- Once unlocked, press LB then click RS to open photo mode
- Go to the pause menu and select ‘Photo Gallery’ to view your pics
Read on to see full illustrated instructions for each step.
1. Complete the opening mine section until you reach 'the Artifact'
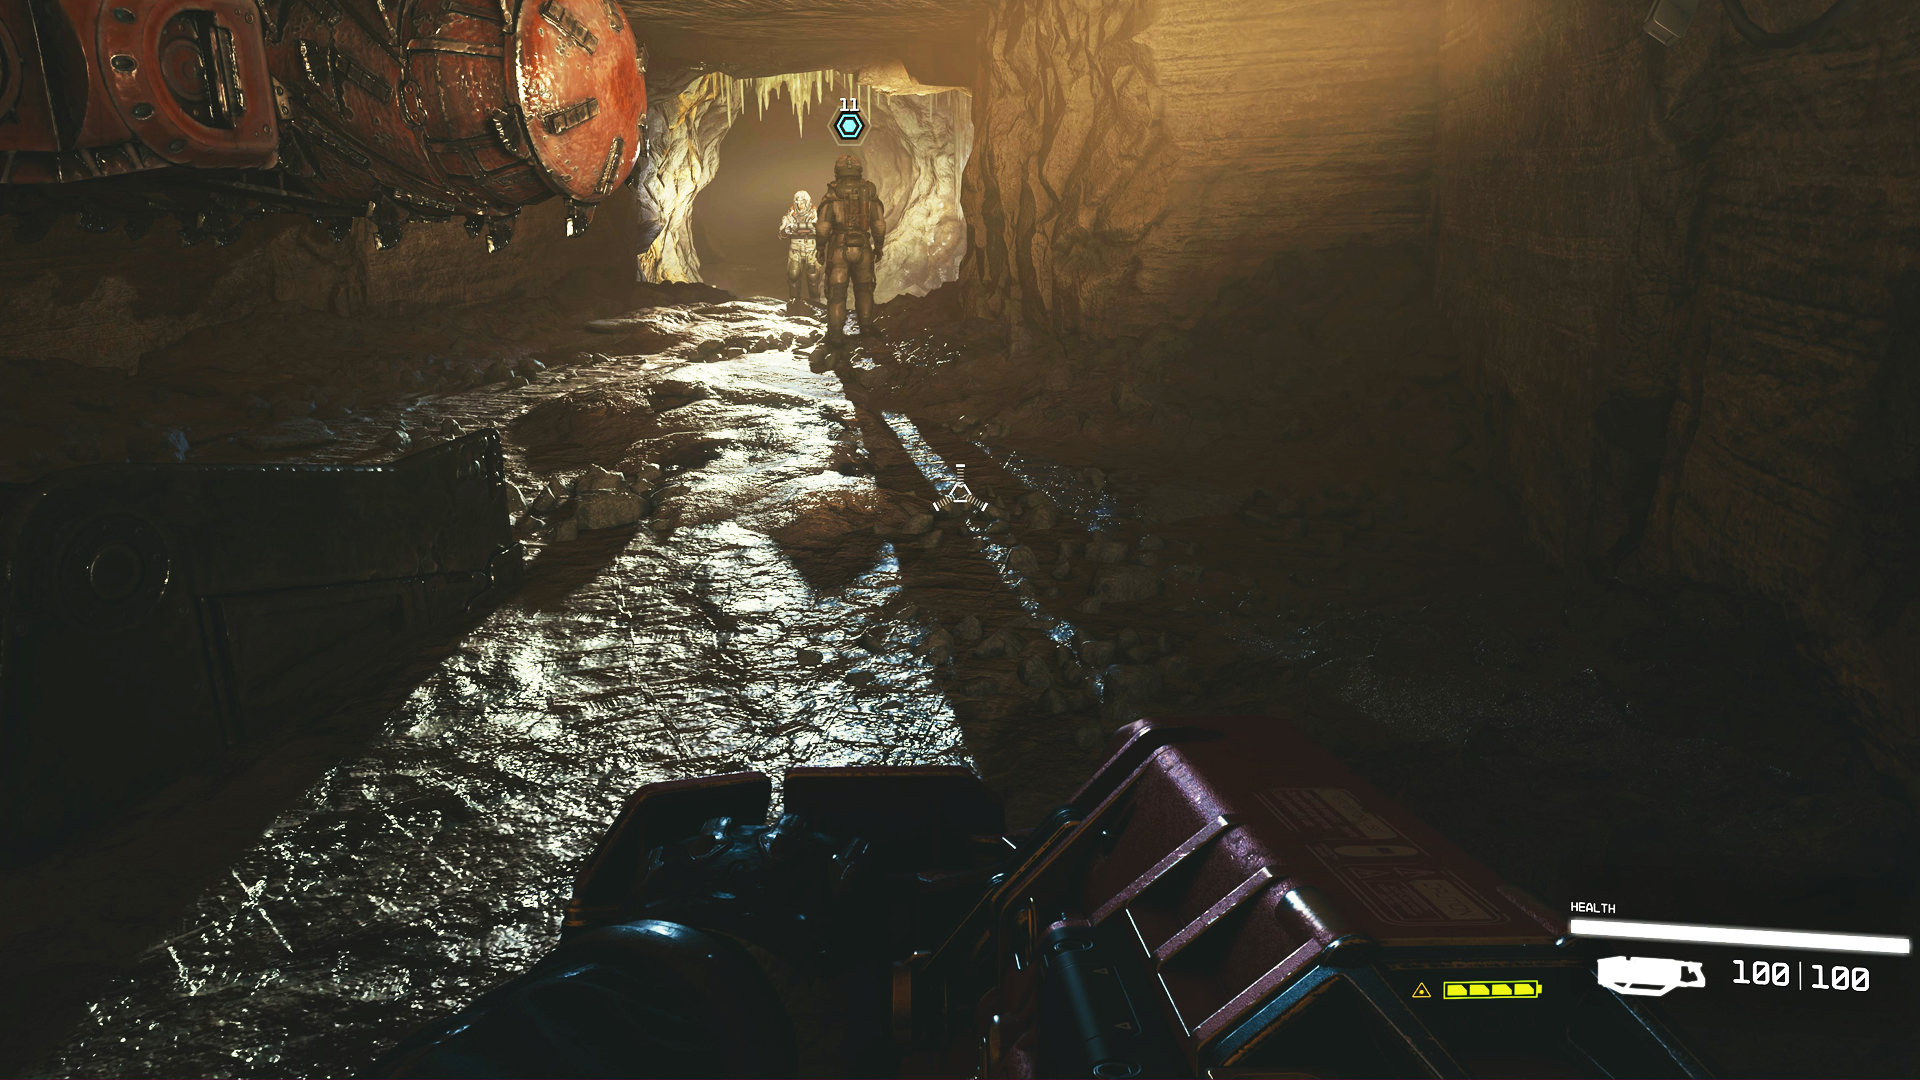
Play through the opening mine section until you’re asked to interact with the ‘Artifact’. Press the A button to engage with Starfield’s big opening McGuffin and your character will promptly pass out.
2. Once you awaken, press the Menu button, then the View button
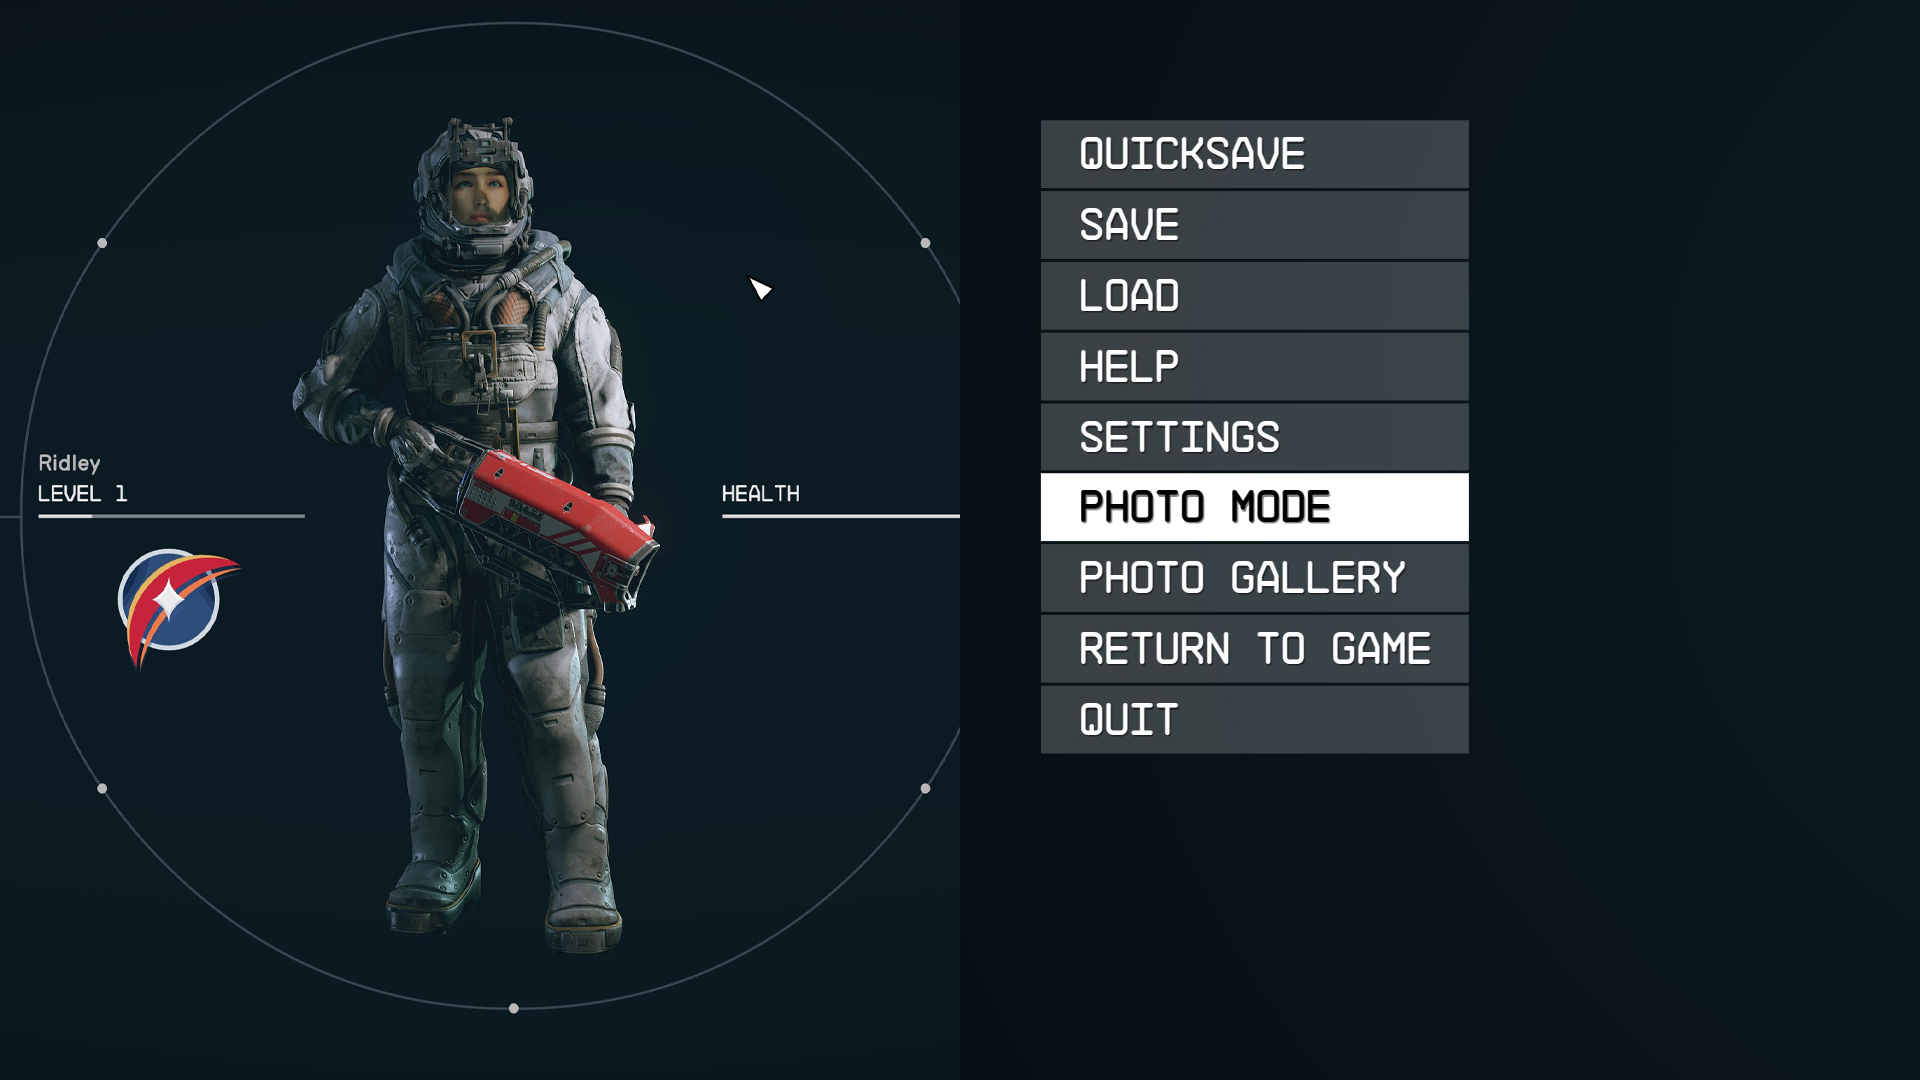
After your character awakens, you’ll have access to the slightly more tricky method of accessing Starfield’s photo mode. To access this virtual camera feature, press the Menu button on your Xbox pad, then the View button.
3. Navigate to the ‘Photo Mode’ option, then enter it to start snapping
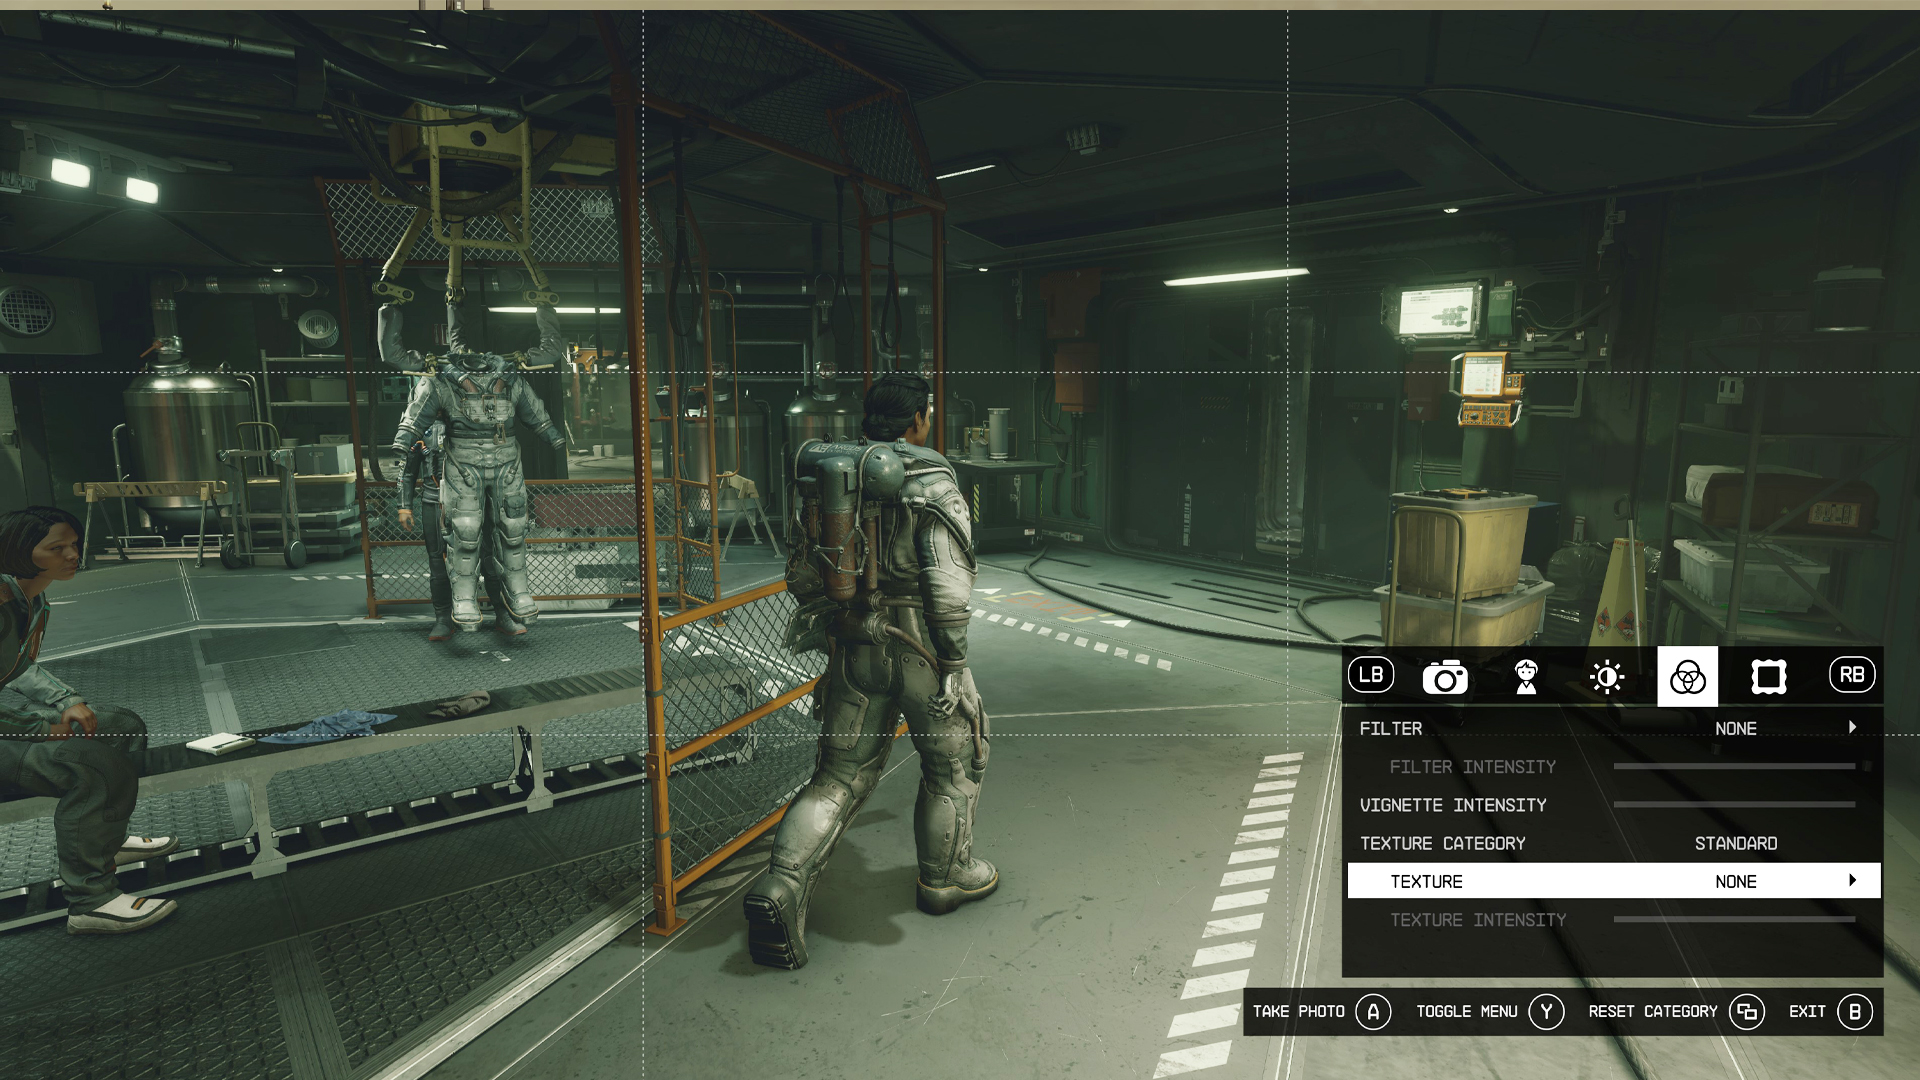
Once you’re in Starfield’s pause menu, press A on the ‘Photo Mode’ option and you can now start taking virtual pictures at pretty much any point during gameplay. Note that you can’t use photo mode during cutscenes or character conversations.
4. Leave Vectera and travel to Kreet to unlock the scanner
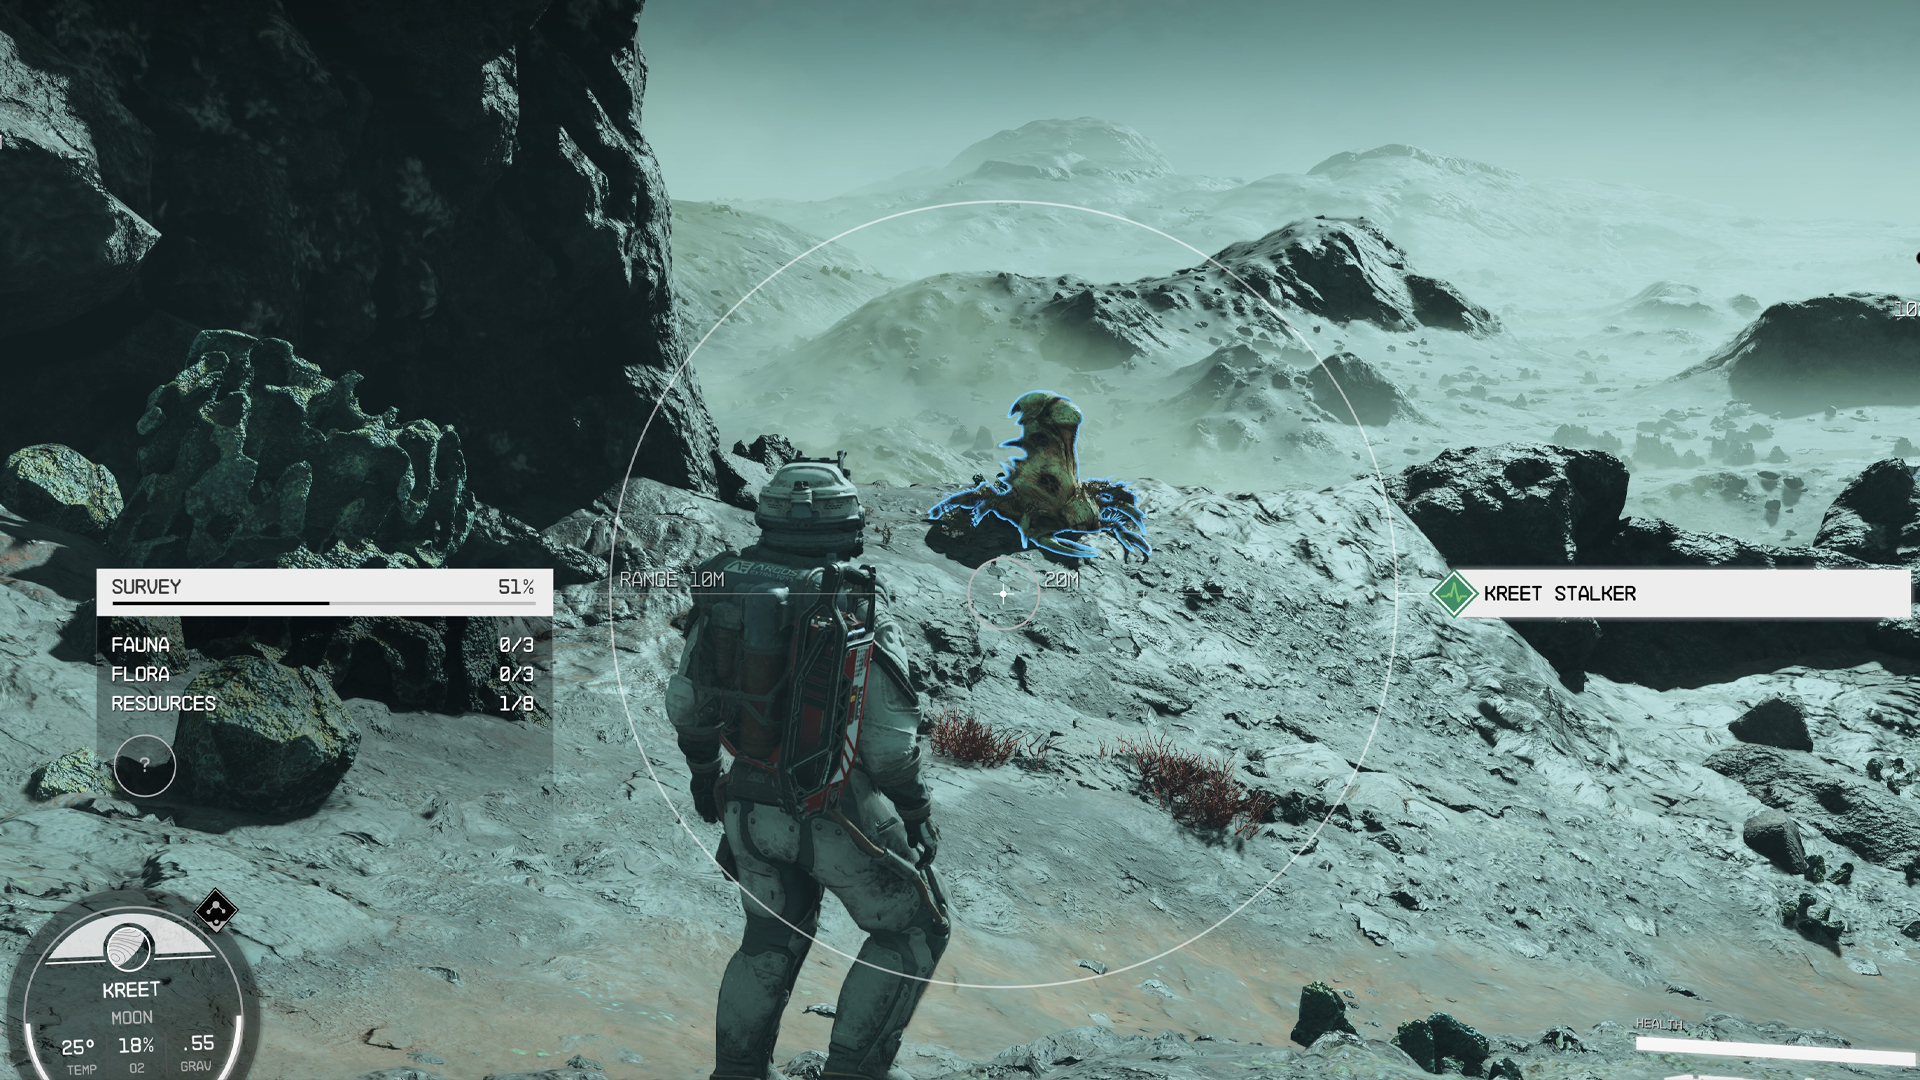
After a quick battle with mercenaries and a couple of quick goodbyes, you’ll enter your spaceship and leave the planet moon of Vectera. After a brief space flight tutorial that teaches you how to fight other ships and navigate the game’s starmap, set course for the planet Kreet by pressing the X button. Shortly after landing on the planet you’ll be given Starfield’s scanner: an item that lets you scan alien flora and fauna. The scanner also lets you access photo mode more quickly.
5. Once unlocked, press LB, then click RS to open photo mode
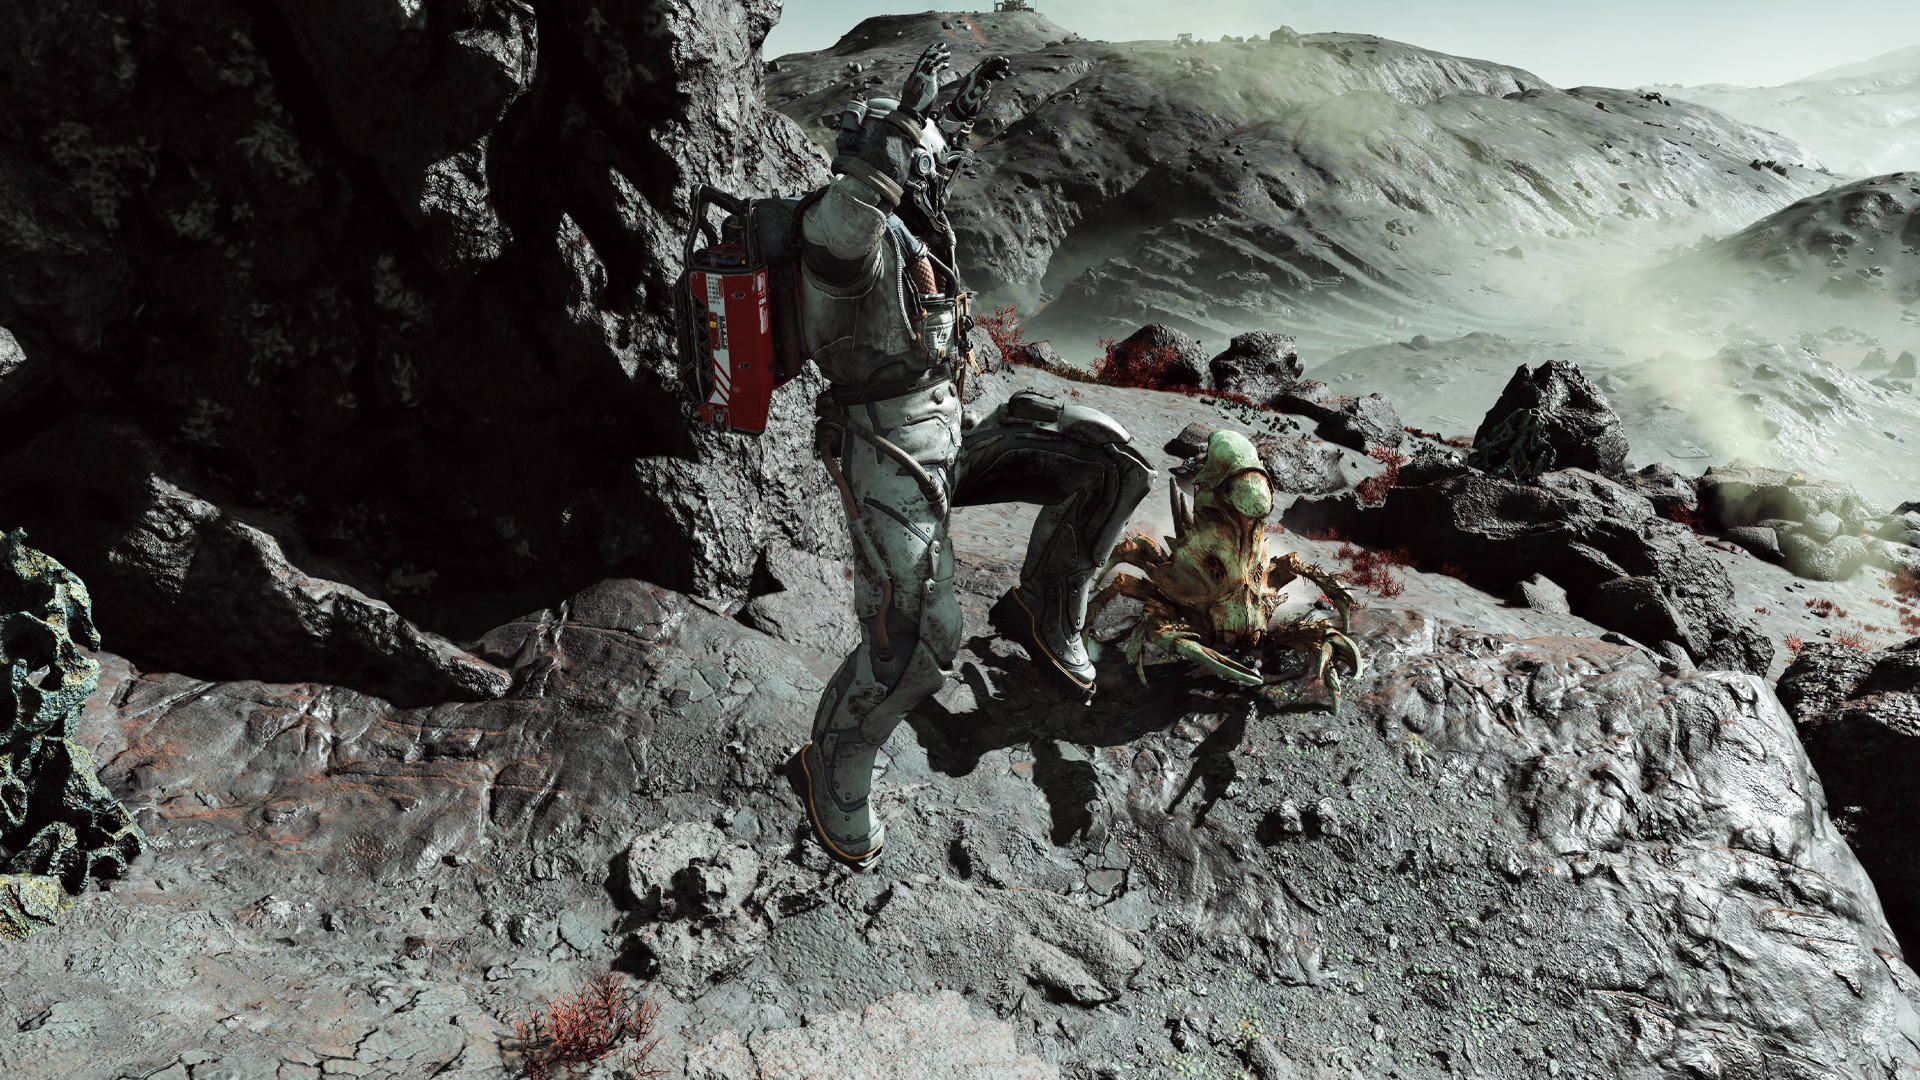
As soon as you encounter your first nasty alien beastie, Starfield will prompt you to use the scanner by pressing LB. Once in scan mode, click the right analog stick to enter photo mode. You now have permanent access to the easiest method of opening photo mode, so get snapping!
6. Go to the pause menu and select ‘Photo Gallery’ to view your pics
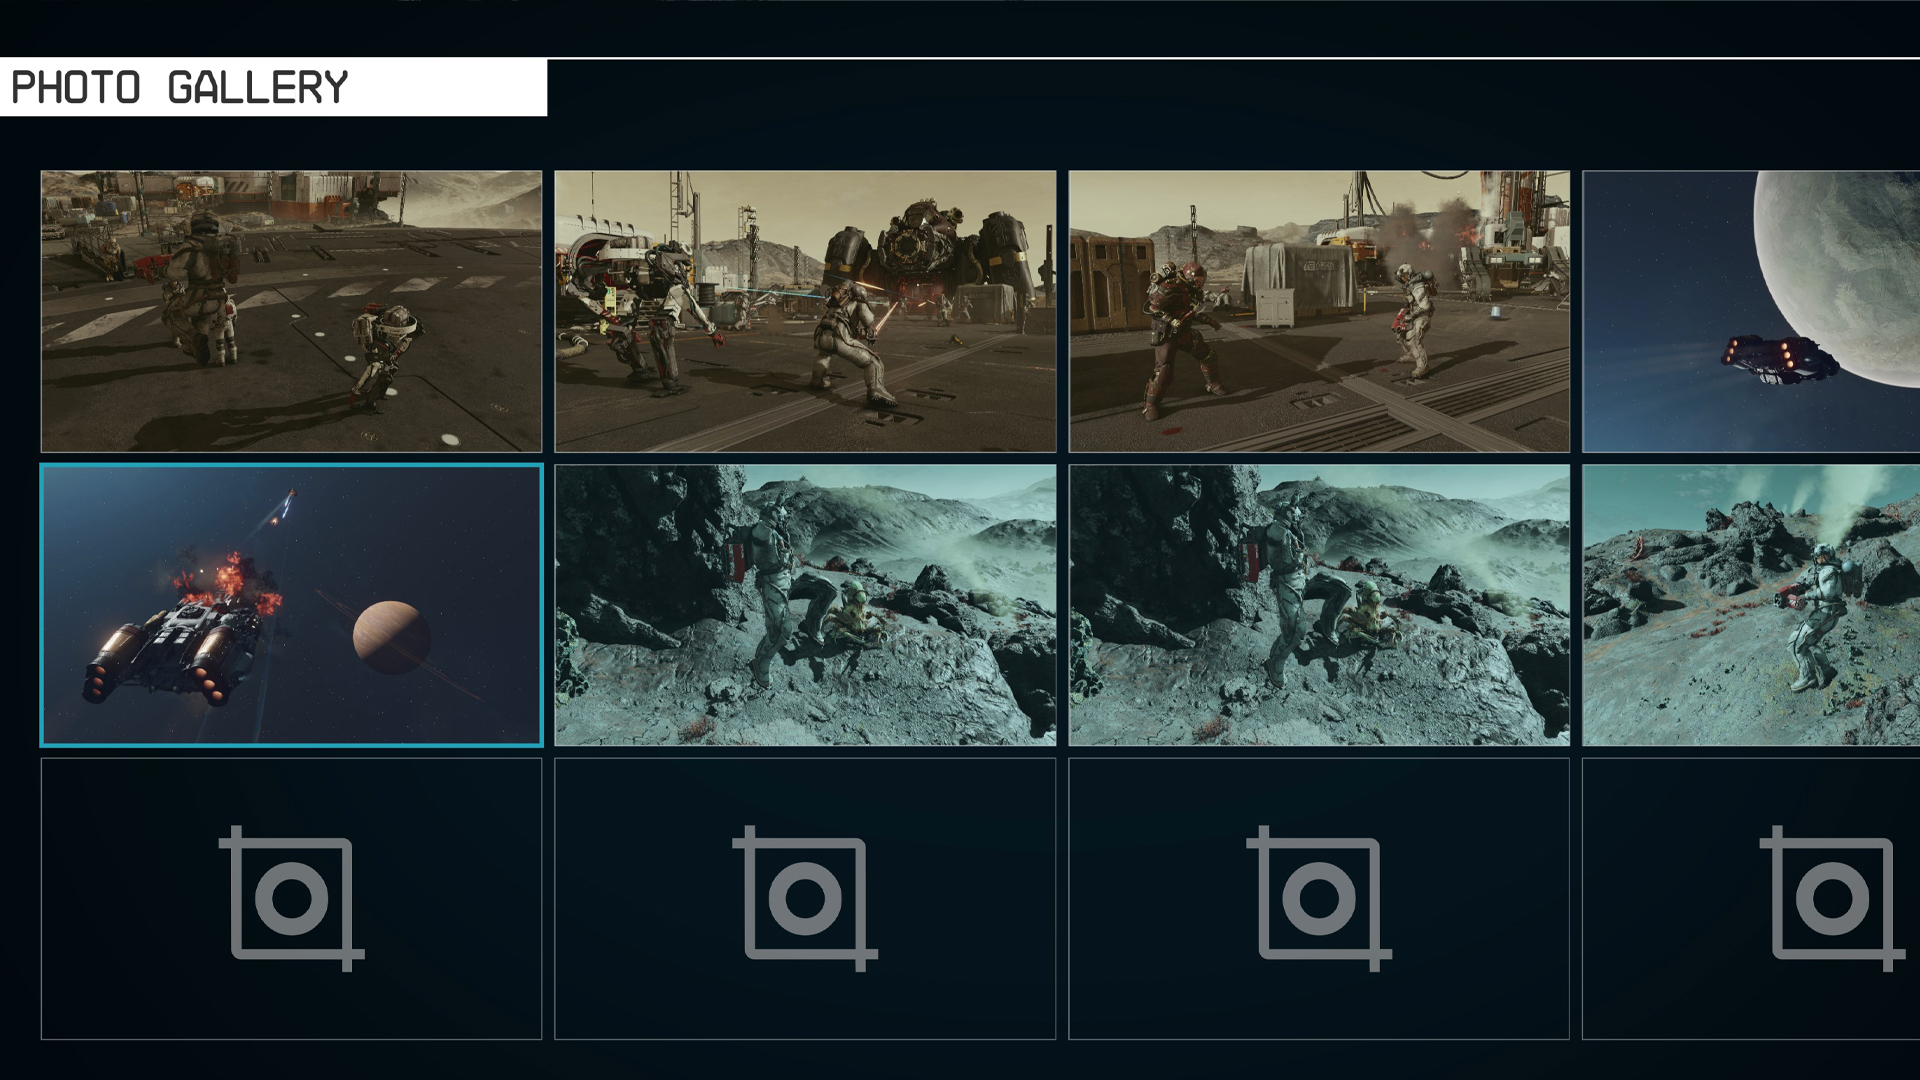
At any point during gameplay, press the Menu button, followed by the View button to get back to the pause menu. Simply scroll over to the ‘Photo Gallery’ tab, press A, then admire all of those incredible space shots you’ve been taking.
Congratulations! You now know how to use Starfield photo mode, and are officially an intergalactic Ansel Adams. Starfield is easily the best looking title Bethesda Game Studios has ever made, so make sure you regularly use photo mode to document the incredible sci-fi adventures that lie ahead.
Looking for more Starfield assistance? Learn how to modify weapons in Starfield, read up on how to get the Adoring Fan in Starfield, get the skinny on how to upgrade your ship in Starfield and don’t forget to check out how to increase carry weight in Starfield.

Dave is a computing editor at Tom’s Guide and covers everything from cutting edge laptops to ultrawide monitors. When he’s not worrying about dead pixels, Dave enjoys regularly rebuilding his PC for absolutely no reason at all. In a previous life, he worked as a video game journalist for 15 years, with bylines across GamesRadar+, PC Gamer and TechRadar. Despite owning a graphics card that costs roughly the same as your average used car, he still enjoys gaming on the go and is regularly glued to his Switch. Away from tech, most of Dave’s time is taken up by walking his husky, buying new TVs at an embarrassing rate and obsessing over his beloved Arsenal.
 Club Benefits


