How to upgrade to Windows 11 from Windows 10
Here's how to update to Windows 11
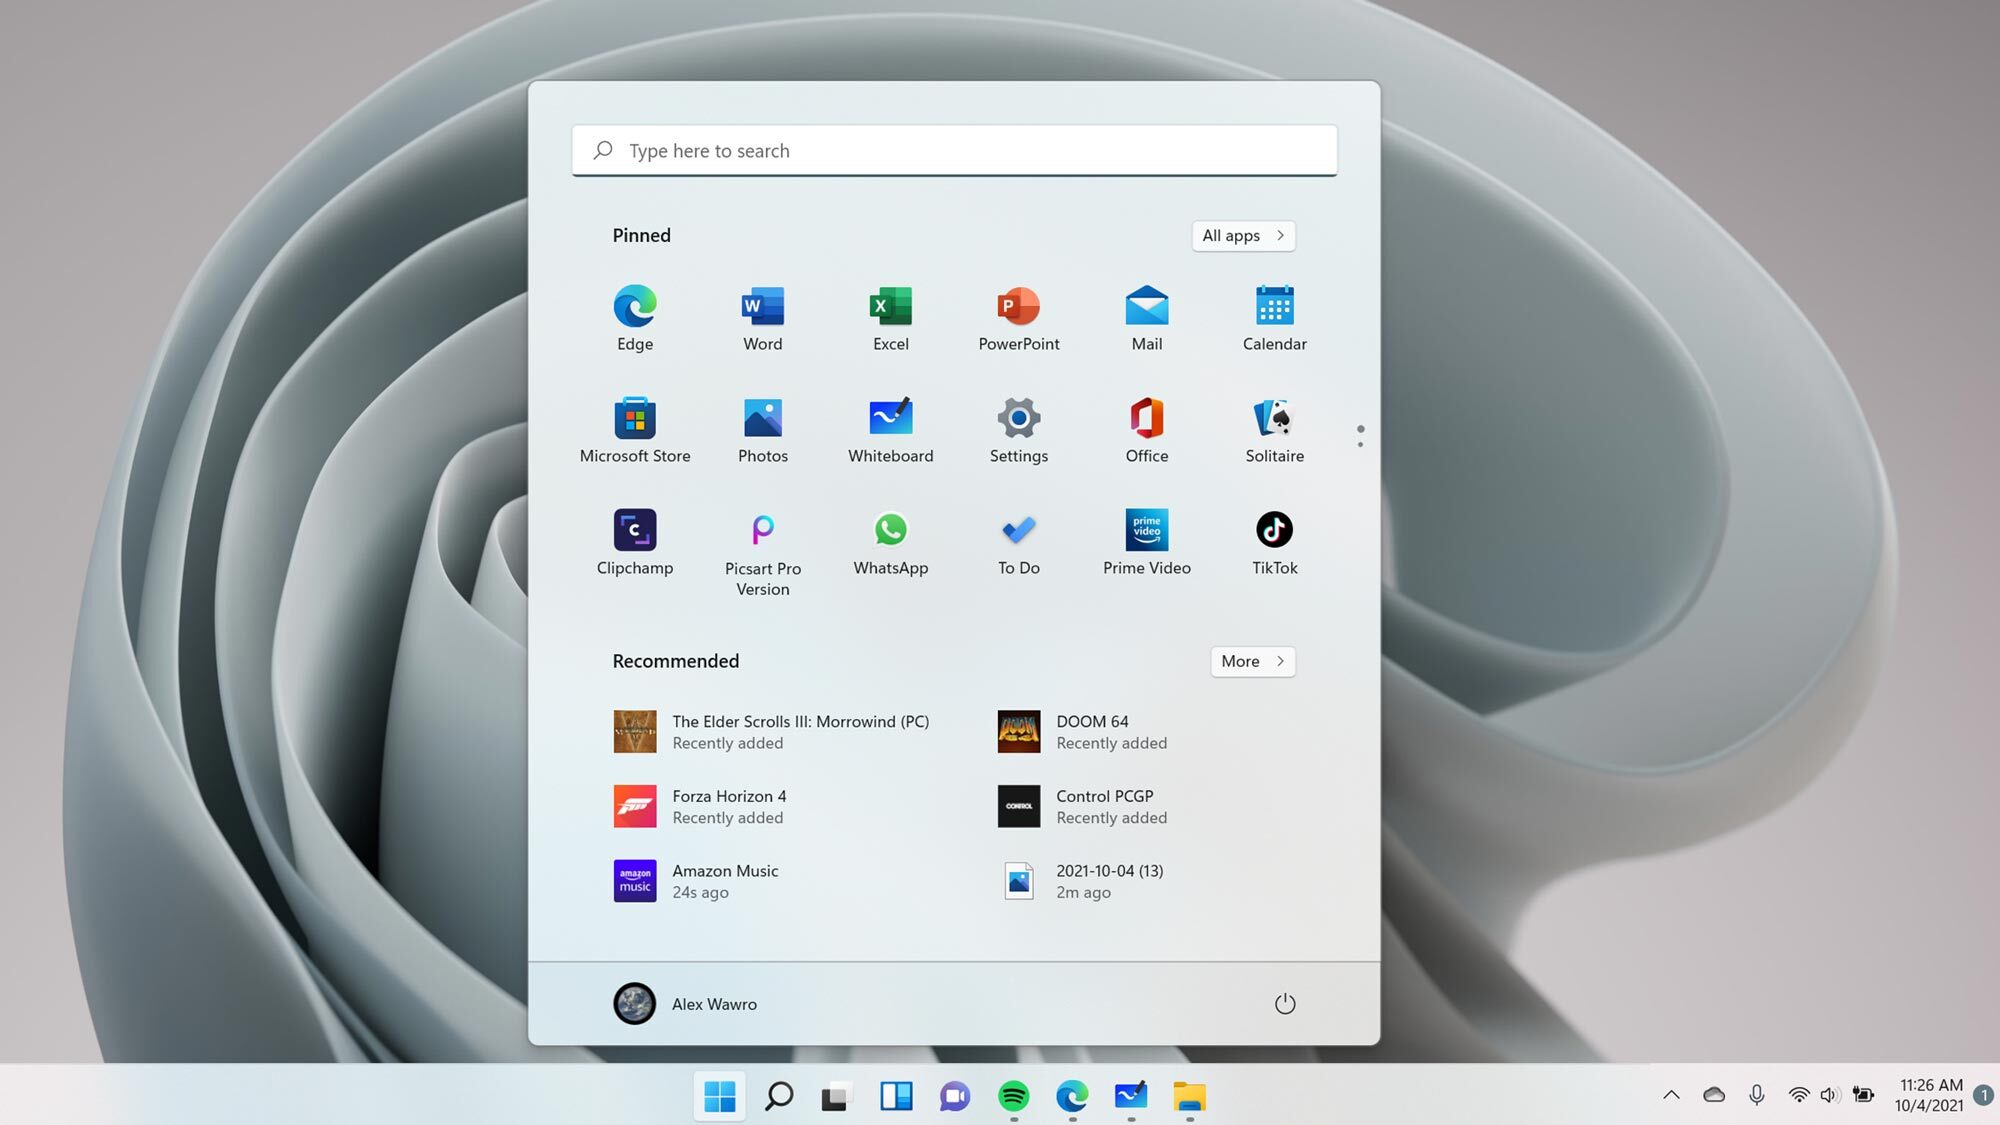
Windows 11 launched on October 5 as a free update for anyone with Windows 7 and above. So long as your PC meets Microsoft’s minimum Windows 11 installation requirements, you can try out the new operating system. Though Windows 11 has a new interface and features, it’s less a revolution and more of a refinement.
Even if Windows 11 isn’t entirely necessary at the moment, it is worth trying out for those who are curious. It's a solid operating system that’s sure to get better over time.
Microsoft currently has three options for installing Windows 11. We’ll detail the Installation Assistant option in this article, since it's the easiest way to update to Windows 11 and the one we recommend for most users. Just follow the steps below and you’ll soon see what Windows 11 is all about.
Once you've upgraded, take a look at our guide on how to speed up Windows 11.
How to download and install Windows 11: Make sure your PC can run Windows 11
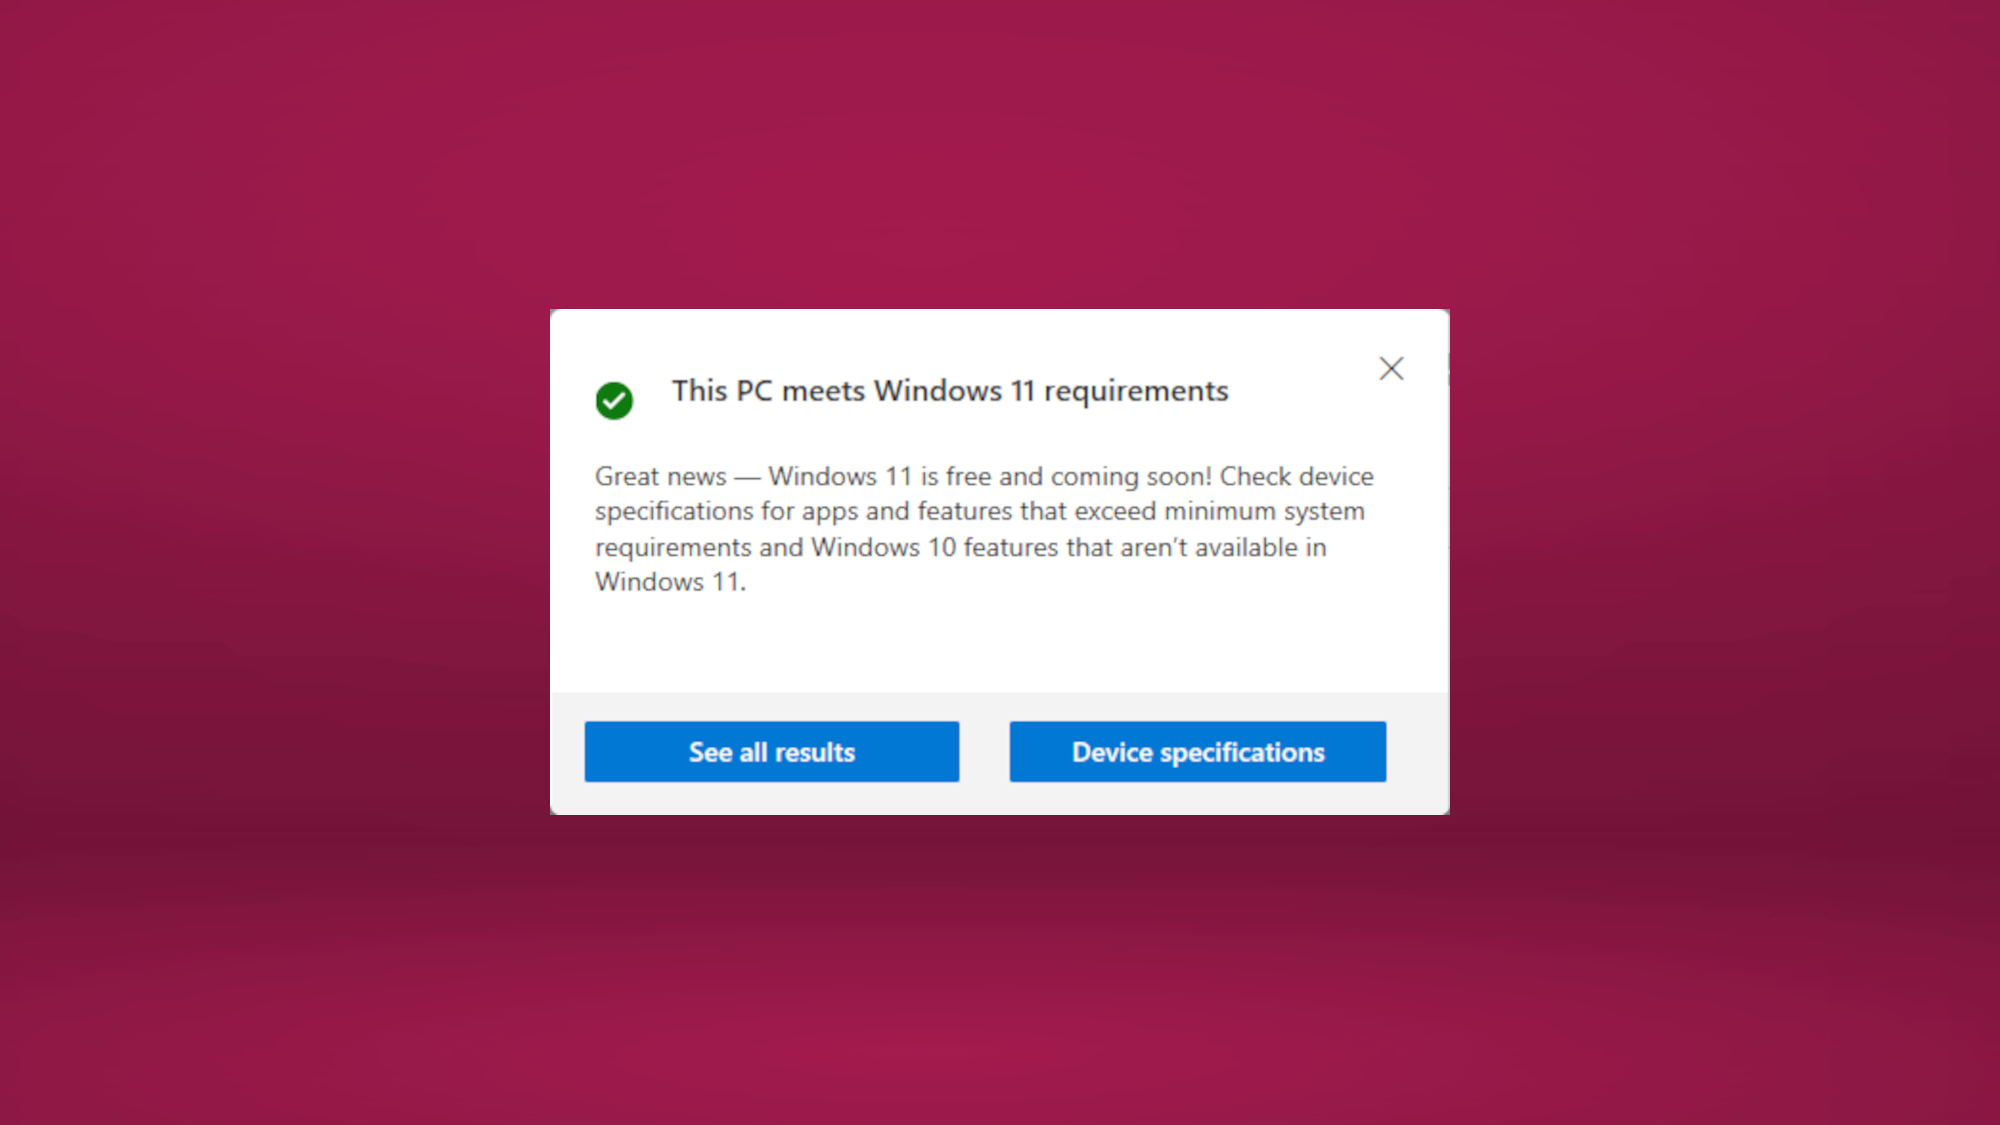
1. Download and run Microsoft’s PC Health Check app to ensure your PC meets Microsoft’s basic requirements.
Some users may not be able to install Windows 11 because their PC doesn’t have a TPM (Trusted Program Module) 2.0 on their motherboard. This was the reason I couldn’t run Windows 11 on my previous PC. Even if your PC does have TPM 2.0, it may not be enabled. Read our how-to guide to learn how to enable TPM on your PC.
It’s also a good idea to back up your system to an external storage drive or a cloud server. I used Microsoft’s OneDrive but you’re free to use any other online cloud backup service.
Get instant access to breaking news, the hottest reviews, great deals and helpful tips.
(Whatever you do, don't get your Windows 11 installation file from third parties. Some bogus Windows 11 installers are really malware.)
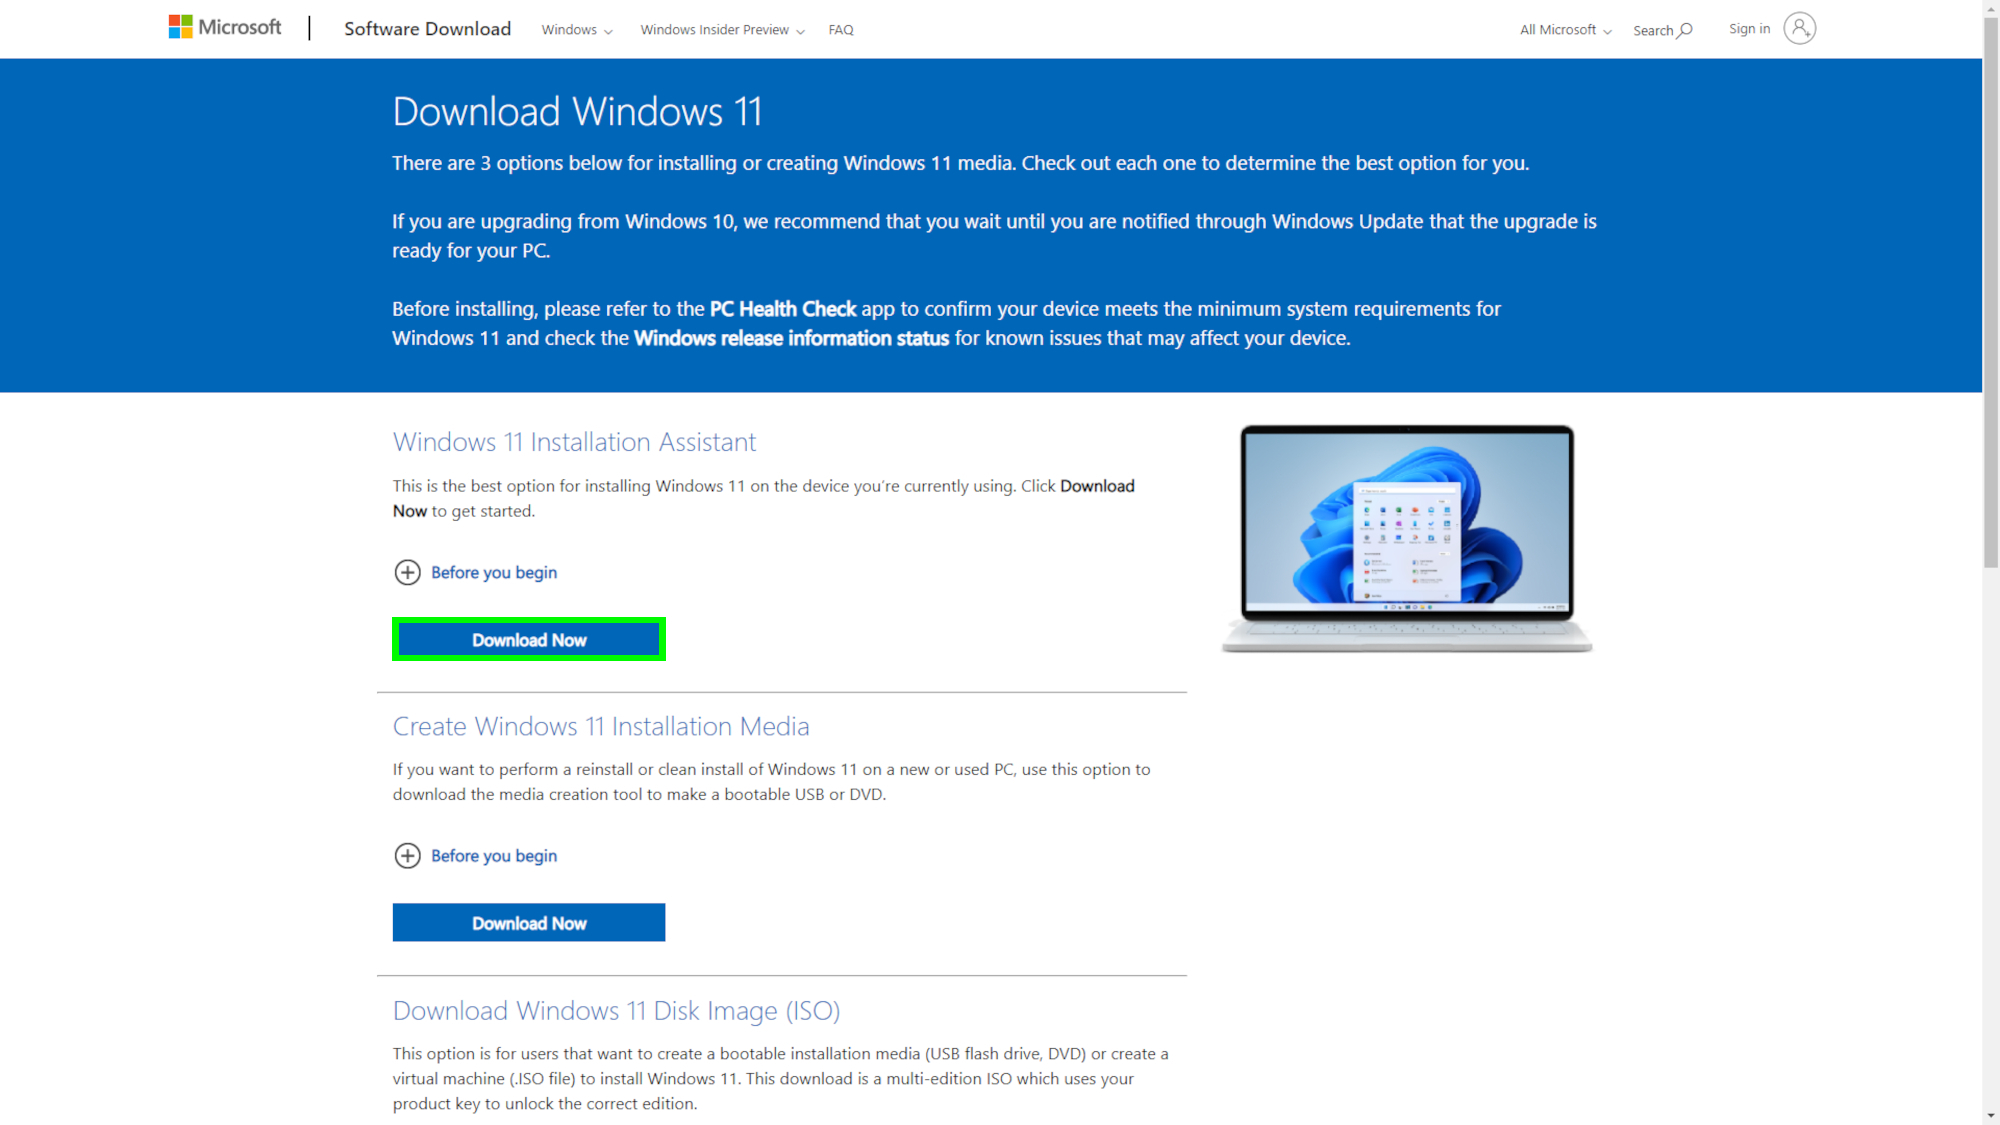
2. Download the Windows 11 installation assistant from Microsoft. As stated above, Microsoft offers multiple ways of installing Windows 11, and using the assistant is the simplest option. So head over to Microsoft's Download Windows 11 page and select Windows 11 Installation Assistant.
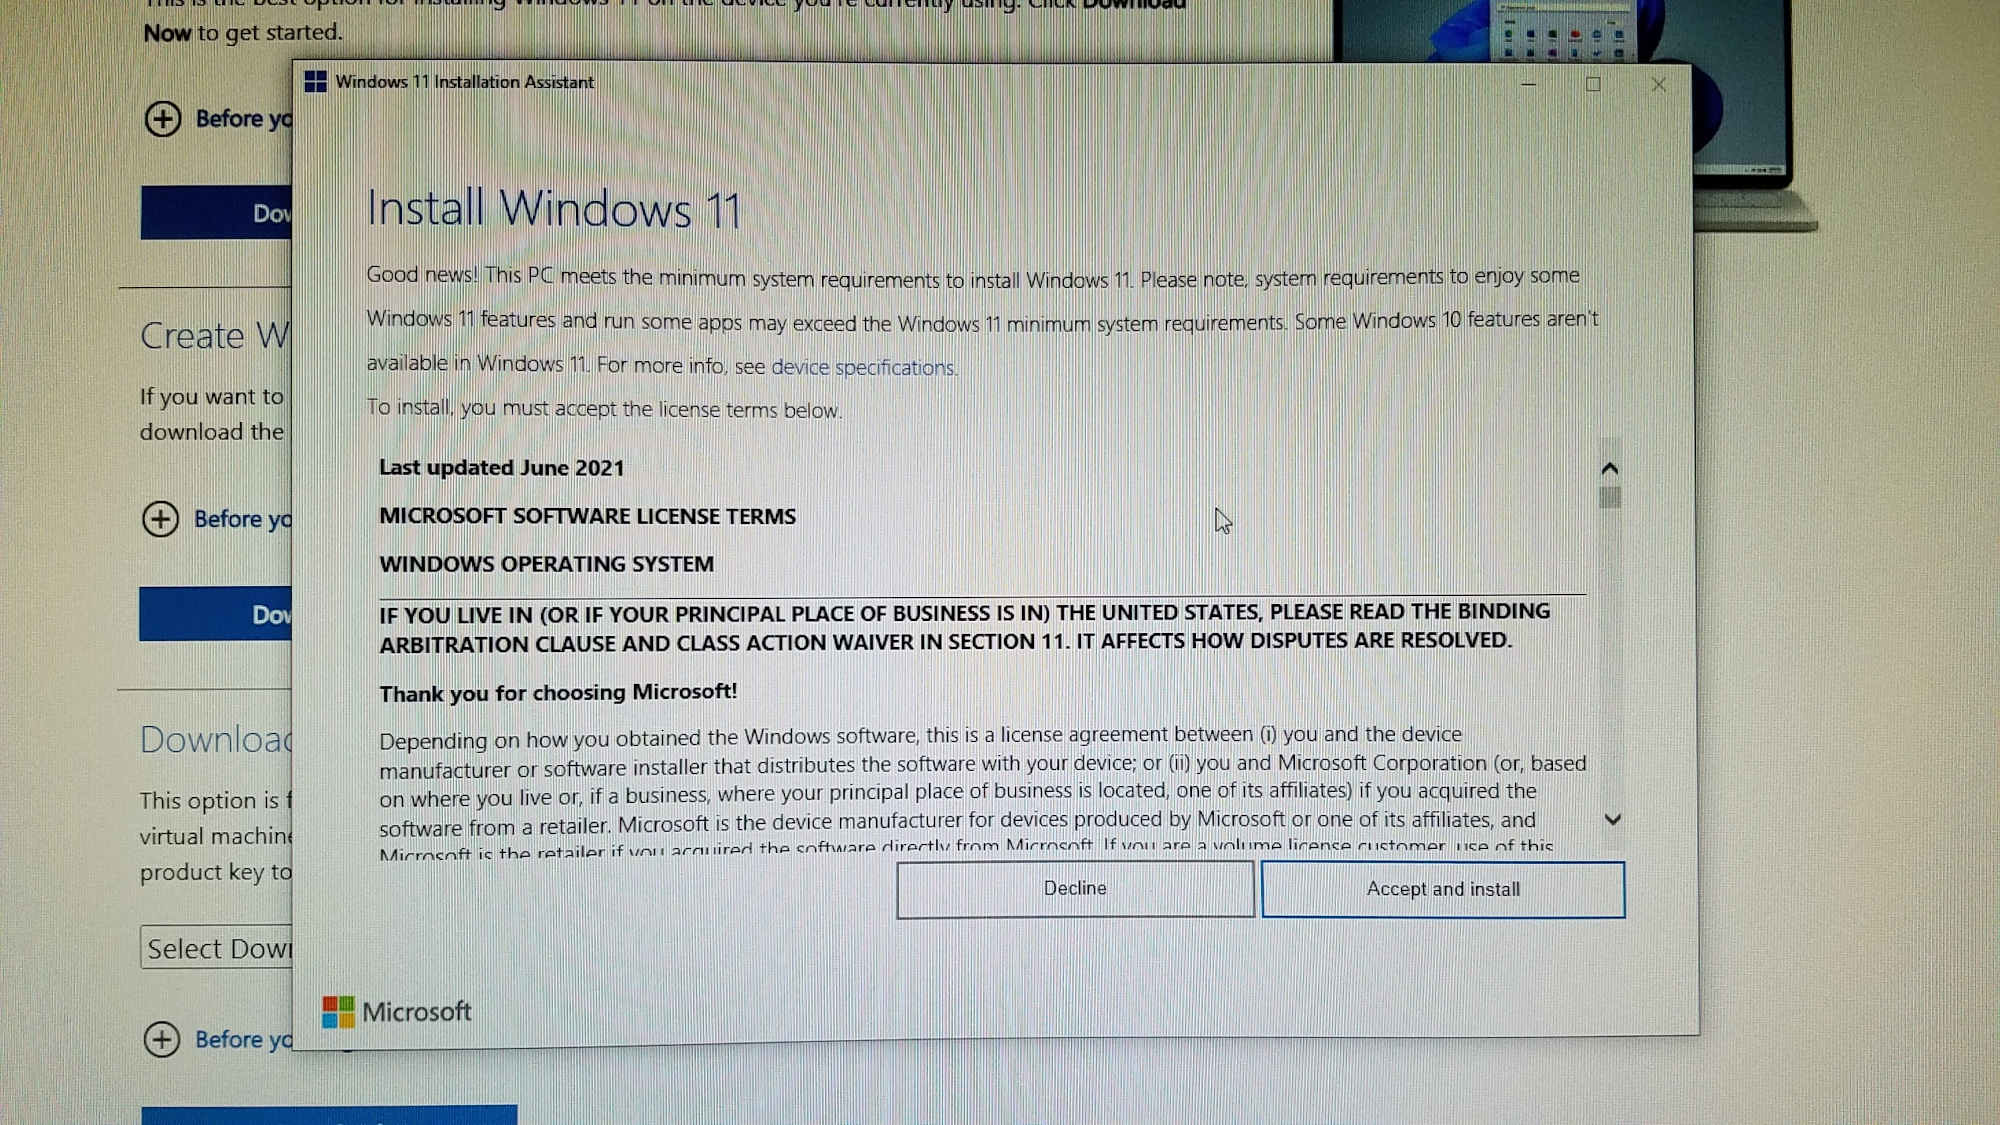
3. Open the .exe file and follow the on-screen instructions. After that, accept the EULA (End User Licensing Agreement) to begin the installation process.
4. Wait for Windows 11 to install. This may take up to a few hours. Feel free to catch up on Squid Game or continue playing Metroid Dread while you wait for the installation to finish.
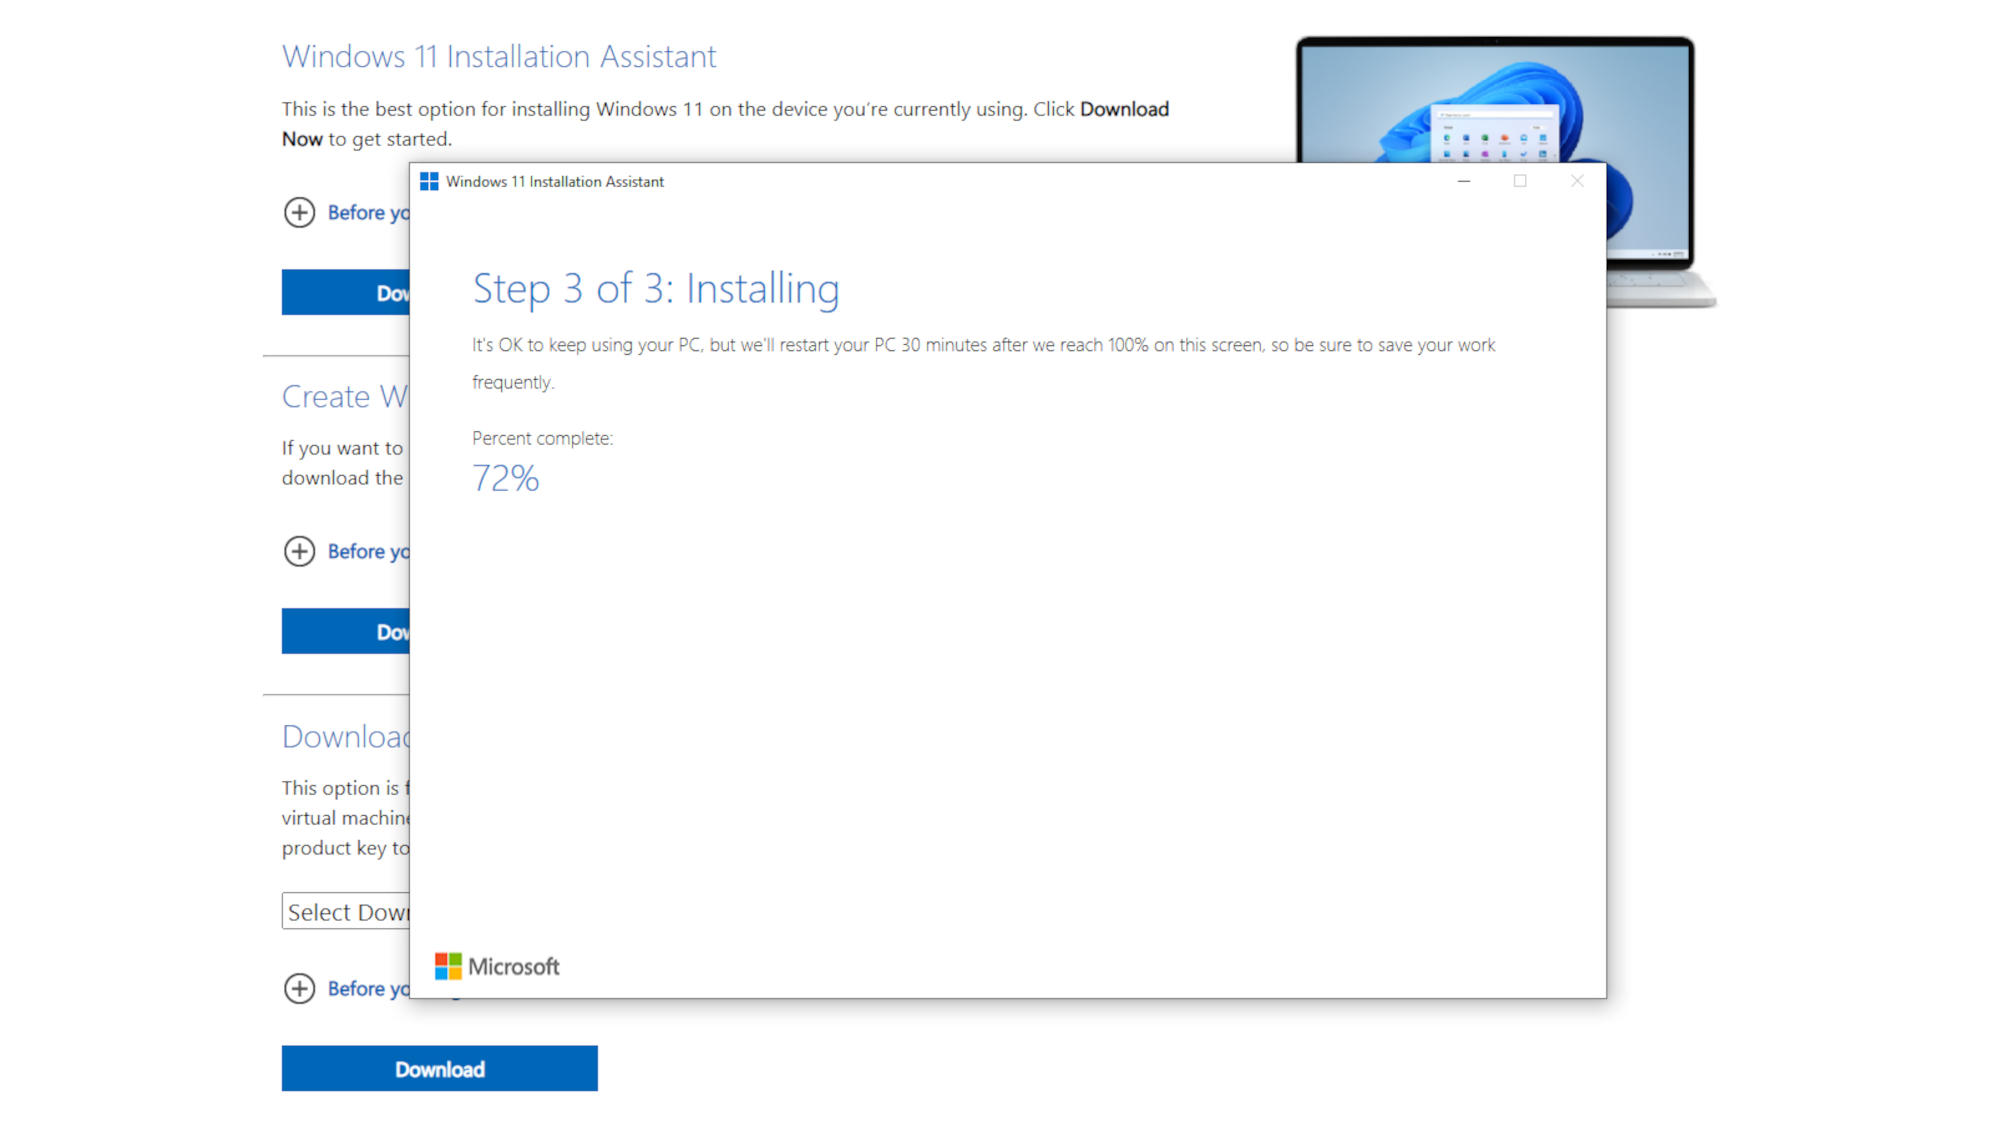
5. Follow the subsequent prompts and start enjoying Windows 11.
Once the installation is complete, you should find all of your files and applications in the same place you left them before the update. Some may sport a new look (those rounded edges on apps and folders look nice, don’t they?) but everything should function as you remember. You may need to fight against your own muscle memory when using Windows 11 (it’s hard not dragging your mouse to the left to select the Start menu) but it won’t be long before you’re blazing through the new operating system like a pro.
- More: The best Windows 11-ready laptops so far; How to play Android games on your PC with Google Play Games

Tony is a computing writer at Tom’s Guide covering laptops, tablets, Windows, and iOS. During his off-hours, Tony enjoys reading comic books, playing video games, reading speculative fiction novels, and spending too much time on X/Twitter. His non-nerdy pursuits involve attending Hard Rock/Heavy Metal concerts and going to NYC bars with friends and colleagues. His work has appeared in publications such as Laptop Mag, PC Mag, and various independent gaming sites.
 Club Benefits


