7 common DIY mistakes you’re making right now
Are you making any of these common DIY mistakes?

Whether you’re putting up wall shelves, renovating or simply doing the odd repair job around the home, you might be guilty of making any of these 7 common DIY mistakes.
And while you might enjoy getting creative, as well as saving money on professional services — knowing what mistakes to avoid will make your home improvement projects run more efficiently with better results. What’s more, these common DIY mistakes could cost you money and time, which defeats the entire purpose. This is especially the case when you have a limited budget, or if you’re new to the world of DIY-ing.
So before you whip out those power tools or paint brushes, try to avoid these 7 common DIY mistakes.
1. Taking incorrect measurements
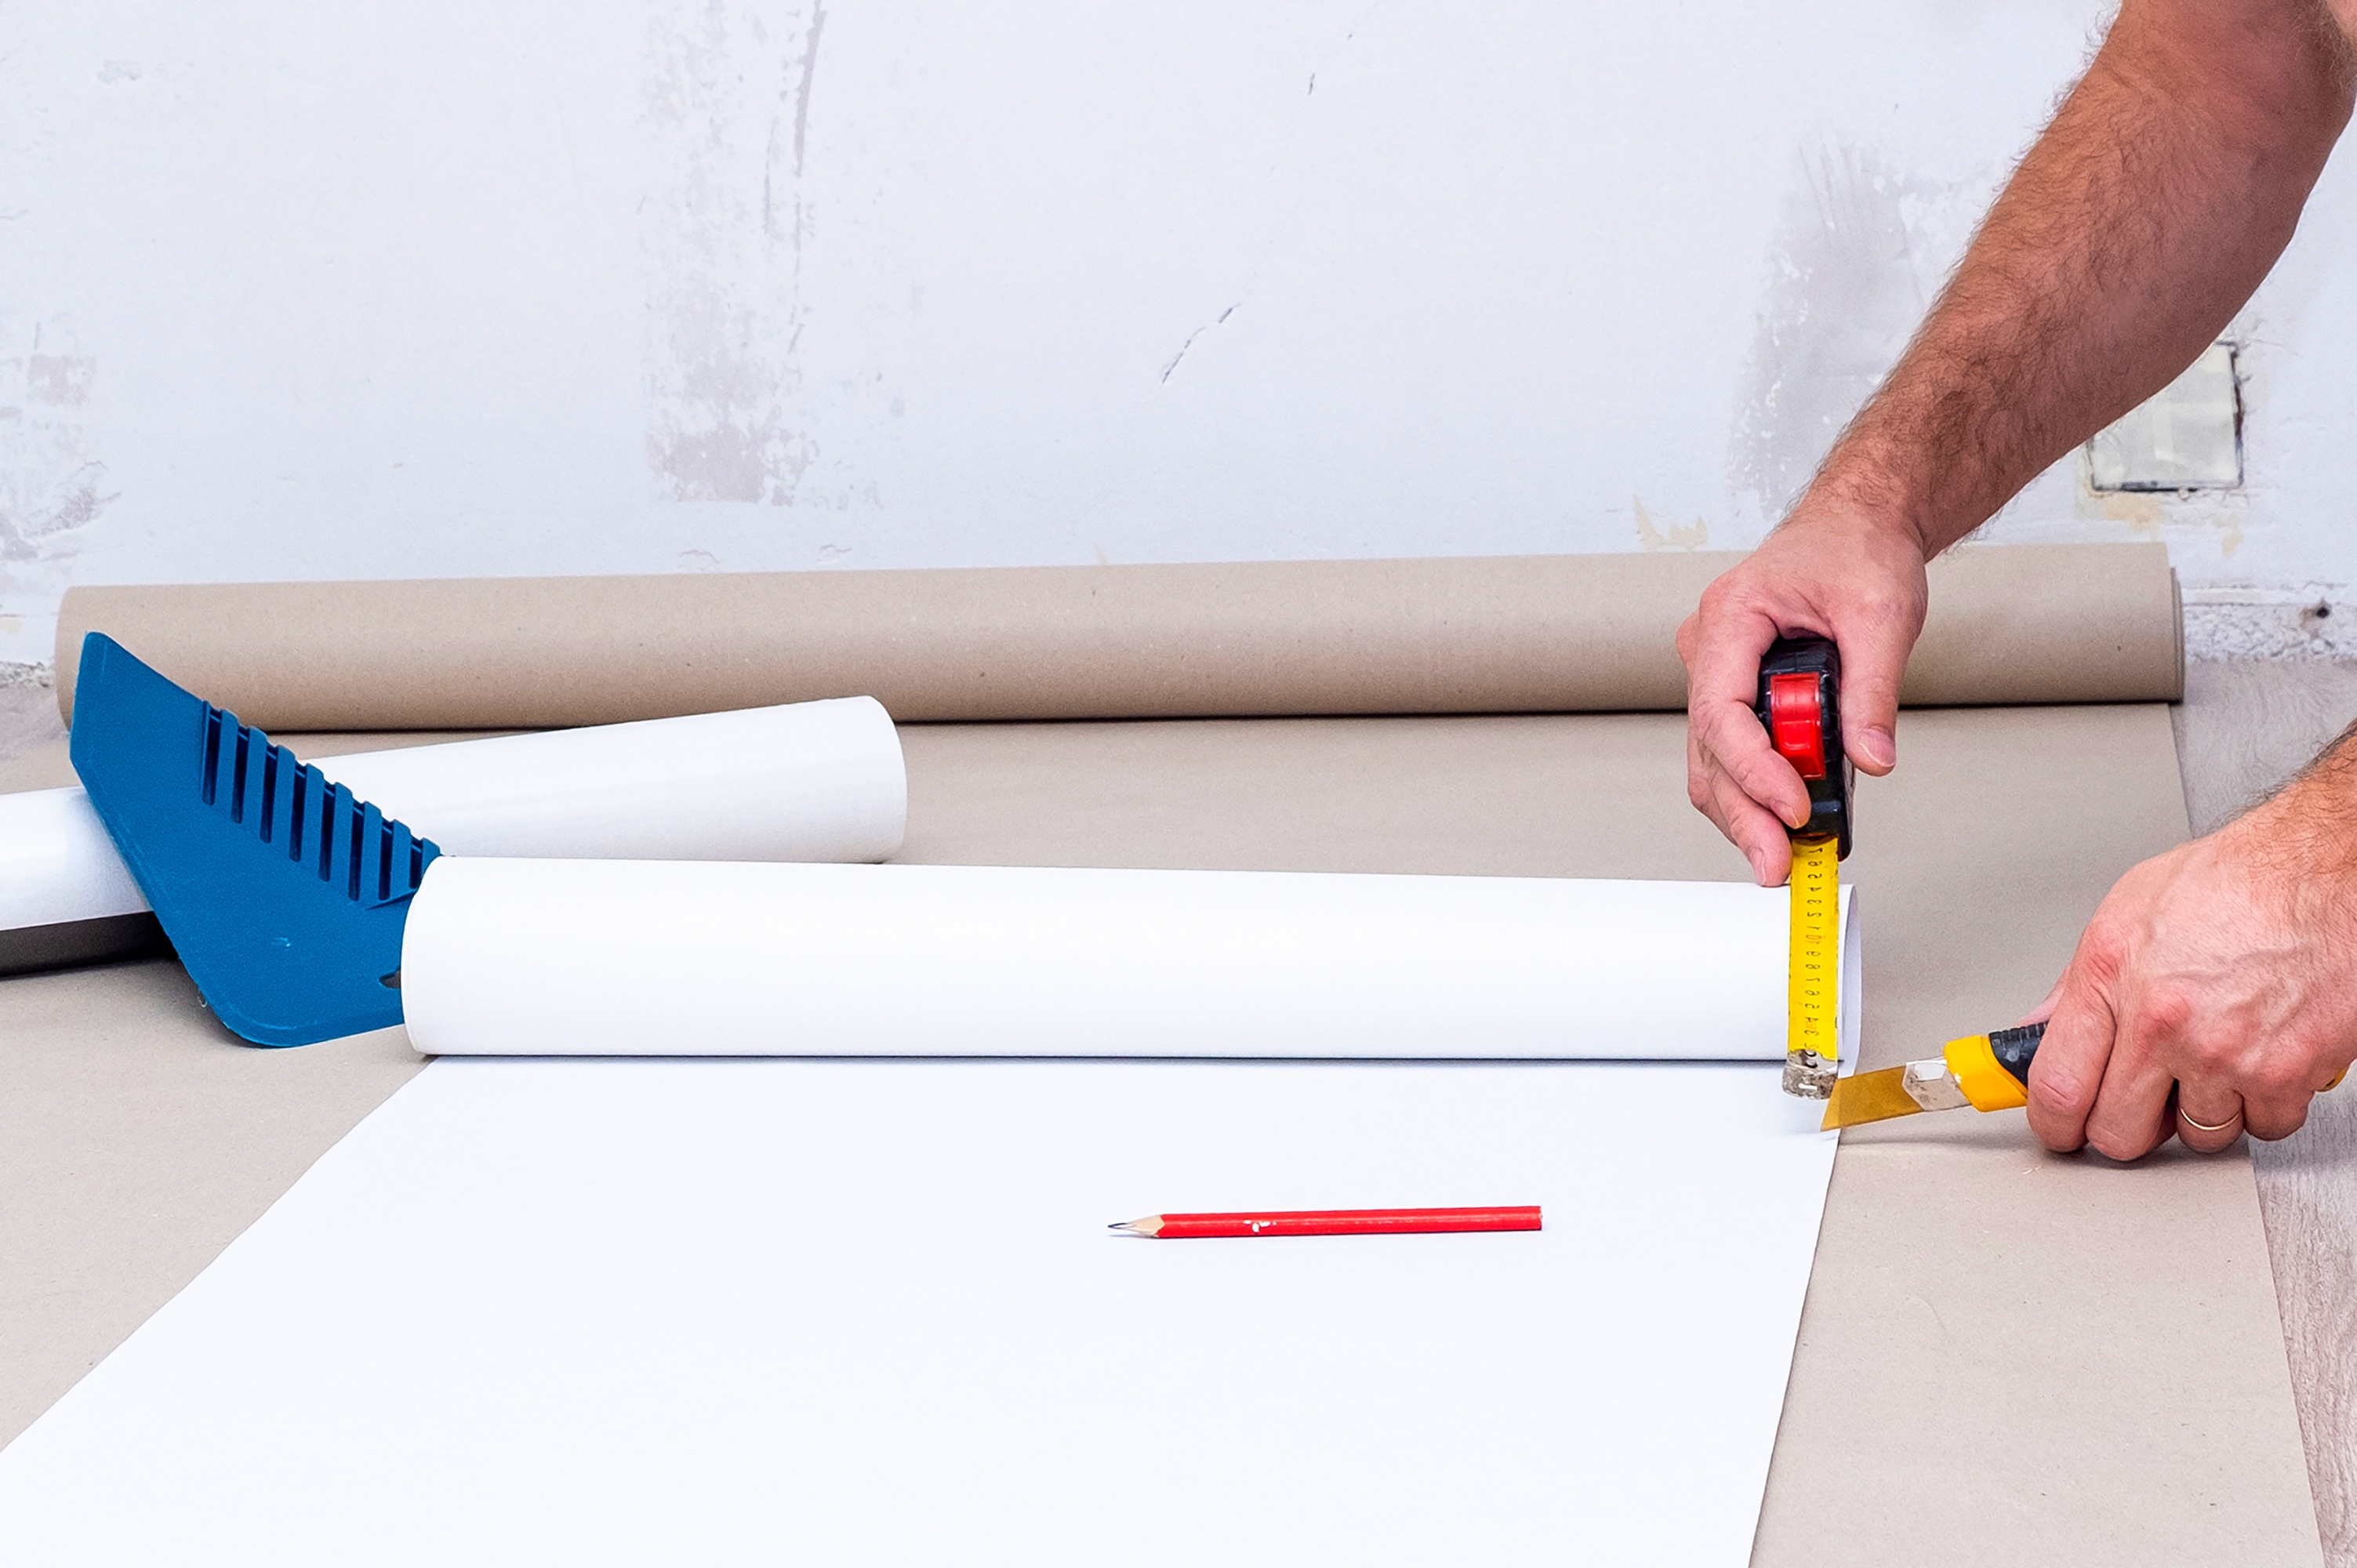
This is one of the most common DIY mistakes we tend to make, and often a nightmare to fix. From cutting a piece of wood to wallpapering a room, even the slightest error in measurements can result in a whole project being ruined.
Experts advise to take the time to measure, mark then measure again just to ensure you have the proper readings. The best way to get consistent measurements is to use only one tape measure or ruler throughout the entire project. Keep the tool straight and flat against the surface you're measuring before double-checking your measurements. It’s always advisable to hold the work in position and mark the piece directly, rather than transferring the measurement.
In addition, if you’ve purchased materials that are customized for your project, the dimensions may not be precise, so it’s always best to measure everything yourself for accuracy. Not only will correct measurements guarantee a better finish, but it will make the task less stressful, without having to start over!
2. Using the wrong tools
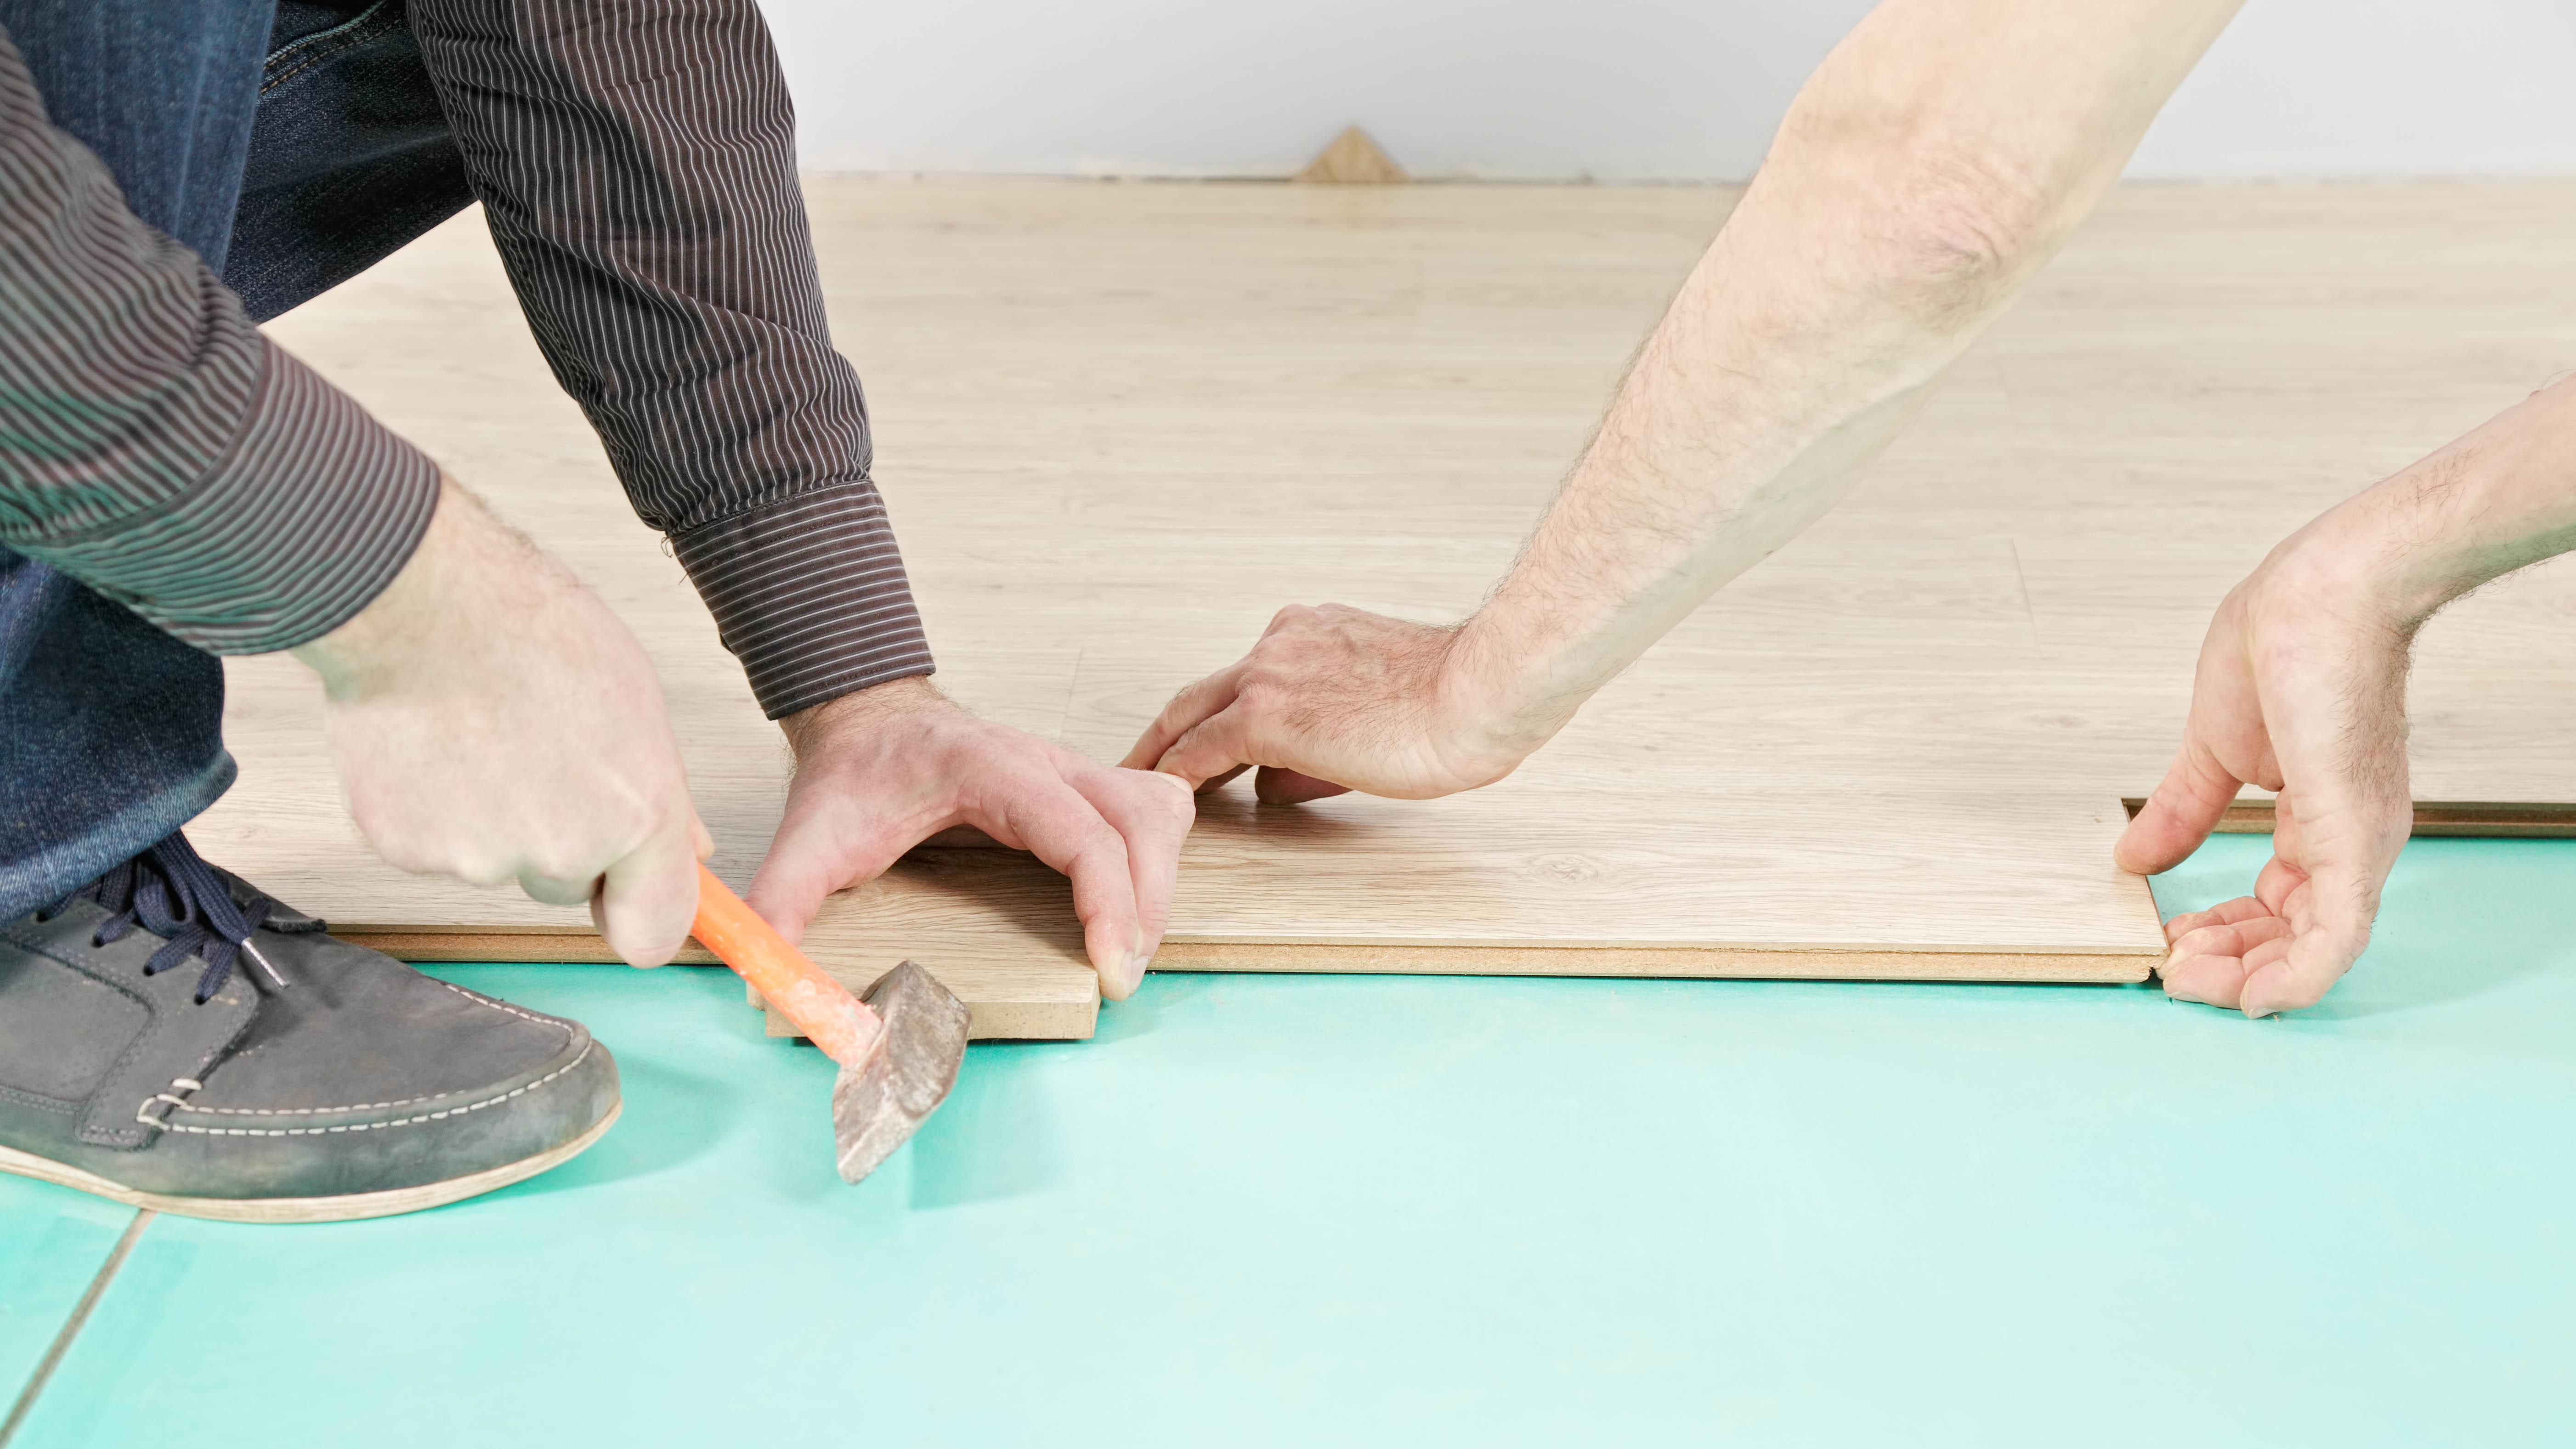
We often assume that our general toolkit can tackle most jobs, however, every project needs specialty tools to get the job done well. In addition, using the proper tool for the task will be much easier and safer, avoiding the risk of potential accidents. If you use excessive force with the wrong tools, this could damage the materials (or tool!), causing further repair problems in the long term. Not to mention, you could hurt yourself as well.
Get instant access to breaking news, the hottest reviews, great deals and helpful tips.
Always use the correct tool or equipment for the task at hand, and ensure you learn how to use them properly. In any case, if you don’t want to spend money on expensive tools, you can always rent them from home improvement centres, or ask a friend or family member to borrow theirs. And if you’re unsure on the proper tool to use, always seek advice from an expert at your local DIY store.
3. Not sanding wood first
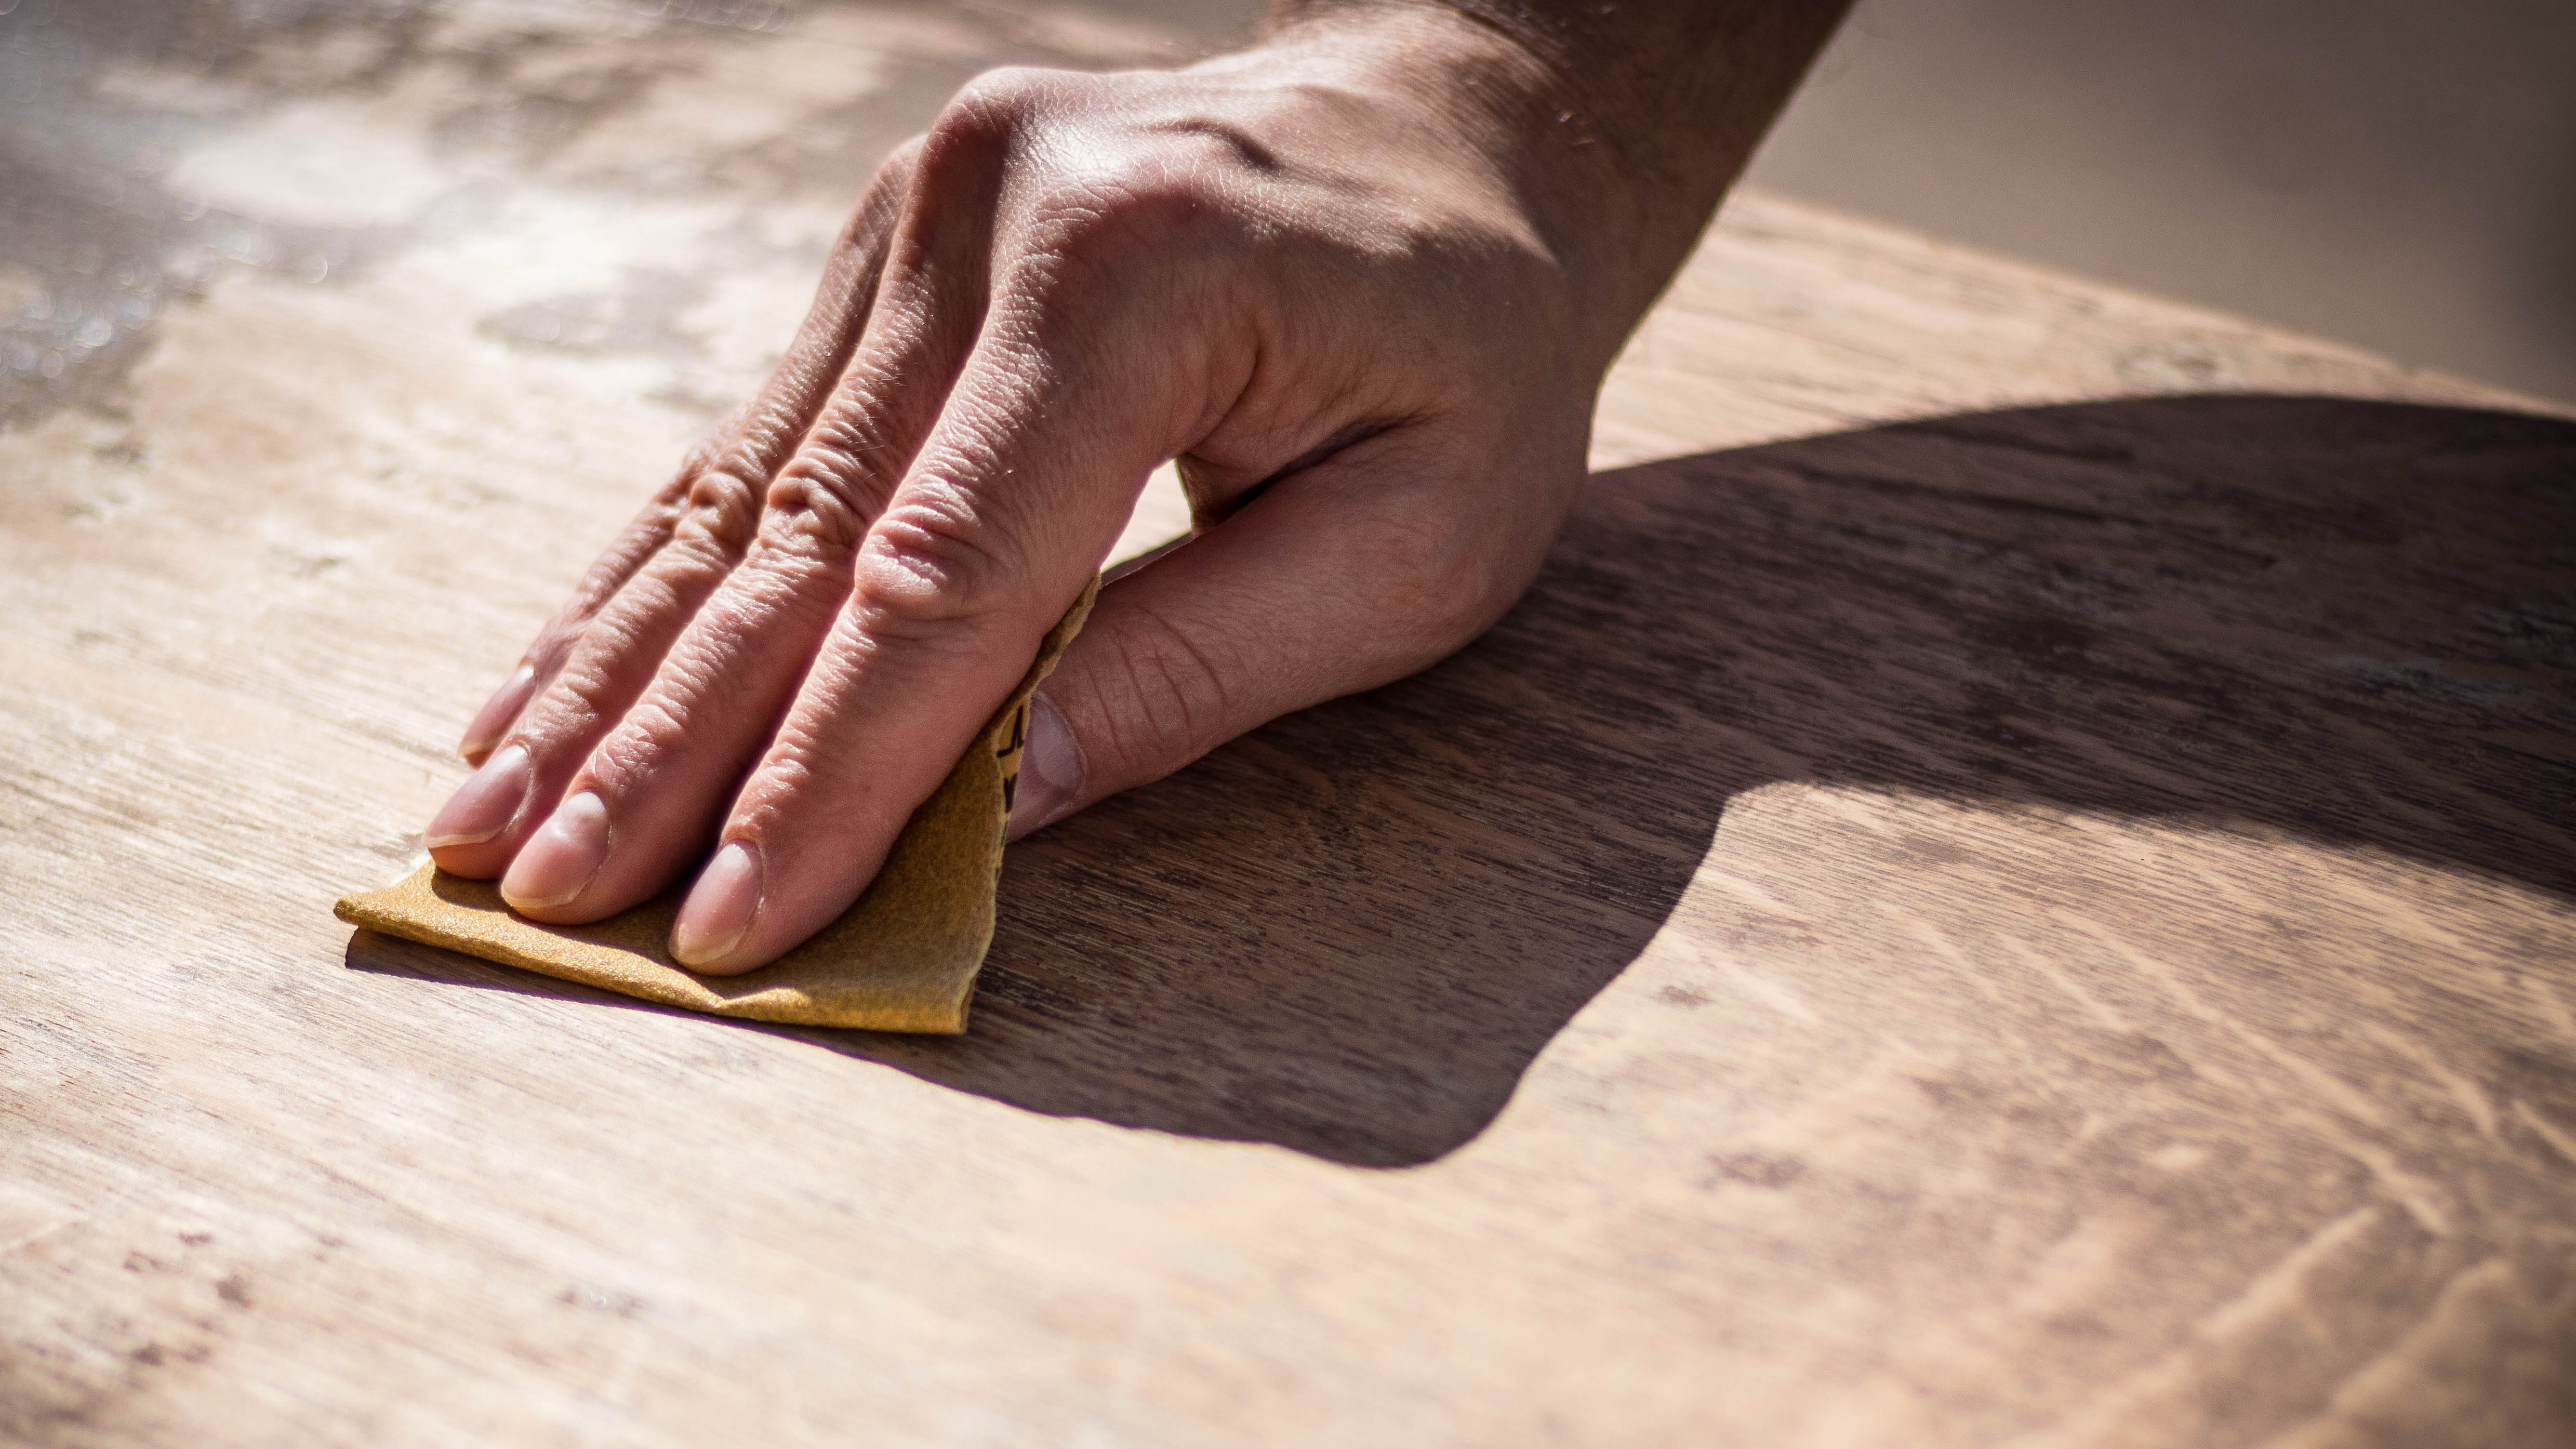
If you’re updating wooden furniture to give it a vibrant makeover, we often forget to sand the wood first. Before painting or staining wood, it’s essential to prep it by sanding down the surface with a suitable grit sandpaper.
A smooth finish will ensure that the paint color sticks to the surface more effectively, plus it leaves a clean and silky-smooth finish. If you don’t sand wood down before staining or painting, it will show up unsightly bumps, scratches or marks, resulting in an uneven coat.
Typically, there are various sandpaper grit sizes available — coarse, medium and fine. So make sure you buy the type that is suited for your task to avoid scratching or surface damage.
4. Taking short cuts
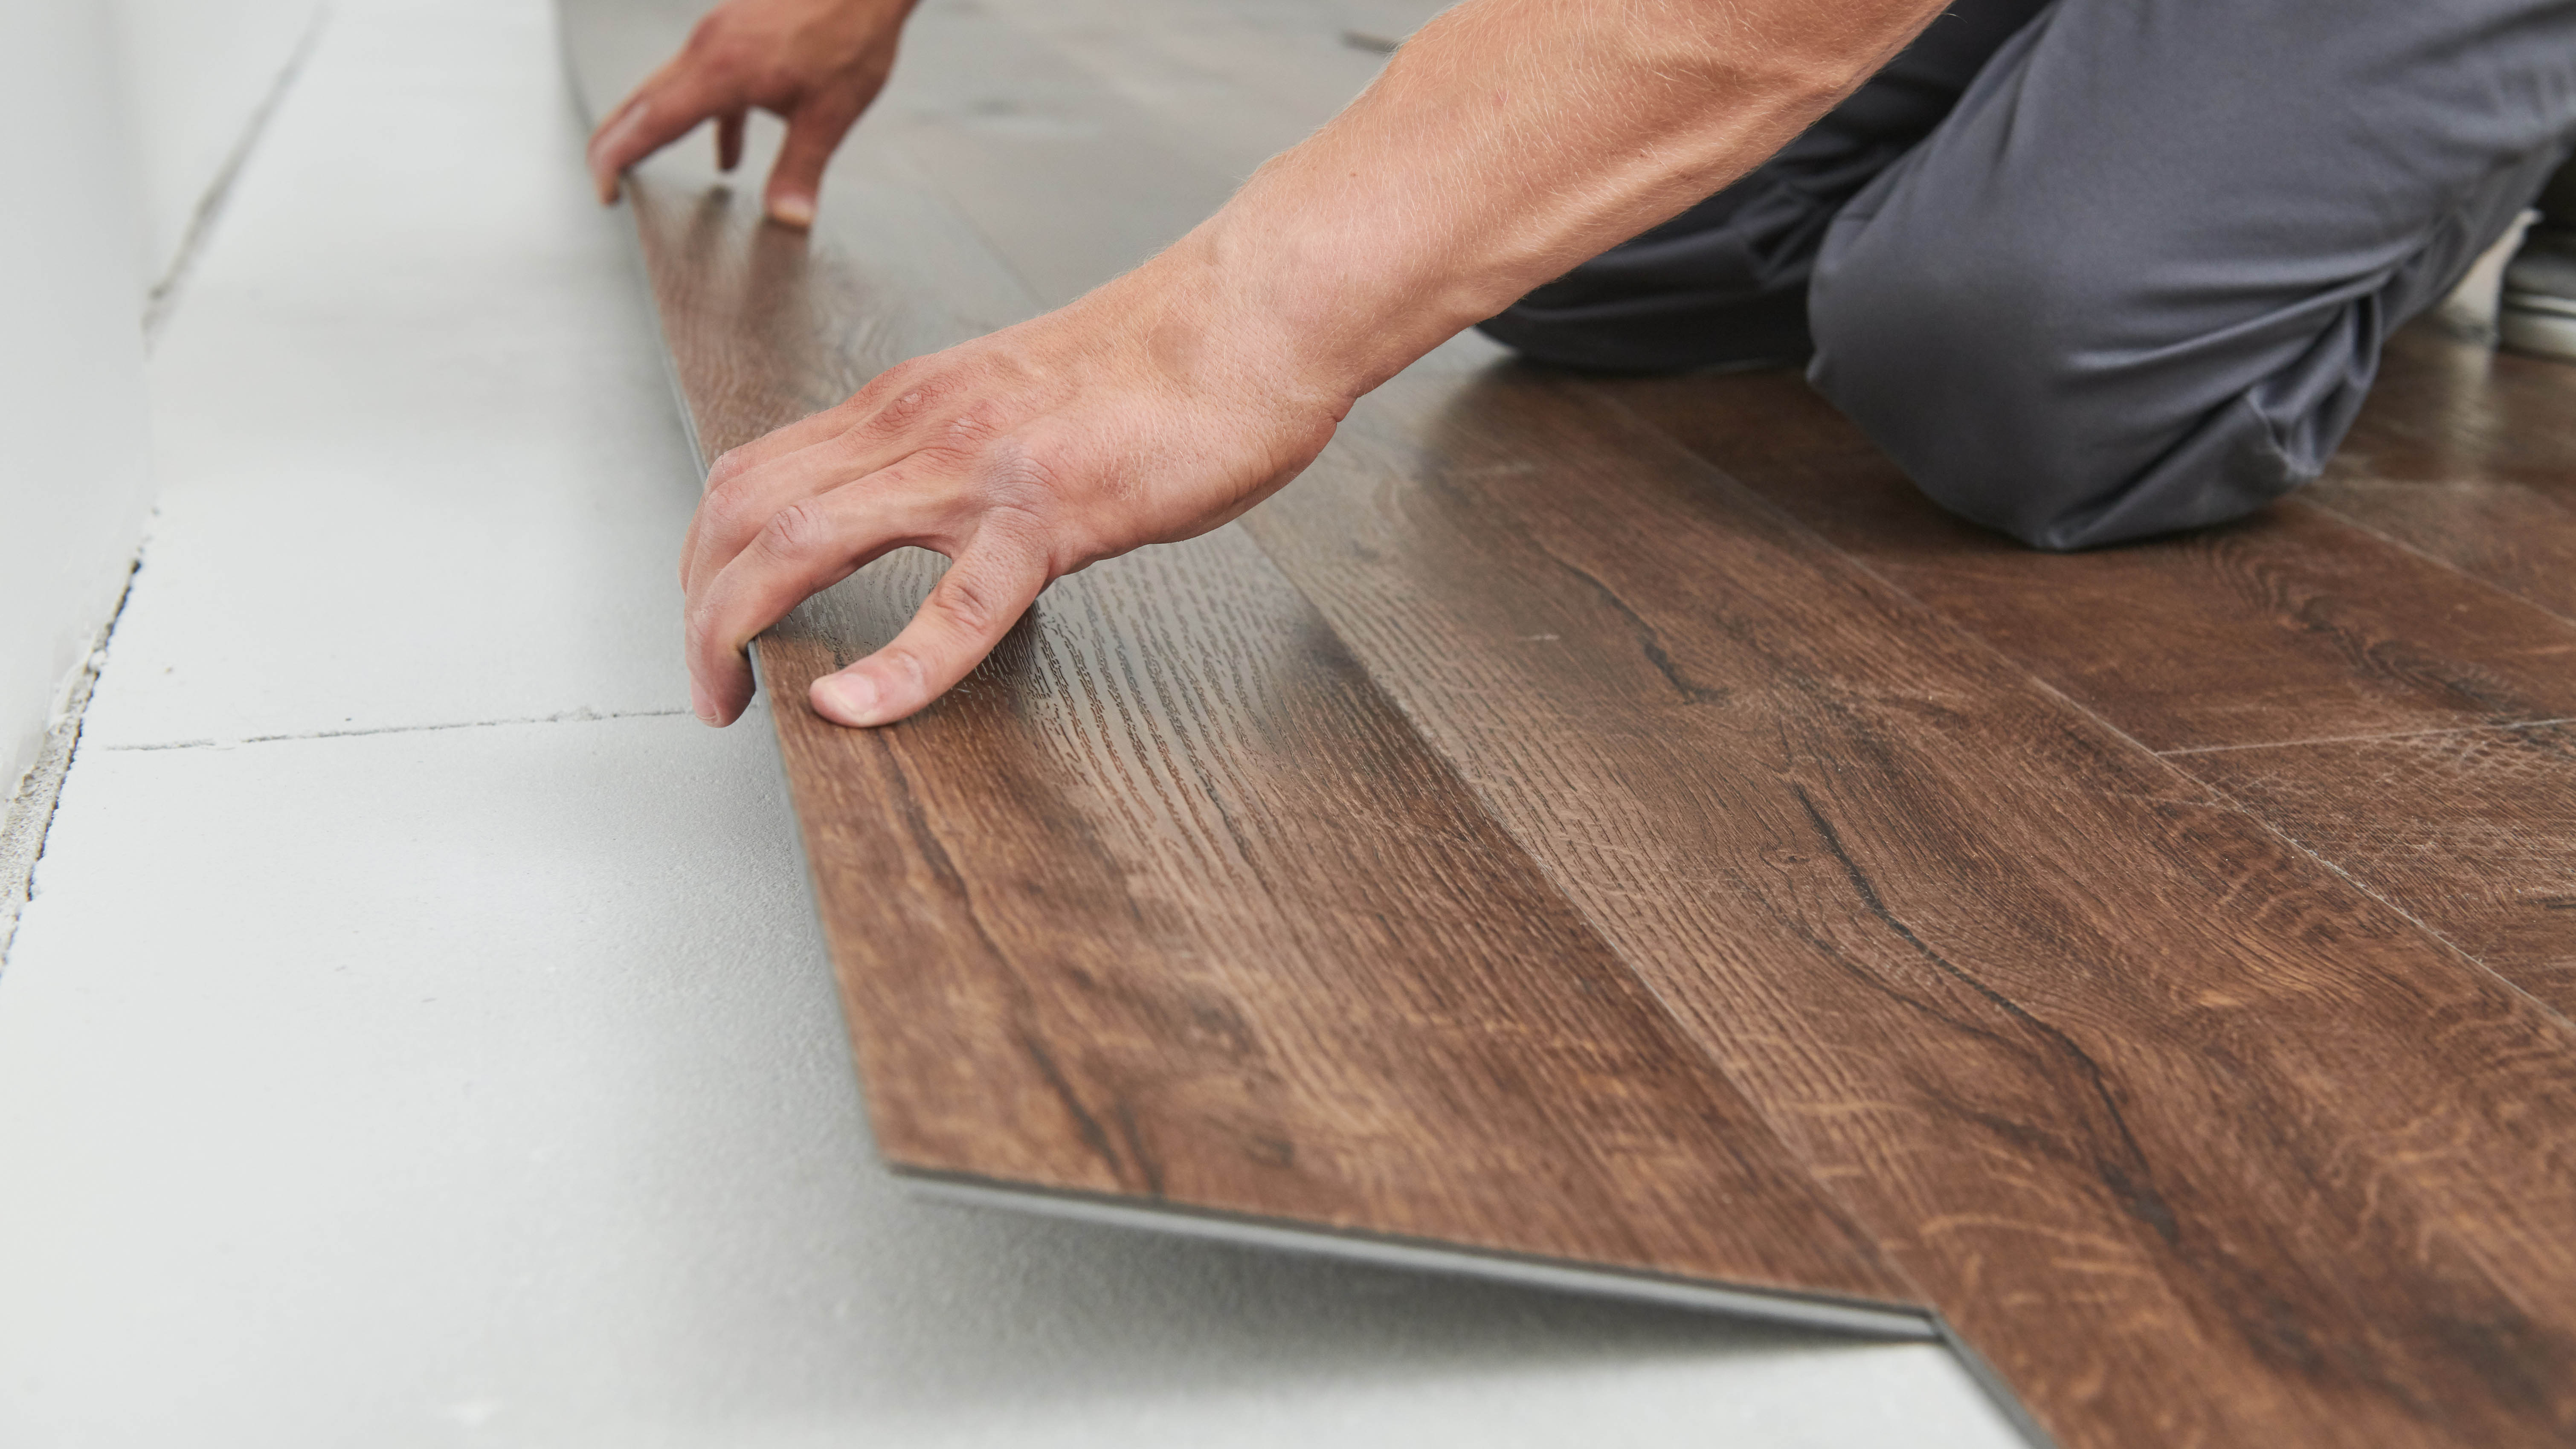
Not following the proper steps is another common DIY mistake. While you might think that you’re saving time by cutting corners, this could actually cost you in the long-run. Whether it’s decorating, assembling or upcycling furniture, if you miss one vital step in the process, this could instantly throw off your entire project.
For instance, skipping essential prep work like cleaning or sanding down surfaces can result in an uneven and unsightly finish. Or not bothering to place the correct underlay before learning how to install laminate flooring, can result in further damage.
Before rushing ahead, always take the time to read and follow instructions or advice carefully. Make sure you have the necessary tools before you start, and understand that some steps can take longer than others. Patience is a virtue if you want to have stunning results!
5. Not doing a ‘test-run’
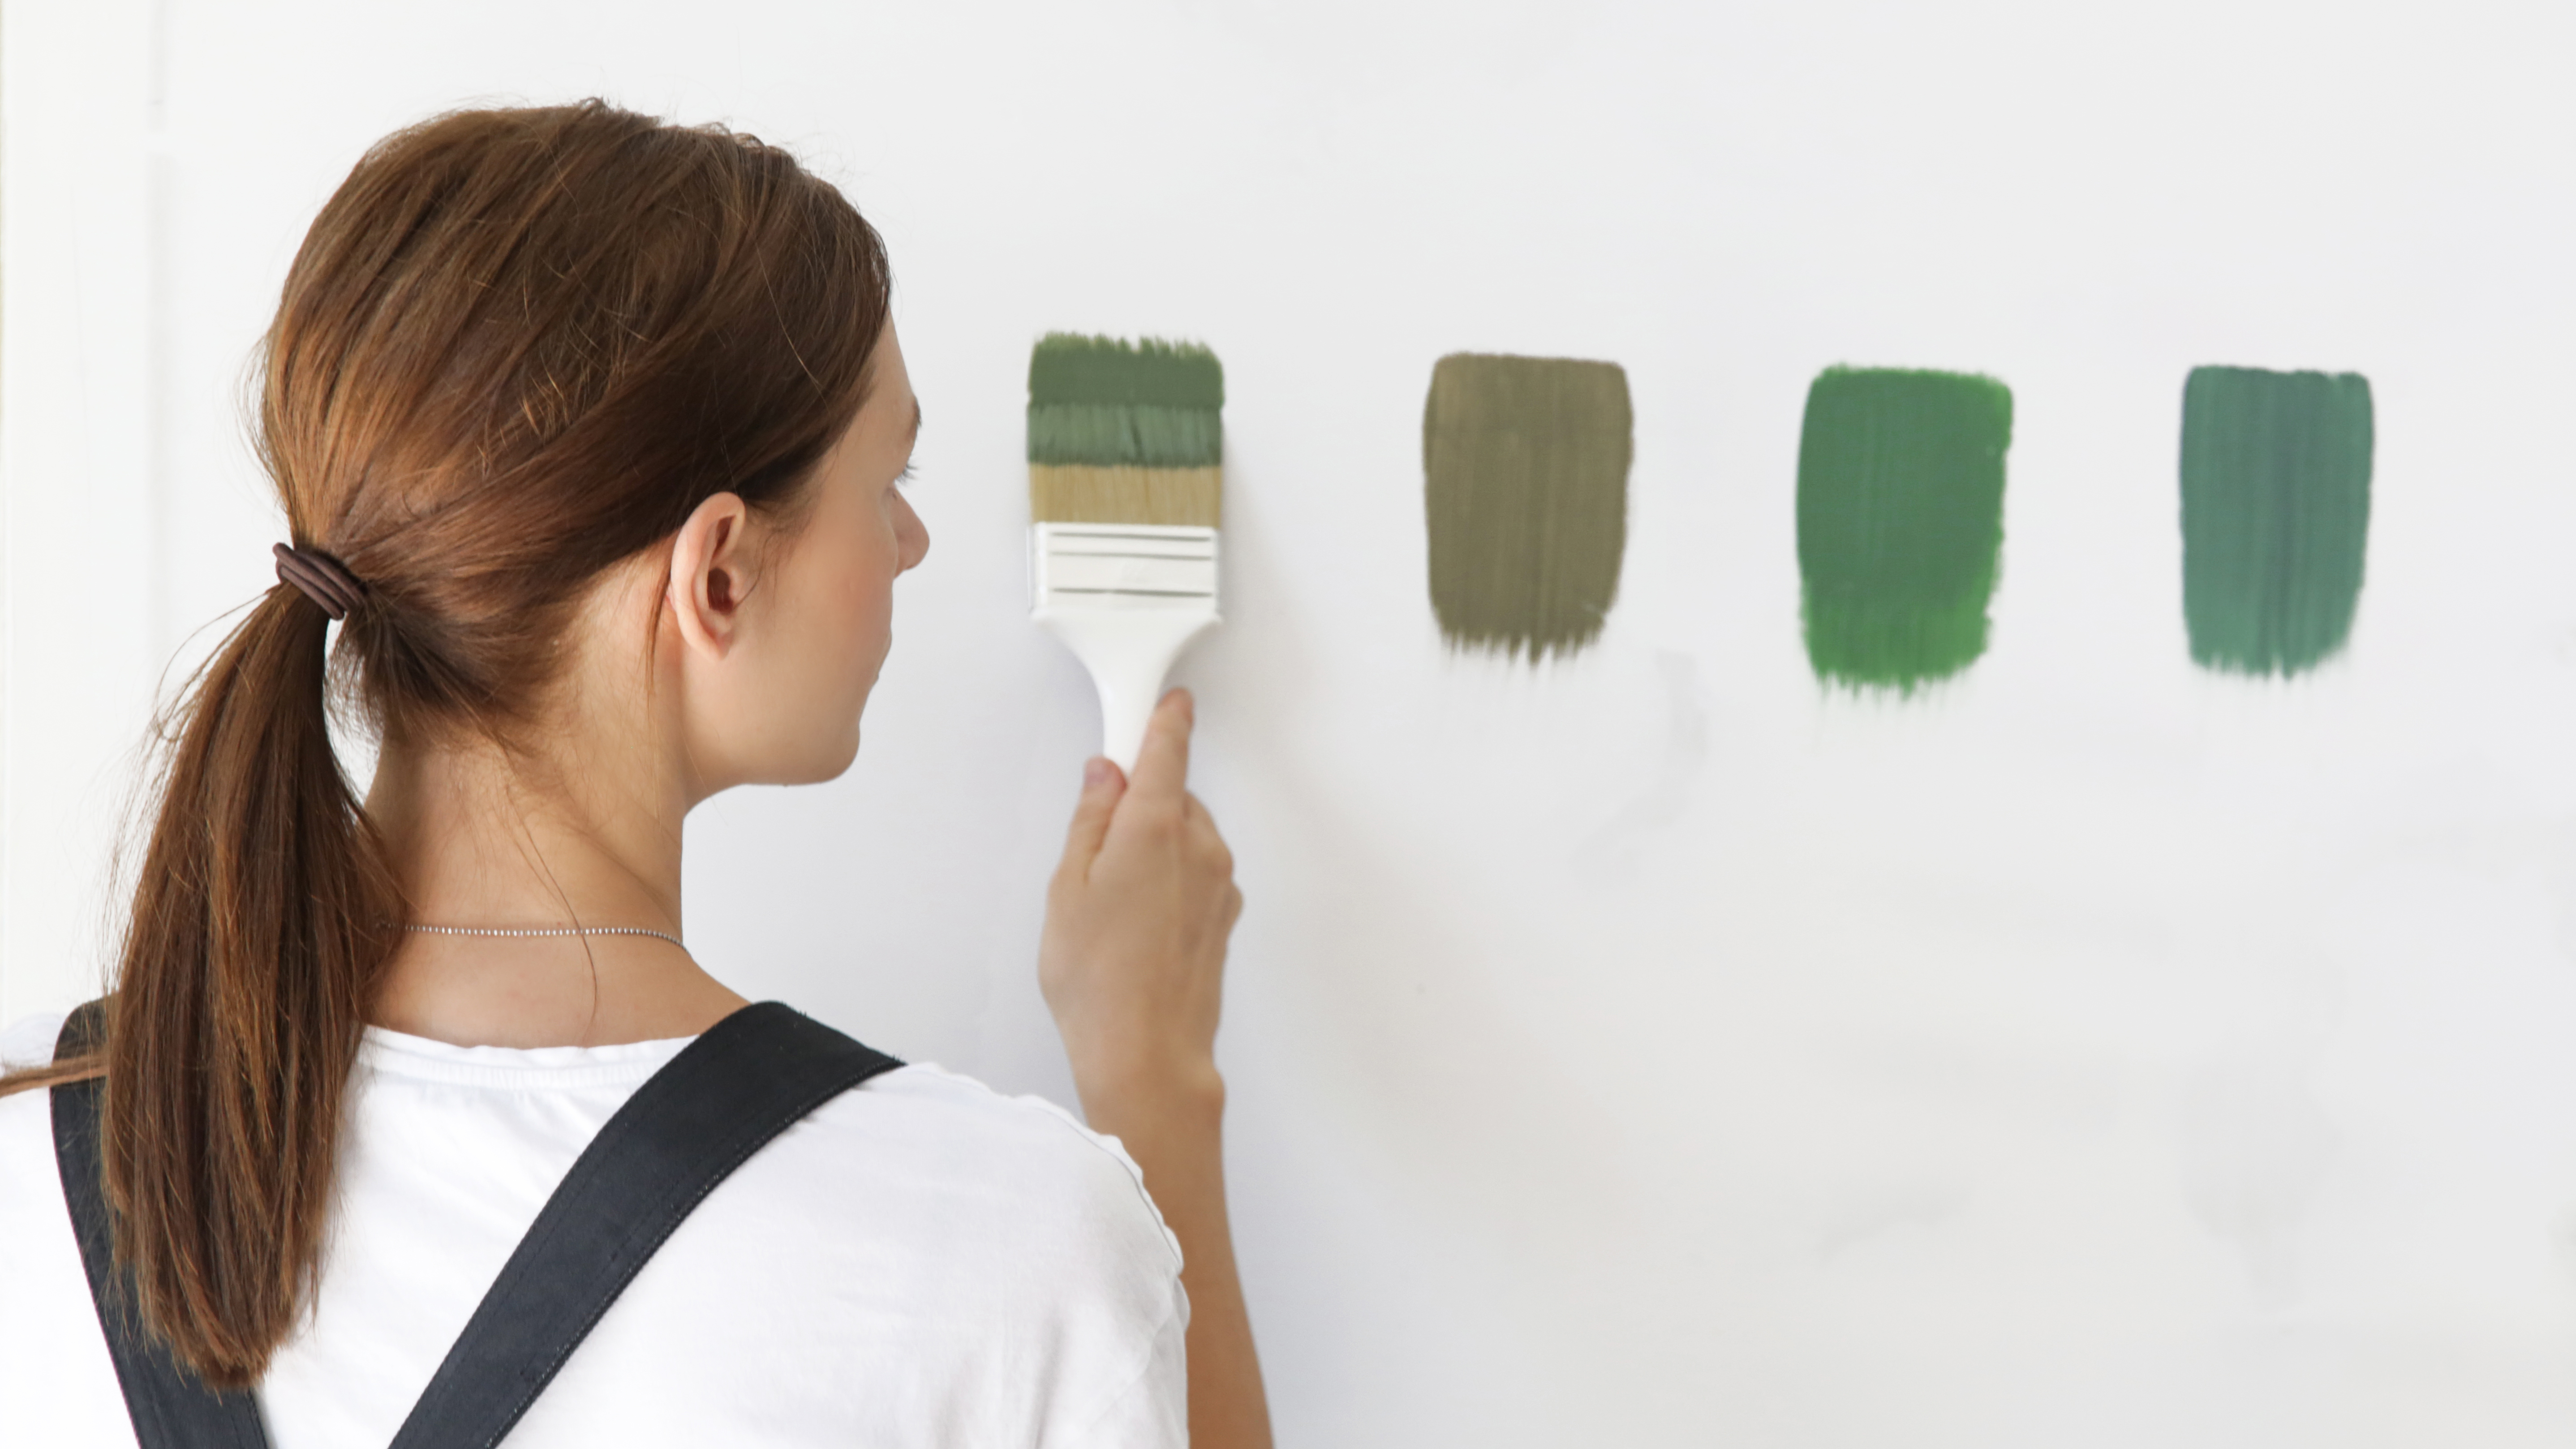
Before starting a new project, it’s always good to test out the process on leftover scraps of materials. Whether it’s trying out a new tool, cutting into wood, or painting, do a test-run before applying your skills to the real thing. That way, you won’t accidently ruin the materials you’ve just bought, and it will give you the confidence to do the job well.
Another common mistake is not trying out test paints before painting a room. Typically, paint tones look different from the swatch cards we see in the store, versus on a wall. So experts advise to choose and try out three shade samples of your chosen color, so you can see the subtle undertones. This will save you the hassle of having to repaint if you don’t like the end results.
You might also want to check out these 7 clever painting hacks that you wish you knew sooner for a fuss-free job. Or how to paint a ceiling without making a mess!
6. Not allowing walls to dry properly
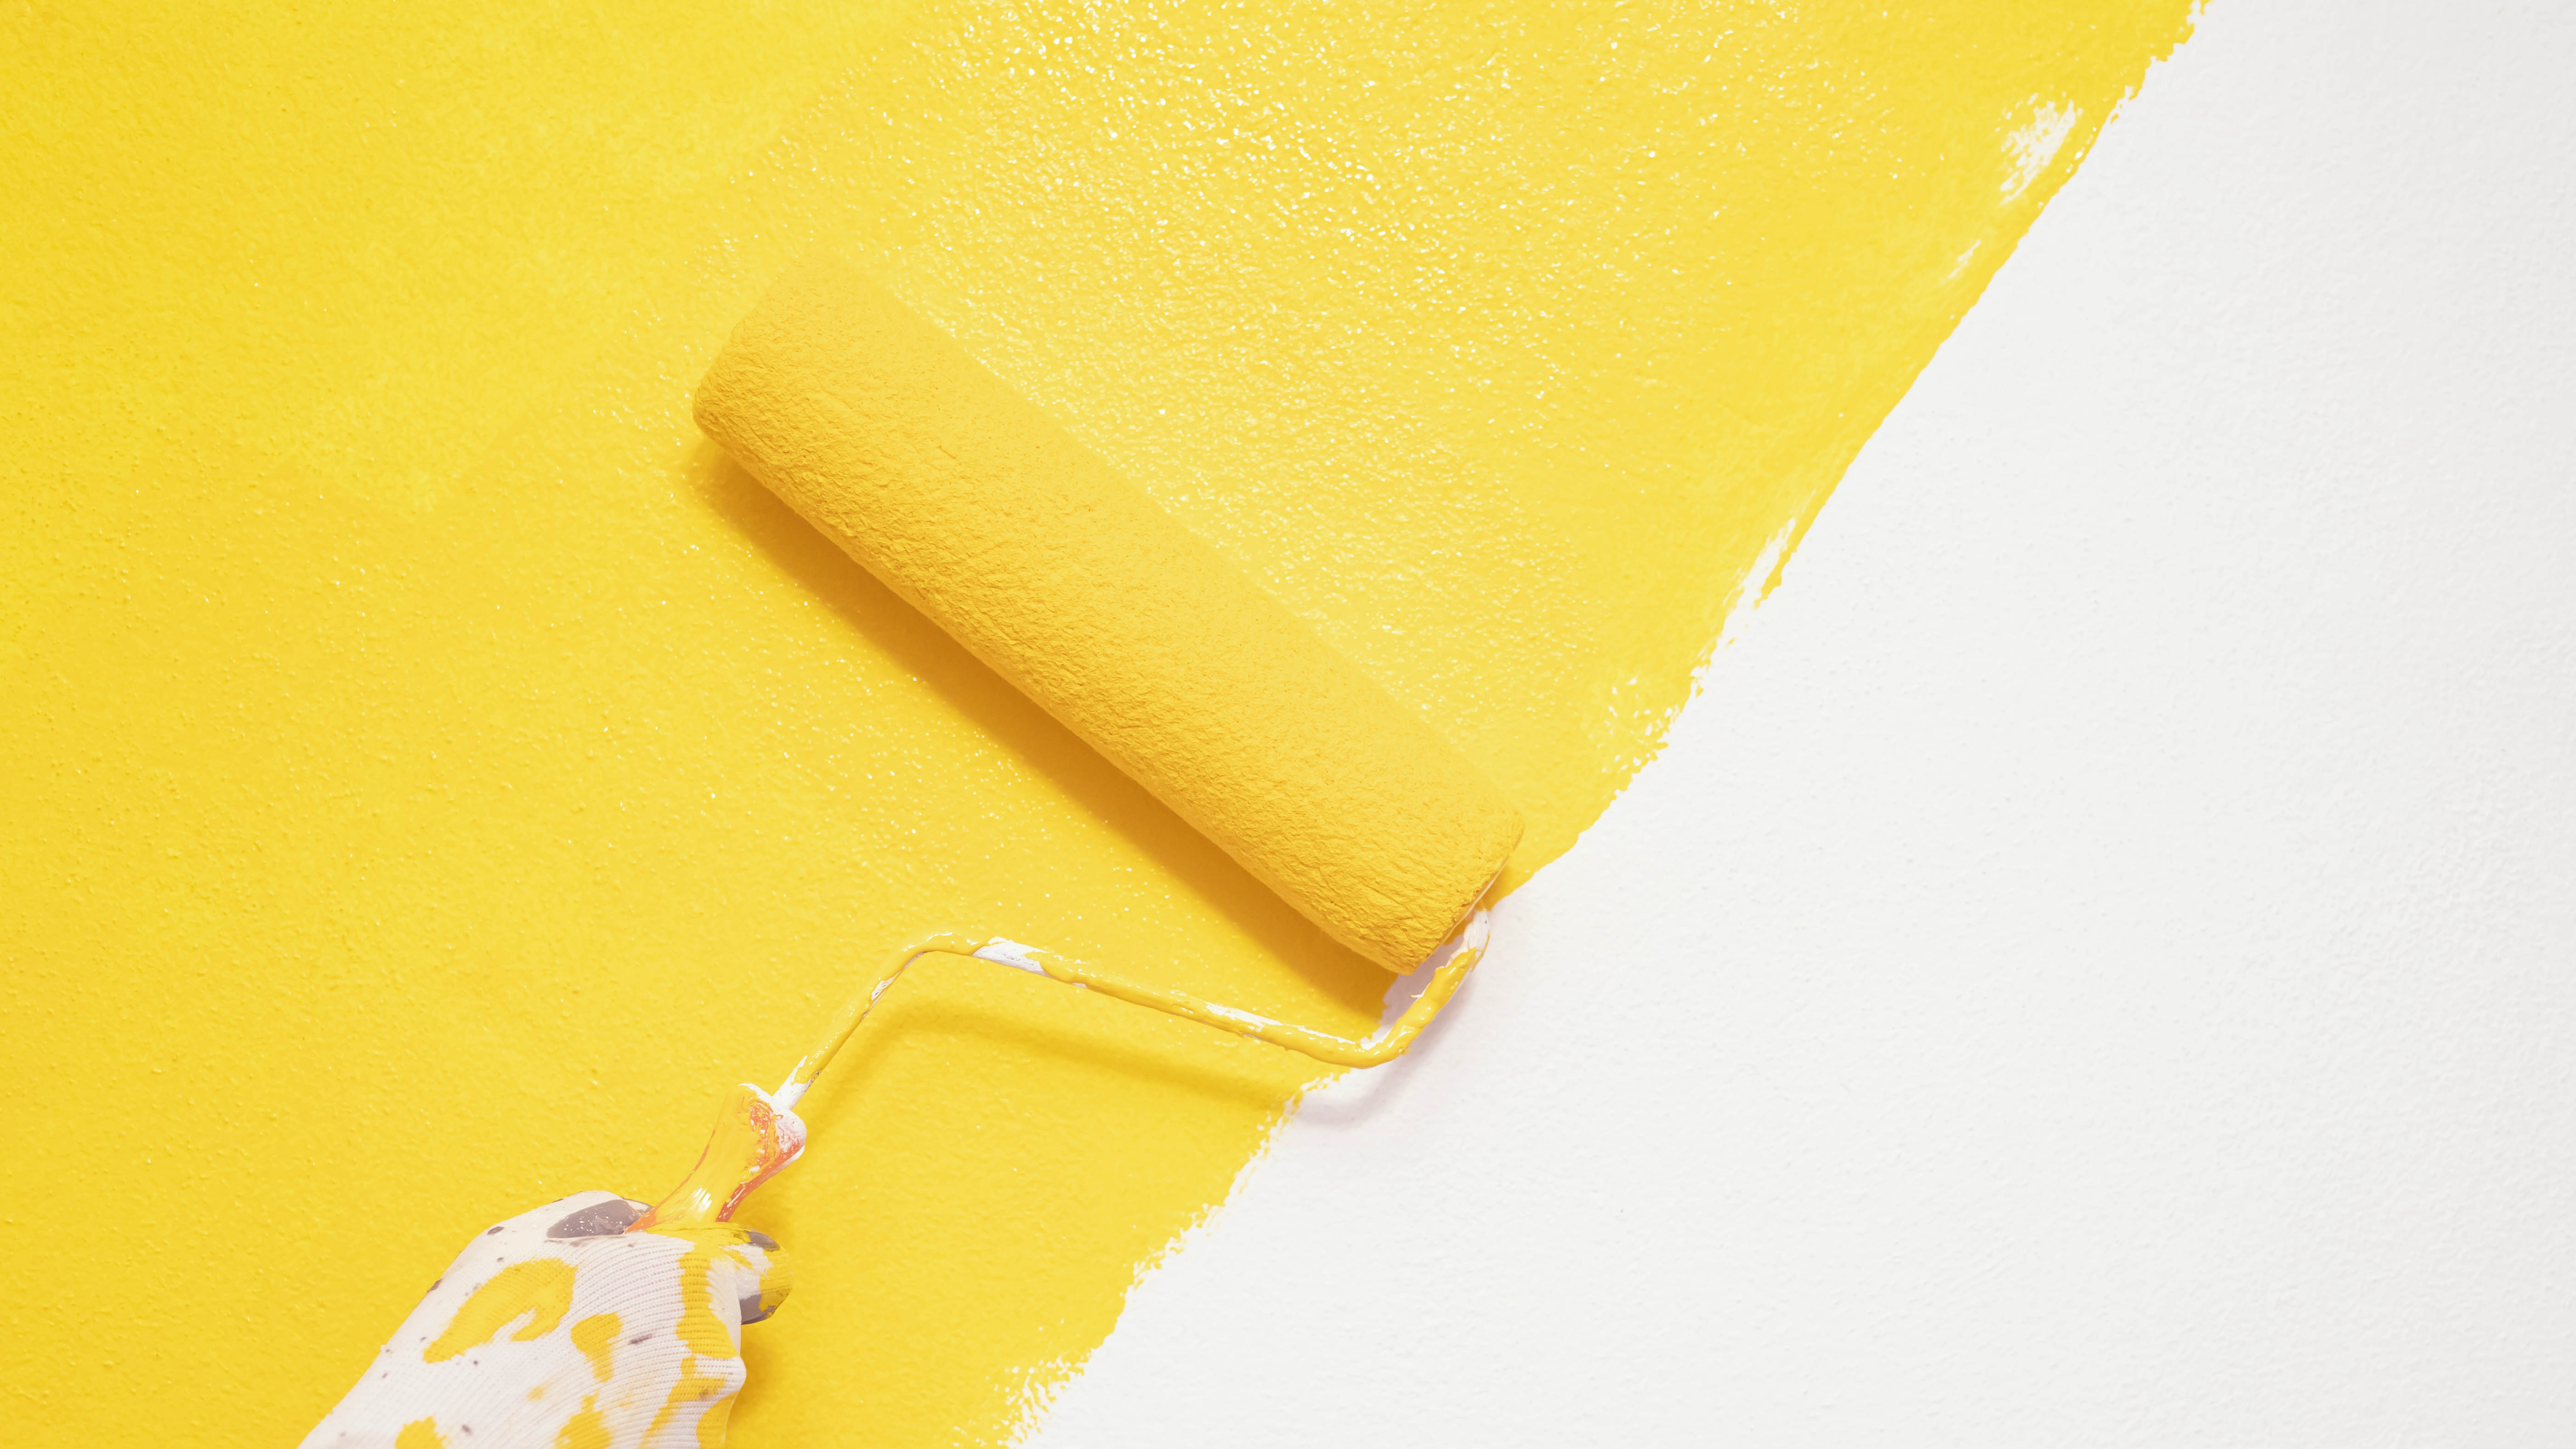
This leads on to another common DIY mistake, which is not allowing wet walls to dry properly. You may be eager to return your furniture to your revamped room, however, it’s always best to wait until paint completely dries.
Once you start moving things around, you might risk scuffing or marking wet walls, ruining all your hard work. What’s more, if you decide to vacuum dirt or debris from the floor, any dust expelled into the air will stick to the paint, leaving unsightly traces. In fact, it’s recommended to clean baseboards and walls before you start painting, to eliminate any dust. And always keep dust sheets down until you are certain all the paint has dried to the touch.
Typically, latex or water-based paints are usually dry to the touch after one hour and you can recoat within four hours. While oil-based paints take much longer and are dry to the touch between six to eight hours. In this case, you’ll need to wait 24 hours before you can recoat. However, it’s best to check the instructions on the paint label to confirm specific dry times.
In the case of an accident, here’s how to get paint out of the carpet, and if you want to maintain your walls, here's how to clean painted walls to remove stains.
7. Not taking proper safety precautions
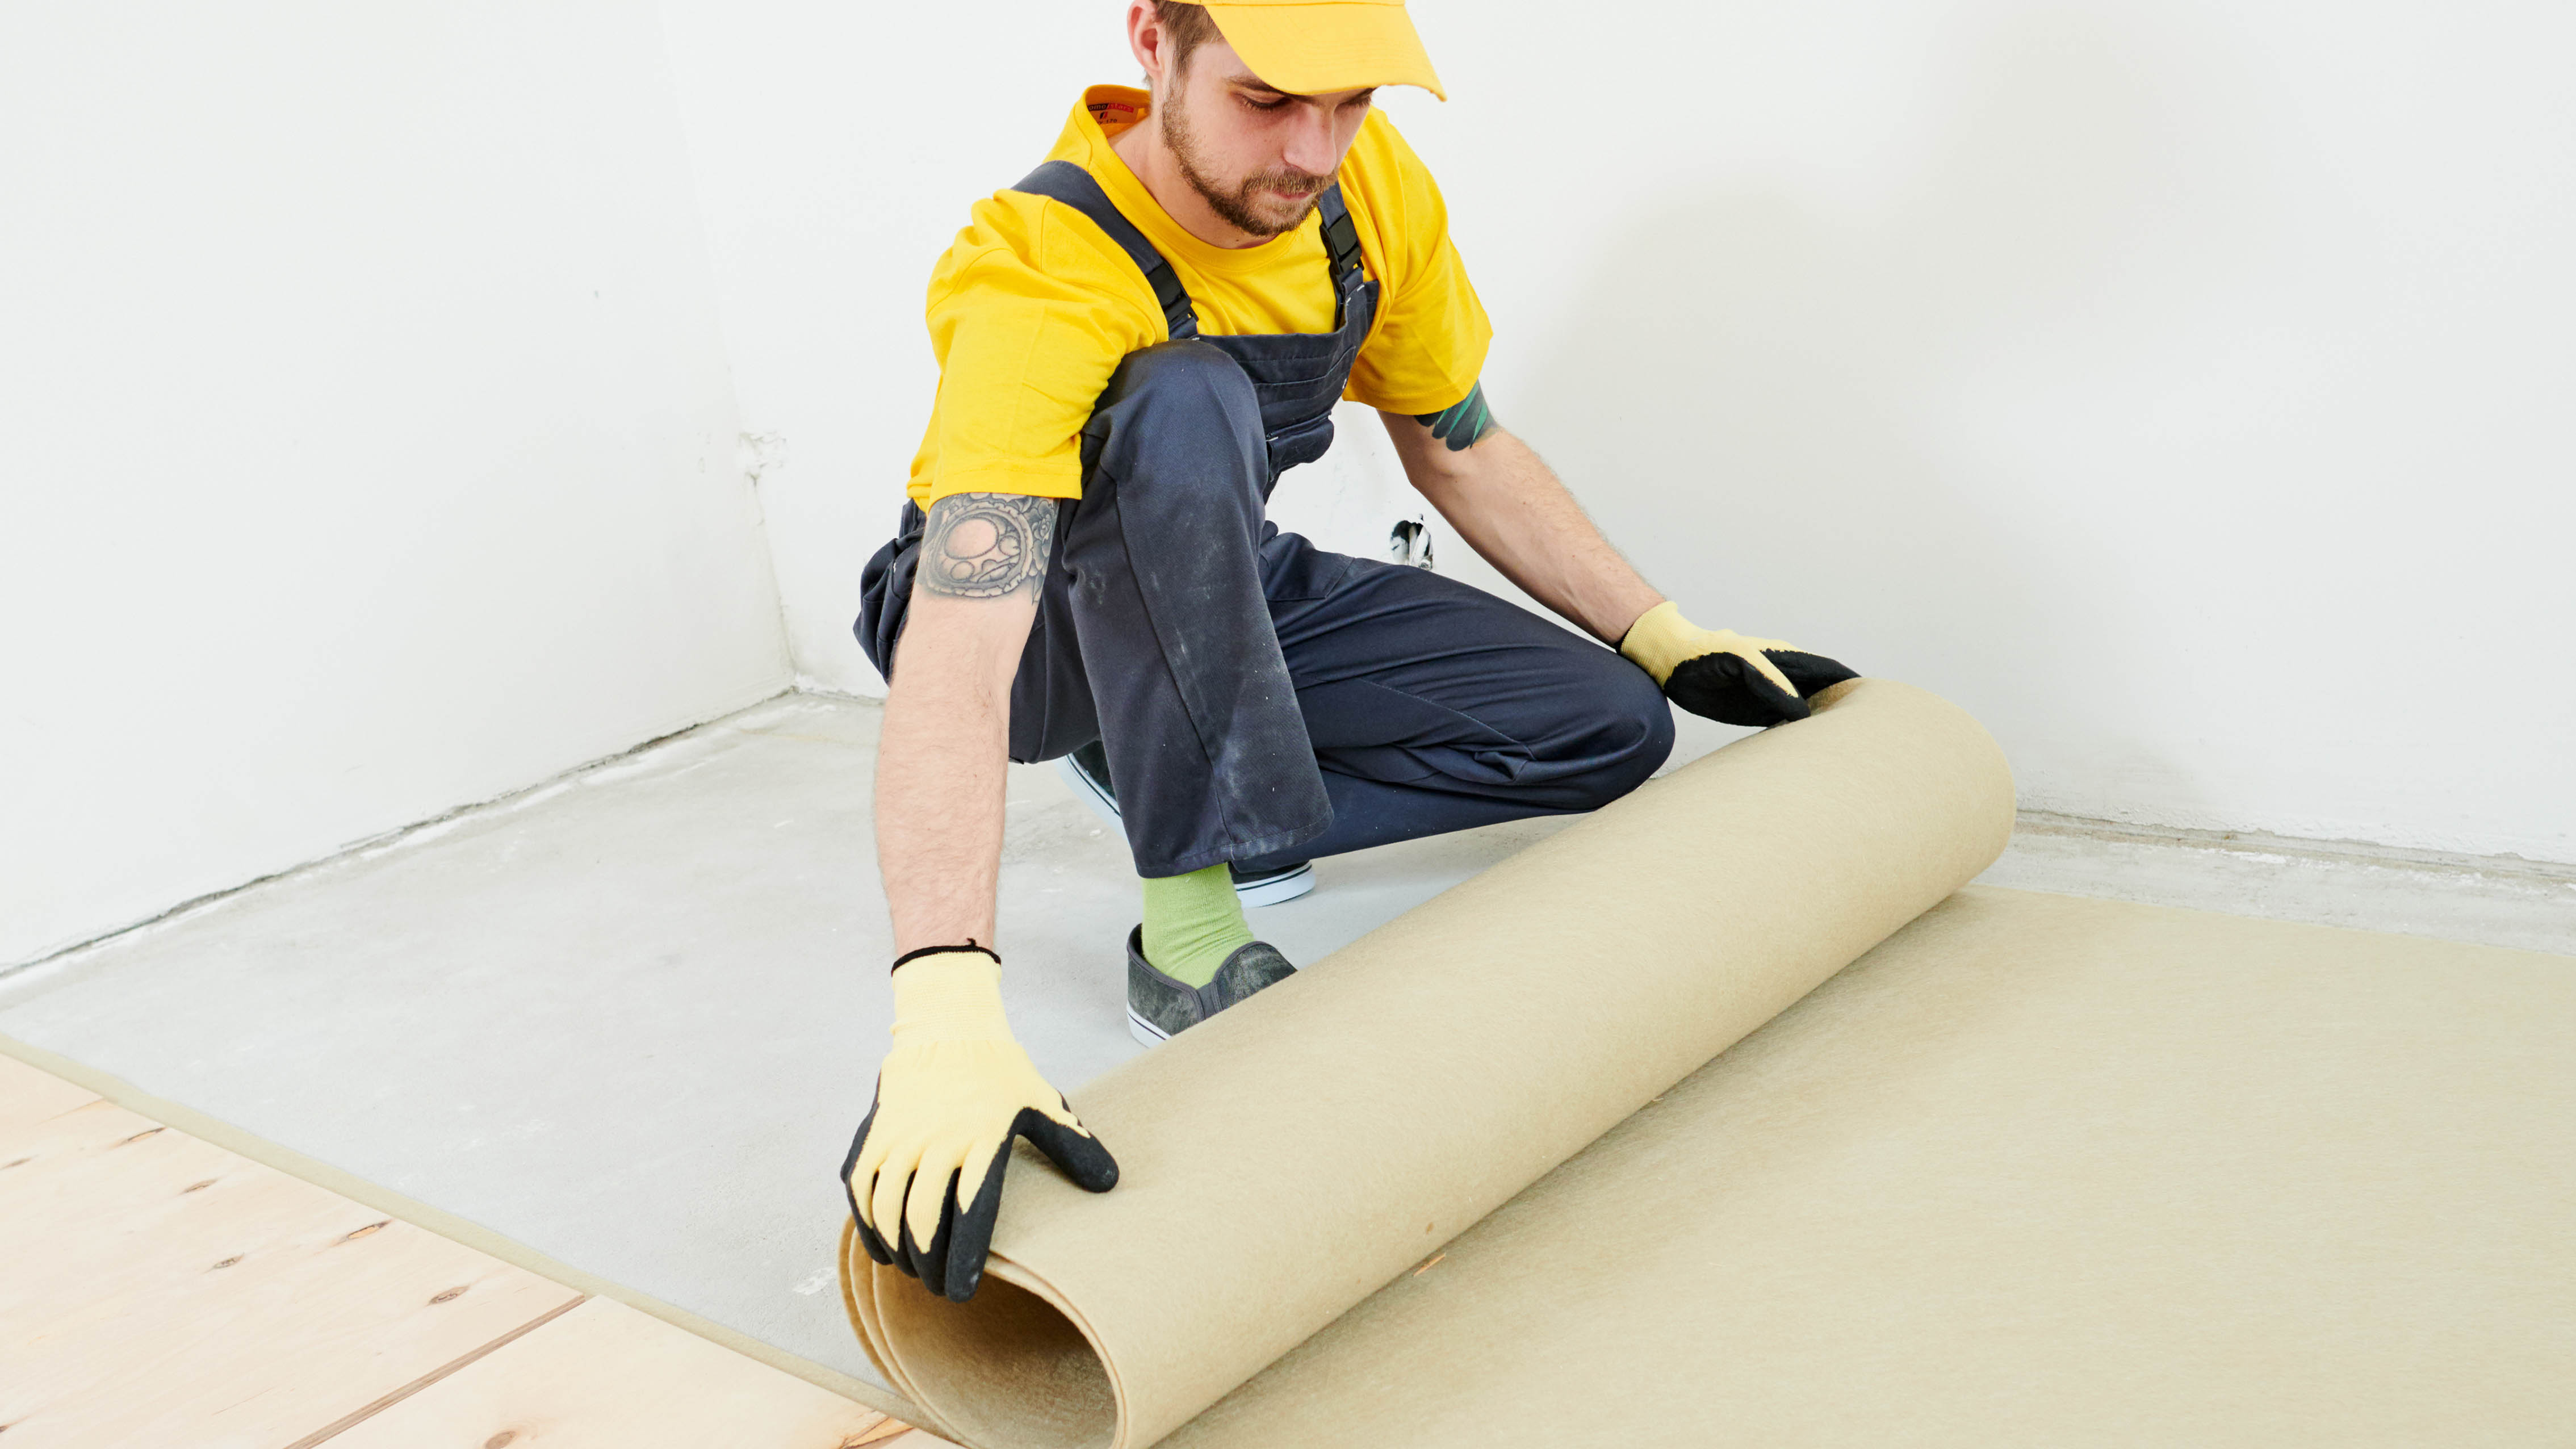
Although it’s not exactly a building site, we often forget to take safety precautions when doing DIY projects. Be it using the wrong footwear to climb a ladder, or not wearing safety glasses or gloves when using power tools, these can cause serious accidents.
Before you start any DIY projects, take the time to read and follow all safety guidelines for your tools. Wear the necessary protective gear for the task at hand, including dust masks, long-sleeved clothing and hearing protection. If you’re dealing with anything electrical, always seek expert advice or hire a qualified electrician if necessary. Safety precautions are essential when tackling DIY jobs, and they can help you avoid potential accidents.
Also, be sure to read, I'm obsessed with home makeover shows — and these are the 3 mistakes people always make. And do you have any of these 7 things that are making your home look cheap? Even if you’re renting, here’s how to decorate a rental property without annoying the landlord.

As the Homes Content Editor, Cynthia Lawrence covers all things homes, interior decorating, and garden-related. She has a wealth of editorial experience testing the latest, ‘must-have’ home appliances, writing buying guides and the handy ‘how to’ features.
Her work has been published in various titles including, T3, Top Ten Reviews, Ideal Home, Real Homes, Livingetc. and House Beautiful, amongst many.
With a rather unhealthy obsession for all things homes and interiors, she also has an interior design blog for style inspiration and savvy storage solutions (get rid of that clutter!). When she’s not testing cool products, she’ll be searching online for more decor ideas to spruce up her family home or looking for a great bargain!
 Club Benefits


