5 expert tips for shaping your hedges like a professional
These top tops will help you shape your hedges like a pro
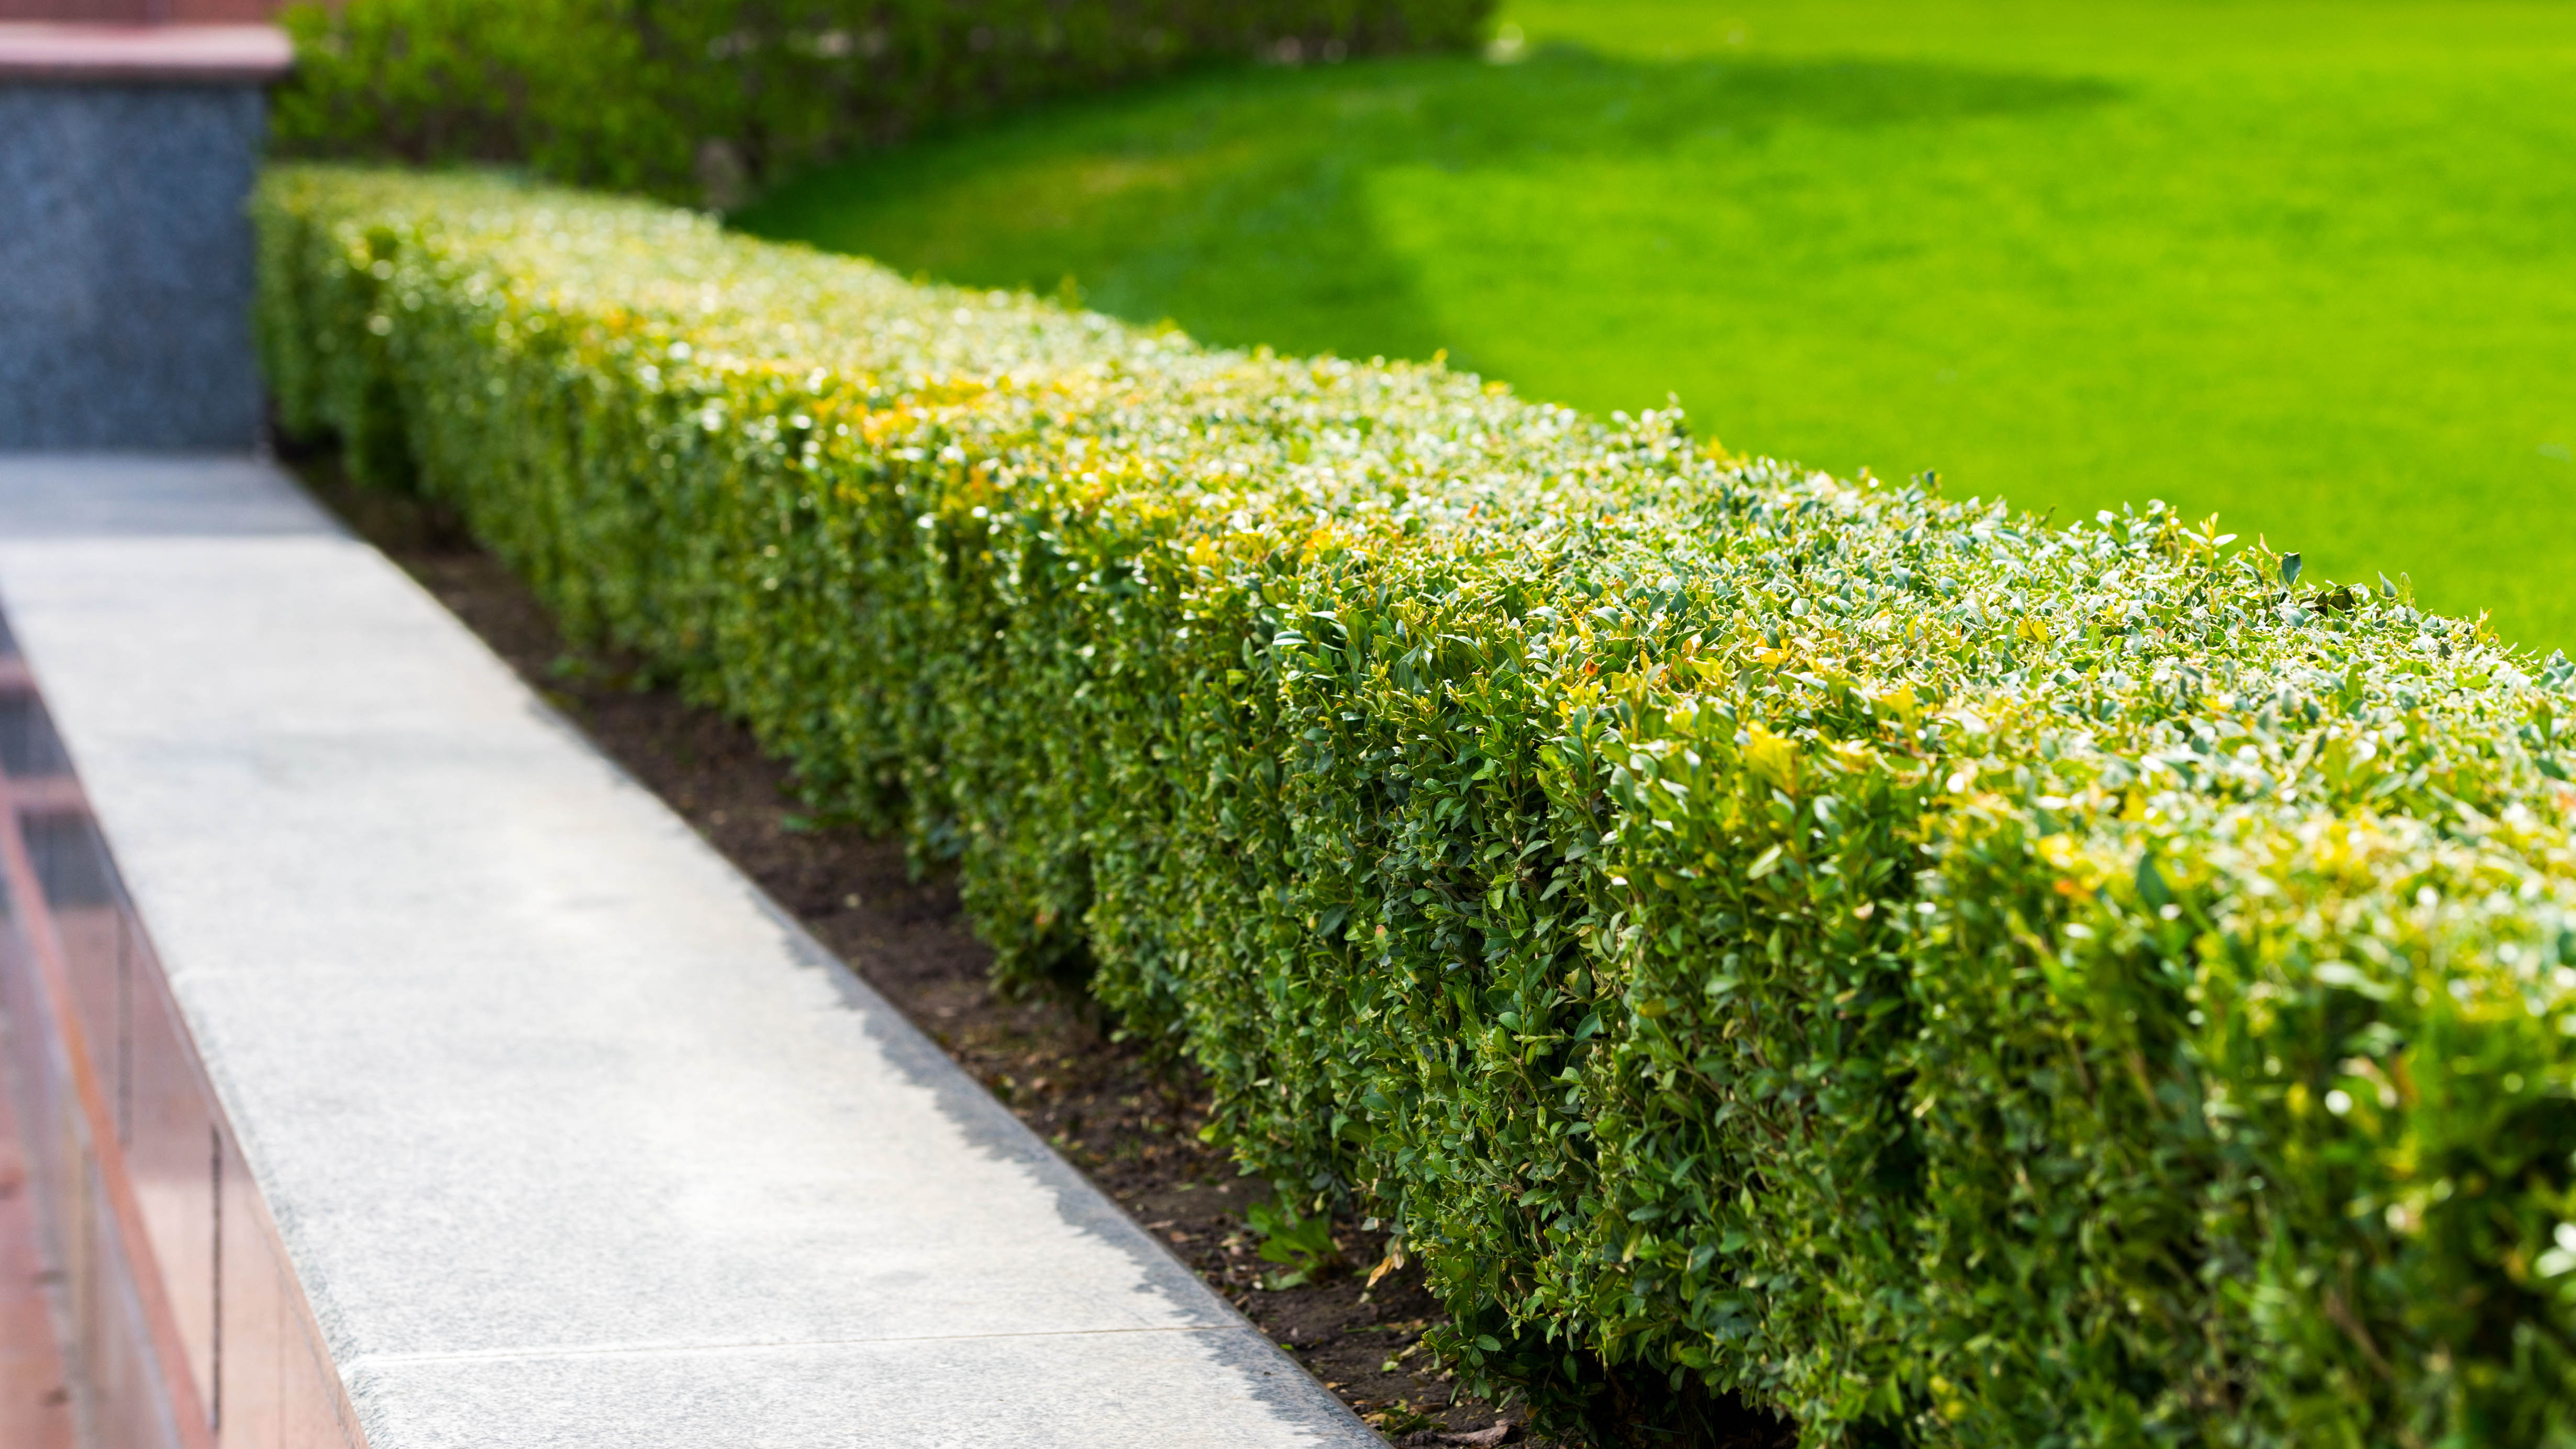
When it comes to landscaping and lawn care, there is nothing better than seeing your hedges looking uniform, tidy, and perfectly shaped. And if you’ve tried, (but failed!), to perfect your hedge, you can learn a few expert tips for shaping your hedge like a professional.
As well as creating divisions and offering a little backyard privacy, a neatly shaped hedge adds to the overall aesthetic or curb appeal to your home. And if you’re selling up, a great hedge can even boost the value of your property — and ensure top dollar. That’s why it’s always handy to know how to shape hedges the right way, which will also make the task quick and easier.
Of course, this also depends on other factors including what type of hedges you have, size and thickness of the branches, or the tools you decide to use. However, there are some basic tips that can help you nail the look of your hedge like a pro.
We ask our expert for their top tips on shaping a hedge — so you can craft the best-looking hedge in the neighborhood.
Before you start, beware of these 7 mistakes to avoid when trimming a hedge.
1. Buy the right tools
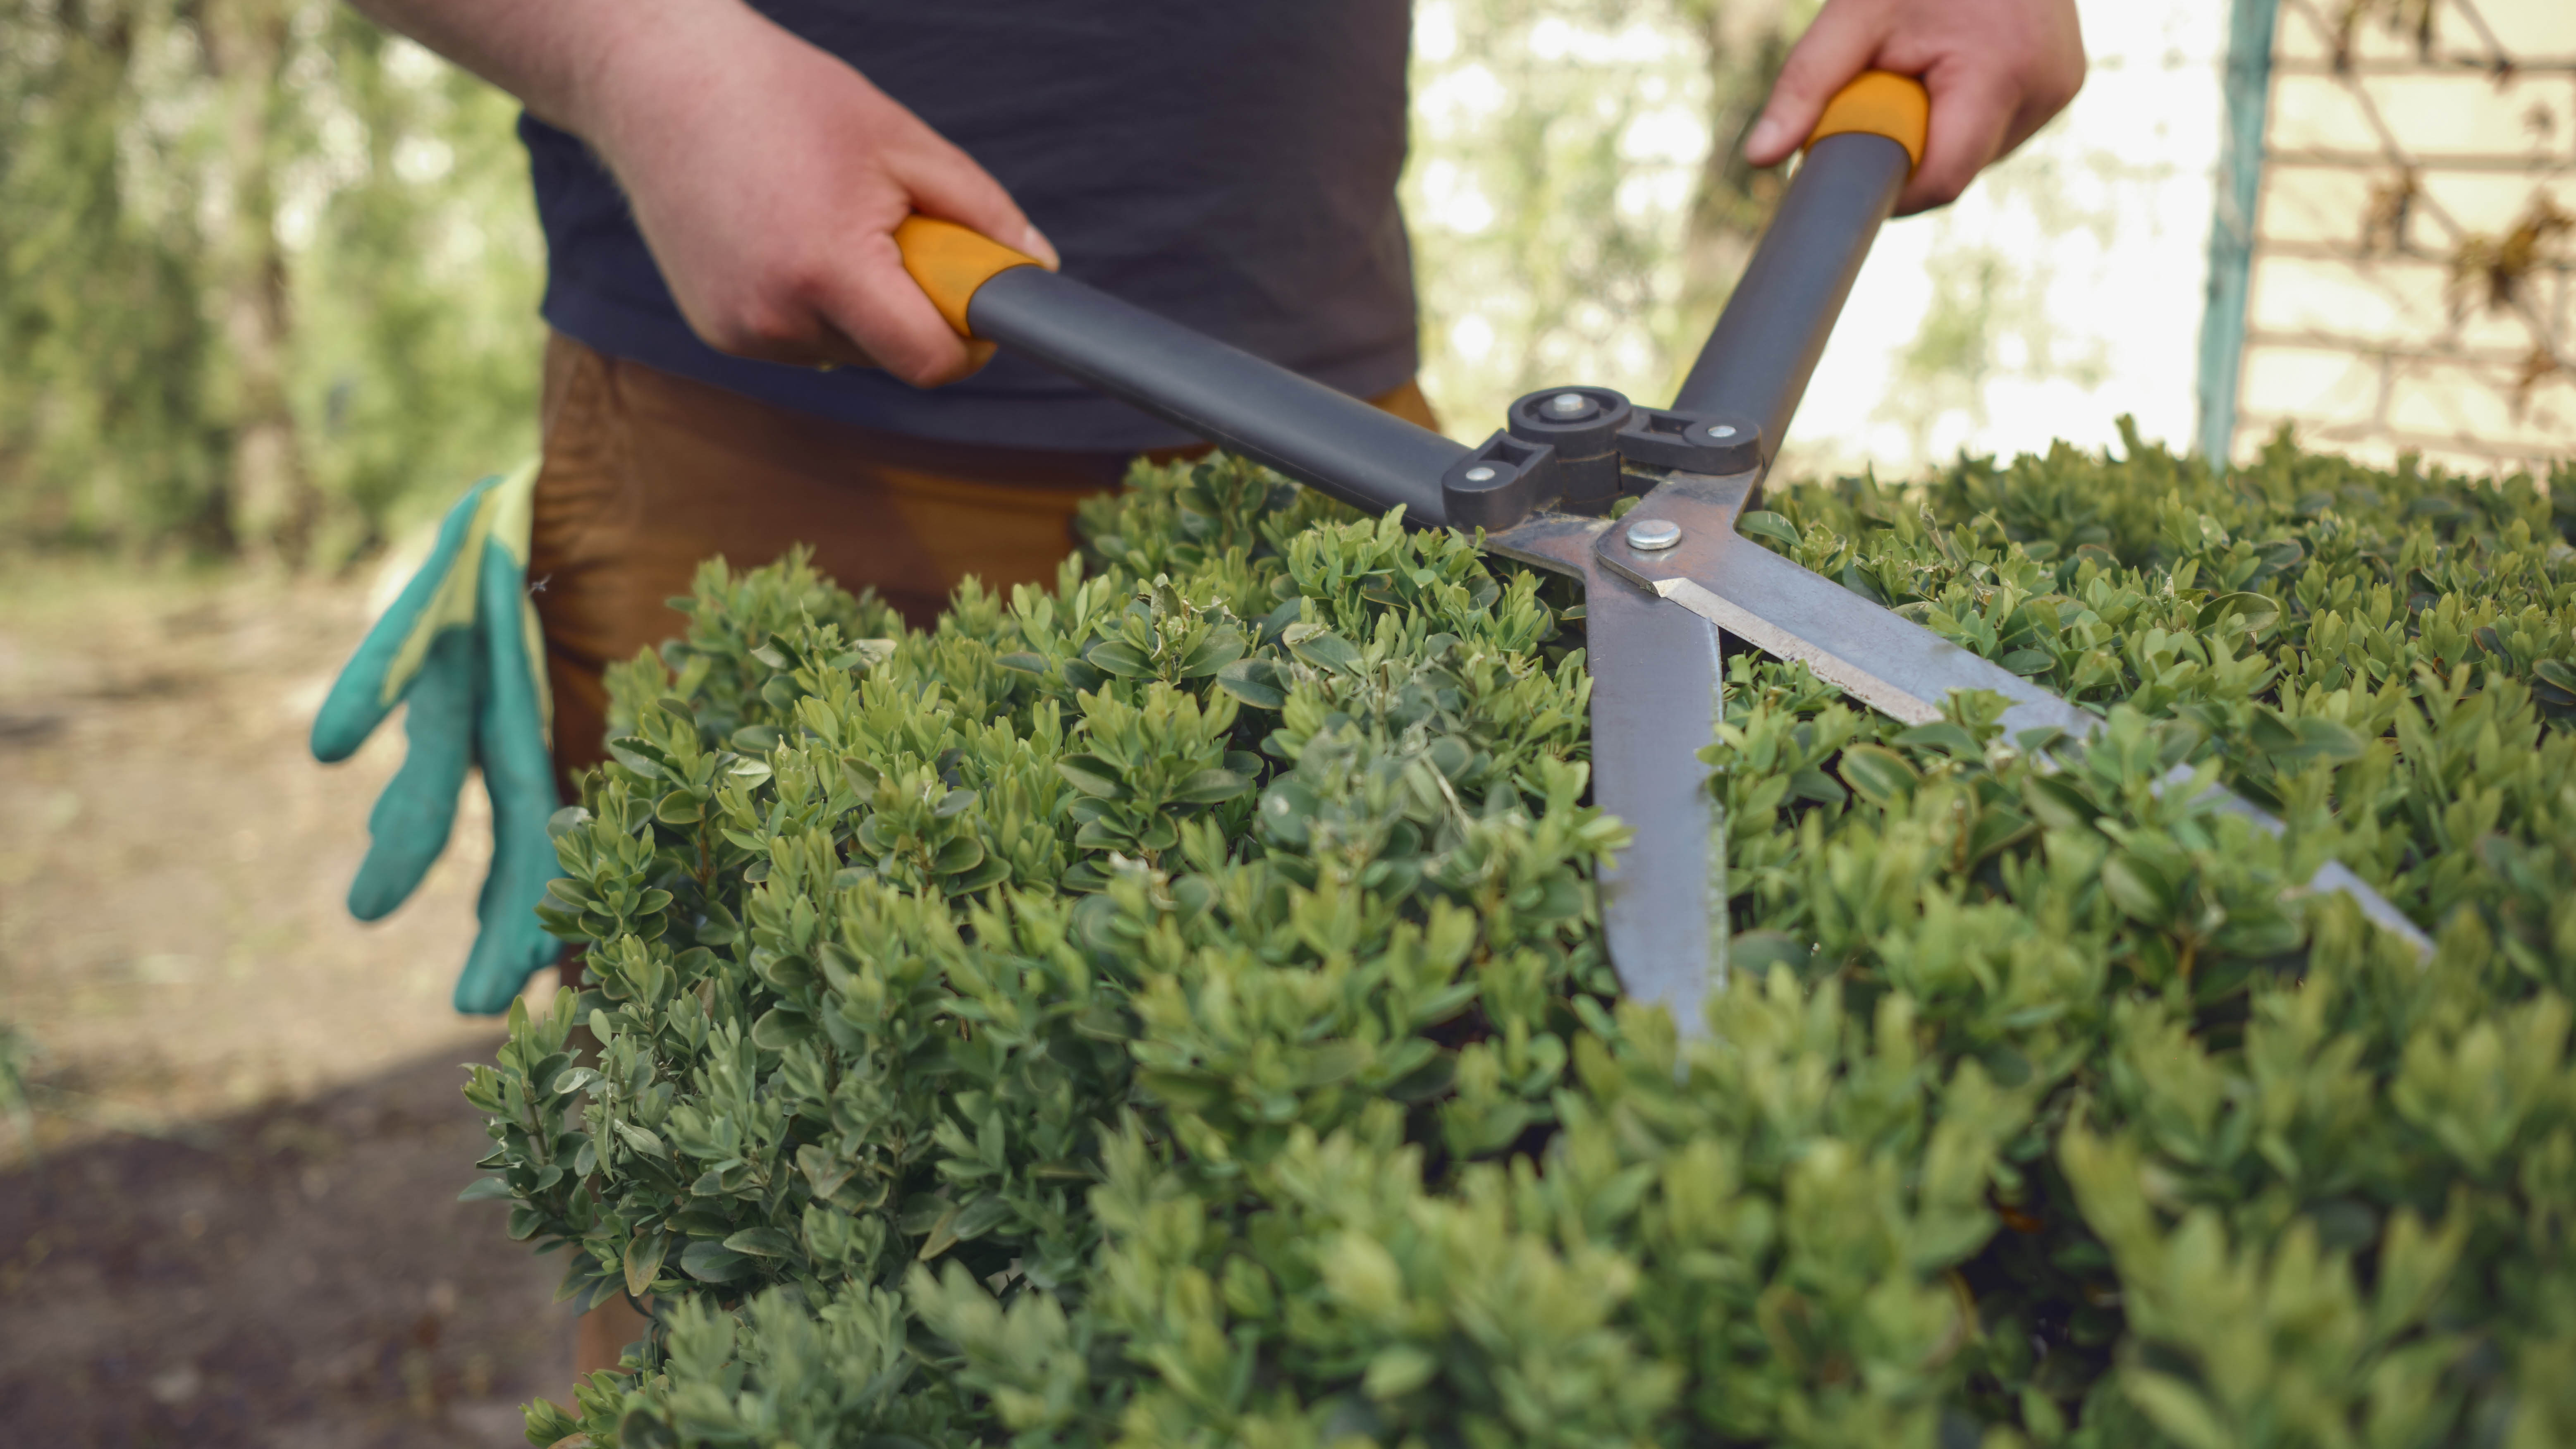
Just like all gardening jobs, you’ll need to invest in the best tools to get the task done properly. These include having one of the best pruning shears to cut back smaller twigs and trim hedges, and hedge shearers to tackle larger hedges.
“To begin, you need to have the right tools. This includes hand shearers, and hedge shears which help to prune and shape larger bushes,” says James Williams, gardening expert at Property Rescue. “Loppers will help you to cut through those thicker branches that hand shearers can’t get through. And finally, it’s wise to wear safety gear like goggles to protect your eyes from any falling twigs. Investing in quality tools might seem like an expense at the time but they’ll last longer and provide a better cut compared to older and cheaper tools.”
Get instant access to breaking news, the hottest reviews, great deals and helpful tips.
You might also want to check out a pair of one of the best gardening gloves to protect your hands, and make the task easier.
2. Shape at the right time of year
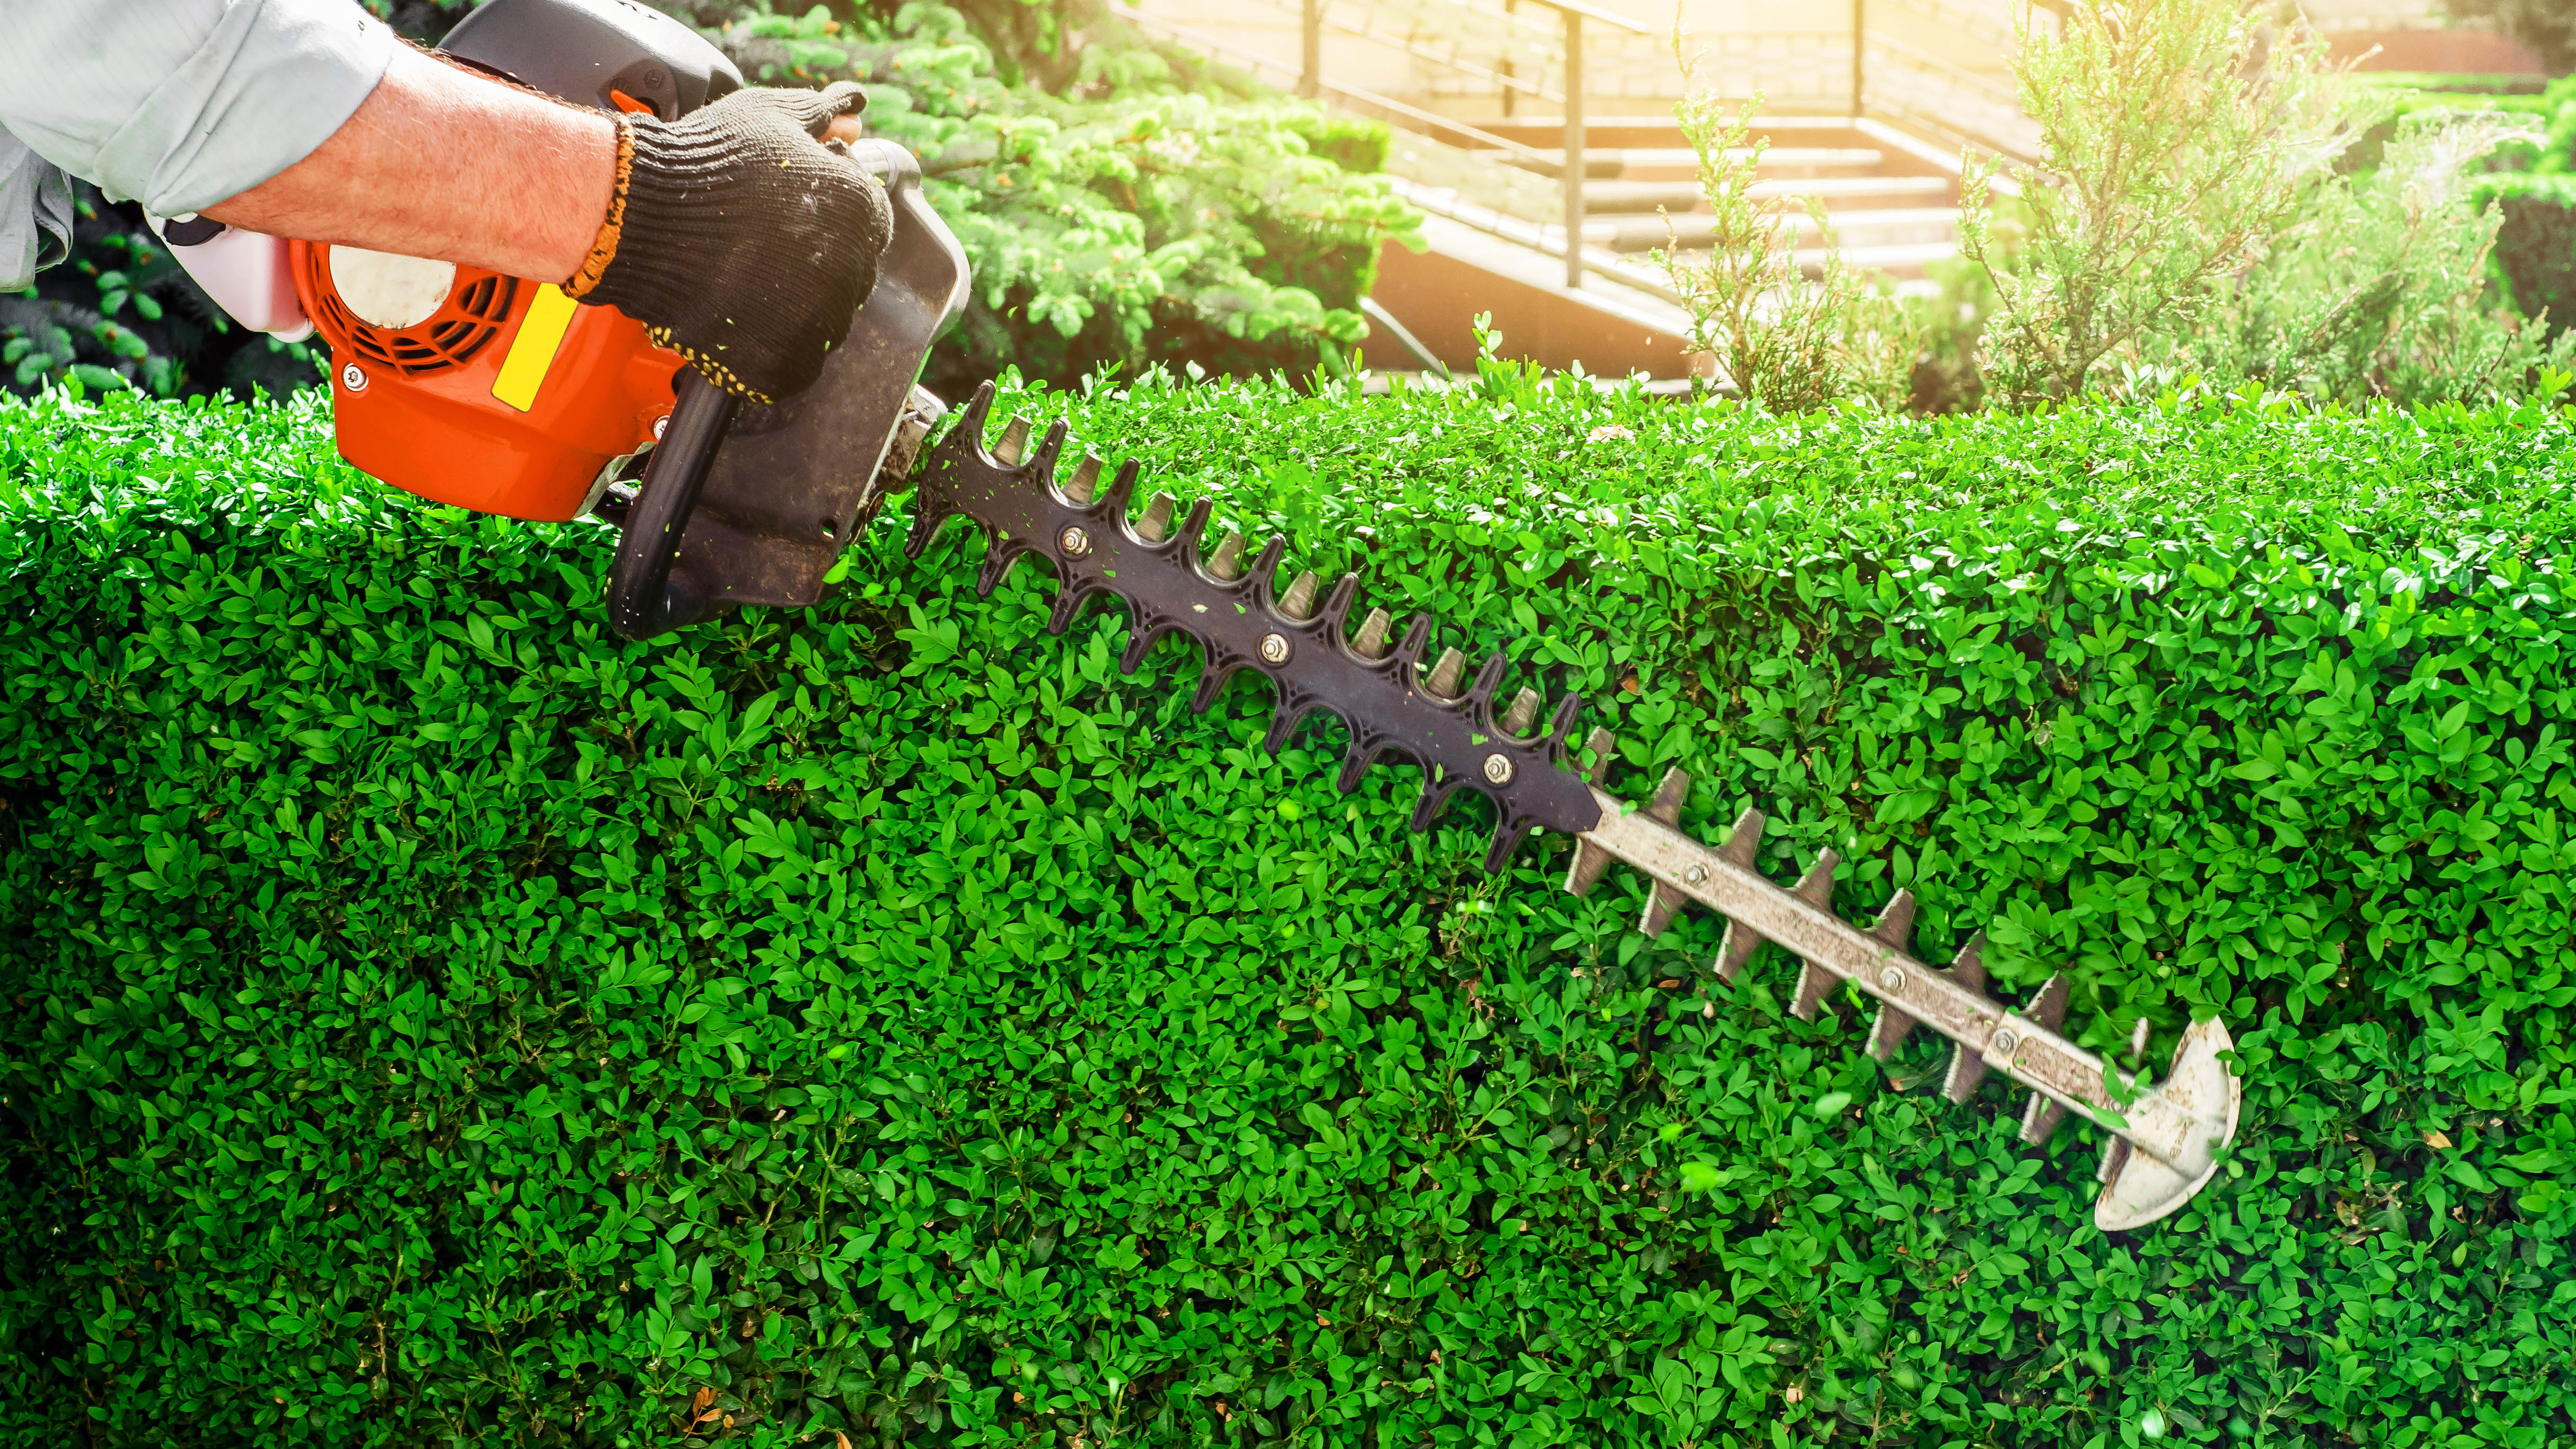
Another expert tip is to know the best time of year you can shape or trim a hedge.
“Pruning and shaping your hedge isn’t just about getting out there and doing it when you fancy," states Williams. "You need to know exactly what time of the year is best. Typically, this is either late winter or early spring before the hedge has started its next growth spurt. By pruning at this time of year, you’re removing unnecessary twigs and encouraging strong and healthy growth.”
However, if you have a particular hedge that regularly blooms flowers, experts advise you to hold out on shaping it. “You’ll need to wait until after they’ve finished flowering so that you don’t impact next year’s crop. Do your research into what sort of hedge you have, and that way you can make a better-informed decision.”
Generally, other hedge types including box, privet and viburnum should have a thorough trim during late winter, followed by regular pruning. These are fast-growers, and usually the best for easy sculpting.
3. Prepare for the clean-up first
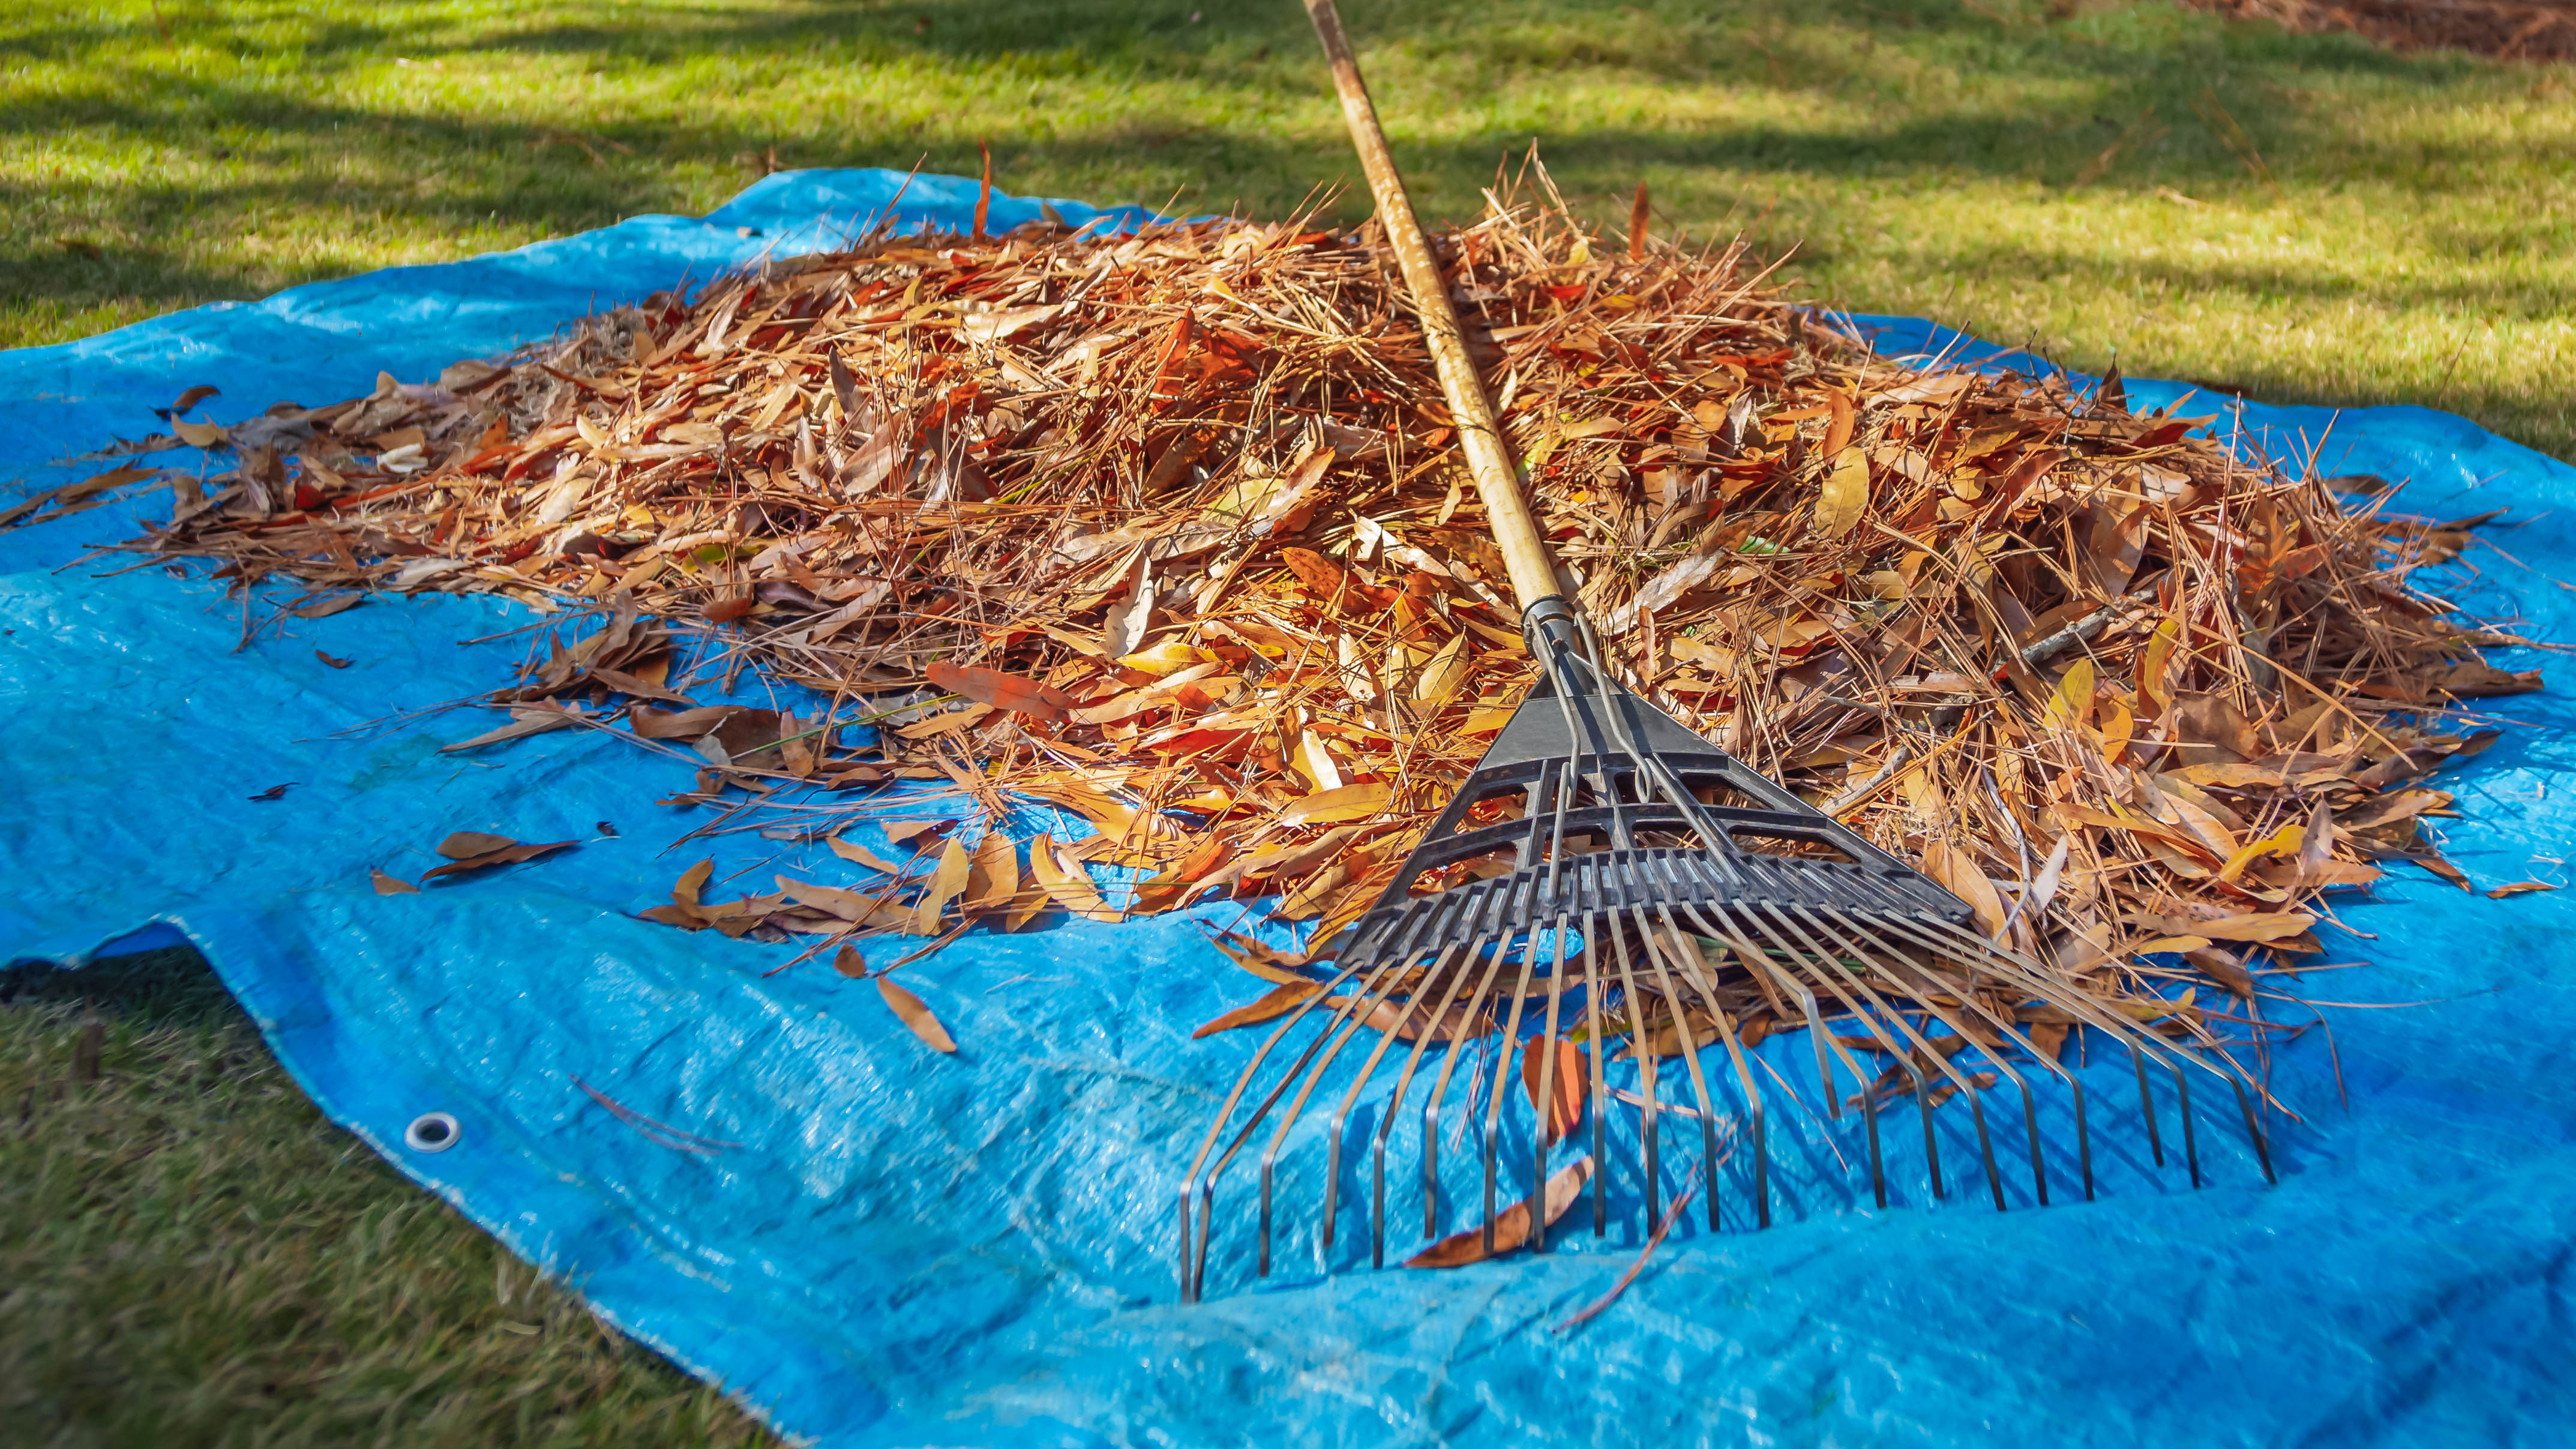
Before you even start to work on your hedge like a professional, it’s always a good idea to prepare for the messy clean-up afterwards. Trimming a hedge in particular can get incredibly messy, and tidying up can be a time-consuming chore.
There are some useful tools and accessories that can help make the task quicker and easier. You can place a ground cover or tarpaulin beneath the hedge area, which will contain all the leaves, stems and debris in one area. Once you’ve finished shaping your hedge, simply roll it up to easily transfer to your garden waste bags or transport to your compost heap. You can also use a leaf blower to quickly direct your waste into one area or pile, so it's not everywhere.
Multi-purpose tarpaulin such as this Heavy Duty Poly Tarp ($24, Amazon), can be used to easily collect dead leaves and debris in the fall when you’re raking leaves.
4. Shape from bottom up

If you’re wondering why you’re getting patchy or dry areas in your hedge, maybe your technique is all wrong. Rather than shaping a hedge from top to bottom (or side to side), you should always shape from the bottom to the top. This is because most hedges tend to widen at the top, where they receive the most sunlight. As a result, this shades the lower part of the hedge, stopping it from getting the much-needed nutrients from the sun.
“When it comes to trimming and shaping hedges, it should always be done from the bottom up,” advises Williams. “That way you’re ensuring that the bottom of your hedge gets enough sunlight and can use these nutrients to grow well.”
What’s more, if you spend all day shaping the top of your hedge into a uniform rectangle, there’s no need to worry. “Lots of people try to shape their hedge into a perfect rectangle, but this will cause it to dry out and will result in patchy areas within your hedge. Ideally, you want to try and make the top of your hedge narrower than the bottom - again so that sunlight can be fully absorbed by every part of your hedge.”
Typically, it’s recommended to keep your hedge width a minimum of about 3 feet, while the height should ideally be kept at about eye level to make your hedges easier to maintain. Another top tip is to aim for a sloping effect of a 6 inch difference between the top and bottom to allow maximum sunlight to get to the hedge.
5. Pruning your hedge often
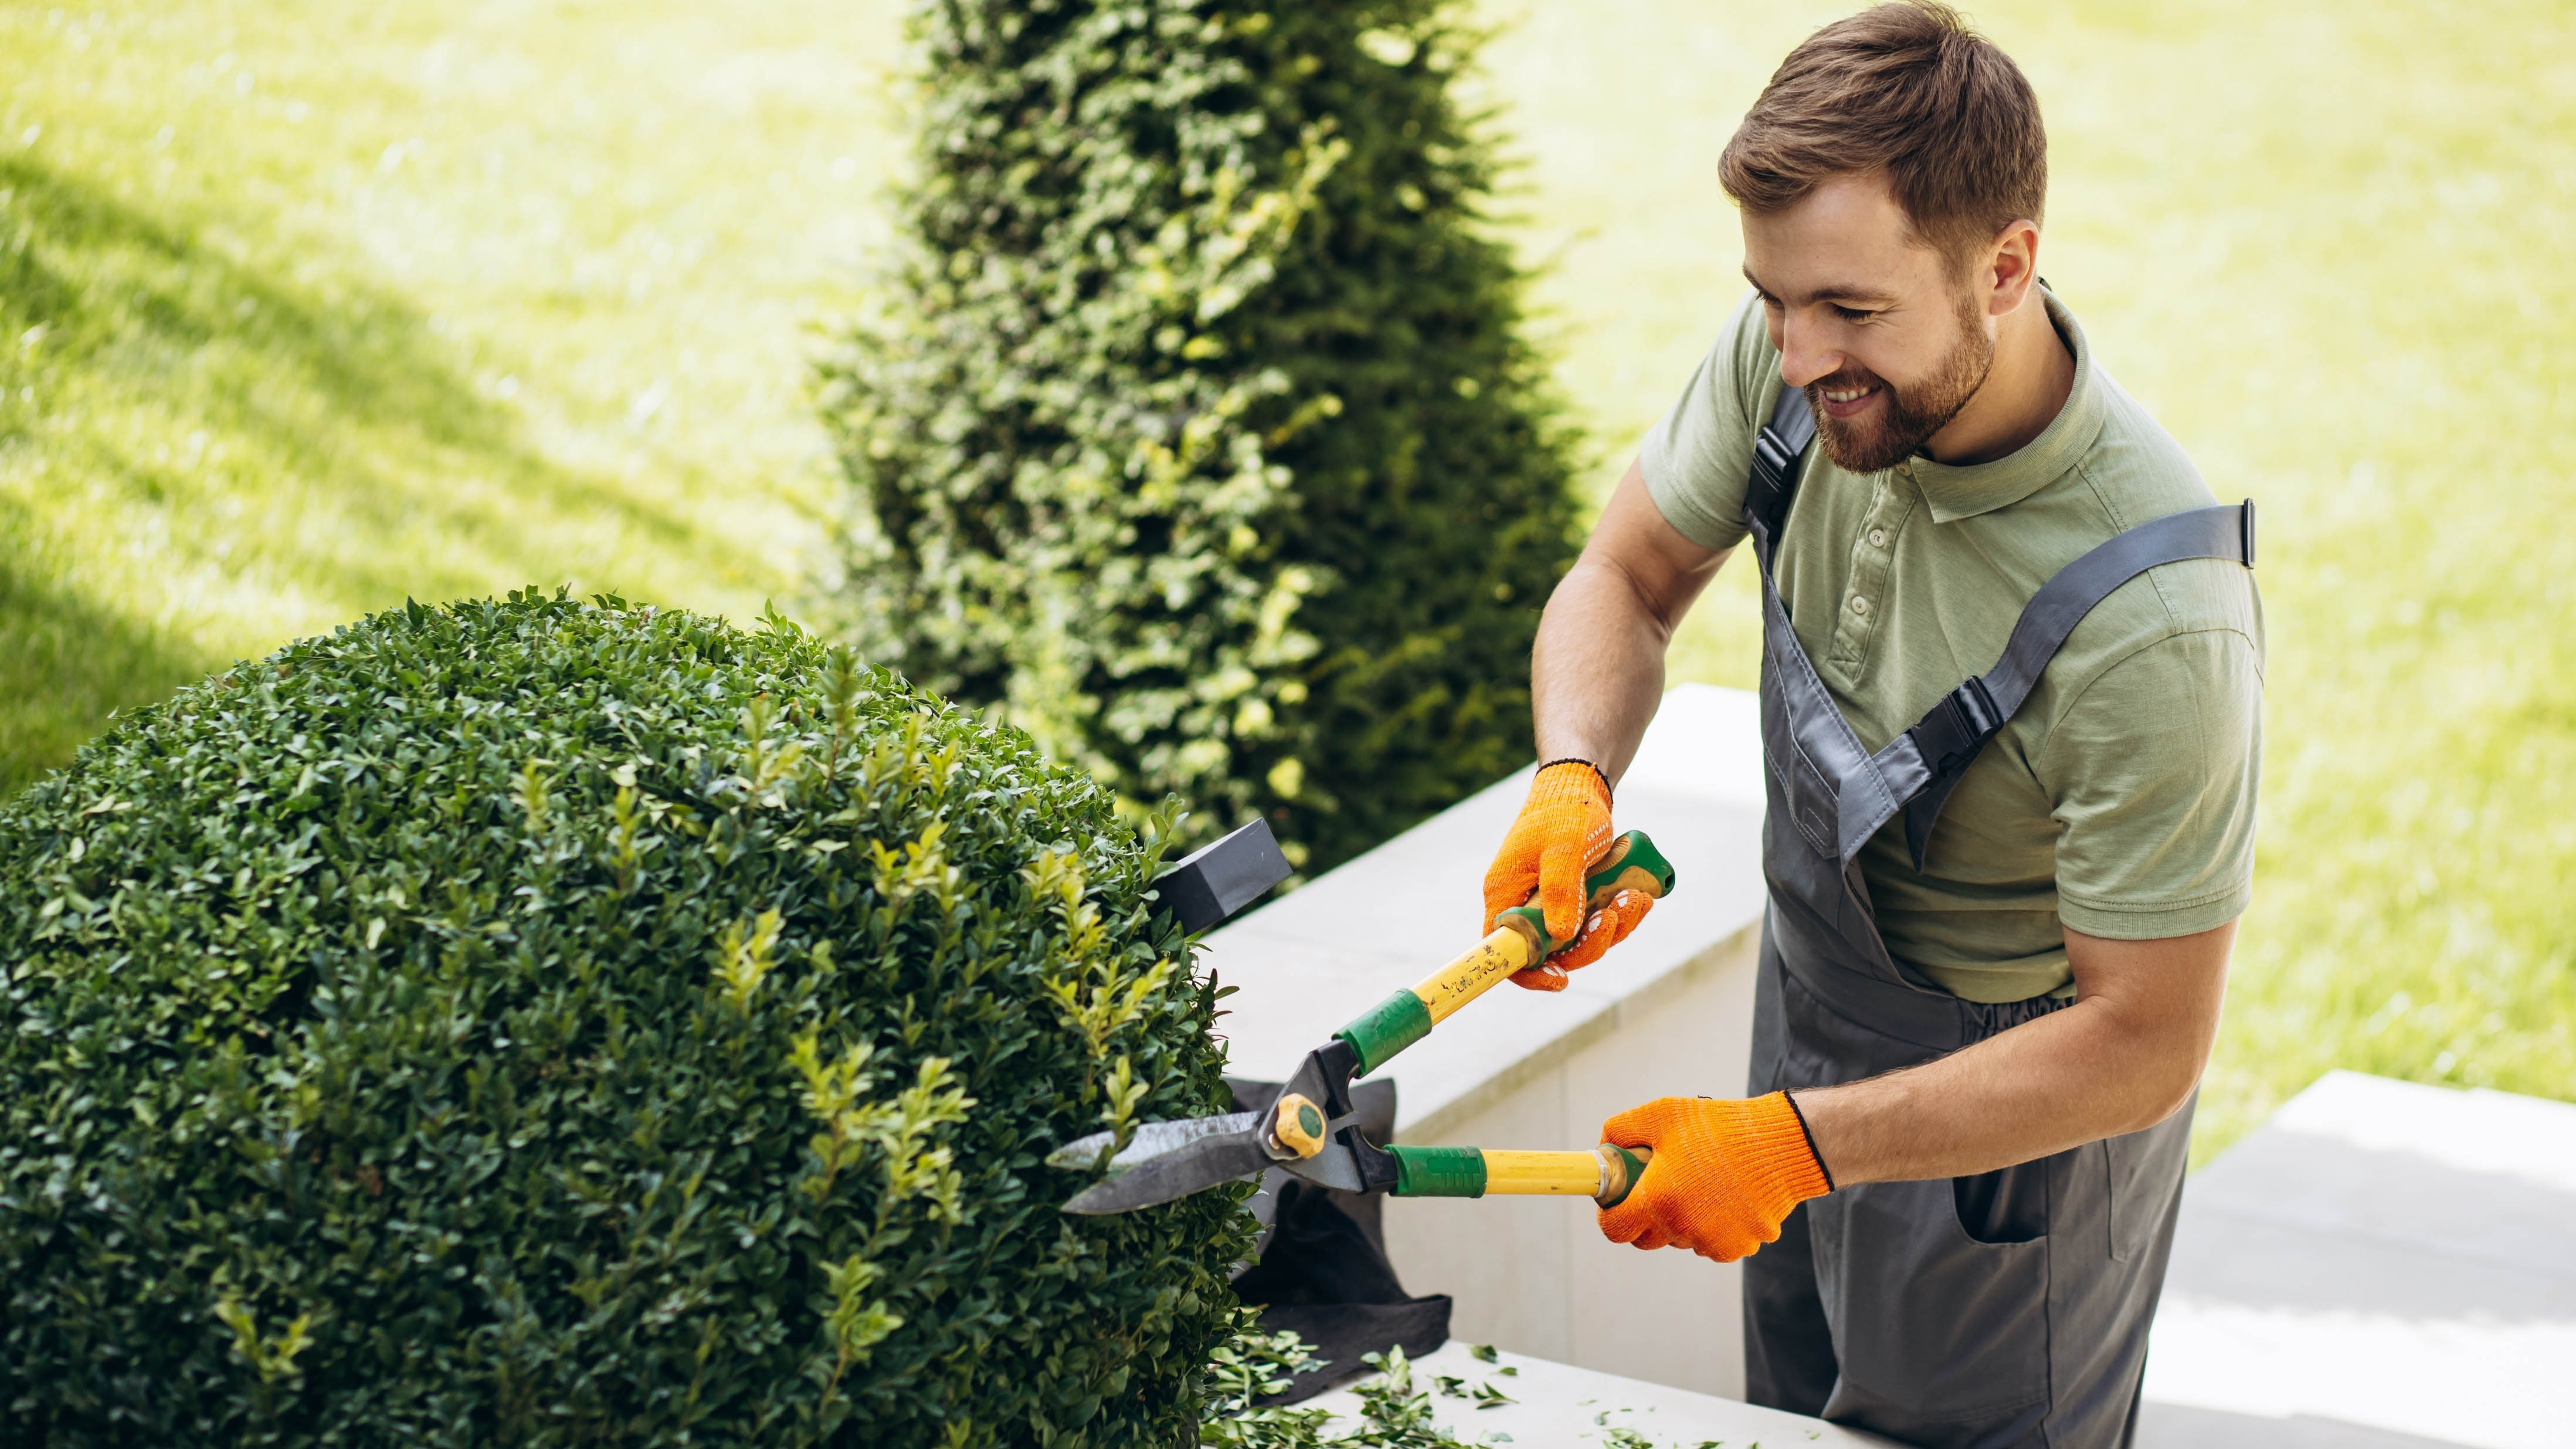
Although you might only tend to your hedge if it’s looking messy or unkempt, it does require regular maintenance to keep it looking pristine. It’s recommended to trim any signs of overgrowth at the bottom of the hedge to ensure it stays healthy. What’s more, this will prevent signs of disease, or becoming a haven for pests.
“Regular maintenance of your garden hedge will ensure it’s looking its best. Even if you think you’ve got the perfect shaped hedge, an overgrowth can soon occur. Privet or boxwood hedges grow very fast so usually need to be shaped and pruned every six weeks. Additionally, even if your hedge doesn’t need shaping, you should try to remove any growth from the bottom regularly to encourage healthy growth and prevent the risk of pests and diseases.”
Experts also recommend encouraging flowers or shrubs at the bottom of your hedge to help aid pollination. In particular, primroses and knapweed are great for providing nectar and pollen for bees and other beneficial insects.
More from Tom's Guide
- Here are 5 easy tips for cleaning pruning shears
- Avoid these 7 pruning mistakes you never knew you were making
- Plus, these are 7 ways to prevent weeds from invading your yard

As the Homes Content Editor, Cynthia Lawrence covers all things homes, interior decorating, and garden-related. She has a wealth of editorial experience testing the latest, ‘must-have’ home appliances, writing buying guides and the handy ‘how to’ features.
Her work has been published in various titles including, T3, Top Ten Reviews, Ideal Home, Real Homes, Livingetc. and House Beautiful, amongst many.
With a rather unhealthy obsession for all things homes and interiors, she also has an interior design blog for style inspiration and savvy storage solutions (get rid of that clutter!). When she’s not testing cool products, she’ll be searching online for more decor ideas to spruce up her family home or looking for a great bargain!
 Club Benefits


