I’m an ex-barista and these are the best pour-over coffee makers I’ve tested
These are the best pour-over coffee makers in a very busy market
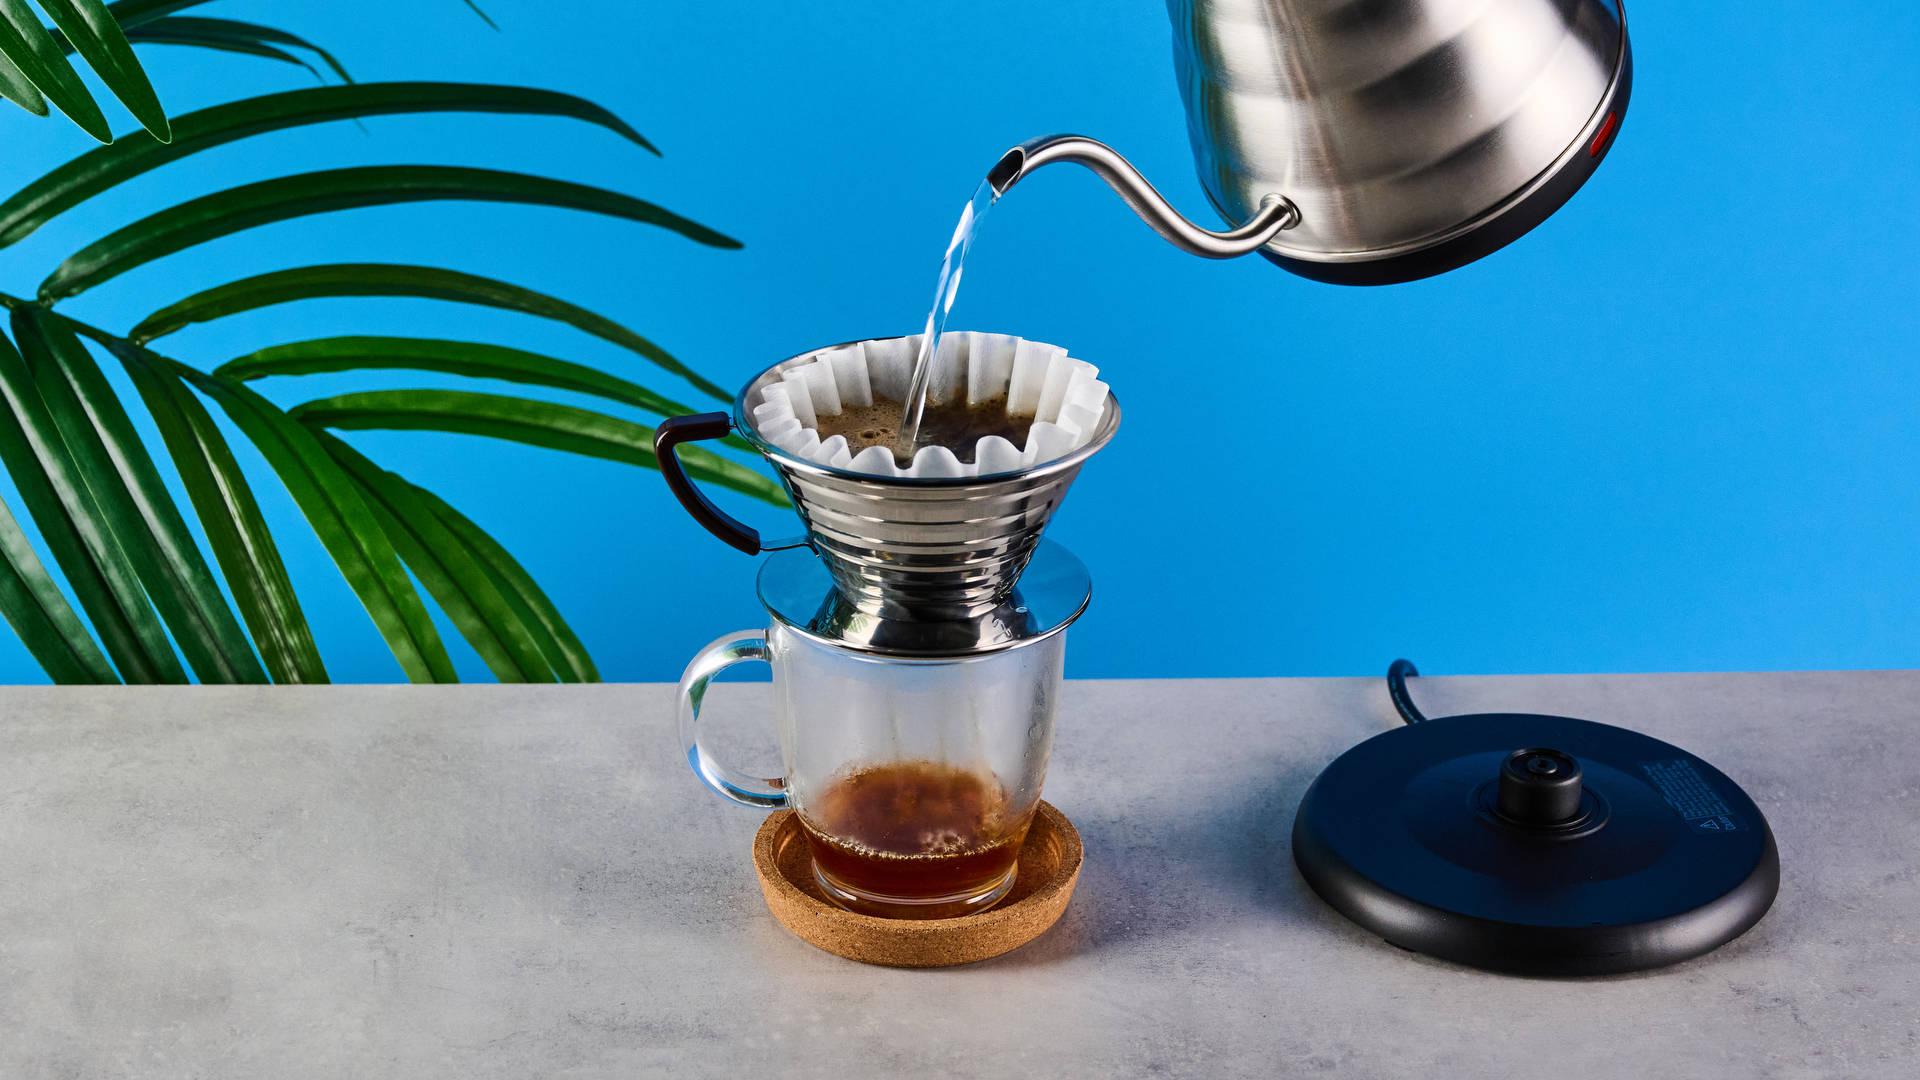
I’m going to be 100% honest with you right out of the gate: there is no such thing as the best pour-over coffee maker.
If someone tells you that one brewing method is “the best”, they’re lying. That’s like me saying that cats are better than dogs, pineapple is the best pizza topping, or snow is better than sunshine.
So while I can’t tell you exactly what pour-over coffee is the definitive best, I can help you figure out which pour-over coffee maker will suit you best. I know it can be overwhelming to choose the pour-over for you, so I’ll go through the most important pour-over features here. I take everything from ease of use, cost, design, and clean up into account.
Personally, I love my Hario V60, Chemex, and Kalita Wave equally. The V60 is best for finesse, the Chemex is best for big batches, and the Kalita Wave is best for beginners.
While I think all pour-overs are adept at crafting delicious coffee, I find myself gravitating to my Kalita Wave the most as it can brew more consistently than others and has super simple cleanup.
But coffee is as much a science as it is an art — and your formula won’t be the same as mine.
My favorite pour-over coffee makers
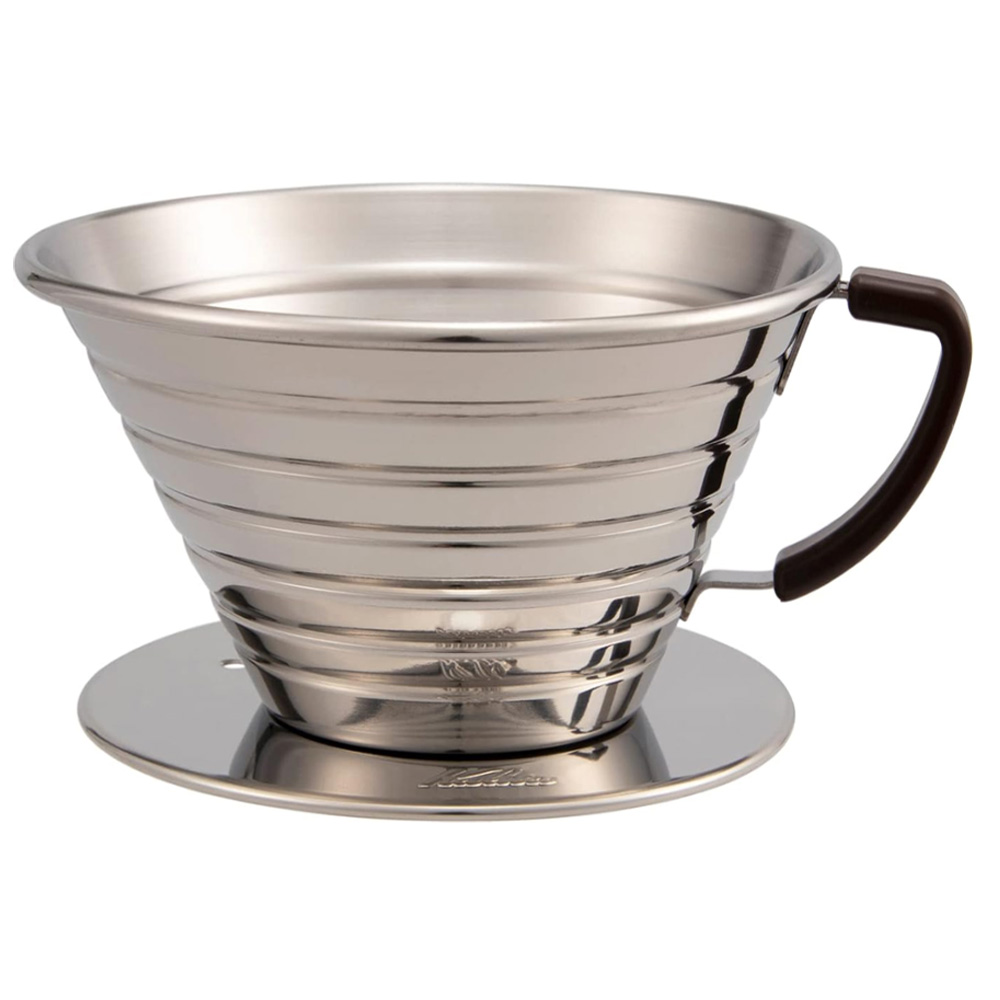
Thanks to its flat bottom, the Kalita Wave is the best for beginners. This easy-to-use dripper is less prone to funnelling than other pour-over coffee makers, and its single serving size means experimenting with ratios won't waste much coffee.
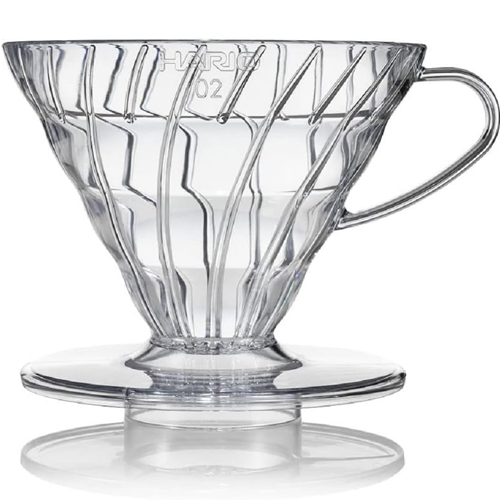
Why is the Hario V60 best for finesse, I hear you ask? Well, it relies on a touch more pouring expertise than the Kalita Wave. But the effort is so worth it — V60 brews a soft, delicate coffee, with a broad flavor profile and no nasty bitterness.
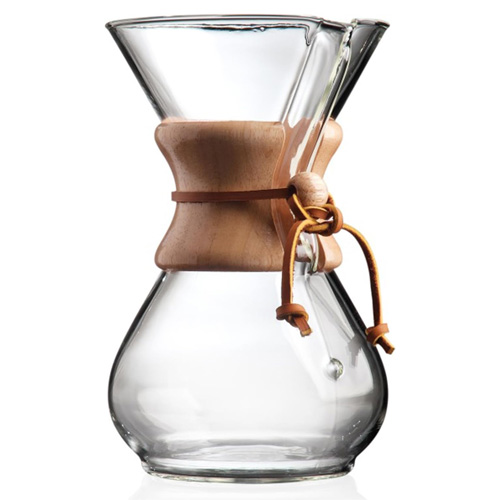
Although the Chemex starts with a 3-cup size, where it excels is the 6-cup (or larger). It's almost mesmerizing watching the hourglass fill up with coffee, and it's pretty easy to use too. Like the V60, it requires a little pouring precision, but it's easy to learn.
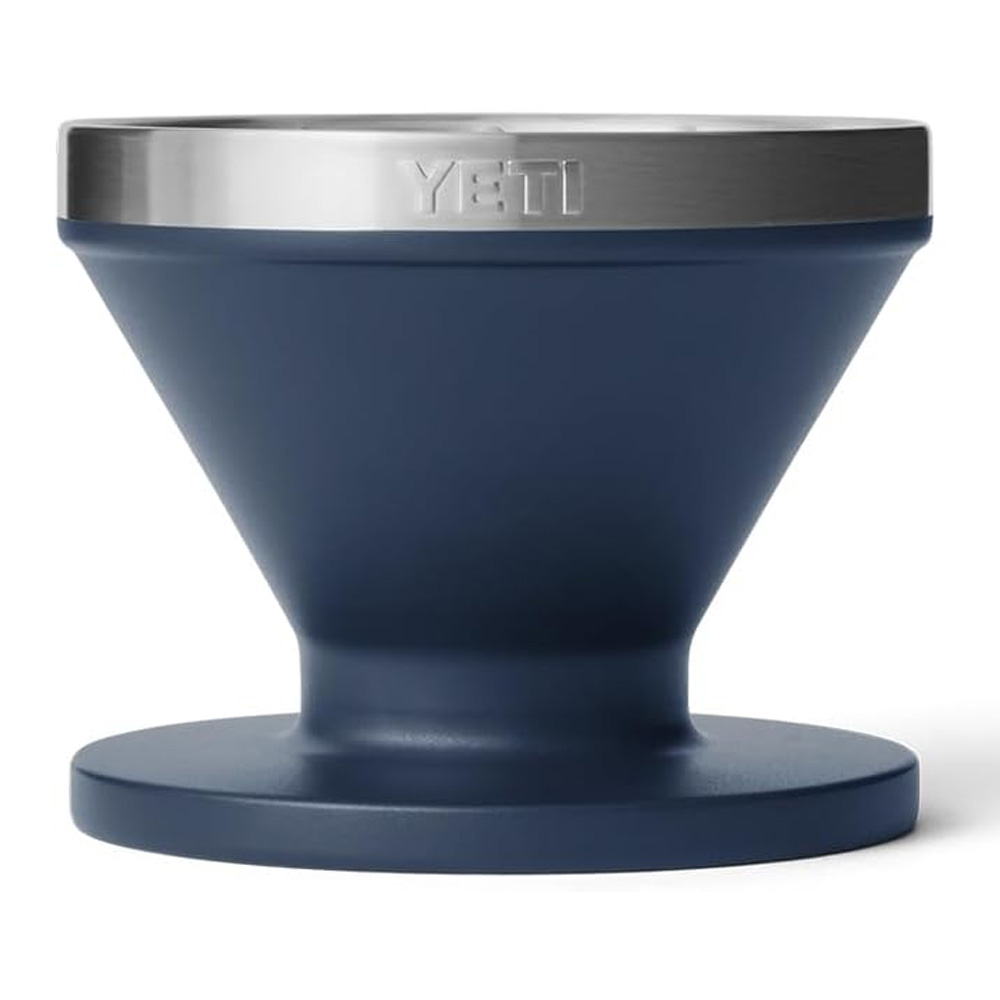
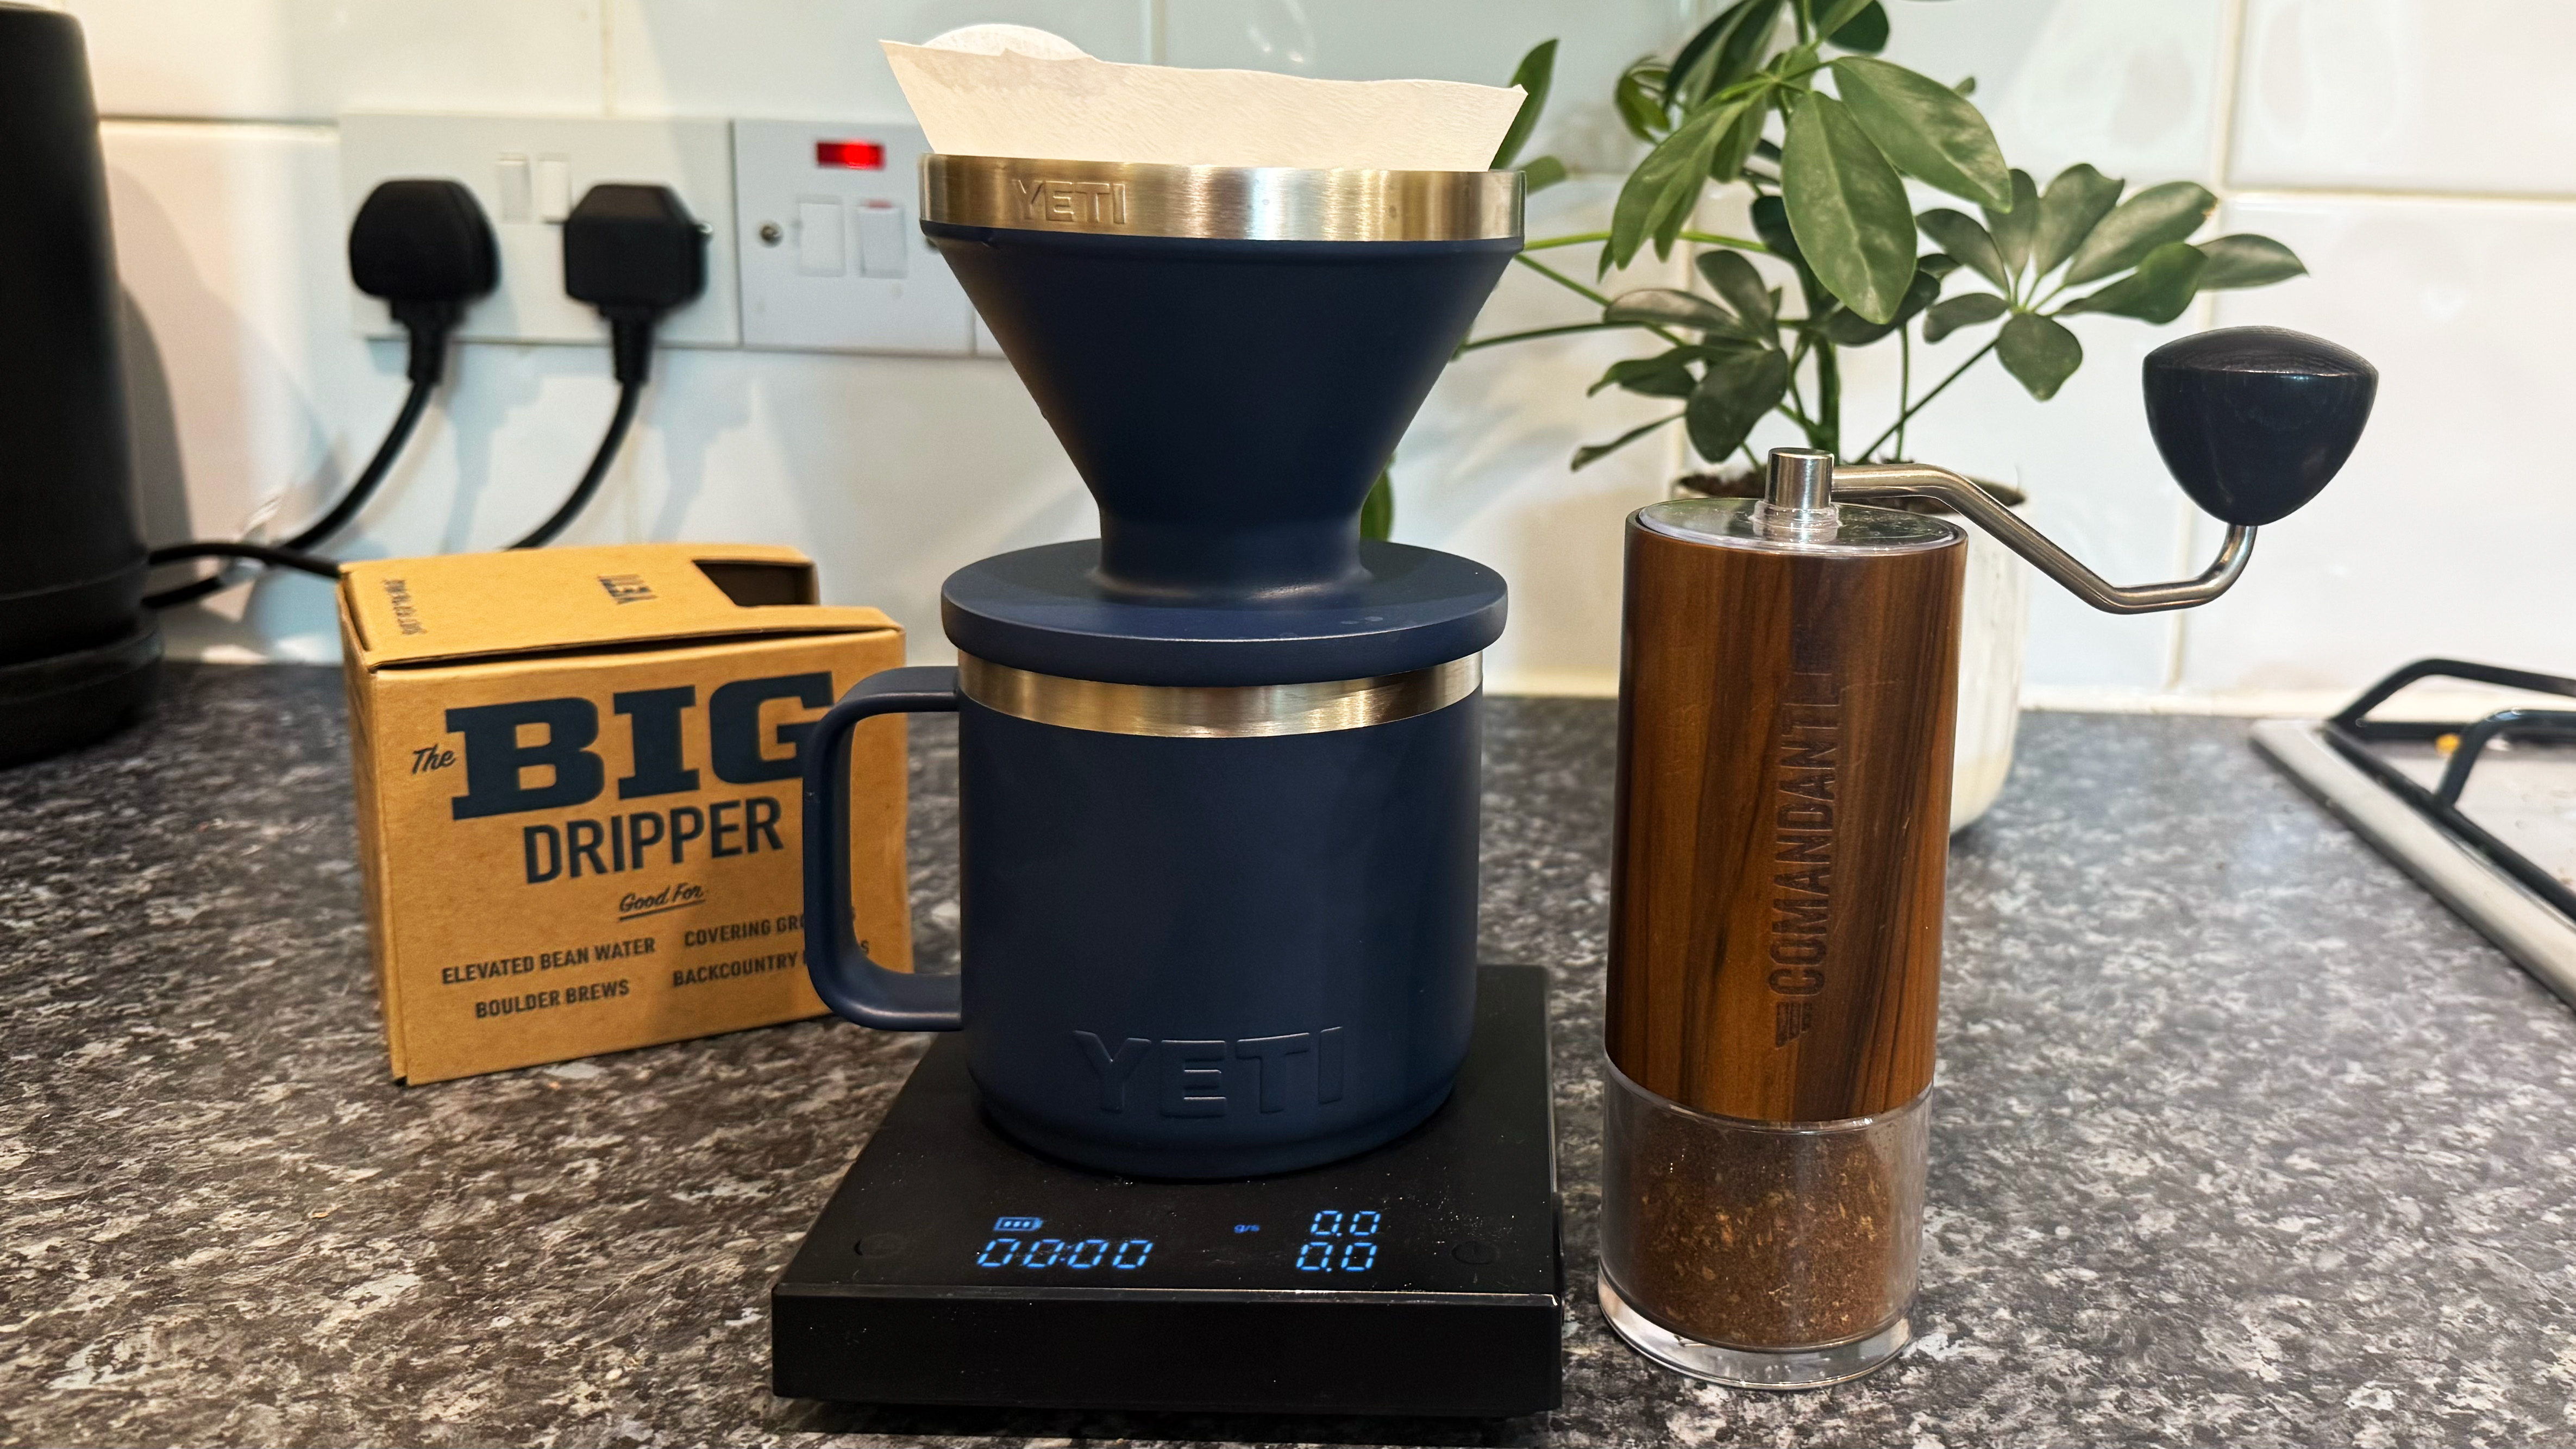
The Yeti Pour-Over is basically a V60 with reinforcements. It's constructed of hardy 18/8 stainless steel, so I wouldn't bat an eye at chucking it into my backpack. And the best part? It's designed for use with Yeti's insulated tumblers — it fits right on top.
Meet your reviewer

I’m Erin, and I’ve spent three-and-a-half years of my life behind the counter as a supervisor and barista in artisan and chain coffee stores. I’ve made thousands of cups of coffee both professionally and at home. While coffee used to be my profession, it’s now my hobby. I love tinkering with unique brewing methods, whether that’s figuring out the perfect ratio with my V60, comparing bloom lengths on my Kalita Wave, or experimenting with different Chemex pouring methods.
Best pour-over coffee makers: Jargon buster
Even the most seasoned coffee lovers might struggle to keep up with the ever-evolving world of coffee lingo. (Me included.) To help us out, I’ve compiled a list of my most commonly-used coffee terms in this guide.
Bloom
Blooming coffee is when you pour a little water over the dry grounds. The coffee grounds then expand slightly and bubble, releasing their gases. When this deflates, you can pour more water.
Funnelling
Funnelling is when you pour water into the center of the coffee grounds/dripper and the grounds shoot up around the side of the dripper. Correcting this relies on pouring with purpose and proficiency.
The best pour-over coffee makers available right now
Why you can trust Tom's Guide
Best for beginners

Specifications
Reasons to buy
Reasons to avoid
I use my Kalita Wave every single day. If an evil wizard cast a spell on me and said I could only choose one pour-over coffee maker, I would choose my Kalita Wave.
So why do I reach for the Kalita Wave more than my V60 or Chemex? Well, because it’s so darn easy to use. I don’t need to steady my hand (the last thing I want to do at 7am when I’m still yawning and bleary-eyed) to control my pouring method, like I need to with my V60. I can bloom the coffee, pour twice more, and I’ve got a perfect steaming cup o’ Joe.
The Kalita Wave is a flat bottomed dripper, which means the coffee mixes with the water more evenly and for longer than other pour-overs. This makes it less reliant on pouring technique, unlike the Hario V60, hence best for beginners.
Let's get into the specifics...
Performance
As the Kalita Wave is a flat-bottomed dripper, it makes the coffee spend more time submerged in the water. This is the perfect dripper for those who prefer a stronger coffee or those who want to pour and leave the coffee alone.
While not unique to the Kalita Wave, it’s very easy to experiment with. Given that there are no outside factors interfering with your coffee routine, you can dose 5g of coffee with 10oz water should you so desire. I’m not sure why you’d want to do that, but hey, you could.
The only thing you should be aware of is over-dosing. Kalita Wave can be quite prone to getting clogged, so it’s imperative that your grind isn’t too fine and your pour isn’t too slow. Even so, it’s easier to achieve a more balanced flavor than something like the V60, which is best for finesse.
Filters & cleanup
There are two sizes of Kalita Wave. One, the 155, and two, the 185. The 185 is more common (and can brew up to four cups in one) so I’d recommend getting that to ensure you can always find filters.
The 155 size filters are $9.97 for 100 on Amazon and the 185 size filters are $16.99 for 100 on Amazon. As with every other coffee maker on this list, the Kalita Wave filters are compostable. Cleanup could be as simple as throwing the filter and coffee into the compost. I have a food waste bin in my apartment and that’s what I do when I’m done.
If you have the metal Kalita Wave like me, I’d recommend washing and drying up instantly to prevent a nasty metallic tang infecting your drink. If you leave the dripper wet for too long it might be prone to inflicting unsavory flavors in the coffee.
Other than that, cleanup is very easy, and that’s why it’s the best dripper for beginners.
My go-to routine
- Weigh out coffee depending on desired amount of coffee, e.g. for 350ml/12oz mug, I will use 19g coffee
- Grind coffee medium-coarse
- Dose 19g coffee grounds into pre-wetted wavy filter
- Pour in around 40-60g 200°F water to bloom the coffee
- Once gases are released, pour in 1/2 of remaining water in slow circular motions, being careful to prevent funneling
- Once water has flowed through, pour the remaining water using the same method
- Compost the filter and coffee
Best for finesse
Specifications
Reasons to buy
Reasons to avoid
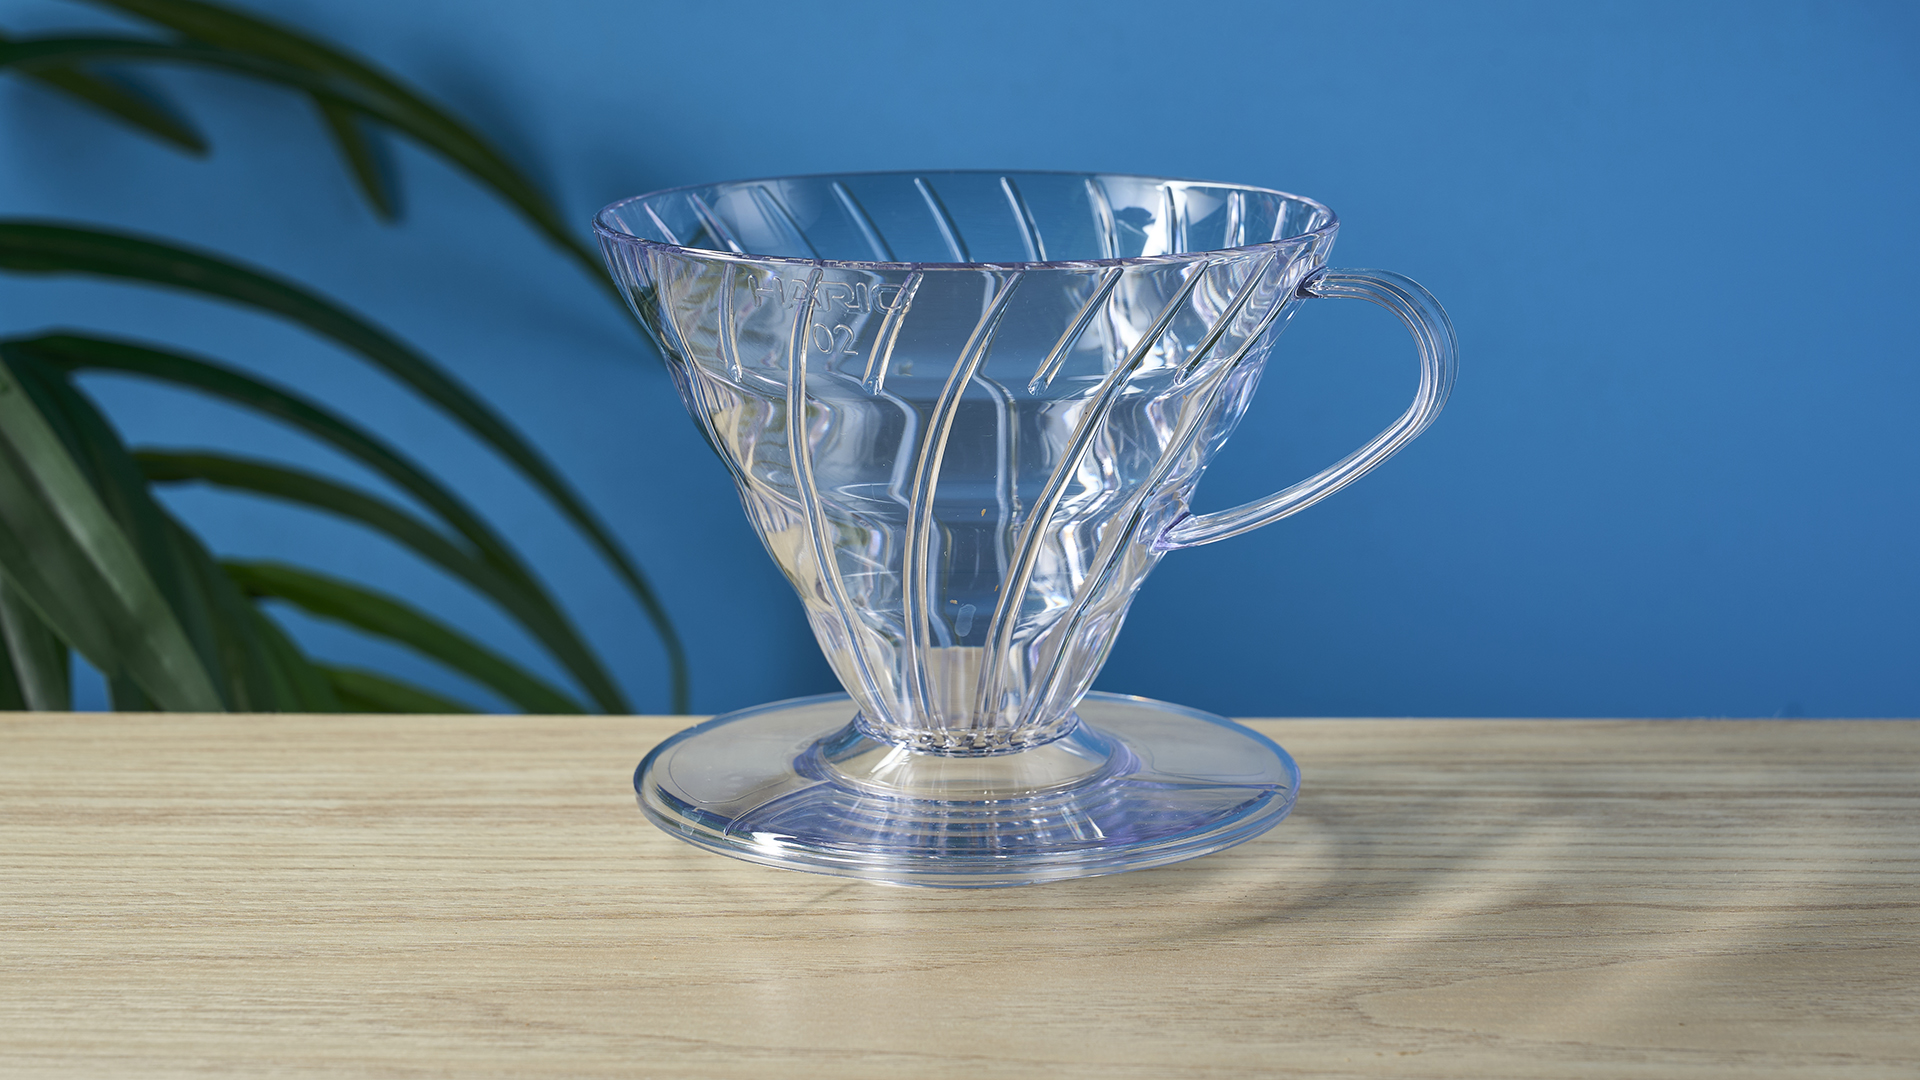
Although I find myself reaching for my Kalita Wave more than my V60, that’s not to say the V60 is bad, or that I dislike my V60.
Because both of those would be untrue: the V60 is wonderful, and I adore it. Straight up, the V60 is so famous for a reason: it’s really just very good. The Hario V60 brews a delicious coffee, with rich, nuanced flavors, and is incredibly easy to clean up.
While it’s just as easy to use as the Kalita Wave, I acknowledge that the Hario V60 does require a little more finesse than the Kalita. Because it’s a conical dripper, it’s more prone to funnelling than the Kalita. (Where the coffee grounds go up around the sides of the dripper and don’t spend much time submerged in the water.)
Due to this funneling, perfecting your pour is a must with the V60. Well, if you’re not overly fussed about brewing the technically perfect coffee, less so. However, if you’re looking for a nuanced, pure, and layered coffee flavor, then pouring properly is a requirement.
Let's get into the specifics...
Performance
I can’t lie — I do think the Hario V60 brews a more sophisticated coffee than the Kalita Wave. That could just be the placebo effect, or my brain saying, “You put more effort into this, so it should taste better!” Whichever is true is besides the point: the Hario V60 tastes better than the Kalita Wave, and that’s enough for me.
You may disagree with me, and that’s fine. This is just my personal recommendation after many years of coffee making.
I recommended the Hario V60 for finesse because it’s a little more prone to funnelling than a flat-bottomed dripper. I’d recommend getting a gooseneck kettle (like the Fellow EKG Stagg, which I’ll discuss in full below). With a gooseneck spout, it’s easier to control the pour and ensure the water flows between the filter and the coffee, not just on top of the coffee.
I try to angle the water so it lands between the filter wall and the coffee, creating a kind of wave in the dripper that falls evenly to the bottom. Then, I pour in slow circular motions from the outside in, and then back to the outside again.
I’ve found this technique is the best way to prevent funnelling, and it works really well for me. The V60, due to its unique grooves, forces water down to the base quicker than other branded drippers. This is both a pro and a con: you just need the pouring technique to master it. If you’re willing to put the time in, there’s no reason why the Hario V60 won’t make delicious, sophisticated coffee that really shows off the beans’ flavor. I make some of my fanciest coffees with the V60.
The V60 is also prime for experimentation — it is a pour-over dripper, after all. There’s nothing stopping you from mixing beans or roasts (though not sure why you would, ew) or playing around with every changeable factor in the coffee recipe.
Filters & cleanup
As with Kalita and Chemex filters, Hario filters are compostable. That means you can throw the filter and coffee straight into the food waste trash after using, or even throw it in your veggie patch for fertilizing crops.
The V60s come in various sizes: the 02 is the most common. The 02 filters are $11 for 100 on Amazon.
Cleanup is just as easy as the Kalita Wave: simply rinse and dry the dripper and you’re done. That’s part of why I’m way more into pour-over than espresso at the moment — no descaling machines, cleaning finicky water tanks, or drip trays.
My go-to routine
- Weigh out coffee and water to a ratio of 1:16. So for a 12oz mug, I’ll use about 20g of coffee, depending on the beans.
- Grind coffee medium
- Dose coffee into pre-wetted Hario size 2 filter
- Slowly pour in around 40-60g of 200°F water to bloom the coffee
- Once gases are released, pour in around half of the remaining water in slow circular motions, ensuring I’m tucking the water between the coffee and filter to prevent funnelling
- Once that water has dripped through, top off with the remaining water, using the same pouring technique
- Correct funnelling if needs be
- Compost filter and done!
Best for big batches
Specifications
Reasons to buy
Reasons to avoid
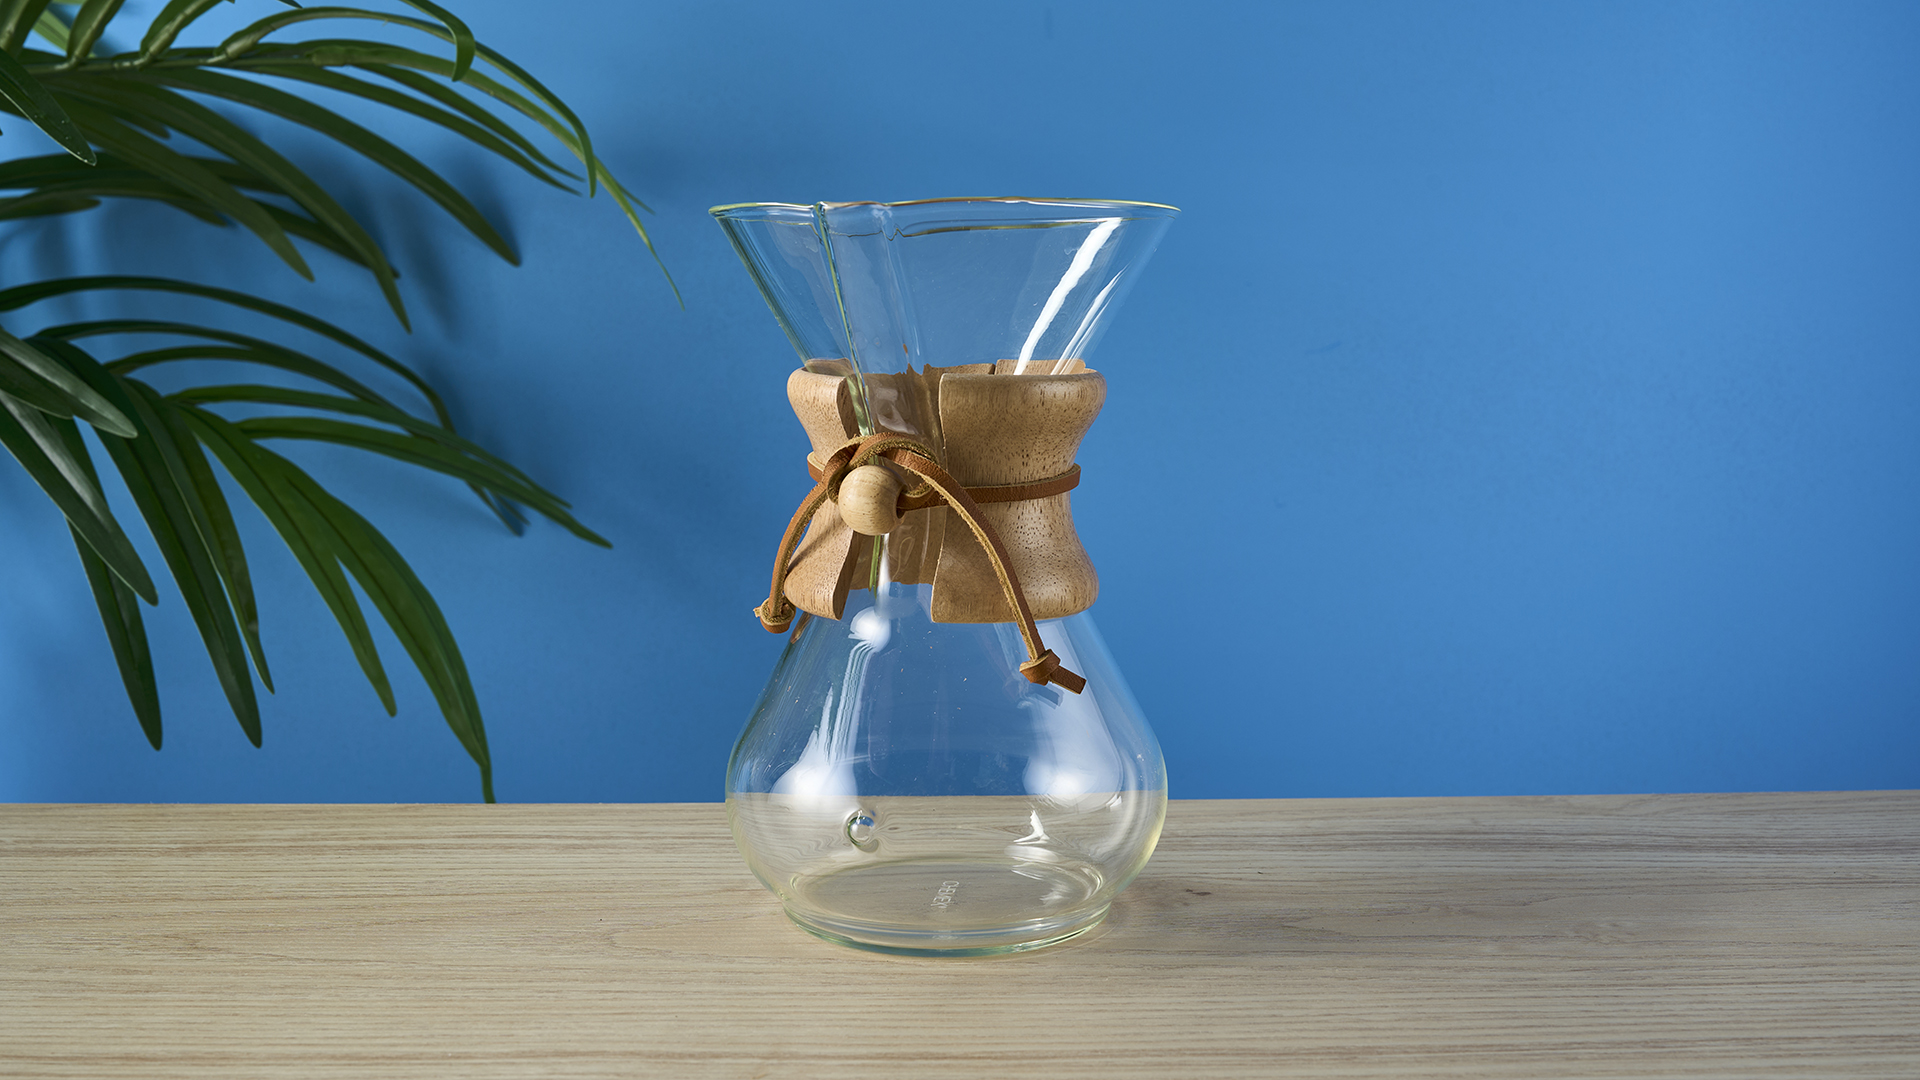
Oh boy, I love my Chemex. I’ve got the 6-cup version, but Chemexes go all the way up to 10-cup. Yes, you can get a 3-cup version, but I personally haven’t used it so I can’t speak on it. When I talk about Chemex, I’m talking about the classic glass 6-cup coffee maker.
What I love about the Chemex is just how straightforward it is. Sure, there’s a pouring requirement like the V60 and you need to make sure your ratios are suitable, but it’s beyond easy to get set up with. The magic’s in the Chemex filters, really, so they’re a must-buy in my opinion. The Chemex filters are very thick, so they don’t let acidity through, resulting in a softer, fruitier sweeter flavor.
The Chemex is best for big batches because it has the largest capacity. The clue’s in the name: it can brew 6 cups (and the 10-cup can brew 10!). In actual terms, this is 30 ounces/850ml.
Let's get into the specifics...
Performance
As with the Hario V60, you need to be quite wary of funnelling when brewing Chemex. Due to the open conical shape, coffee can bunch up around the side of the hourglass-shaped coffee maker.
I mentioned this in the Hario section, but I’ll chat about it here, too. To solve this funnelling issue, I pour with a gooseneck kettle and I try to ‘tuck’ the water in between the coffee and the filter. This way, the water tumbles around the coffee and pulls it down into the middle of the dripper.
Once you’ve got the pouring technique down pat, there’s seriously nothing like a Chemex brew. Thanks to the thick Chemex filters, the coffee tends to be smoother, juicier, and more floral than alternative brewing methods. Obviously this will change with your beans, but it’s a general rule of thumb that the thicker filter results in a less oily, lighter flavor.
Pouring from the Chemex is so satisfying thanks to the handy groove on the top half of the hourglass. It’s practically impossible to spill, perfect when you’re making big batches in the office and need to hurry back to your desk (I exclusively brew with Chemex at the office for this reason).
As with all pour-overs, the Chemex is very easy to experiment with. As long as you don’t clog the filter with too-find grounds, it’ll be a breeze to play with ratios, pouring techniques, and coffee types.
Filters & cleanup
As with every other pour-over I’ve used, the filters are compostable so cleanup is as easy as throwing the filter into the food waste or compost. If you have a vegetable patch you can even use the filter to fertilize the crops.
A pack of 100 filters is $8.99 on Amazon U.S., but it can be as pricey as $33.95 for 200 on Amazon. Chemex filters are really second-to-none — I can’t describe how delicious Chemex-filter-brewed coffee is. Well, I can, and I certainly tried in the Performance section above. Chemex filters are around 30% thicker than standard filters, which results in a smoother, lighter flavor and a more controlled pour.
Personally, I think Chemex makes the best coffee filters out there, and I would never buy off-brand Chemex filters.
My go-to routine
- Measure out coffee in a ratio of 1:16. If I’m filling the Chemex, that requires around 55g of coffee.
- Grind coffee medium.
- Dose coffee into a pre-wetted Chemex filter.
- Pour in around 100-120ml 200°F water to bloom the coffee.
- Once gases have released, pour in around ¼ of the remaining water in slow circular motions, ensuring to tuck water under the coffee to prevent funnelling.
- Once it has filtered through, pour in another ¼, then another ¼.
- Again, pour the final ¼ in slow circular motions to prevent funnelling.
- Compost the filter and you’re done!
Best for traveling
Specifications
Reasons to buy
Reasons to avoid
I know what you’re thinking: isn’t Yeti that outdoor gear brand? It doesn’t make coffee stuff, right? Well, yes, and no. Yes, it’s an outdoor brand, and yes, it’s now making coffee gear!
In terms of flavor, the Yeti Pour-Over is just as experimentable as any other pour-over. It’s just a vessel: I can make the coffee as strong, weak, fruity, or bitter as I want depending on my ratios, grinds, and beans.
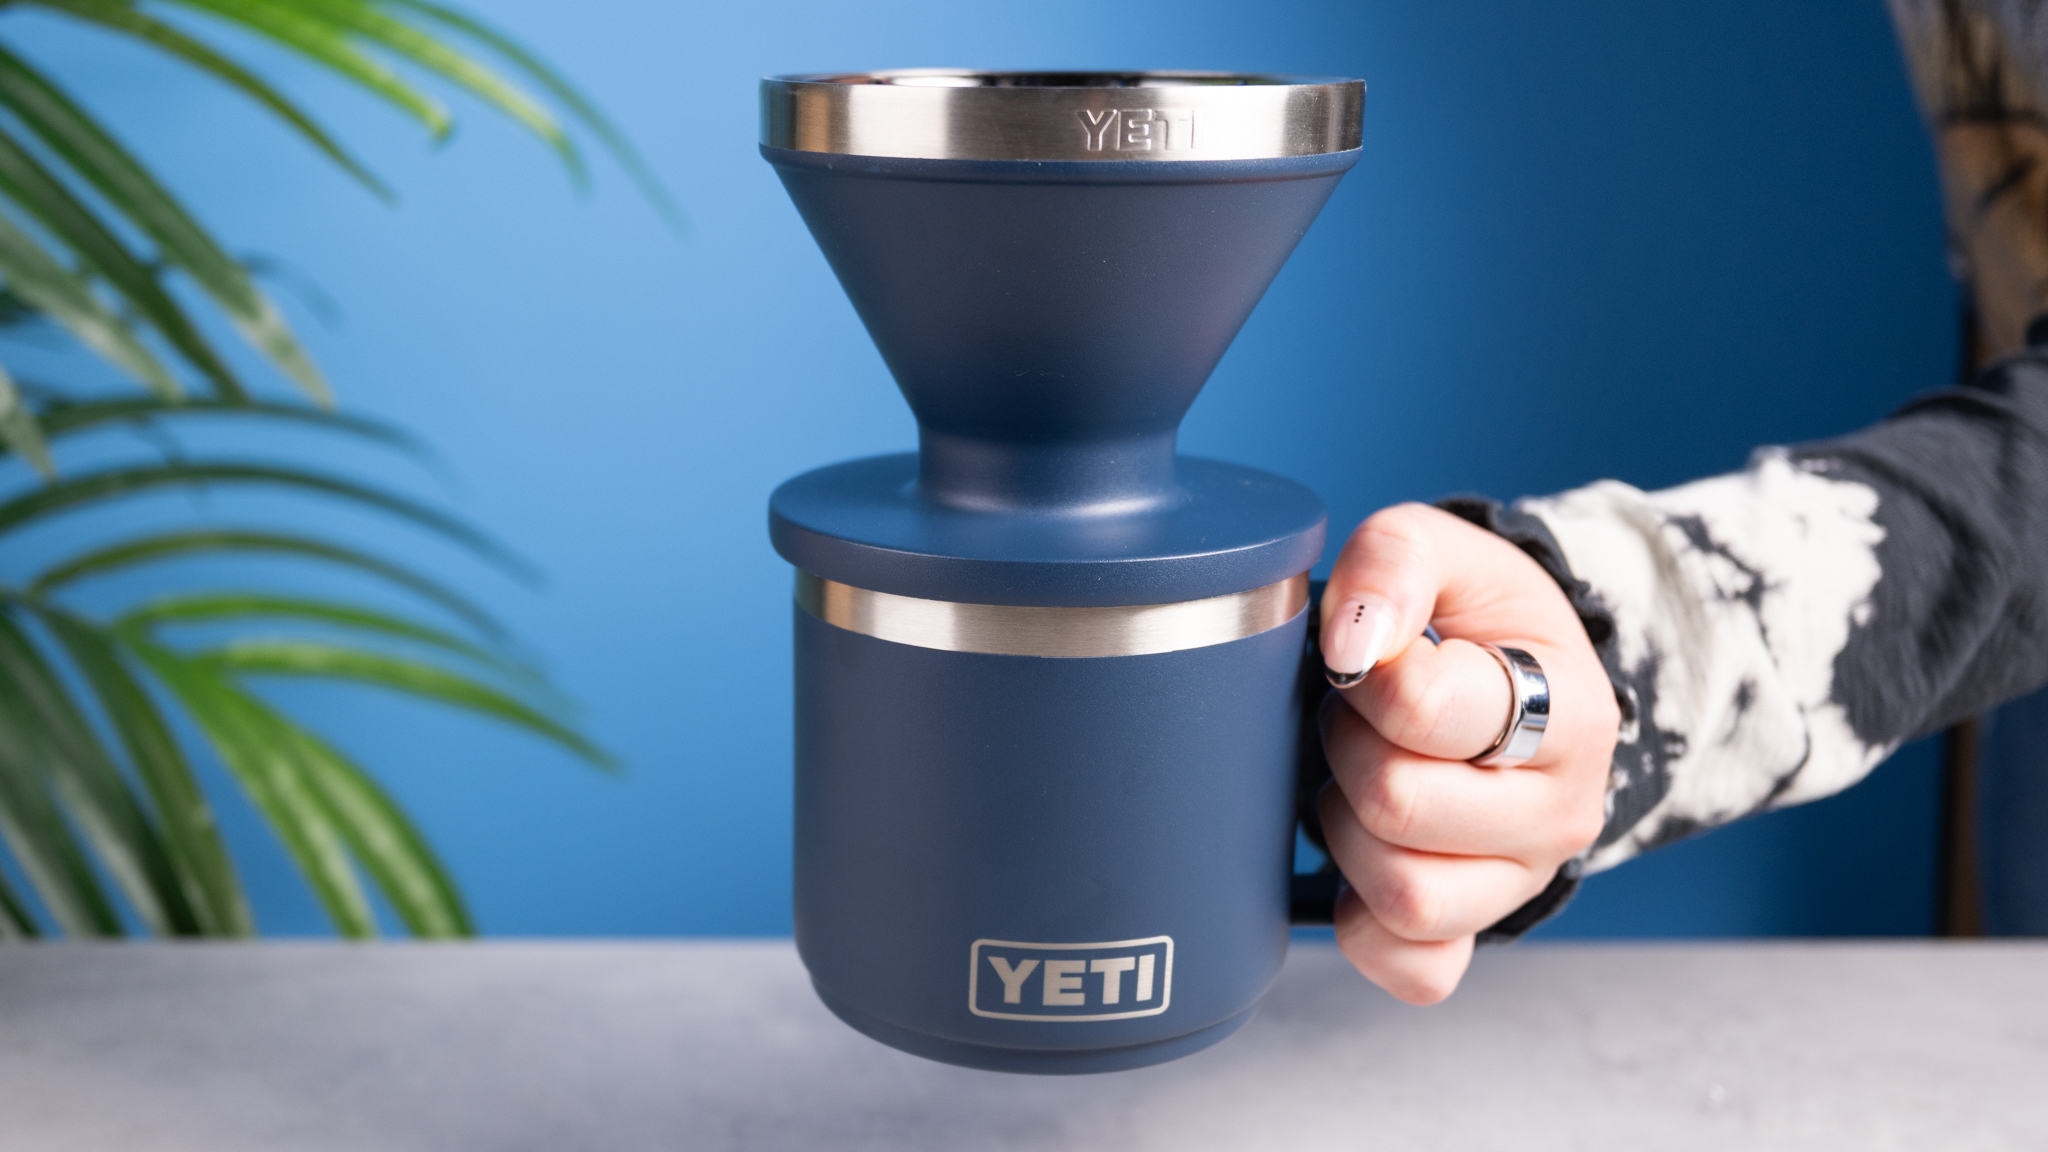
Although the Hario V60 could technically be taken on vacation or outdoor excursions, the Yeti Rambler Pour-Over makes so much more sense. The Yeti Pour-Over fits perfectly onto Yeti’s fantastic Rambler range of drinkware, which makes it much more stable on uneven ground and means it holds temperatures for hours.
Where the Yeti Pour-Over really sticks out, though, is that aforementioned design. It’s made of pure metal, so it’s very hardy and I wouldn’t be fearful throwing this into my backpack in a pinch.
Let's get into the specifics...
Performance
The Yeti Rambler Pour-Over is kind of just a V60, but make it rugged. It’s as if Yeti’s hardy outdoor gear and Hario’s sublime specialty coffee products had an indestructible, delicious baby.
Thanks to the conical dripper shape, the Yeti Rambler Pour-over works almost identically to the V60. There’s a large hole at the base of the dripper and grooves around the inside of the dripper body to promote coffee movement. All this is visible on the Hario V60, too.
Where the Yeti Pour-Over differs is its purpose. It’s not made of the semi-delicate plastic of the V60 (I know there are ceramic and metal options, too, but I have the plastic V60), so I’d be happy just throwing it into my camping backpack. It also fits perfectly onto any of Yeti’s Rambler drinkware range, meaning I was able to brew directly into the steel-insulated travel mugs and tumblers that keep the coffee hot for hours.
While the Yeti Pour-over relies on pouring technique to a similar degree that the V60 does, it’s so easy to transport the brewing gear around outdoors. I’ve actually taken to using the Yeti Pour-over in the morning, and then taking the mug out and about with me.
If you need something that can easily be chucked into a bag or taken out of the house, then the Yeti Rambler Pour-Over is the dripper for you.
Filters & cleanup
As the Yeti Pour-over uses Hario #2 filters, it’s super easy to find the filters online and at coffee shops. I’d hate it if every single coffee maker used its own unique filters, as that would make my life harder (and much more expensive).
Again, as it uses Hario filters, these filters can easily be composted straight from the mug. I always throw mine in my food waste trash.
Thankfully, the Yeti Pour-over is dishwasher-safe, but as it’s metal I’d be a bit leery of leaving it overnight or leaving it wet. Stainless steel can still rust after prolonged abuse.
My go-to routine
- Measure out coffee in a ratio of 1:16. Usually this is around 15g.
- Grind coffee medium or medium-coarse.
- Dose coffee into a pre-wetted Hario 02 filter.
- Pour in around 50ml of 200°F water to bloom the coffee.
- After the gases have released, pour in ⅓ of the remaining water in slow circular motions, making sure you ‘tuck’ the water under the coffee.
- Once this has filtered through, pour another ⅓, then the final ⅓ to fix any tunnelling.
- Compost the filter… and you’re done!
Best pour-over coffee accessories
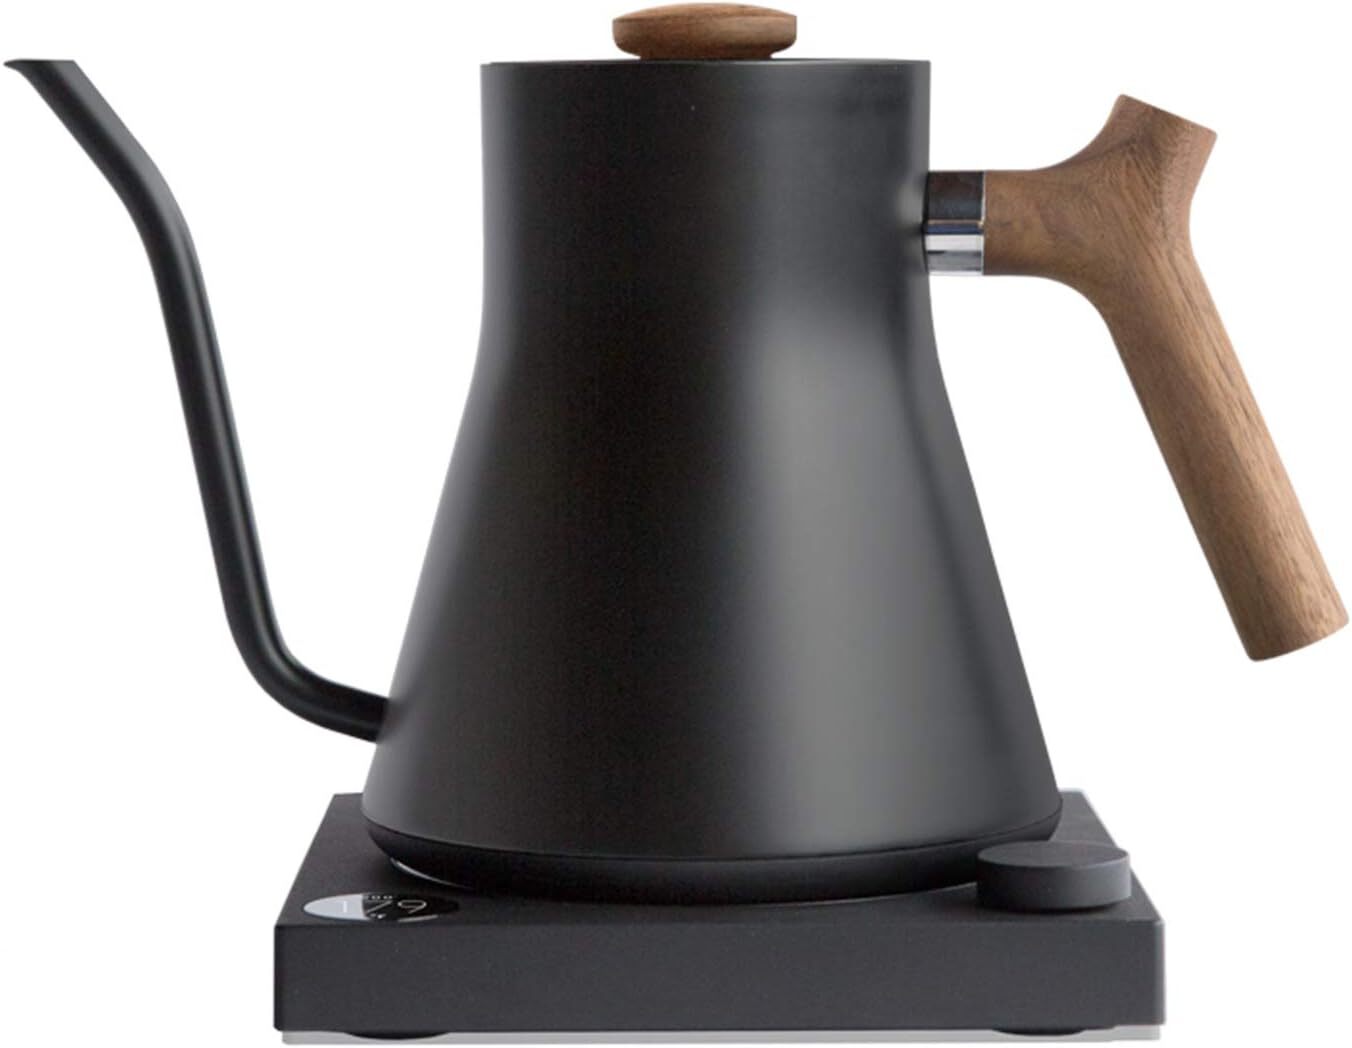
The best kettle for pour-over is the Fellow EKG Stagg. I’ve found this is the easiest kettle to achieve pouring perfection with. Yes, it’s expensive, at $169 for the exact model I have (it’s recently gone up from $165, ouch), but if you’re serious about coffee, it’s worth it.
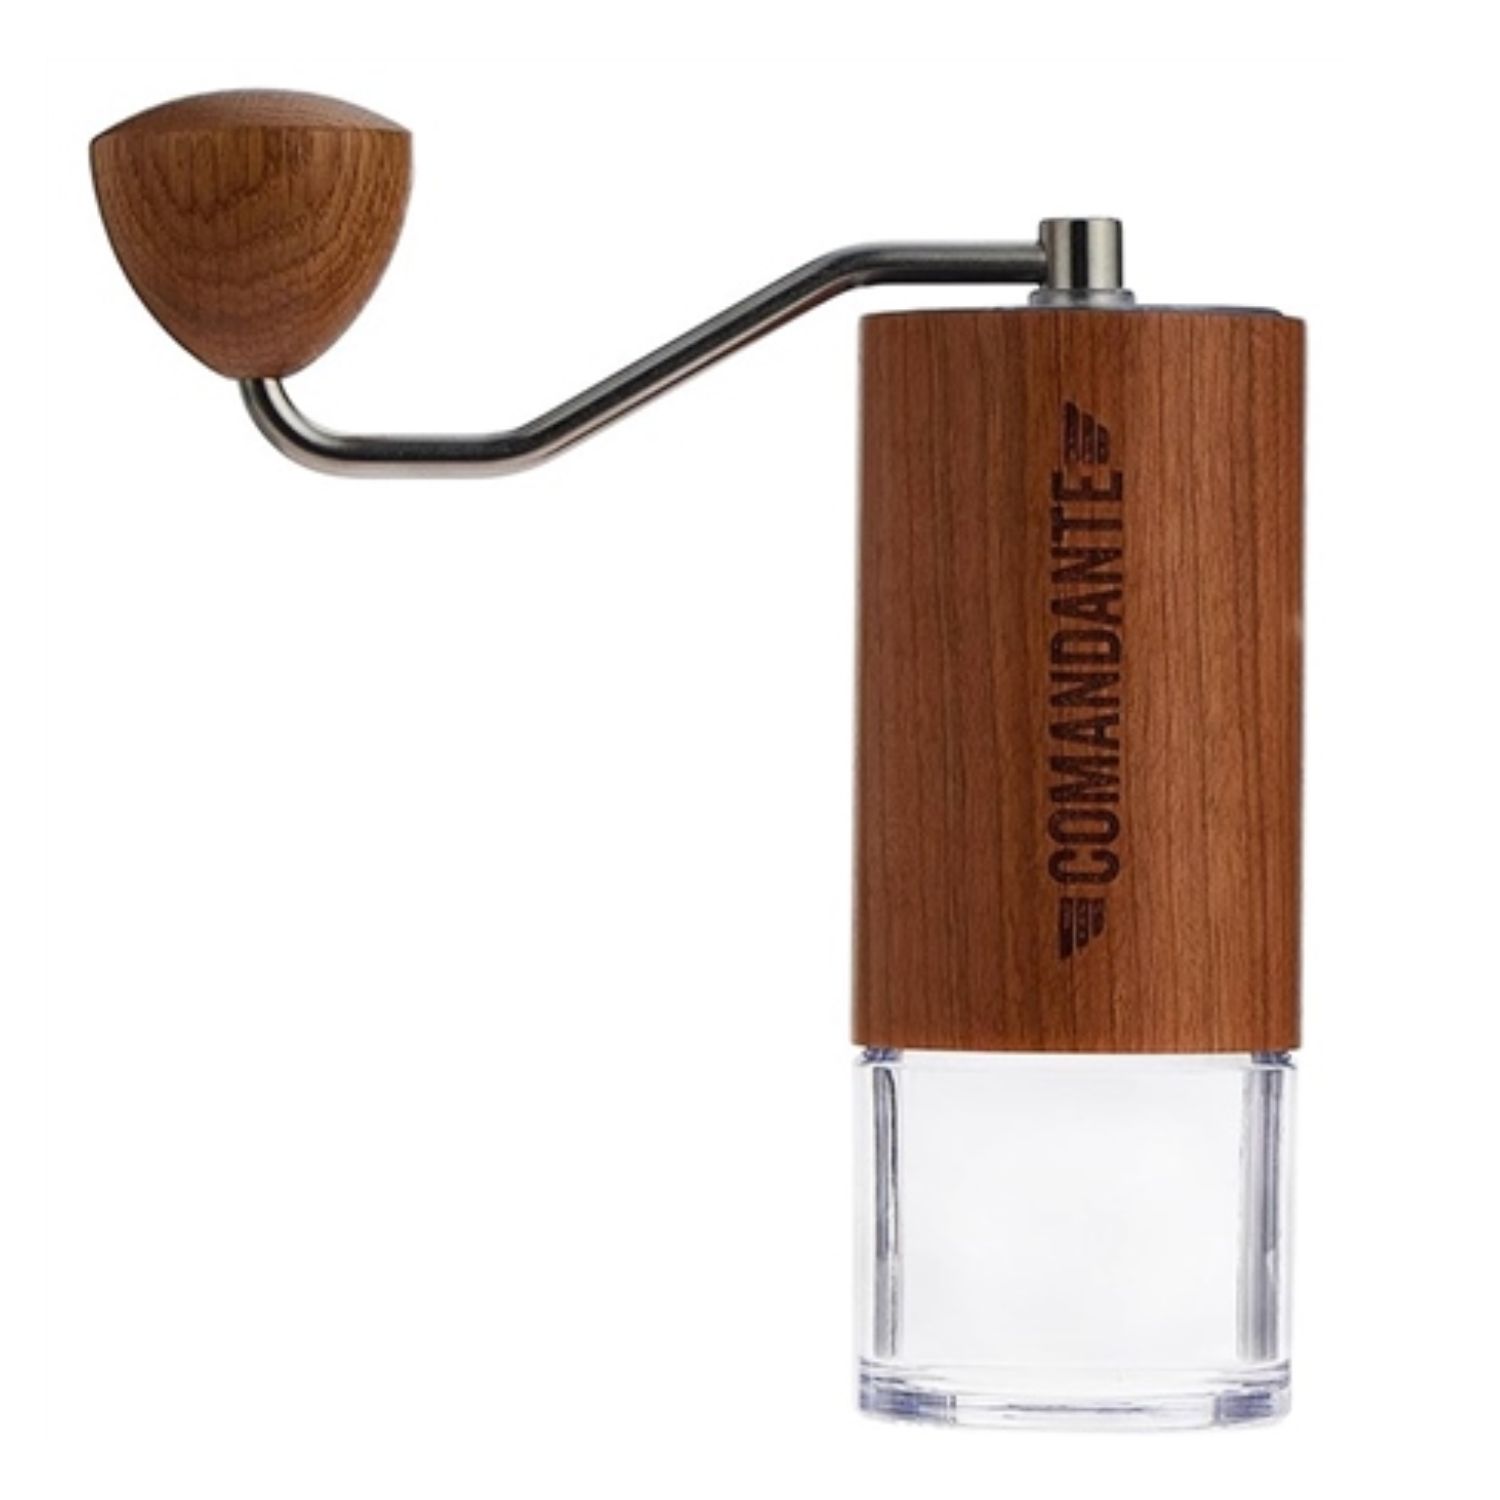
Of course there are electric grinders you can use for pour-over, but I think the Comandante C40 MK4 grinder is just perfect. It’s a hand grinder, but don’t let that put you off. If you’re just brewing for a couple of servings, it’ll take seconds to grind.
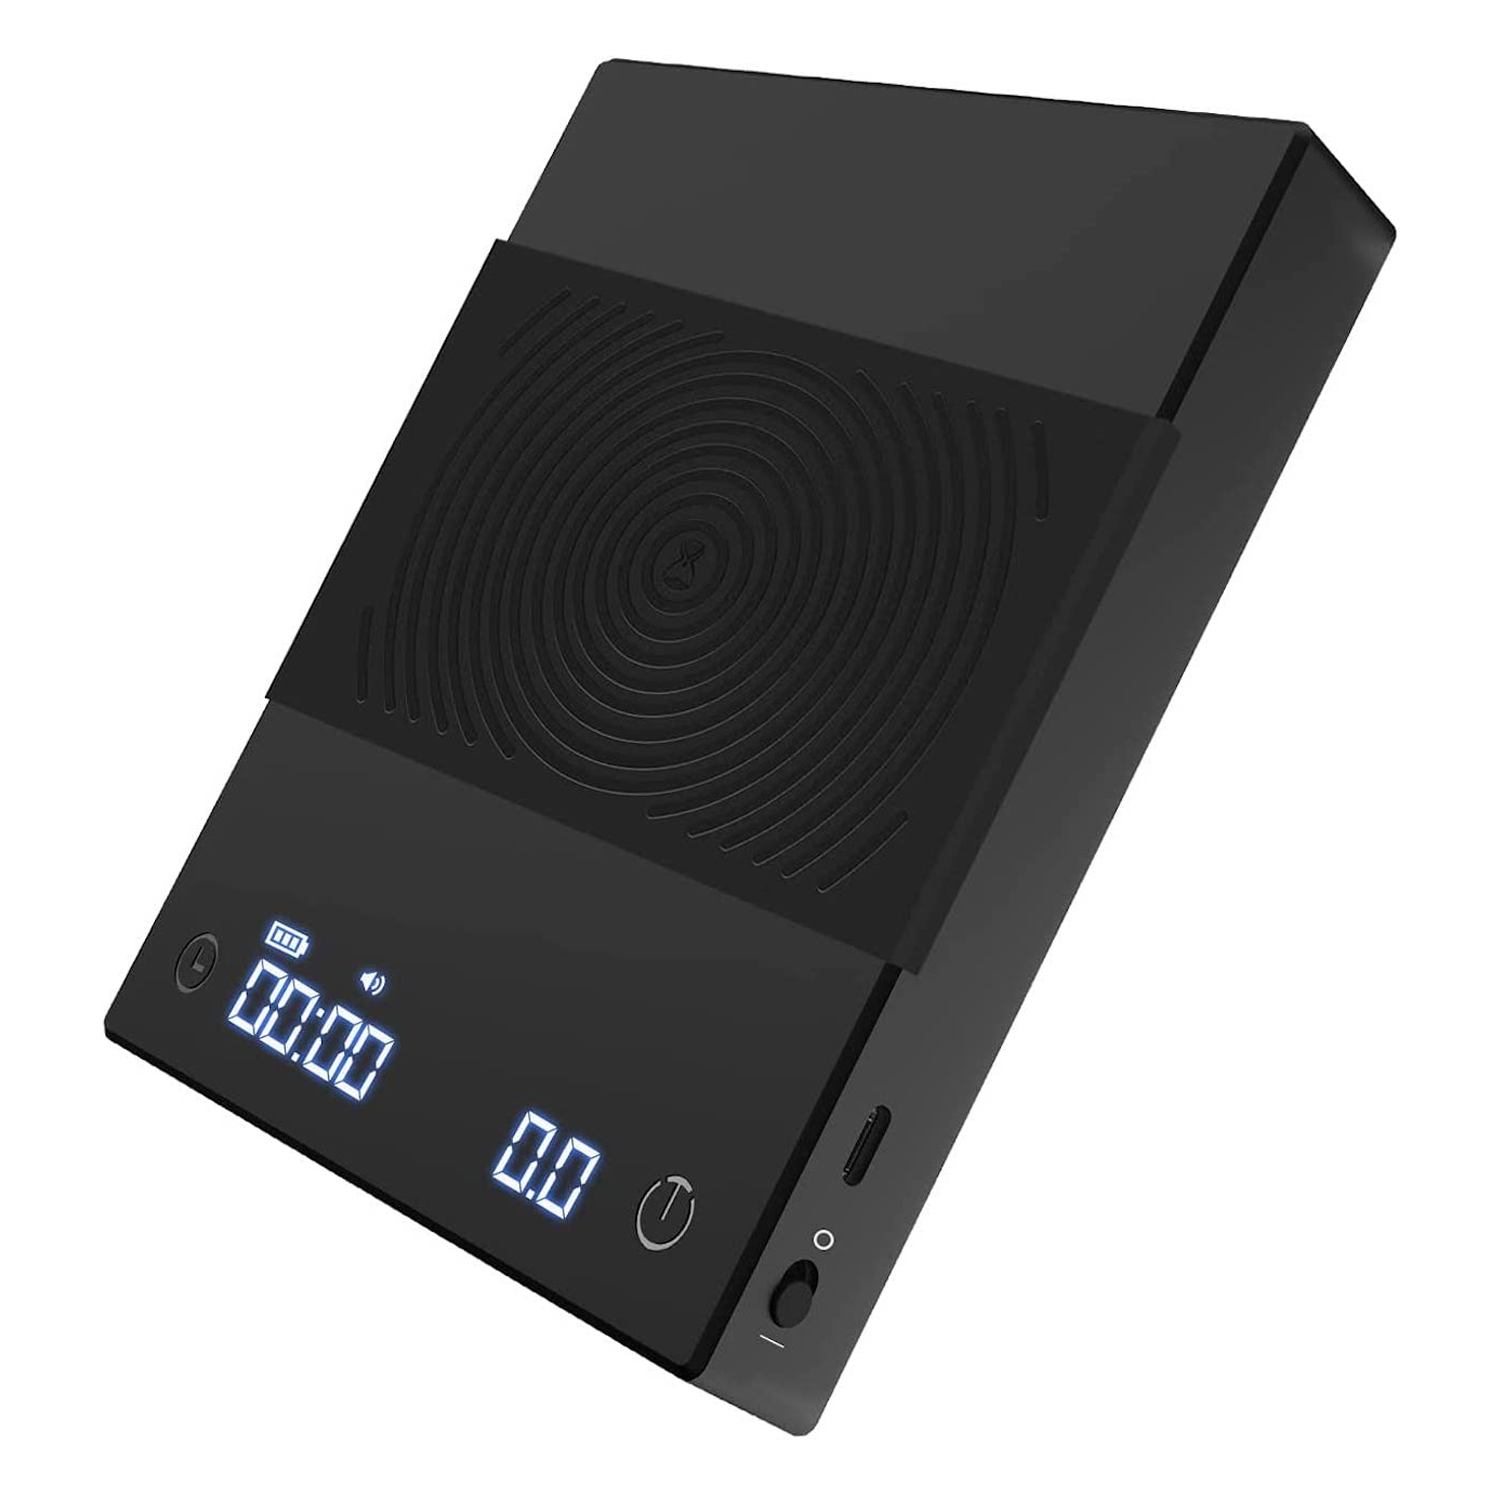
Although I love other coffee scales more (like the Acaia Pearl S), the Timemore Black Mirror Basic 2 is my overall recommendation for pour-over scales because it’s cheap and works well. Most coffee scales are grossly overpriced — not the Black Mirror Basic 2.
Specs compared
| Header Cell - Column 0 | Kalita Wave | Hario V60 | Chemex Classic | Yeti Rambler Pour-Over |
|---|---|---|---|---|
Price range | ~$24–$42 depending on size and material | ~$10+ depending on material and size | ~$47 (6-cup classic); ~$44–$53 for others; up to ~$153 for handblown 13-cup | $30 |
Weight | 7 ounces | 6.4 ounces | 1.3 pounds (6-cup model) | 9.6 ounces |
Dimensions | 4.5 x 4.5 x 2.5 inches | 4.3 x 4.8 x 4.9 inches | 8.5 x 5.1 inches (6-cup model) | 4.8 x 4.7 x 3.6 inches |
Capacity | Sizes: 155 (1–2 cups), 185 (2–4 cups) | Sizes: 01, 02, 03 (1–4 cups) | Sizes: 3-cup, 6-cup, 8-cup, 10-cup | One size, 1-4 cups |
Materials | Stainless steel, glass, or ceramic | Plastic, ceramic, glass, copper, or metal | Borosilicate glass, wood collar, rawhide (leather) | 18/8 stainless steel |
Color options | Varies by material (e.g., silver for stainless, white for ceramic) | Varies by material (clear plastic, white ceramic, copper, etc.) | Clear glass; wood collar available in various wood types and rawhide colors | Navy, ultramarine violet, red, white |
Dishwasher safe | Yes (stainless model is top-rack safe) | Yes | Yes (remove wood collar before washing) | Yes |
Accessories | None included | Coffee scoop included | None included | None included, optional purchase of Rambler drinkware |
Filters | Kalita Wave filters (flat-bottom, proprietary design) | Hario cone #2 filters | Chemex bonded filters (pre-folded, square) | Hario cone #2 filters |
Brewing Capacity | 1-4 cups | 1-4 cups | 3-13 cups | 1-4 cups |
Best pour-over coffee makers: How I test
As I’m always testing coffee gear, or drinking coffee, or thinking about coffee, I’ve got my testing process nailed down.
Every single one of these coffee makers I have either at home or at the office. At home, I have: Kalita Wave, Hario V60, Yeti Pour-Over. At the office, I have Chemex. Didn’t I say it was best for big batches? If it’s at the office, I can always make my coworkers and I a big batch of coffee to help us through the morning.
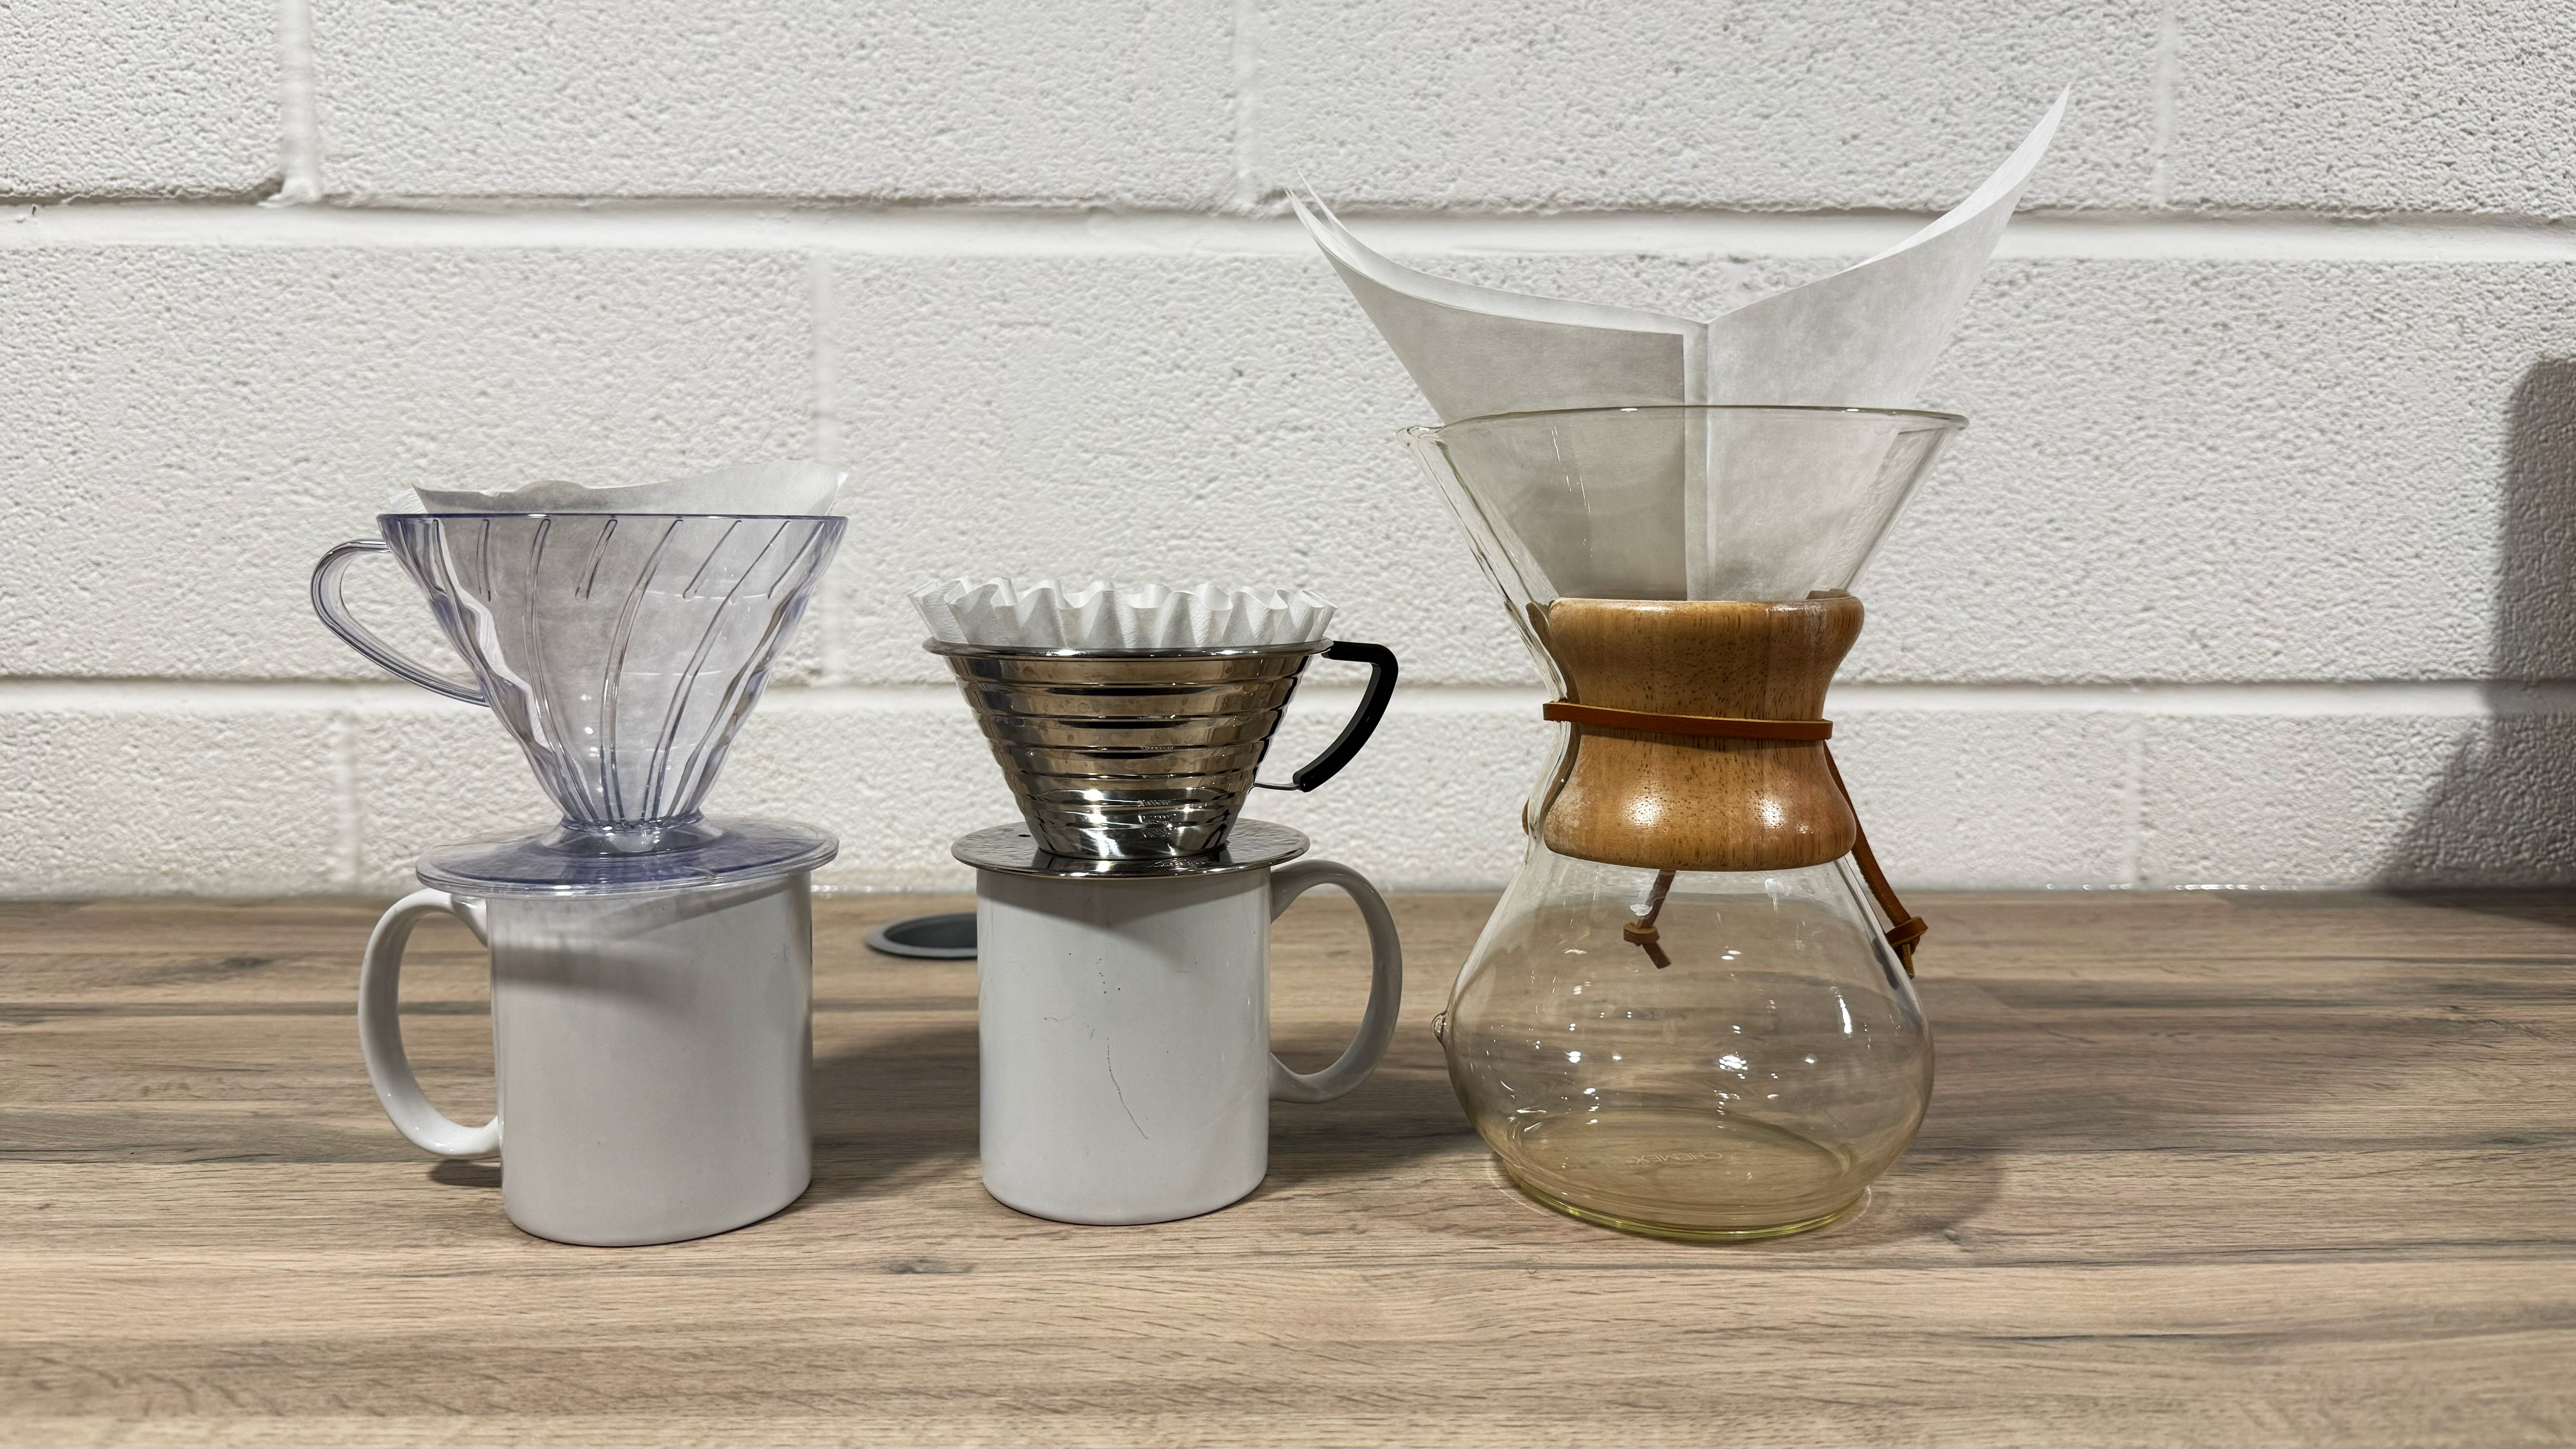
If you check out the individual reviews of all these coffeemakers, you’ll see that I first published the reviews between October-April. The V60 was first, in October, and the Chemex shortly after, also in October. I reviewed the Kalita Wave in November and the Yeti Pour-over in April.
My testing doesn’t stop after the review is published. I still use all four of these pour-overs to this day, so my testing has effectively been going on for months and months now. I think I’ve got an intimate understanding of these four coffee makers, so I can present my findings with confidence.
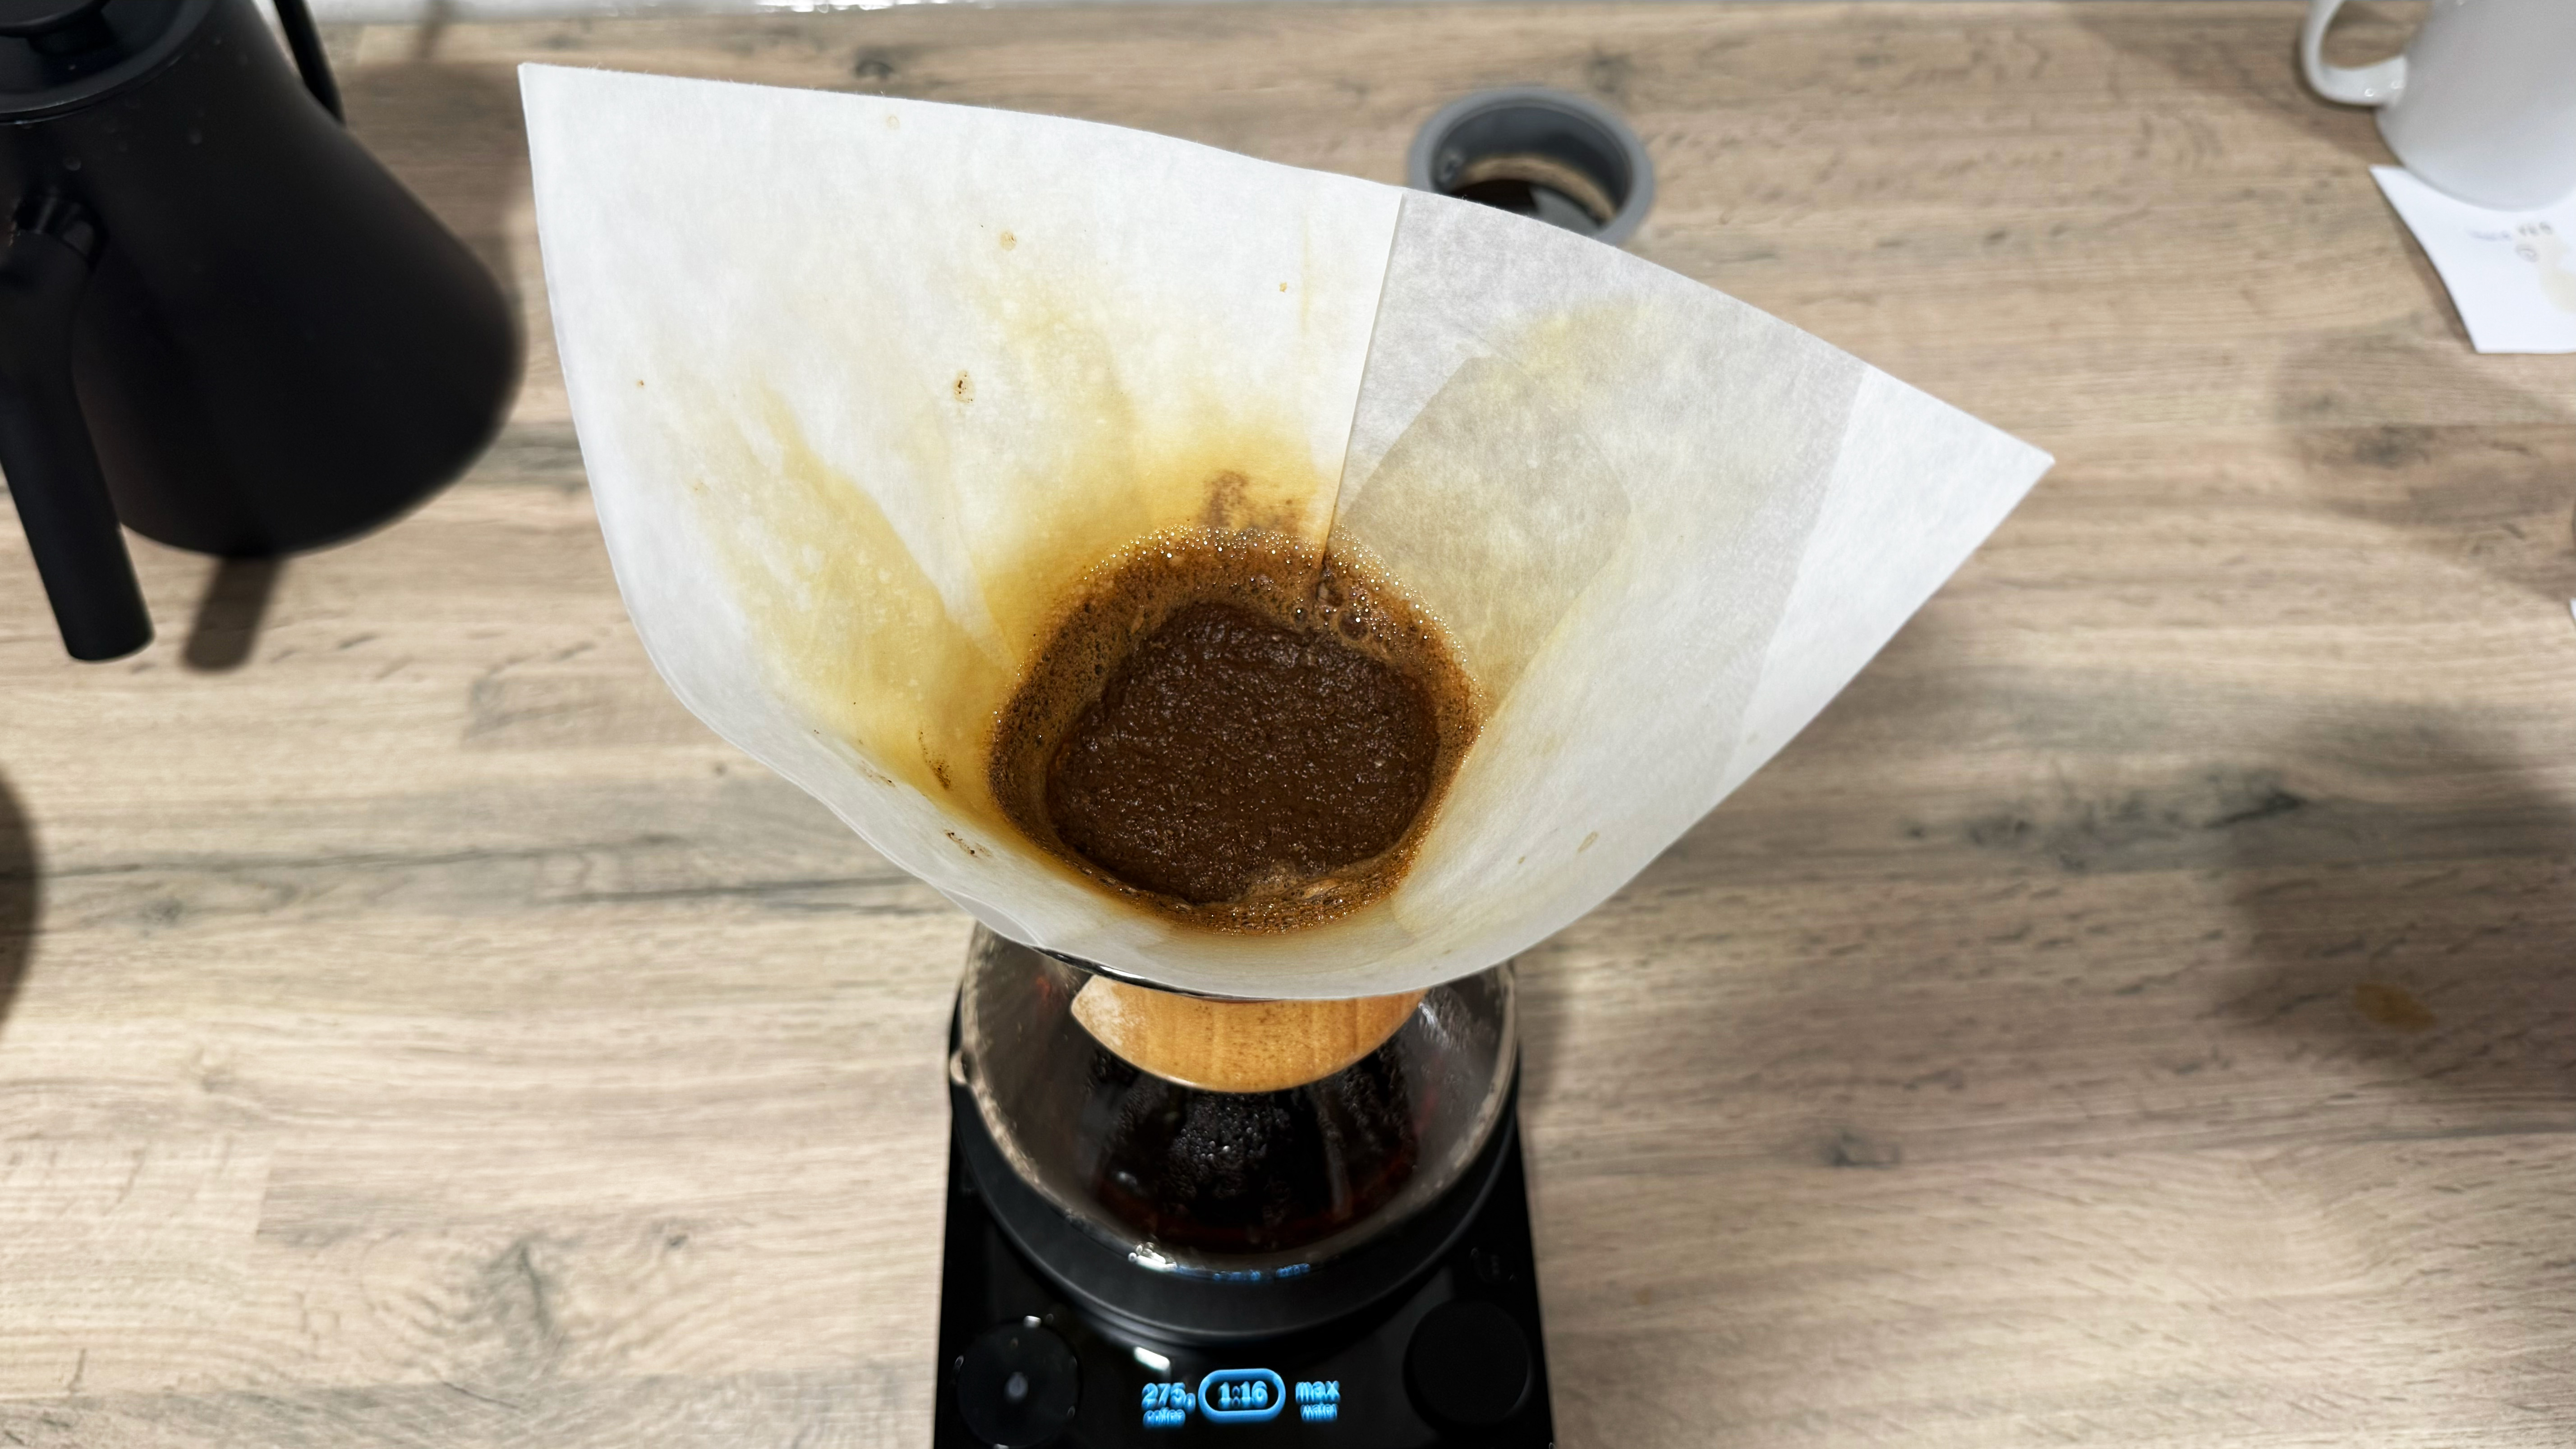
In terms of a baseline test, I just do what any coffee lover would do: try and brew the best cup possible. I always follow the coffee maker’s recipe or guide first, just to see what the manufacturer thinks is the best way to brew.
Then, I go through my usual technique: I usually stick with a nice 1:16 ratio as I like a juicy, fruity, floral coffee more than a super-intense dark brew. For Kalita Wave, I’ve realised that a 1:18 is best. If you like an intense coffee, you might want to stick with a 1:15 or even 1:14 ratio.
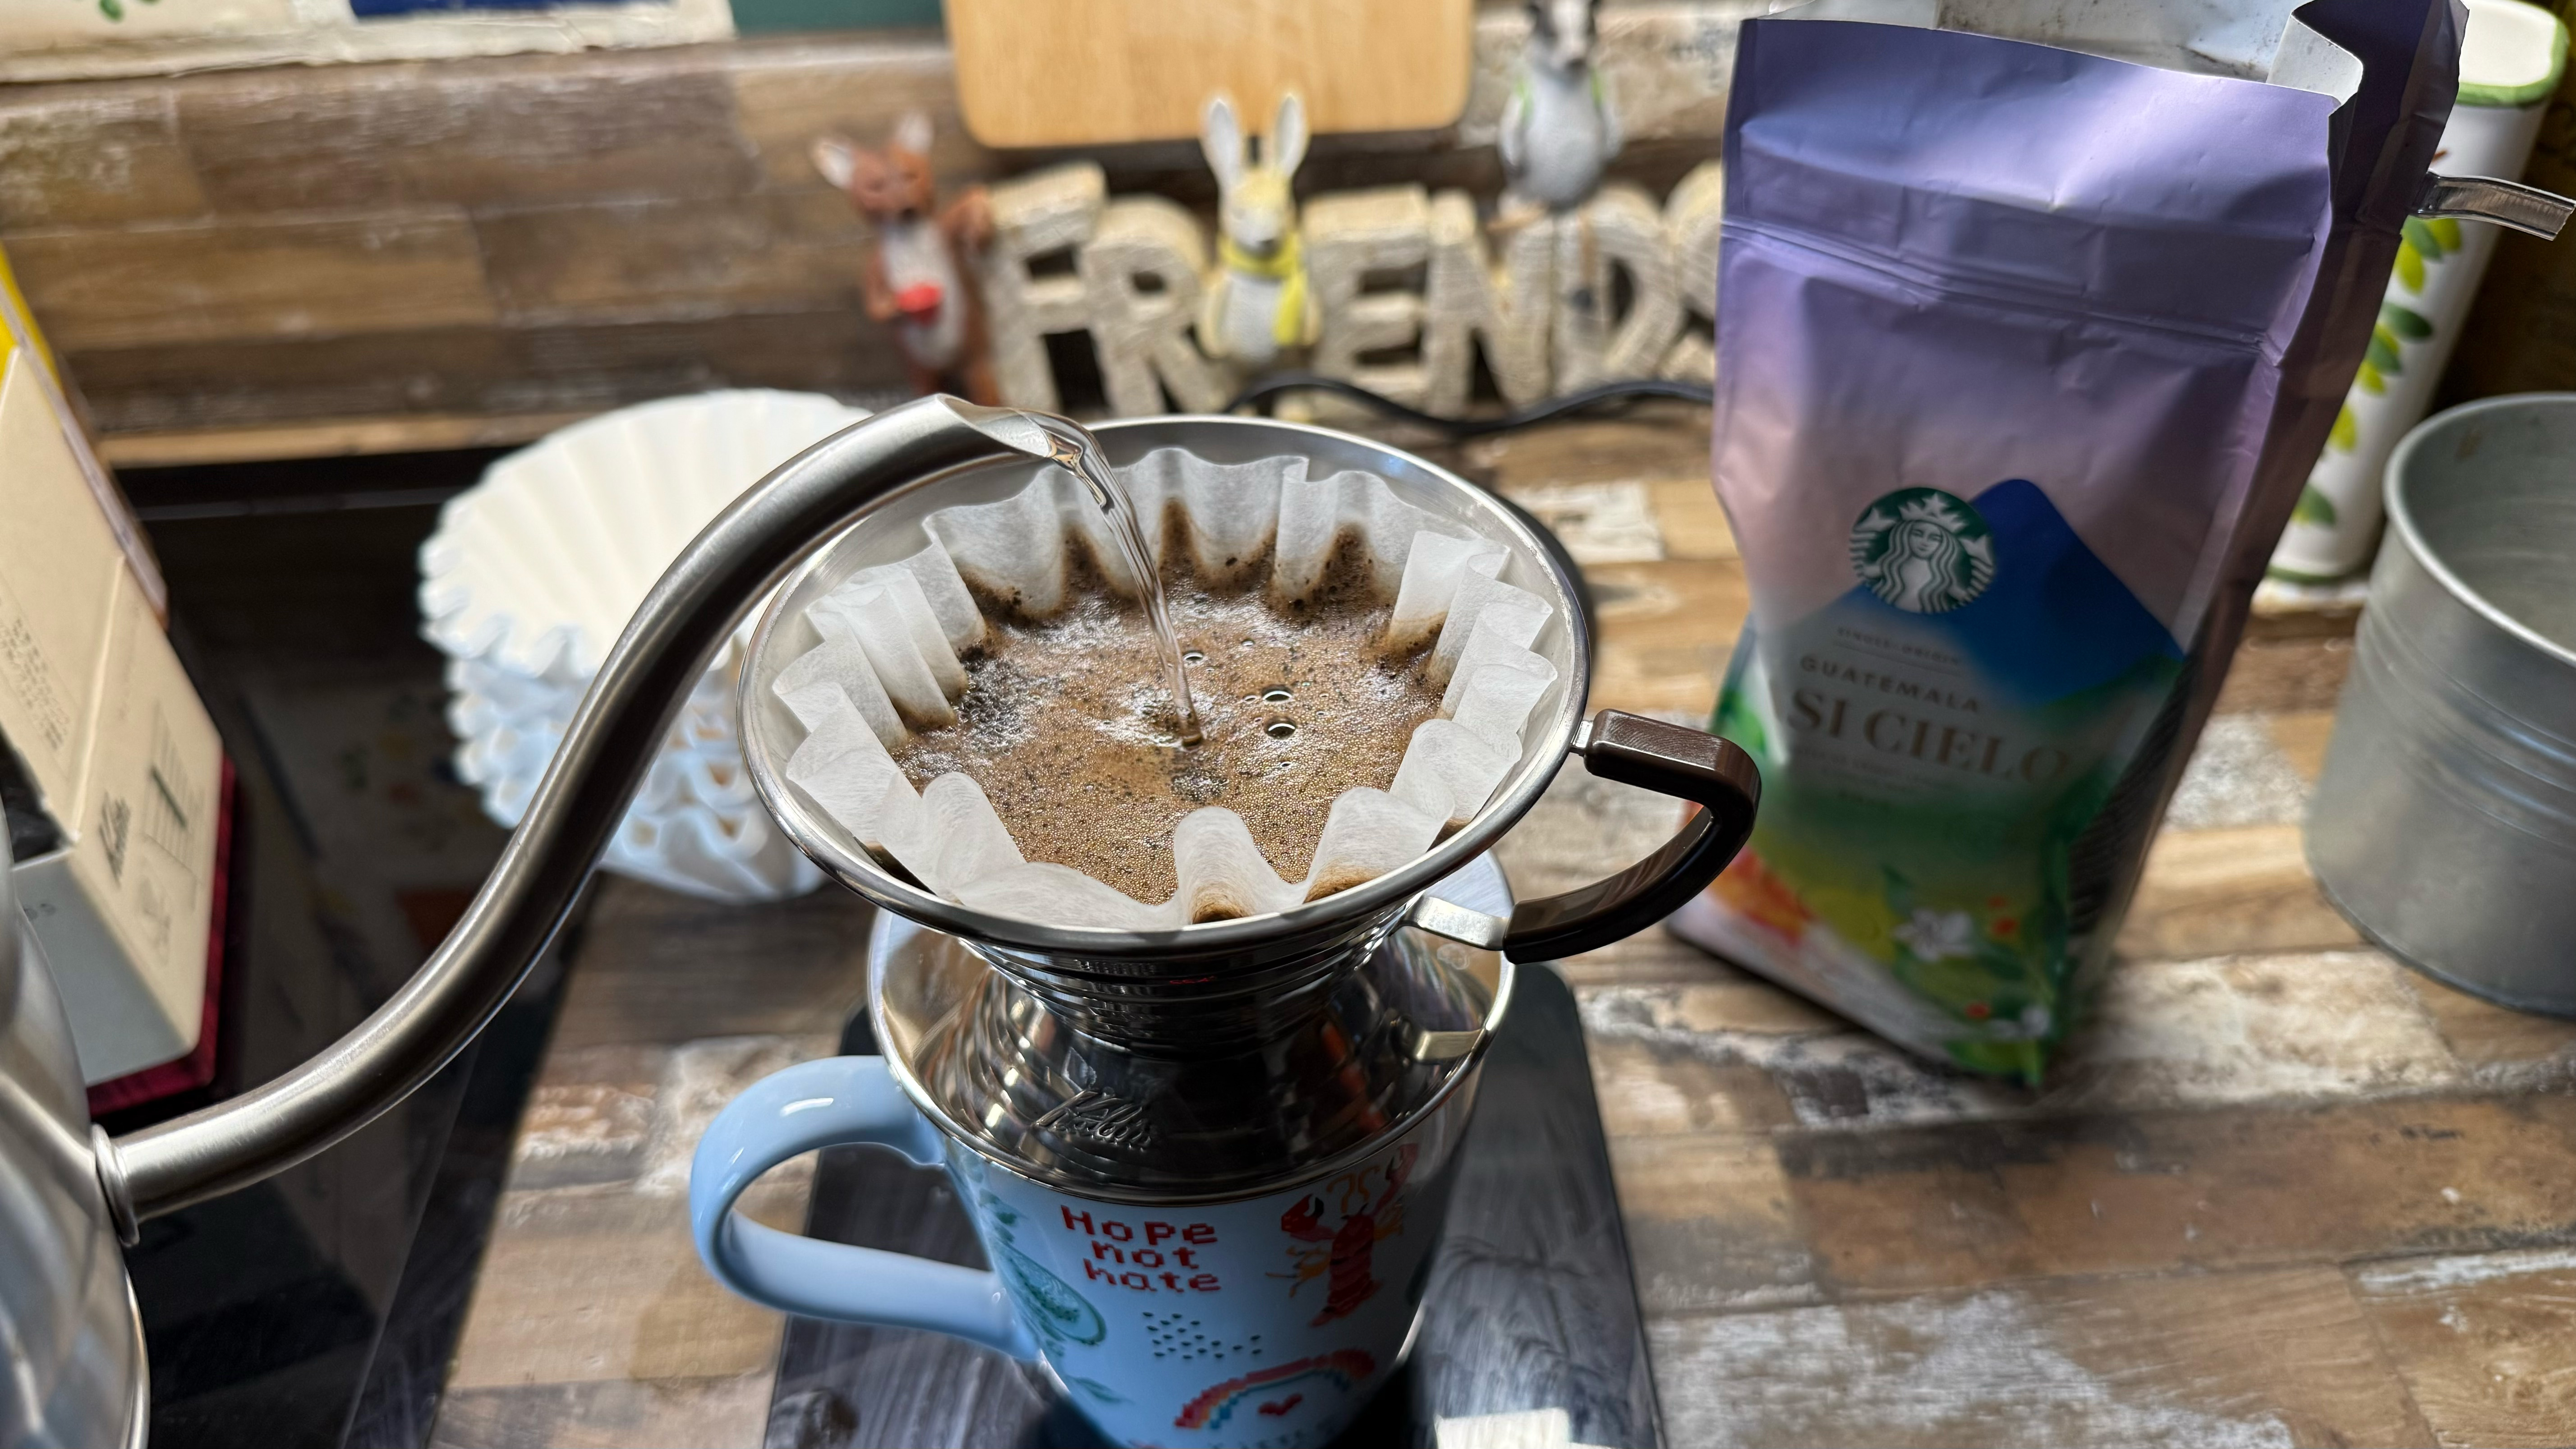
I use 200°F water brewed in either my Ninja Precision Temperature kettle (if I’m at home) or my Fellow Stagg EKG gooseneck kettle (if I’m at the office). Then I’ll use one of the best coffee scales (Timemore Black Mirror Basic 2 at home, Fellow Tally Pro at the office) and brew up.
I will experiment with different pouring methods, grind size, coffee bean, and ratio until I find the best result for me. But what I like might not be what you like. It’s up to you to figure out the best pour-over method.
In terms of evaluating pour-over coffee makers, I take loads of things into consideration.
- How easy is it to use?
- How experimentable is it?
- How versatile is it?
- How easy is cleanup?
- How expensive are the filters?
- How much space does it take up?
- What does it look like?
In my reviews, I’ll analyze all of the above criteria and then give it an overall score based on the results.
But in all honesty, pour-over coffee is what you make of it. What I like may not be what you like. And that’s why I love pour-over coffee so much: it’s completely unique and totally versatile, meaning you can always find the optimum flavor and brewing style for you. There is no one size fits all here.
In my opinion, versatility is what makes pour-over markedly better than other more common brewing methods. French press is easy and cheap, but doesn’t result in the most sophisticated flavor. Nespresso pods tend to use sup-par coffee, so if you actively enjoy sniffing out various notes in coffee bean varietals, then Nespresso won’t be for you, regardless of how easy it is.
Espresso, although very versatile, relies on having a lot of space and/or $$$ to go with it, and is too much of a commitment for some people if you’re in a smaller apartment or don’t want to spend megabucks on hot bean juice.
So I think pour-over is the perfect in between: it’s fancy, sophisticated, and majorly affordable.
How to choose the best pour-over coffee maker
Learning how to choose the best pour-over coffee maker for you is going to be a pretty lengthy process.
There are some questions you’ll need to ask yourself: What coffee flavors do I like? How much time do I have? How much am I willing to spend on filters? How many people am I making coffee for? Do I want just one pour-over, or multiple? How much space do I have?
Once you have the answers to these questions, you can start researching pour-overs in earnest. I went through all the specifics in the descriptions above — but obviously I can’t tell you what your answers are.
FAQs
What’s the difference between Hario V60 and Kalita Wave?
The main difference is the bottom. A V60 has a conical shape whereas the Kalita is a flat-bottomed dripper. This basically means that the V60 has a wider space for water to fall through and will brew faster, but is more prone to funnelling.
The Kalita’s flat bottom means coffee grounds will sit on the base and it’s more prone to getting blocked (if grind size is too small) but it doesn’t funnel as easily.
What’s the best pour-over shape?
This depends on what you want. Do you want to perfect your pouring motion, or do you like a lighter brew? Then you’d probably be better off with a conical dripper. If you want a more intense brew and you aren’t so fussed about learning pouring technique, a flat bottom is better.
What kind of coffee do you use for pour-over?
The actual beans depend on your taste. I like fruity coffee so I often gravitate towards African light-roasted beans, but sometimes I’m in the mood for a more chocolatey, richer flavor so I might pick up some South American beans.
Grind size is usually around medium, but this again will depend on your personal tastes. I tend to grind medium (leaning more towards coarse than fine) for most pour-over.
Is pour-over coffee actually better?
It depends what you like! Pour-over coffee, I think, can be much more sophisticated than espresso. That’s not to say espresso is unsophisticated — not at all. I’m just saying that, done right, pour-over can be very fancy.
If you don’t have space for an espresso machine or don’t like milky coffee, I think pour-over coffee is more your vibe. However, if you love milky coffee and playing around with syrups and doing latte art, then you might want to check out one of the best espresso machines instead.
Why is my pour-over bitter?
Oooh, I think I know why. Your coffee might be stale. You should be buying wholebeans, freshly roasted (with a ‘roasted on’ date on the bag), and grinding at home.
Or, your grind is too fine. The texture should be like brown sugar, not white sugar or flour. Maybe even coarse salt, or even as coarse as cookie crumbs. If your coffee looks like flour, table salt, or white sugar, it’s likely too fine. If we want to get scientific, your coffee should be no finer than 600um and no coarser than 1400um, depending on your bean roast.
Finally, maybe you just don’t like the beans you’re using. Give them away and get another pack.
Get instant access to breaking news, the hottest reviews, great deals and helpful tips.

Erin Bashford is a senior writer at Tom's Guide, focusing on reviews. She has a Masters in Broadcast and Digital Journalism from the University of East Anglia. As an ex-barista, she knows her way around a coffee machine, and as a music lover, she's constantly chipping away at her dream of having a multi-room home sound system. In her spare time you can find her reading, practising yoga, writing, or stressing over today’s NYT Games.
 Club Benefits


