
 Club Benefits


macOS Ventura has arrived, and if you've installed at least a beta version of it on your Mac, you now have a smorgasbord of new features and tools to try out.
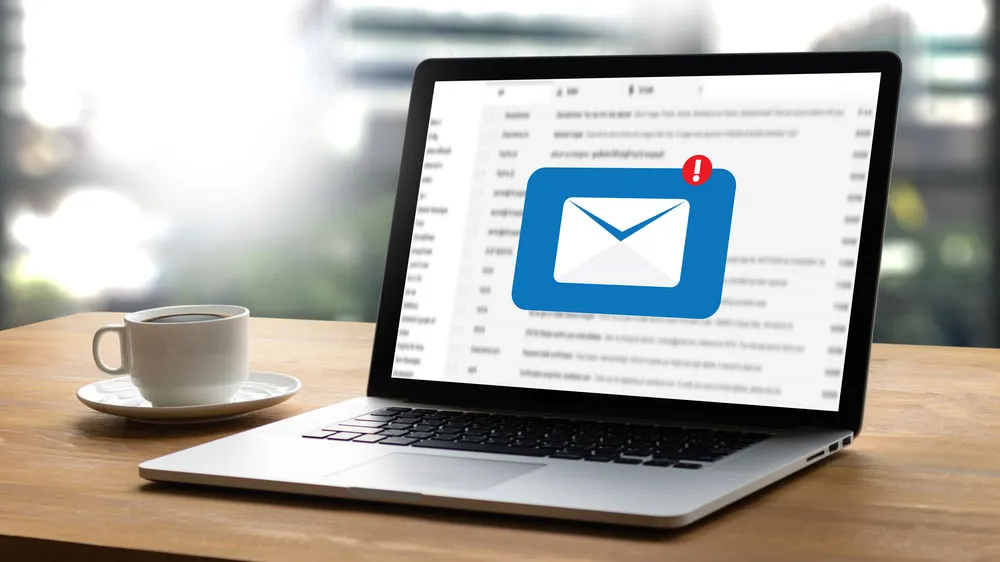
One of my favorite new macOS Ventura features is the ability you now have to schedule and unsend email via the Mail client. I can't count how many times I've quickly written and sent an email, only to look at it again a few seconds after hitting "Send" and realize I'd made a huge mistake.
While email clients like Gmail have offered some form of "takeback" button for sent email for some time, until recently you had no such option on the macOS Mail client. However, Apple's addressed that oversight with macOS Ventura, and now you have up to 10 seconds to take back an email in Mail once you've sent it.

Of course, 10 seconds isn't a lot of time, so it behooves you to know exactly how to unsend email in Mail so you don't waste precious seconds looking for the right button. Knowing how to schedule email helps you get more done, too, which is why this abbreviated guide will show you exactly how to do both — so you'll be ready when the time comes!
How to unsend email in Mail on macOS Ventura
1. If you've written an email in the macOS Ventura Mail client and hit Send, then decided you'd rather not, look for the Undo Send button in the lower-left corner of the Mail client. It's at the bottom of the left hand menu, and you better hit it quick because it disappears after ten seconds!

2. And that's all there is to it! If you were successful Mail will show you the email in question once again, ready for whatever edits you need to make. Once you're ready for sure this time, hit Send (though you can always undo it again if you need to, and you're quick enough!)

How to schedule an email in macOS Ventura
Another new Mail feature debuting in macOS Ventura is the ability to schedule email to send later, when you're not at your Mac.
However, note that even if you're not around, your Mac needs to be powered on and Mail needs to be running in order to send a scheduled email! Here's how to do it.
1. Once you've got an email ready to go, click on the little dropdown menu to the right of the Send button to open the Schedule menu. It's a very small, thin V-shaped icon that looks like a downward-pointing arrow, and you can see it highlighted in the image below.

2. Opening that menu should display a brief list of sending options. Click Send 9:00PM Tonight or Send 8:00AM Tomorrow to quickly schedule for one of those time. If you want a specific time, go to the next step.

3. If you want to schedule your message for some time other than what's suggested in the list, click Send Later then pick the exact time and date the email will go out.

4. And it's as easy as that! If you want to keep tabs on all your emails that are scheduled to go out, simply click the Scheduled tab in Mail to see the list. From there, you can edit them to your heart's content.

With these two simple tricks you've significantly increased your skills as a Mail power user in macOS Ventura.
Just remember: you only have ten seconds to undo an email, and your scheduled emails will only send if your Mac is powered on with Mail running at the time they're meant to go out!
If you're like more Mac tutorials, we've got plenty. For the security conscious, you might want to check out how to password protect a PDF on Mac, how to password protect a folder on Mac and how to encrypt files on Mac. If you want more power user tips, make sure to read up on how to use hot corners on Mac and how to split your screen on Mac.

