
 Club Benefits


It wasn’t long ago that a bookcase filled with DVDs and Blu-ray discs was a living room staple. These days, almost anything that you want to watch can be found on one of the best streaming services, and odds are that a well-curated DVD shelf is redundant. While commercially produced films and television shows are protected under copyright law, and we don’t condone unlawful reproduction of this material, if you’ve got home movies (weddings, graduations, sweet 16s etc.) captured on disc format it might be time to consider converting them to digital.
As is the case when you digitize your VHS tapes, digitizing your DVDs and Blu-rays will also free up shelf space, help preserve your memories, and give you the chance to edit and share them using the best video editing software.
Here’s how to digitize your DVDs, both at home and by using a service.

How to digitize your personal DVDs at home
Personal DVDs and Blu-Ray are one of the easier formats to digitize at home, but you will need a few items:
A computer with a DVD/Blu-ray drive, or an external drive
If you have a computer with an optical drive, you’re probably all set, but if you are working with a newer machine or laptop that lacks a dedicated disc drive, you will need to pick up an external drive.
Basic external DVD drives are relatively inexpensive — generally around $25 — but if you want a drive that can also read Blu-ray discs, you’ll have to spend around $100. Here are a few options that are compatible with Windows and Macs.

- External CD Drive USB 3.0 Portable CD DVD
- 5 in 1 External Blu ray DVD Drive, USB3.0 type-C
- Blu-Ray Player External USB DVD RW Laptop Burner Drive
- MthsTec USB 3.0 and Type-C Blu-Ray Burner DVD Burner
DVD copying software
In addition to a disc drive, you will need a program to rip the files off of your discs, and a program to transcode the files after the fact. There are tons of programs out there for ripping and transcoding files; we recommend MakeMKV for ripping and Handbrake for transcoding—both of these programs are free, open source software and available for both Mac and PC.
An external hard drive (optional)
Unless your computer has a ton of storage, we also recommend purchasing one of the best external hard drives to save all your video files.
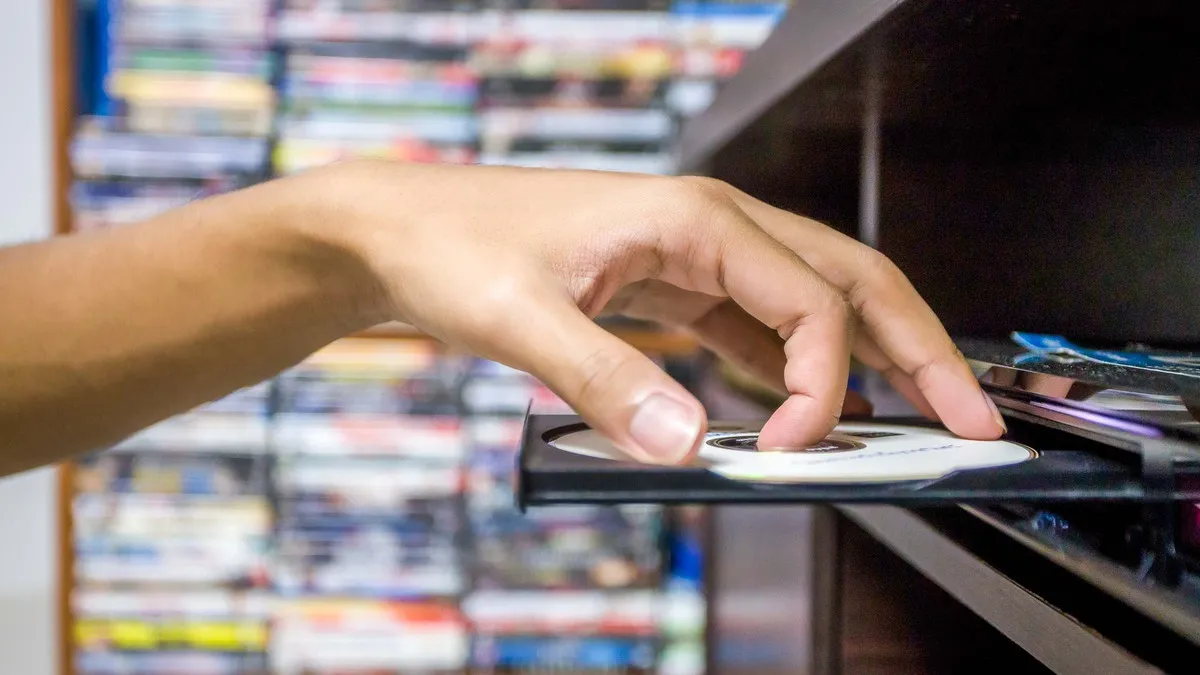
To get started, simply pop your DVD or Blu-ray disc into an optical drive connected to your computer.
Open MakeMKV and click the disc icon to start the process. MakeMKV will show you what can be ripped from the disc, you select the content you want and then select an Output Folder for the ripped files to be saved.
Click the “Make MKV” button to start the process.
After the ripped files have been saved to your hard drive, launch Handbrake to convert them into an MP4 file, which allows you to more easily edit and play the video on a variety of devices or platforms. Handbrake includes a lot of built-in presets for certain devices making it easy to optimize your files for wherever you intend to watch. Handbrake also lets you resize files—something that can be quite handy when you are dealing with massive Blu-Ray files.
Once again, we only recommend this process for personal DVDs or Blu-Ray discs—material that isn’t copyright protected.
How to digitize DVDs: Mail-in services

Digitizing your personal DVDs at home is a lot easier than converting old VHS tapes or film negatives. The process requires way less equipment and specialized knowledge, so it’s no surprise that there are relatively few companies that offer this as a mail-in service. However, just like a VHS tape, the DVD and Blu-ray format isn’t considered archival—if you’ve got personal footage sitting on a disc, it’s also worth having a fully digital copy. Here are some companies that offer the service.
DiJiFi is based in Brooklyn, New York and has been digitizing old media since 2007. It handles photos, slides, negatives, audio, video, books, microfilm and has provided digitization services for a number of New York-based organizations like the Brooklyn Historical Society, Brooklyn Botanical Gardens and the New York City Fire Department. It is also one of the few companies that specialize in converting DVD discs to digital files. Standard output is NTSC 720x480 (4:3) and PAL 720x540 (4:3), but the company can also output 16:9 in an MP4 format for editing or sharing. Footage can be saved to a USB drive. Get in touch with DiJiFi for an estimate on the service.
Based out of Fort Collins, Colorado, Leave a Legacy has been digitizing media since 2006. It offers digitization on a variety of formats, including converting DVDs into the MP4 format. In addition to conversion, it will save the files on an external drive for an additional charge. Media can be dropped off in person or mailed in. Contact the company for rates and processing time.
Walmart offers a more one-size-fits all digitization service through DVDWalmart, a.k.a. YesVideo. Its digital media transfer service is $15.96 for the first 30 minutes of footage, and $5.46 for each additional 30 minutes. Footage can be saved to a USB for $12.96 and is stored online for 60 days in MemoryCloud. Media can be mailed in or dropped off in-person. Turn around time for the service can take up to 3-4 weeks.
If you are looking to digitize commercial DVDs or Blu-ray discs—basically anything protected under copyright law—a service like Vudu is going to be your best option. Vudu’s disc to digital collect allows you to scan the UPC of your existing DVDs and Blu-Ray discs, convert to a digital format, which is then downloadable or can be viewed through the Vudu app. The conversion service costs $2 per disc and works with iOS or Android. Keep in mind that not every movie is going to be supported by Vudu, but it does have a search tool on its website to check eligibility.

