How to make mulch from fallen leaves — 7 easy steps
Free mulch is falling from the trees
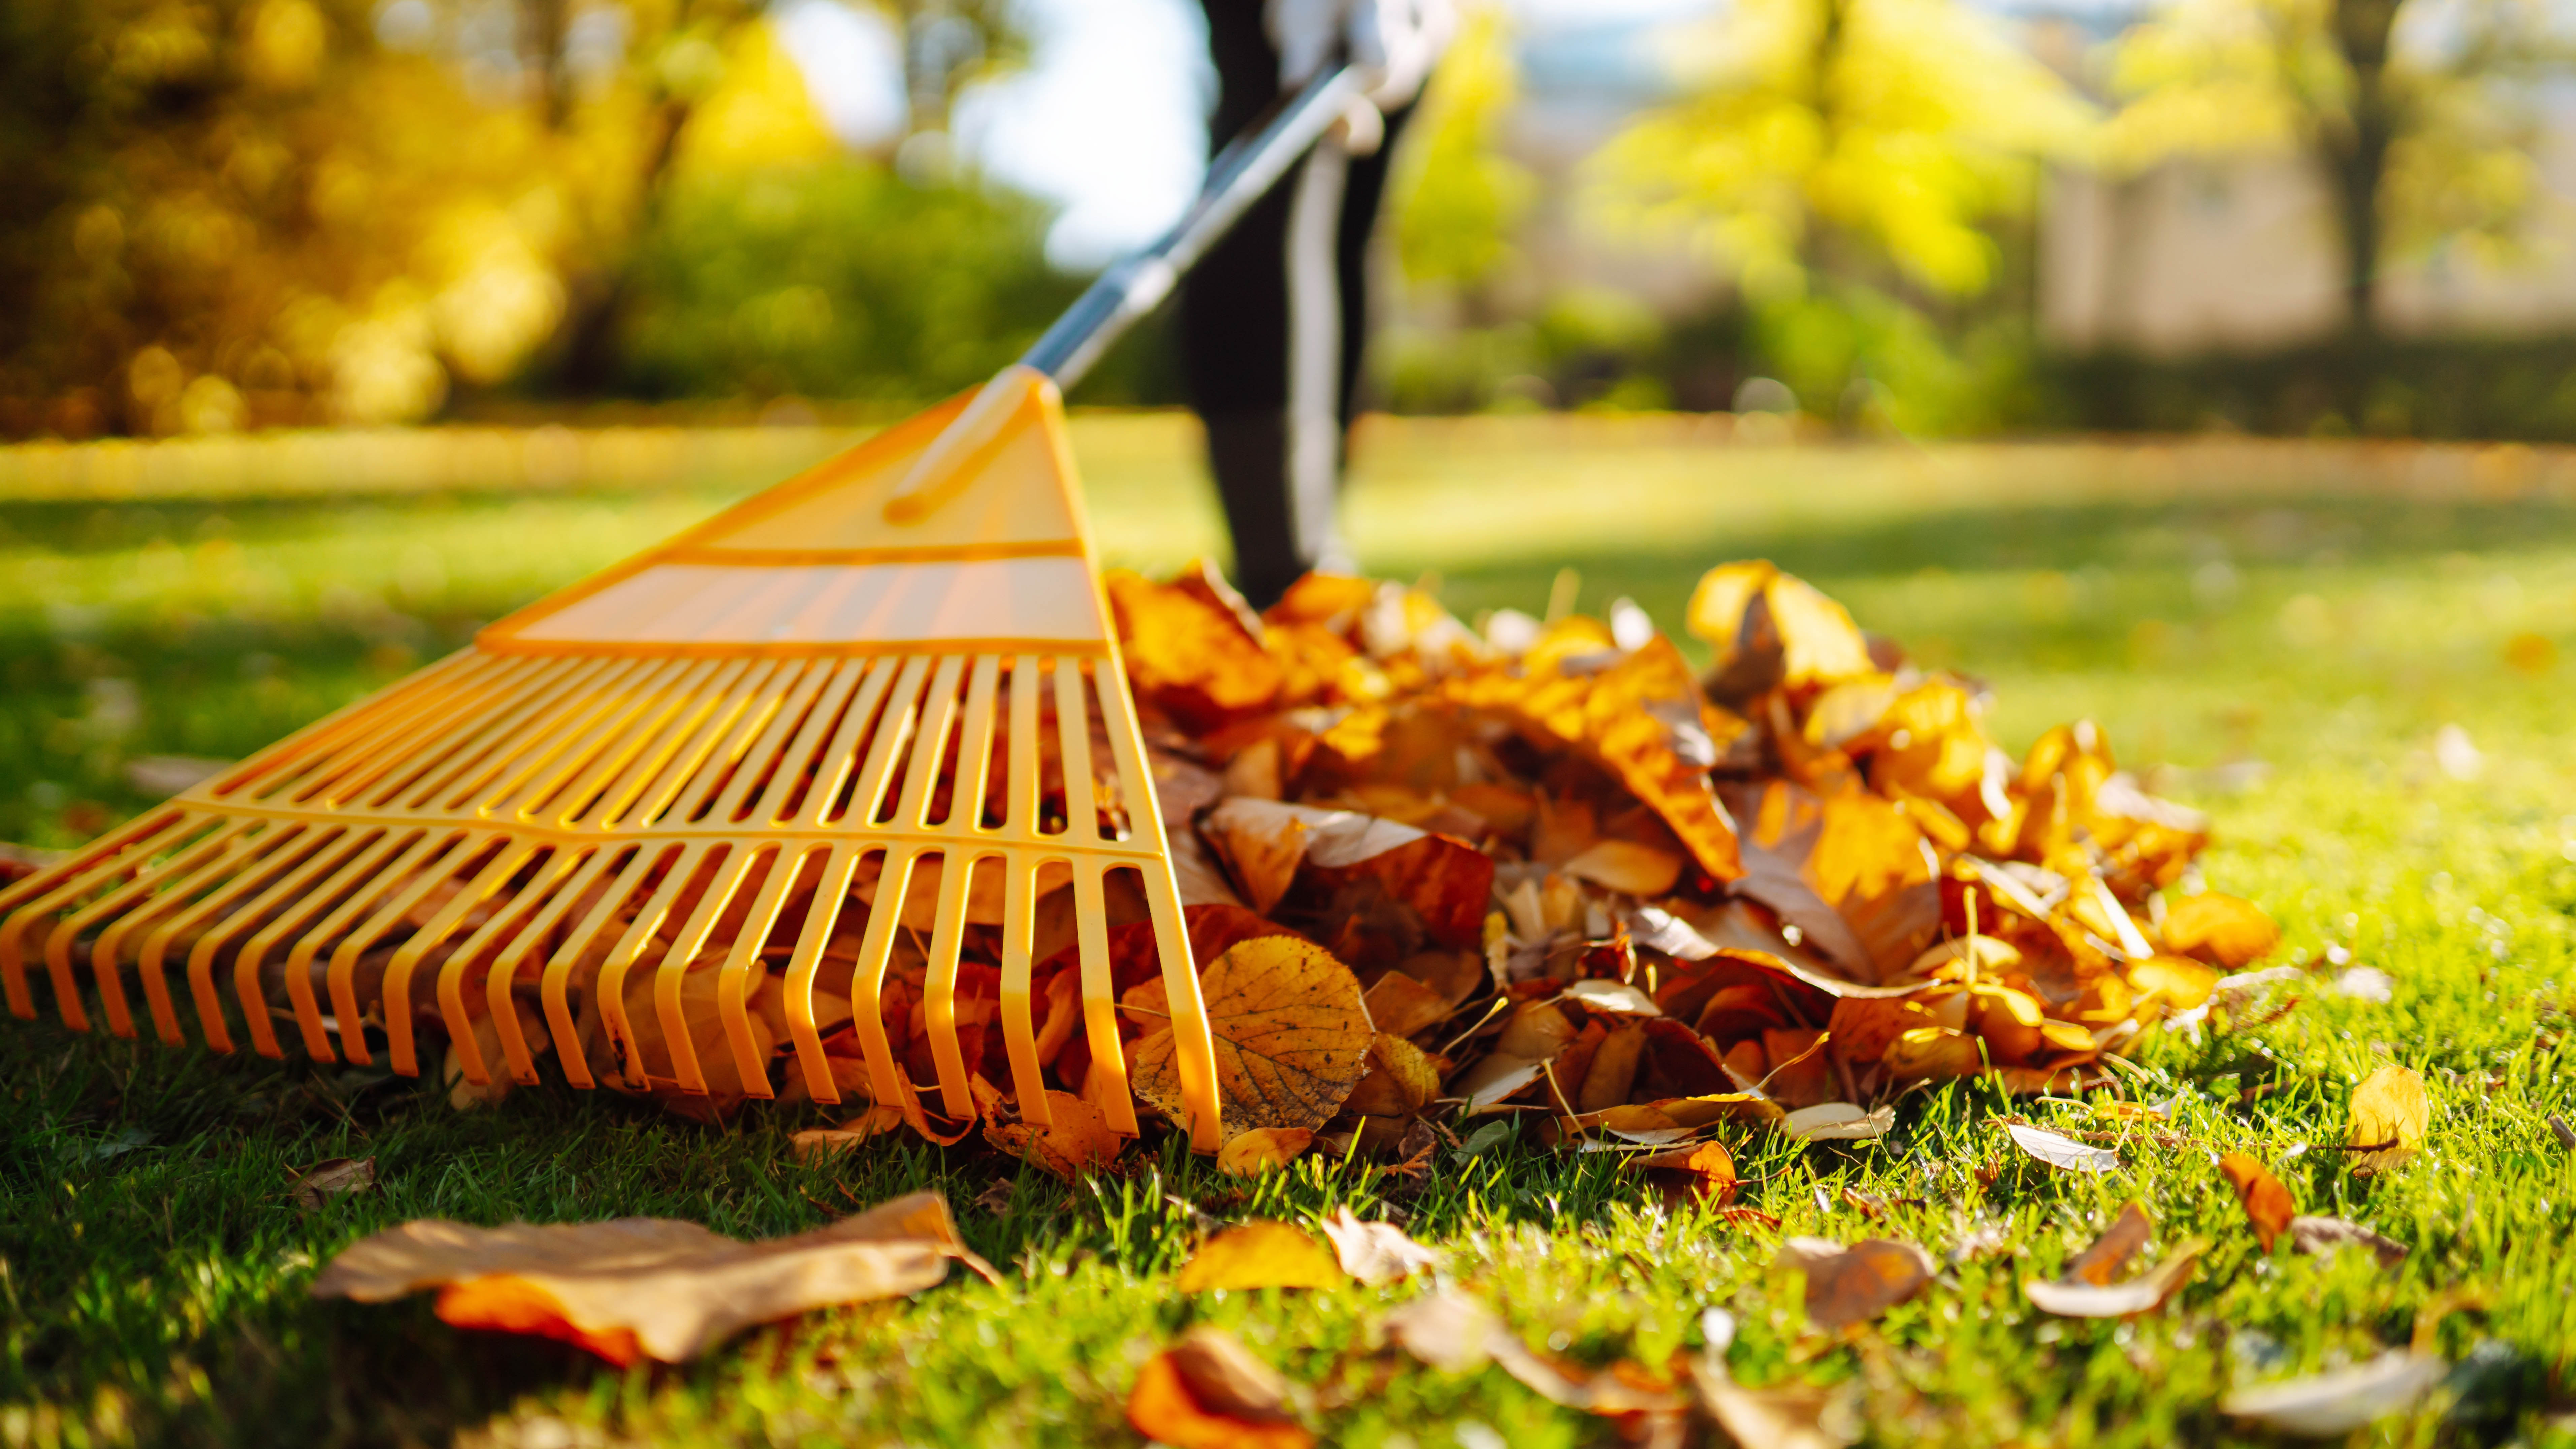
Before you rake those autumn leaves into bags for collection, consider this: you're looking at free, nutrient-rich mulch for your garden. While you might be tempted to buy expensive bags of mulch from the garden center, those fallen leaves can be transformed into excellent soil protection that your plants will love.
The benefits of leaf mulch go beyond just saving money. This natural mulch improves soil structure, can prepare fruit trees for the winter, and slowly releases nutrients as it breaks down. Unlike store-bought alternatives, leaf mulch also helps maintain your soil's natural pH balance and creates the perfect environment for beneficial fungi that help your plants thrive.
I've found this natural approach particularly effective for maintaining soil moisture and suppressing weeds, and it's surprisingly simple to do. Plus, you'll be reducing waste! Let's dive into how we can turn fallen leaves into mulch.
1. Collect the right leaves
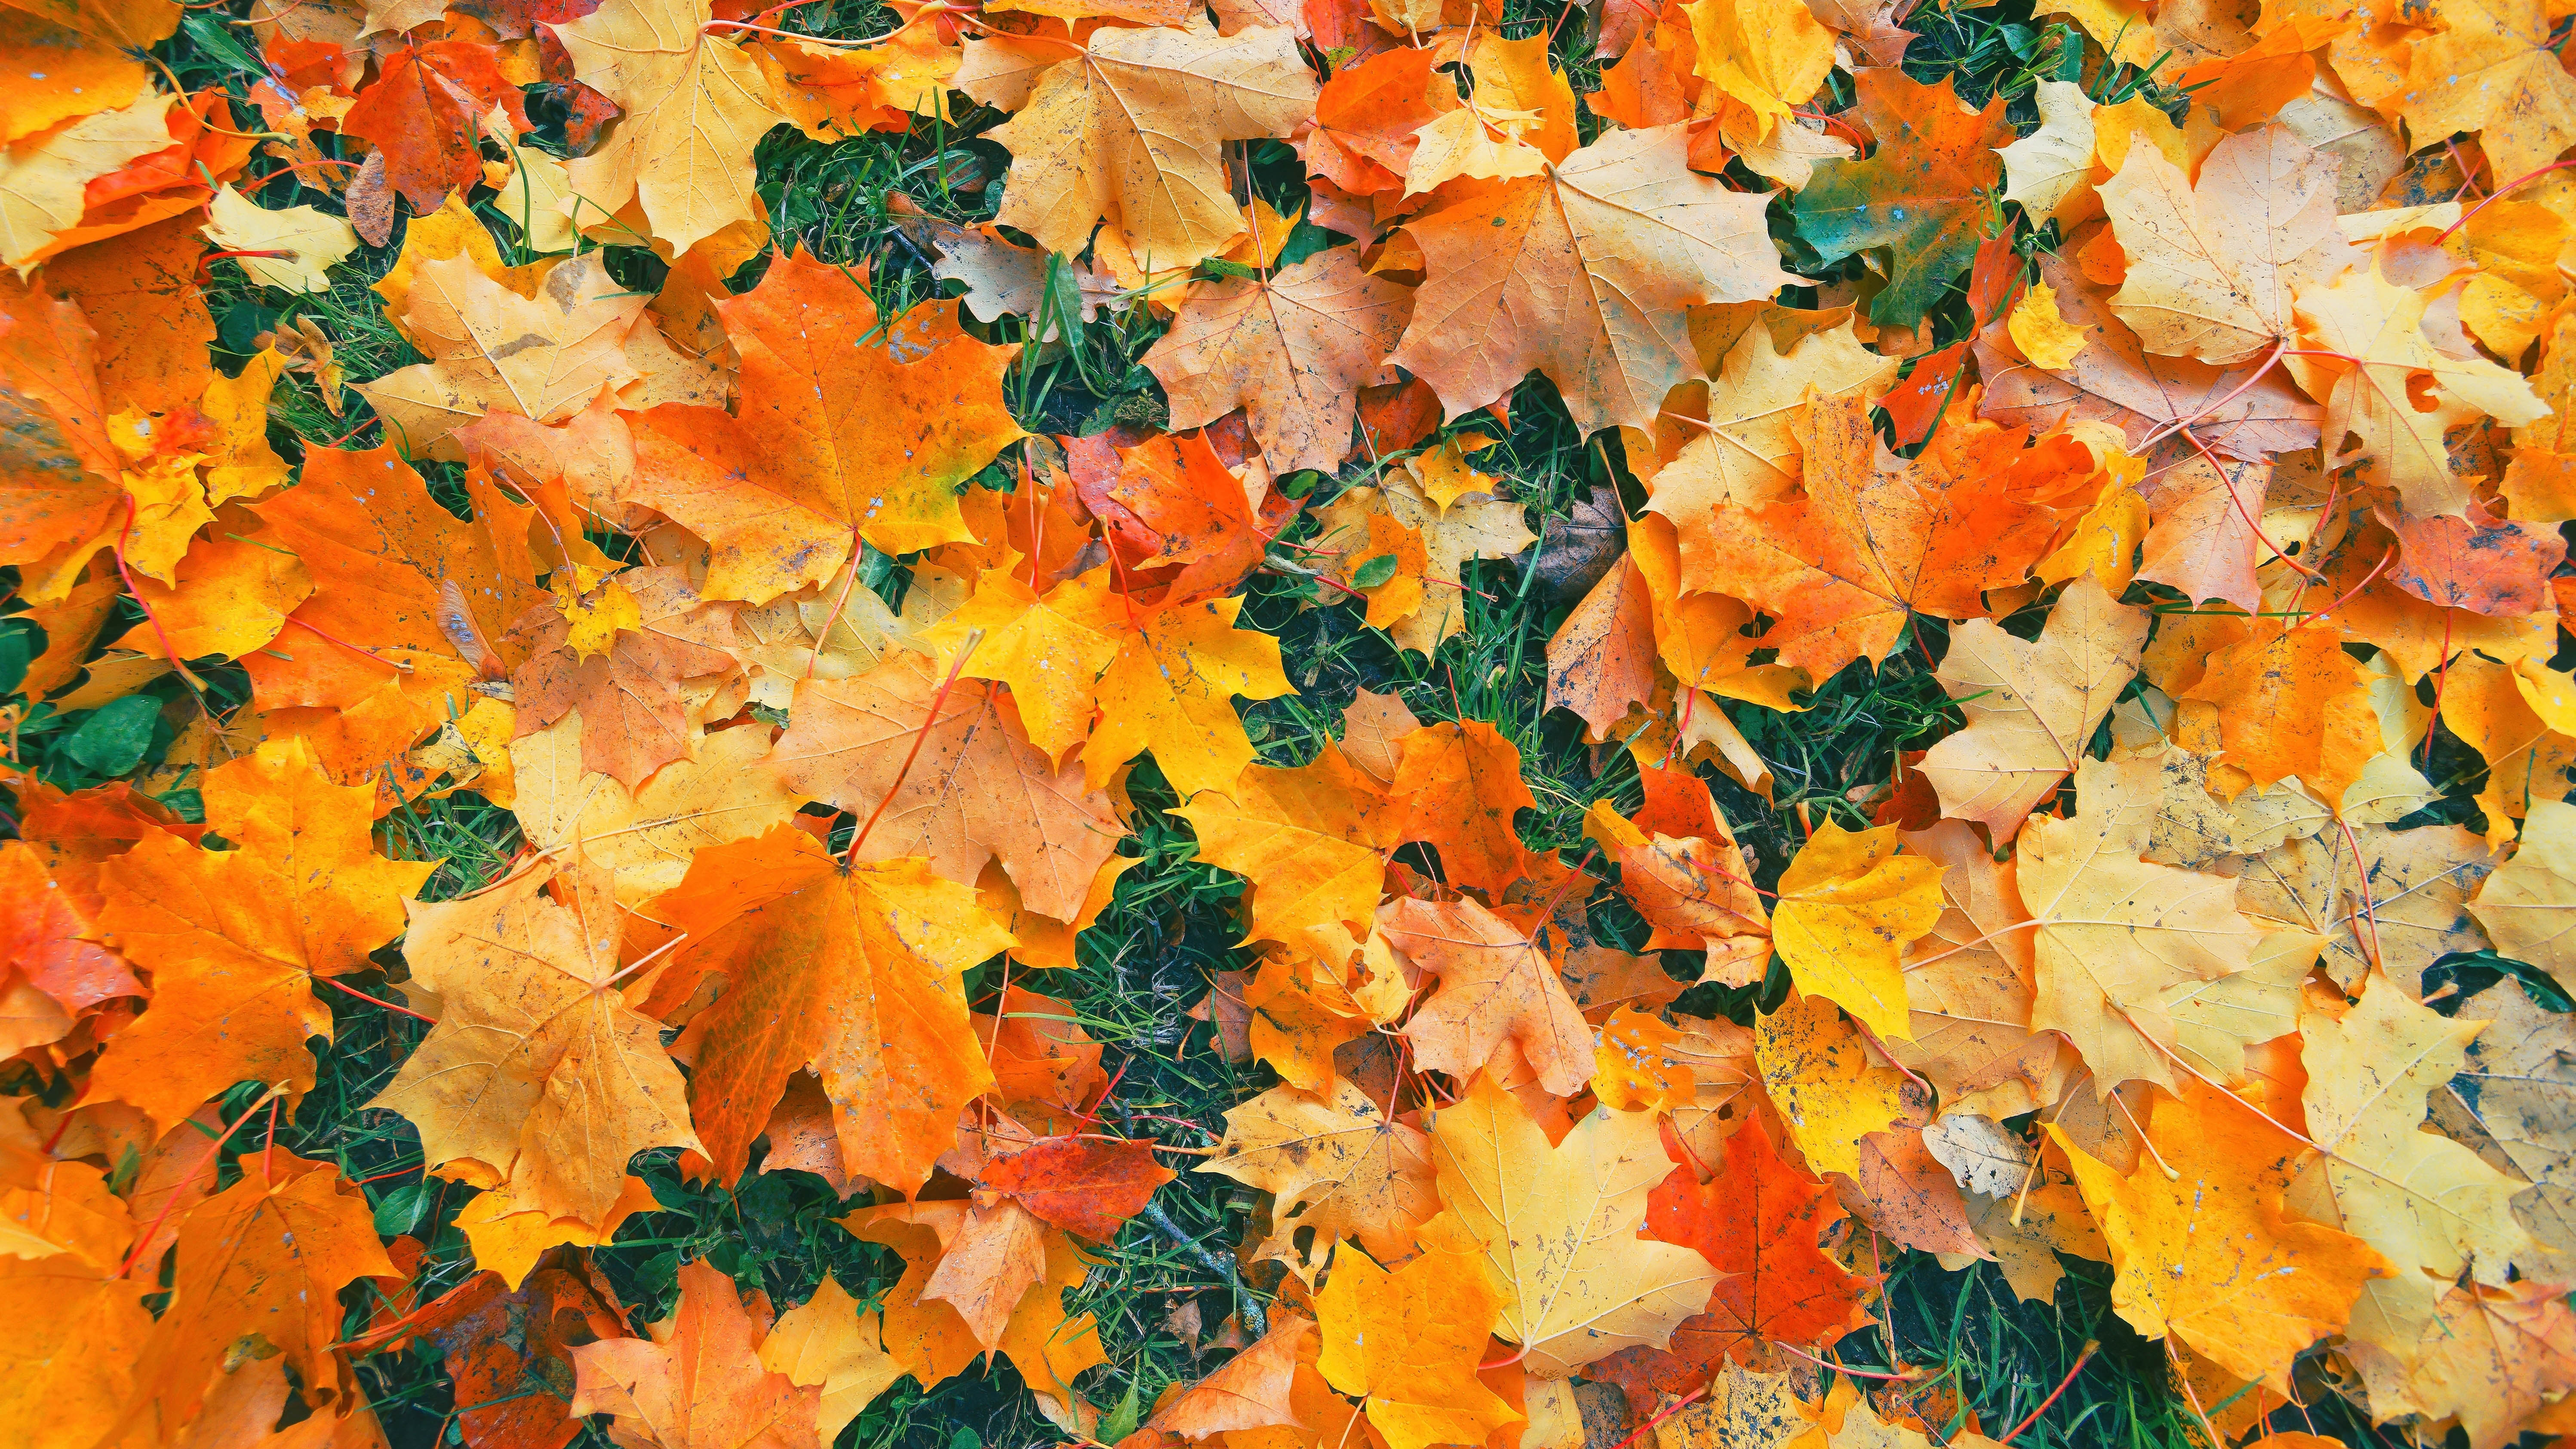
Start with dry leaves — it makes the whole process much easier. Look for maple, oak, and beech leaves, as they make excellent mulch. Avoid black walnut leaves since they can harm plants, and remove any sticks or debris as you go.
2. Create your piles
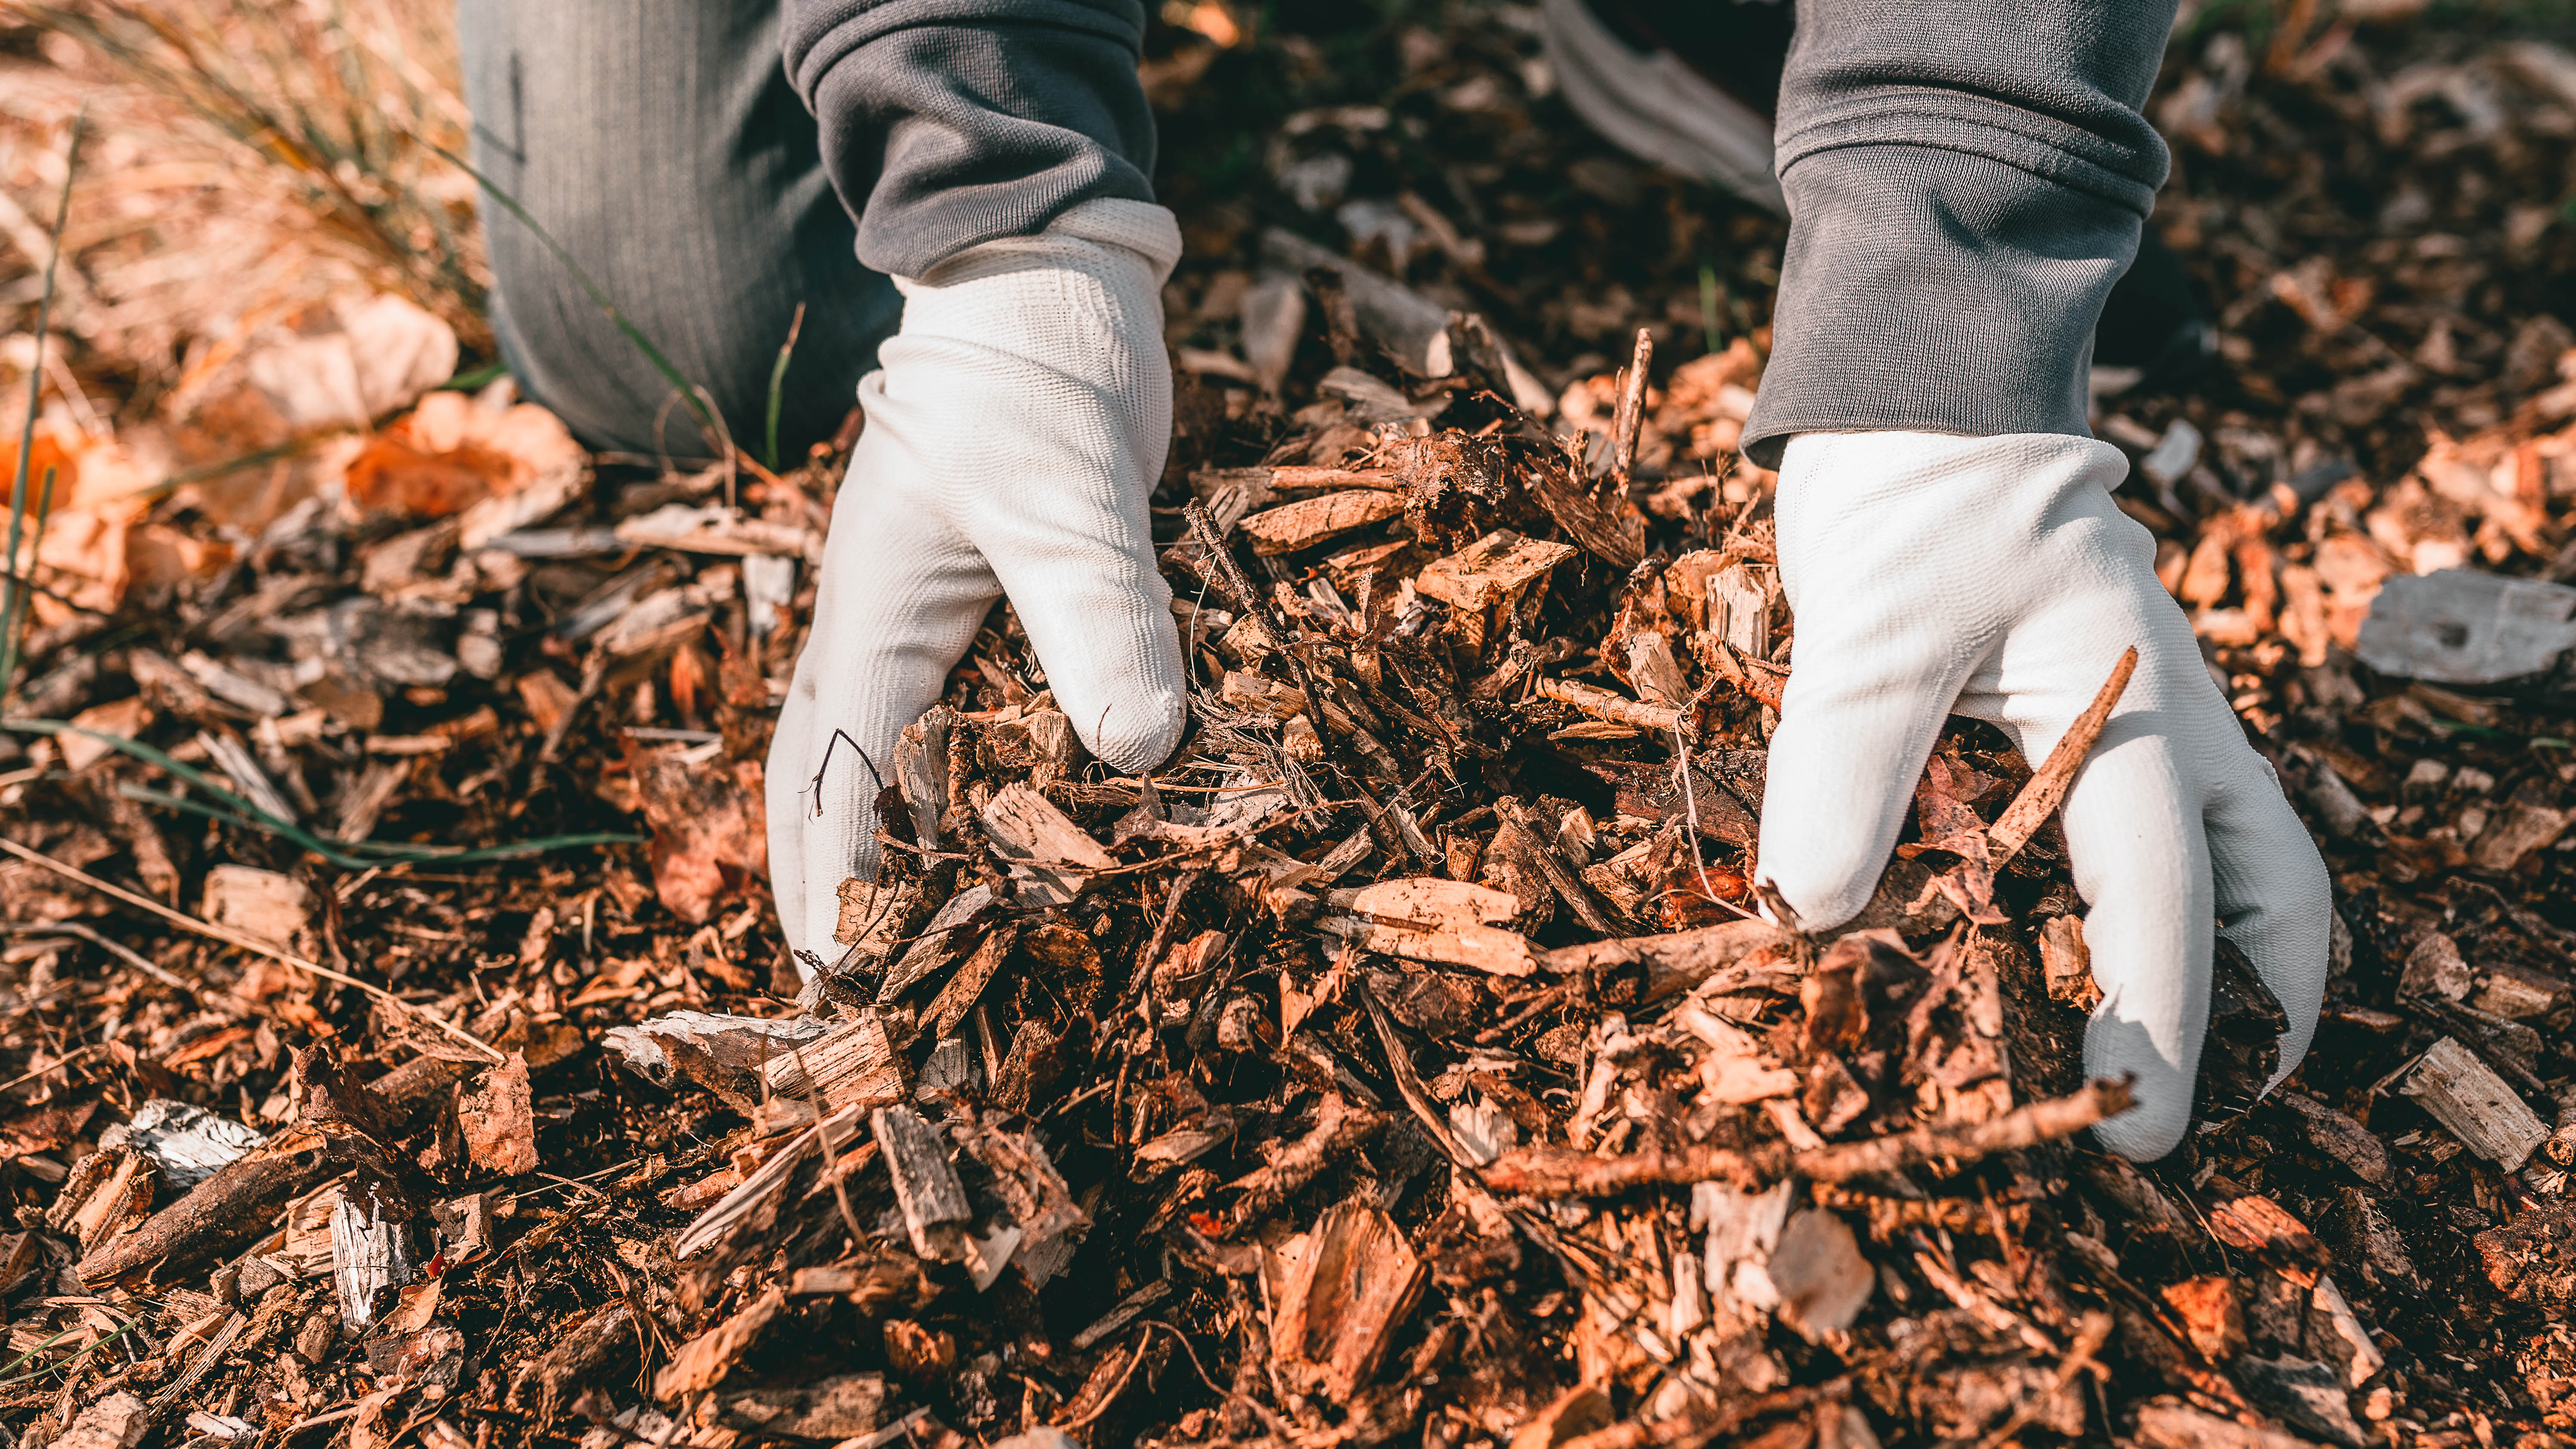
Pile up your leaves by spreading them in layers about 6-8 inches deep on your lawn or driveway. This simple step makes the shredding process much more effective and gives you better mulch in the end.
3. Break them down
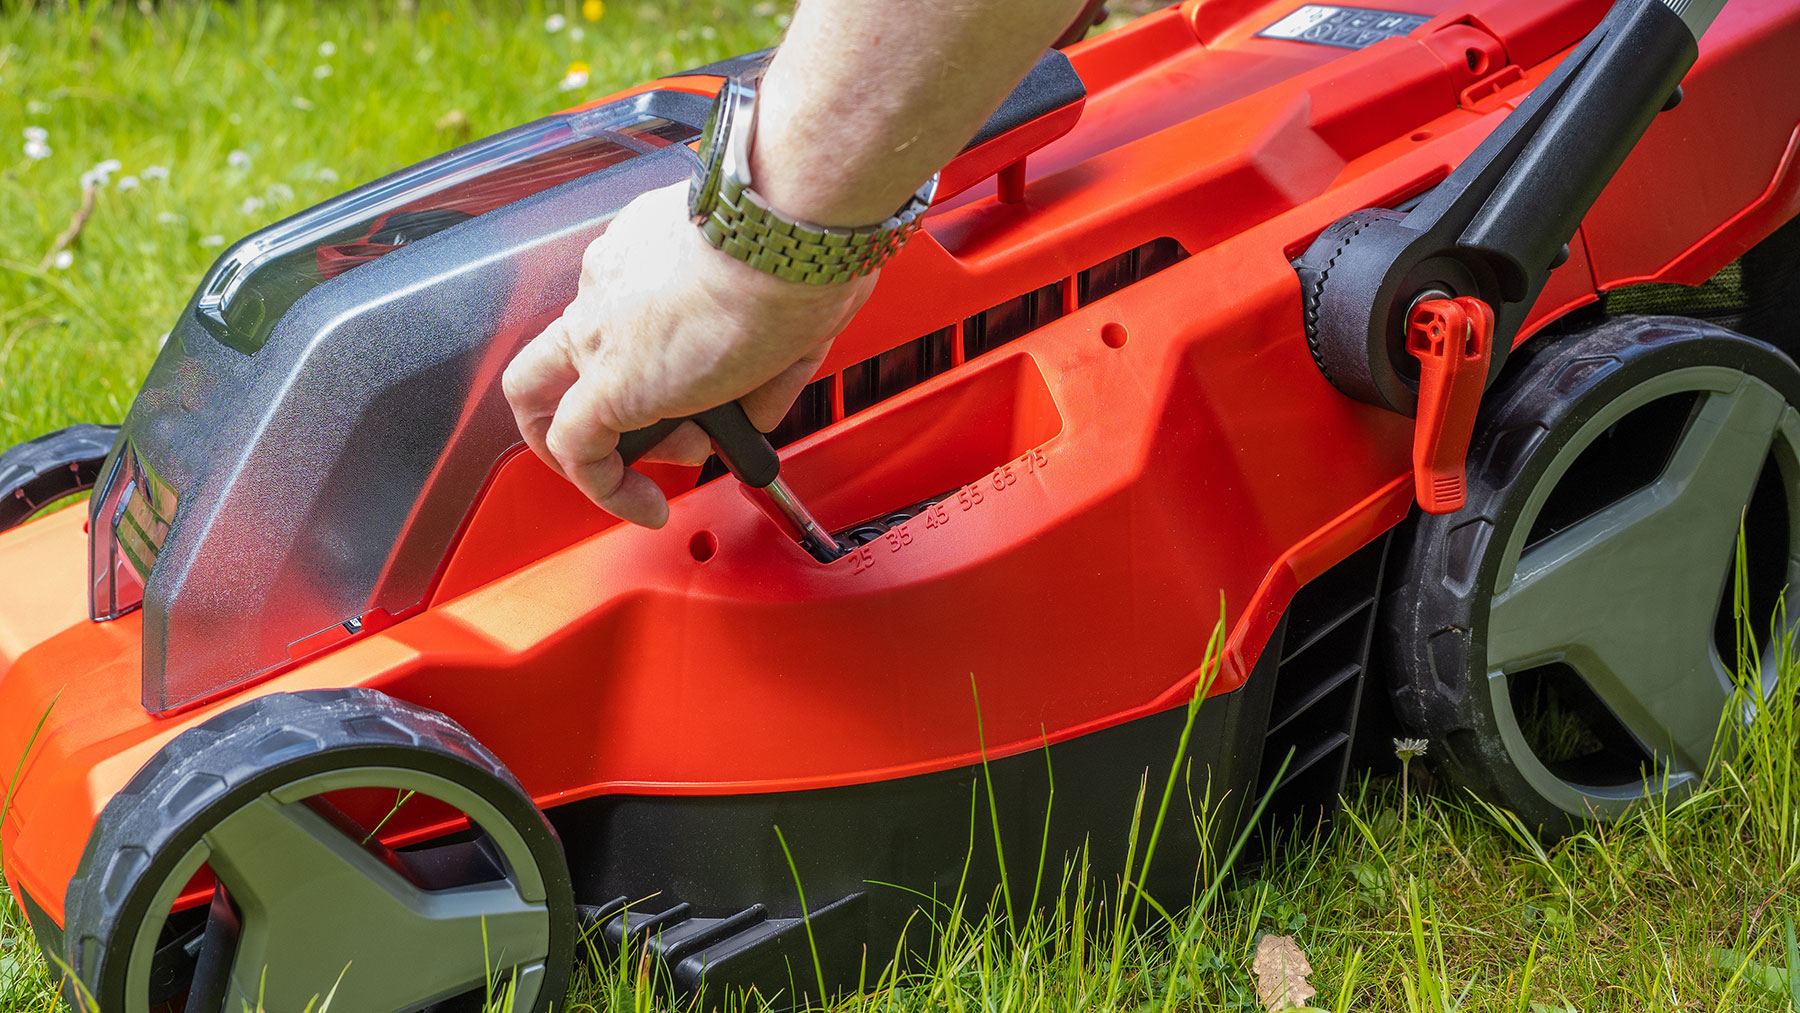
Run over the piles with your lawn mower — it's the easiest method and works perfectly. If you have a leaf shredder, that's great too. You're aiming for quarter-sized pieces, which will break down nicely into usable mulch.
Worx Amp Electric Leaf Mulcher: was $189 now $139 @ Amazon
Save time and your back with this efficient leaf mulcher. It turns 11 bags of leaves into just one bag of mulch, processing up to 53 gallons per minute. The tool-free setup and included collection bag make yard cleanup actually manageable.
4. Let nature help
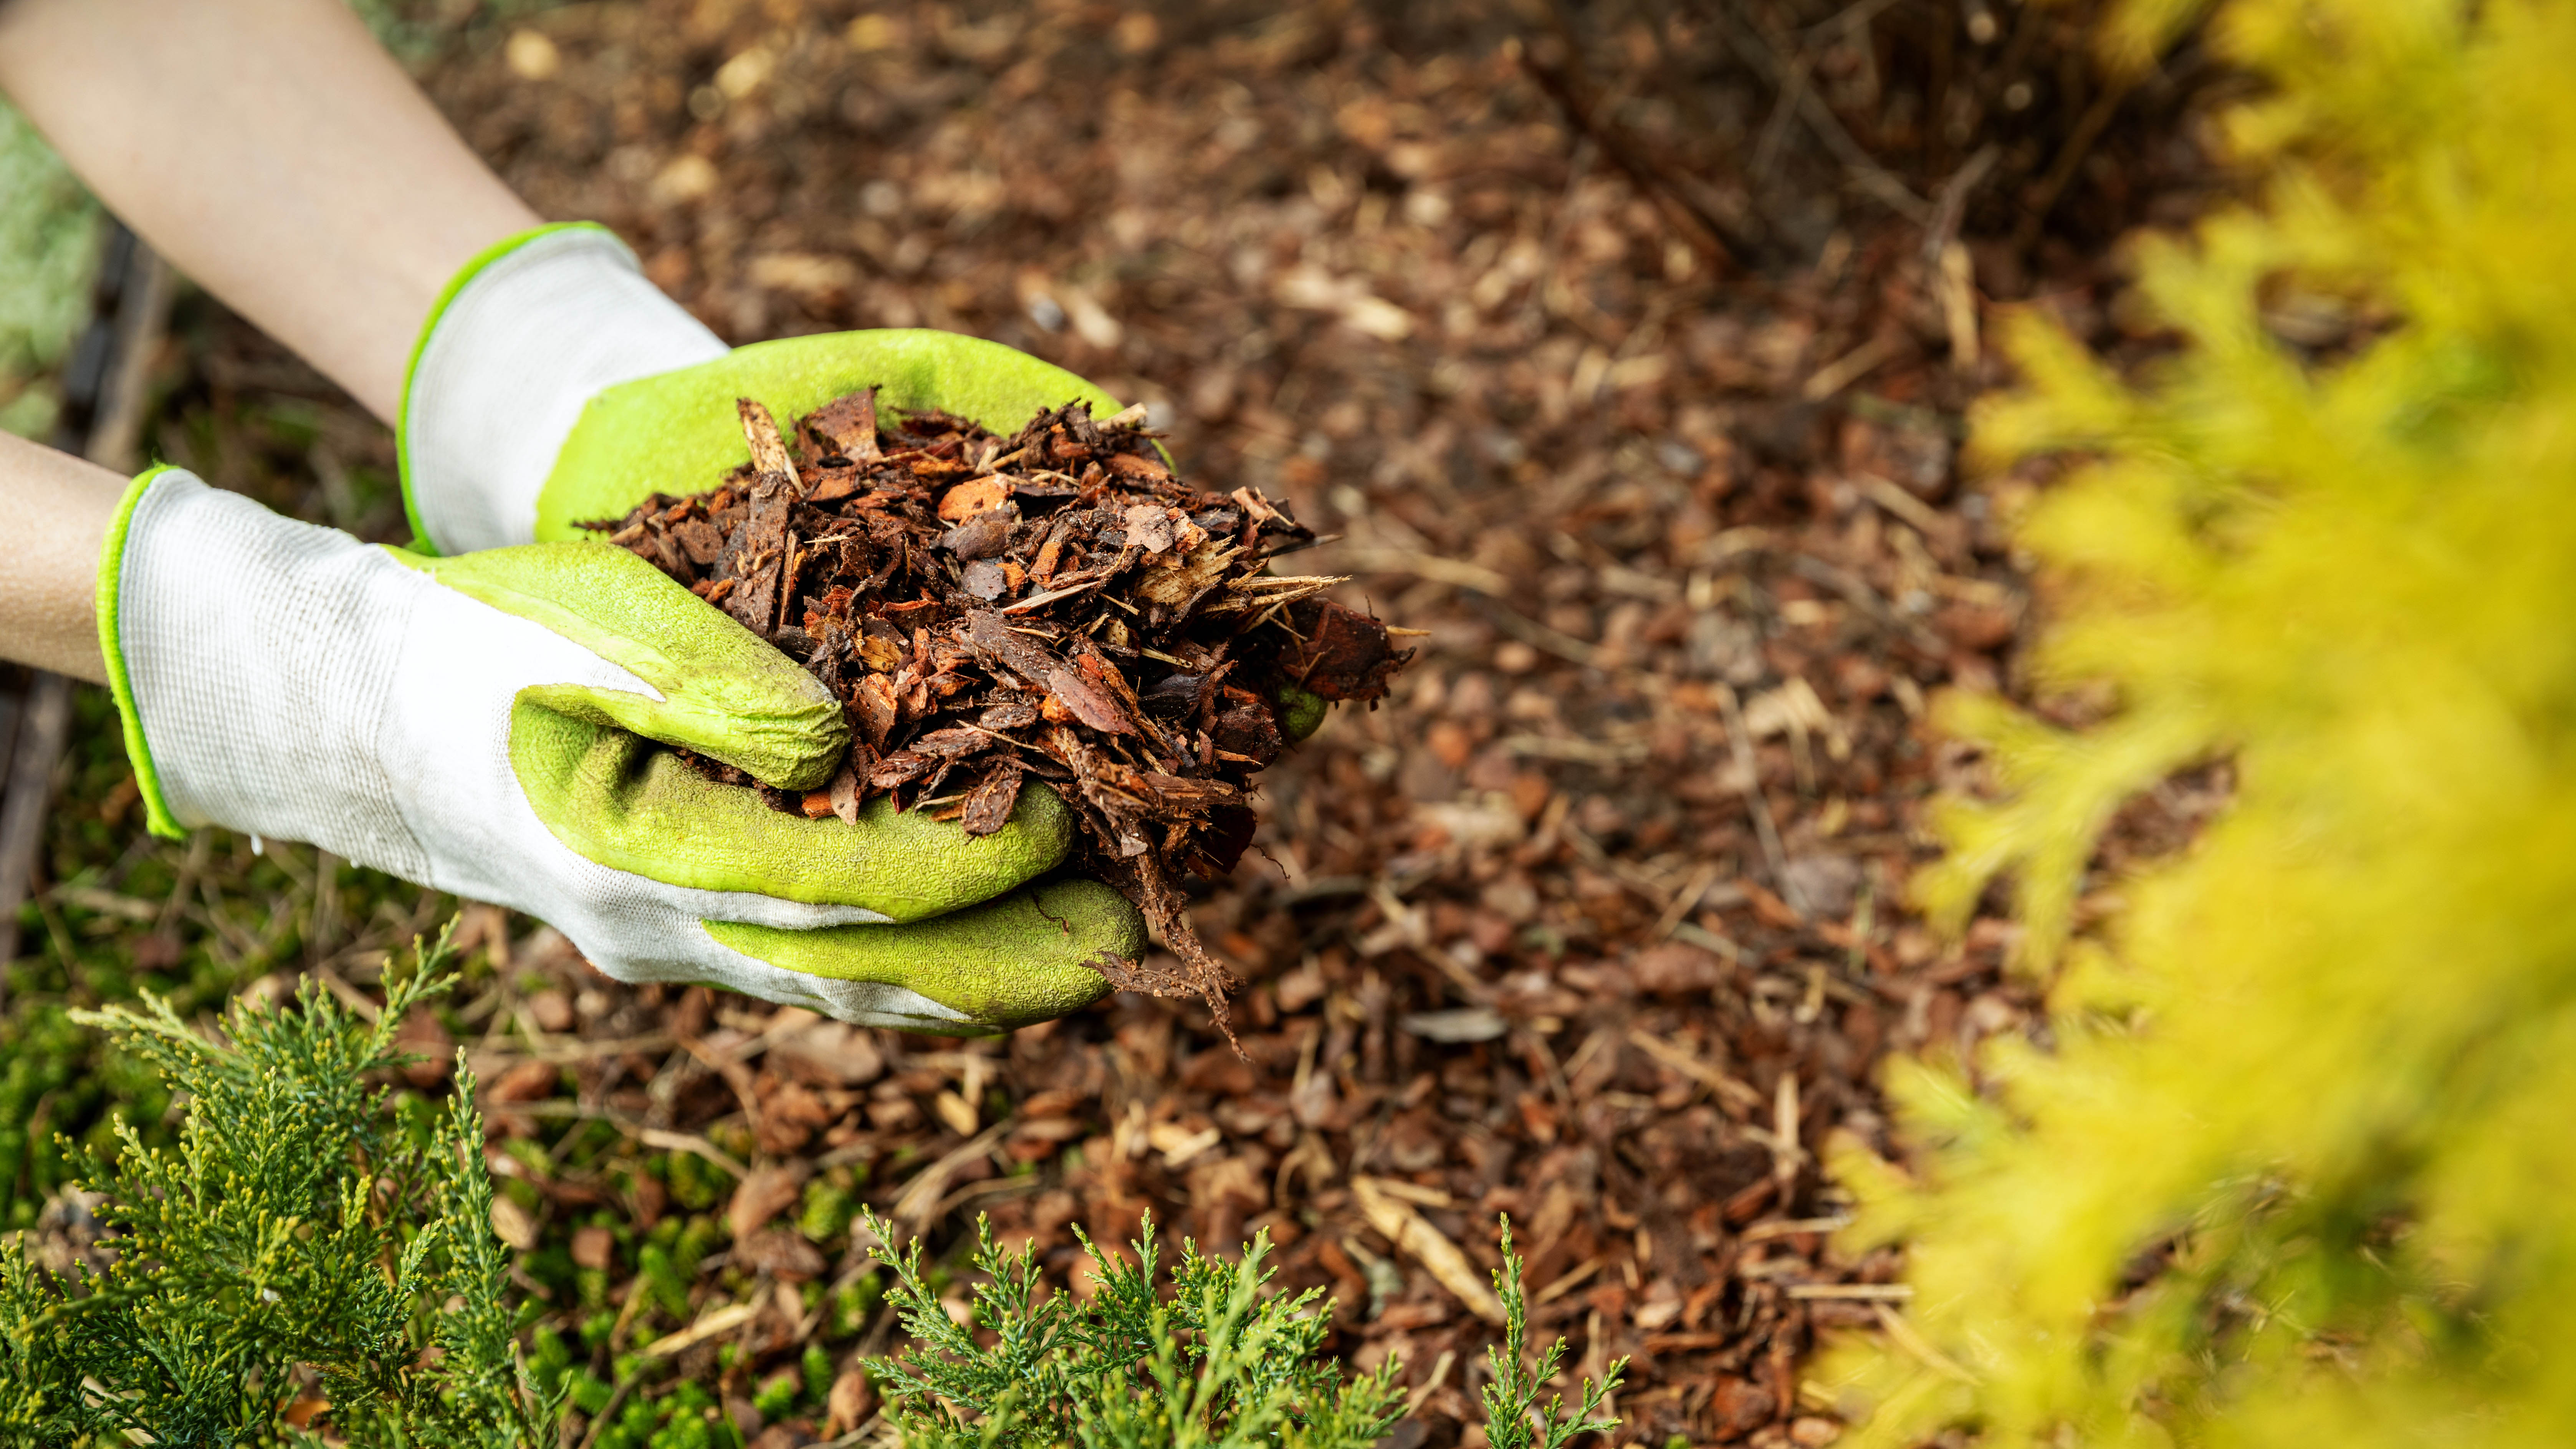
While you can use the shredded leaves immediately, letting them sit for a few days gives you better results. This short wait allows the natural decomposition process to begin, creating richer mulch.
5. Check the moisture

Your leaf mulch should feel like a wrung-out sponge. Too dry? Add a touch of water. Too wet? It might compact and prevent water from reaching your soil properly.
6. Apply with care
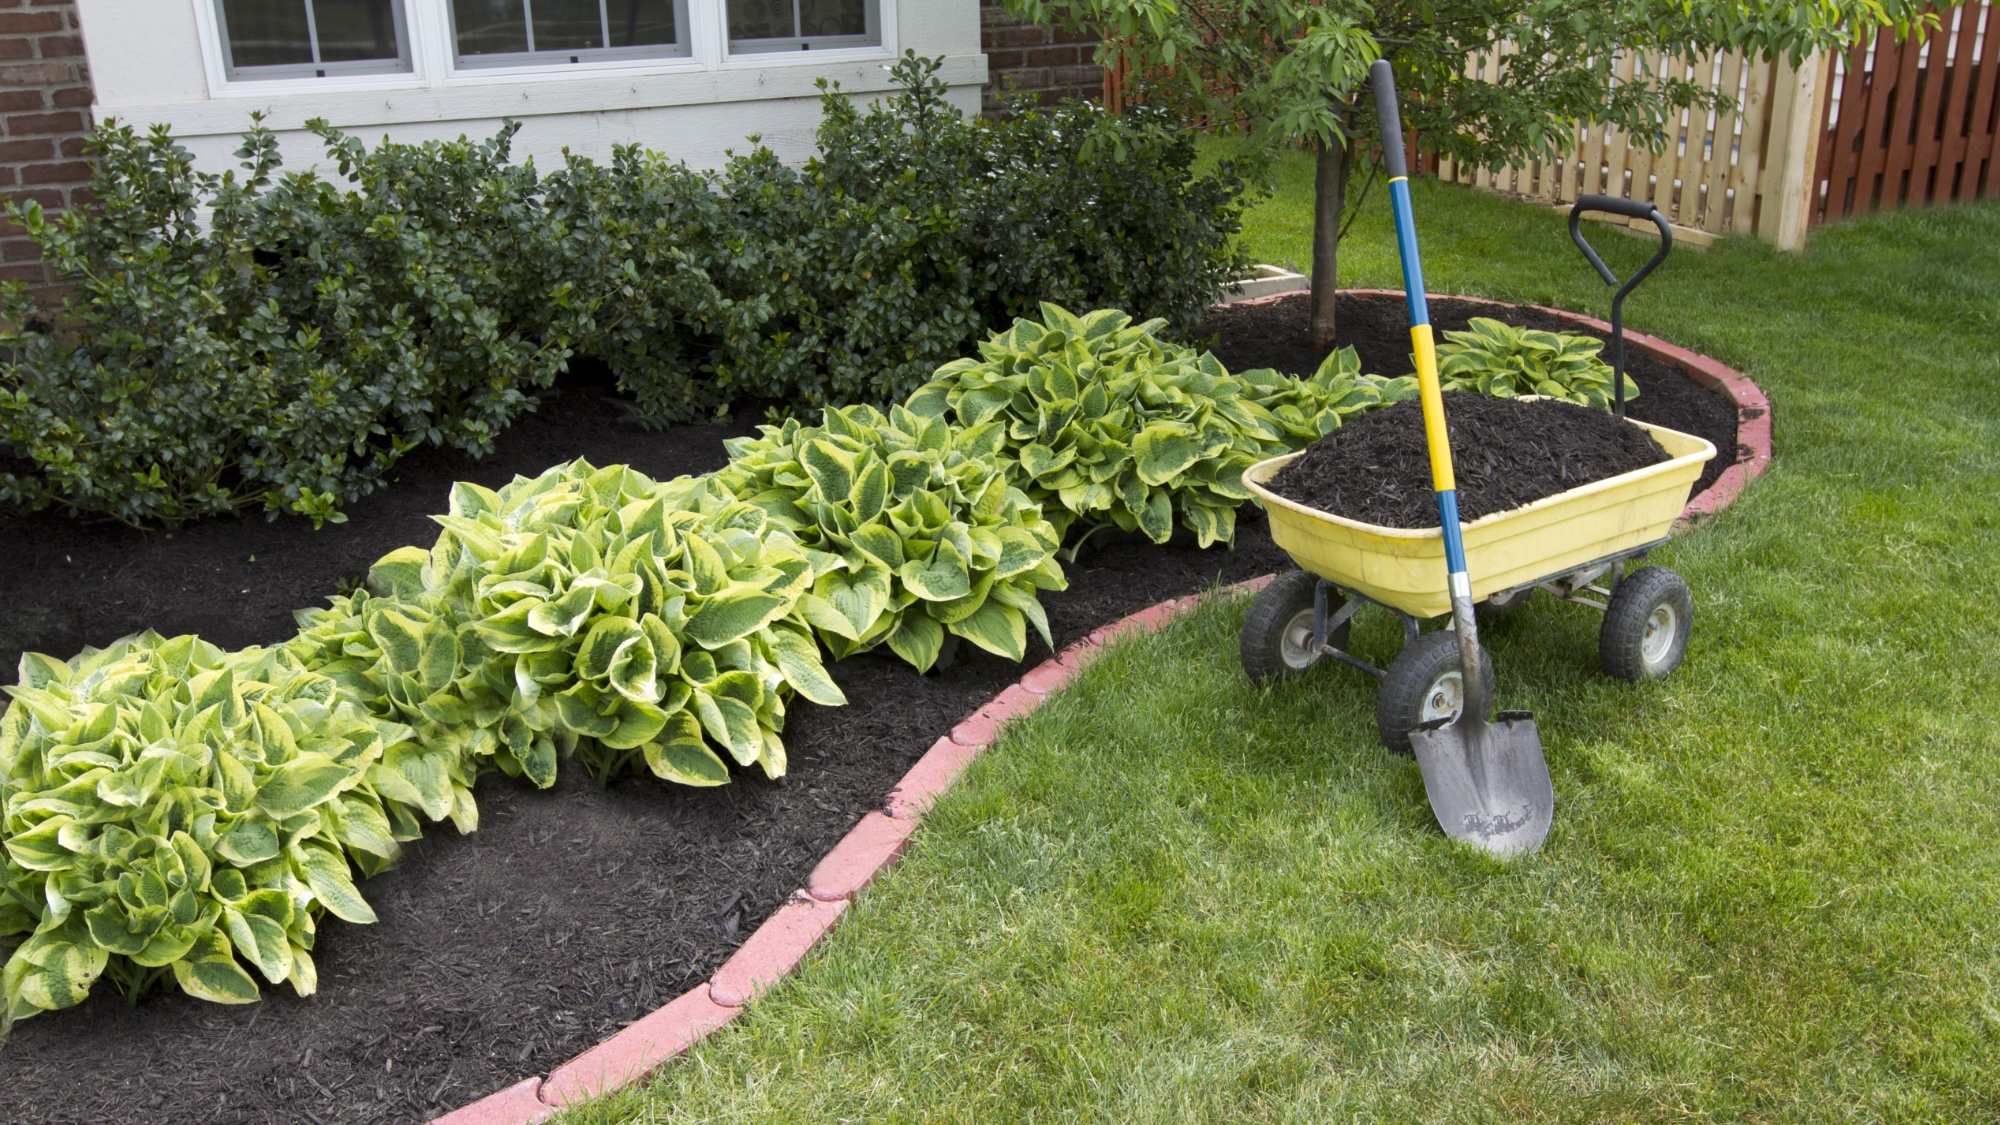
Spread a 2-3 inch layer around your plants, but keep it away from stems and trunks to prevent rot. For vegetable gardens, work it into the soil; for flower beds, simply layer it on top.
7. Monitor and maintain
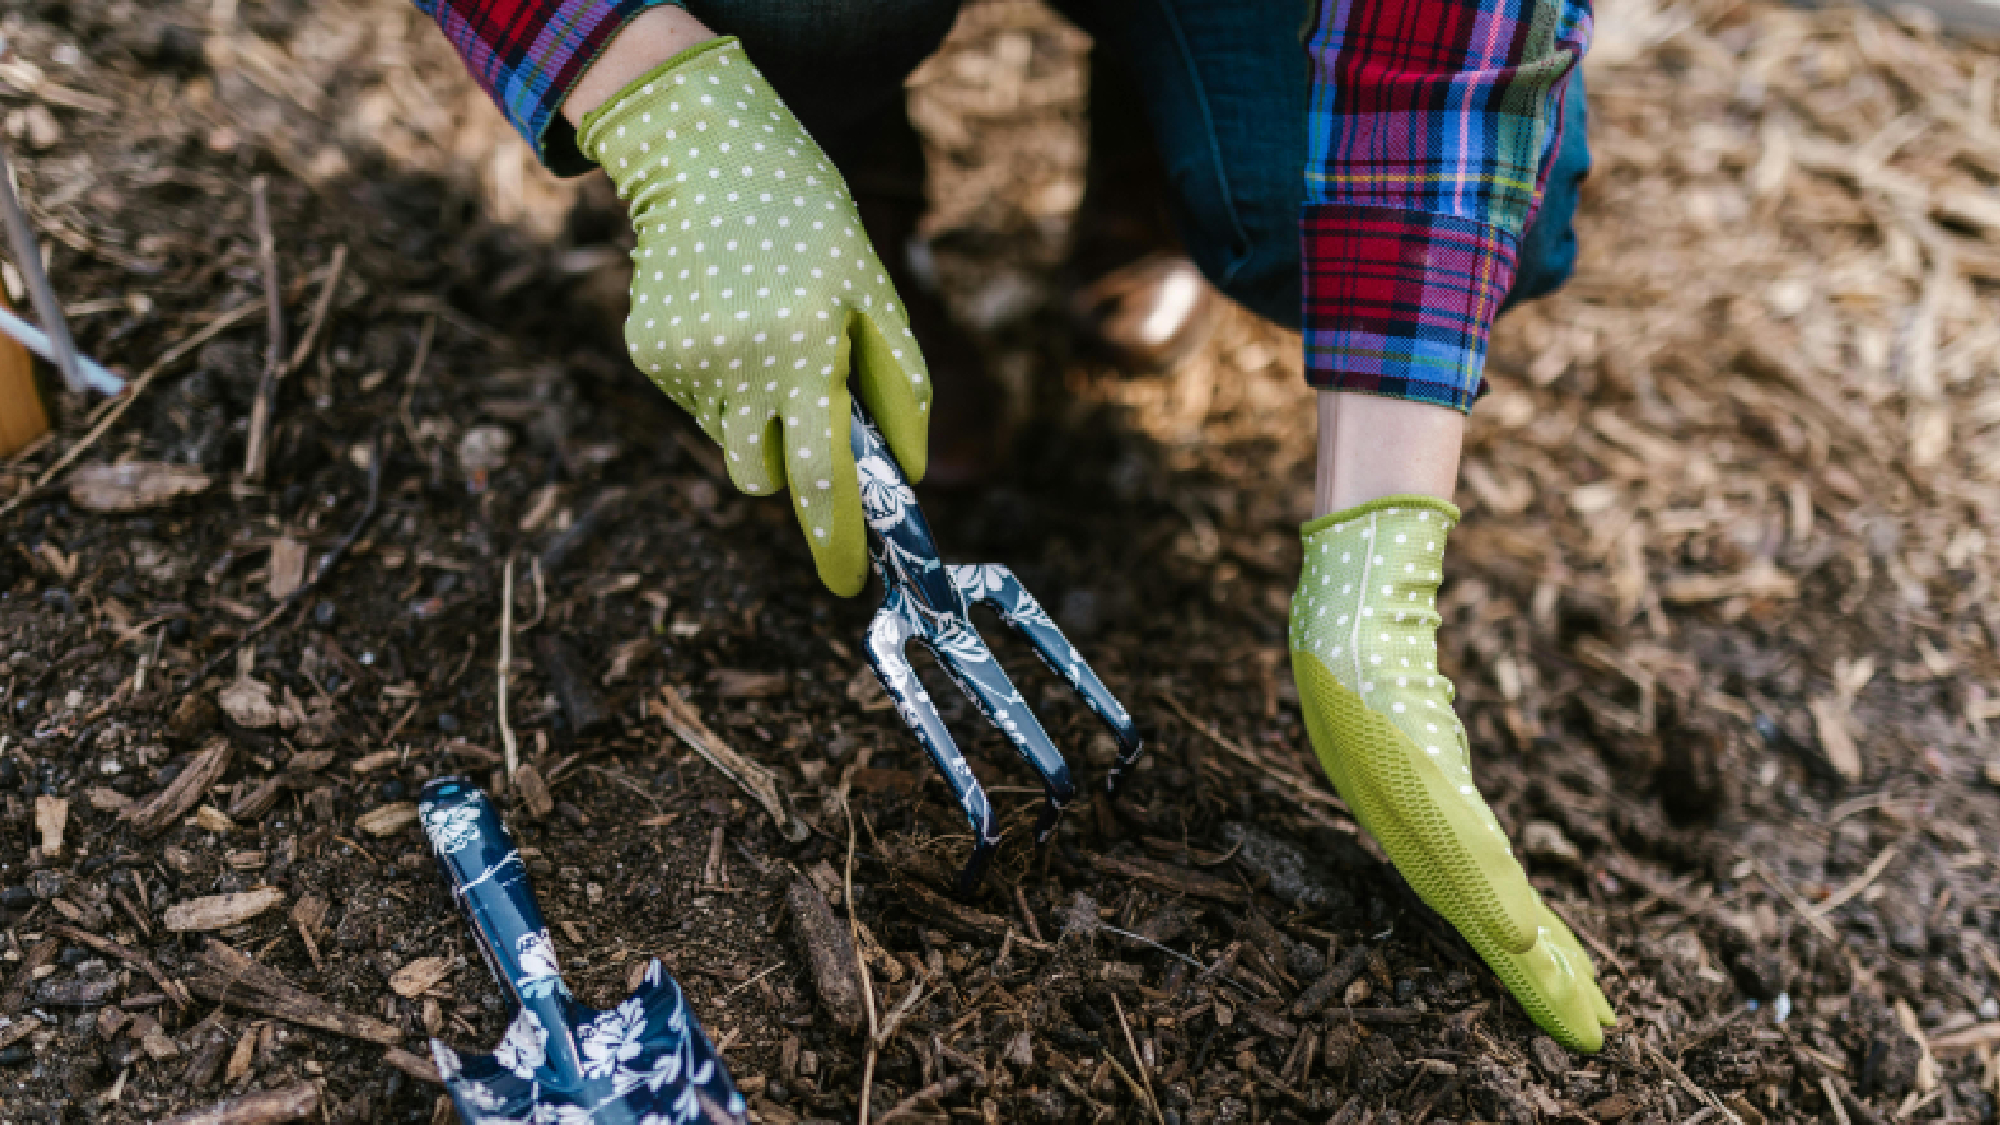
Give your mulch a quick check every now and then. If it's looking compacted, fluff it up with a rake. Add more as needed throughout the season, especially in areas where it's breaking down quickly.
However, before you don't make this big mistake when mulching my trees — experts warn its an 'epidemic in landscaping'.
Now you've learned how to make mulch from fallen leaves, why not discover how to get the best out of your pruning shears for other fall-related tasks. Planning ahead? Check out 7 flowers to plant in October for beautiful winter blooms and 7 eco-friendly ways to repurpose fallen-leaves.
Get instant access to breaking news, the hottest reviews, great deals and helpful tips.

Kaycee is Tom's Guide's How-To Editor, known for tutorials that get straight to what works. She writes across phones, homes, TVs and everything in between — because life doesn't stick to categories and neither should good advice. She's spent years in content creation doing one thing really well: making complicated things click. Kaycee is also an award-winning poet and co-editor at Fox and Star Books.
 Club Benefits


