Apex Legends Jumpmaster Guide: How to Find the Best Landing Spots and More
Here are some key tips for being the Jumpmaster in Apex Legends, including how to drop quickly and find the best landing spots.
Here at Tom’s Guide our expert editors are committed to bringing you the best news, reviews and guides to help you stay informed and ahead of the curve!
You are now subscribed
Your newsletter sign-up was successful
Want to add more newsletters?
Join the club
Get full access to premium articles, exclusive features and a growing list of member rewards.
So, a new round of Apex Legends has begun, and you’re the Jumpmaster.
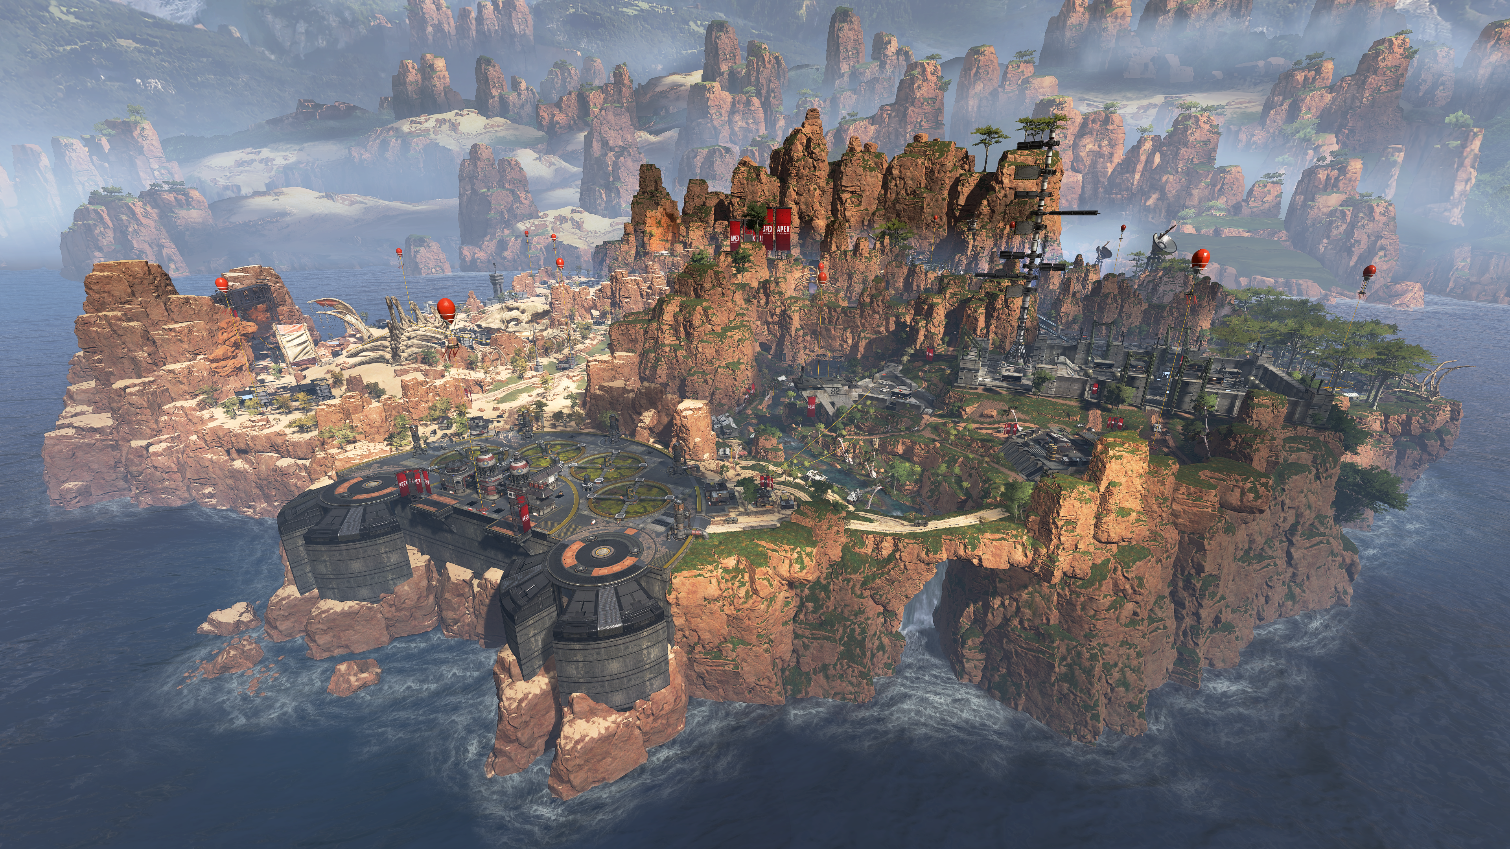
The game is about to begin, you’re in the dropship and the counter is ticking down. You’ve got to make a decision, one that can lead to glorious victory or an embarrassing demise for yourself and a couple of random strangers, or worse, a couple of your actual friends. You don’t want to let them down, do you?
The clock continues to tick downwards. You’ve not even looked at the map yet. The supply ship has started to appear and it’s not an unreasonable distance to glide to. The marked area on the map could yield rare loot but is likely to be a fairly hot landing zone. Maybe go somewhere quiet and get your gear established? One of the players starts spamming a ping on their favourite drop area, but do you listen to them?
Article continues belowThere can be a lot of pressure on the Jumpmaster, but don’t worry, we’re here to provide some tips and tricks to take a load off your shoulders and ensure that you’re dropping into King’s Canyon with all the information you need.
Drop hard, drop fast
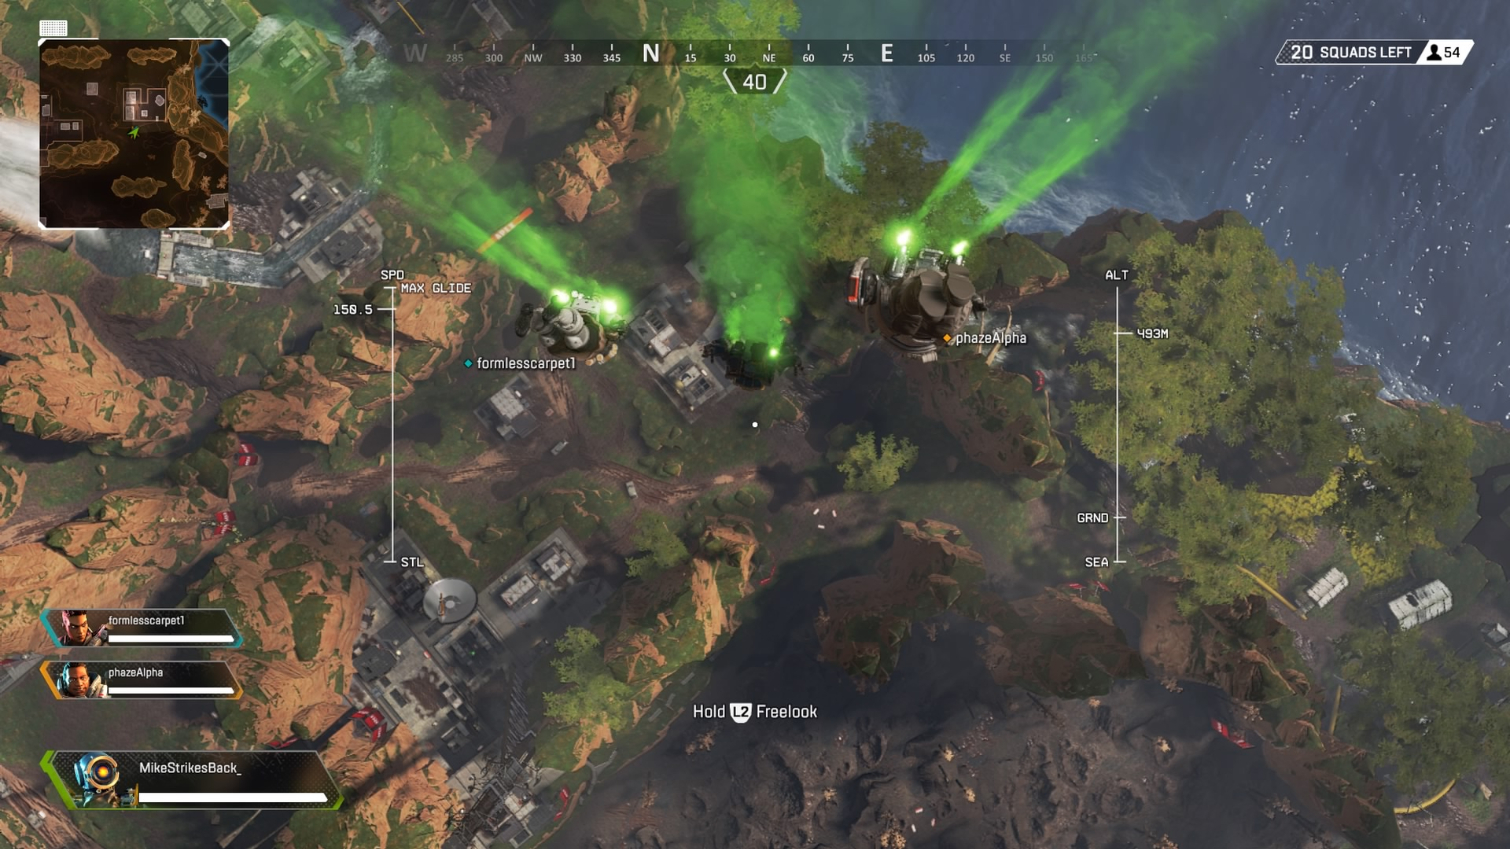
This doesn’t mean you have to hammer the jump button and dive out of the dropship at the earliest opportunity (although this isn’t a terrible strategy, believe it or not), but wherever you’re planning on going, make sure you jump out earlier and glide in so you’re touching down as quickly as you can. Don’t wait until the ship is right next to a location and nosedive in, as other players have likely already made it there before you, grabbed all the guns and are waiting for a helpless team to hit the ground and get some free kills. Don’t let that be you.
Remember to ping!
Get instant access to breaking news, the hottest reviews, great deals and helpful tips.
Respawn didn’t create a wonderful communication system that allows complete strangers to convey exactly what their strategic plans are without actually ever talking to one another for you, oh Jumpmaster, to not tell your team where exactly you intend to land. Do it, even if you’re ignoring the suggestions of your teammates. Do it, even if the place you put your initial marker appears to have half the squads in the game landing there and you have to make an emergency change of landing zone. Do it, no matter what, because even if your team split away from you upon touchdown (and they should, to spread the loot) it’s extremely useful to have a point of reference.
Land wisely on the supply ship
If you opt to take your team to the Supply Ship that moves around the map, try to land on the back of the thing as there are usually two guns there and when you’ve got them, you’ll be able to make short work of anyone else who fancied raiding the goods too.
The landing zone for the Supply Ship is also indicated on the map, dropping in its flight path can get you a few easy kills on people who landed on top of it, realised it was too hot and leaped off without any weapons, so keep an eye on the sky for anyone dropping down.
As the Jumpmaster, the Supply Ship is where you can make a major strategic call. If you believe it is somewhat too far away for most teams to glide to, you can drop near the landing zone and secure the area and the decent loot onboard. Always keep an eye on its movement pre-drop.
Stop, drop and roll
One side effect of having no fall damage is the ability to speed up the initial drop into the map by landing on a high piece of scenery and then jumping down from there. It’s quicker than the fall from the dropship, but is very situational. The game is still in its infancy, so we may see more people exploring this technique in the weeks to come, or it might just disappear completely. Worth keeping in mind, however.
The best landing spots for loot
Each area in King’s Canyon has a different rating as to what loot will be available, with this being slightly randomised every game. We say ‘slightly’ because there appear to be a few areas that have a much greater chance of yielding rare loot.
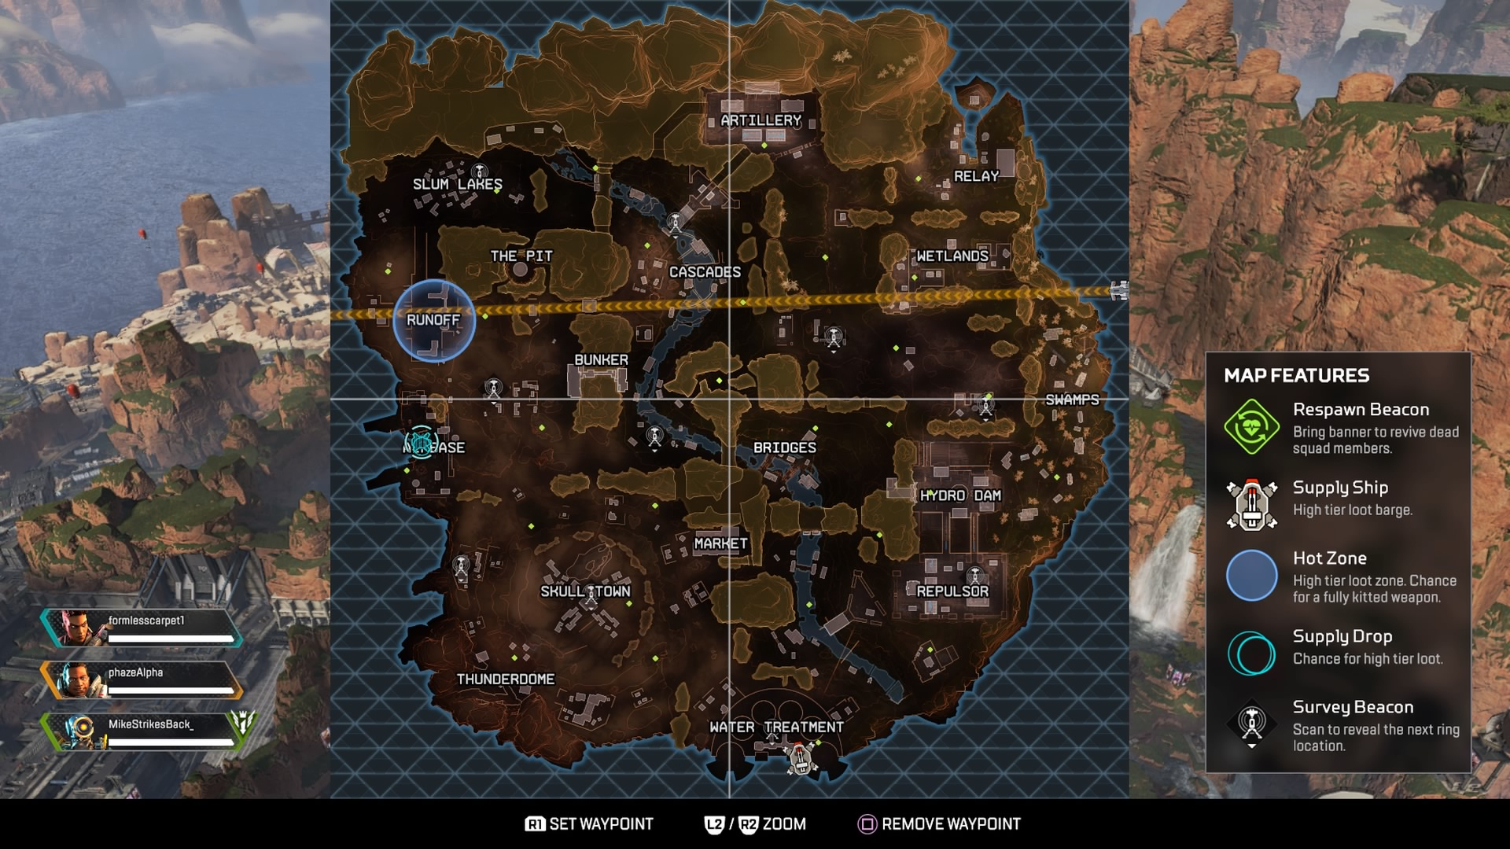
There are a few maps circulating the internet right now with a list of the places most likely to be ‘rare’ loot areas and they’re basically the locations on the very outskirts of the map - Water Treatment, Repulsor, Swamps, Relay, Artillery, Runoff, Airbase and Thunderdome.
There’s a couple of others, and there’s a chance these won’t be rare item areas, of course, but you can do far worse with your drop than landing in one of these locations and gearing up, rotating to another and eventually into the circle armed to the teeth. Of course, this is a popular strategy, so expect some early game engagements before you get settled in!
Glide like a pro
So, you’ve decided you want to fly far and away from the dropships path to have a potentially quieter start to the match. In order to make it your chosen distance, there’s a few really useful indicators that’ll help you reach the target. First of all, ping the location and it’ll tell you how far you have to go in order to get there. Then, by heading into a nosedive to build speed, you can see your max glide distance on your HUD!
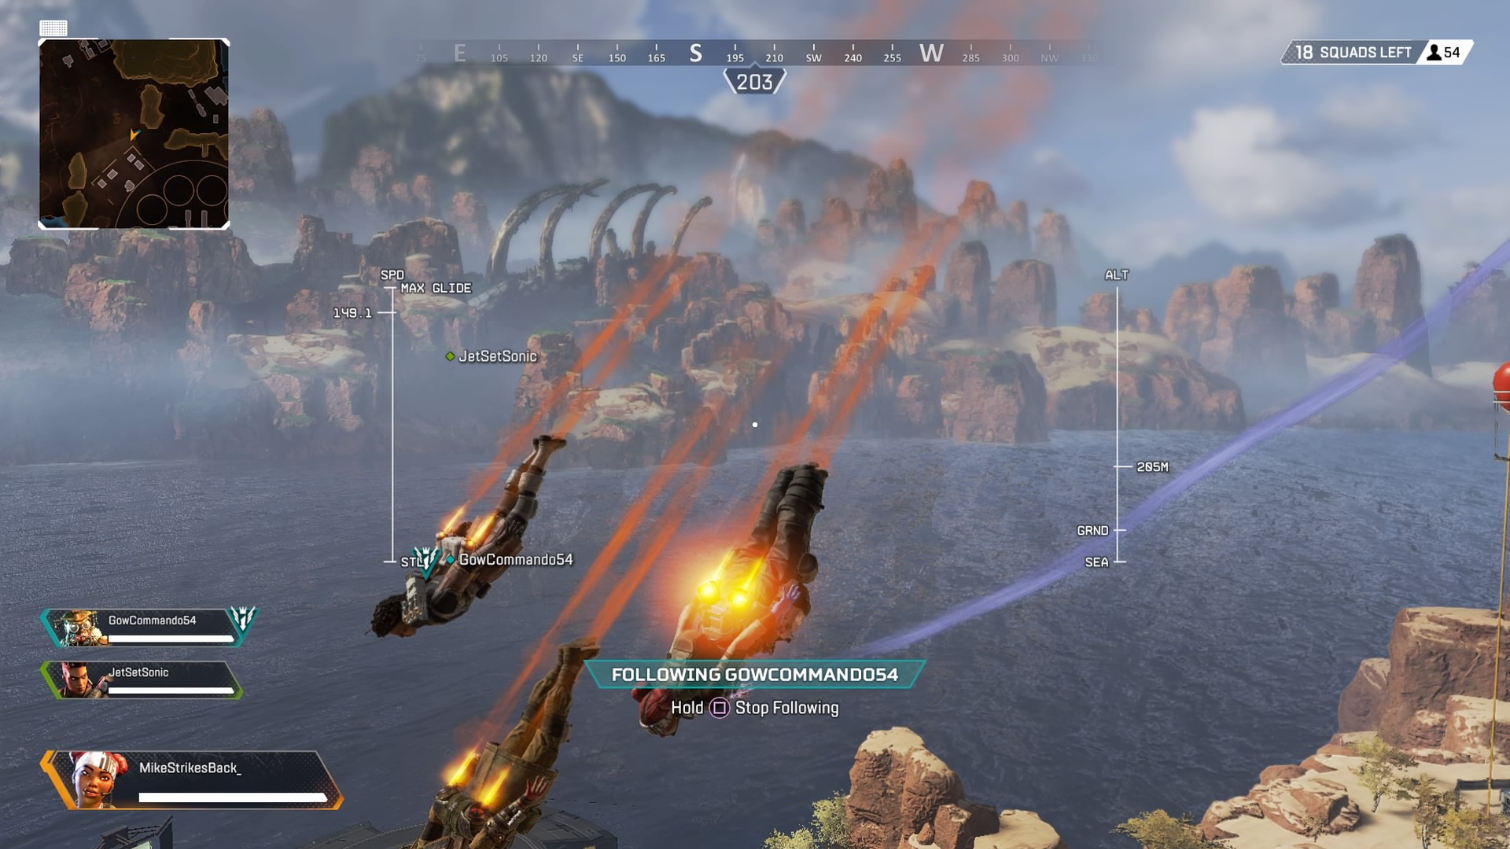
Continue to nosedive, reach top speed then straighten out. Repeat this again to optimise your travel distance and get basically anywhere on this comparatively smaller battle royale map from the drop.
Master the hot zone
The hot zone may be tempting, but consider this - in the hot zone is ONE gold weapon. It’s the area highlighted on the map with a blue circle, so everyone knows where it is and a lot of teams will head there straight away and yet, there’s only the one truly great item for everyone to fight for.
So, perhaps look at the hot zone in a different way? Rather than considering it a place for decent loot, consider it a great place for an early game firefight. Drop in, grab what you can and maybe get a few kills under your belt early doors. Hell, you might even find the rare weapon!
Be a good jumpmate
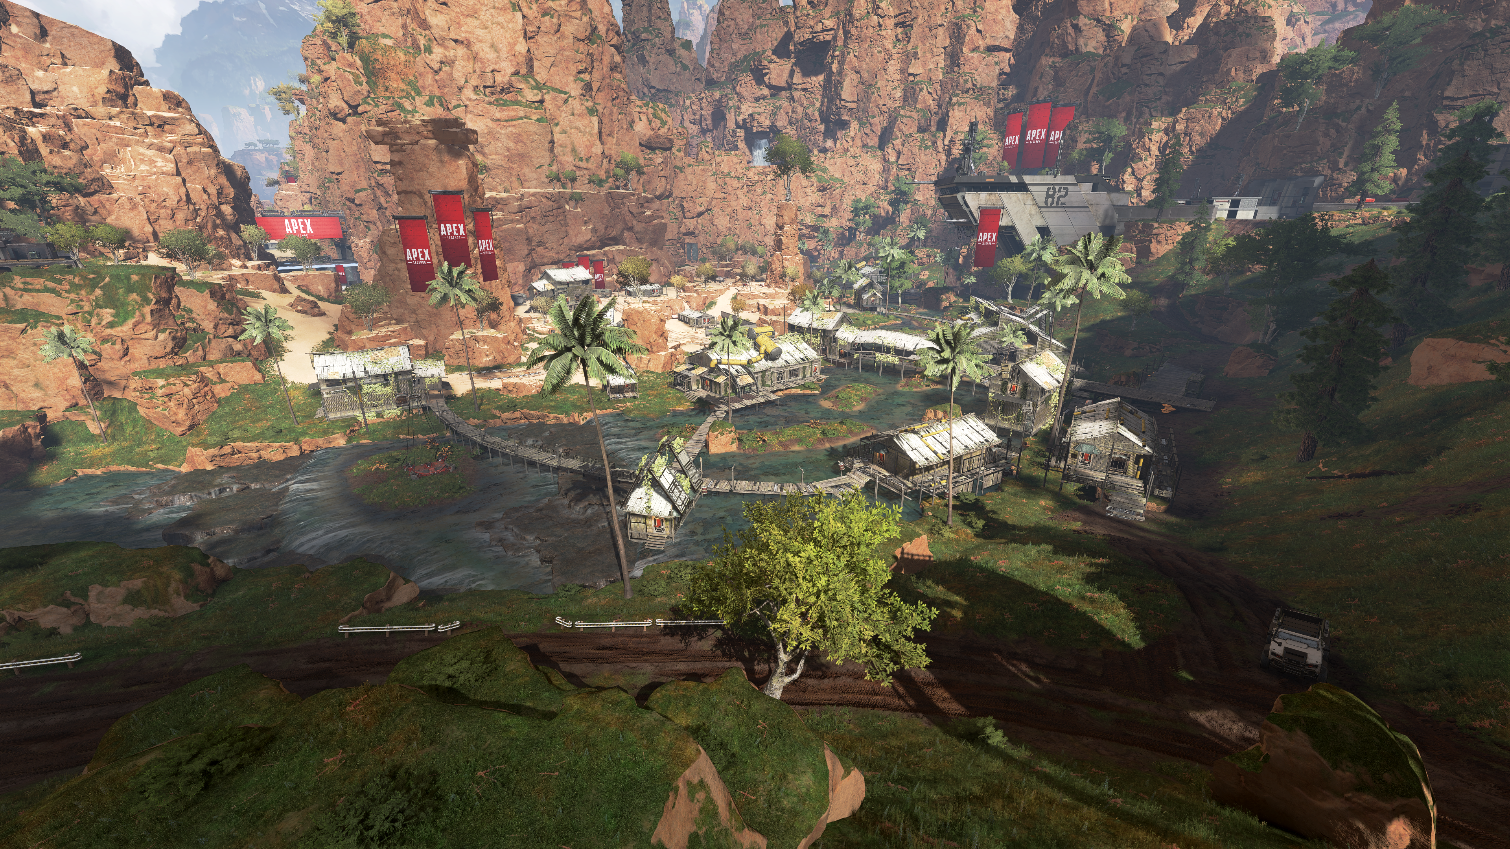
So, if you’re not the Jumpmaster and your Jumpmaster has followed this guide to the letter and is rapidly descending you towards King’s Canyon, a smart tactical move is to use the button to split off from them and hit another building or loot location in the nearby area. This obviously means you won’t be frantically fighting over weapons but also has the excellent side effect of your team hoovering up more gear, so if another team stumbles across you, there won’t be much for them to find and - hopefully - you’ll be absolutely loaded.
Dictate the pace
Ultimately, if you’re the Jumpmaster, it’s up to you when and where to drop - whether you fancy a slower game or a dive straight into the action. Be decisive, however. Pay attention. If you’re the final player to choose a character, then you will be the Jumpmaster. Don’t forget and sit there while the dropship slowly makes its way across the skies of King’s Canyon while the other twenty squads harvest all of the good gear! Be ready, look at the map straight away, ping a location and get out of that dropship!
More Apex Legends Tips
 Club Benefits


