Club Benefits


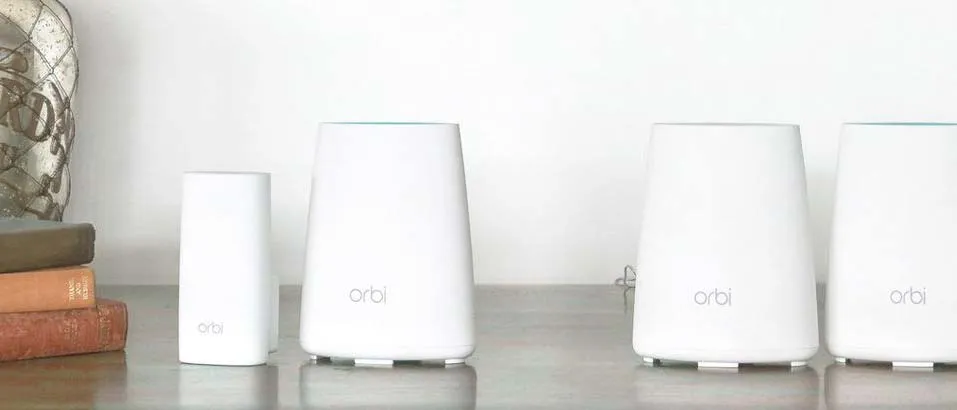
With a new generation of Netgear Orbi mesh-router hardware available, what should you do with your older Orbi gear? I'll show you how to give an Orbi satellite a second life by configuring the device to be a generic Wi-Fi extender that can work with any router out there.
It's easy to do the conversion, and it yields an extender that can push a Wi-Fi signal into previously uncovered areas of the home. This method works with Orbi Voice and Outdoor models but is good for only Version 2 devices; in other words, the model number should have a v2 in it.
In the steps that follow, I'll show how I configured an Orbi Outdoor Satellite so that it could extend any Wi-Fi router. I used a Linksys WRT32X router that doesn't quite reach a workshop area of my basement. Several thick walls have kept this site off limits to wireless data, but I plan to grab a signal from a nearby crawl space and push it into the workshop area.
Article continues belowStep 1: Get the satellite ready
The first step is to wipe the device of its settings. With the satellite turned on, press the Reset button; for Voice models, this will require inserting the end of a paper clip into the Reset hole. Release the Reset button when the green power light blinks orange. Once the device starts up, the Orbi will be like it was when it left the factory.
Step 2: Install the firmware for Extender Mode
You'll need the latest version of the router's firmware before you can convert the device to an extender.

Go to https://www.netgear.com/support/product/RBS50Yv2.aspx, scroll down to the downloads section and grab the file marked "Extender Mode for Orbi."

Once that file has been downloaded, log on to the Orbi's configuration page at orbilogin.com. This will redirect you to the Netgear device-settings portal. Next, go to the Admin section and click on Advanced, then Firmware Update. Here, you can upload the new firmware.

Once you've done that, you can set up the satellite as a Wi-Fi extension for your non-Orbi router.
Step 3: Sync the Orbi to the router
First you'll need to sync the Orbi with the router you want to extend. To do this, set up the Orbi in close proximity to the router.
Press the power button and the sync button simultaneously. This is a little awkward, but I found it helpful to use one finger on the power button and a second finger on the sync button.

Press and hold until the Orbi's LED light flashes blue and white, which shouldn't take more than 20 seconds. This indicates that the Orbi is syncing up with the router.
When the blinking LED turns solid blue, the device is ready to be configured as a generic extender.
Step 4: Connect to the extender
Your satellite may still look like an Orbi device, but under the skin, it is now the equivalent of a Netgear universal extender that will receive and retransmit the output of just about any Wi-Fi network.
Using a Mac or PC, connect to the Orbi device's network: netgear_ext.

Now, open a web browser window and enter "mywifiext.net" (for a PC) or "mywifiext.local" (for a Mac).
Step 5: New host …
After you agree to Netgear's license and create an online account, the setup process gets going. The system does a quick scan of your network and lets you decide which 2.4- and 5-GHz network to connect to.


Step 6: … new LAN
Next, it's time to configure what network names to use.
I set the extender up with the same name as my router to allow easy roaming between network segments.


Finally, I consolidated the two networks into a single name.

The extender takes about a minute to restart, and I was able to connect on the first try. I used speedtest.net to test the device's throughput.
Step 7: Move to a new location
With everything working, it's time to move the extender to where it will live. If you're confused about where to set it up, check out our handy guide to finding the best placement for your Wi-Fi extender.
I put mine at the AC outlet that's closest to the midway point between the router and the area it will service with extended Wi-Fi.
Step 8: Colors count
Finish by firing up the extender, keeping an eye on Orbi's LEDs:

Step 9: Trial and error
Be prepared to engage in a little trial and error to find the right place for the extender. I found a sweet spot for the extender, close enough to the router to get a strong signal but not too far from where I want the rebroadcast signal to reach.

Results
The Orbi extender added about 75 feet to my network and easily filled in this last gaping Wi-Fi hole. With Wi-Fi service in my workshop, I get 160 Mbps out of the house's 200-Mbps broadband service in this hidden nook of my home.
With the workshop now covered with Wi-Fi data, the first thing I did was connect a Logitech internet radio to the network. Now, I have tunes on tap for everything from using the 3D printer to turning bowls on my wood lathe — not bad for 20 minutes' work.