How to clean makeup brushes and get them looking like new again
Here’s how to clean makeup brushes quickly and how often you should be doing it
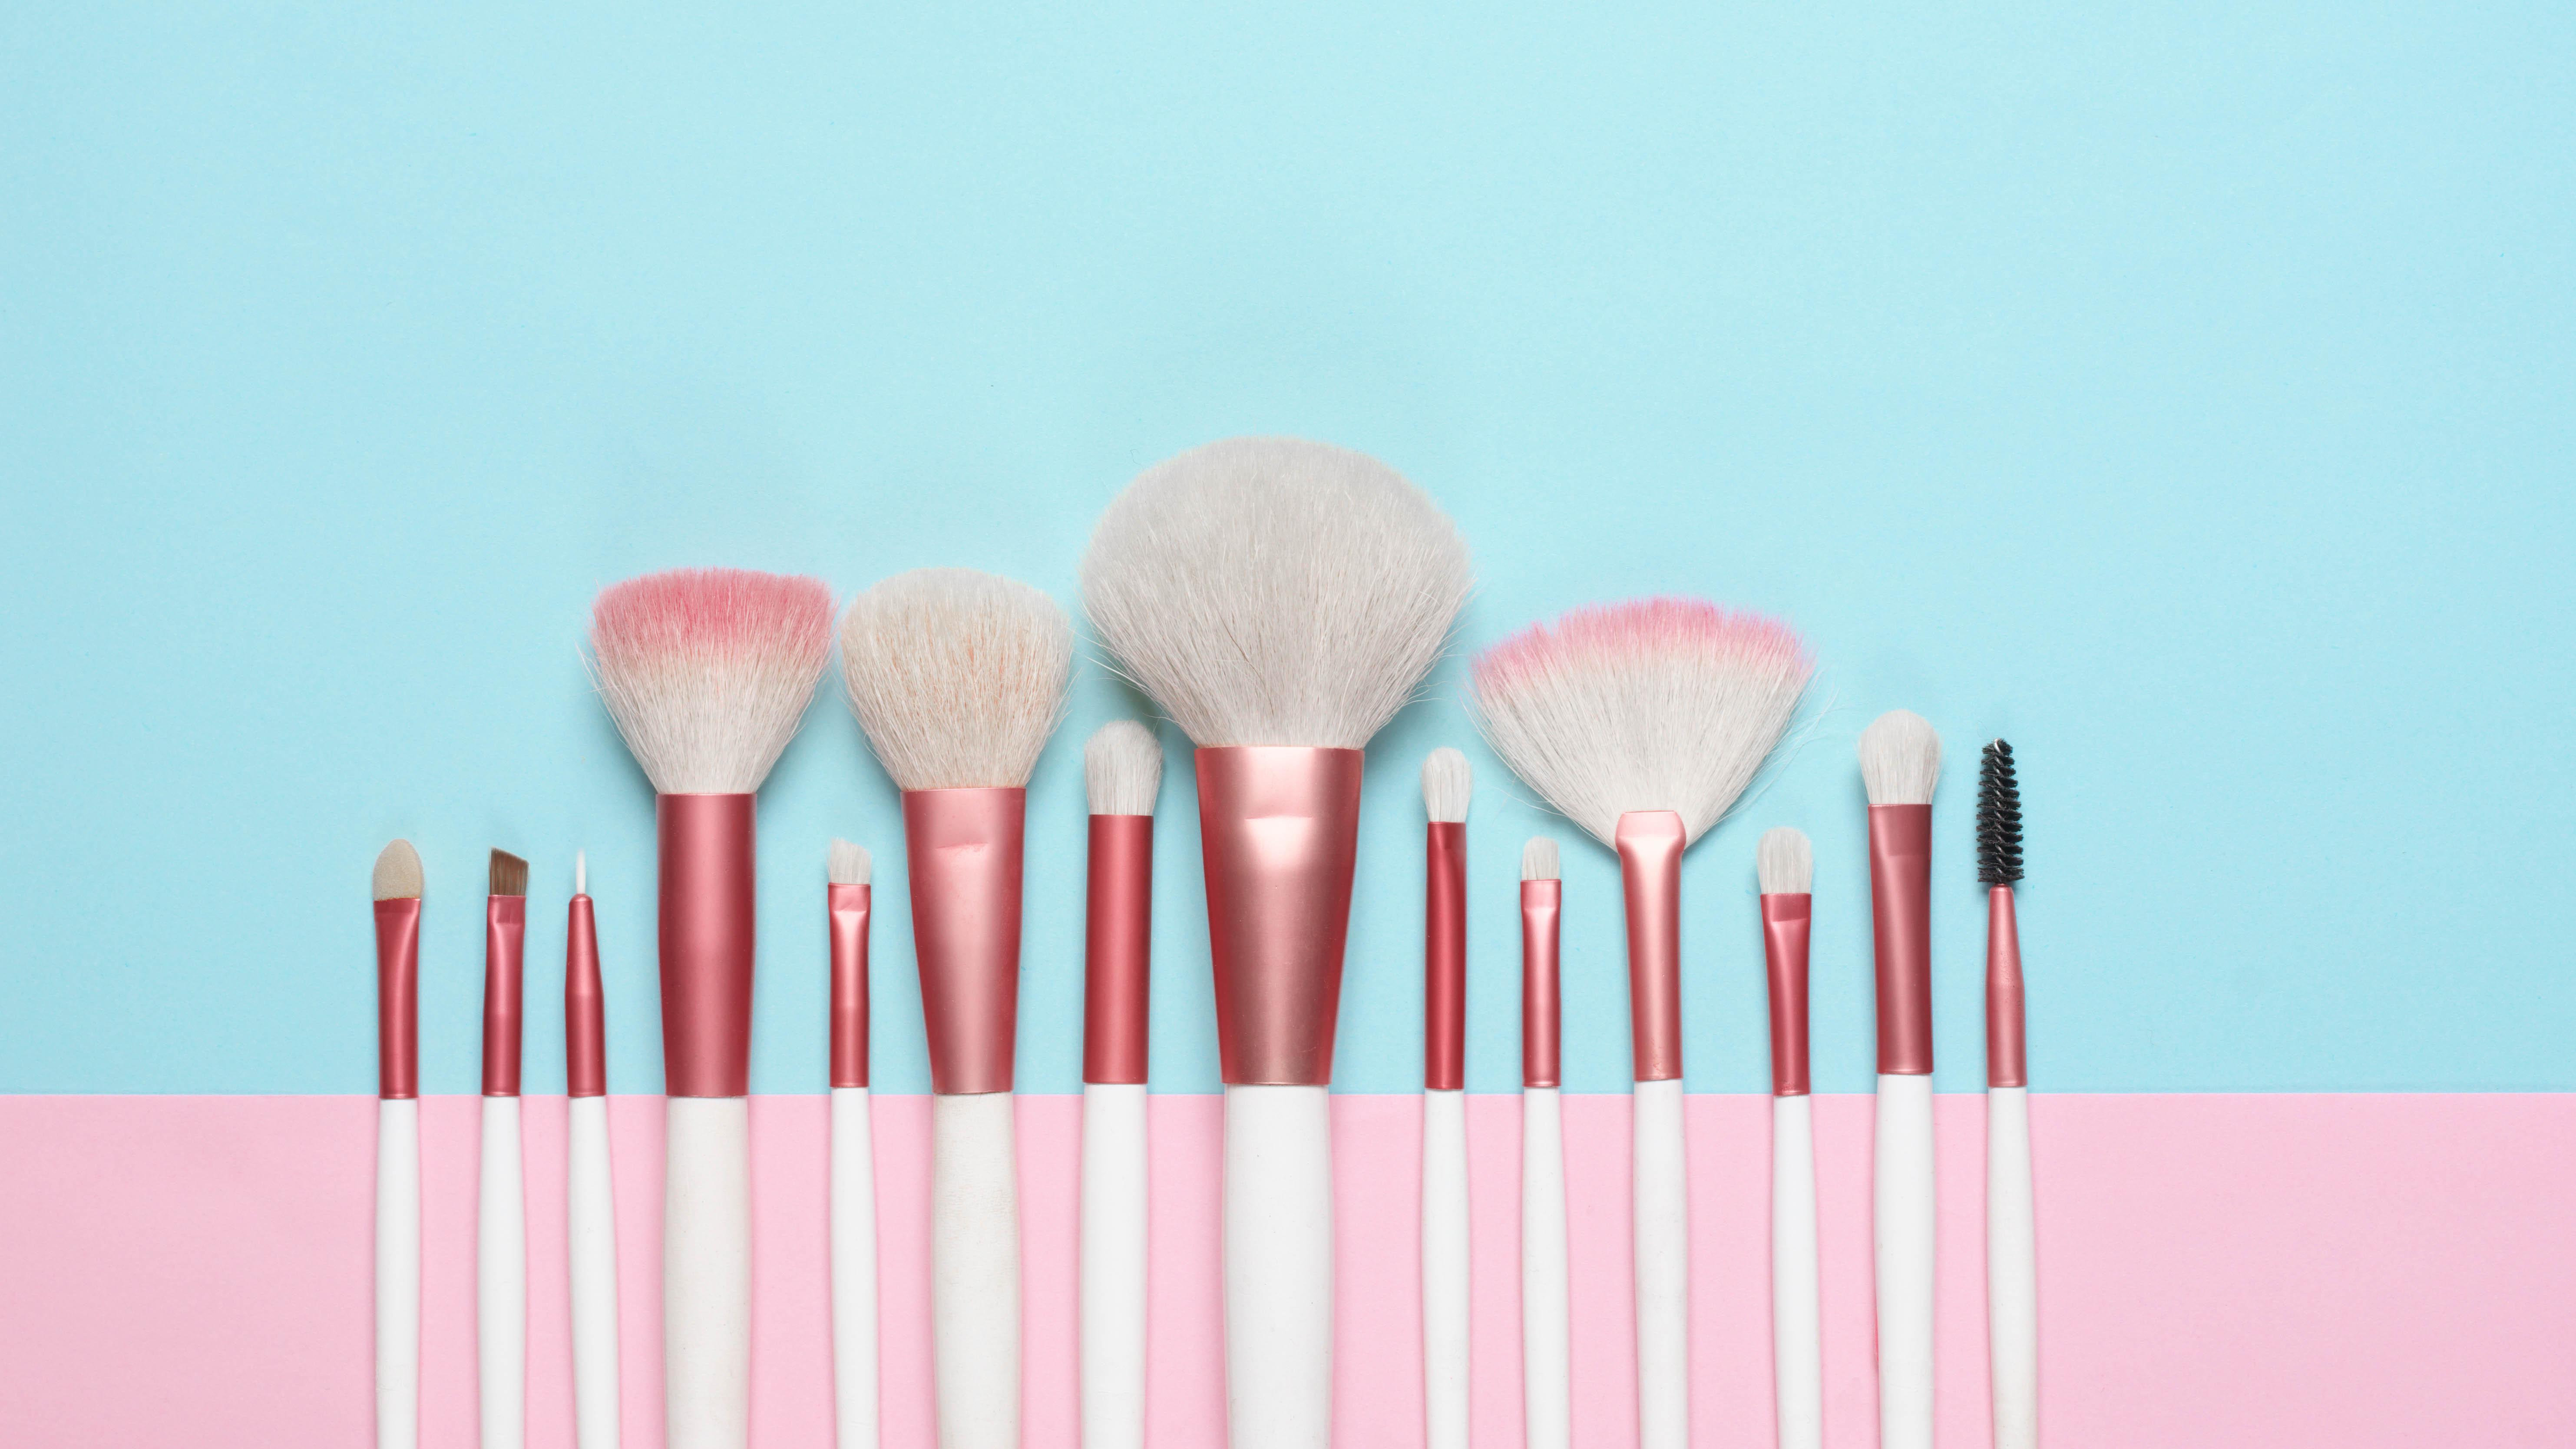
Most of us know vaguely how to clean makeup brushes, but few of us actually do it. This is a little gross when you think about it. After all, we use these brushes daily on our faces to apply all kinds of products from liquid foundation to powder and eye shadow. Consequently, over time, makeup brushes can harbor all kinds of bacteria. That means, if you don’t get into the habit of washing them, it can actually lead to breakouts and even infections.
That’s why on top of knowing how to clean makeup brushes, it’s important that you get into the habit of doing it regularly. In this guide, we will break down the best techniques you can use to effectively clean your makeup brushes as well as sponges, and provide tips to achieve the best results without damaging your bristles.
Check out how to clean jewelry if you want to bring the sparkle back and how to remove gel nail polish.
How to clean makeup brushes — What you can use
Mild soap/shampoo or brush cleanser
Lukewarm water
First of all, there’s a couple of options for what you can use to cleanse your brushes. Most soaps and shampoos will get the job done, but you want to use a mild or gentle formula. Anything more abrasive can dry out the bristles and damage your brush. Baby shampoos, such as Johnson's Baby & Newborn Wash & Shampoo ($6.29, Amazon) are ideal for this reason. However, a mild dish soap, such as Seventh Generation ($16.62, Amazon) is just as good. Alternatively, you can also buy a dedicated makeup brush cleanser, such as EcoTools ($6.49, Amazon).
On top of this, you can also buy tools to help with the chore — one of the most popular being a brush cleaning mat. You can fit one of these in the palm of your hand and it can help work the soap into the brush using the grooves. We recommend this silicone brush cleaning mat from Norate ($5.99, Amazon). Drying racks and mesh sleeves are also available to dry your brushes in the correct position. Using one of these can help avoid damage when storing your brushes between uses as well. If you’re interested in buying one, the Makeup Brush Drying Rack from Beaky comes highly rated ($12.99, Amazon).
How to clean makeup brushes in eight steps
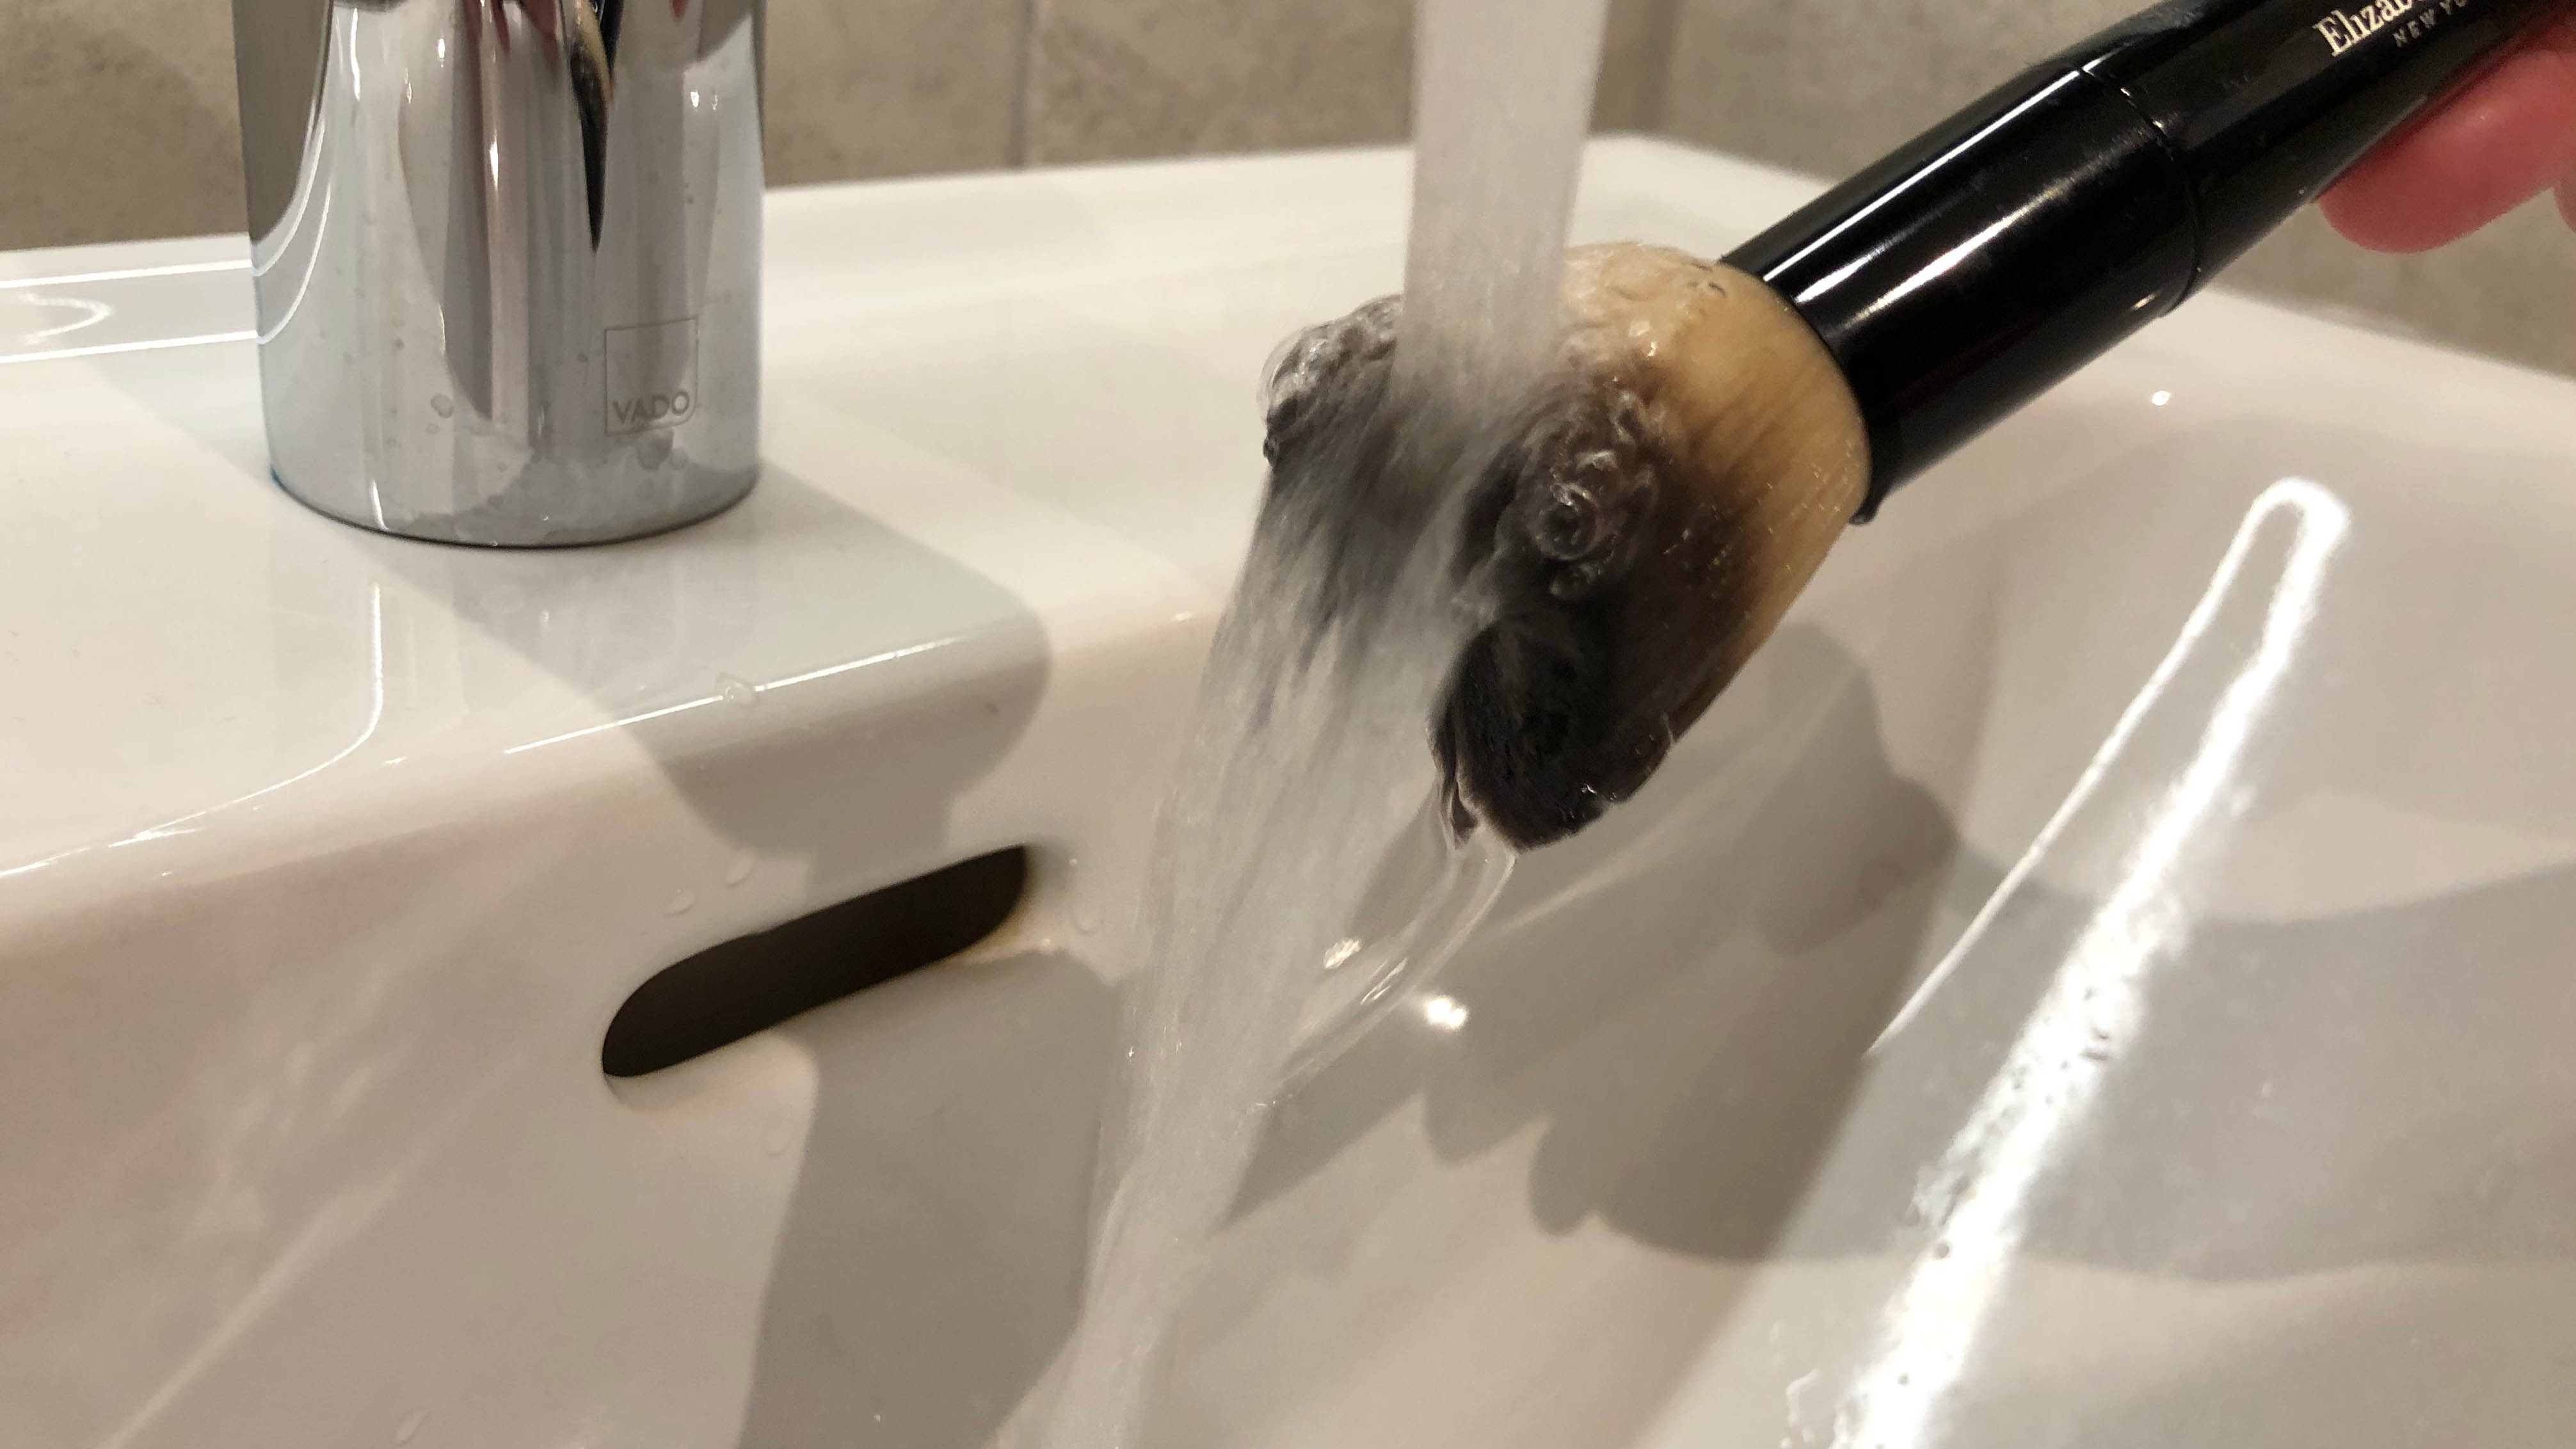
1. First of all, wet the bristles of your brush under running lukewarm water. Try to keep the base of the brush (where it connects to the handle) away from the water. This is where the bristles are glued in place and water can dissolve the substance.
2. Place a couple of drops of your soap, shampoo or cleanser into your palm or brush cleaning mat.
Get instant access to breaking news, the hottest reviews, great deals and helpful tips.
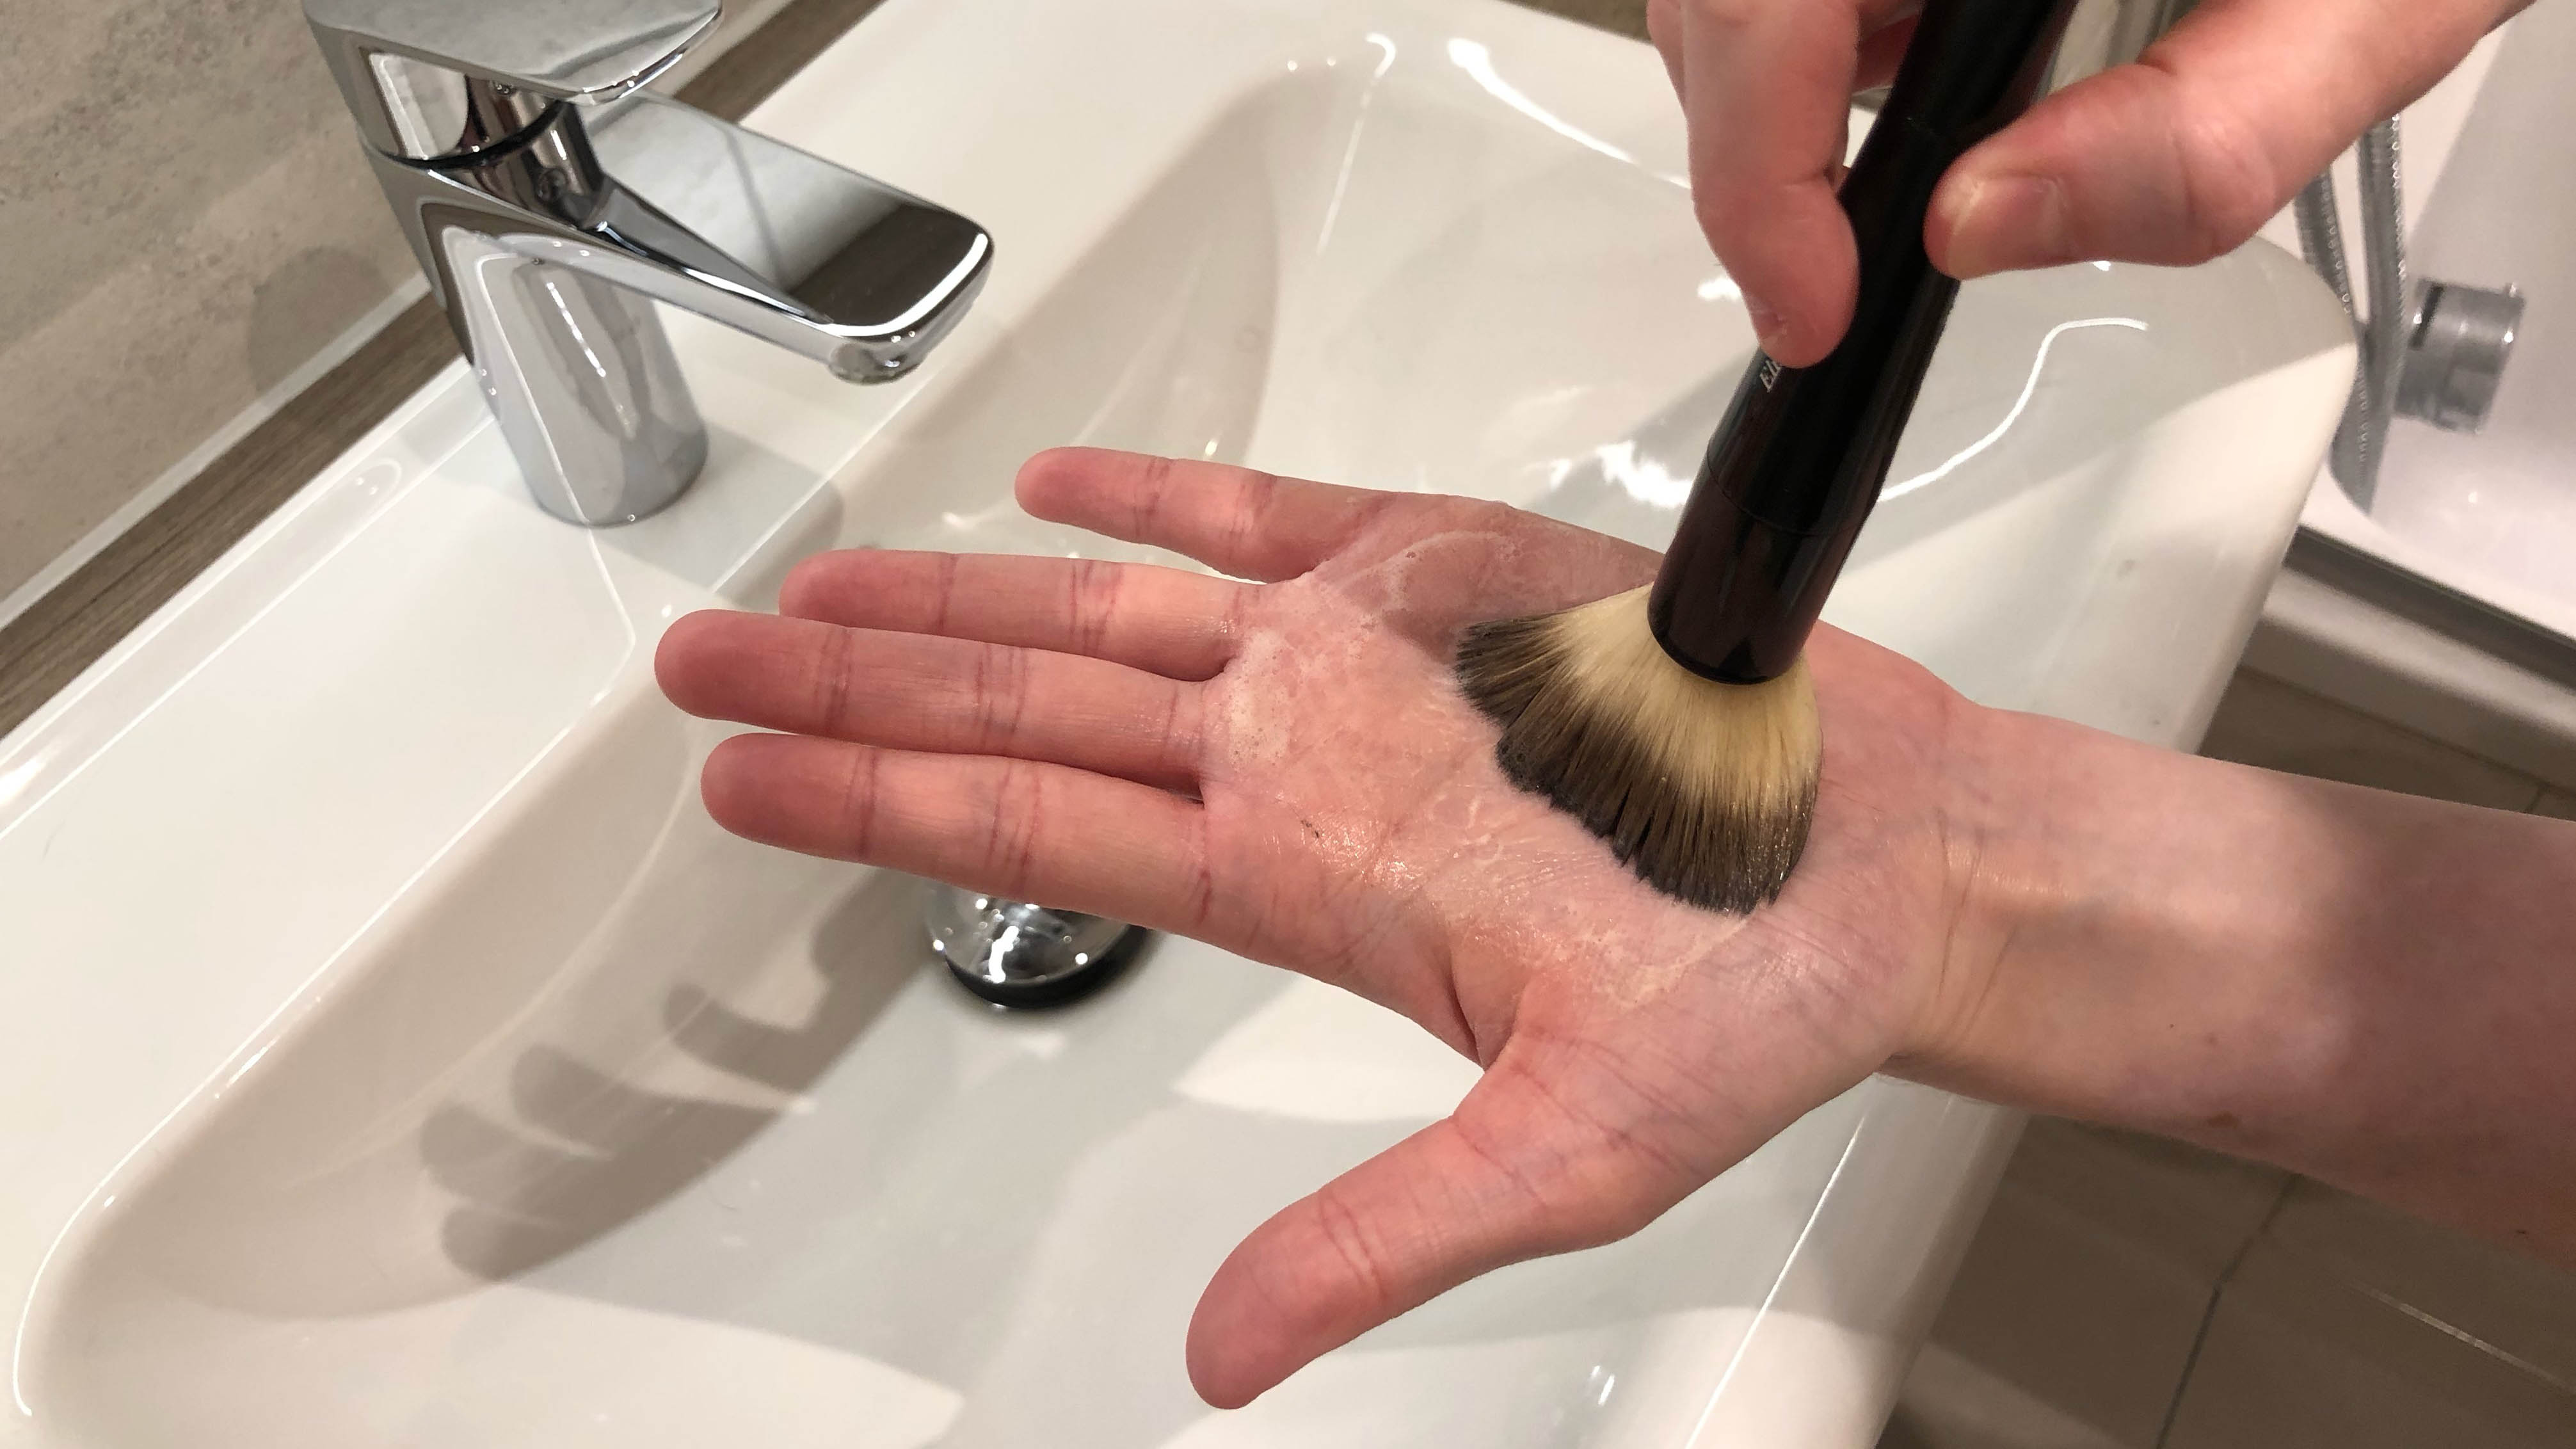
3. Gently rub your makeup brush into the soap in circular motions. Don’t be too aggressive — think of it as massaging the bristles. You also want to be thorough, but again don’t get soap near the handle where the glue is.
4. Once fully covered in suds, rinse away the soap under running lukewarm water. Again, keep the handle and base of the brush away from the water. Try not to let water run down into the handle either, as this can damage it. If the water runs clear, you can move onto the next step, but if not repeat from step two.
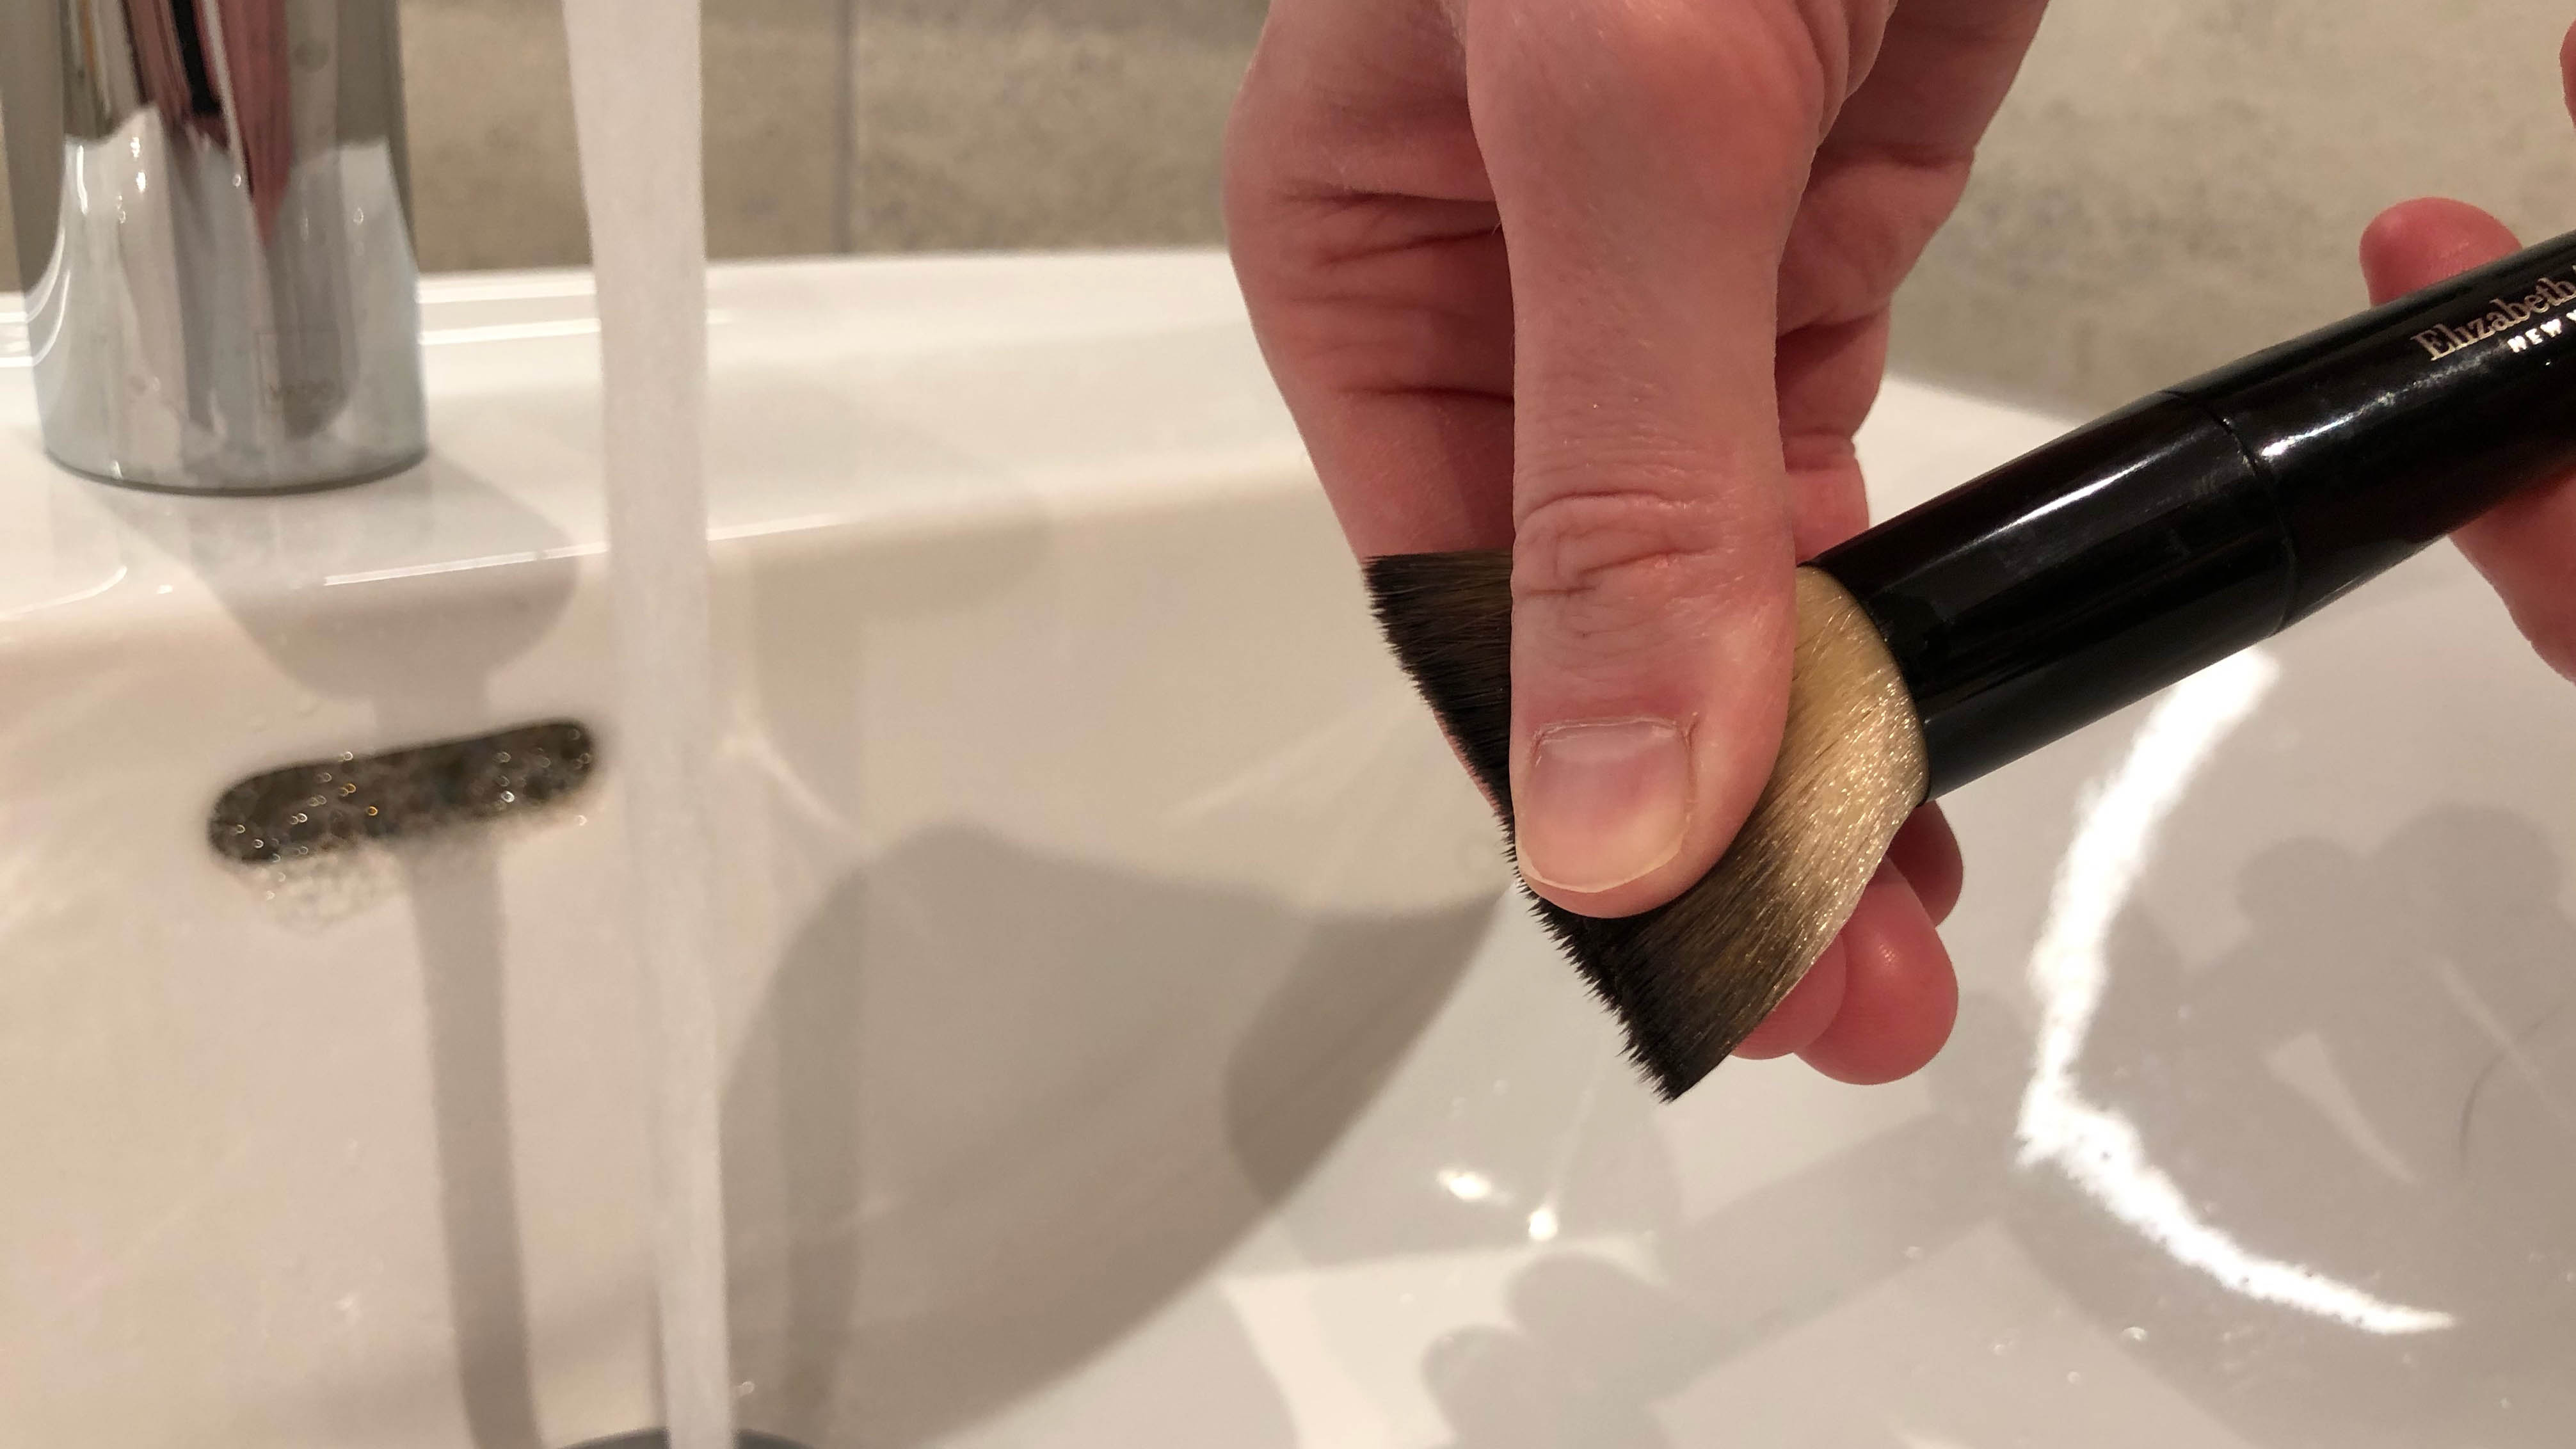
5. Gently squeeze the excess water from the brush head. Don’t tug or pull on the bristles as you do this.
6. Reform the bristles if necessary to the original shape.
7. Let your makeup brush air dry with the bristles suspended off the end of a table or counter. You can leave the handle on a towel, but not the bristles as this can lead to mildew. Alternatively you can use your drying rack and mesh covers to dry in the best position. Do not dry with the bristles upright as water can run down into the glue and handle, causing damage.
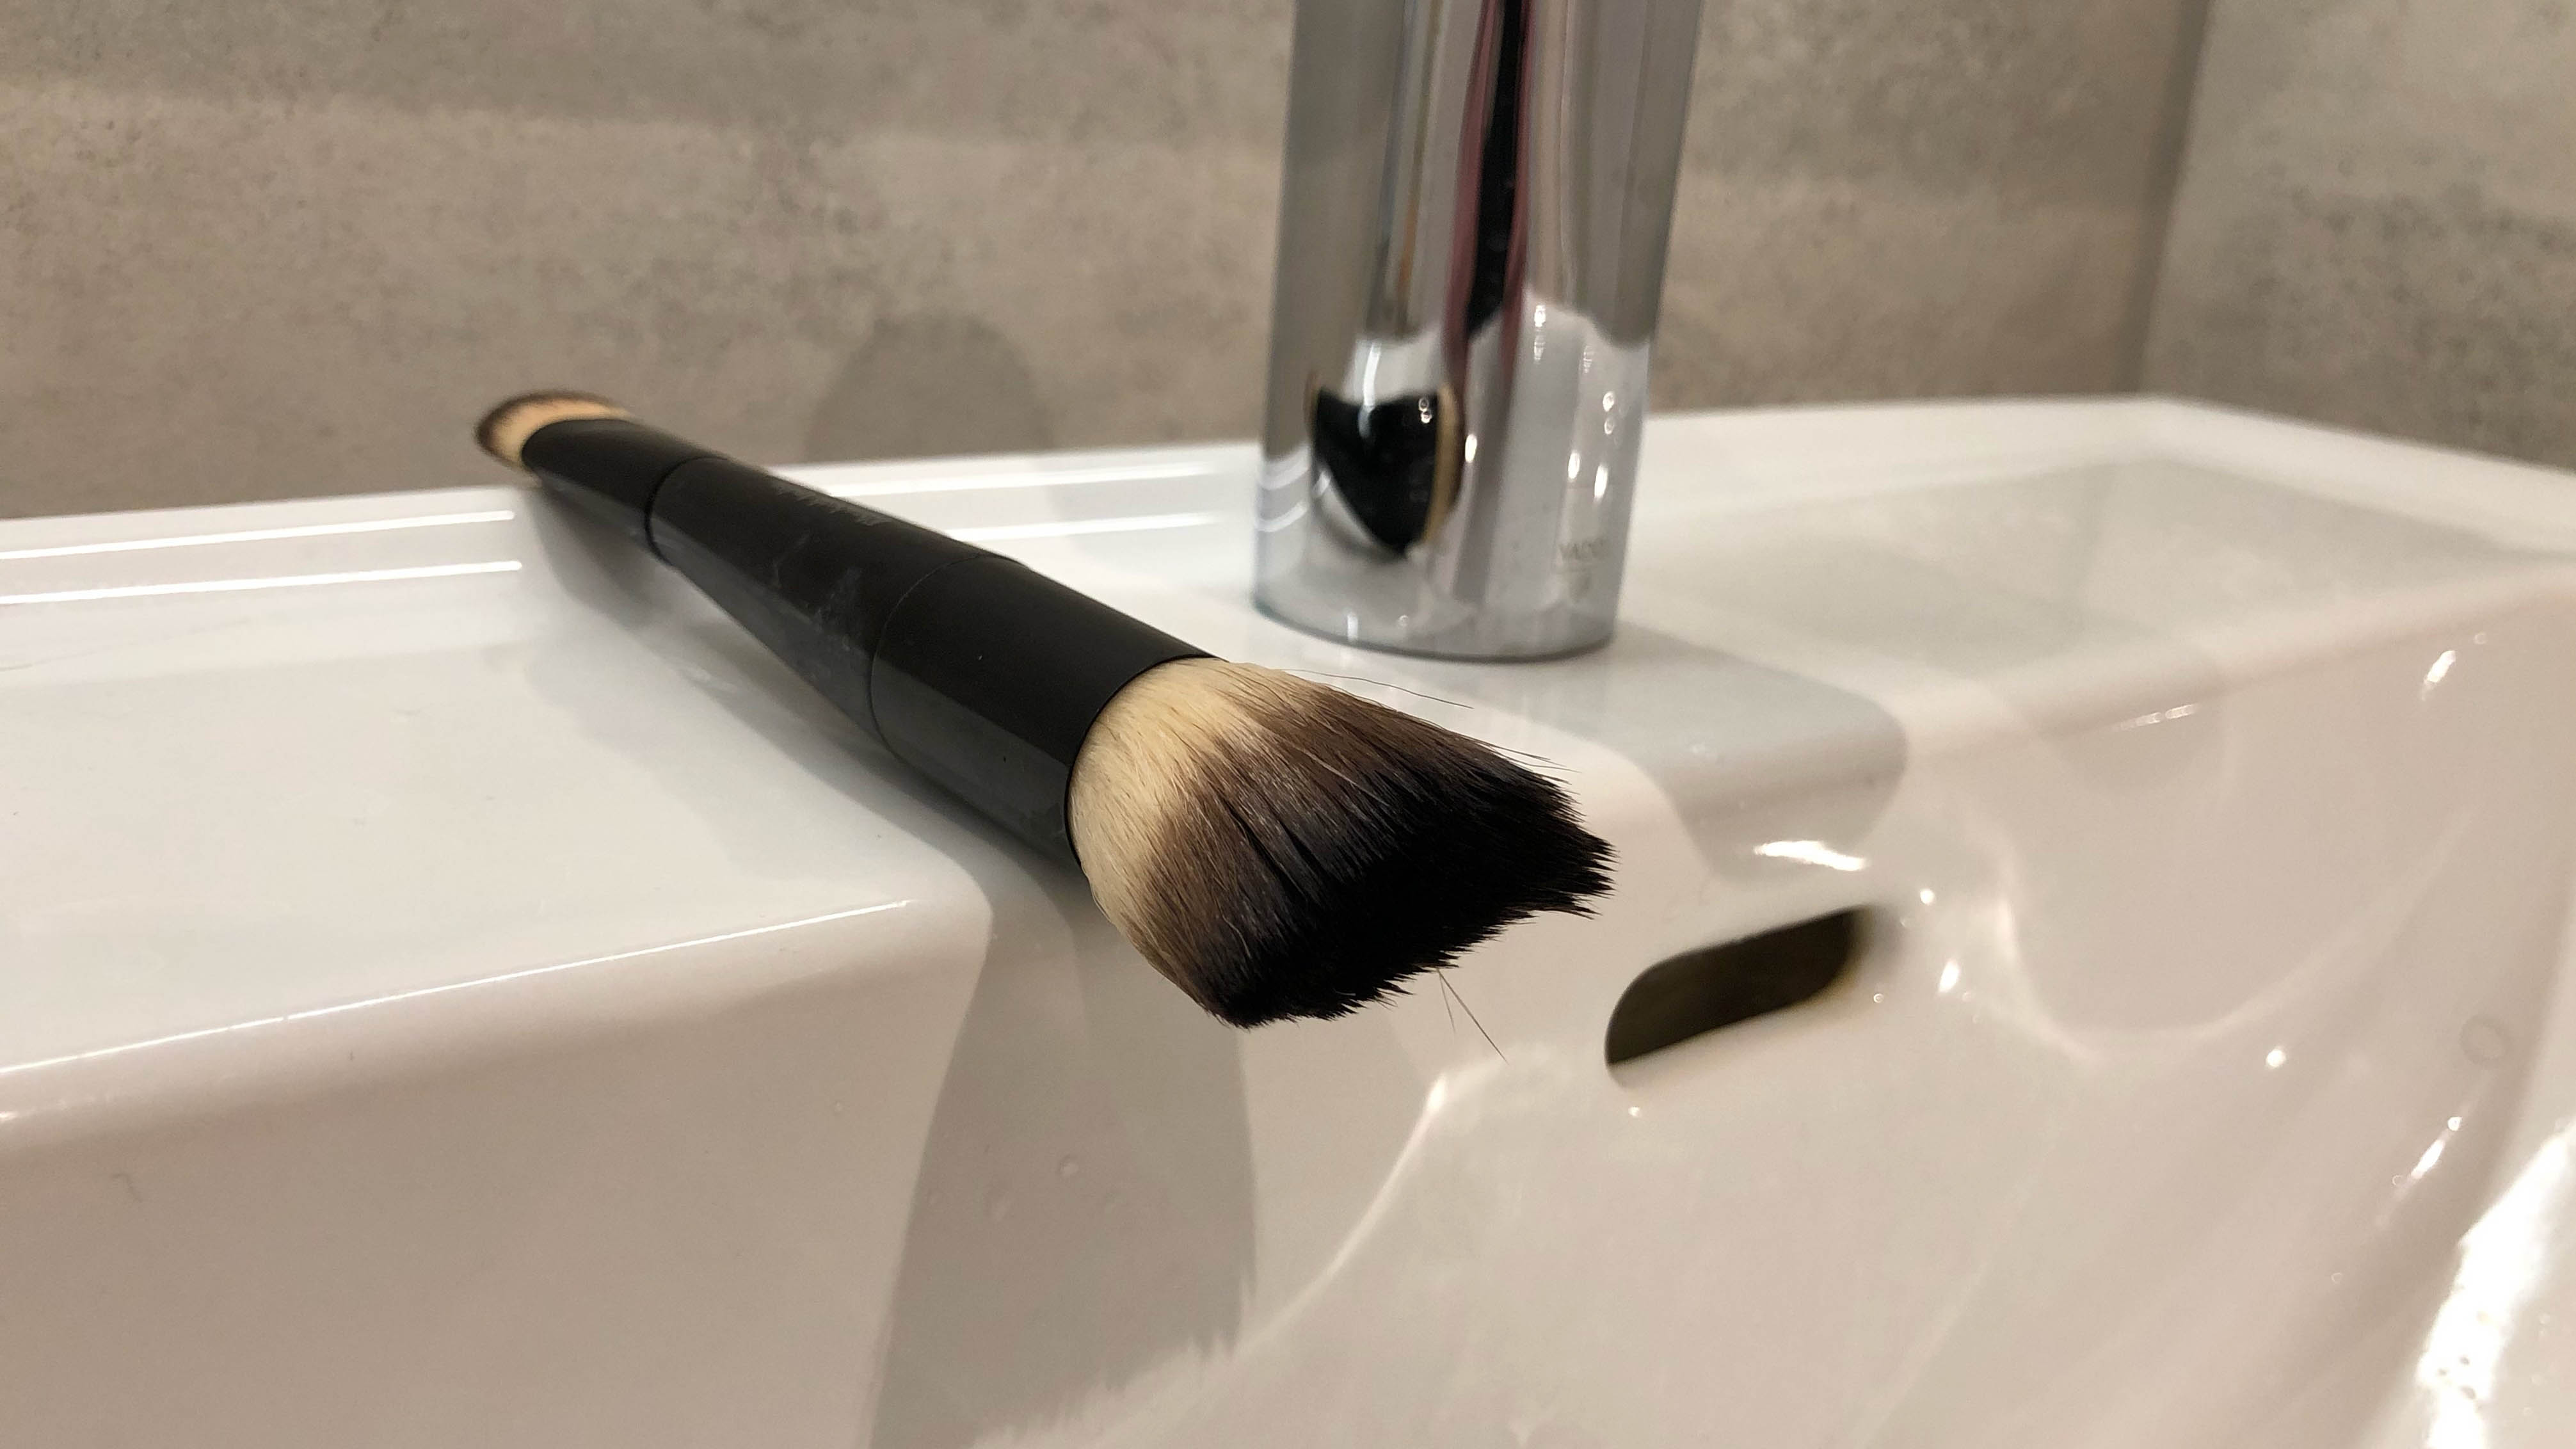
8. Once completely dry, your makeup brush is ready to use again. Bear in mind that the drying process can take several hours, so we recommend cleaning it last thing at night if you want to reuse it the next morning.
The above soap and rinse method can also be used on makeup sponges, but you will need to squeeze it as you run it through with lukewarm water to get rid of the absorbed soap. Just remember to be gentle and patient as you squeeze, so as not to damage it. These generally take longer to dry than makeup brushes too, so you might want a couple on rotation to compensate.
How often should I clean my makeup brushes?
Most makeup artists and professionals recommend that you wash your makeup brushes at least once a week. If your brushes are used to apply liquids or work around the eye-area, then those should be cleaned daily as the moist environment will aid bacterial growth. Likewise, sponges should also be cleaned daily as they can absorb liquids and remain damp for much longer, which means more bacteria.
Frequent cleaning will be better for your skin and will give you a better performance from your makeup brushes. Dirty brushes can end up clumping, which makes them difficult to blend and results in an uneven application.
When should I replace my makeup brush
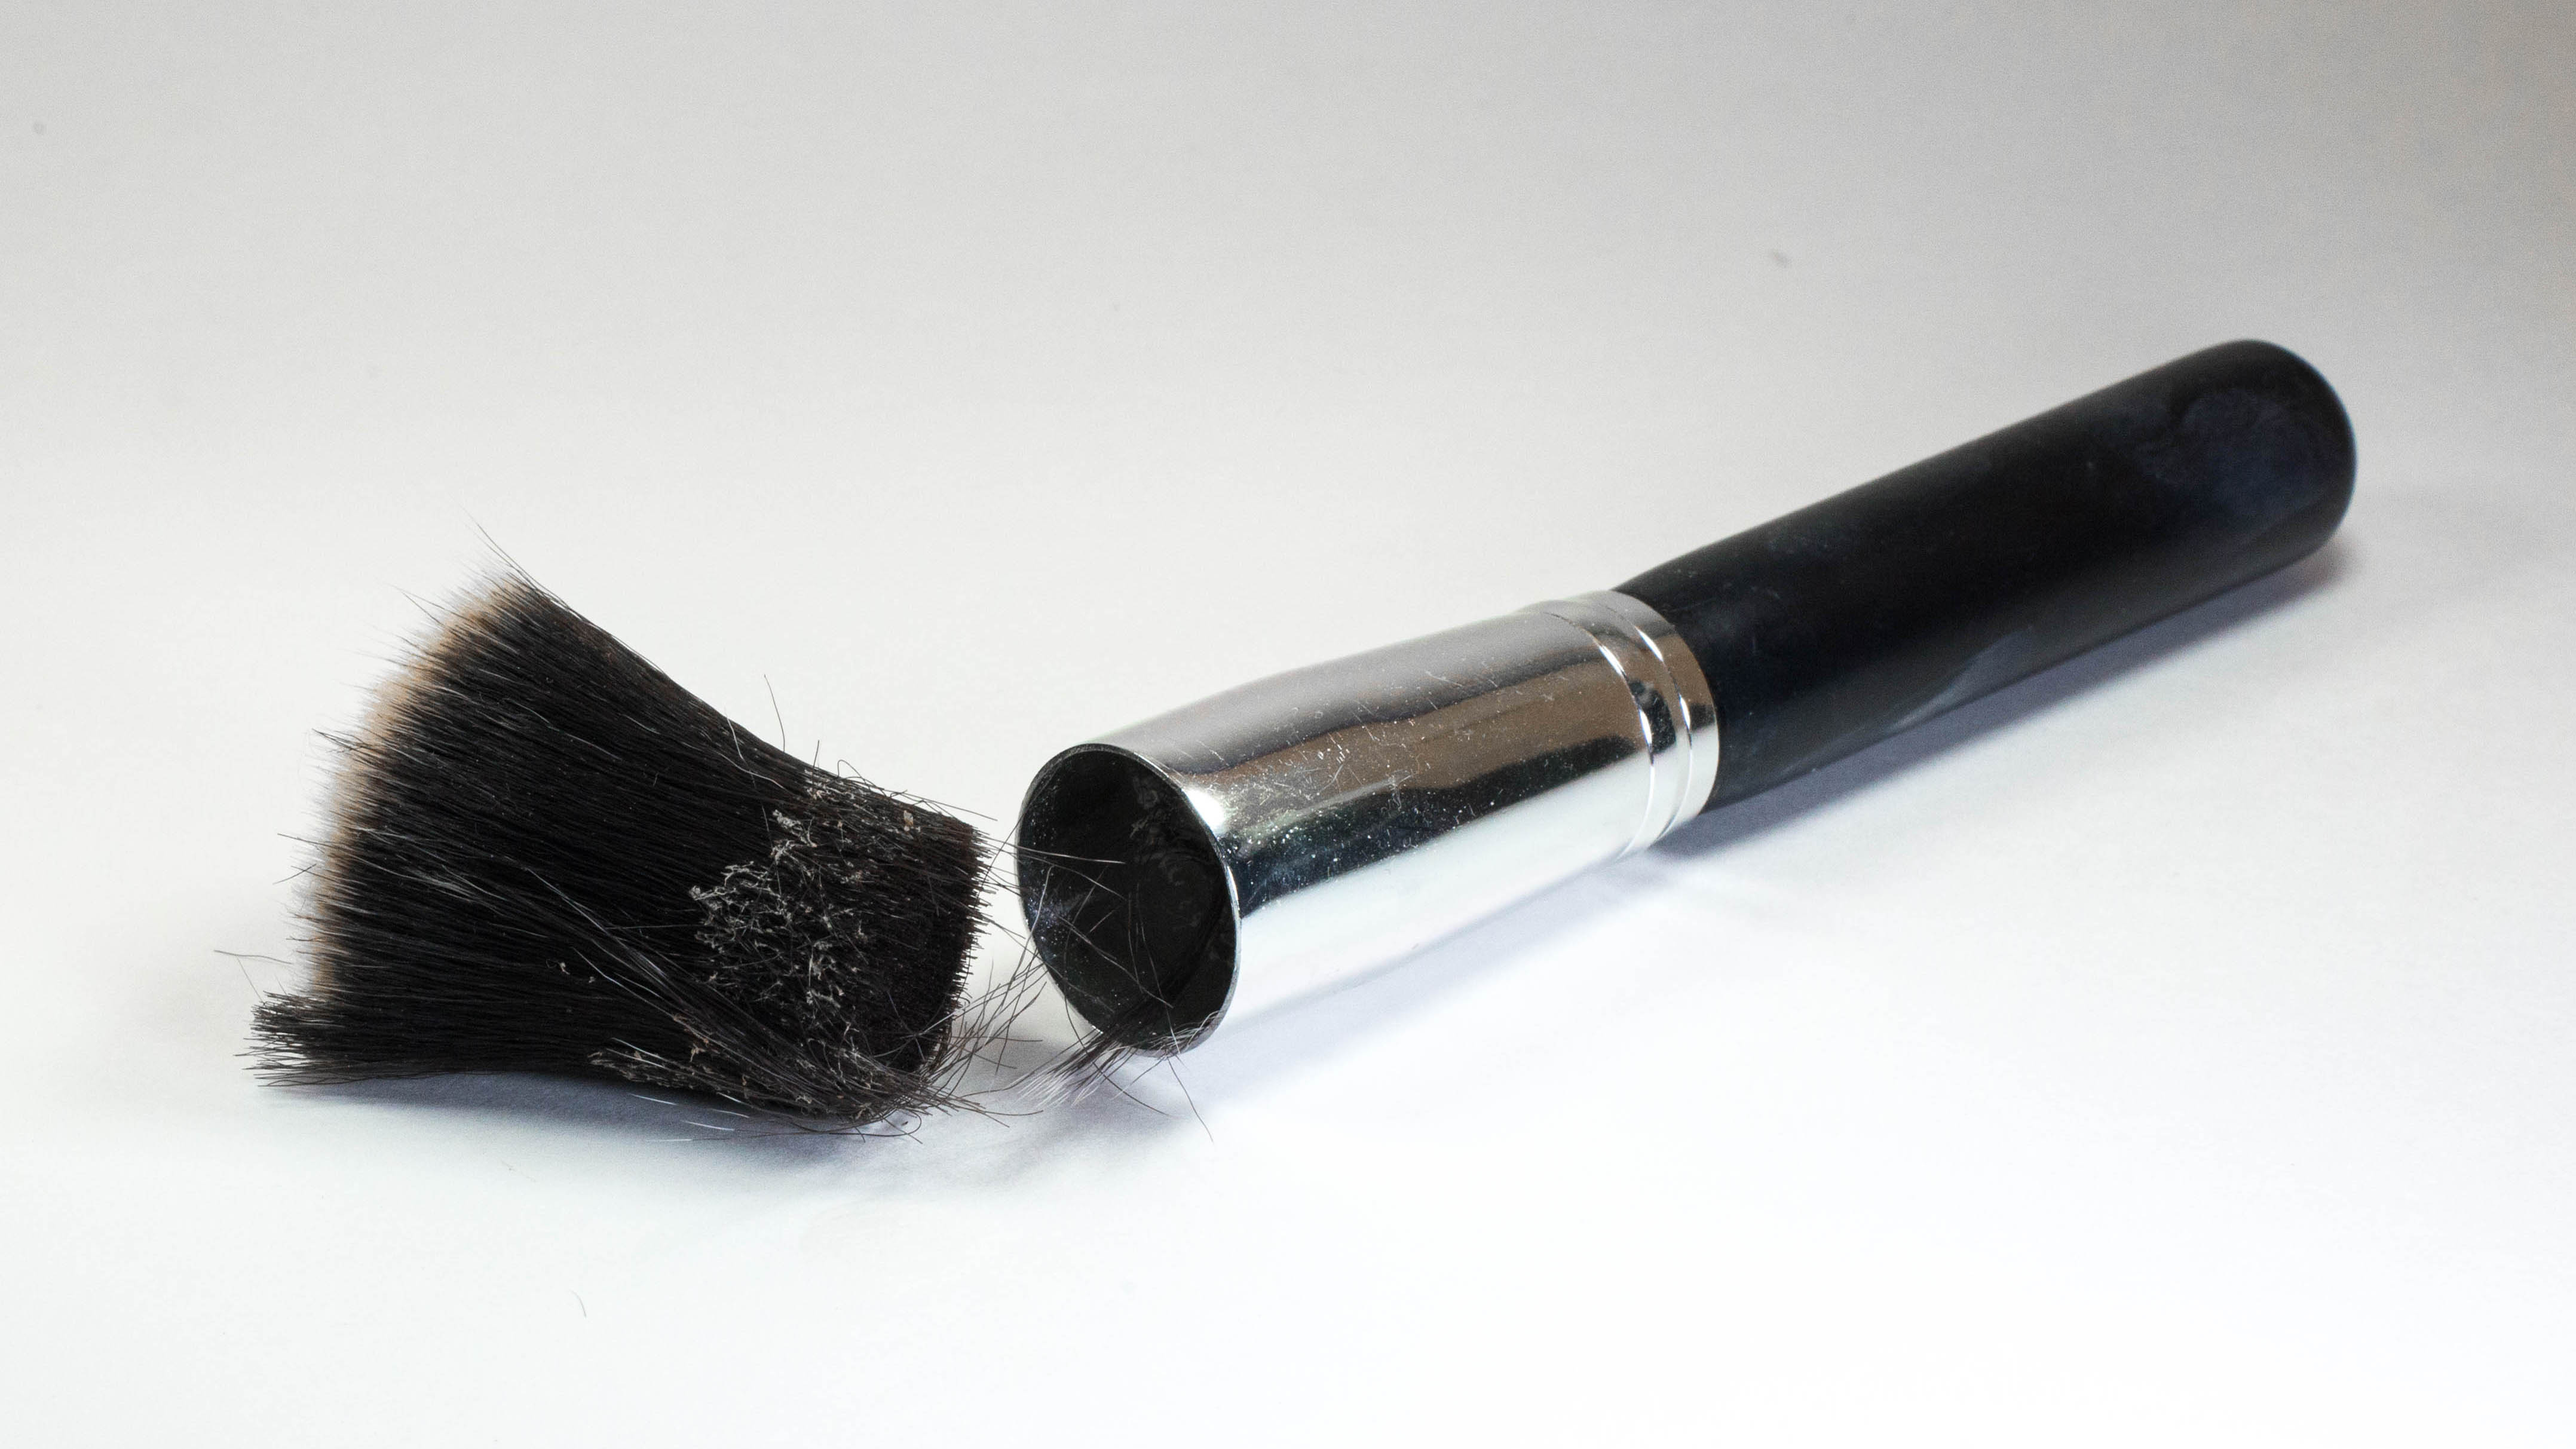
Cleaning your makeup brush regularly will extend it’s life — potentially for years. But, if you notice bristles are falling out, or it’s becoming misshapen, then that means it’s time to get a new one. Alternatively, sponges should be replaced every 3-6 months. If you can’t get the stains out of your sponge, or it’s started to tear, then you need a new one.

Katie Mortram used to be a Homes Editor for Tom's Guide, where she oversaw everything from kitchen appliances to gardening tools, as well as smart home tech. Specializing in providing expert advice for cleaning and home manintenance, she now works as Household Advice Editor for Good Housekeeping.
 Club Benefits


