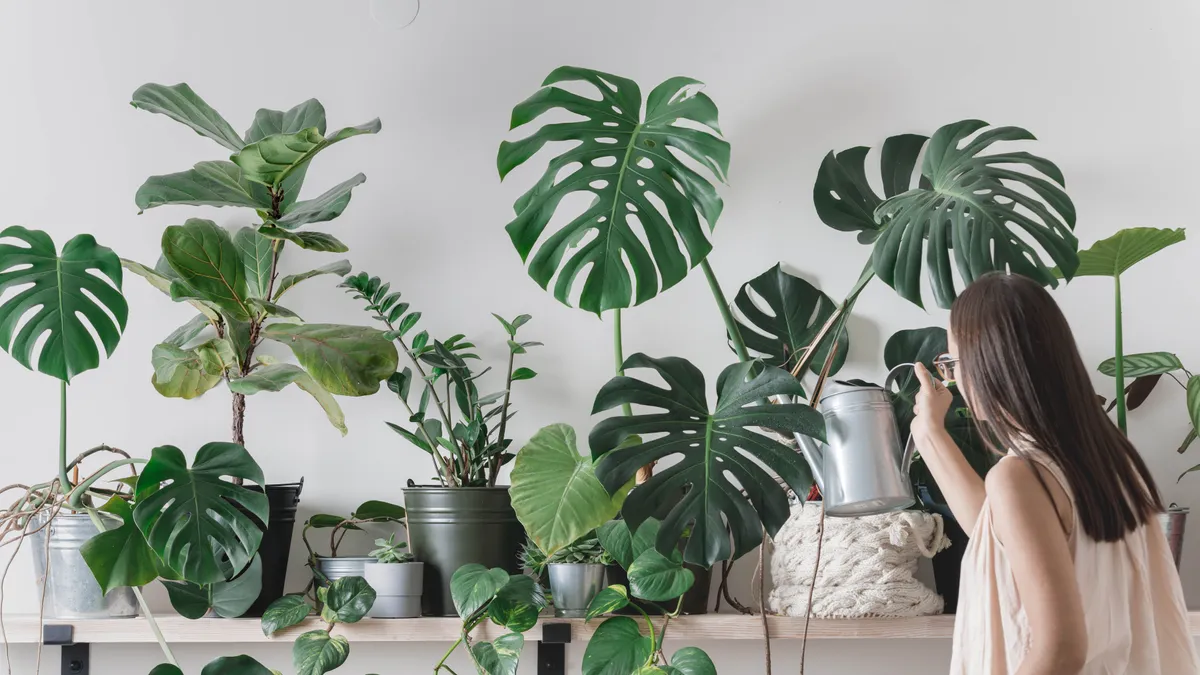
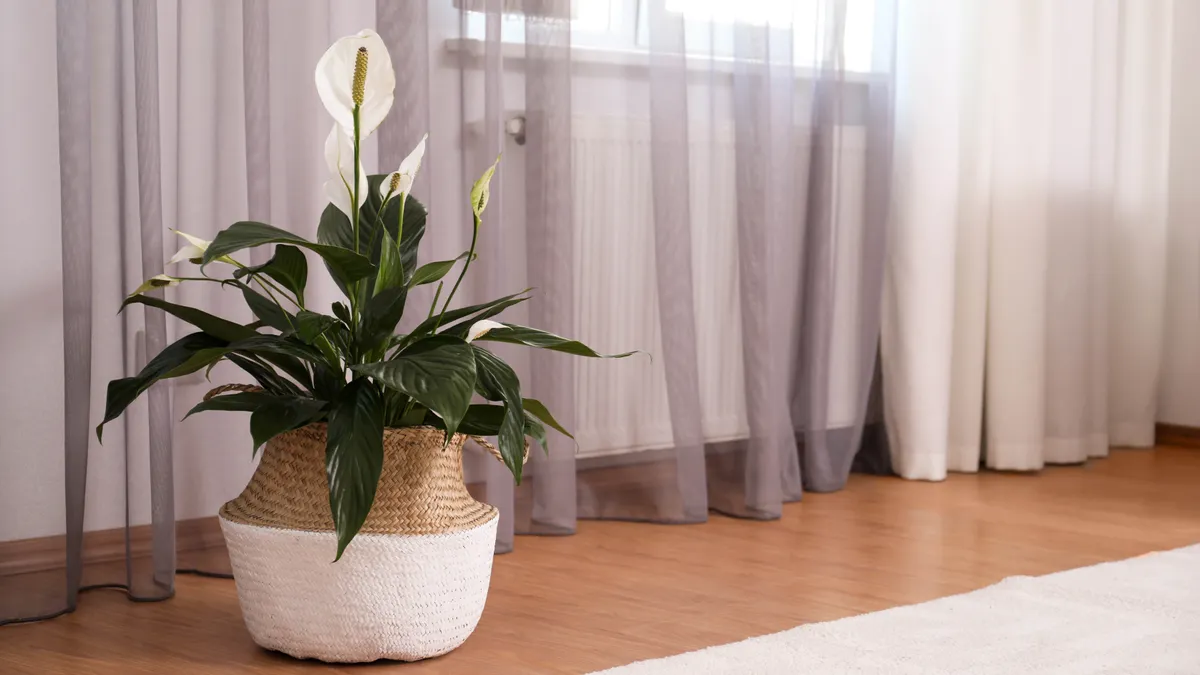
Houseplants can really brighten up a home, and a great way to bring the outdoors in. But while they need the key elements to survive, too much water can do more harm than good. If your plants are struggling to thrive, you might need these tips to save an overwatered plant.
Overwatering (or underwatering) is one of the most common mistakes we make in plant care. And whether we have a green thumb or not, we can mis-judge the amount of water we think our plants need — especially in hot weather or when we’re going on vacation.
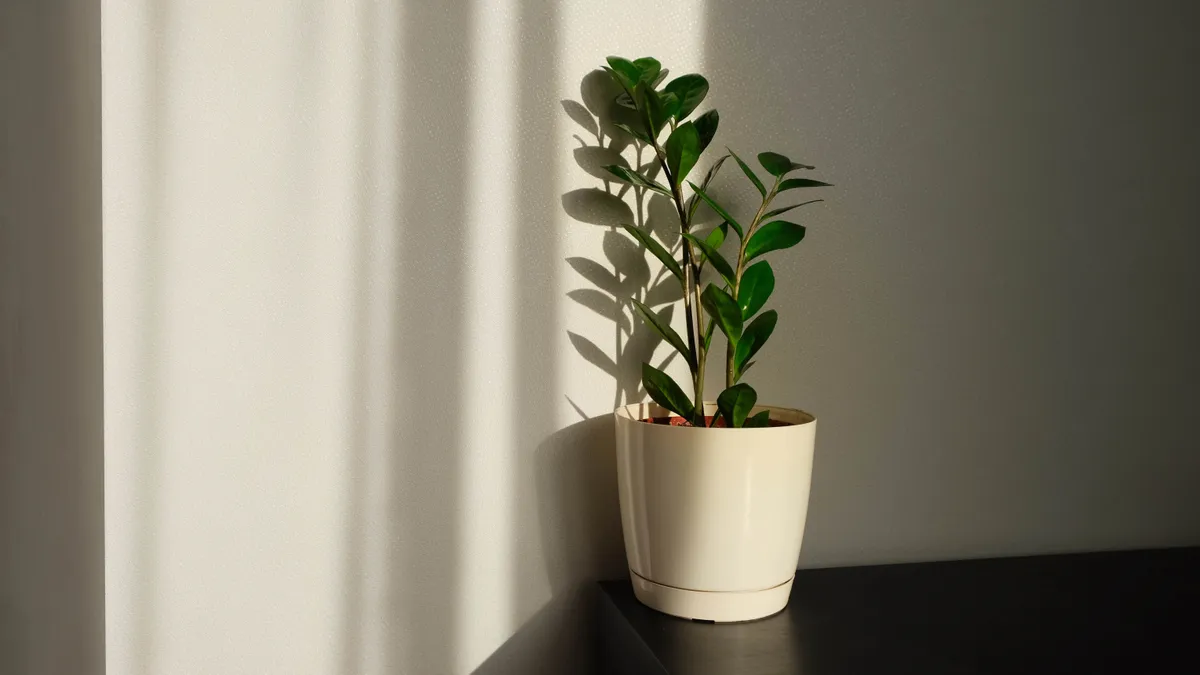
However, excessive water can literally drown or suffocate the roots, which will lead to root rot, fungal disease or worse case, a dying plant. So how do you know you’re dealing with an overwatered plant? Common signs to look out for include yellowing or browning leaves, wilting, and also the soil can look greenish from algae growth.
Before you give up hope on your precious plants, check out these five tips to save an overwatered plant, and ensure it has a long and healthy life. Just be sure not to make these 7 mistakes that can kill houseplants. Plus,here are 7 best low maintenance plants for easy care .
1. Take a break from watering
First things first, you’ll need to hold off giving it any more water. If you continue to water an already overwatered plant, this can make it waterlogged and increase the chances of root rot. You’ll need to allow the soil to dry out first, and then adjust your watering schedule. Also, refrain from using fertilizer as this may kill the damaged/weak plant.
If there is standing water at the bottom however, you’ll need to pour it out, and be sure the pot is draining well. “Start by pouring out the excess water from the pot and let the plant dry on its own without watering it,” says Nick Wood, garden designer from GardeningExpress. “This may take a few days.” Generally, you should only begin watering when the surface of the soil is dry to the touch.
2. Let the plant dry out

Allow overwatered plants to naturally dry out. Ideally, move these planters to a shady area, since the roots are unable to take up enough water to keep your plant hydrated. “While letting your plant dry make sure to bring it into the shade because overwatered plants struggle to transport water to the upper parts which can cause the top of the plant to dry out.”
In addition, plants in shaded locations tend to use less water. It’s also advisable to gently tap the sides of the pot with your hands or a small trowel to loosen the plant and soil. By loosening the soil and roots, this can help to create air pockets that will speed up the drying process. Bear in mind, drying your plant might take a few days, but you can move the plant back in the sun once its conditions have normalized.
3. Repot the plant

Once dry, it can be beneficial to repot the plant, to improve soil conditions and help it thrive from overwatering.
“It’s beneficial to re-pot the plant into a better soil mix and a pot that has proper drainage holes,” suggests Wood, “Before repotting, remove the old soil and trim away the rotten roots that are brown and have a bad smell.”
It’s recommended to repot the plant in a mix of free-draining compost with extra ingredients of perlite or grid added to boost drainage. “You should also trim any yellow or wilted leaves, as they won't recover and this energy can be directed to healthier parts of the plant. When you first re-pot the plant, pour water over the soil to moisten it, after that only water when the soil feels dry.”
Just be sure to avoid these 9 mistakes you make when repotting a plant to avoid making the problem worse!
4. Re-locate the plant
It’s always best to move your overwatered plant into a shady area. And while it might seem like common sense to move the plant into the sunniest areas to keep dry, this might cause more damage.
An overwatered plant will struggle to move water to its upper leaves/flowers. So there is a greater risk of leaves drying out due to evaporation in constant sunlight.
Once you relocate the plant to a shady spot, it’s best to remove any flowers or fruits towards the top, so that it can focus its energy into the main root system and recovery.
5. Give it more airflow
Another good tip for helping an overwatered plant dry out is to increase the airflow. Ideally, lift the plant out of the pot, lay it out on a rack or suitable surface to air dry the soil around the root ball.
The extra airflow can help to reduce excess moisture, and can help to dry out soil. Once dried, the root ball can go back into the pot again. This might also be a good opportunity to cut away any bad roots with one of the best pruning shears. Typically, unhealthy roots are brown or black in color, while healthy roots will be white and thin.
If all is well, you should start to see an improvement within a week or two. Once the plant seems to be thriving again, you can move it into a sunny area, and use fertilizer again.
Tips for watering plants

Only water a plant when the top layer is dry to the touch. Alternatively, you could invest in a moisture meter like this XLUX Long Probe Deep Use Soil Moisture Meter ($12, Amazon), to indicate when it’s the right time to water plants.
If possible, lift the plant pot and judge its weight. After a few times, this will indicate whether the pot feels heavy with water.
Ensure your pots have proper drainage holes at the bottom. This will easily allow plants to drain water, and not become waterlogged.
Use self-watering bulbs or planters. Self-watering bulbs in particular, are made from high-quality glass and can hold up to 150 ml of water. Simply fill the bulb with water, make a small hollow in the soil, and insert the bulb next to the plant at an angle of 60 to 75 degrees. Watering bulbs like this Miles Kimball Plant Watering Globes Set of 6 ($18, Amazon), for indoor plants are ideal for watering for seven days.
More from Tom's Guide
- Check out the 7 plants that will thrive in the shade
- Plus, 5 best plants to help cool down your home
- Here’s how to care for succulents