How to Update Your Linksys Router
Protect against TheMoon worm by upgrading your Linksys router to the latest firmware and following these instructions.
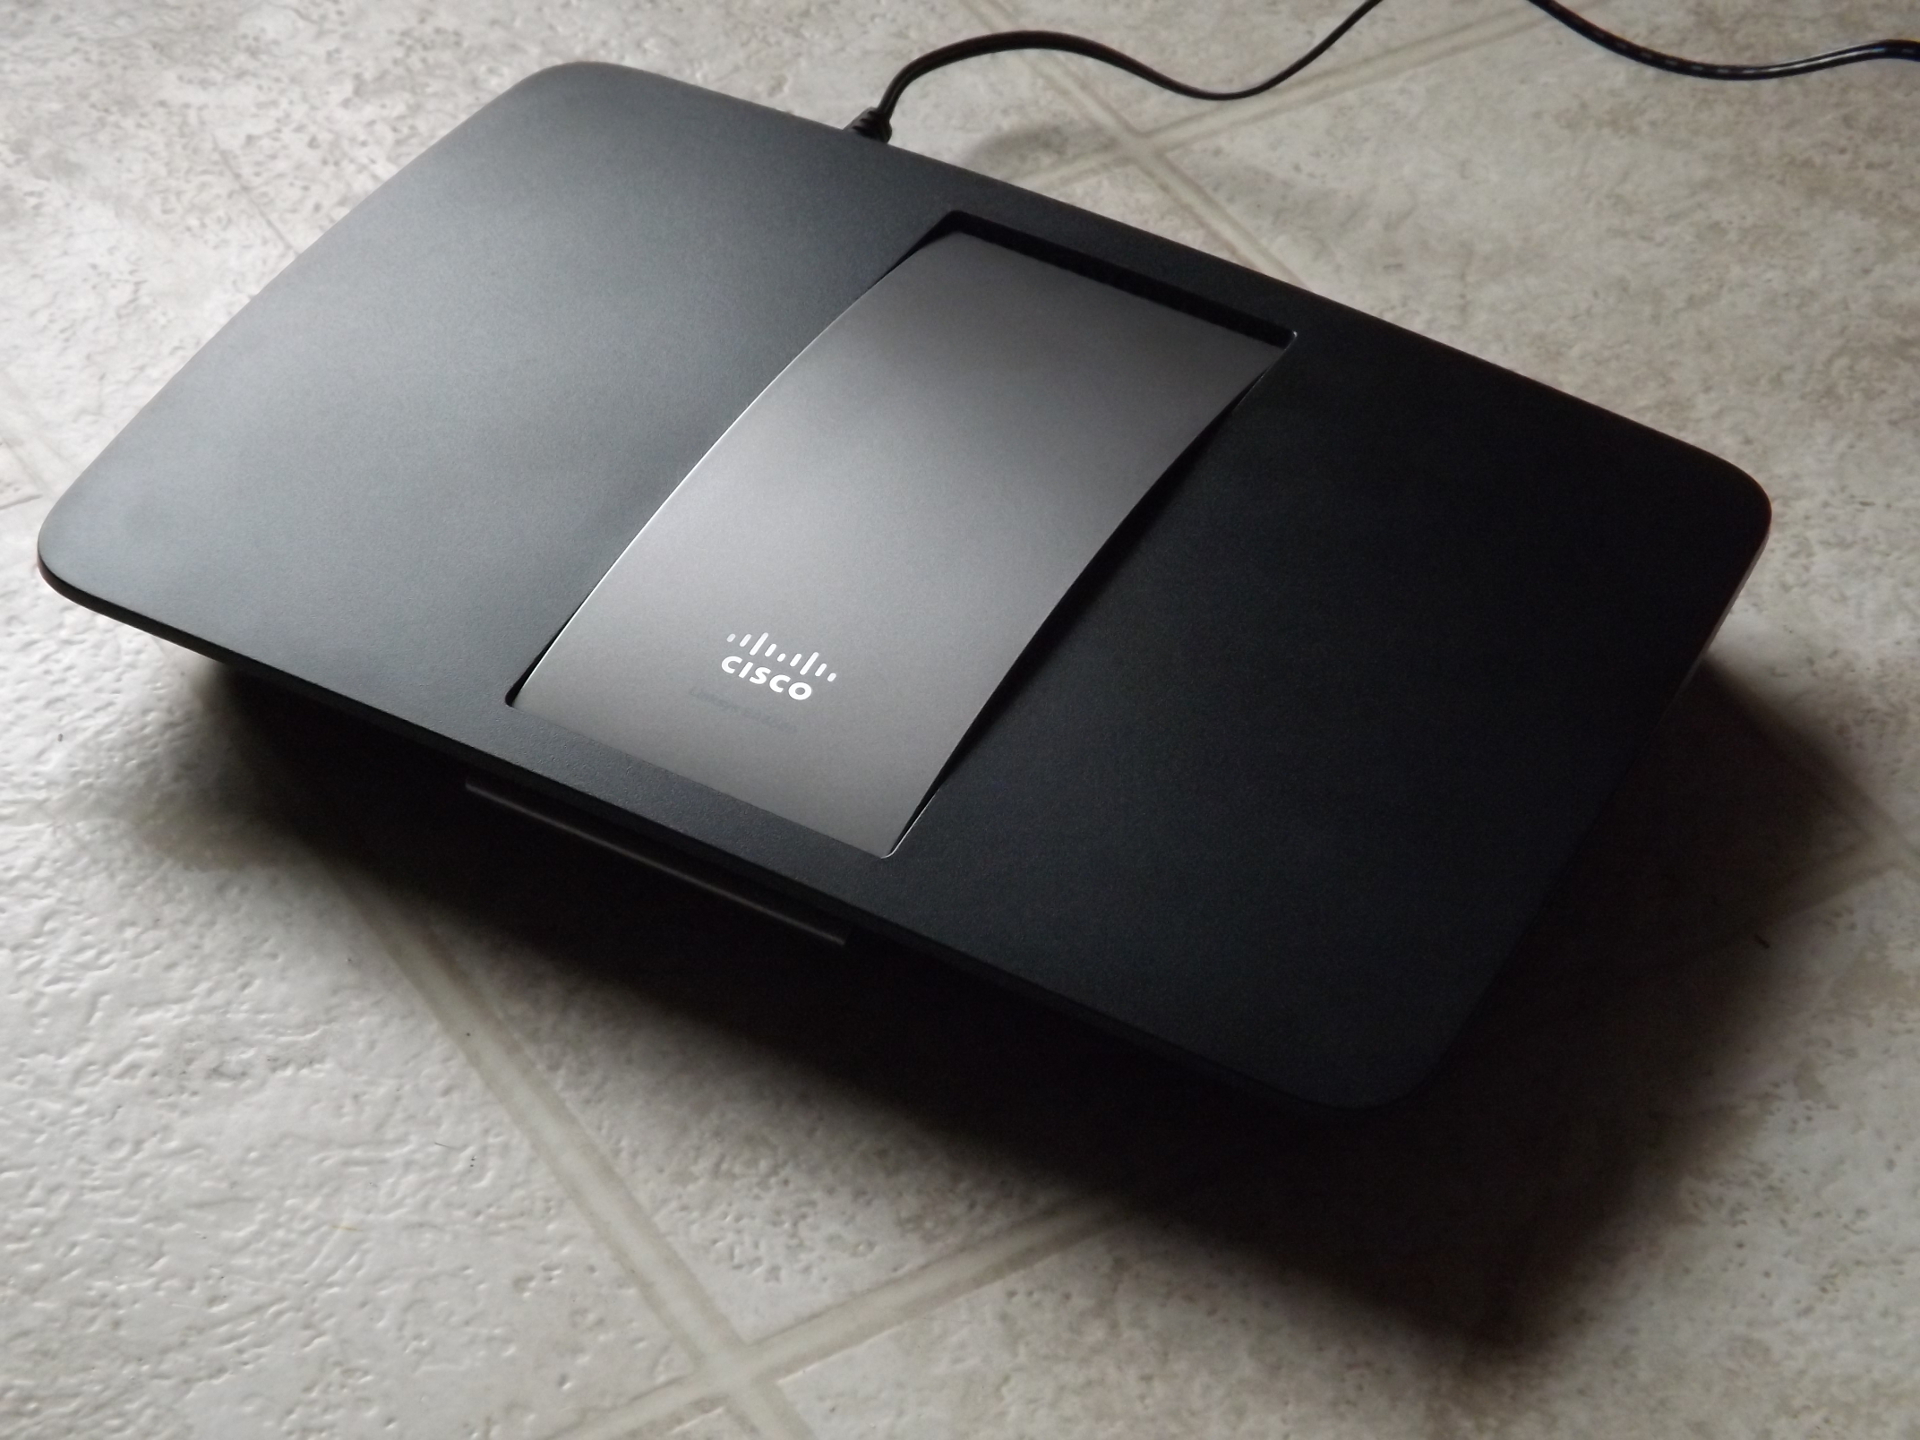
A new worm, or piece of self-replicating malware, nicknamed "TheMoon" has been infecting Linksys E-series routers, and possibly some Linksys Wireless-N-series routers, by exploiting a vulnerability in the way the routers verify administrator access.
Fortunately, upgrading to the latest Linksys router firmware and disabling the Remote Management Access feature will prevent the worm from gaining access.
MORE: 12 More Things You Didn't Know Could Be Hacked
If you want to protect against TheMoon, or simply wish to ensure that your Linksys router is as safe as it can be, read on to find out how to upgrade your firmware and adjust your router settings.
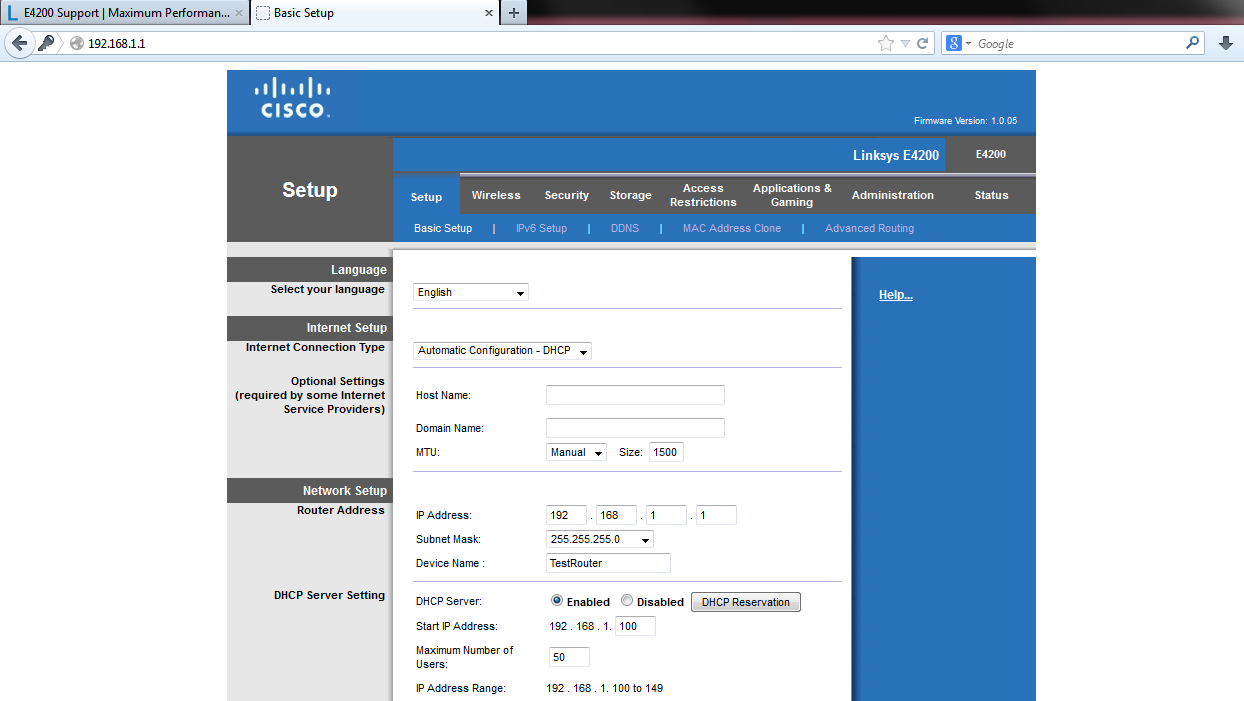
1. Go to your router's Web-based setup page. Do this by opening a Web browser on any computer or mobile device connected to the Linksys router and typing "192.168.1.1" into the address bar. If that doesn't work, then the local IP address of your router was changed from the default during the initial setup. Find out the new IP address and enter that instead.
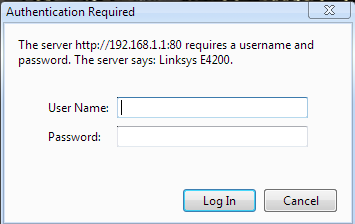
2. Log into the setup page using your administrator credentials. You should have created a personalized username and password when you first set up the router. If you haven't, then leave the "User name" box blank, and in the "Password" box, enter "admin." If that doesn't work, type "admin" into the "User name" box as well.
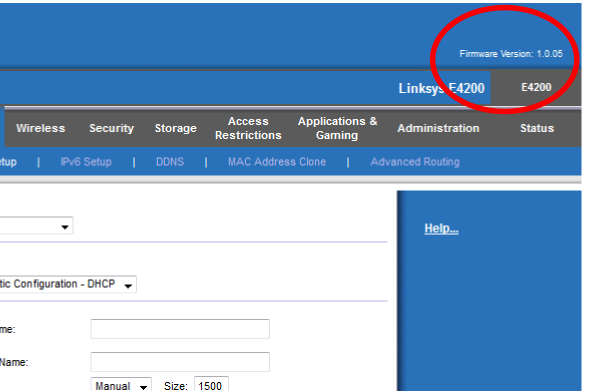
3. Check that your router is running the latest firmware. In the upper-right-hand corner of the screen, you should see the words "Firmware Version" and then several numbers. You want to be running version 2.0.06. If that's the number you see, then skip to step 12. If it's not, then read on to learn how to download the firmware you need.
Get instant access to breaking news, the hottest reviews, great deals and helpful tips.
Note: Some router models vulnerable to TheMoon are no longer supported by Linksys and haven't been issued any firmware updates. Linksys says it will soon release firmware updates for all affected products, including models no longer sold. If you're using an older Linksys E-series router and have trouble finding a firmware upgrade, you may have to wait a few weeks.
4. In another browser window or tab, open the Linksys Support Page at http://support.linksys.com.
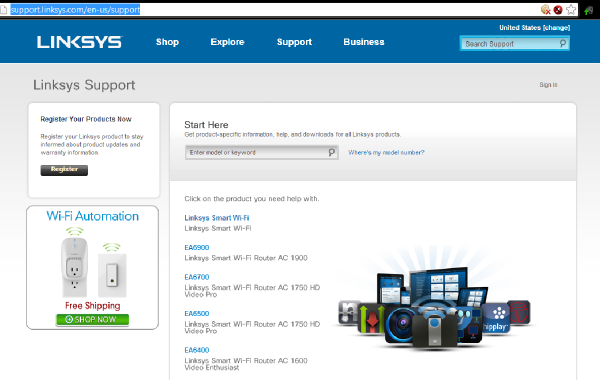
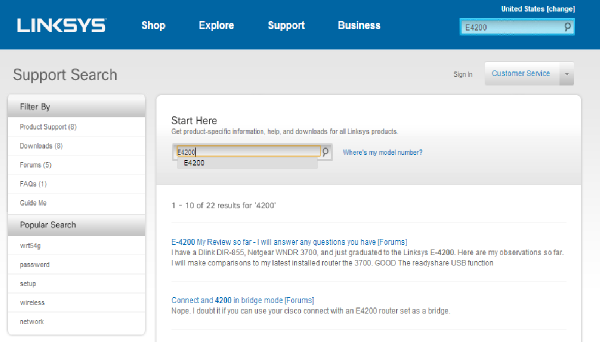
5. In the search box under "Start Here," type the model number of your router. You can find the model number on the underside of your router. The model number should auto-complete when you start to type it into the Web page. Click on that auto-completed name and you'll be taken directly to the support page for your router.
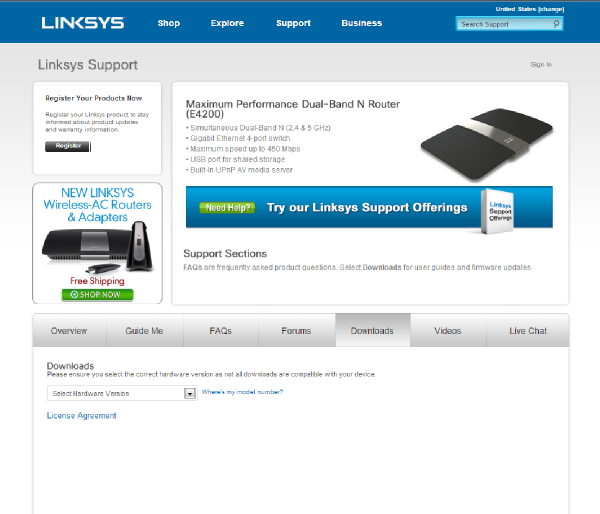
6. On the router model's support page, select "Downloads" from the row of tabs near the middle of the screen. From the drop-down box that appears below the tabs, choose your hardware version. You should be able to find this number written on your router near the model number.
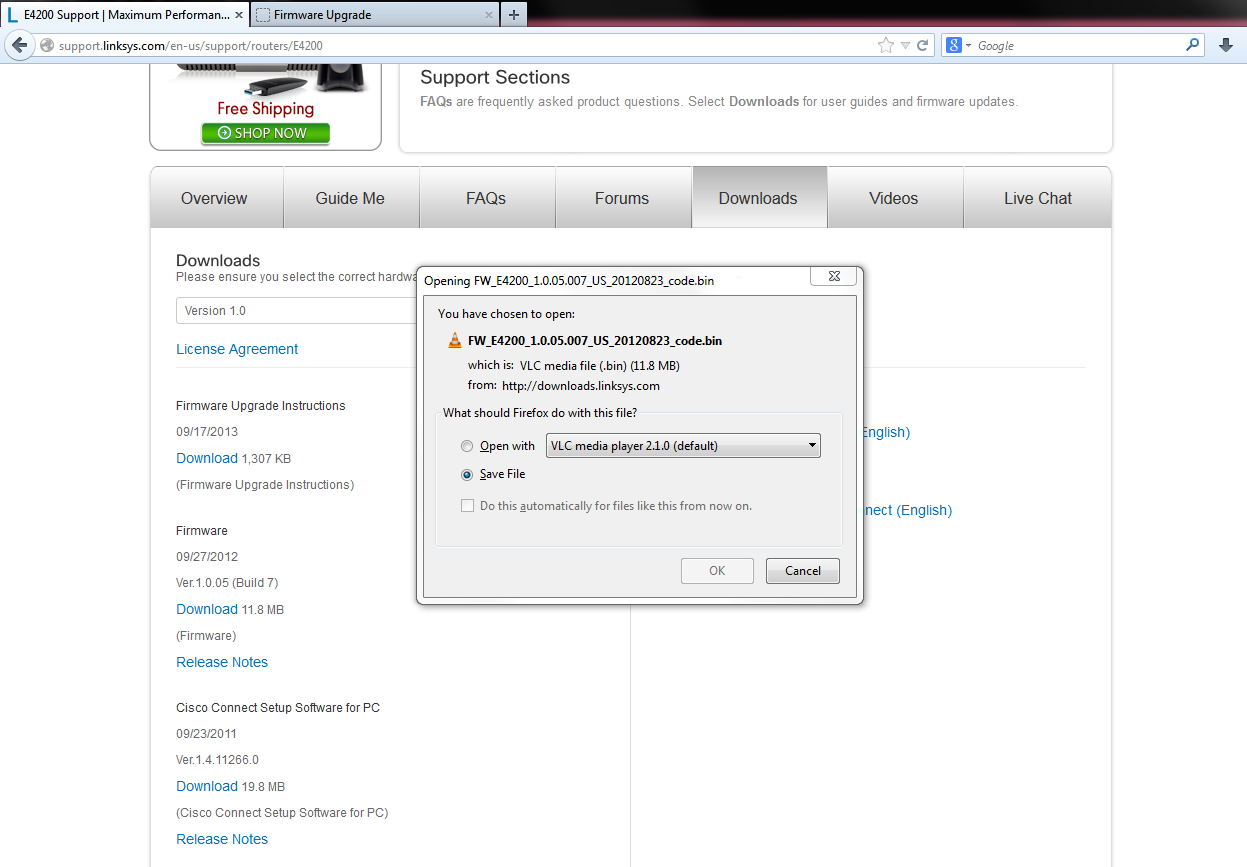
7. Locate the download named "Firmware" and click "Download." The download file should have a ".bin" extension, though it might also come as ".bix," ".trx," ".fim," ".rmt" or ".ggl." Save this file anywhere on your computer.
8. Back in your router setup page, click on the "Administration" tab at the top of the page, then click on "Firmware Upgrade."
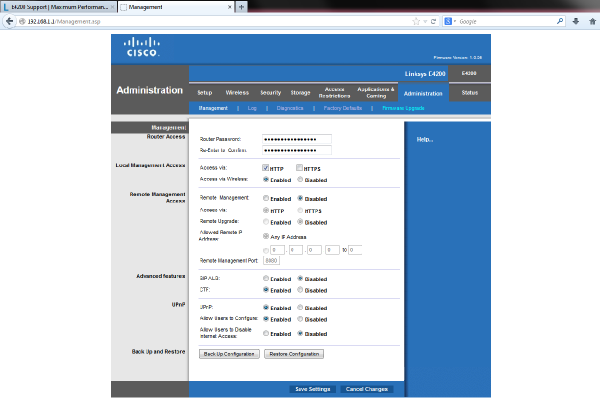
9. From the popup box, click "Browse" and navigate to the firmware file that you saved to your computer in step 7. Click "Open" and then "Start Upgrade."
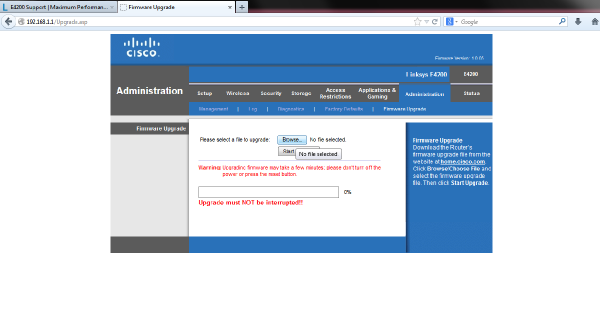
10. Wait for the upgrade to finish. Don't turn off the power or hit the router's reset button while this process is underway. A popup will eventually appear informing you that the upgrade has been successful. Click "Continue" on that popup to complete the process.
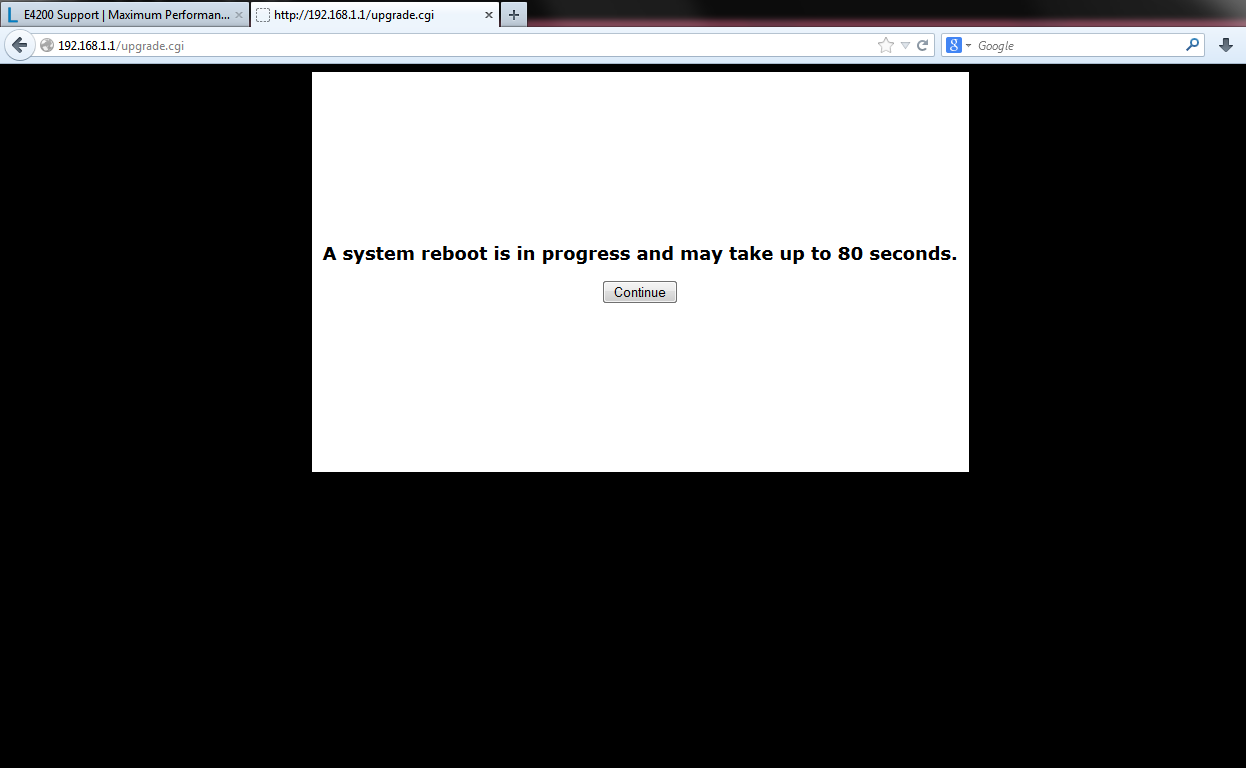
11. Turn your router off and on again. Do this by unplugging it from its power socket for 10 seconds, then plugging it in again.
Congratulations &mash; you're now running the latest firmware for your router.
There are a few extra steps you should take to make sure your router is as secure as possible.
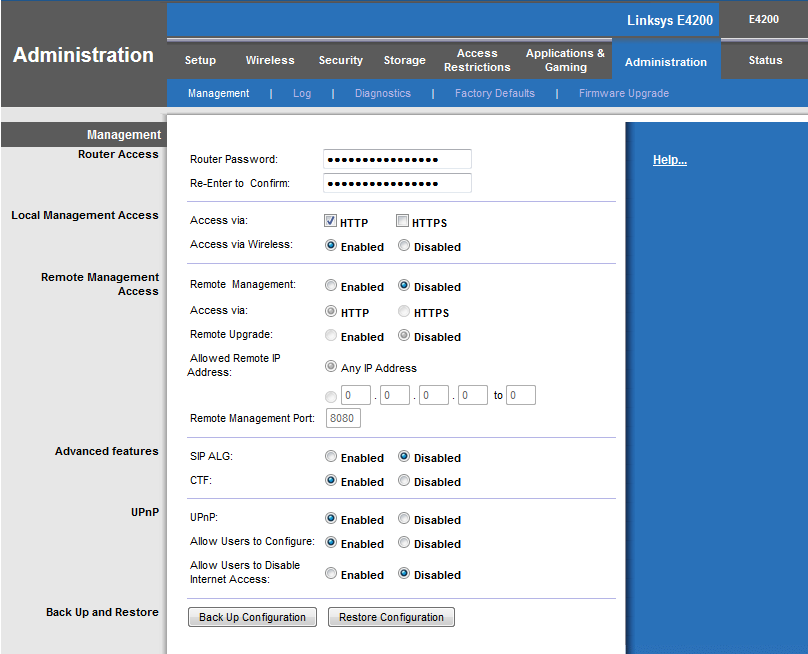
12. In the router's Web-based setup page, click on the "Administration" tab at the top. You should now see a tab at the left labeled "Remote Management Access." To its right are the words "Remote Management" followed by an "Enabled" or "Disabled" option. Make sure the "Disabled" option is the one checked.
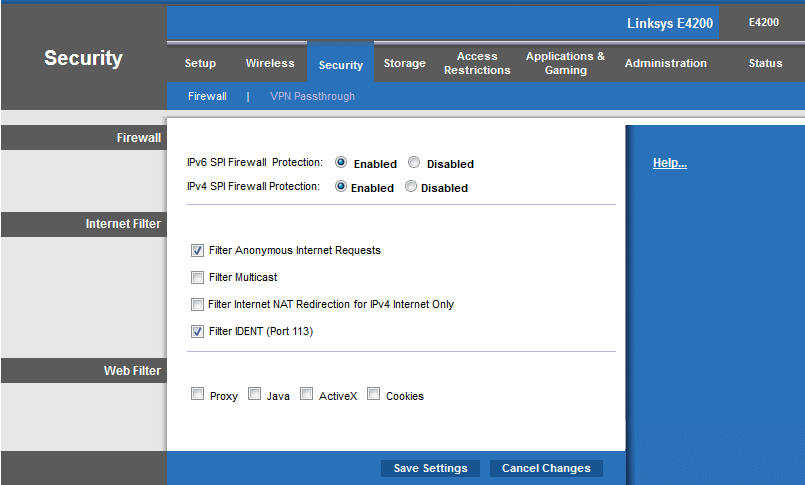
13. In the router's Web-based setup page, click on the "Security" tab at the top. You should see a tab at the left of the screen called "Internet Filter." Click on that tab, then make sure the box next to "Filter Anonymous Internet Requests" is checked.
Email jscharr@techmedianetwork.com or follow her @JillScharr and Google+. Follow us @TomsGuide, on Facebook and on Google+.·
Jill Scharr is a creative writer and narrative designer in the videogame industry. She's currently Project Lead Writer at the games studio Harebrained Schemes, and has also worked at Bungie. Prior to that she worked as a Staff Writer for Tom's Guide, covering video games, online security, 3D printing and tech innovation among many subjects.
 Club Benefits


