PC-Based Home Security: Do It Yourself
We test products that let you monitor and protect your home without the need for an outside security company's services: D-Link, Axis, Logitech, Schlage
Deadbolt Installation
A lot of consumers love the idea of adding security to their home, but they hate screwdriver or handyman work. That’s why I want to detail this process for you, to illustrate that this isn’t rocket science. You’re not adding on a new wing or remodeling the kitchen, merely changing a lock. The deadbolt installation process would have taken less than an hour if we hadn’t had to replace the lock. But that’s not Schlage’s fault. Here, watch…
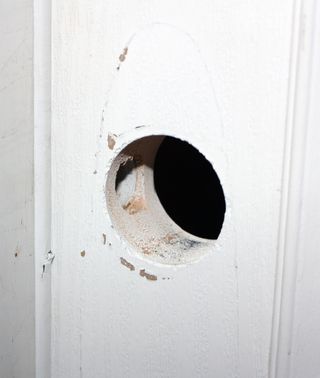
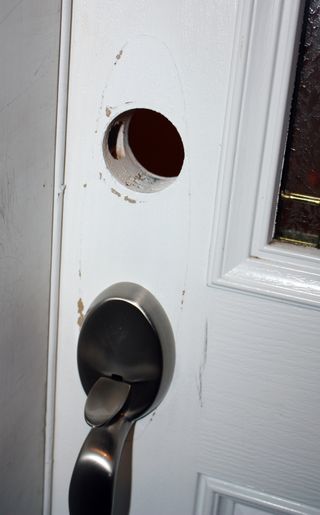
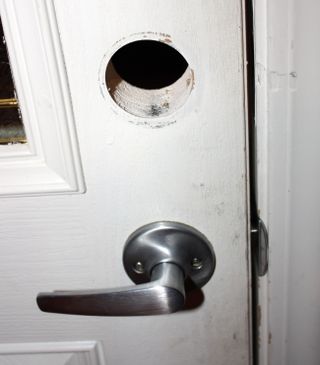
First, I had to remove the old lock hardware. Unfortunately, my old deadbolt was a unified design, where the deadbolt and inside handle latch were one piece. The Schlage deadbolt is a stand-alone unit separate from the latch, so I had to go out and buy a new latch. That slowed things down a bit. And you see how some of the paint came off from around the edge of the old lock panel? Yes, that’s still visible with the Schlage installed. My wife is not impressed. You may want to have some touch-up paint standing by.
With the old lock out, it’s time to start installing gear. First in is the bolt and mounting plate.
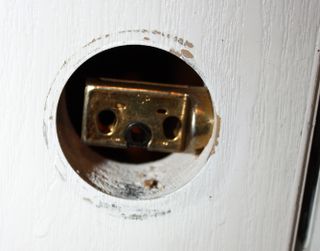
Next comes the lock itself.

And here’s a side view with the inside plate attached. The keypad slides into place on the outside, then you screw it into the door from the inside.

From here, the lock assembly pretty much boils down to installing batteries and putting the cover on. Schlage notes that batteries can last up to three years
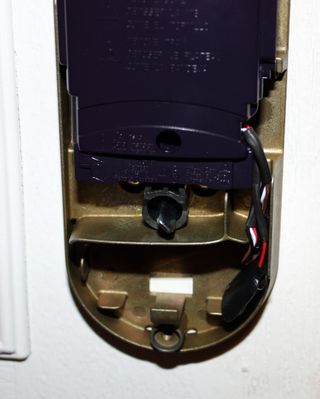

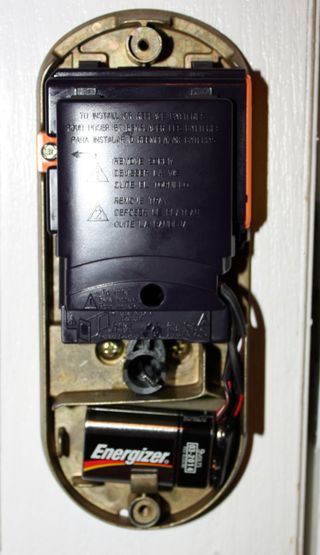
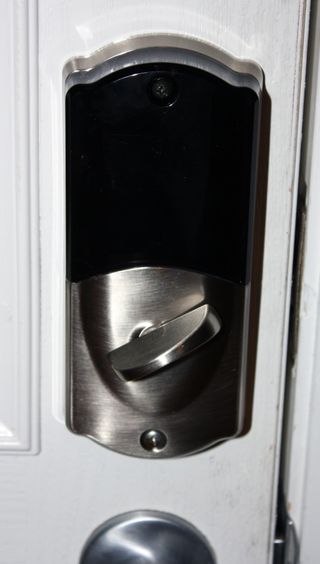
One thing I didn’t show here was the installation of the door plate and the six-inch screws that go with it. Trust me, you want a very powerful cordless drill for this. If anyone is going to break down the door, they’ll have to take out the structural 2x4s, not just the door frame.
Sign up to get the BEST of Tom's Guide direct to your inbox.
Get instant access to breaking news, the hottest reviews, great deals and helpful tips.
William Van Winkle is a freelance editor and tech journalist who has been writing for more than 20 years. His work has appeared on Tom's Guide, Tom's Hardware, Tom's IT Pro, AMD, Seagate, Computer Shopper, and more. He is also an author, writing poetry, short stories, and science fiction and fantasy books.
-
thegreathuntingdolphin William,Reply
Cool article. I have been looking into security cameras for the home, especially ones that are outdoor or pointed outdoor (some noobcakes have been hitting cars and driving off in my apartment complex). I am a bit dissapointed that most of these don't really seem good for outdoors or for long distance night recording (I know some of these said up to 20 to 30 feet but in my experience that means they are really only clear at 10-15 feet). Foscam has a number of cheap IP cameras with pan and tilt, are for outdoor use or longer night vision use. Do you have any experience with them?
The Schlage system is looking good. Hopefully others will jump on the bandwagon and get more products out. I am glad the Schlage deadbolt is not motorized like the Kwikset one since it greatly improves the battery life. Whenever I get a house I am definitly going to do something like the LiNK system.
I too am disappointed in the current IP-based offerings. The perfect IP-based camera seems illusive. Too many have half the features. Most the N wireless ones seems to lack really good night vision capabilities and the ones with good night vision capabilities usually are G only or have N are stupidly expensive. -
Nice article!Reply
It’s interesting how IP cameras and emerging technology, such as Jabbakam.com enable average people to transform a home surveillance system into a shared camera network that can be accessed by whoever is invited by the camera owners, to view the footage via an online account accessible from anywhere at anytime.
Jabbakam is a system where you have complete access to your footage, to manage and share as you want. You can easily create a network (public or private) and invite your friends or neighbours to join and add their cameras so that you all have access to the footage of the cameras as a group.
You can set up alerts so that you will be notified by email or sms if your camera detects something happening in front of it, and you have peace of mind that your camera is doing its job and working, thanks to a monitoring system that checks your camera status every few minutes. The Jabbakam website offers users a lot more functionality besides. Check us out, and join us on Facebook.com/jabbakam and Twitter (@jabbakam). We’d love to hear from you! -
It is still an annual subscription of $80 a year it is only very well hidden by Logitech (just try and buy it and you will figure it out).Reply
The hiding of subscription cost itself is terrible, but also that they sell you just part of a product is outragous. It makes me mad and takes some of the joy of owning such a cool (and expensive) product. -
I'll never buy a product that requires a subscription or is dependent on another site or "the cloud". Excellent article, except for the WPS thing.. WTH is that?Reply
Most Popular


