
 Club Benefits


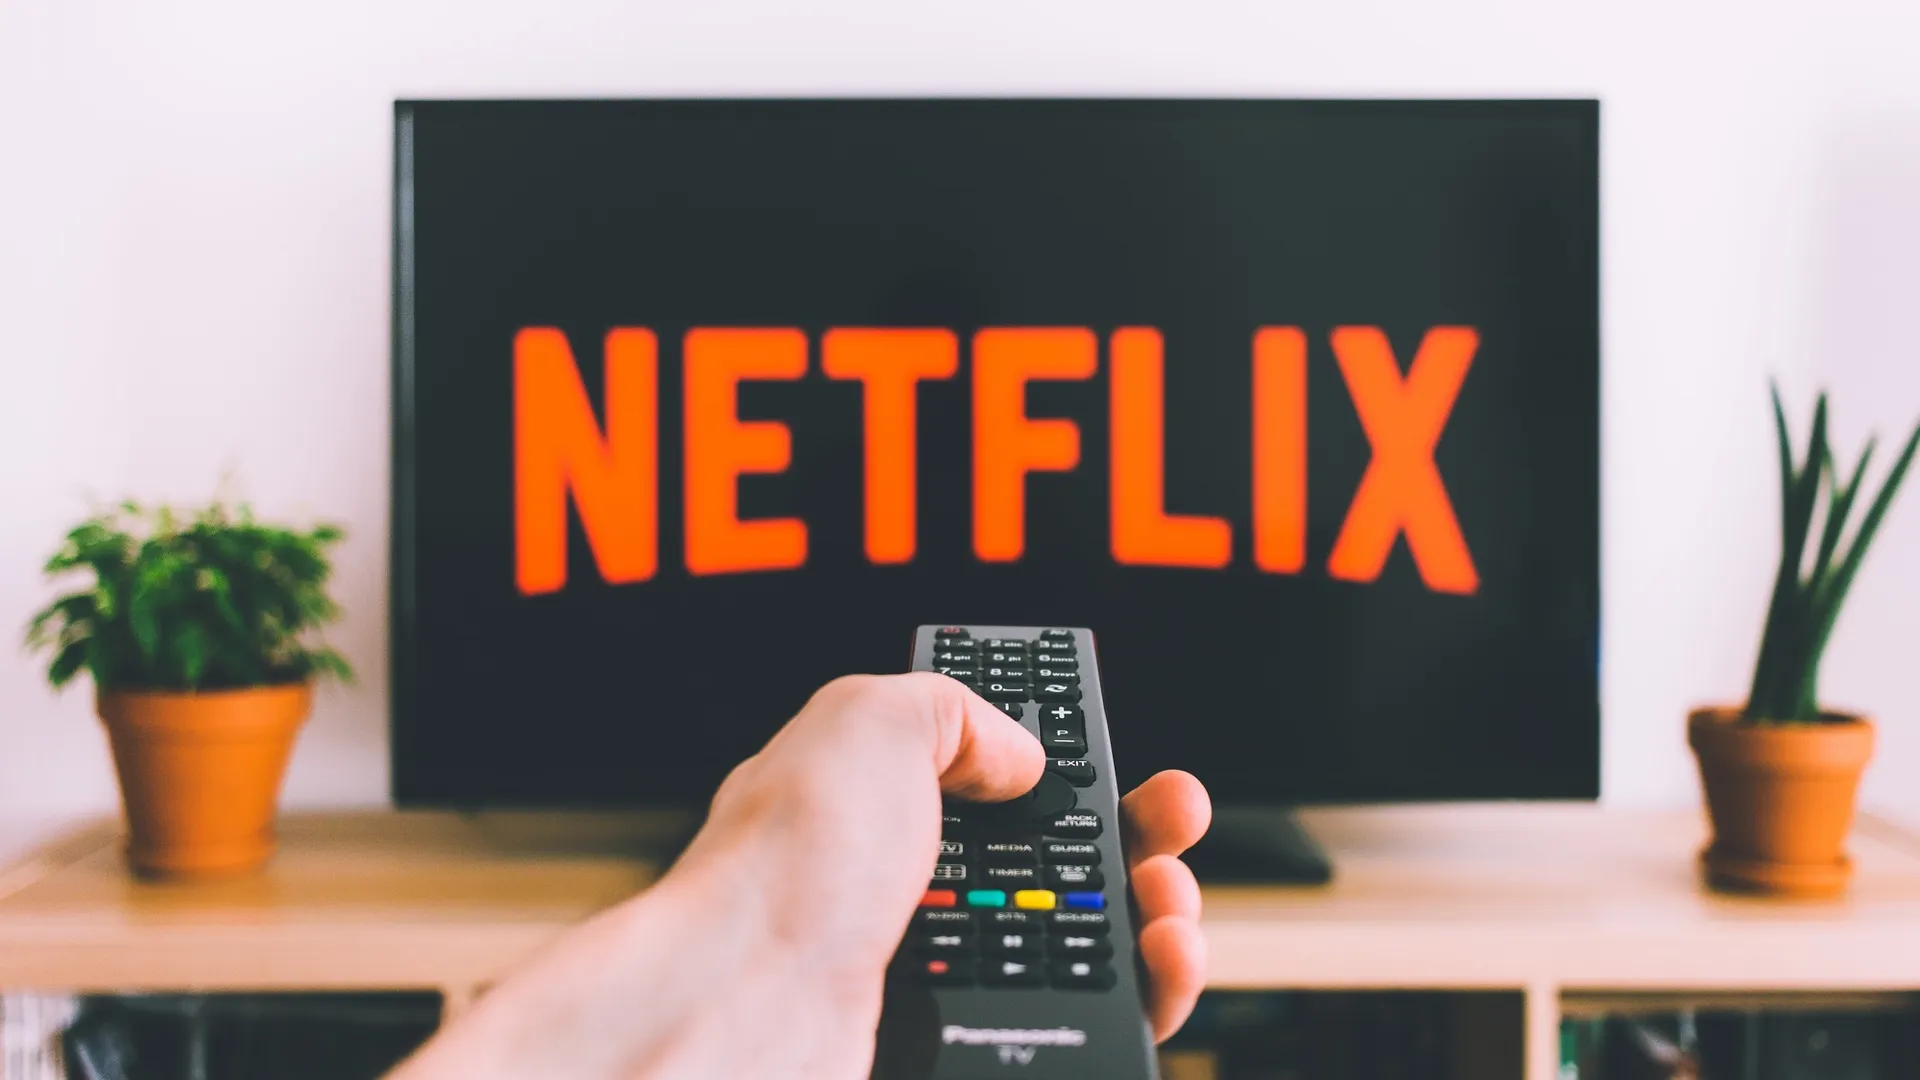
Netflix has a range of hidden test screens which let you calibrate your TV display, but enabling them really isn't obvious.
But why should you care? Knowing how to adjust your television picture will take your viewing experience to another level. Indeed, by ensuring that the brightness, contrast, colour saturation and sharpness of the display is at an optimal quality, shows you watch on your 4K TV will literally burst from the screen — helping to justify spending a small fortune on one of the best TVs.
In fact, making sure the image is the best it can be is an important step in knowing how to set up your new smart TV. You won't need to spend a penny setting a perfect picture, either, provided you are a subscriber to Netflix. That's because the video test patterns which can be found with only a tiny bit of preparation legwork.

So let's take a look at how to adjust your television picture using Netflix. You may just want to have your television manual to hand in case you get stuck.
Note: we're showing you how to use the test screens to calibrate your TV. However, you can also use these screens to calibrate your computer's display or monitor!
How to use Netflix to adjust your TV's picture quality
- Sign into Neflix
- Select a chart
- Add it to your list
- Launch Netflix on a TV
- Play the test pattern
- Hone your display calibration
Read on to see full illustrated instructions for each step.
1. Sign into Netflix in a browser

Visit https://www.netflix.com/gb/title/80018499 in a web browser and sign into your Netflix account. When you select your profile, the test patterns developed for Netflix will be available.
2. Select a chart

Next, select a Season using the dropdown menu and select the Multipurpose Chart which matches your TV's resolution and refresh rate. In this example, we will be using Season 2: Episode 8, which is for a 1080p (Full HD) 60 fps (equivalent to a 60 Hz) television. You can find out your TV's display resolution and its refresh rate in Hz in the user manual.
Note: while we're doing these steps using a browser, you'll want to match your TV's resolution, not your computer's display. You can, however, also do this for your computer's monitor!
3. Add to your list

Now simply click the + icon to add the test pattern to your list.
4. Launch Netflix on a TV

Now, launch the Netflix app on your television and go to the My List section. There you will find the test pattern is listed, allowing you to play the pattern on your TV when you open the app there.
Make adjustments to your television's picture settings
You can now begin to alter the settings of your television, adjusting for brightness, contrast, color saturation and sharpness.
1. Adjust the Brightness

Select the black box in the upper left part of the screen — this is called a PLUGE patch (PLUGE stands for picture line-up generation equipment). You now need to locate the brightness control on your TV or monitor so refer to the manual if you're not sure.
Use the brightness control to adjust the PLUGE so that you can clearly see the differences between the dark gray, light gray and black areas within the patch. You want to aim for a clear distinction.
2. Adjust the Contrast

Now select the white box in the upper right part of the screen. This time you will need to use the contrast control on your TV or monitor, so that you can clearly see the differences between the dark gray, light gray and white areas within this patch
3. Adjust the Color Saturation

The right part of the screen also has three other colors: red, green and blue. You need to use the color control settings of your TV or monitor to adjust these PLUGE patches (they'll all change at the same time). The idea is that you see a clear difference between the color in the centre of the PLUGE and the color surrounding it.
4. Adjust the Sharpness

Finally, let's ensure the detailing in your picture is just right for you. Here you need to concentrate on the resolution bars in the centre of the screen. Adjust the sharpness control on your TV or monitor so that the numbers along this bar are clear and solid.
And there you go. You now know how to adjust your television picture using Netflix. Of course, a television picture will be improved further if you know how to mount a TV and you can also make more use of your set by hooking it up with your other devices – learning how to AirPlay to a Samsung TV will let you mirror content from your iPhone, iPad or Mac, for example. In fact, why not learn 11 things you didn't know your smart TV could do? Happy viewing.

