iOS 17.2 makes it easy to share your tickets and passes with AirDrop — here’s how it works
AirDrop your passes to someone nearby with just a couple of taps
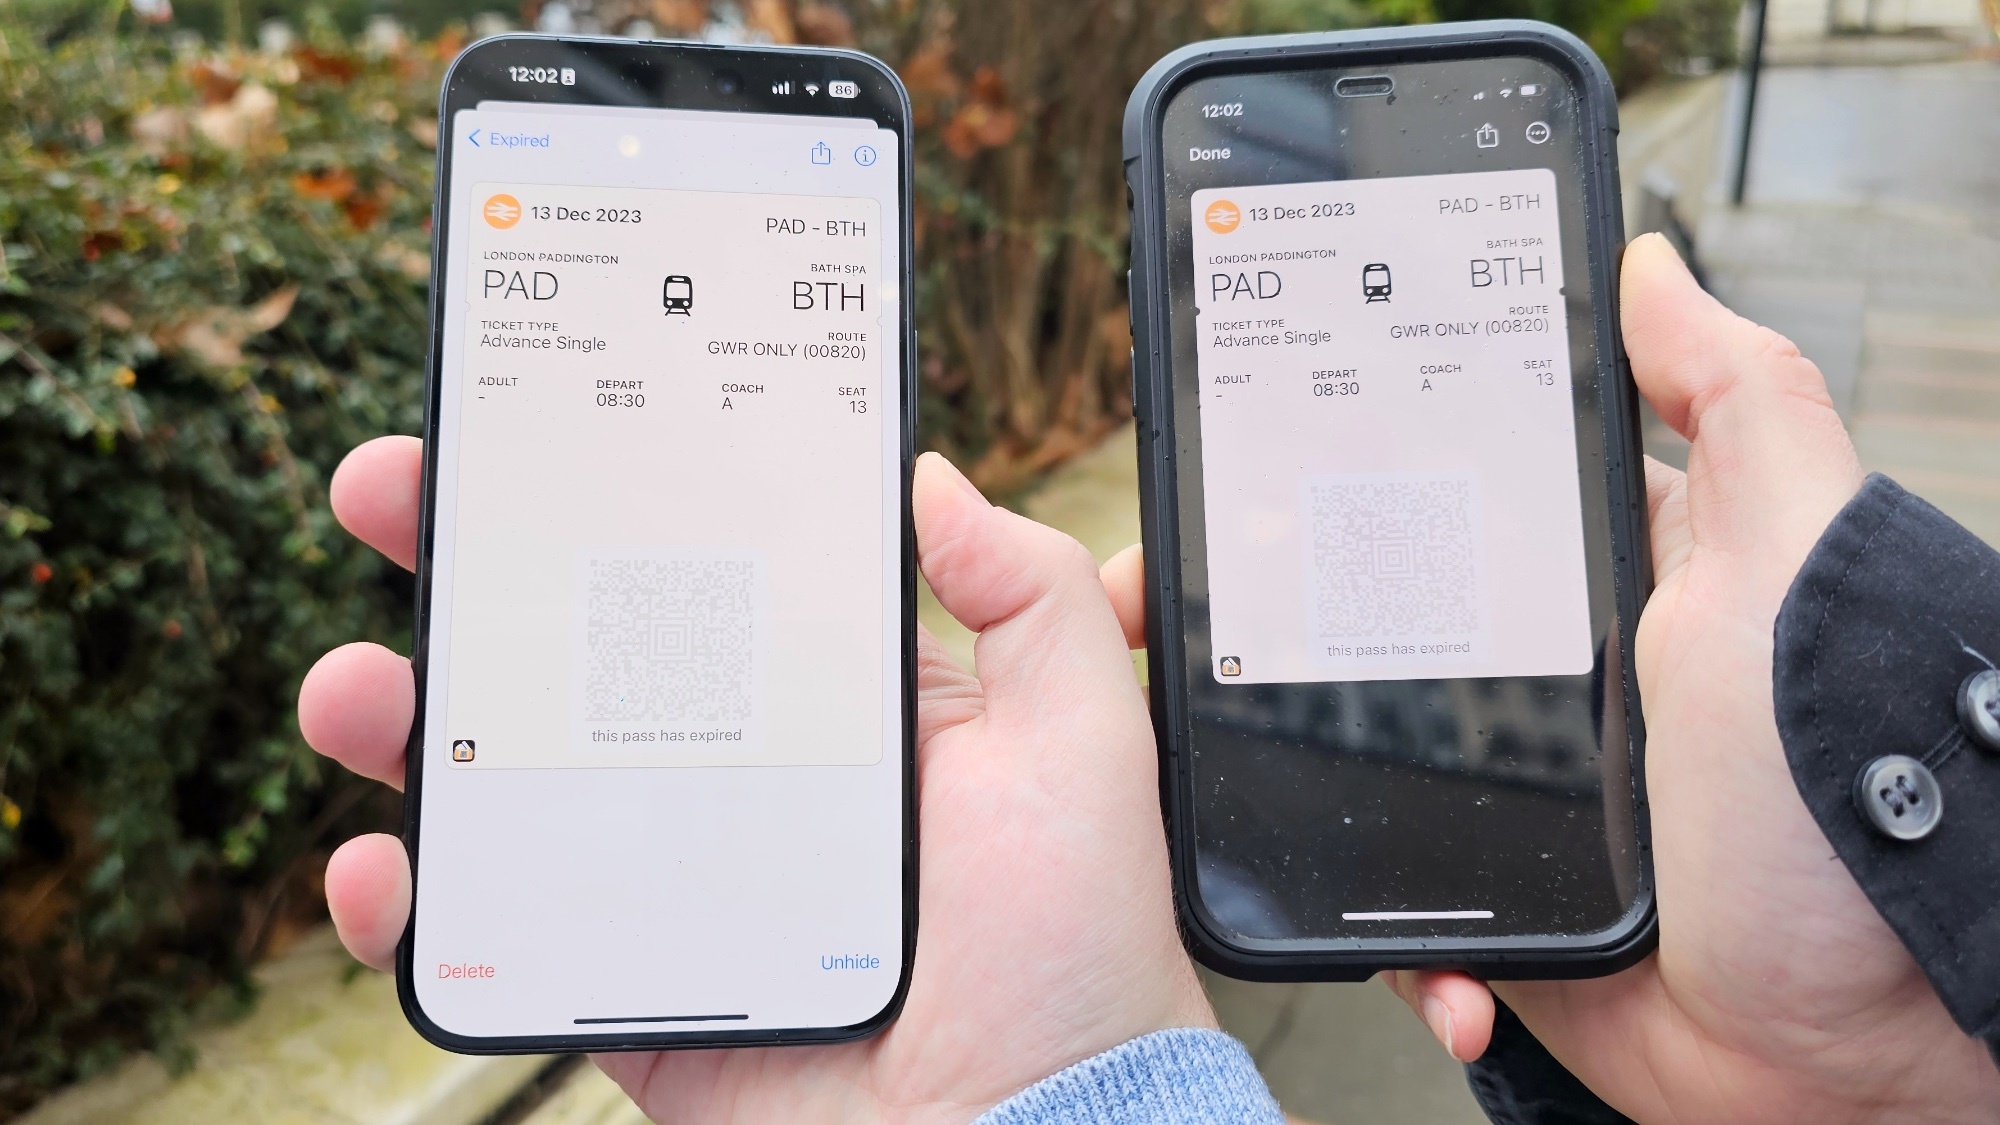
It's never been hard to share tickets on iPhone, but with the iOS 17.2 update, it's now even simpler to do.
By opening the ticket or pass on one iPhone, and bringing it close to another, you'll be prompted to share it via AirDrop. A few taps later and the ticket's been shared, making life much easier when trying to dole out a number of tickets to individuals who need them, or if one person's paid for another's trip, concert or day out.
Below we'll show you in detail how to trade passes and tickets from your iPhone wallet using Apple's new AirDrop method in iOS 17.2. But check out our general how to use AirDrop on iPhone and iPad guide too if you need to share something that this guide doesn't cover.
How to share tickets on iPhone with iOS 17.2
To use this feature, both you and the person you're trying to share a ticket with need to have an iPhone running iOS 17.2 or later. That rules out using this method with people using the iPhone X or older. If both iPhones have the right update installed, you're good to go.
1. Open a ticket in the Wallet app
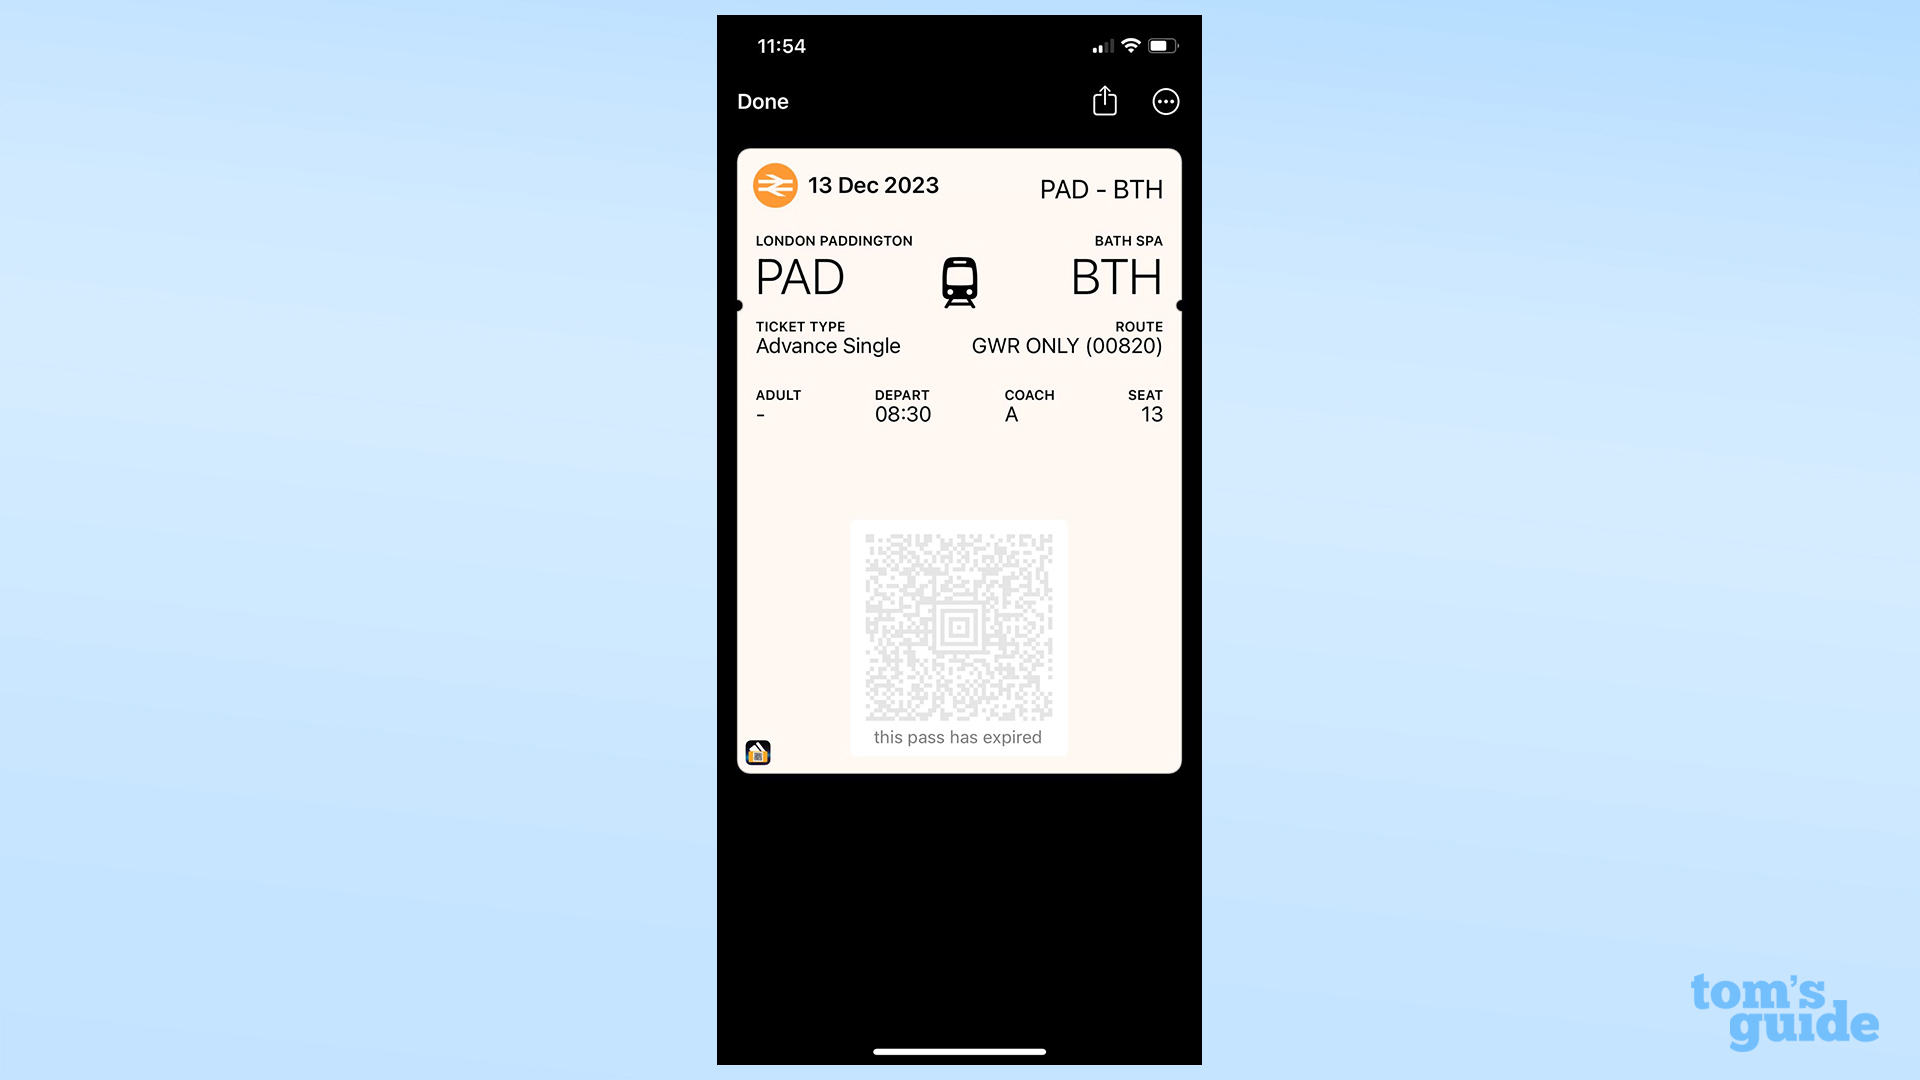
First, open your ticket up in the Wallet app. If you're trying to share a ticket that's not kept as a Wallet pass, you may be better off AirDropping normally via the share option in the Files app, or sending over a screenshot.
2. Bring the tops of both iPhones close together
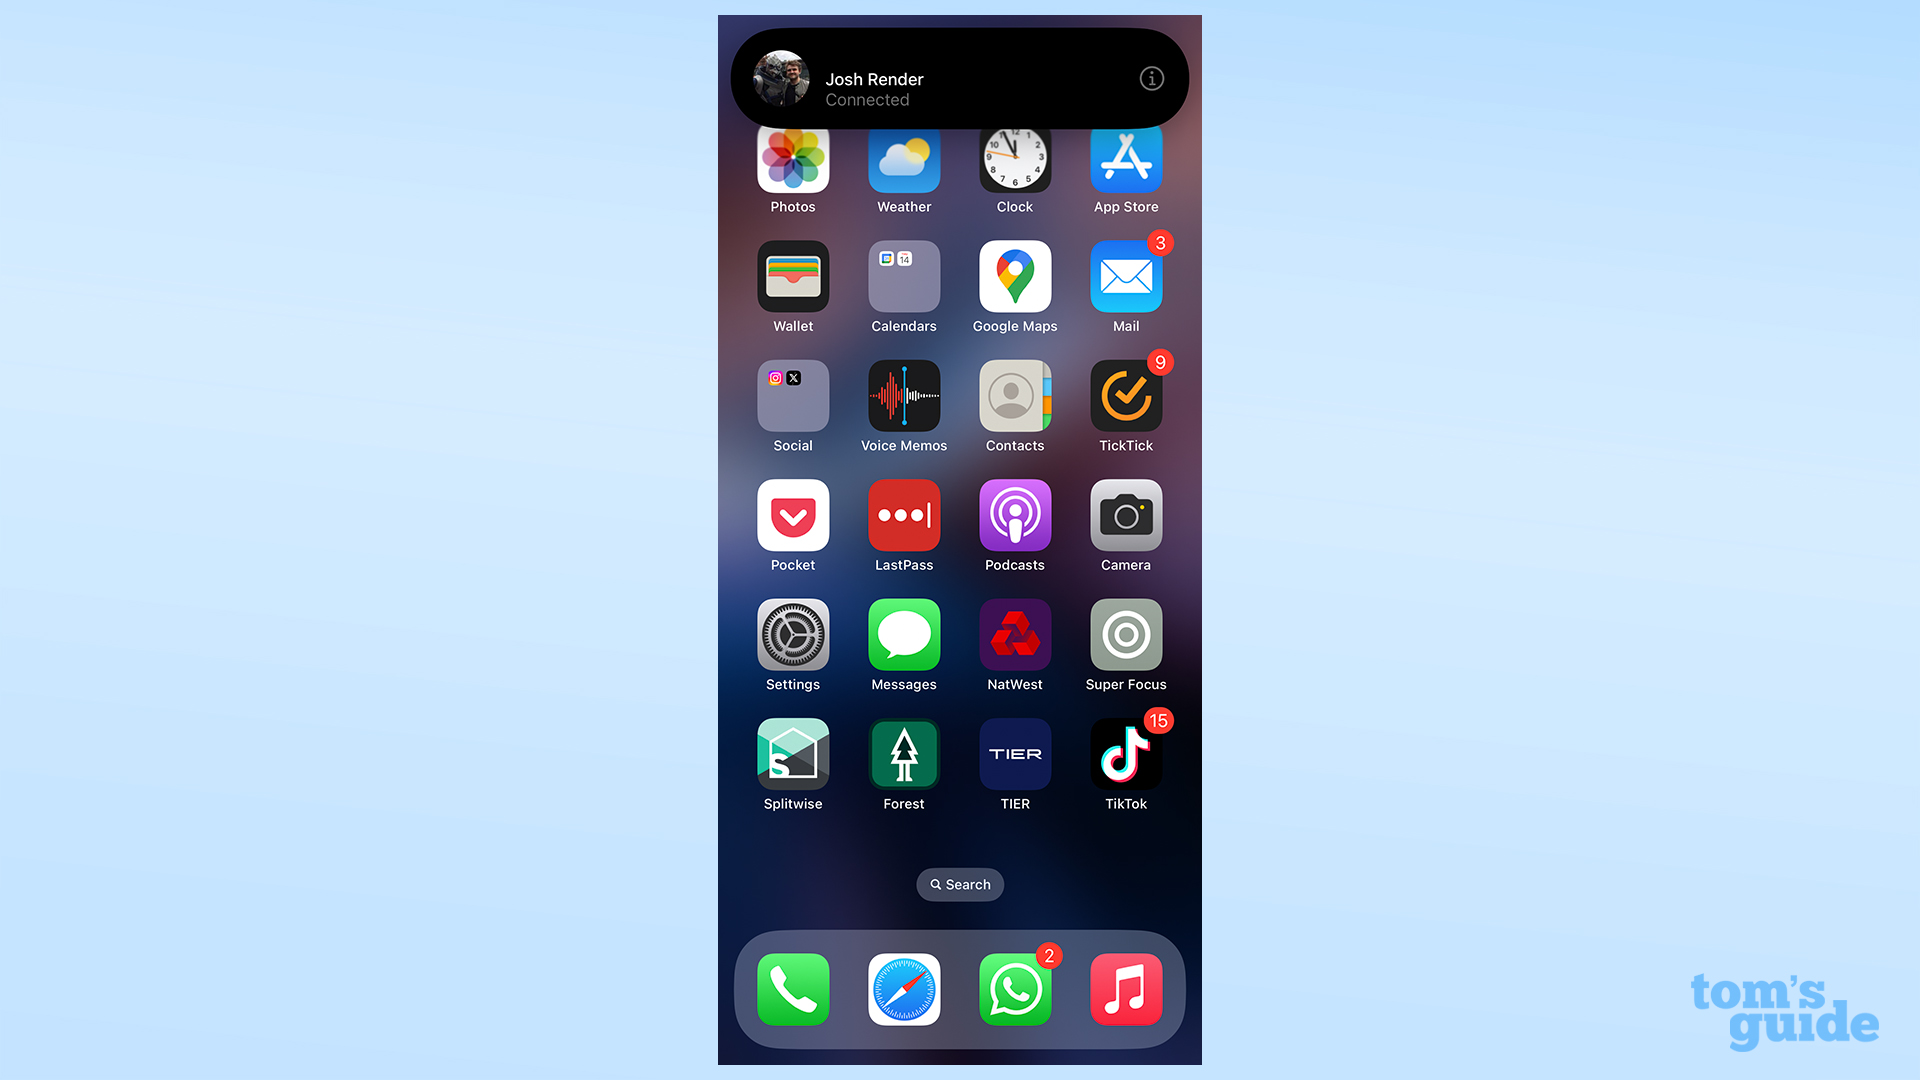
Now bring the top of your phone near to another iPhone running iOS 17.2. You'll see a pop-up at the top of your screen that confirms the connection.
You may end up using the NameDrop contact sharing feature if you're not already a contact of the person you're sharing with. If that happens, share your details and then bring the iPhones together again.
3. Tap the Share button
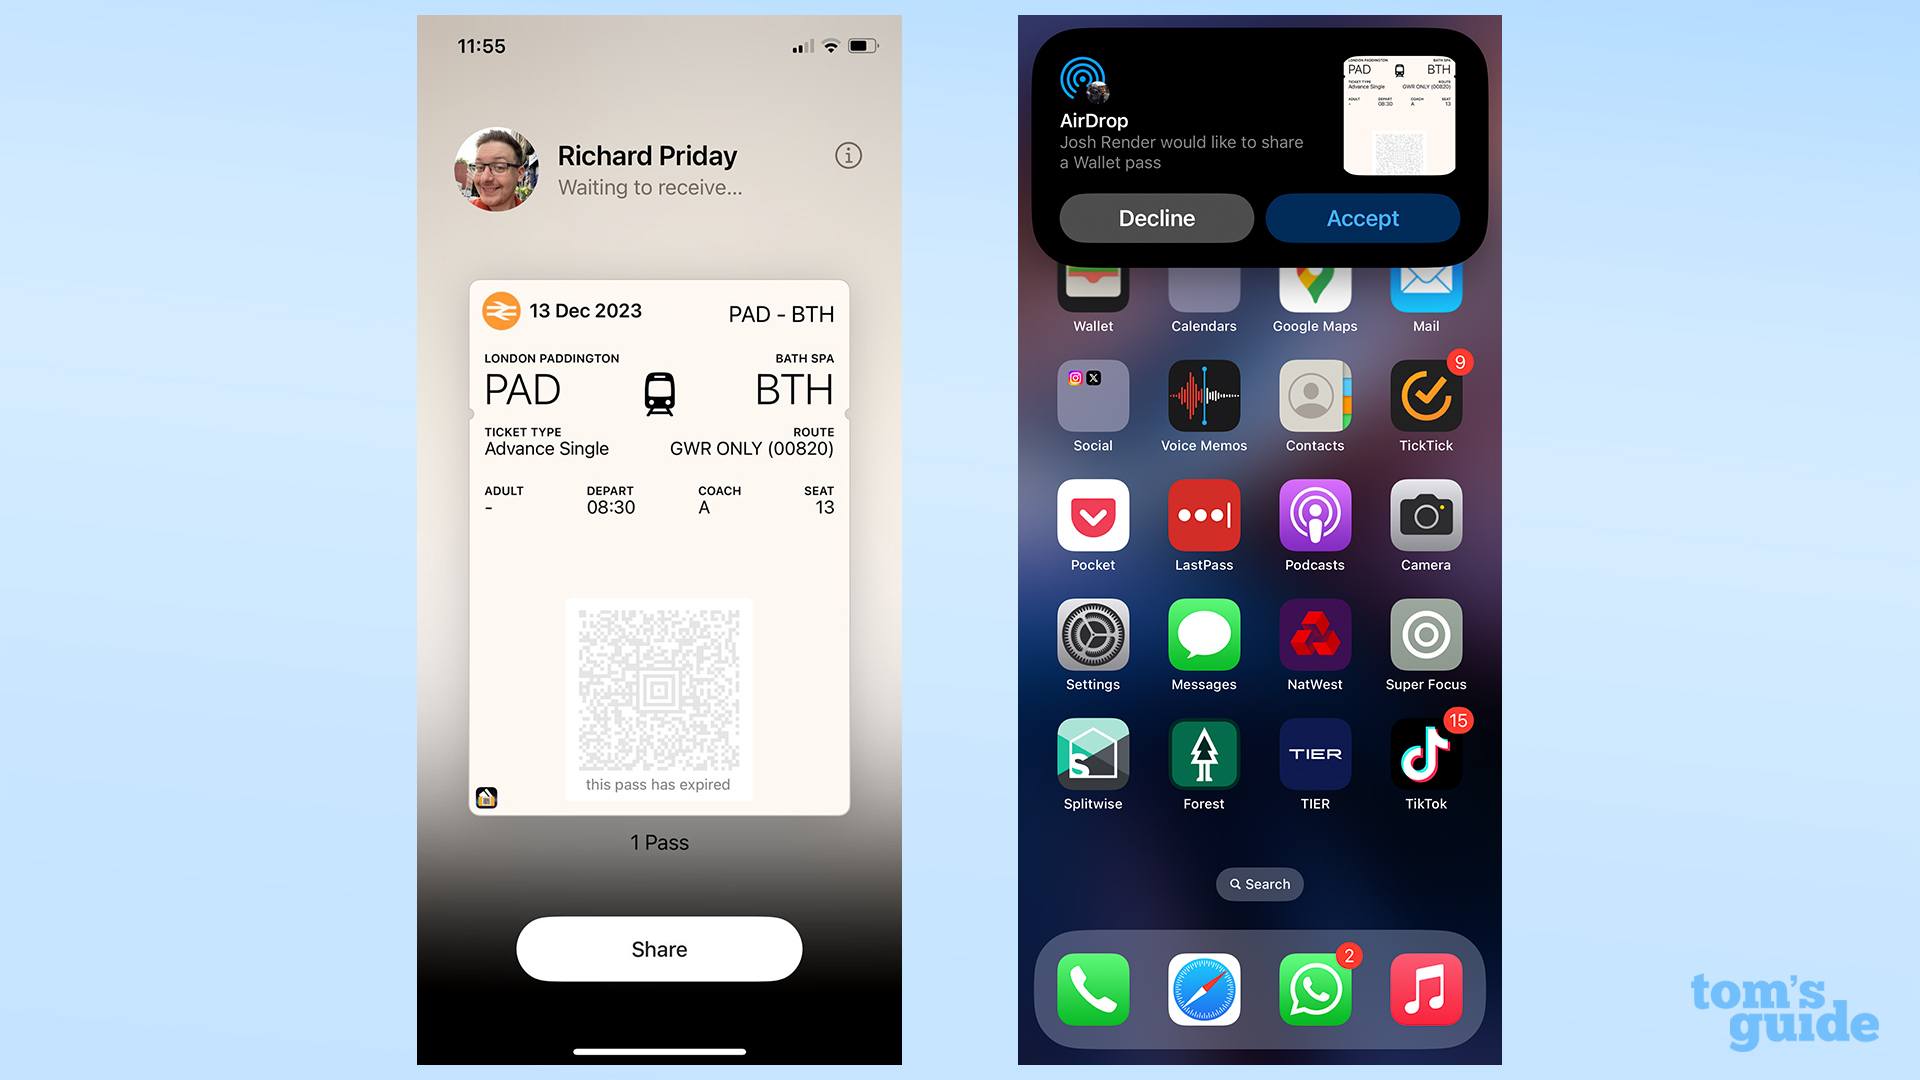
You'll see the name of the person you're sharing with as well, which is a handy way to make sure you're giving your ticket to the right person. Tap the Share button.
4. Accept the ticket on the second iPhone
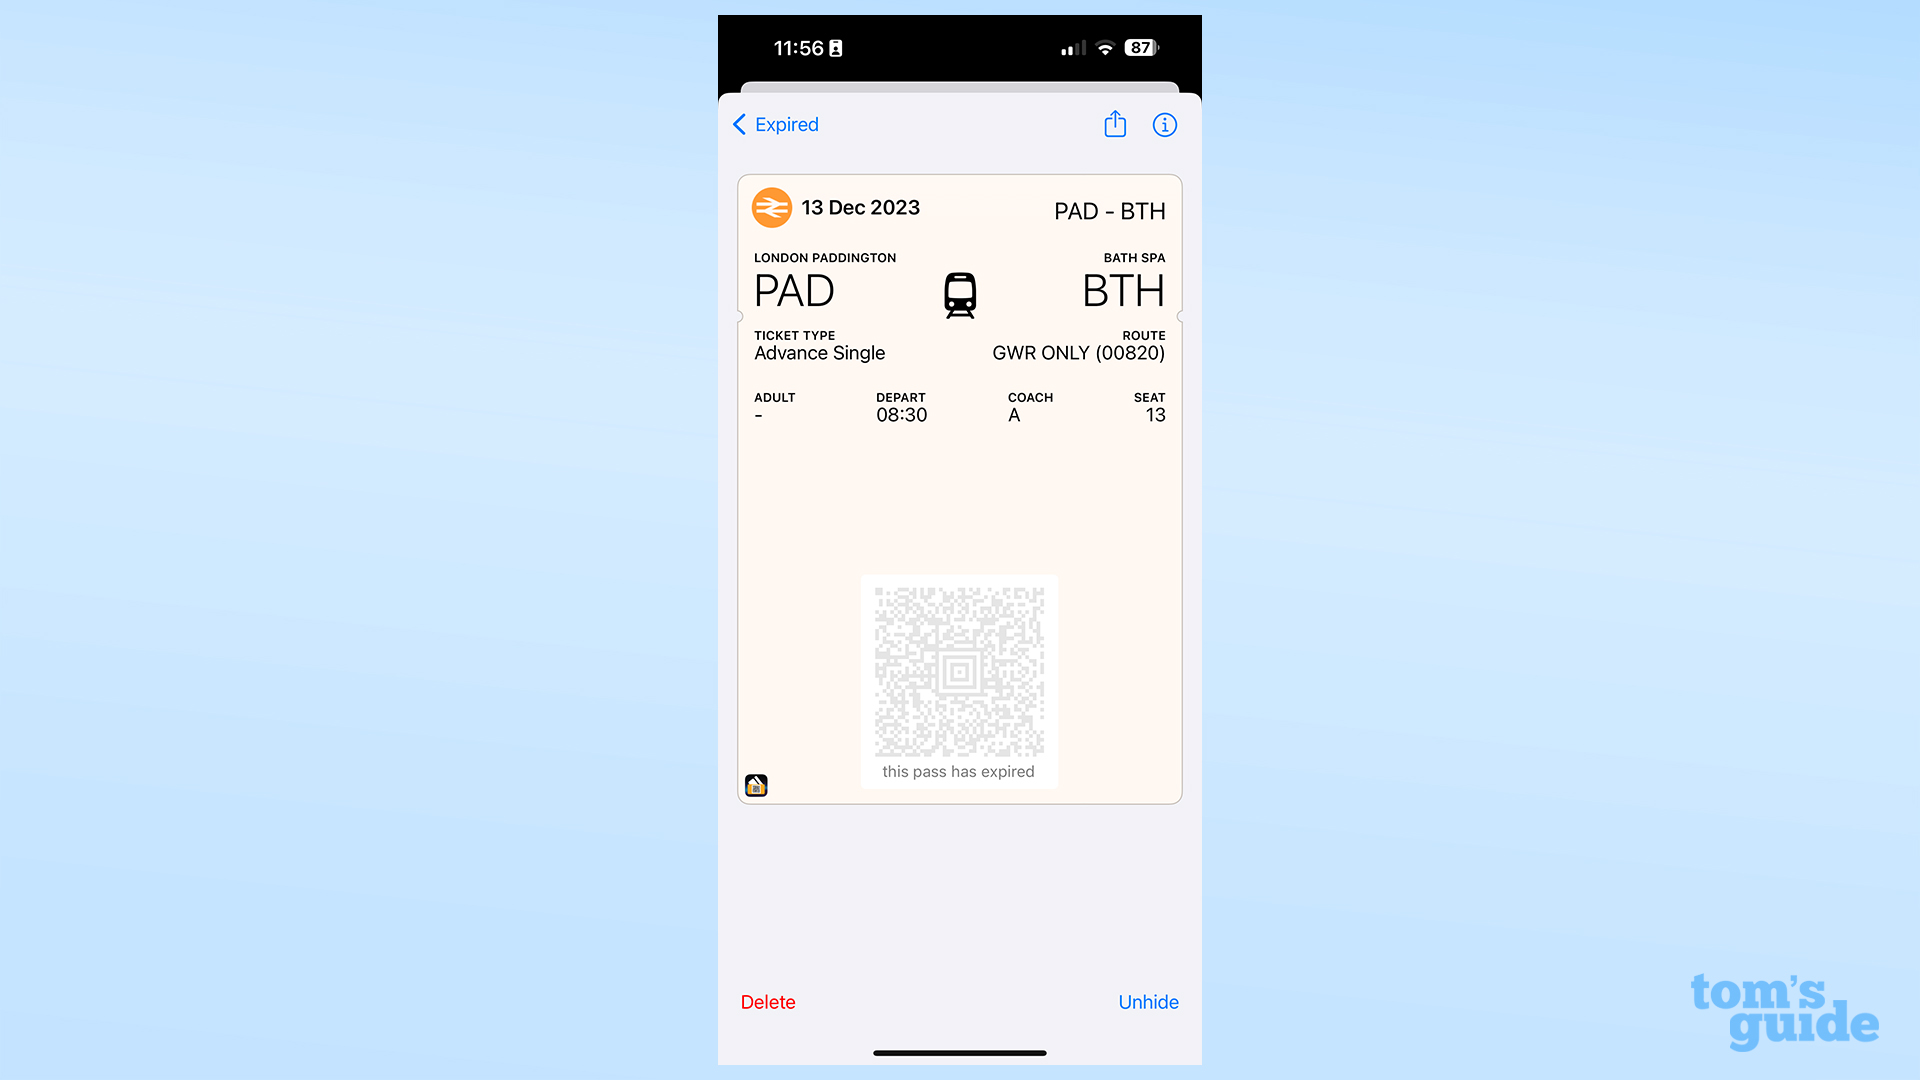
On the second phone, tap the Accept button in the preview window and it'll start the transfer. Soon the pass will appear in your Wallet along with your other passes and saved cards.
Since this how-to's been all about sharing, how about we share some more how-tos with you before you head out? There's always something new to learn about your iPhone, such as how to use iOS' one-handed keyboard for easier typing, how to edit your starting point in Apple Maps for more convenient directions, or how to record spatial video on iPhone 15 Pro to start capturing Vision Pro-ready clips.
Get instant access to breaking news, the hottest reviews, great deals and helpful tips.

Richard is based in London, covering news, reviews and how-tos for phones, tablets, gaming, and whatever else people need advice on. Following on from his MA in Magazine Journalism at the University of Sheffield, he's also written for WIRED U.K., The Register and Creative Bloq. When not at work, he's likely thinking about how to brew the perfect cup of specialty coffee.
 Club Benefits


