7 mistakes you’re making when pulling weeds
Are you making your weed-problem worse with any of these mistakes?
Weeds are the ultimate pest when it comes to lawn care. These invasive plants can crop up in all kinds of spaces, from the cracks in between patio slabs, to the flowerbeds, to slap-bang in the middle of your lawn.
Being so hardy and aggressive, weeds can do some serious damage to any nearby grass or foliage — hogging all of the necessary nutrients in the soil as they grow. So it’s safe to say, you should deal with any weeds in your yard as soon as you can, whether that means learning how to get rid of crabgrass or how to get rid of dandelions.
Removing the weed manually is the go-to method, and it’s an effective one. But, that doesn’t mean all of your problems are solved. In fact, there are several mistakes you can make when it comes to weed removal. Mistakes which can make the problem worse and do some damage to your yard in the process. If you’re keen to learn more, we’ve rounded up seven mistakes you’re making when pulling weeds, so you can steer clear of these errors and ensure you’re dealing with weeds the right way.
Plus, here are 7 ways to prevent weeds from taking root in your yard and this weeding tool has rid my yard of dandelion and i's under $20.
1. Leaving it too long
First, if you see a weed, you should deal with it immediately. The younger the weed, the easier it is to remove. If you ignore the weed and plan to tackle it at a later date, it can grow more established and rooted. That means it can cause more damage to your lawn as you pull it up.
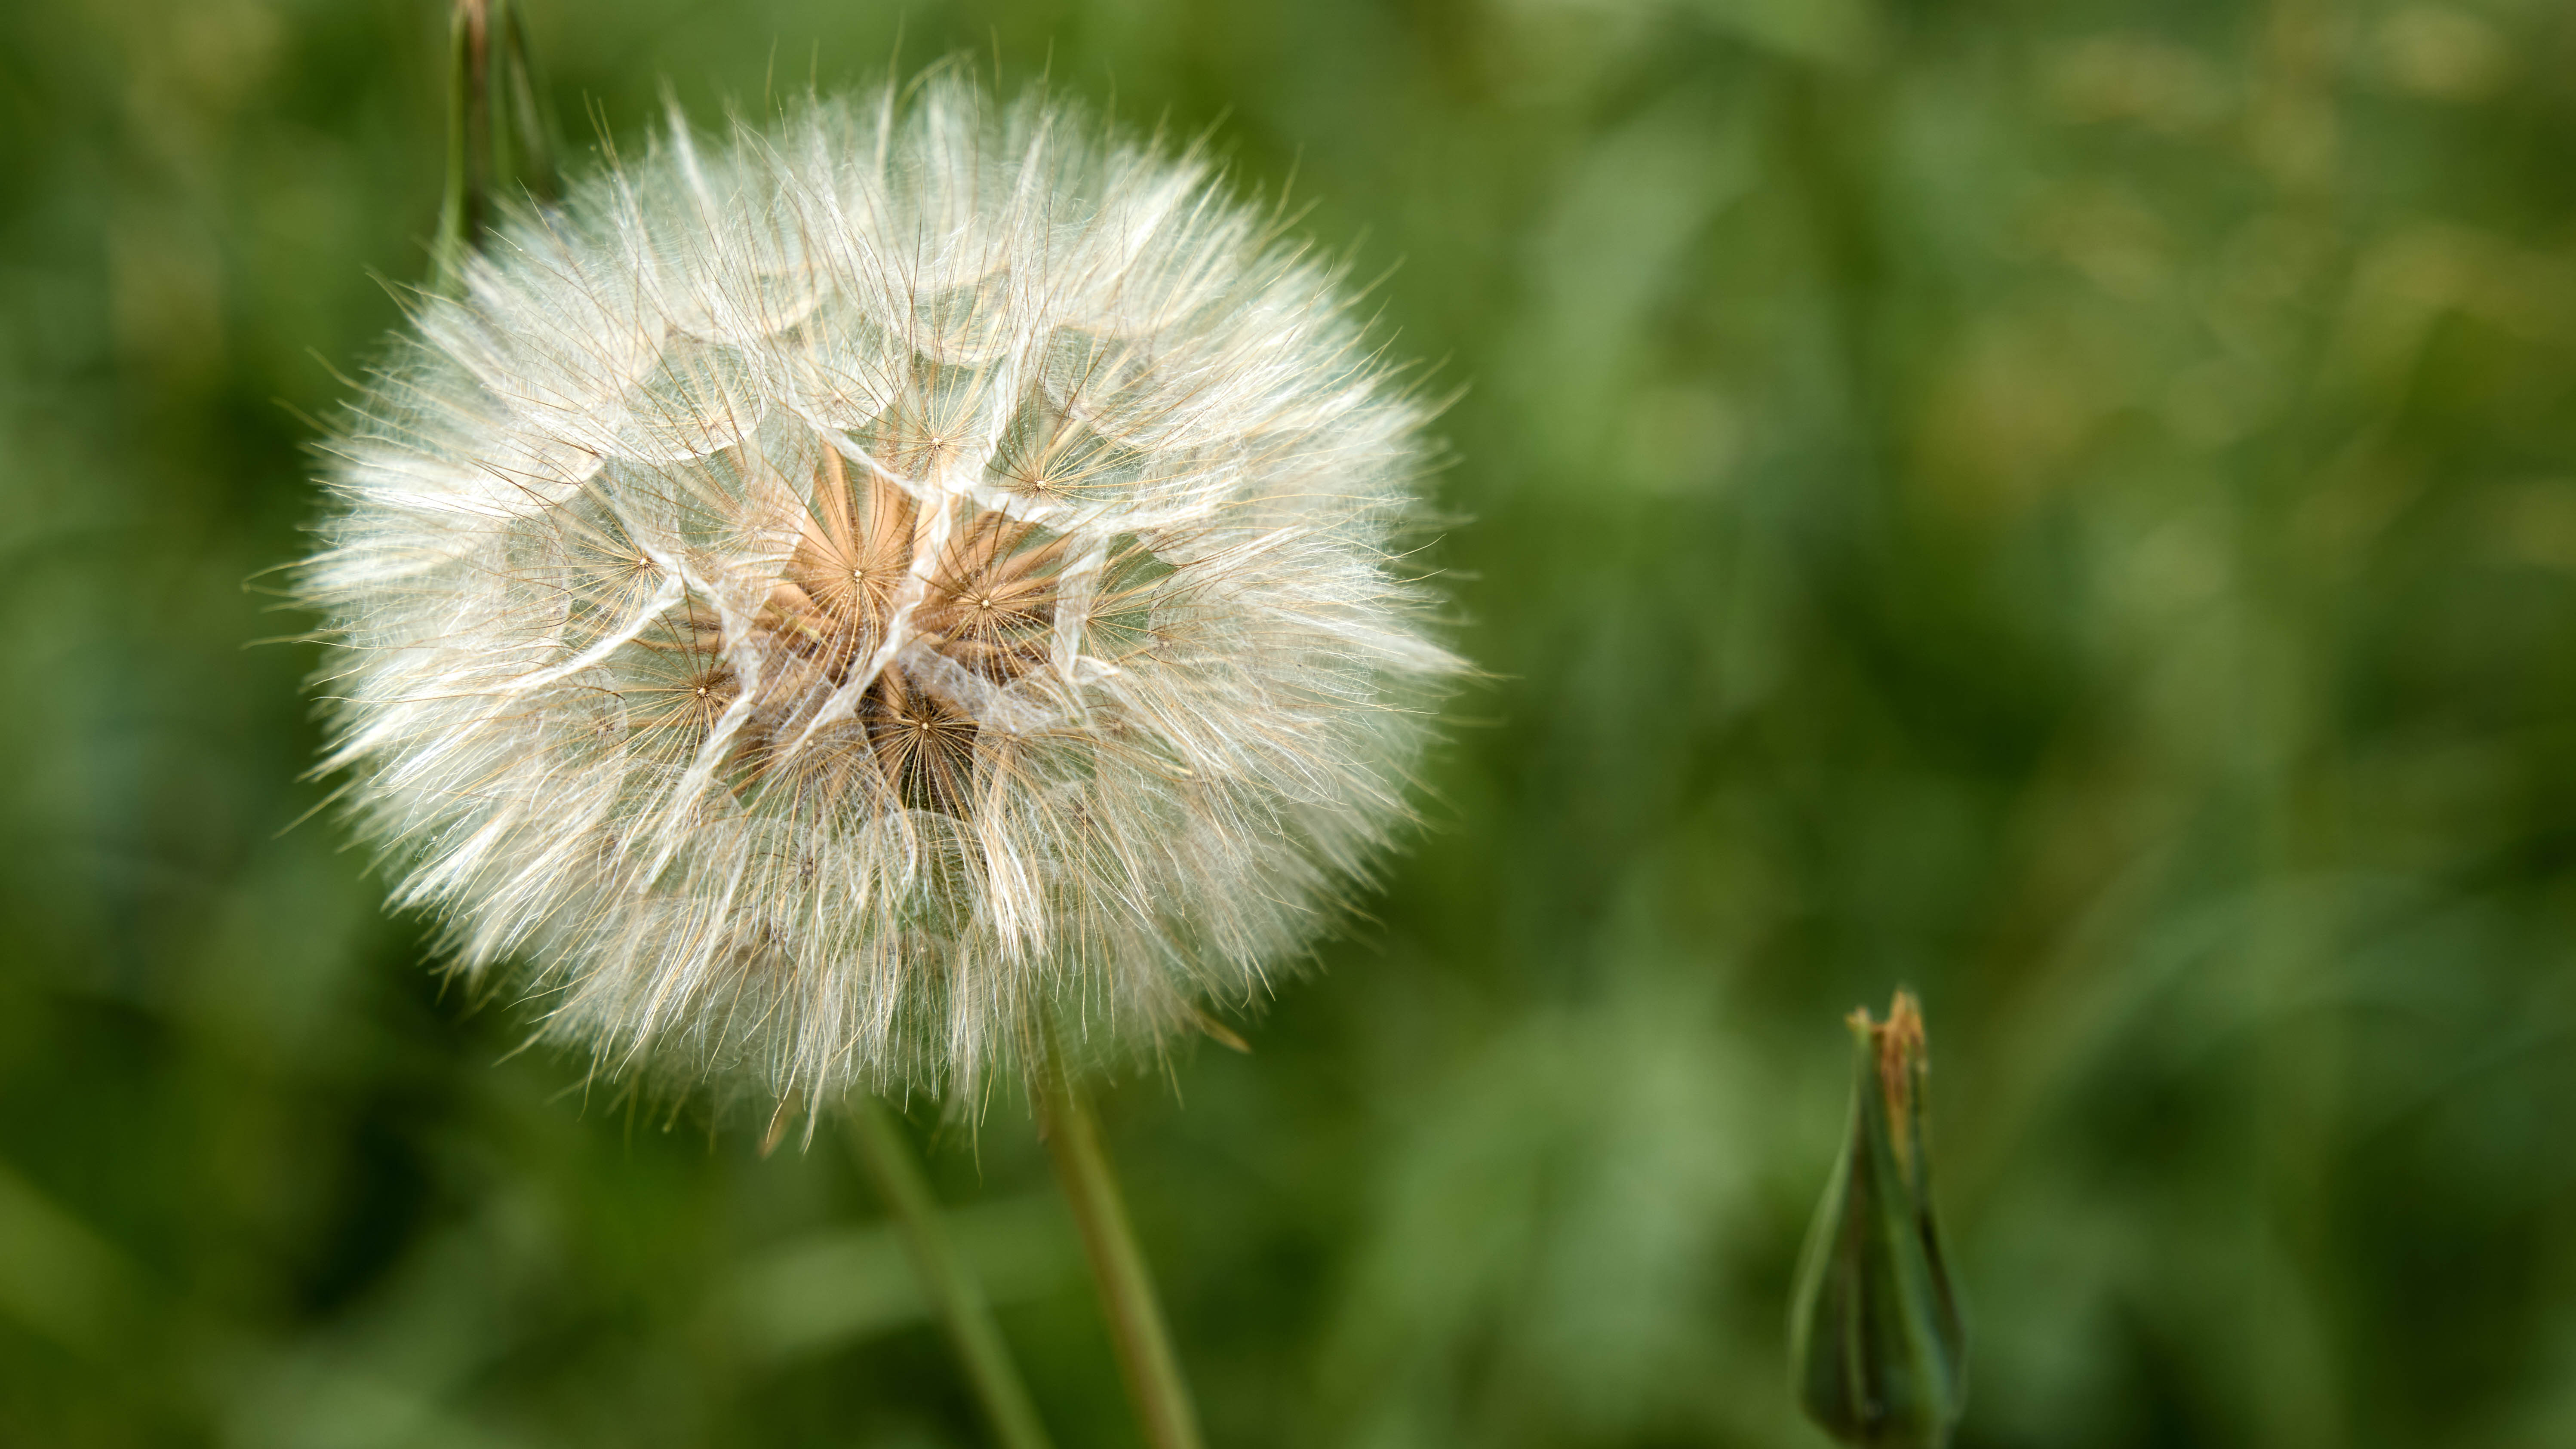
Add to that, as weeds mature, they will develop seeds, which will ultimately be distributed across your yard, making a small problem much worse. So tackle a weed ideally while it’s still young. If you’ve only spotted a weed once it’s established, you might be better off using a chemical treatment which we will cover later. Otherwise, you could cause extensive damage depending on where it’s rooted.
If seeds have developed, pulling it up might not be the answer. The seeds can easily fall into the hole you’ve just created, making the process pointless. It will be too late to apply chemical treatments in such cases too. Depending on the weed, it may be best to leave it to die naturally in the fall and then apply treatments the following spring. You can still remove seeded weeds, but you should do so with great care and on a non-windy day — this will prevent the seeds from spreading so easily.
Get instant access to breaking news, the hottest reviews, great deals and helpful tips.
2. Not bagging weeds immediately
Just because the weed is out of the ground doesn’t mean its work is done. Any seeds can still actively spread as they make their way to the compost heap. Note — while weeds tend to be one of the 11 things you should never throw on the compost heap, they’re suitable for hot composting. That means it maintains a high enough temperature capable of killing any seeds; typically 145°F. The seeds won't find their way back into your yard in such conditions.
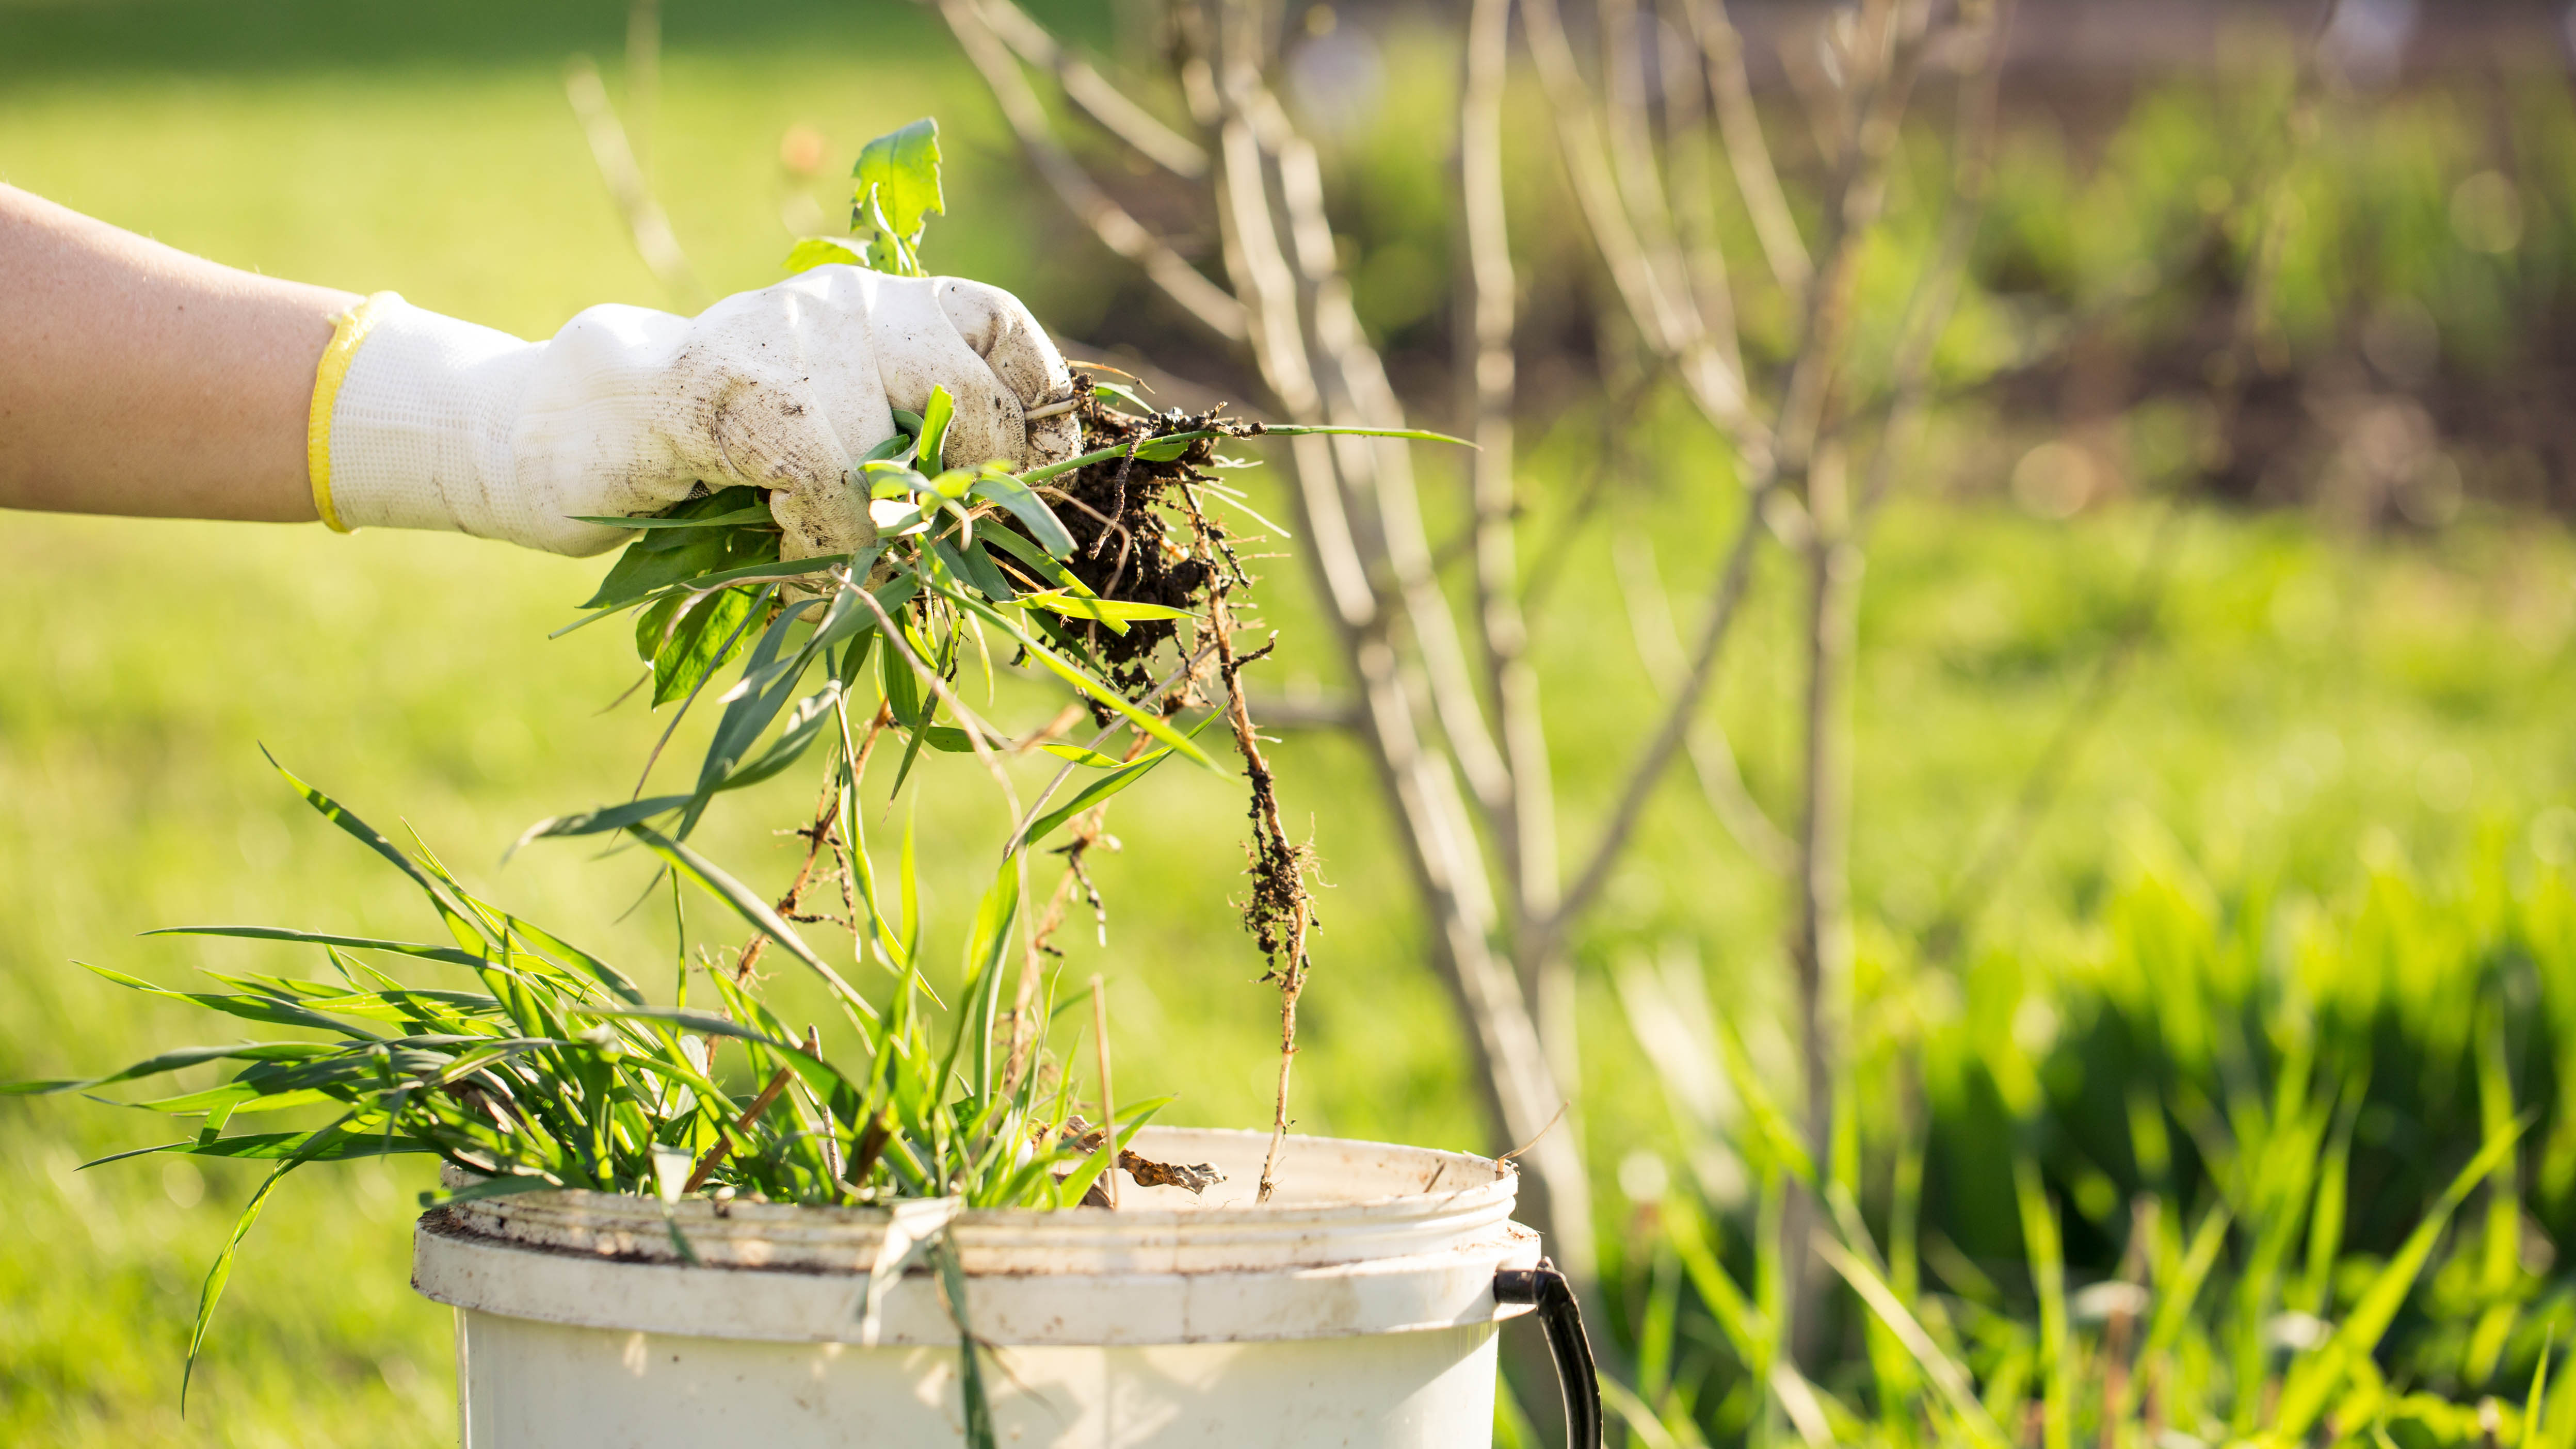
Seeds can be dispersed with ease out in the open — even a light breeze can make an impact. Because of this, it’s imperative that you bag any weeds up immediately as you work your way around your yard. Not only that, the bag should be sealed to prevent any seeds from escaping. For some weeds, such as dandelions, it's better to cut away and dispose of the seed head separately before pulling up the roots. Or else the force of removing it from the ground can displace the seeds.
3. Not removing the entire weed
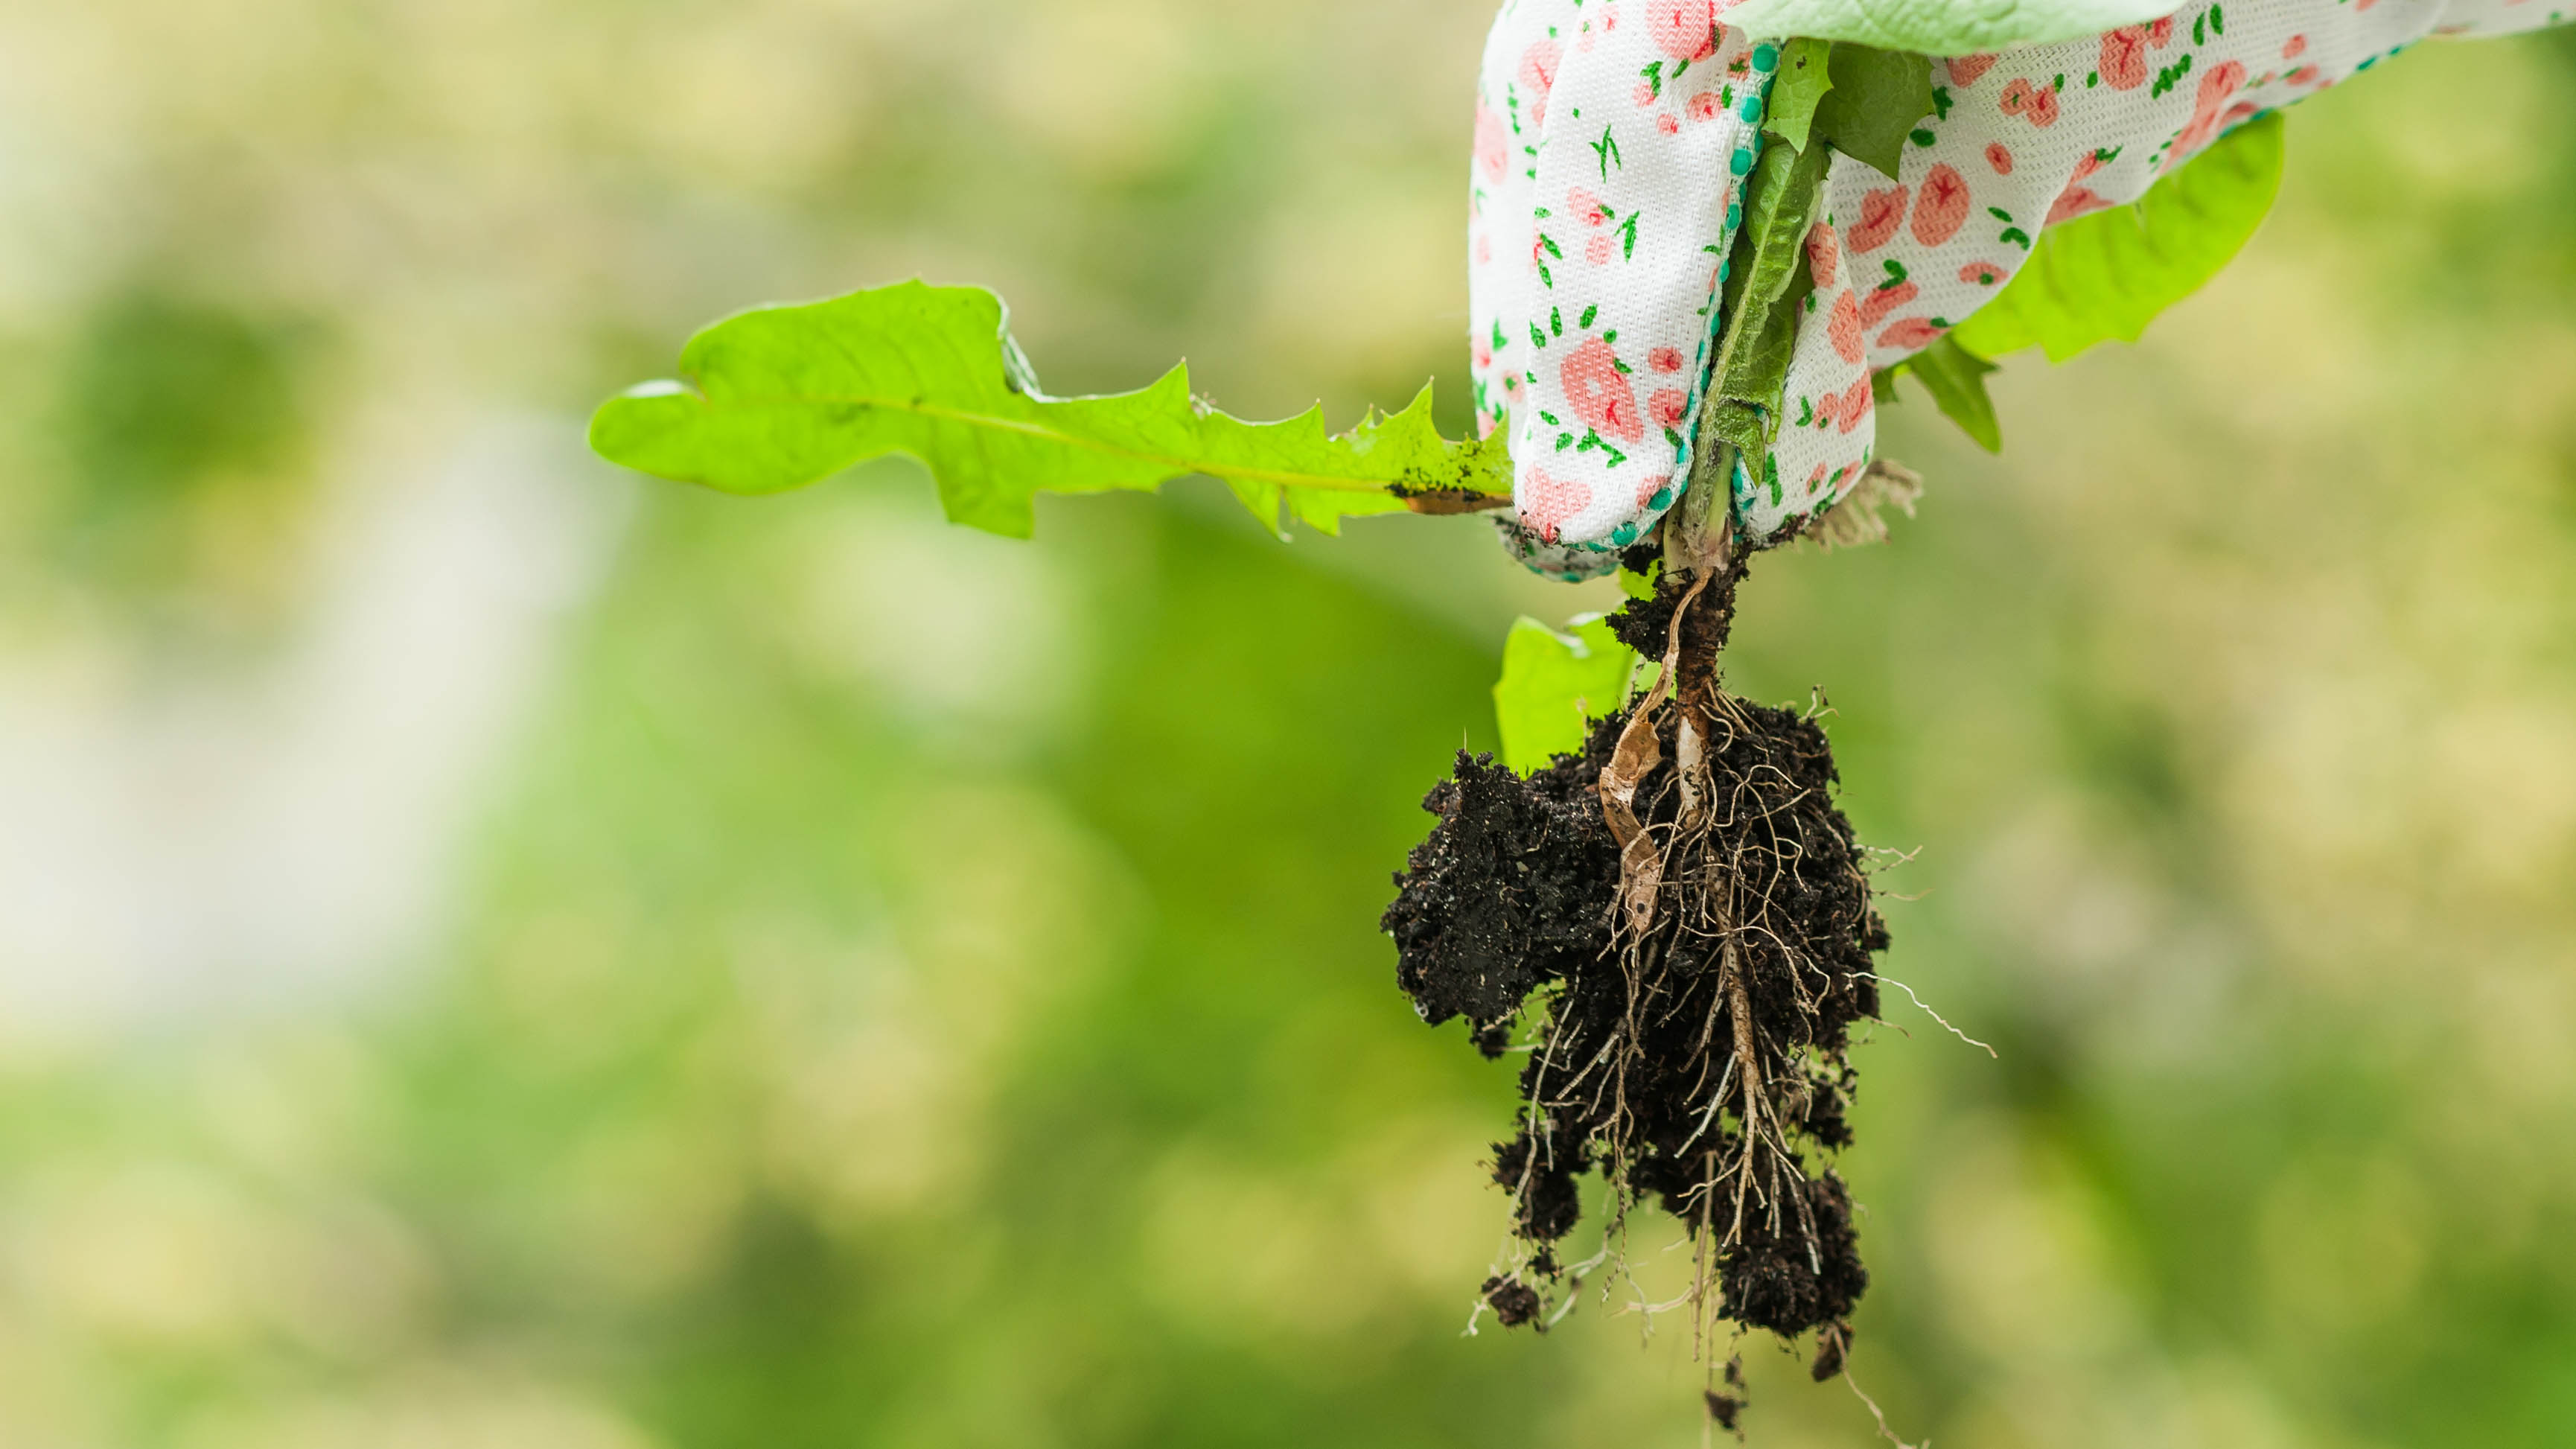
If there’s an abundance of weeds in your yard, it can be tempting to make quick work of them. The problem with this is you end up ripping them as you remove them. This is a mistake to avoid at all costs. If you pull a weed up abruptly, it can tear in places and leave fragments behind — fragments which can recover and grow into fresh new weeds. So the whole process becomes counterproductive.
Add to that, if you pull a weed up too quickly, it can cause extensive damage to the ground. Weed roots can grow up to a few feet in length, so you’ll want to remove these gradually and carefully to reduce the overall damage. Time, patience and persistence are necessary when it comes to pulling weeds.
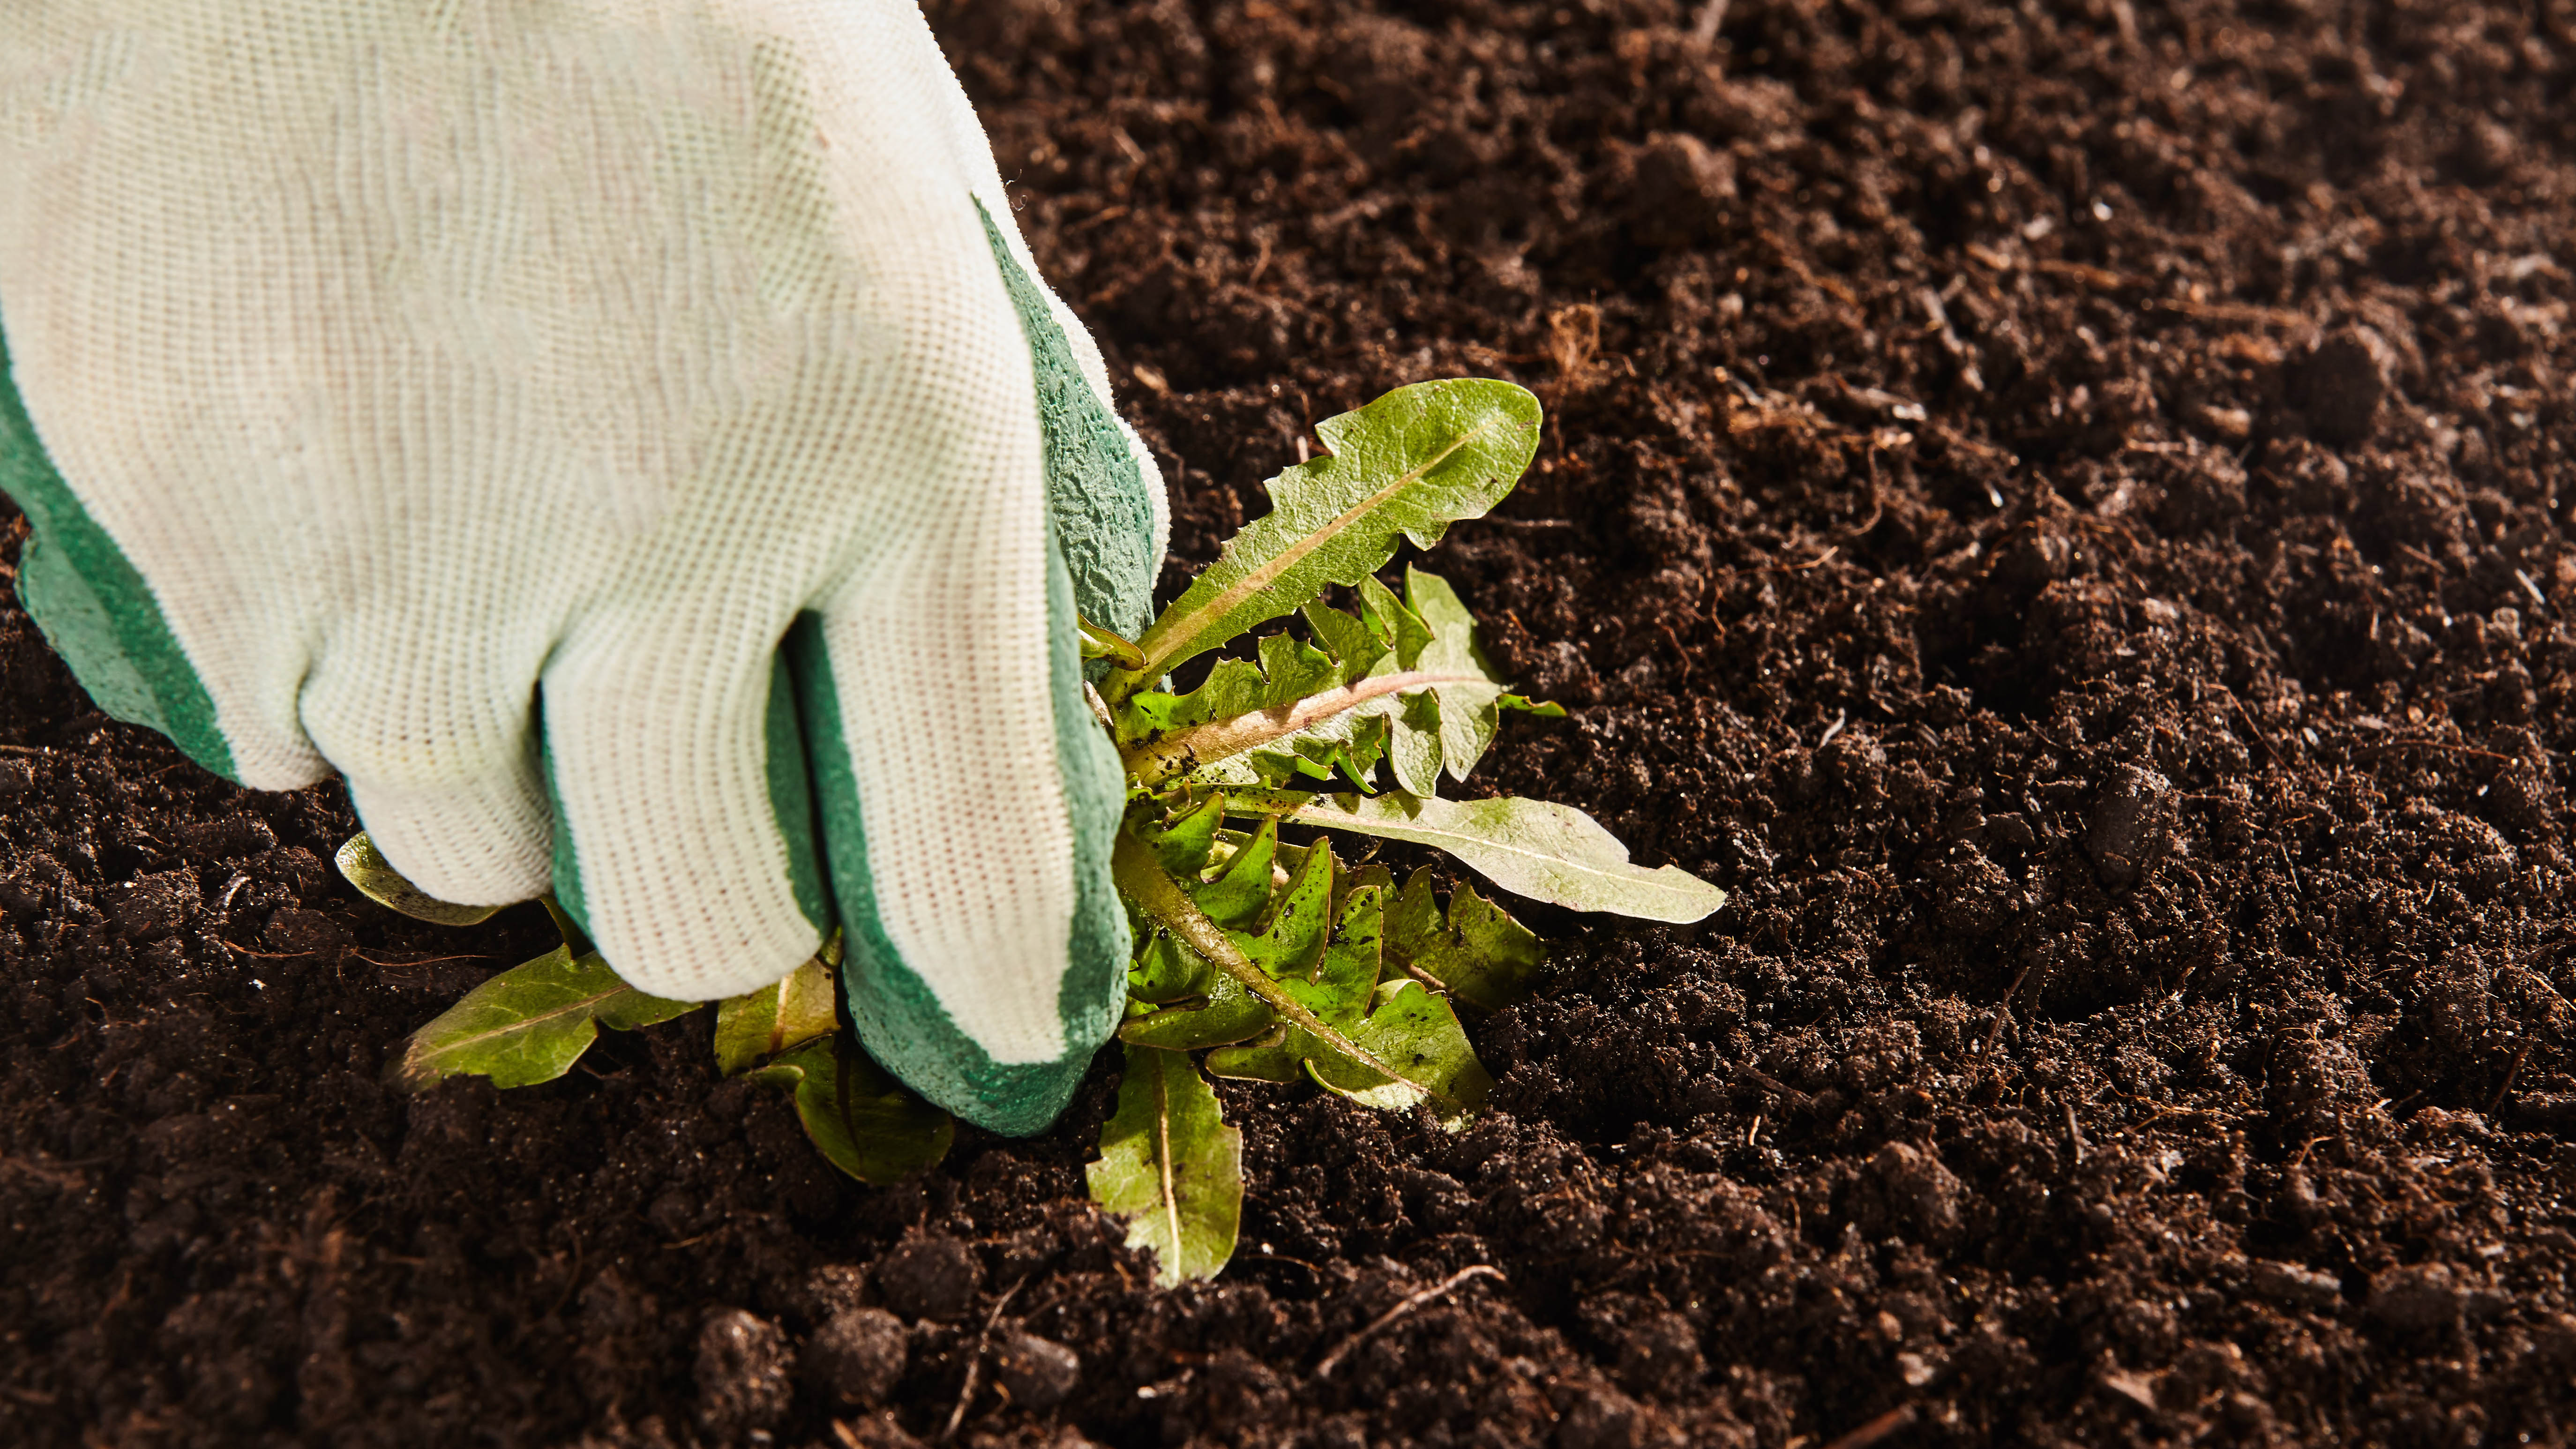
Grip the stem of the weed at its base, while wearing a pair of the best gardening gloves, and wiggle it to displace it. Then gradually pull it up, but without forcing it. You can work the soil if necessary to help move things along. All traces must be removed if it’s not to grow back. If crouching down isn’t for you, you could also use a dedicated tool, such as Grampa's Weeder ($39.99, Amazon).
If you suspect a weed has snapped on pulling it up, you can apply a herbicide into the hole to kill what remains, but keep in mind that the majority of solutions will damage any other roots it comes into contact with, be it grass or flowers. This is the case even if you use a natural distilled white vinegar solution.
4. Not filling in the ground immediately
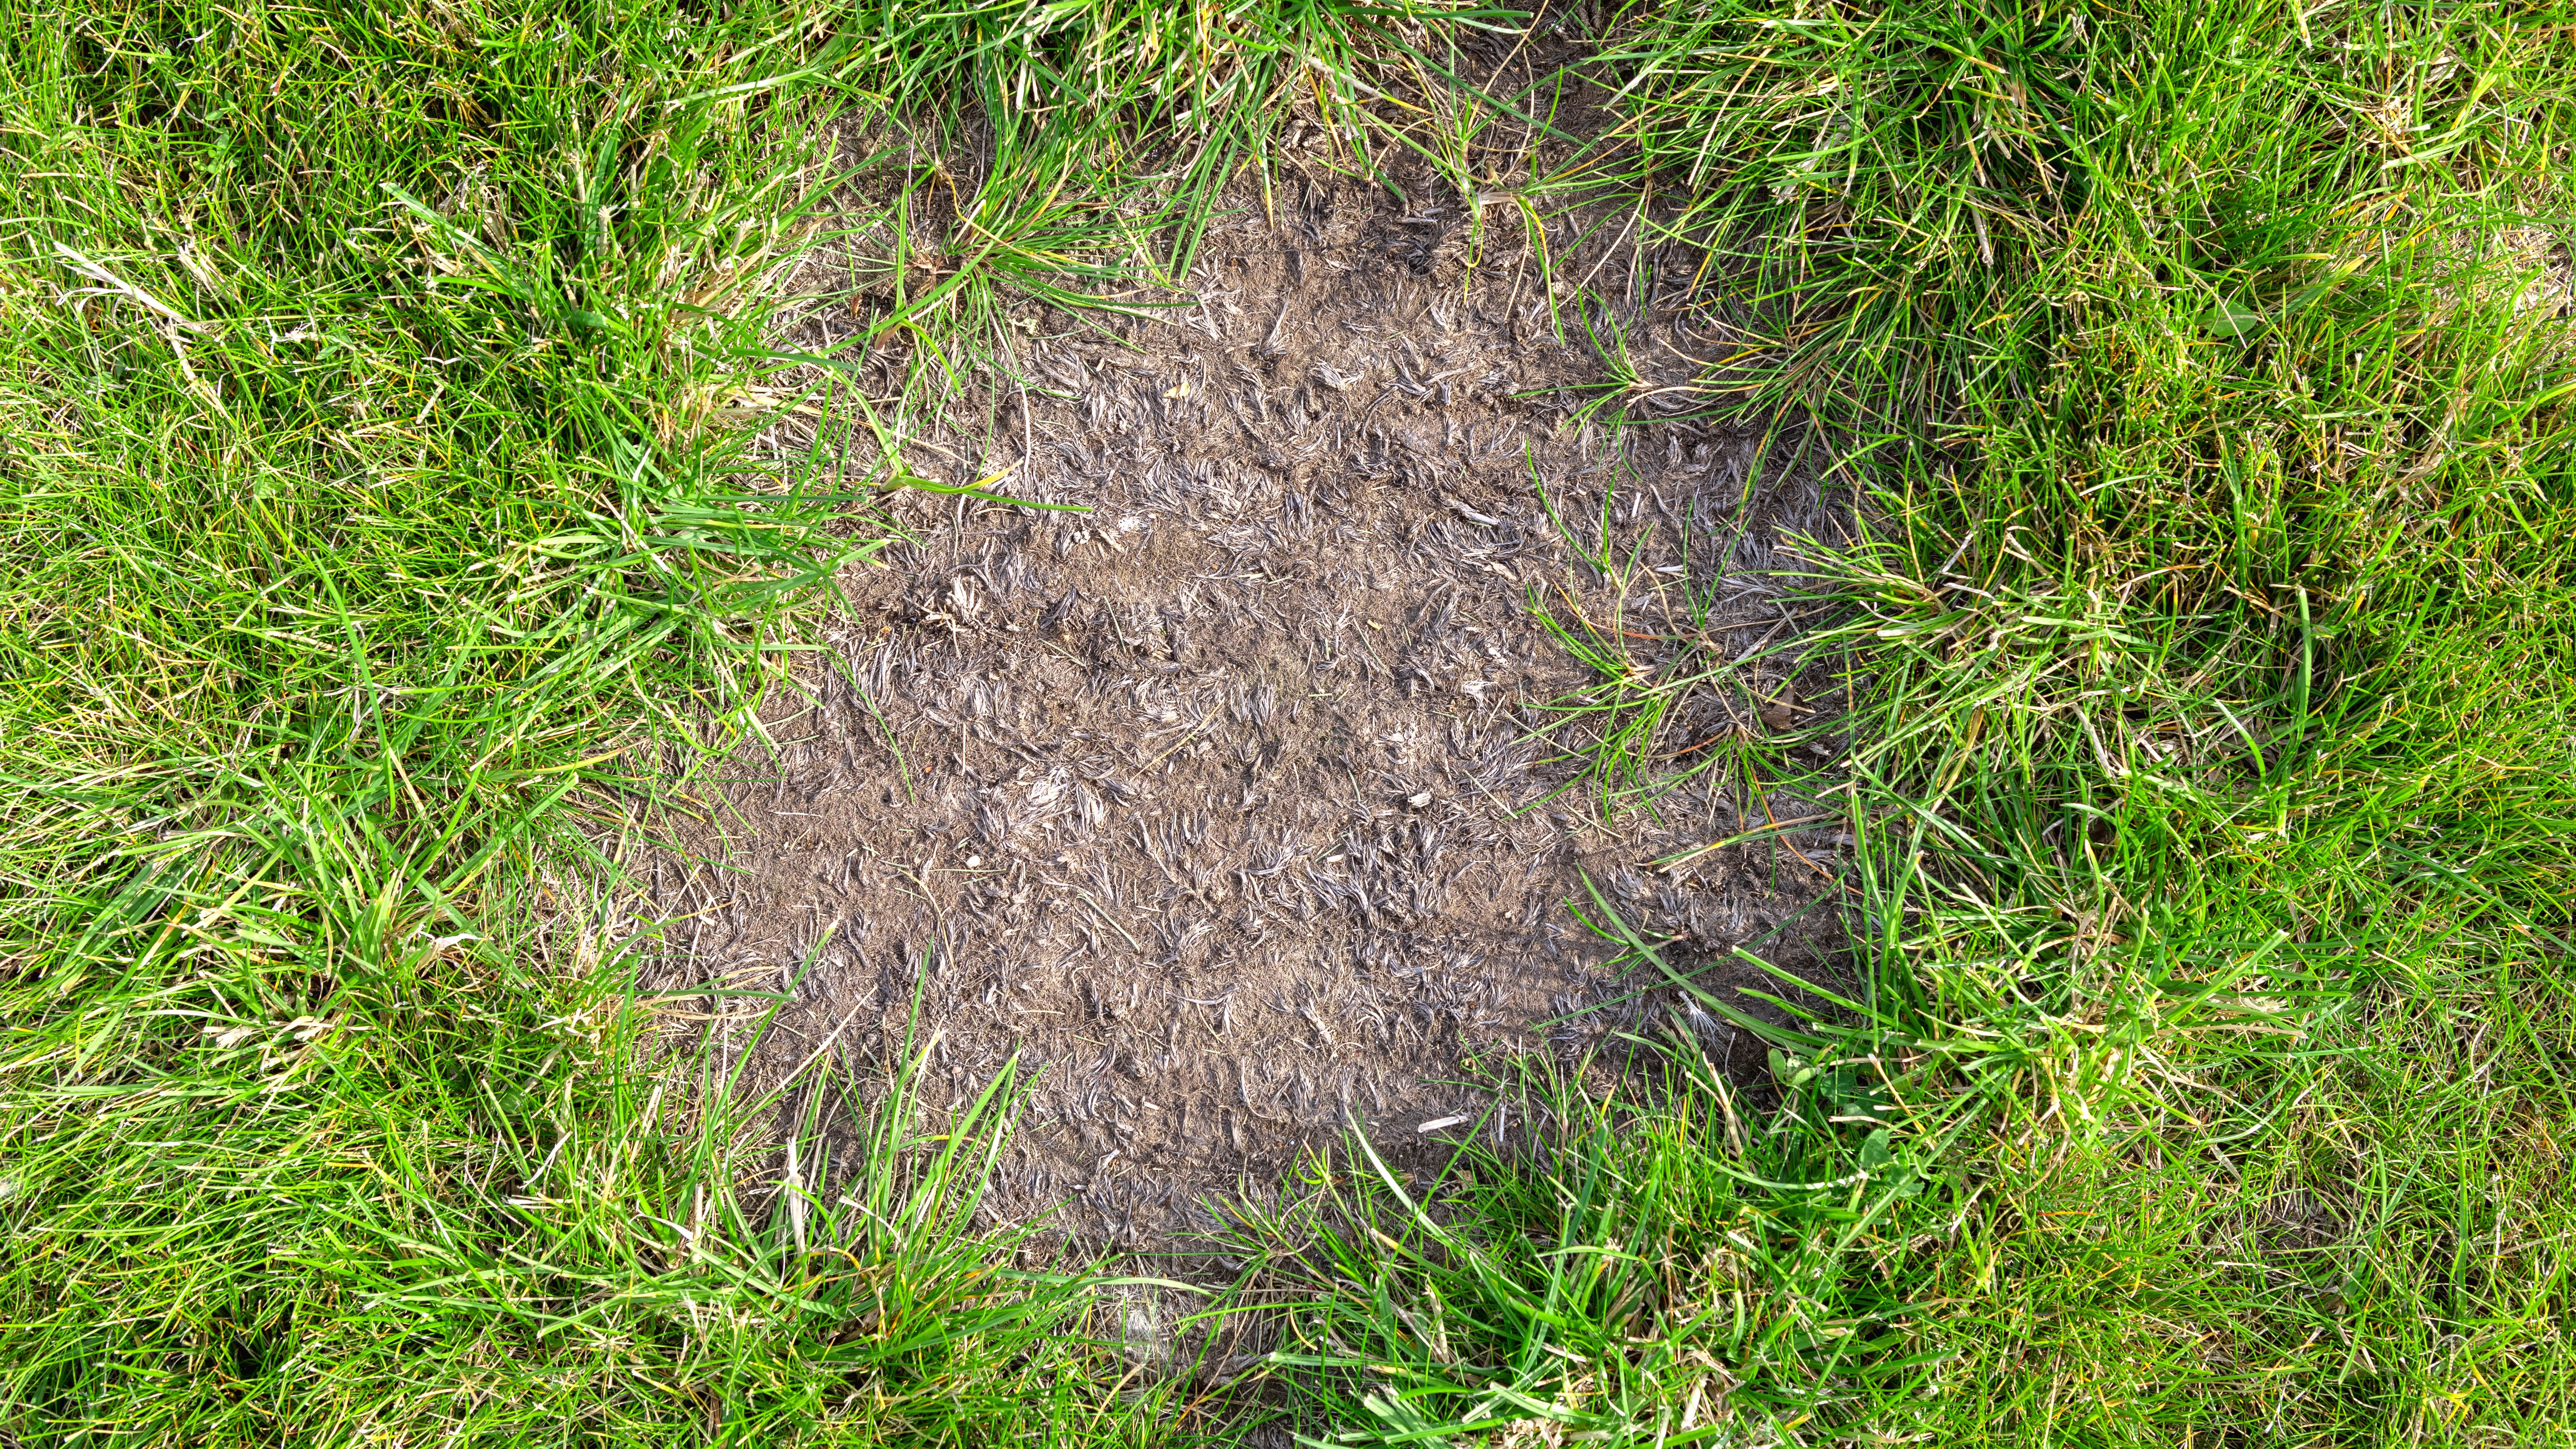
Once the weed is up, it may well have left its mark on your lawn — a bare patch of soil can be the result of its removal. While you may have effectively dealt with the weed, your work’s not finished. This open patch of soil can be an inviting spot for fresh new weeds to take root; there’s nothing protecting this space and no other plants to compete with. So, you must fill this space one way or another.
Ground cover plants can provide effective cover in a flowerbed to ward off weeds. These low-growing plants can protect your yard in times of drought as well. If you’re dealing with a bare patch in your turf, you will need to either learn how to plant grass seed or lay fresh sod to fill it in. Whatever you do, just make sure the area is effectively filled and recovering. Once the replacement plants are mature and healthy, they can act as a layer of defense against any potential weeds.
You could alternatively lay down a pre-emergent herbicide to prevent weeds from taking, but then that means grass seeds won't germinate immediately. So you will be left with a bare patch for some time.
5. Not using pre- or post-emergent herbicides
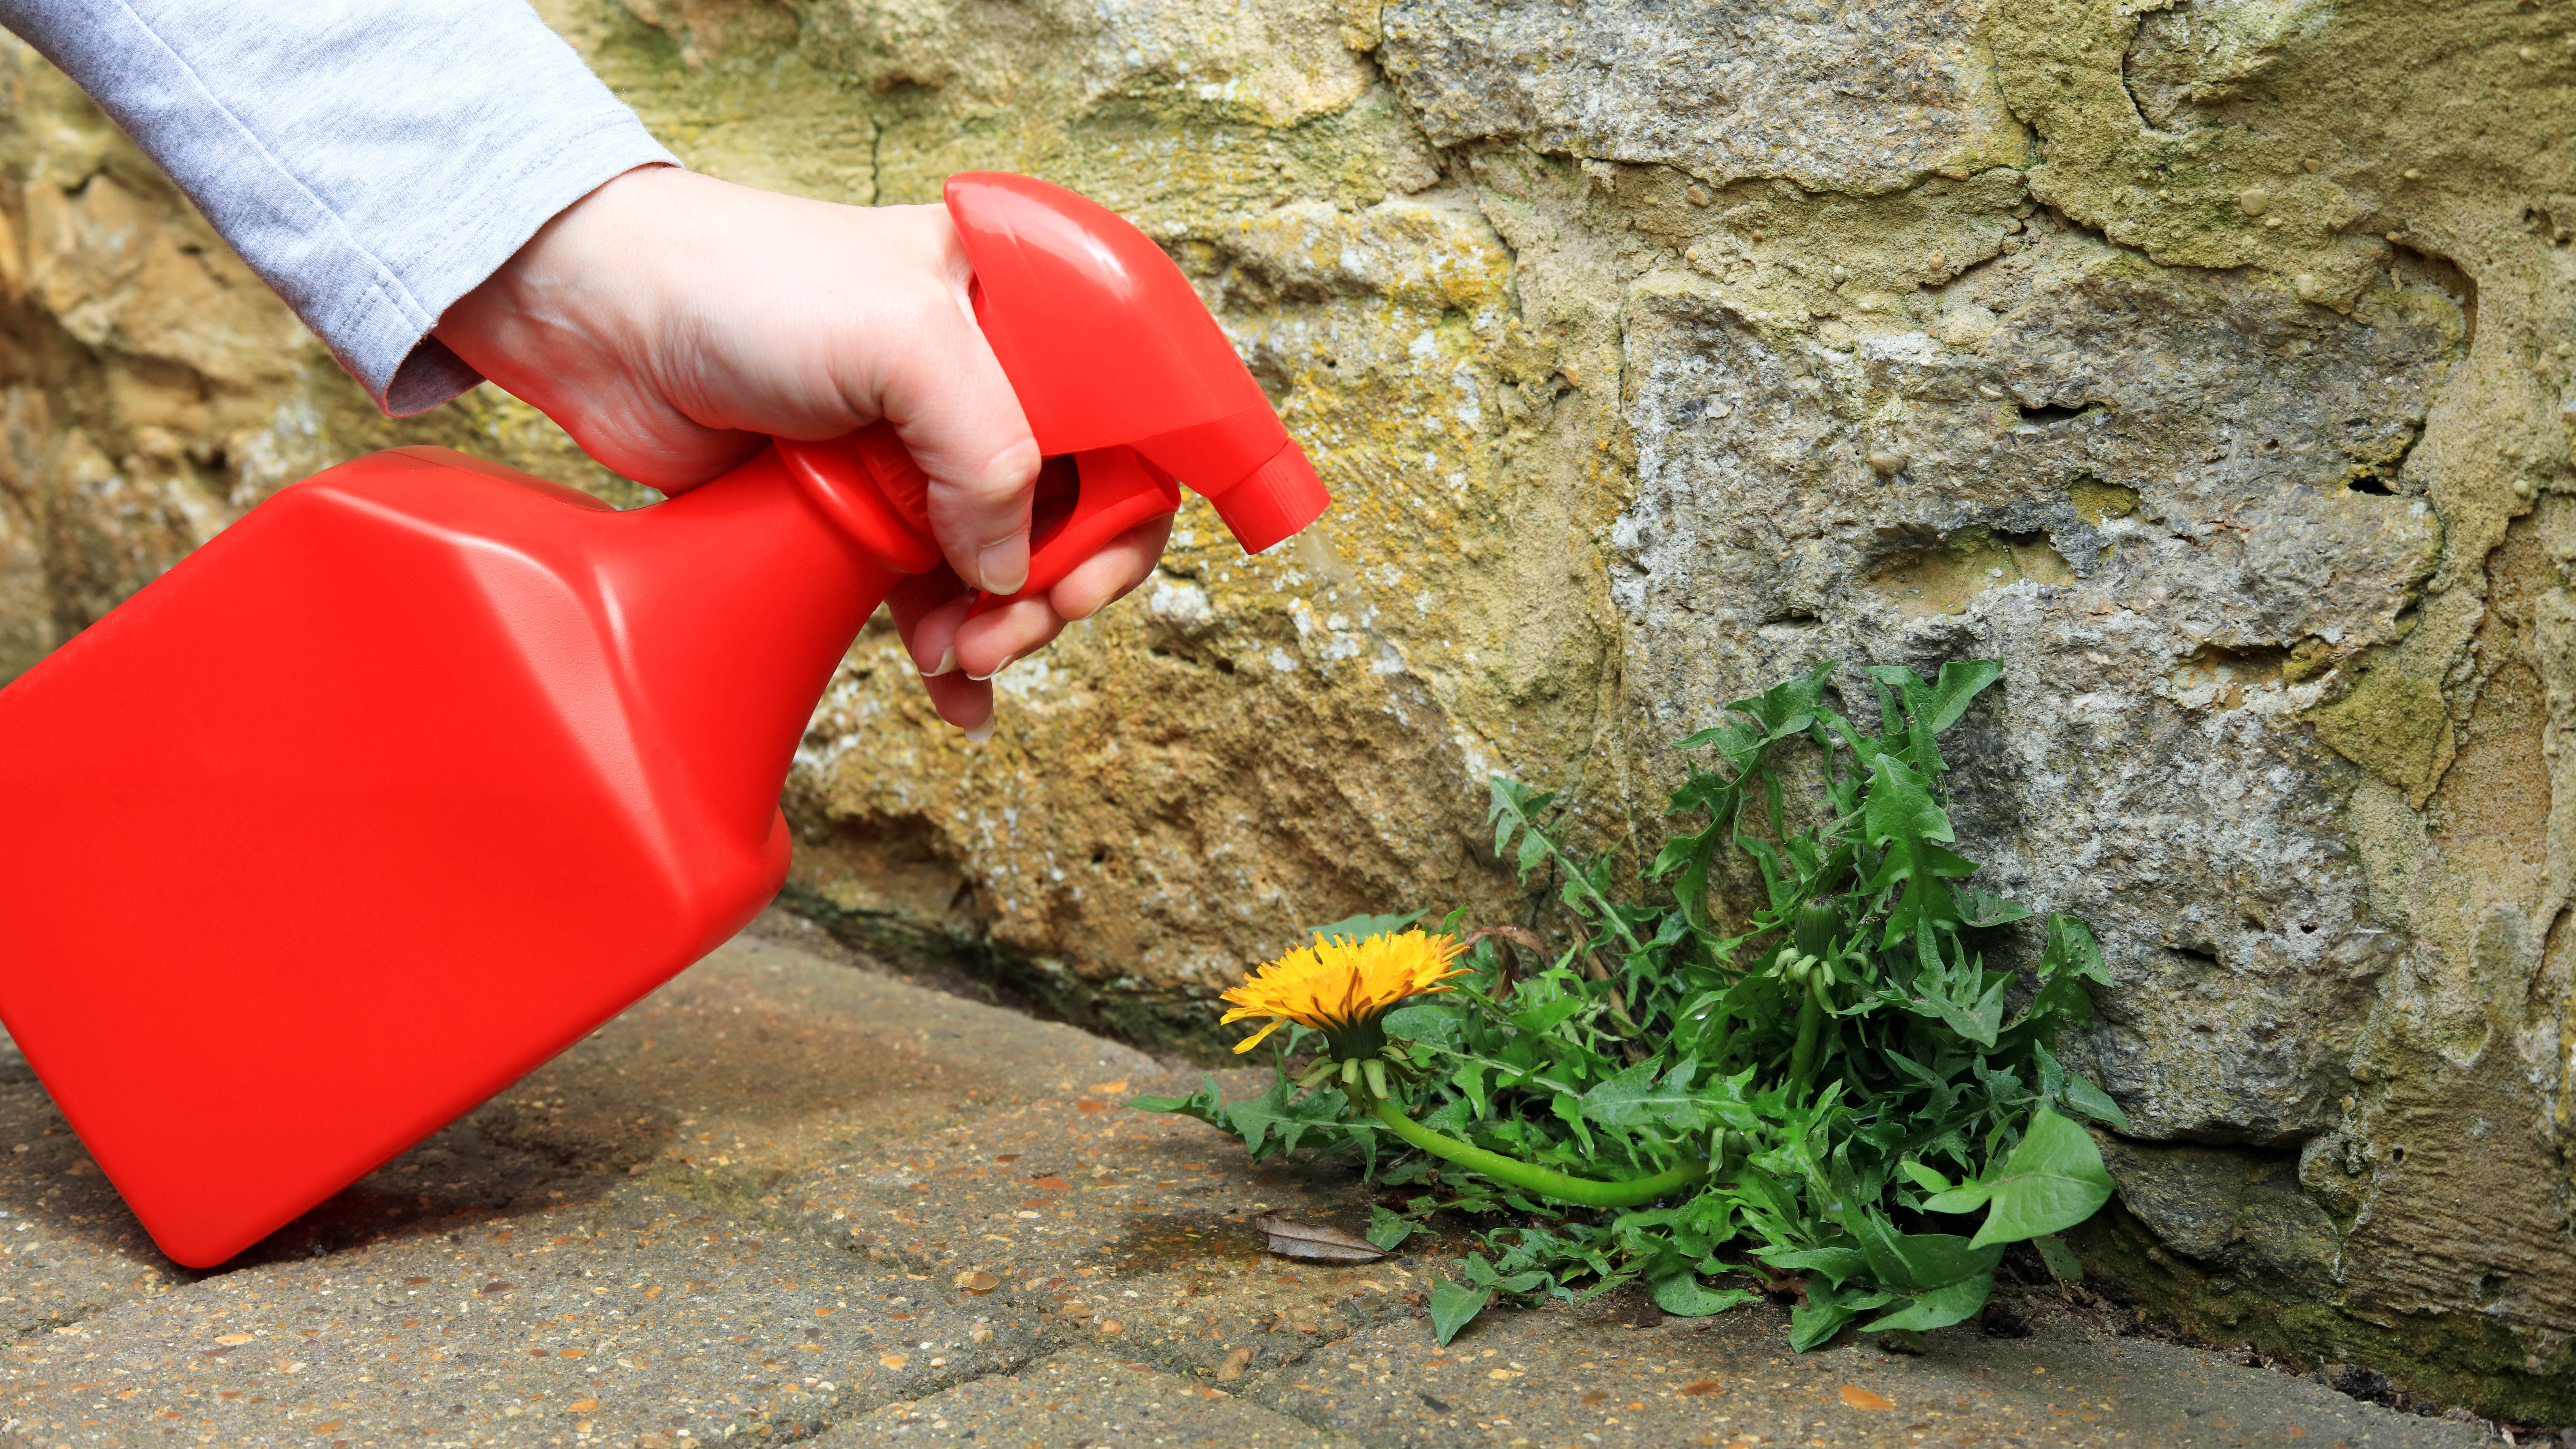
Depending on the time of year and your circumstances, pre- and post-emergent herbicides exist to help keep weeds in check. If you’re not taking advantage, you’re making a big mistake. Pre-emergent herbicides are designed to be applied before the weeds take root. It effectively attacks any weed seeds and prevents them from germinating. This solution tends to be applied in the springtime for best effect. Although, keep in mind that it will prevent fresh grass seed from germinating too, so it’s not always an ideal treatment.
An example of this would be Scotts Halts Crabgrass & Grassy Weed Preventer ($22.49, Amazon). It would need to be applied to your lawn via a spreader and then reapplied as necessary according to the label. There are options available for your flower beds as well, such as Miracle-Gro Garden Weed Preventer ($17.99, Amazon).
Post-emergent herbicides are essentially chemical treatments you can apply directly to weeds once they’ve sprouted. This can be very effective, but you need to take care that it won’t impact surrounding plant life or nearby grass, or you could cause a lot of damage to your yard. An example of a weed killer which is safe to use on grass would be Ortho WeedClear Lawn Weed Killer ($12.57, Amazon). It can take a week or longer for a post-emergent herbicide to work. Because of this, it’s likely not worth applying it to a weed which has already seeded. Bear in mind, both pre- and post-emergent herbicides can be toxic to humans and animals, so care must be taken.
If you don’t like the idea of applying chemicals to your lawn, we recommend trying a greener option. Corn gluten can be used as a pre-emergent herbicide for instance, while a gallon of distilled white vinegar combined with a cup of salt and a tablespoon of dish soap can act as an immediate weed killer. Although keep in mind that this solution can kill other plants too, so it needs to be applied with care.
For more green options, check out 7 ways to kill weeds naturally — no chemicals required.
6. Forgetting to hoe
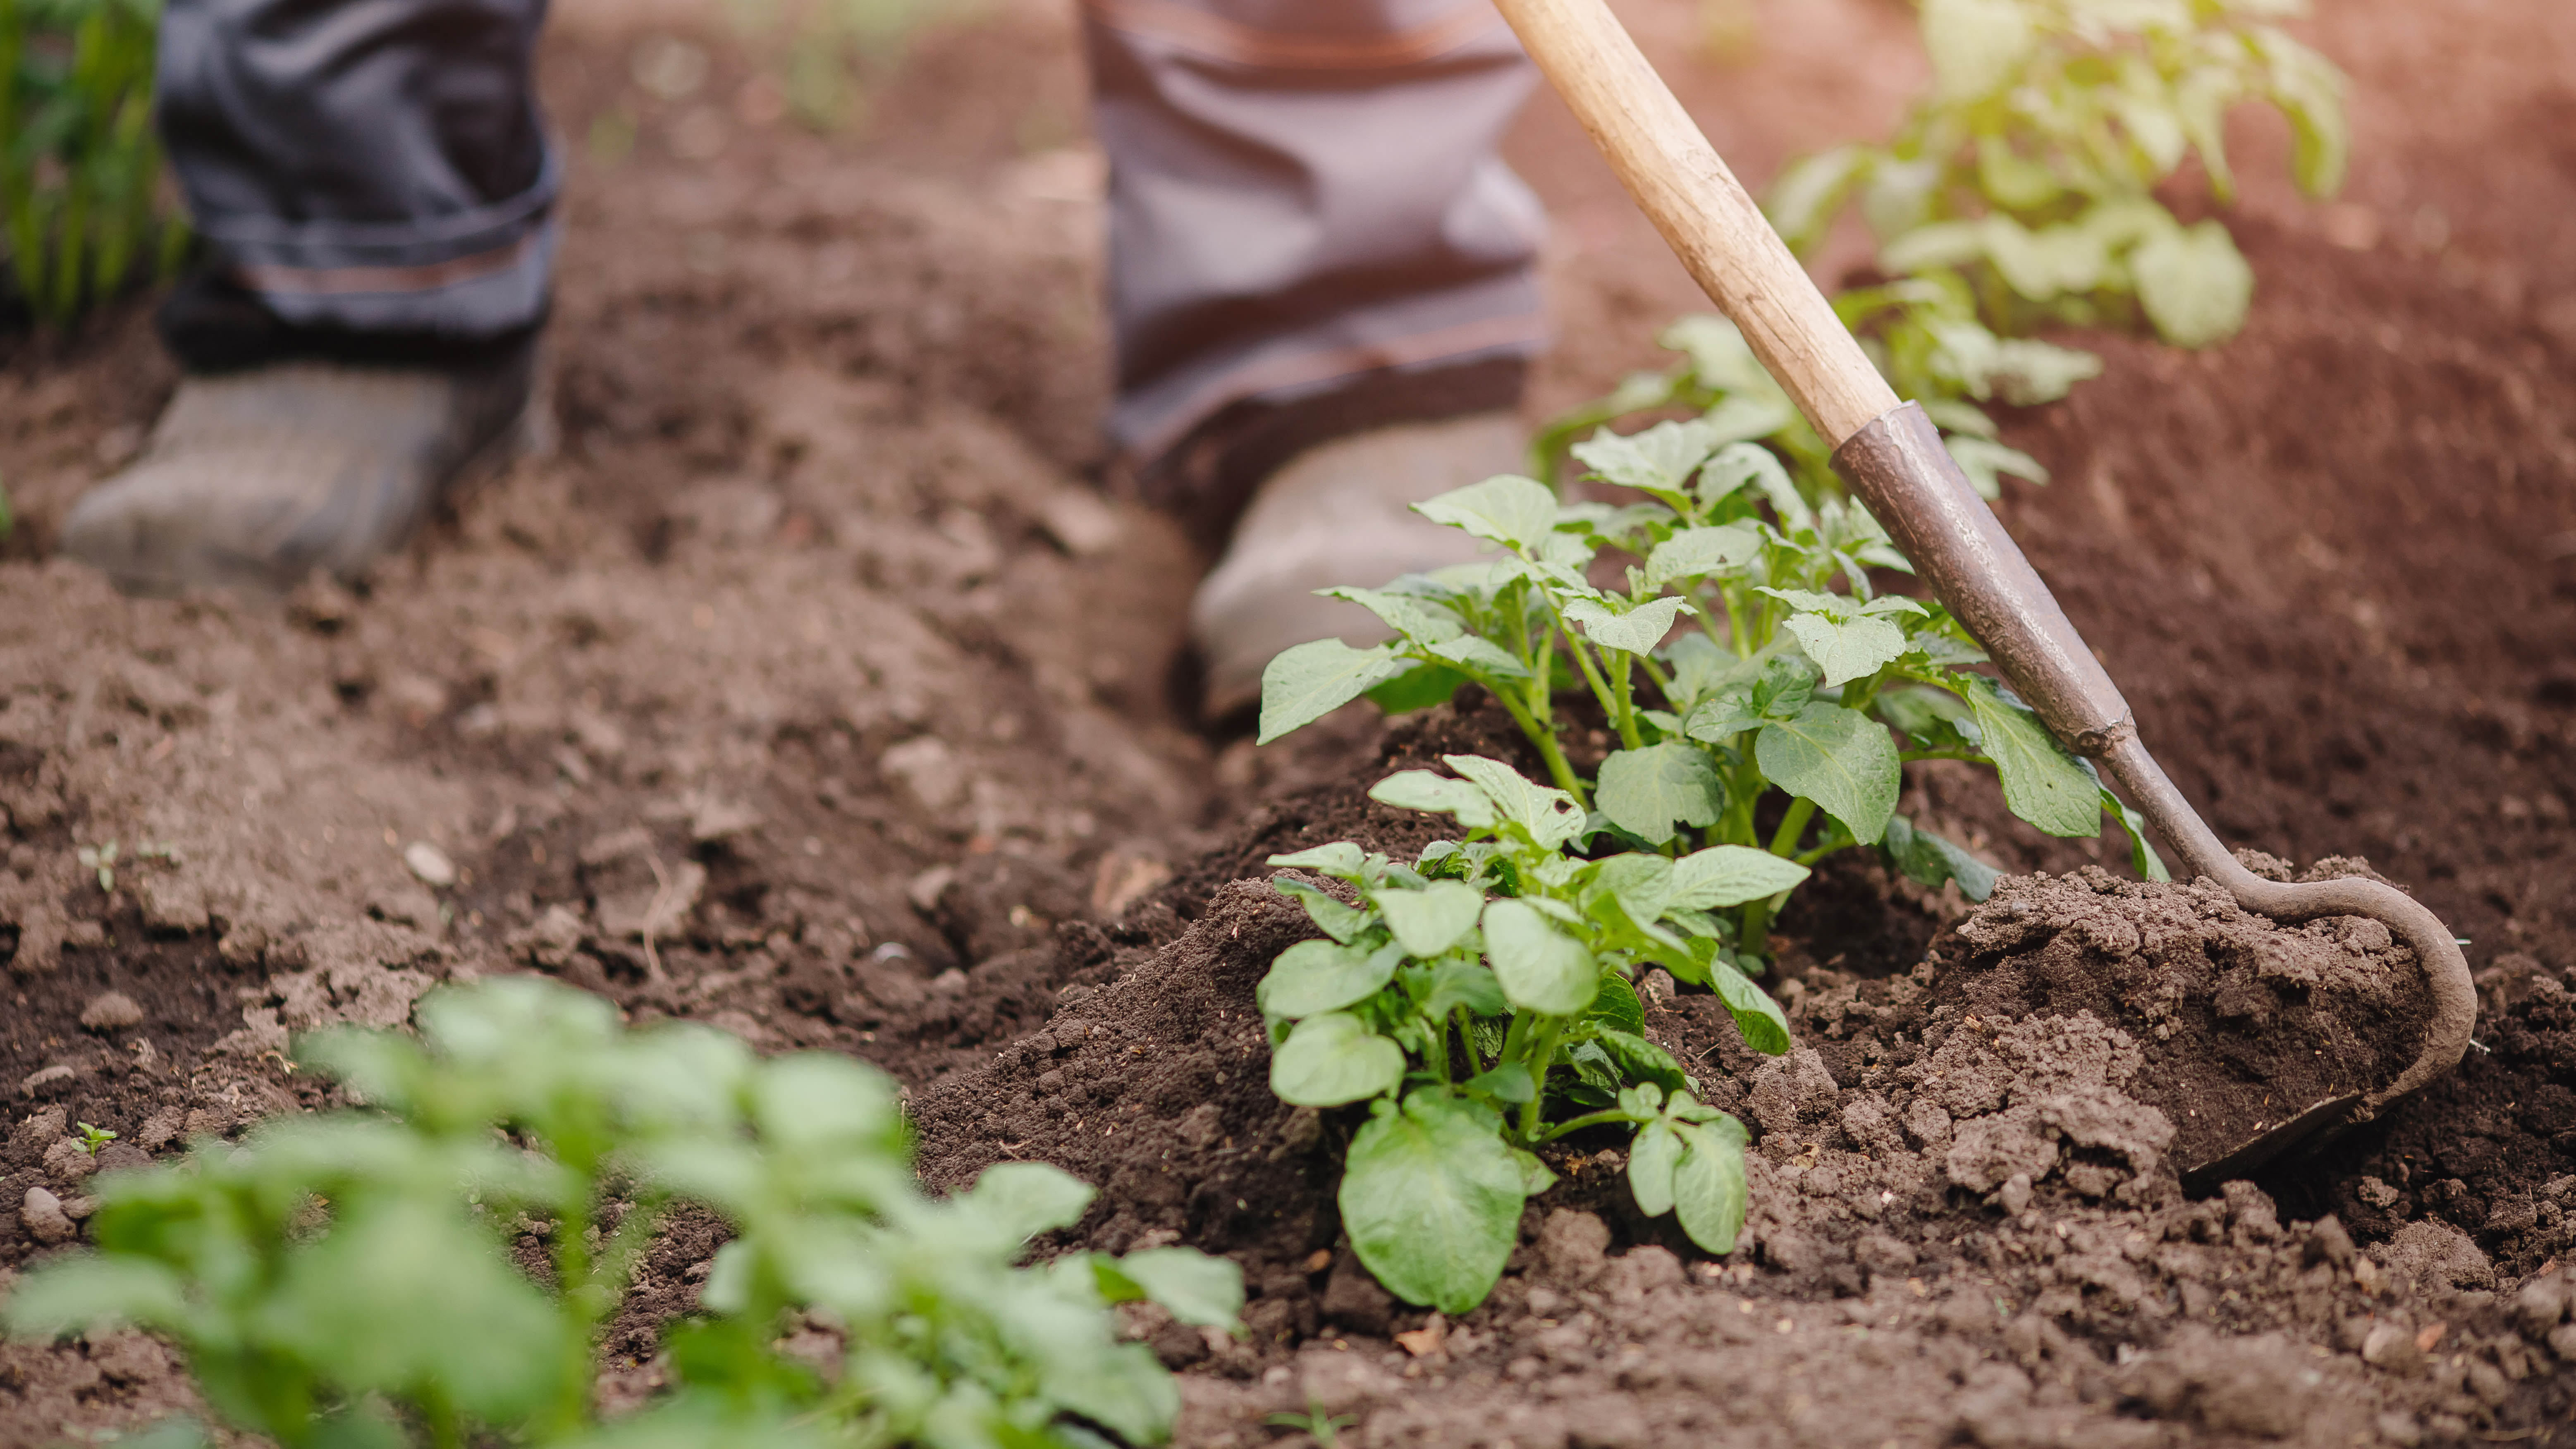
Hoeing can greatly reduce the likelihood of weeds taking root in your flower beds, plus it can help aerate the soil too. This task should be done regularly rather than as and when you notice weeds sprouting in your flower beds — it’s a preventative measure best practiced once a week. You should hoe the ground while the soil conditions are dry rather than wet, so that the tool can catch and cut the roots of any potential weeds.
Take care when hoeing around any of your own plants though. These tools can easily catch and damage the roots of by-standing plants too. An example would be the Corona GT 3244 Extended Reach Hoe and Cultivator ($17.98, Amazon).
You can also add a layer of mulch to prevent weed growth, although it needs to be thick enough to effectively block the sunlight — about 2-3 inches. It will also need to be replaced as it decomposes.
7. Using boiling water on patio weeds
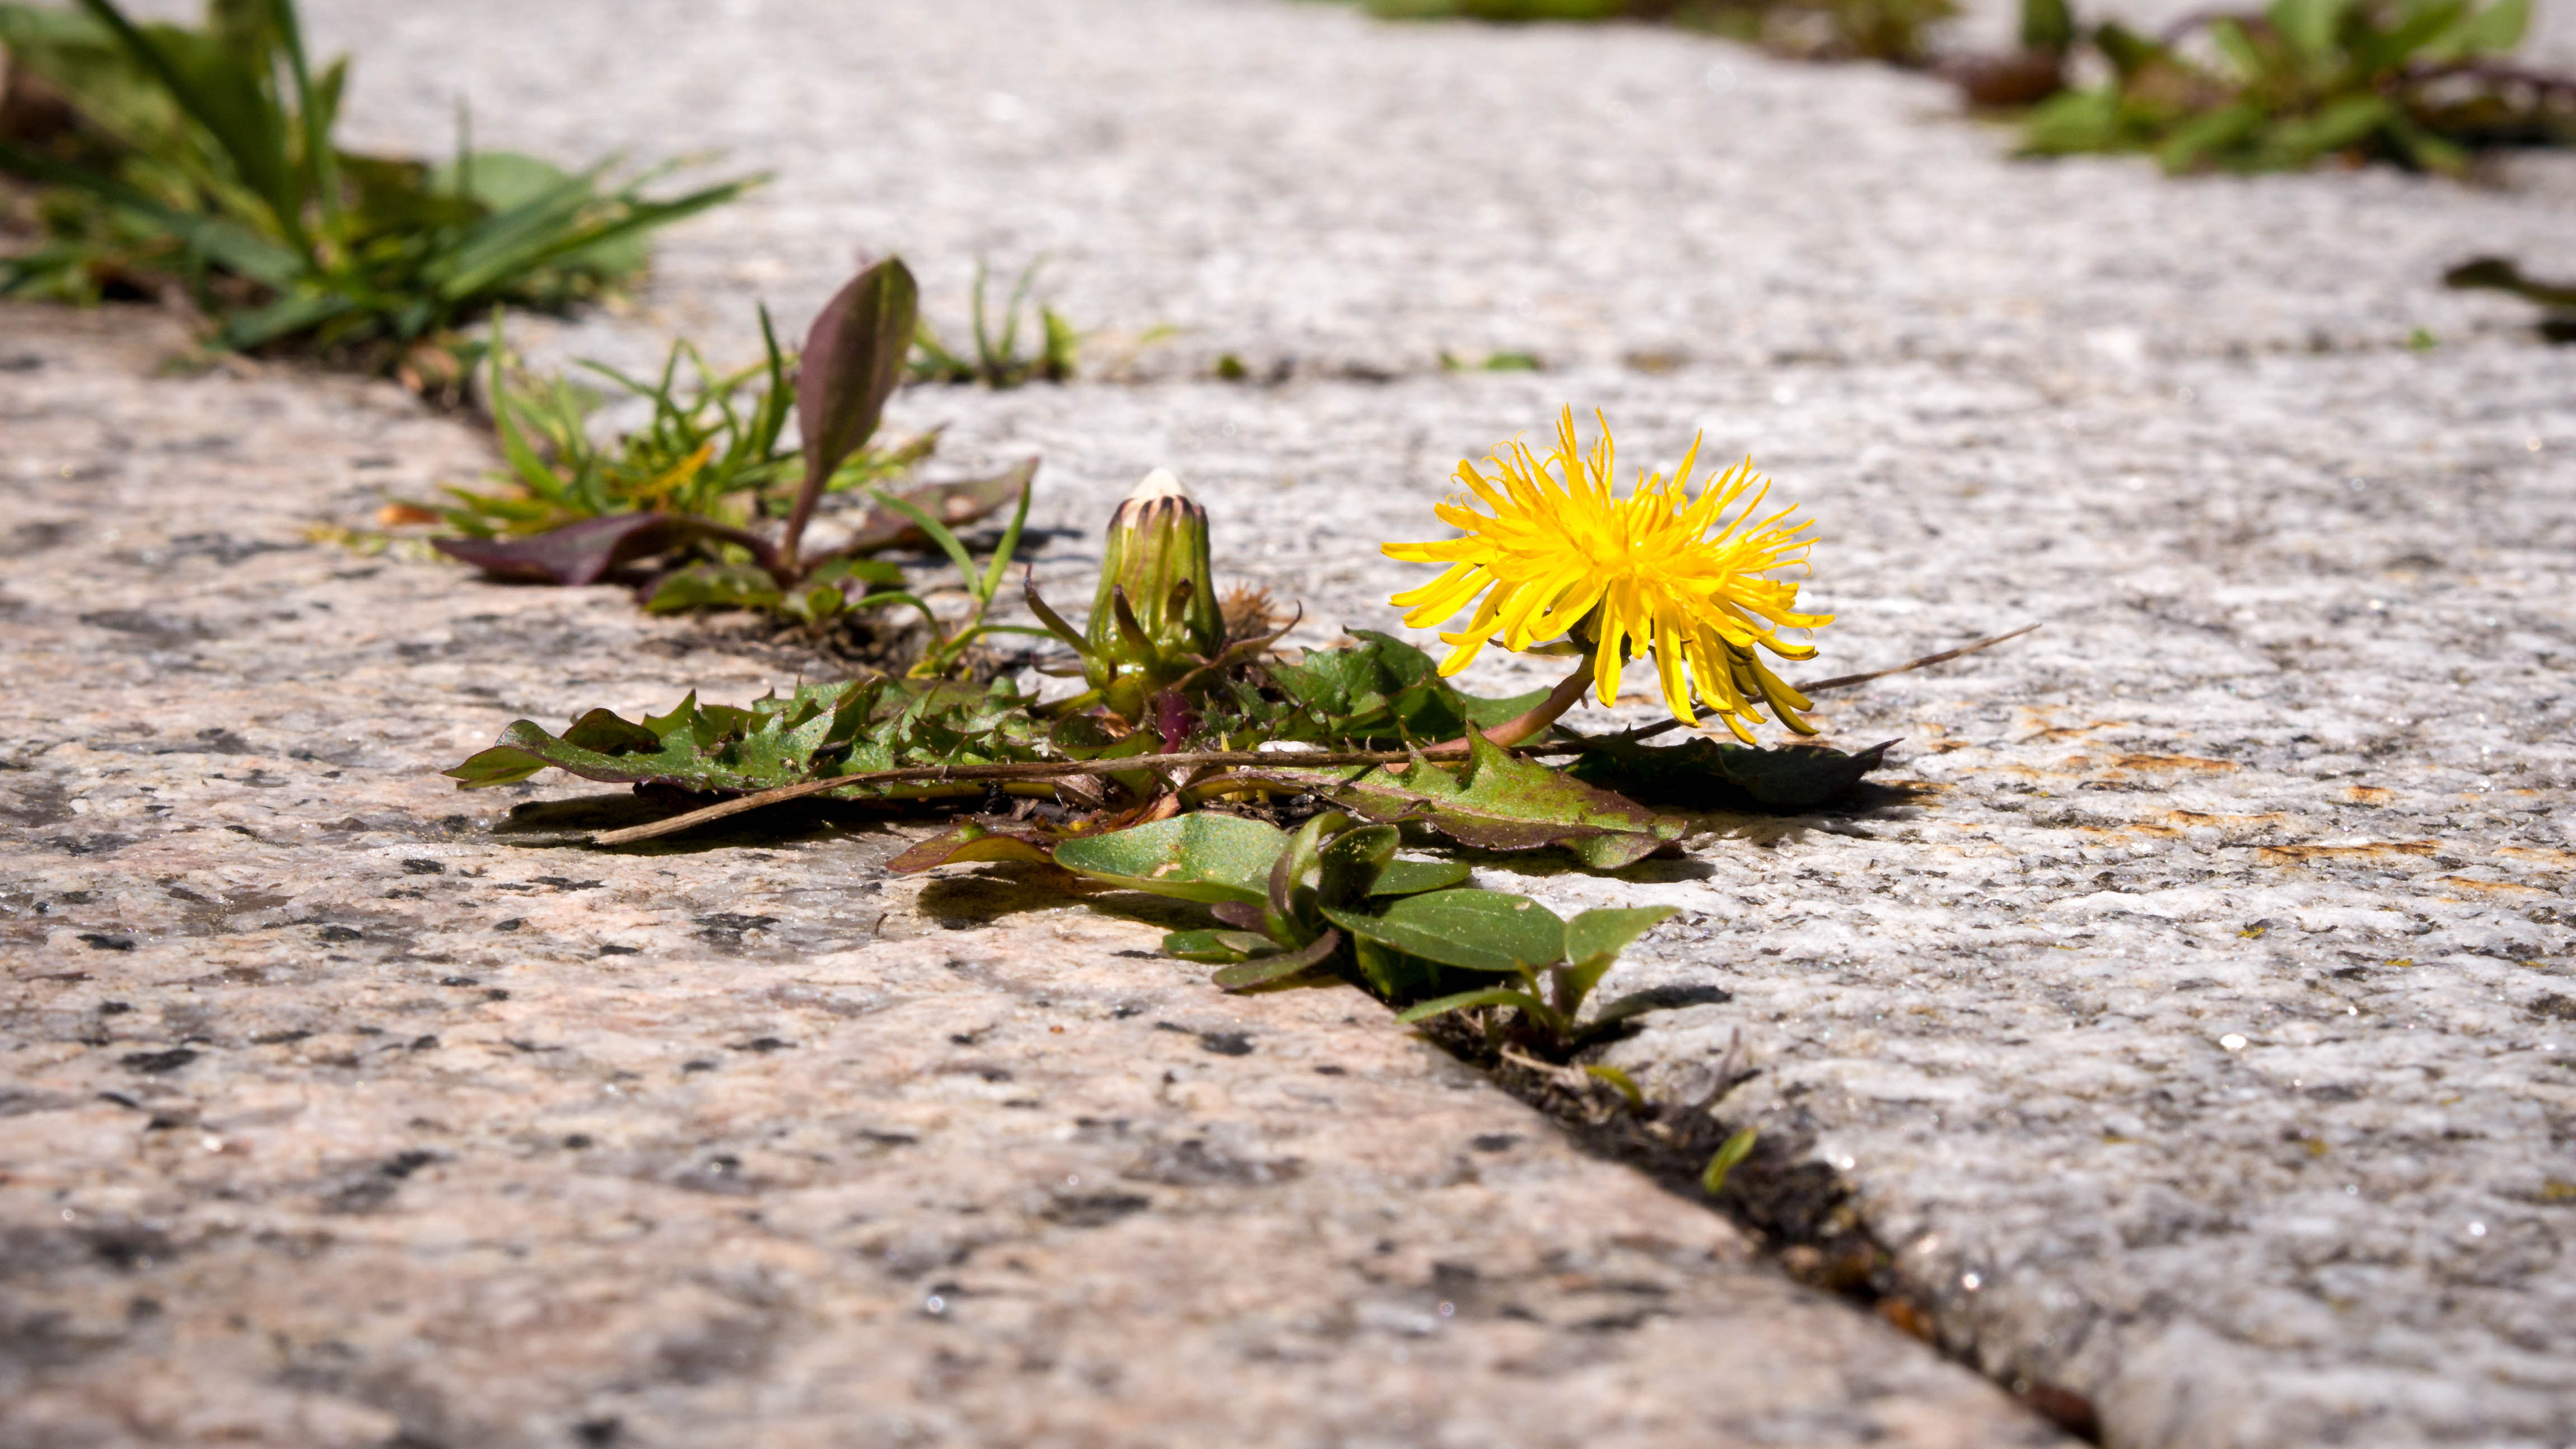
Some suggest you should use boiling water to kill any weeds that have spontaneously sprouted in-between patio slabs. We see this as a mistake. This will likely damage the weed on contact, but it may not fully kill it, particularly if it’s established and the root system is deep.
Boiling water could damage any nearby plants on application, and you can easily burn yourself in the process too, so we don’t recommend it. Stick to using a dedicated weed killer or manually remove it. Here are 7 ways to remove weeds from your patio for some inspiration.
More from Tom's Guide

Katie Mortram used to be a Homes Editor for Tom's Guide, where she oversaw everything from kitchen appliances to gardening tools, as well as smart home tech. Specializing in providing expert advice for cleaning and home manintenance, she now works as Household Advice Editor for Good Housekeeping.
 Club Benefits


