So You've Got a 3D Printer: Now What?
Buying a 3D printer is just the beginning. Here's how to get started with 3D printing, from finding models to print to familiarizing yourself with the printing process.
If you find yourself the proud new owner of a 3D printer — whether as a gift or a personal purchase to try out a new hobby — you've probably unboxed your new printer, plugged it in and produced the test print that comes with the device. But now what do you do?
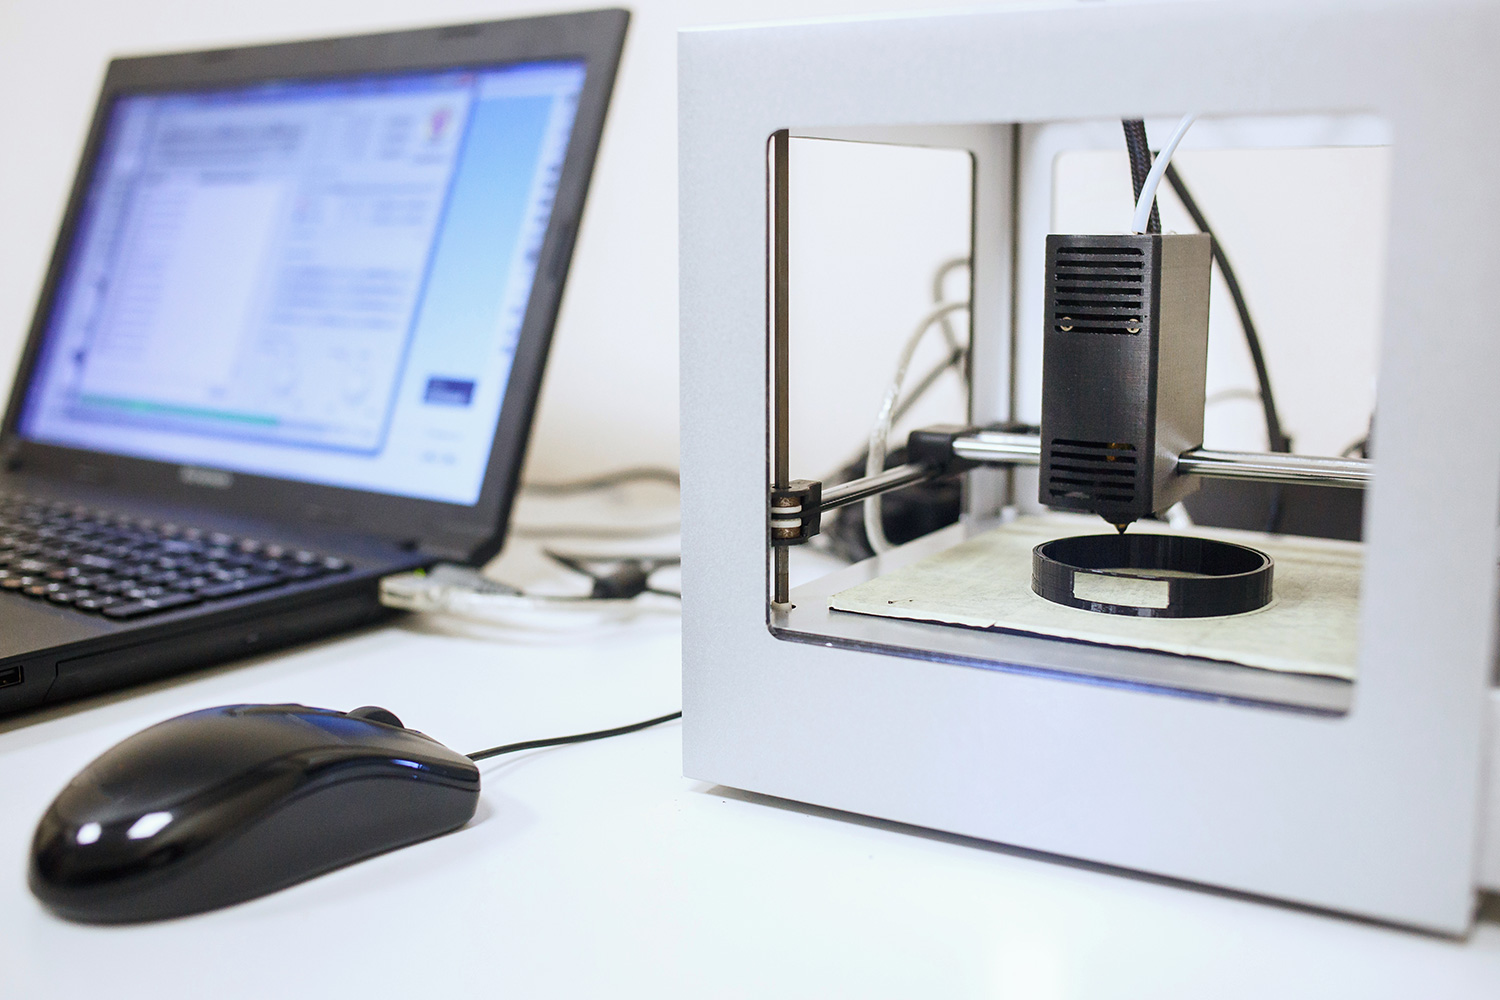
It's time to step into the wide world of 3D printing. That includes finding or making your own 3D models, prepping them and printing them out. Here's how to take your next steps in 3D printing.
Find Things to Print
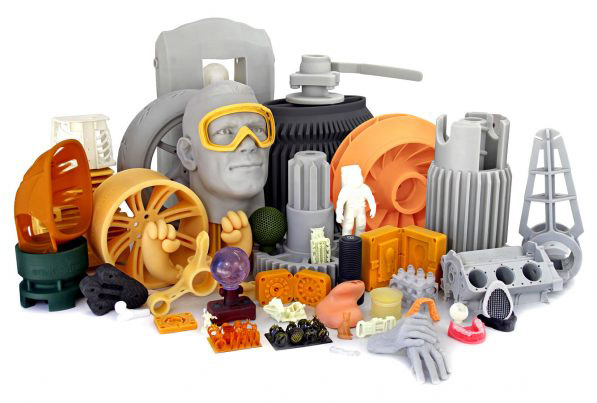
There are a huge number of places to find 3D models that you can turn into real-world objects with your 3D printer. Start with 3D models sites like Thingiverse, MyMiniFactory and Threeding. These sites offer 3D models for free download or purchase that have been created by the sites' other users. Search any of those sites, and you'll find an incredible range of models, from engineering parts to toys, many of which can be freely downloaded, used, copied or edited as you want.
If you are looking for models of specific objects, focus your search on where they are made or held. NASA, for instance, offers free 3D models of most of its spacecraft, buildings and other things they have built. Want to print a Saturn V rocket? Here you go. The space agency also offers 3D scans based on the data that these spacecraft have captured, such as models of the Apollo 11 landing site, asteroids and much of Mars.
Many museums are also getting into 3D printing, offering free downloads of scans of their sculptures. The British Museum, for instance, now offers 3D scans of more than 200 of its most famous treasures, from the Rosetta Stone to Marcus Aurelius.
It's also easy to create your own 3D models to print, either by scanning objects or creating your own designs from scratch. To scan an existing object, use an app on your cellphone, like Qlone or Scann3D, that uses multiple photos to create a 3D model of an object.
If you want to try creating your own 3D model, websites like Tinkercad or programs like SketchUp allow you to create 3D models using simple tools. Both of these are surprisingly capable, and can create very complex or intricate objects.
Get instant access to breaking news, the hottest reviews, great deals and helpful tips.
If you have a virtual-reality (VR) setup like an Oculus Rift, you can also create your own 3D models. With a program like Oculus Medium, you can create your own 3D sculptures that you can then output with a 3D printer.
Preparing 3D Models for Printing
So you've obtained your 3D model. It's now time to get it ready to print.
Most 3D models for printing come in a format called STL, where the files end with .stl. These are the easiest files to work with, so if the site or program that your models came from offers that option, save the file as a .stl file.
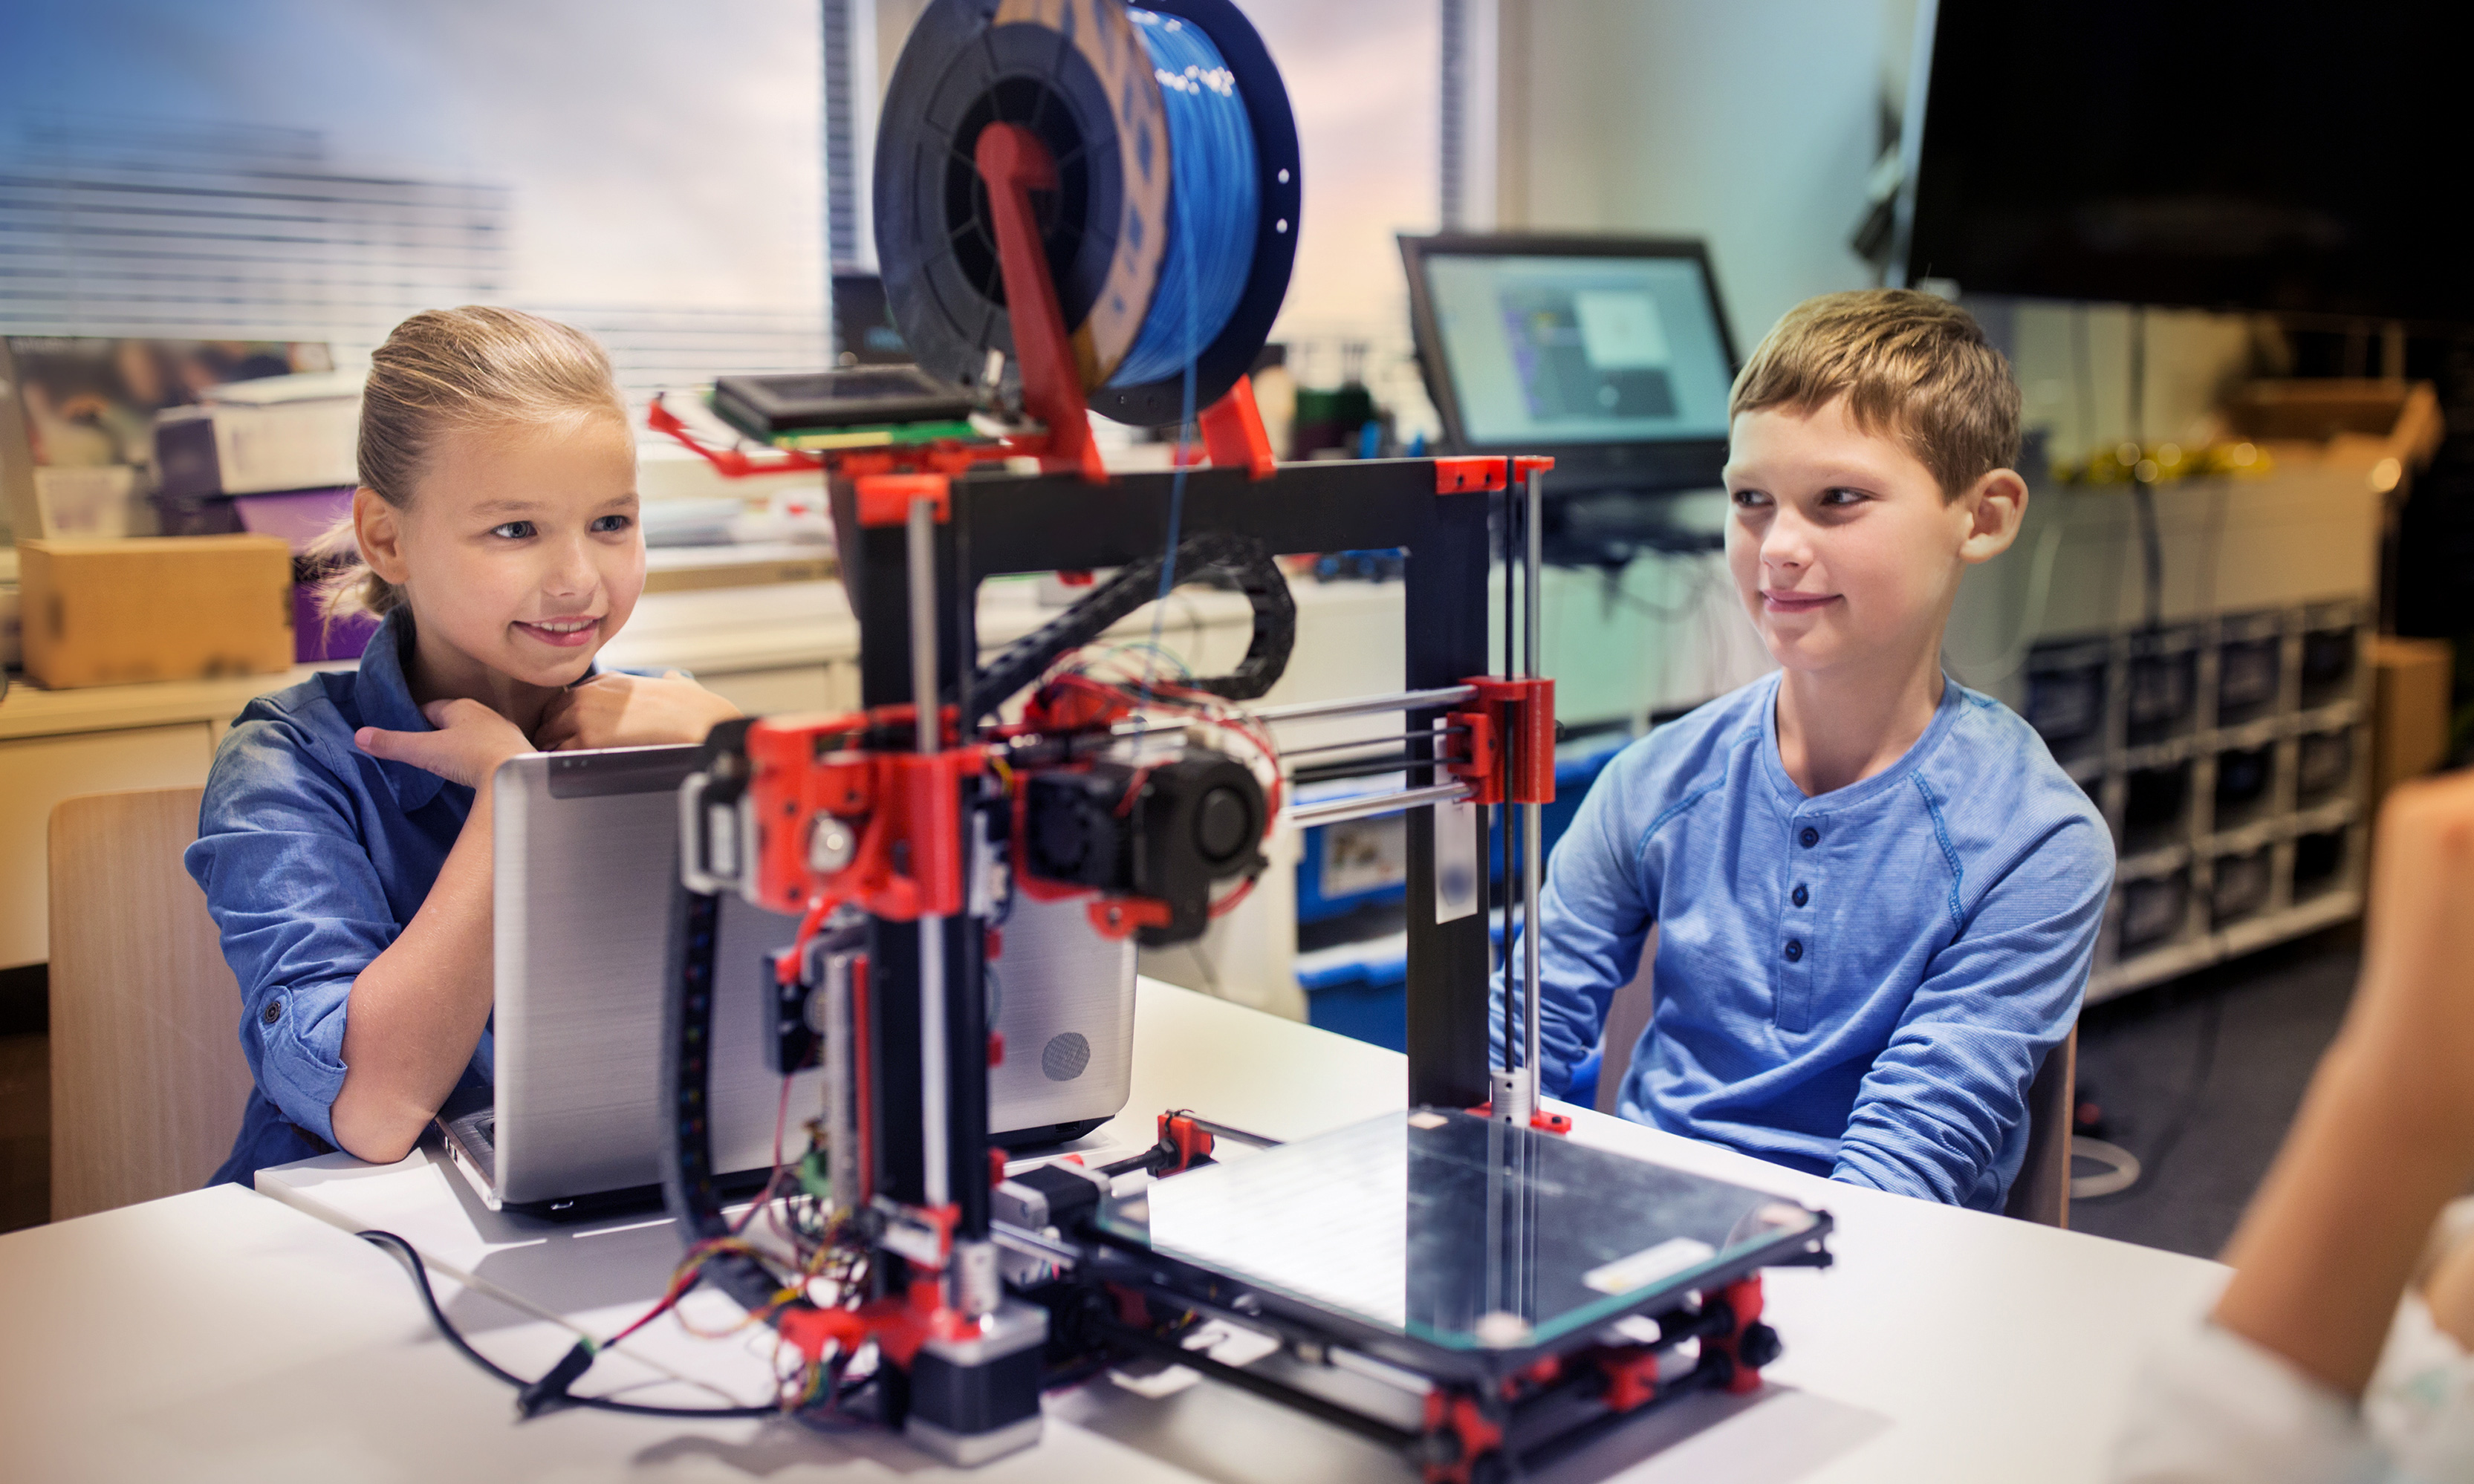
If the 3D model isn't available as an .stl file, don't panic. Many 3D printing programs can load other formats, such as .obj, .cat and .prt, among others. If the program your 3D printer uses doesn't support the format of your 3D model, use an online tool such as an online 3D converter that can process models from many strange formats.
Once the model is loaded into your 3D printing program, it's time to scale and move it. Scaling lets you decide how big you want the print to be. Many 3D file formats don't specify the measurements they use, so sometimes a model will show up at an unexpected size. If the model was created using inches as the measurement, for instance, but your program works in centimeters, your model will be about 2.5 times bigger than it is meant to be. Many programs offer a feature to convert a model to a different measuring system. You can also just scale it up or down by percentage.
You can also move the model around, putting it in the center of the print space for the best results. You also can rotate it, twisting it around to find the best angle to print.
For most consumer 3D printers, the best way to orient the model is either tall and thin, so that the tallest bit of your model points upward, or long and flat, so that the longest side lies on the print bed.
For instance, when we review 3D printers, we have a test model of Rodin's The Thinker statue. We print it upright, while a long, flat object — such as a case or box — is best printed with the largest flat area against the print bed.
After scaling and moving your model, your next step is to process it. That requires running a process called slicing, in which the model is cut into slices that your printer will create one on top of the other. You've got two decisions to make here: do you want to use supports, and how much infill should you use.
Supports are the extra pieces of the print that the program adds to hold bits of it up. If your model is complex or has bits that overhang (the arms and hands of our Thinker test sculpture, for example), you will need to add supports. You don't have to do this yourself: just find the option in the printing program to add supports, and it will create the support structures as it slices your model up.
Infill is the stuff inside the print. To save material, 3D prints are hollow, but they need something inside to give them strength, which is what infill does. You specify this as a percentage, which determines how much of the inside is filled.
A larger percentage of infill — say, 30 to 50 percent — uses more material and takes longer to print, but makes the final print stronger. Lower percentages of infill (under 30 percent) use less material, but the print will be weaker. If the print has moving parts (such as a set of gears) or will have something resting on it, use a higher percentage. Otherwise, for prints such as figurines or sculptures, use a smaller percentage to save printing material.
Once you have your printer set-up, it is possible to print several models, or several copies of the same model at once. This is called plating, and it's useful if you want to produce several copies of a single model, or print multiple parts of a project at once.
Printing & Finishing
3D printing can be a frustrating business, but the key is perseverance and testing. Most 3D printers require a lot of tweaking for best performance, which often includes running the same print several times to find the right settings for things like layer height and print speed. If a print fails, don’t panic; instead, change settings incrementally until you find the ones that work.
The settings provided by the printer maker are a good starting point. But don't feel bound by them, as we have often found that you can get better results by tweaking these settings further. Your fellow 3D printer users are also a great resource, so spend some time looking through the forums of the printer manufacturer or at places like the Ultimaker forums, where the people who write the popular 3D-printing program Cura hang out.
Once your print is finished, it's time to remove it and finish it off. Larger prints are often difficult to remove, but one tip is to use a painter's blade — a large, flat-edged tool that can slide under one edge of the print. Once you have one edge up, slowly push the tool farther in to gradually lift the print up.
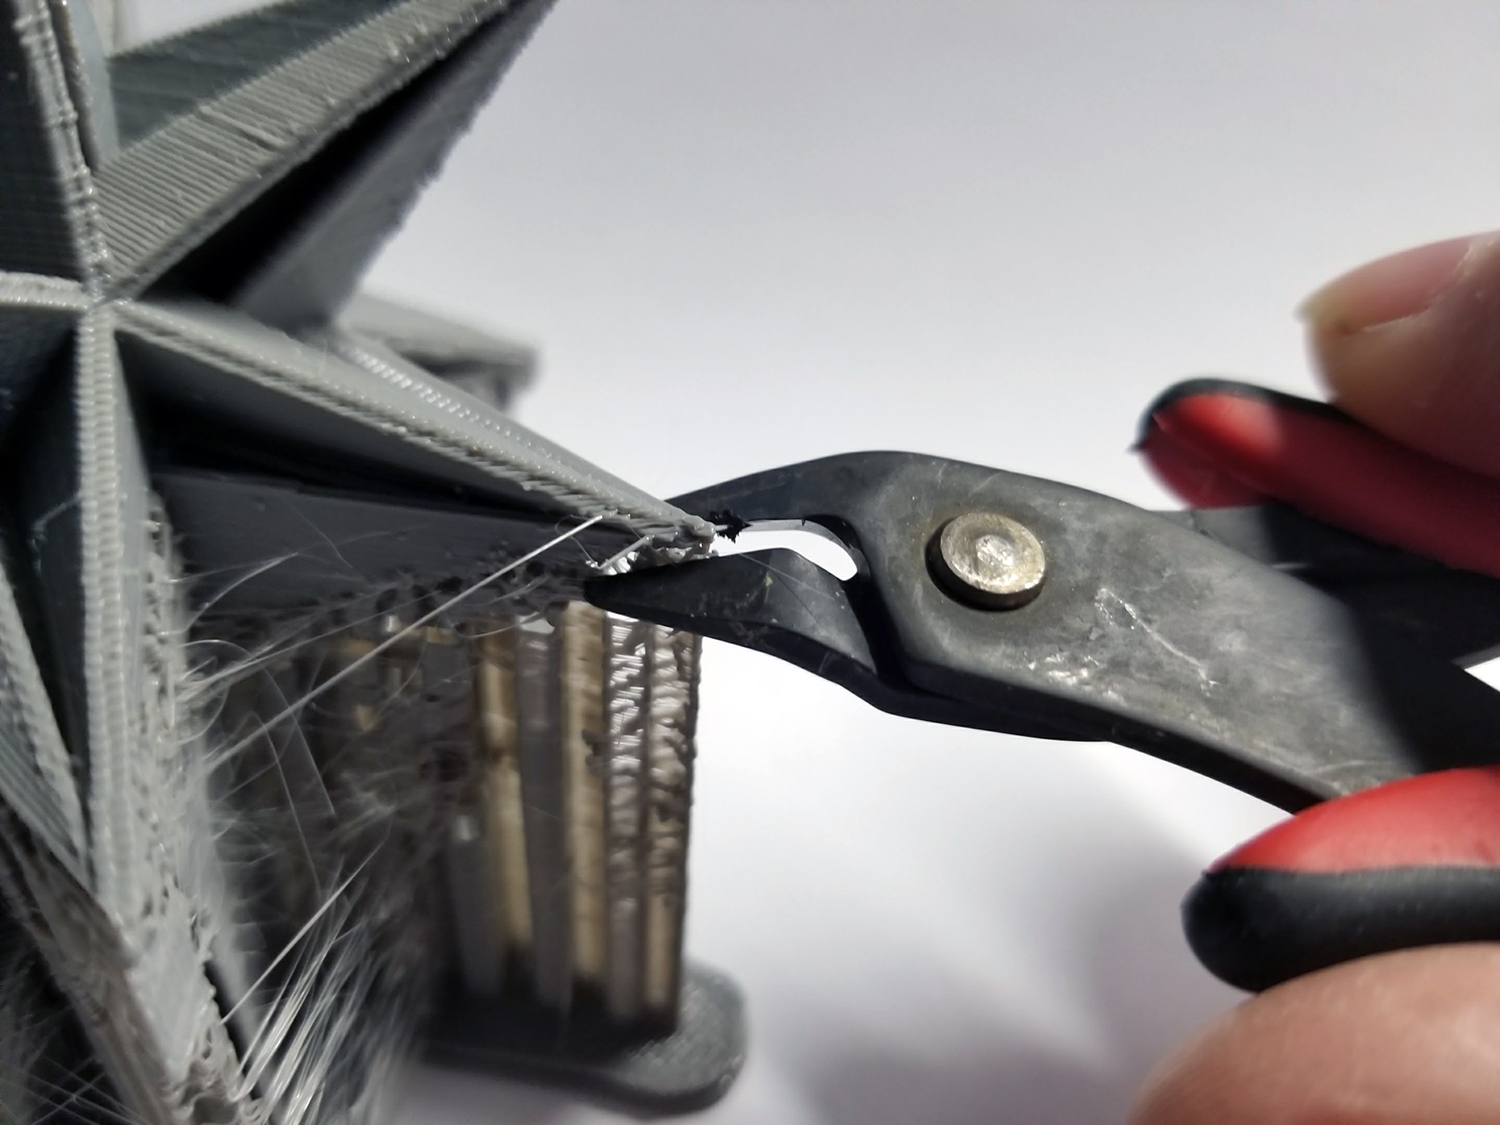
Next, cut off any supports using a pair of wire cutters, cutting as close as possible to the print body. Once you have the print clear of all supports and the base, use light sandpaper to remove the bits of plastic left over from the supports.
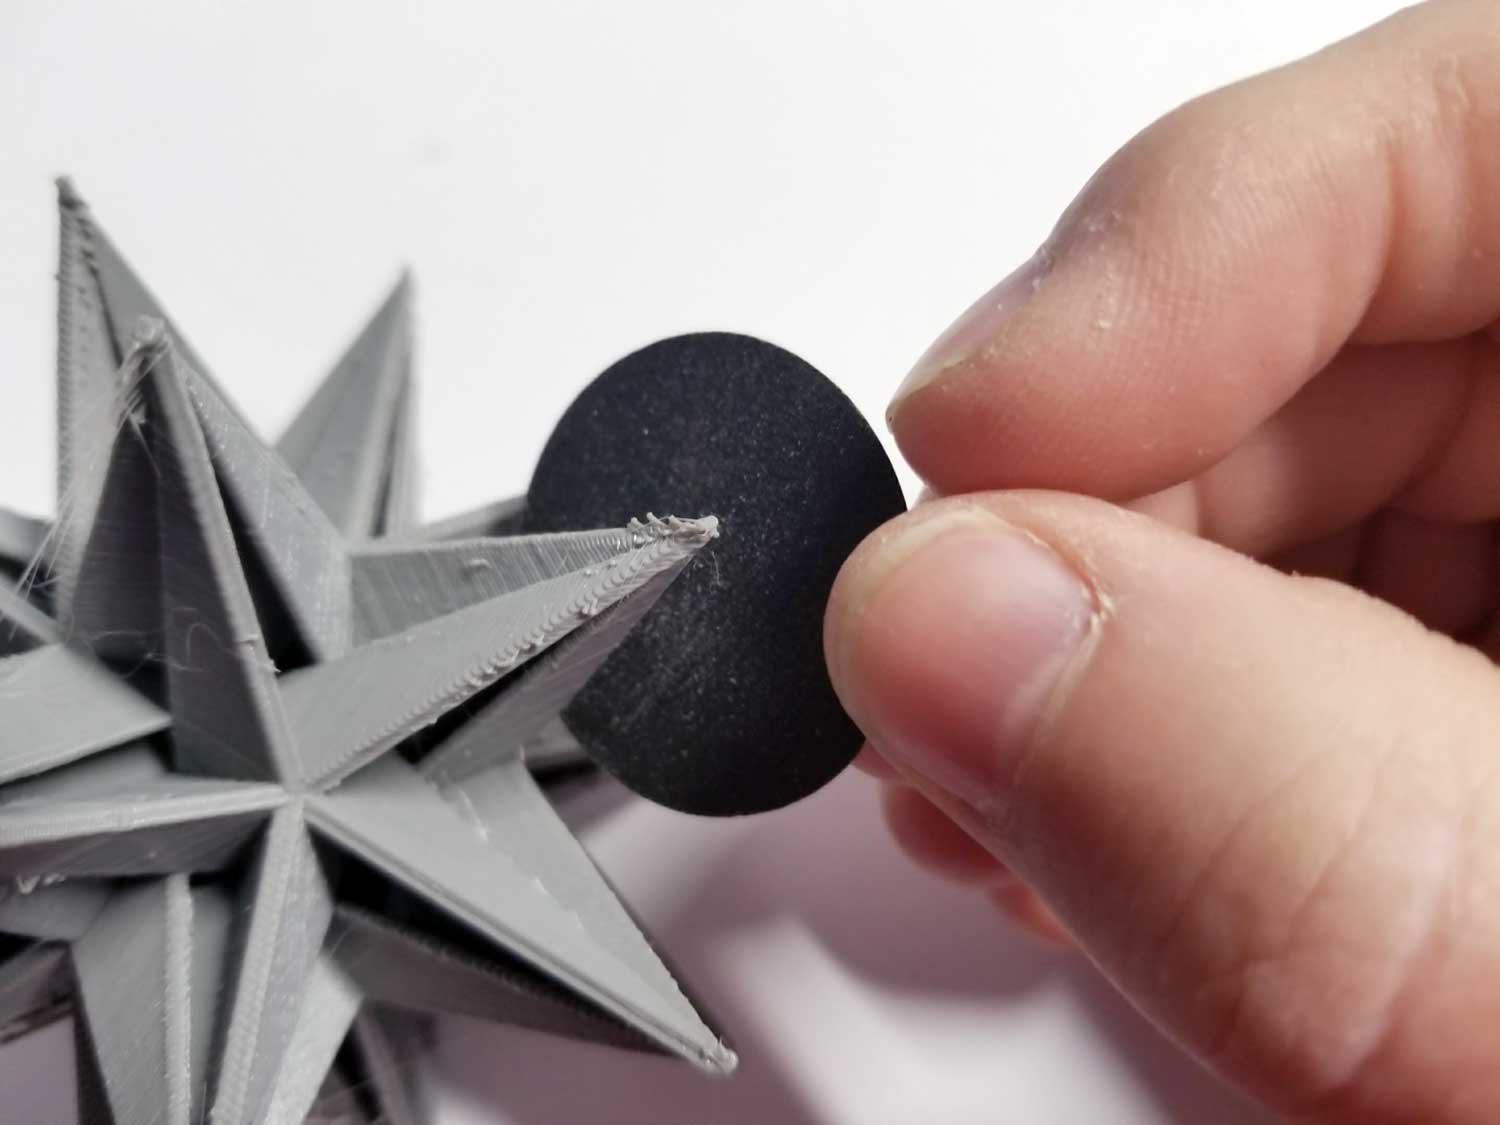
Many materials can be processed further to produce a different finish. ABS plastic, for instance, can be smoothed with acetone vapor to produce a glossy finish, but be careful as the vapor is very flammable. PLA can be covered with filler and sanded down for a surface ready for painting or detailing. Prints done with metallic filaments need to be sanded and polished to produce the metal effect.
Richard Baguley has been working as a technology writer and journalist since 1993. As well as contributing to Tom's Guide, he writes for Cnet, T3, Wired and many other publications.
