Tom's Guide Verdict
The Prusa Mini+ costs a bit more than bargain basement 3D printers such as the Monoprice Delta Mini v., But it is more capable, reliable, and produces better quality than most entry-level printers.
Pros
- +
Simple to assemble and set up
- +
Excellent software
- +
Very strong print quality
Cons
- -
More expensive than many beginner printers
- -
No remote control or monitoring
Why you can trust Tom's Guide
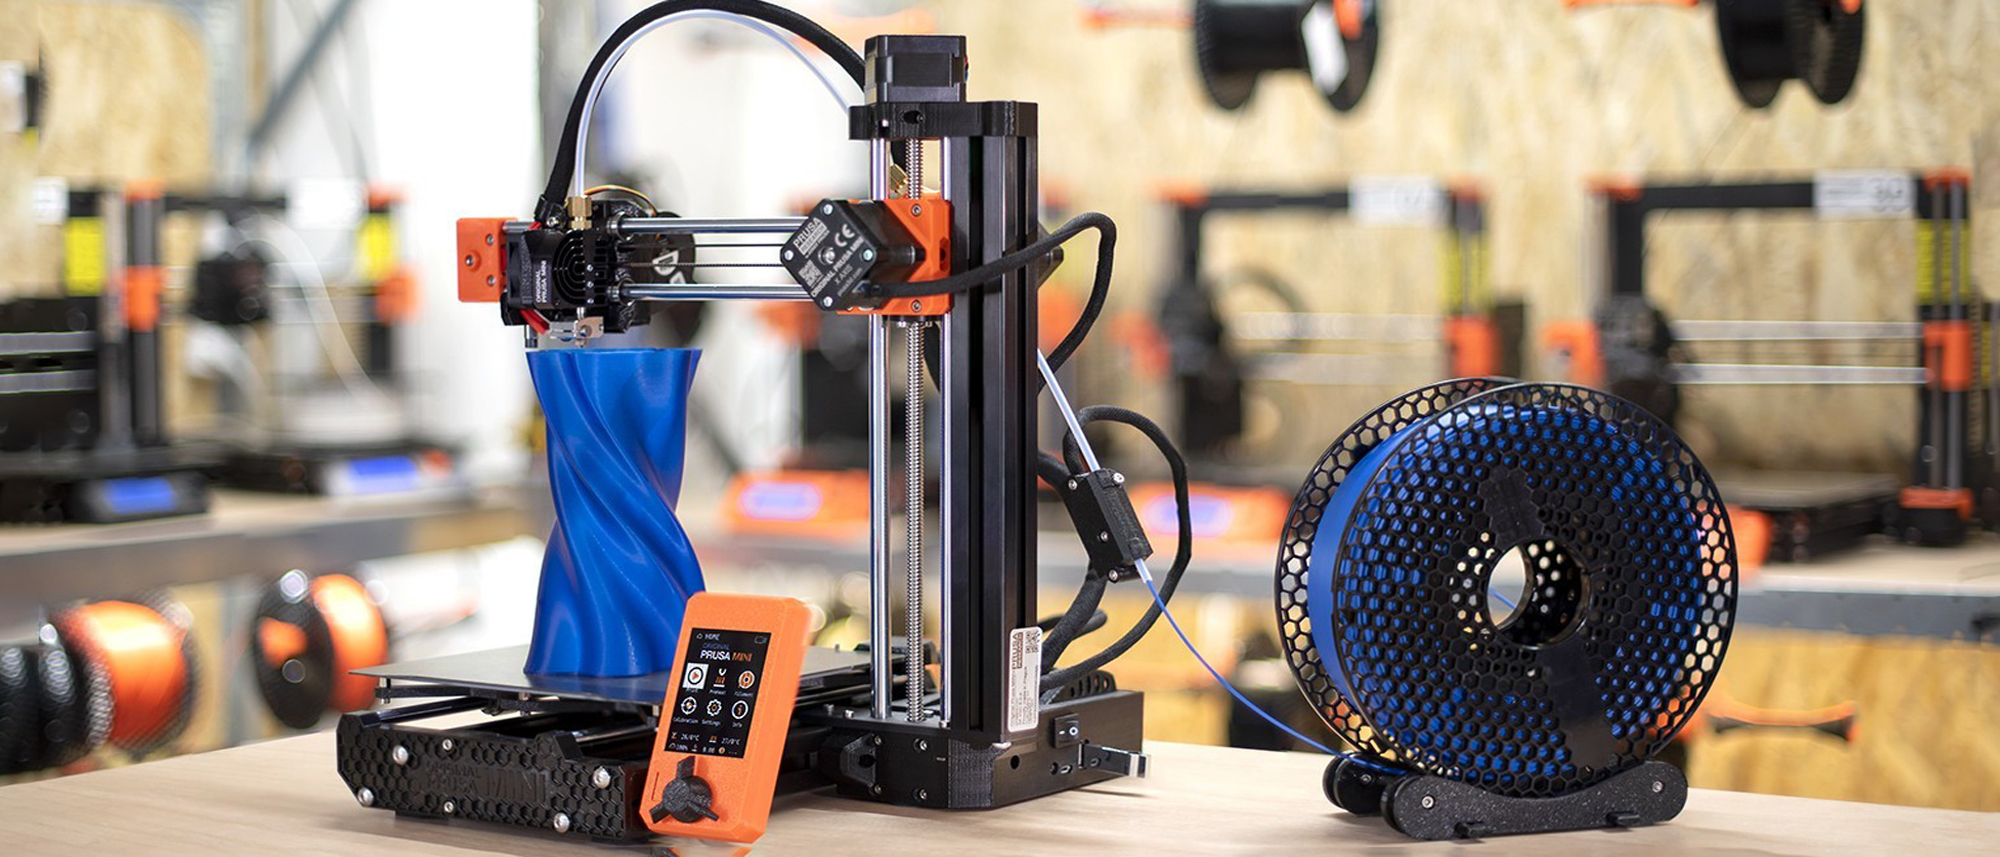
The Prusa Mini+ is a well-built, solid small 3D printer that’s ideal for those who want to experiment with 3D printing. We’ve seen cheaper printers aimed at beginners, from the Monoprice Delta Mini V2 to the XYZ da Vinci Nano. But you won’t mind paying up for the toughness and reliability of the Prusa Mini+, which is among the best 3D printers precisely because it’s so easy to use.
Prusa Mini+ 3D printer review: Price and availability
The Prusa Mini+ comes in two versions: a semi-assembled kit for $459 and a complete, start-from-scratch kit for $429. Both are available now from Prusa.
Prusa Mini+ 3D printer review: Design
Most of the Mini+ is 3D printed itself, with the addition of pieces of extruded aluminum and metal rods to form the frame. The printer is not enclosed, so you’ll want to find a spot for it that avoids drafts or sudden temperature changes. The front of the printer includes a 2.8-inch LCD screen, with a combined control dial and button, plus a reset button.
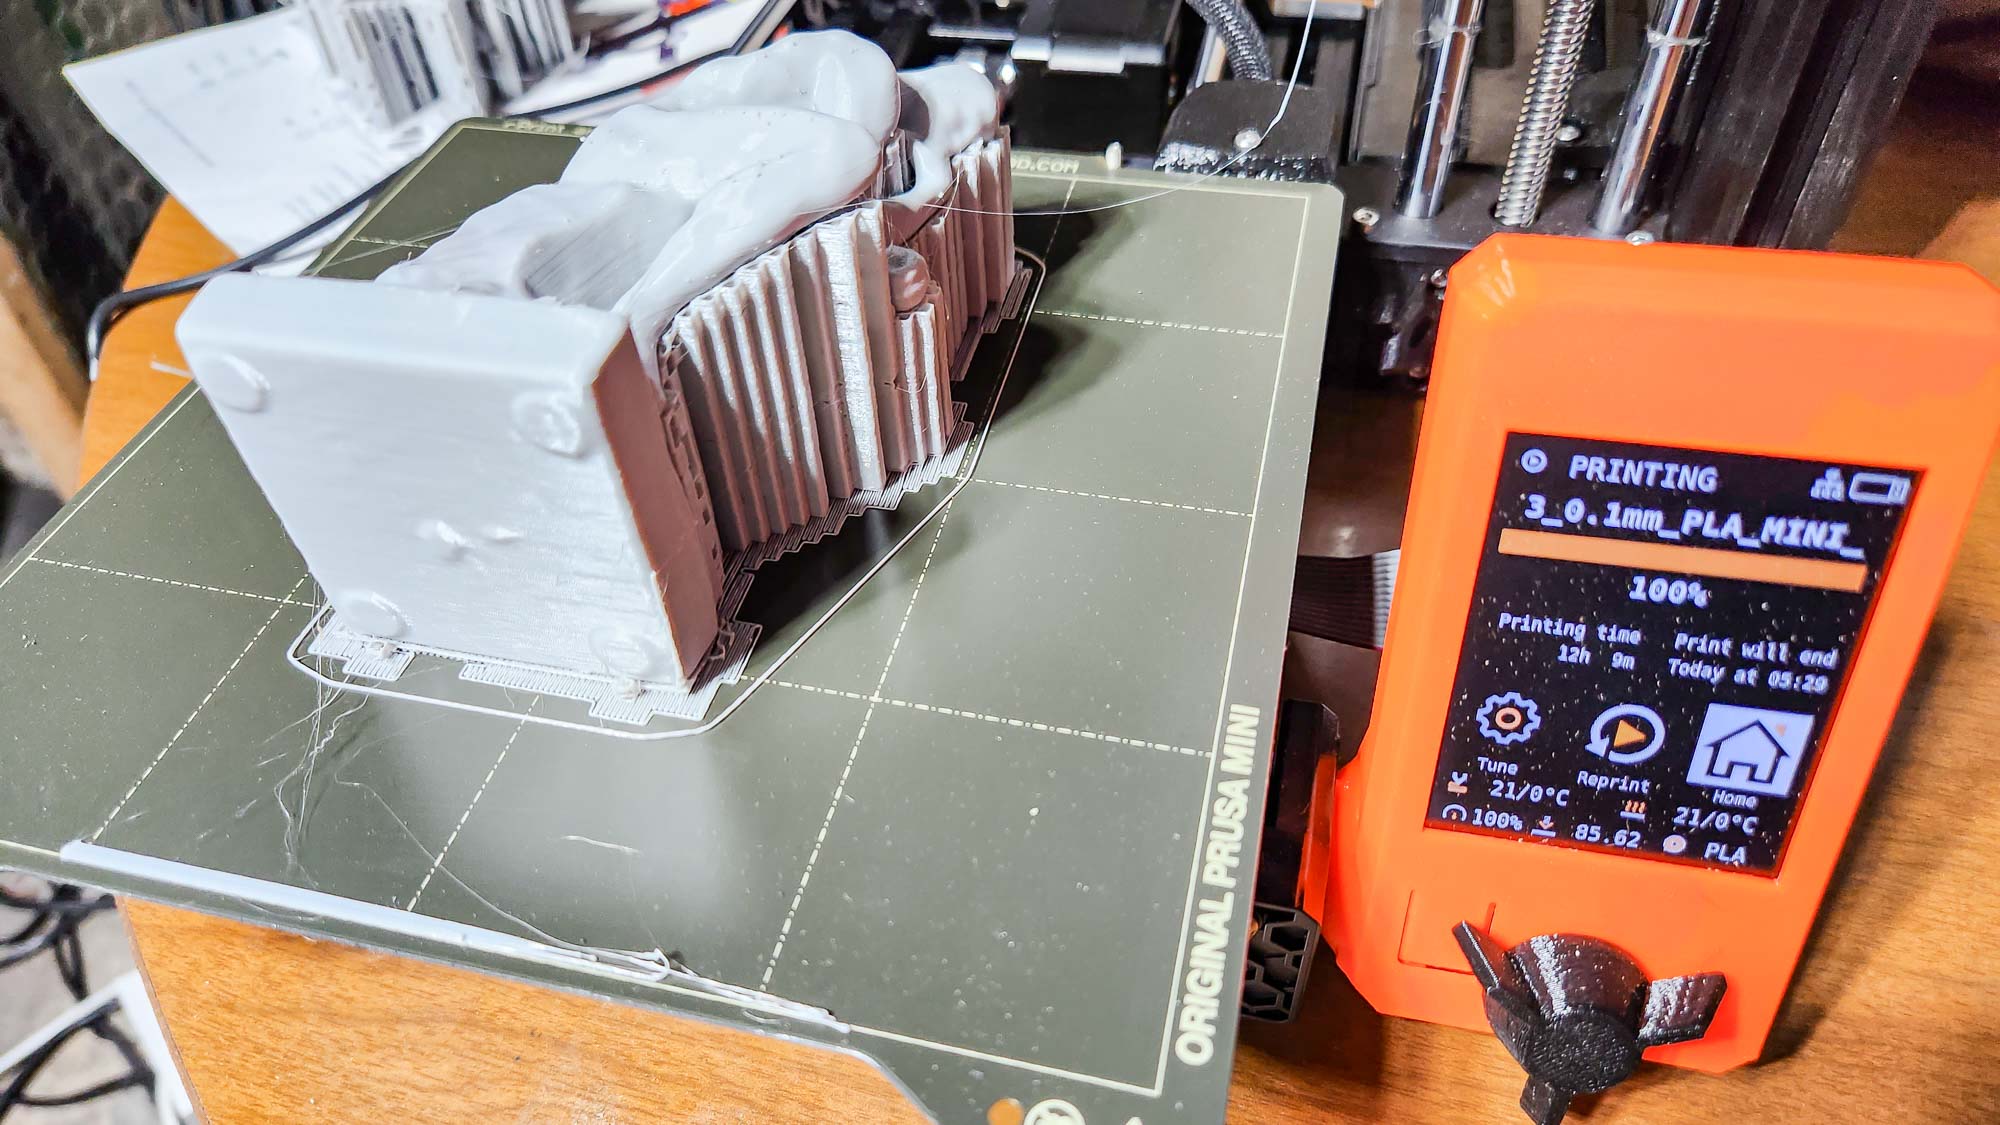
The main feature of the Prusa Mini+ is the print bed, which uses a removable metal plate. When a print is finished, you can lift the print bed off and bend the plate to help remove it. This also means you can quickly start another print by swapping out build plates — a big plus if you want to use the printer a lot.
This print bed offers a 7x7x7-inch print area for a total of 343 cubic inches. That’s a decent size, especially for a smaller 3D printer. While that’s slightly smaller than printers such as the Adventurer 4, the Prusa Mini+ is big enough to handle most things you are likely to want to print.
The Mini+ print head hovers above the print bed, moved by two motors that lift it and move it left and right. An additional motor moves the print bed back and forward. All three motors are quiet, so there are none of the usual crunching and grinding noises you’d expect to hear as a print is produced.
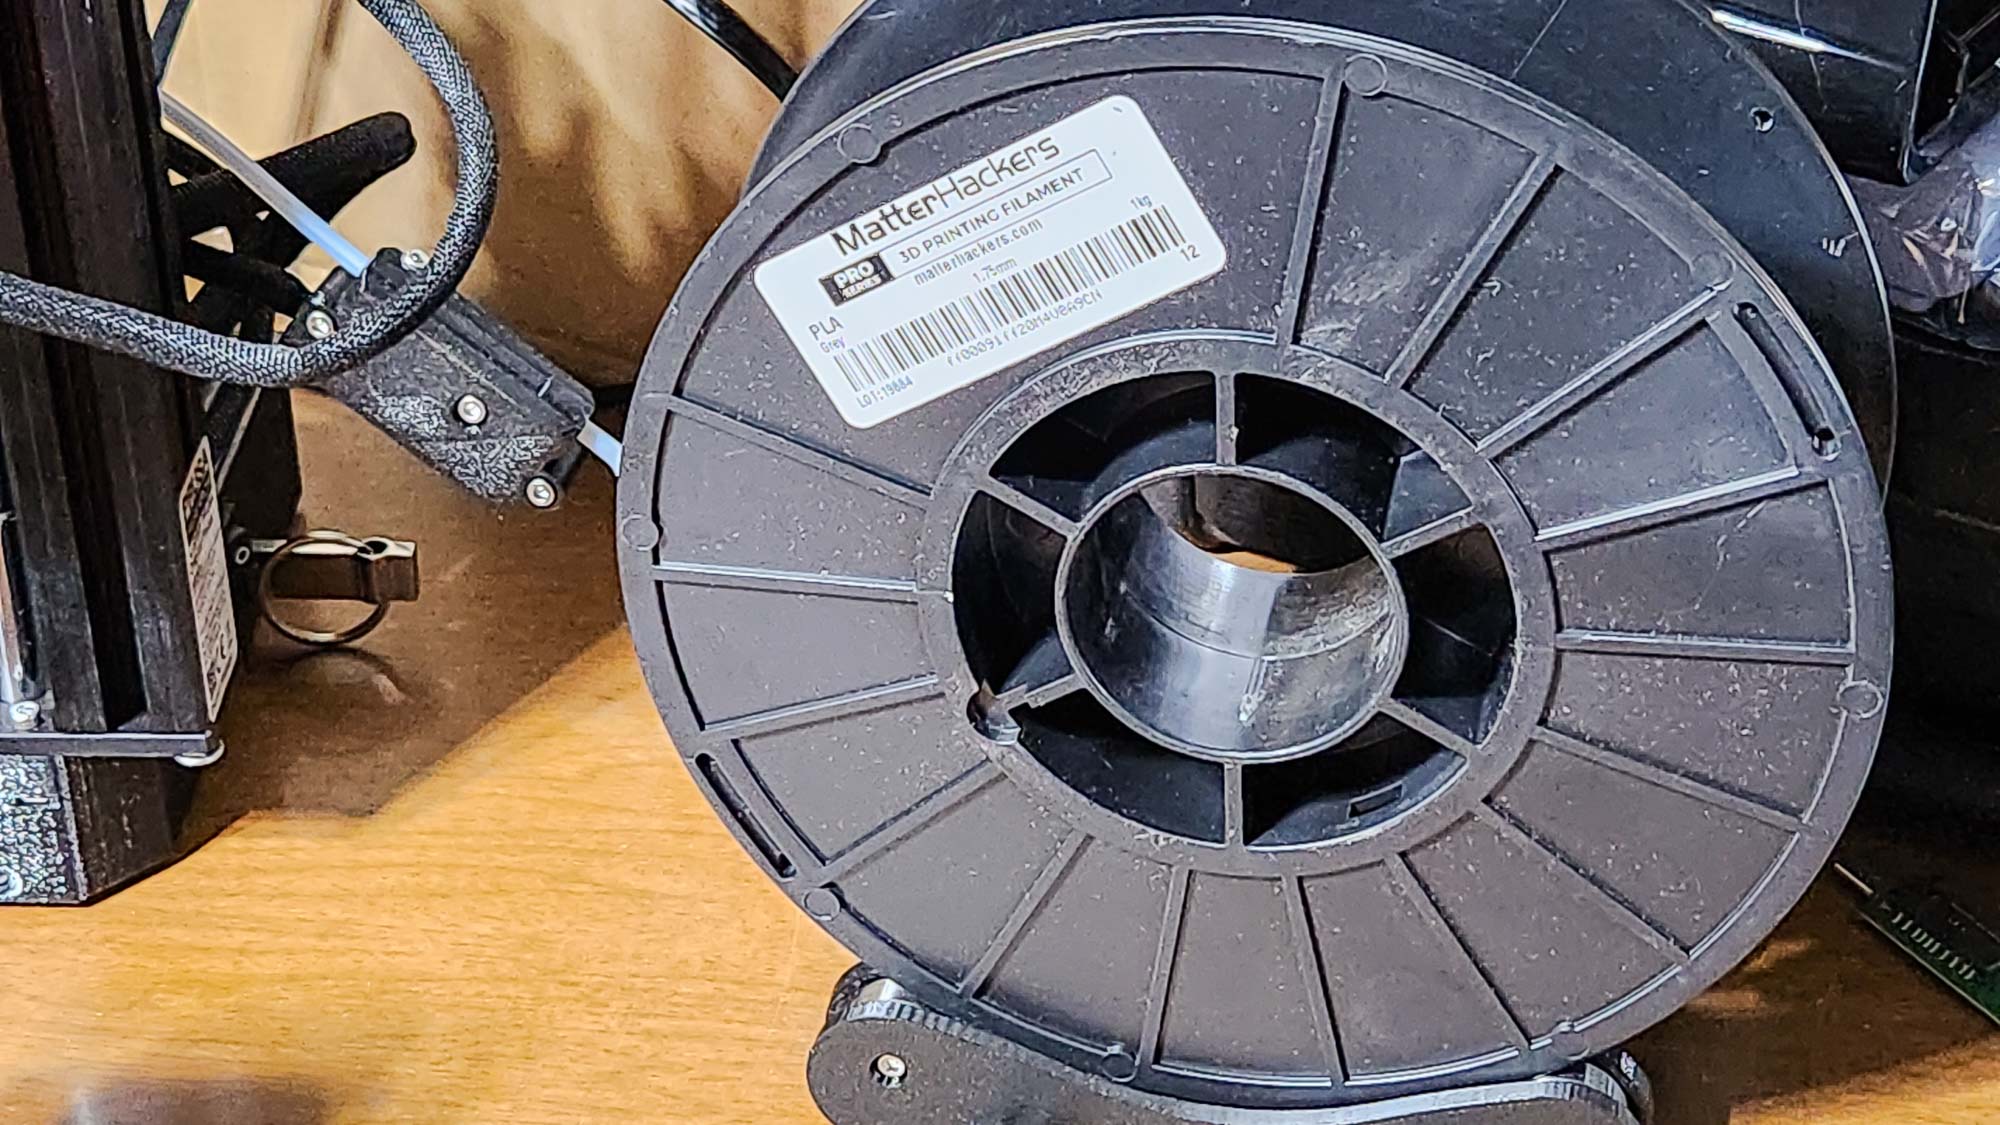
The Mini+ also has a neat holder for the filament spool, which uses four bearings to let the spool rotate freely. Another unusual feature is a filament sensor that detects when the filament runs out and halts the print in progress, giving you the chance to load another spool and save the print.
Get instant access to breaking news, the hottest reviews, great deals and helpful tips.
Prusa Mini+ 3D printer review: Setup
For this Prusa Mini+ 3D printer review, I tested the partly constructed kit, which is probably the better option for most people. The kit comes tested and calibrated, saving great hassle and heartache.
The build process is simple and well-described in the included manual. Some nice touches make it easier. Take the Cheatsheet, a printed guide showing all the screws and bolts at life-size. This avoids many of the common hassles of assembling a kit, like not realizing the difference between an M3X20 and an M3X25 bolt until you’ve already inserted it and can’t figure out why it doesn’t work.
The kit also comes with a small pack of Haribo bears, and the manual instructs you to eat these at various times during the process. I am not a big fan, so I substituted yogurt-coated raisins, which did not affect the build process and tasted better.
Once the Prusa Mini+ is built, you run through the calibration wizard, which tests the printer and helps you set it up. Again, this is well described in the manual and is mostly automatic. This walks you through loading the filament and setting the Z offset, the gap between the print bed and the tip of the filament extruder.
The Mini+ includes a sensor that detects the print bed, so you don’t have to level the print bed, but you need to set the Z offset, which involves running a test that squeezes a layer of filament onto the print bed, then looking to see how well this sticks and adjusting the setting to get the right height. It isn’t difficult and is fairly obvious once you get it right.
Prusa Mini+ 3D printer review: Printing process
To print a 3D model on the Prusa Mini+, you must prepare it and create a print file. The Mini+ uses a program called PrusaSlicer, available for Windows, Mac and Linux. This program is very nice, with a simple, clean design that steps you through loading the model, positioning it for the print, and then creating the print file that you send to the printer.
For materials, profiles for generic PLA, ABS, and PETG and several Prusa filaments are installed by default. A huge number of user-created profiles for filament from other manufacturers can also be installed if required.
PrusaSlicer includes many powerful features — models can be duplicated, spun around, automatically arranged, and tweaked in many ways. You also enjoy a lot of control over the printing process, with features like adding fuzzy skin to a part of a print to create a fiber-like texture that provides more grip.
Once the print is set up, you save the print file to a USB drive and transfer it over to the Prusa Mini+. At the moment, the Mini+ does not support wireless printing. A basic monitoring app is built into that 3D printer that uses its ethernet connection, but there is no way to start or stop a print remotely. Prusa is working on this with its Prusa Connect service, which only works with the more expensive Prusa 3 printer at the moment; support for the Mini+ is promised in the future.
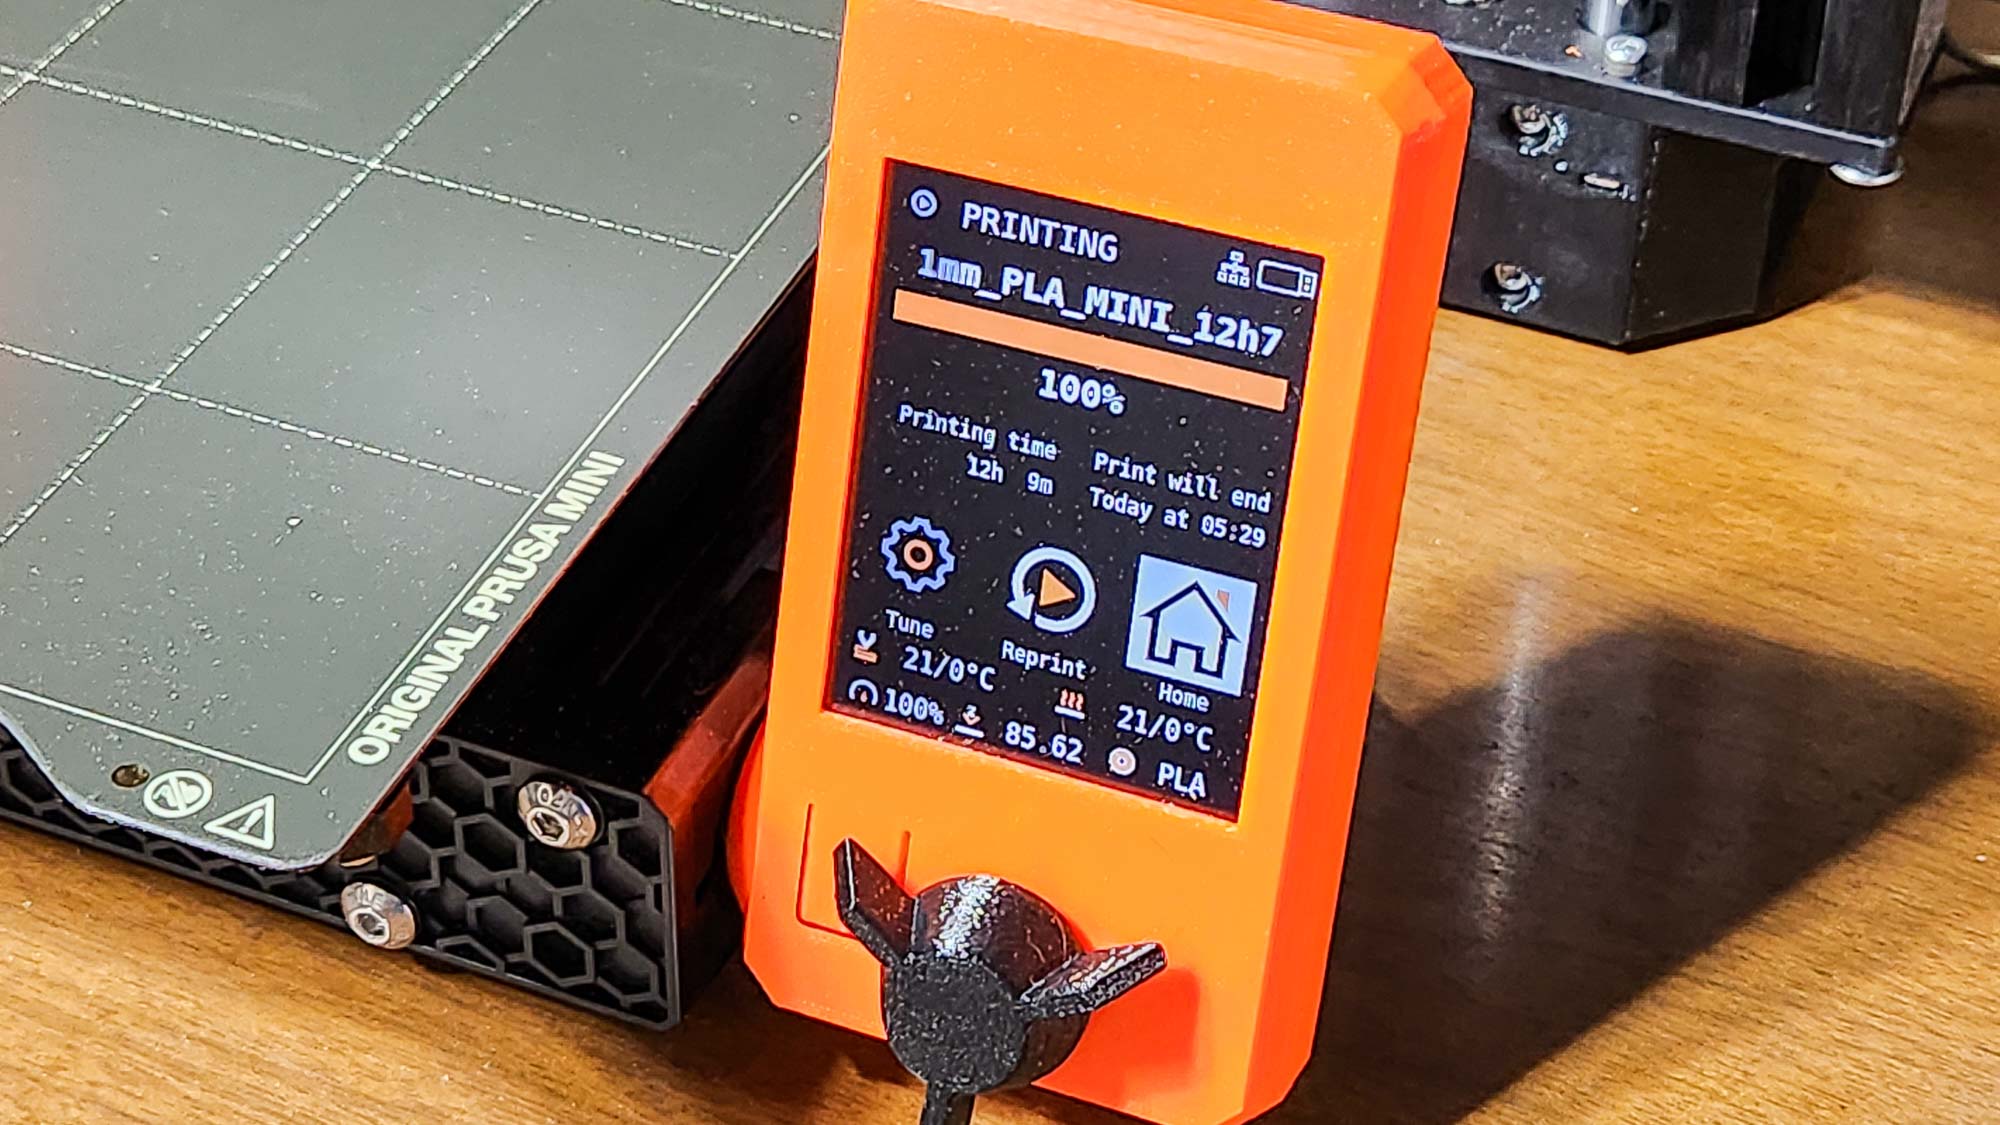
When you insert a USB drive containing a print file into the Mini+’s USB port, the printer’s LCD screen shows a preview of the print and the basic info, automatically selecting the most recent one. You can start the print with a single click of the controller. That lovely, simple touch makes things quicker and simpler: no more hunting through a long list of files to find the one you want.
The Prusa Mini+ is pretty quiet, producing only a slight humming noise as the motors turn, with the odd clonk or whirr as the printer head moves around. I wouldn’t want to try and sleep in the same room as it when printing, but it is certainly one of the quietest and least annoying printers I have tested.
When the print is complete, you remove the print bed and bend it to pop the print off. I had no problems with failed prints on this printer — all of my test prints printed correctly, popping off the print bed with ease.
Prusa Mini+ 3D printer review: Print speed
We found that the Mini+ was a fairly fast printer. When working in the 0.2mm quality print mode, our 4-inch high test model of the Thinker took 7 hours and 52 minutes. It could go faster, though, as switching to the 0.3mm Speed mode sped this up to just 4 hours and 22 minutes, although the print quality suffered somewhat.That’s still a bit slower than the Monoprice Delta Mini, which took 3.5 hours to do a similar print.
Prusa Mini+ 3D printer review: Print Quality
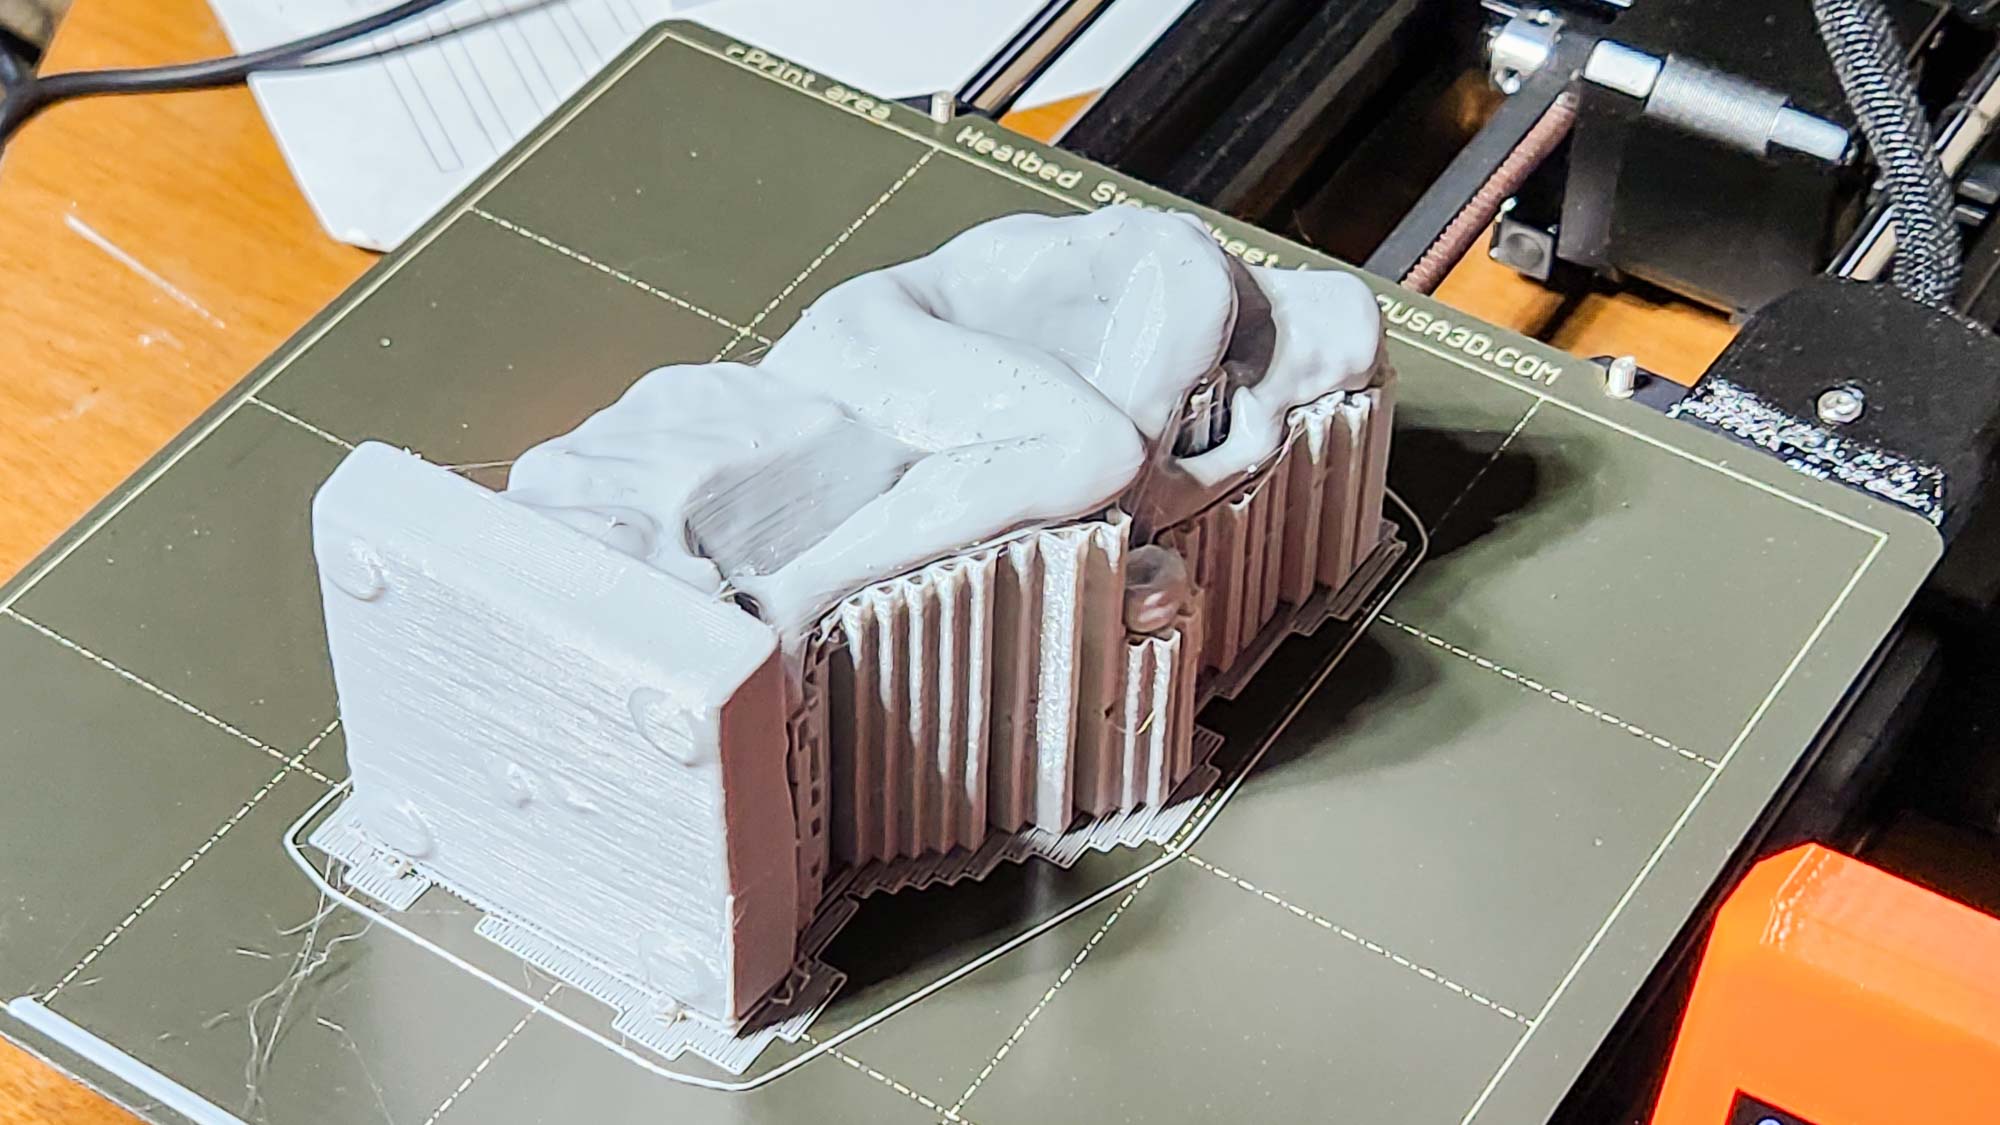
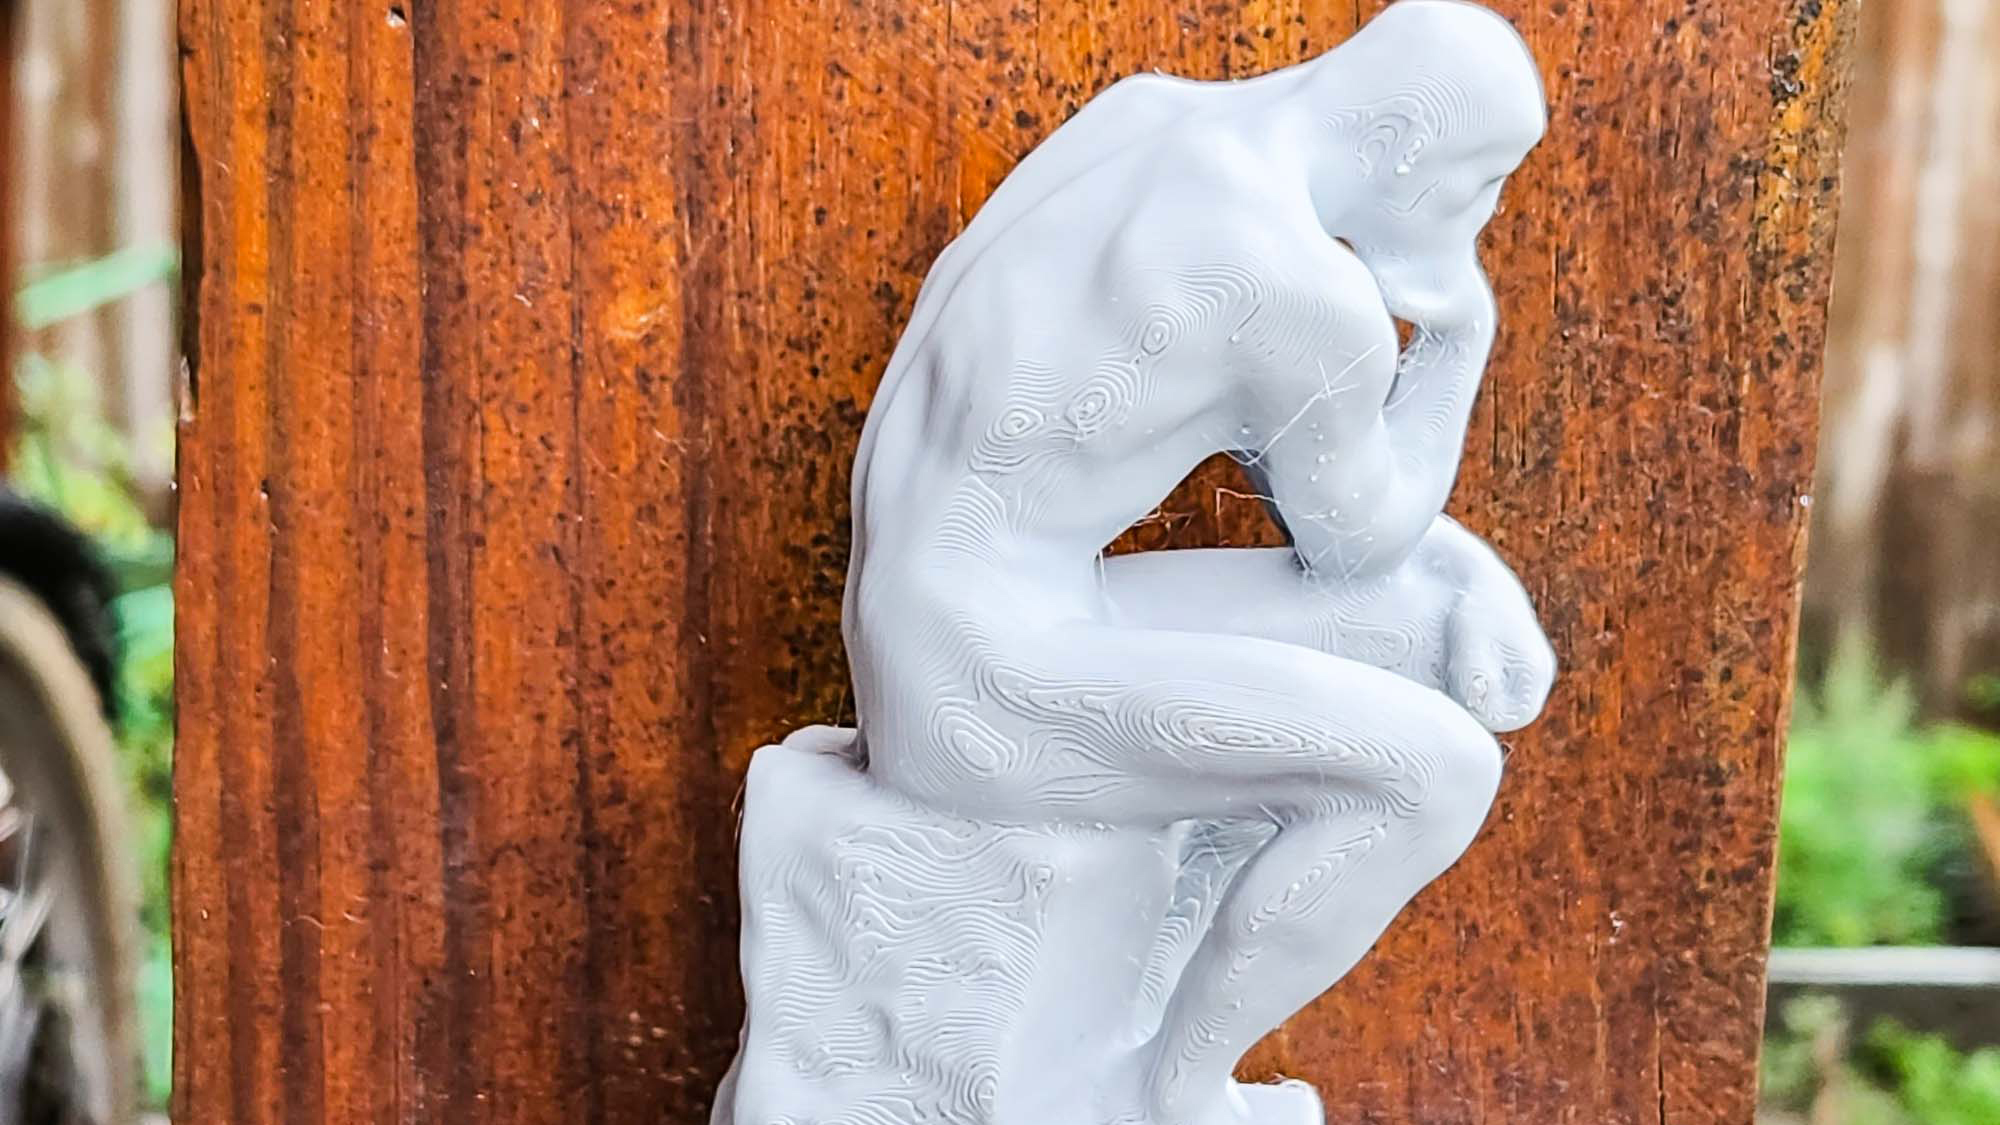
If you don’t mind the longer wait, the Mini+ can produce excellent quality prints. Printing in the Quality mode, I found that the Mini+ created excellent prints of all of our models, with smooth curves on the Thinker and sharp edges and tips on our geometric sculpture.
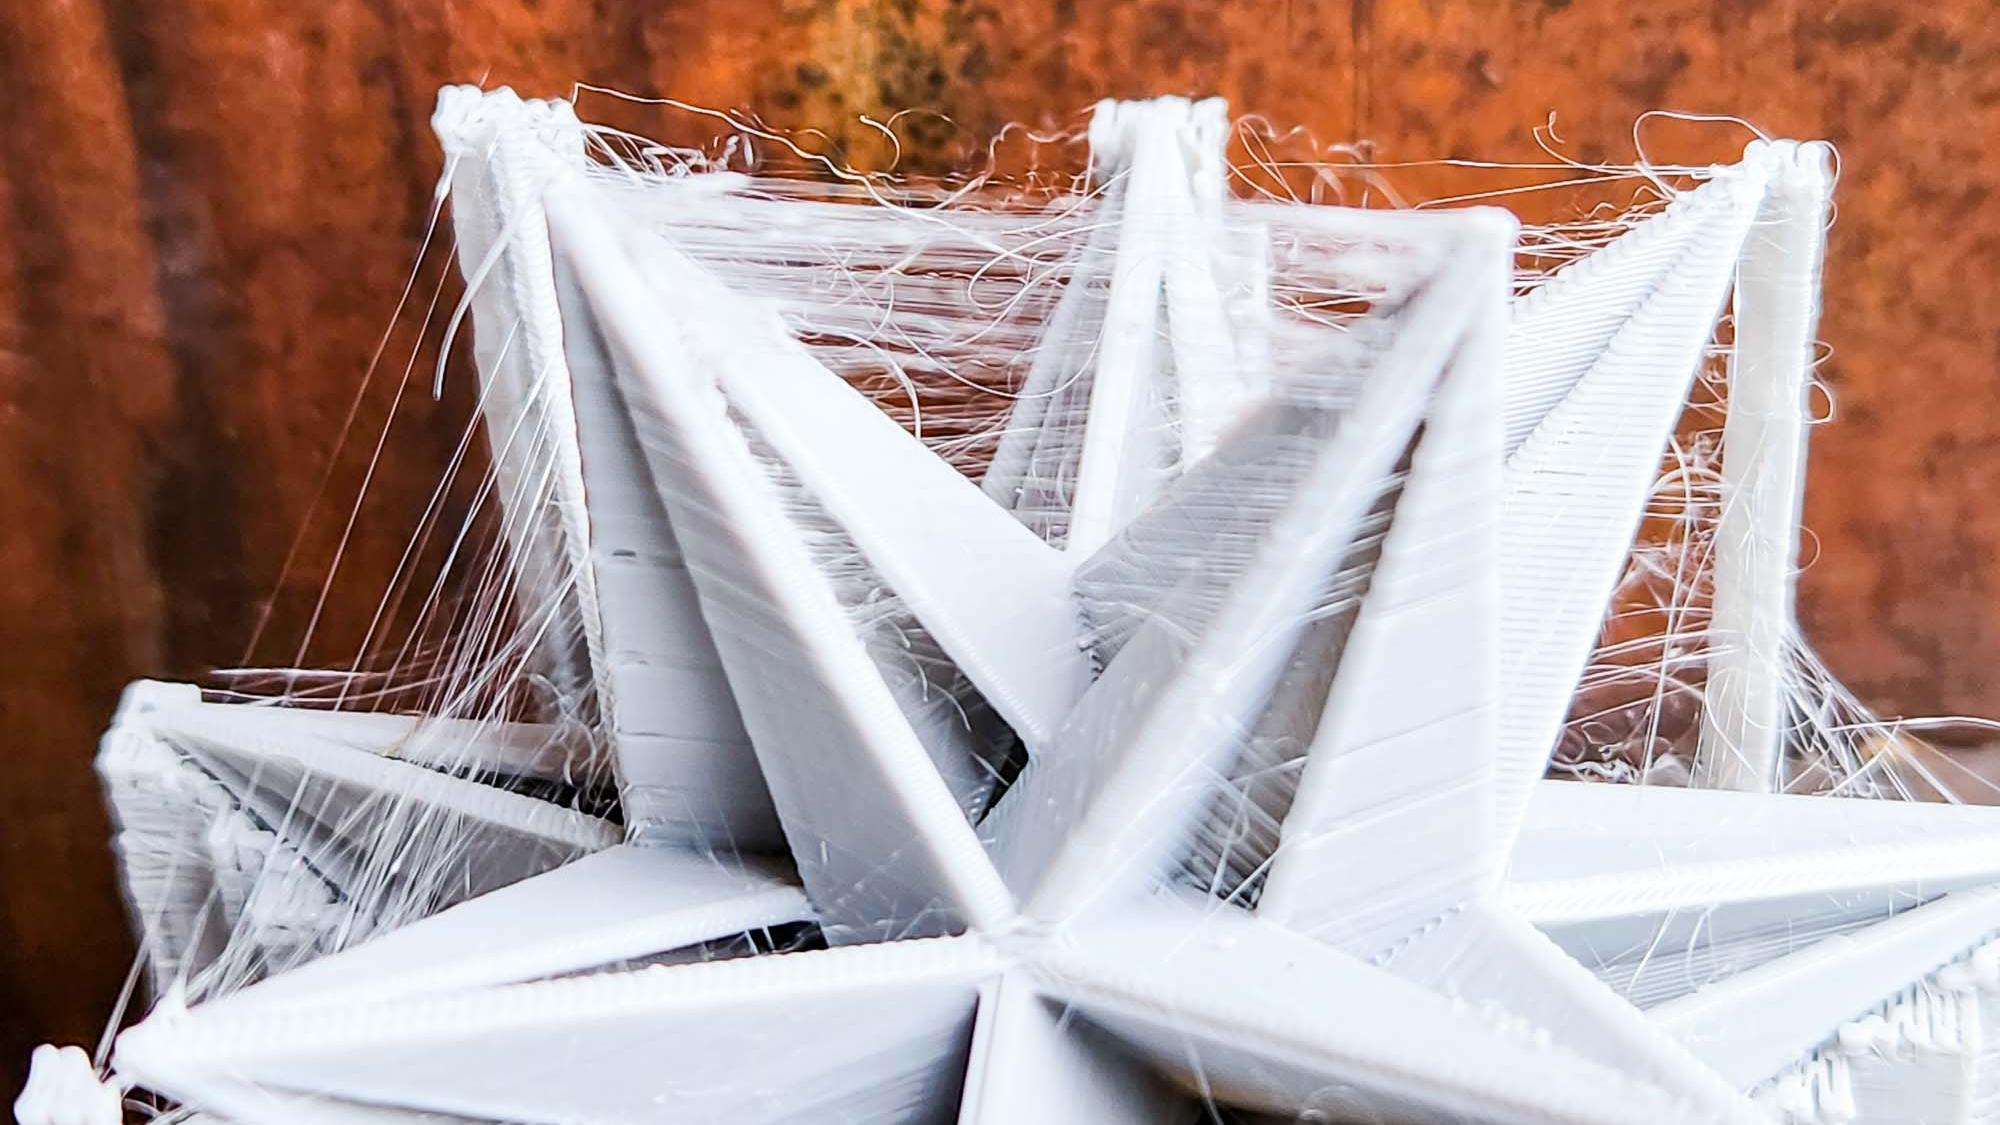
We did notice quite a lot of stringing on the geometric sculpture, though, where thin filament strings are left behind as the print head moves from one part of the print to another. We were able to deal with some of this with tweaks to settings in PrusaSlicer — specifically the retraction setting, which determines how the printer pulls the filament back into the print head when moving it from one part of the print to another. However, strings remained on some prints.
I also found excellent quality in our test where we produce a set of interlocking gears. These intricate parts fit together with very few issues, and the final mechanism turned smoothly and cleanly. The gears did need a bit of cleaning, though, as some small whiskers of filament stuck to parts of the print and had to be trimmed off with a sharp knife.
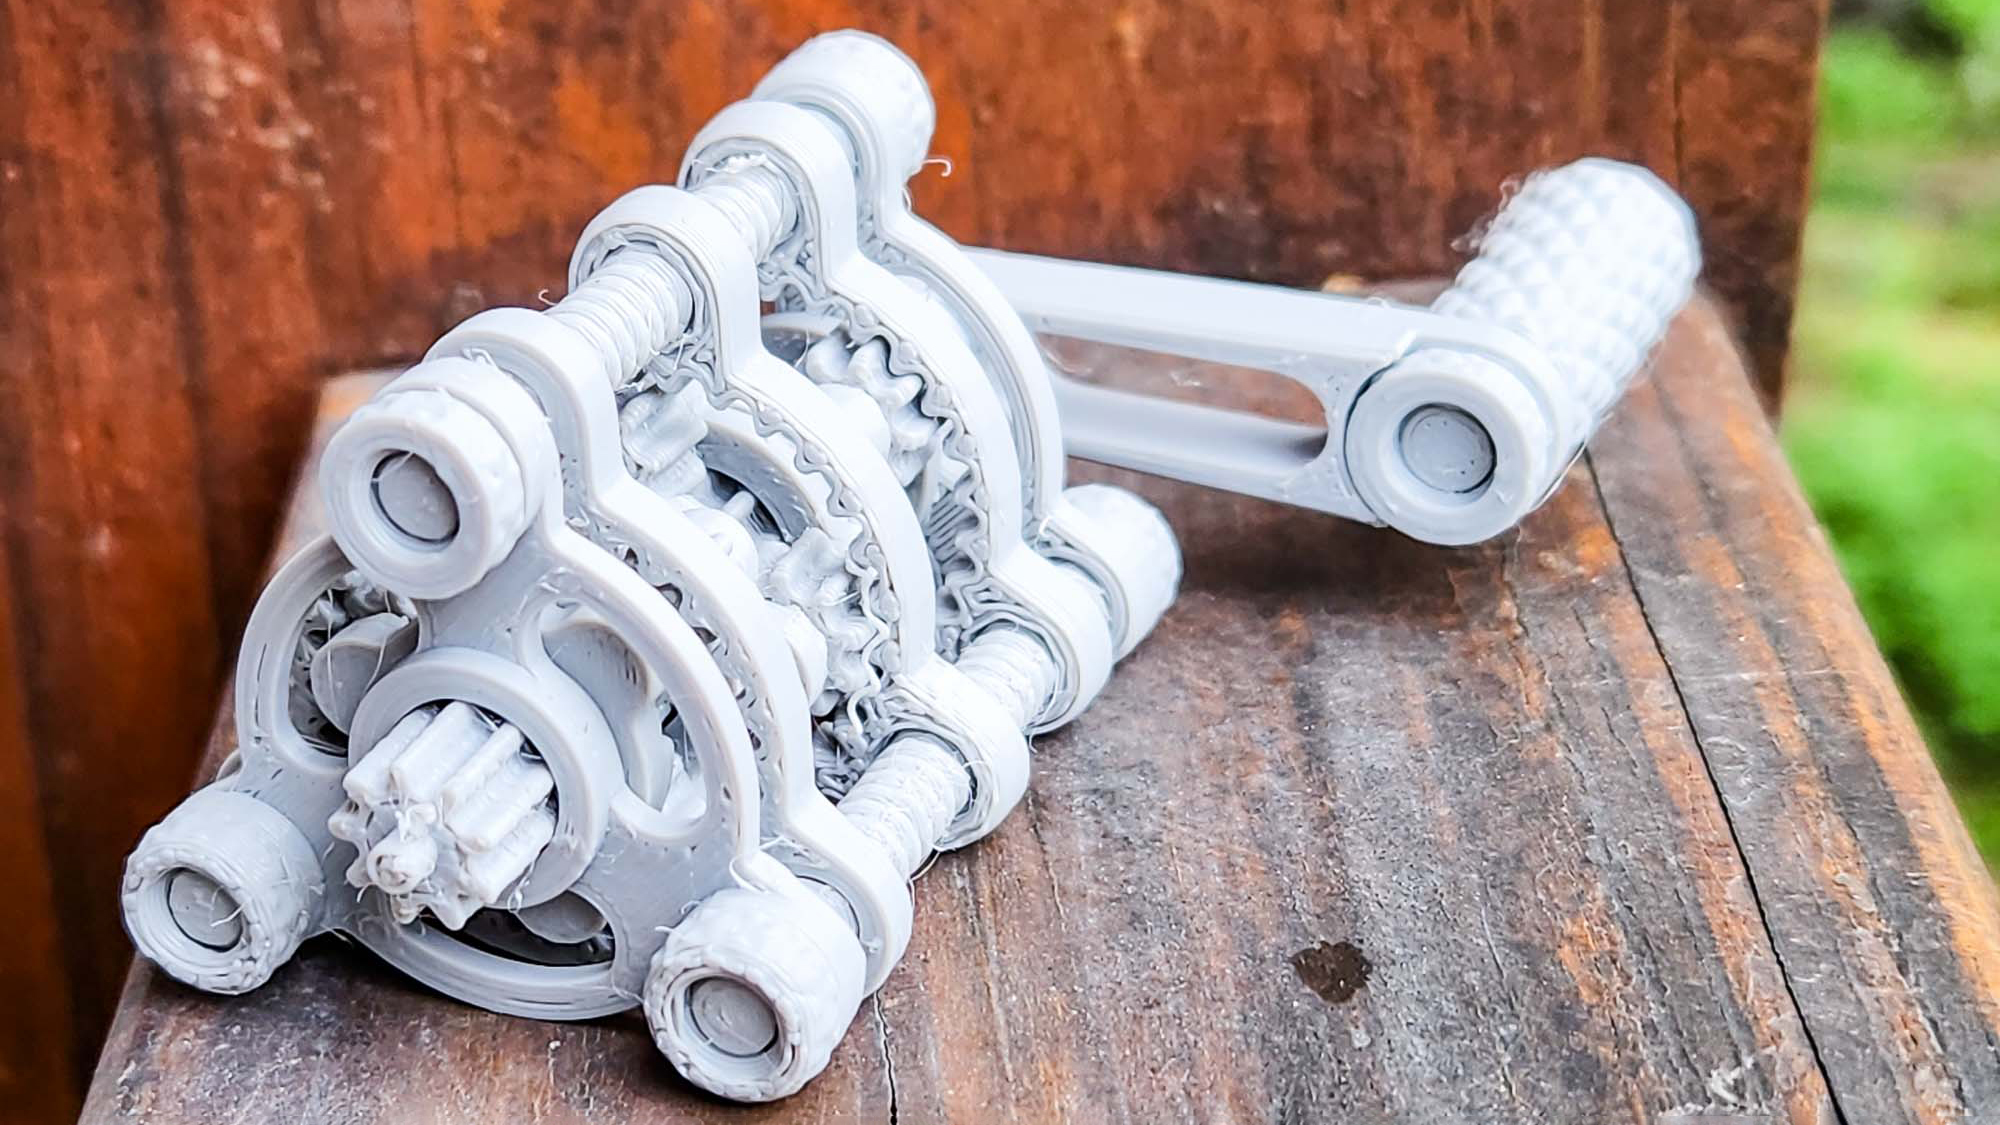
These whiskers can also be caused by the filament absorbing moisture, which underlies one of the issues with open-plan printers like the Mini+: you are at the mercy of your environment. Printers like the Adventure 4 that have sealed enclosures can filter the air and dry the filament, but the Mini+ can’t. Prusa offers an enclosure, which adds another $349 to the cost of the Mini+.
Prusa Mini+ 3D printer review: Materials
There are no restrictions on the printing material that the Mini+ can use. Any 1.75mm filament can be fed into the printer. The heated print bed (which can reach up to 100C/212F) and the hot extruder (which can get up to 280C/536F) can handle most materials, including the more exotic ones like Nylon and Polypropylene.
Prusa sells its own line of filaments, including several filaments made with wood and metal additions to provide a more natural texture. The metal ones require a hardened nozzle, though, as the metal particles in the filament wear away the Mini+’s standard brass nozzle. Prusa does not make these, but it does offer a great guide on where to get a hardened nozzle and how to adapt the printing process to them.
Prusa Mini+ 3D printer review: Verdict
There are plenty of cheaper 3D printers out there than the Prusa Mini+. These are often a false economy, though: cheaper printers require lots of calibration, testing, and tweaking to get good-quality prints. The Mini+ doesn’t make you jump through those hoops — all the prints I tried worked the first time and looked good, apart from some easily-trimmed whiskers. That’s worth a lot more than a lower initial price tag.
The overall Prusa Mini+ package is excellent, with easy assembly, friendly software and a straightforward printing process. If you want someone to be inspired by 3D printing rather than frustrated, the Mini+ is a great pick. Get this 3D printer for the beginner who wants to get into 3D printing and doesn’t mind spending a bit more on a printer that can grow with them.
Richard Baguley has been working as a technology writer and journalist since 1993. As well as contributing to Tom's Guide, he writes for Cnet, T3, Wired and many other publications.
