


Are you thinking about buying the iPhone 15 once it's released? Apple's upcoming iPhones are rumored to be announced on September 13, so you might be toying the idea right now about buying one of them. Considering how the iPhone 15 Pro Max is being hyped as the biggest leap since the iPhone X, thanks to rumored features like a periscope camera lens, titanium frame, and a new A17 Bionic chip, it might be worth upgrading especially if you have a much older smartphone.
When you upgrade to a new iPhone, you don’t need to toss your old one in a drawer — unless you plan on giving it to someone in the family as a hand-me-down. Instead, you can trade it in or make a little bit of cash by reselling it.
But before you pass your device on to a new owner, you’ll need to save your data and then remove it to ensure your personal information stays secure. Here are eight steps to take before you resell your iPhone.
1. Create a backup of your data

If you already have a new iPhone in hand, this first step is easy — use Quick Start to transfer all of your data from your old device to your new one. If you need to create a separate backup for any reason, you can use iCloud or your desktop computer using iTunes.
If you have limited time or storage space, first reduce the size of your backup by deleting unused apps. Then go to Settings > iCloud > iCloud Backup and tap Back Up Now. You can create backups using cellular data, but it’s probably best to be connected to a strong Wi-Fi network. Even if you have automatic iCloud backups enabled, go ahead and create a new one right before you wipe your device.
Alternatively, you can plug your iPhone into your Mac or PC via USB and create a backup manually.
2. Unpair your iPhone from other devices

Delete any existing pairings between your iPhone and accessories like AirPods, Apple Watches, CarPlay, and other third-party Bluetooth devices like wireless headphones and Bluetooth speakers. Go to Settings > Bluetooth and make sure your Bluetooth connection is toggled on to see all paired devices. Tap the info button next to each device and select Forget This Device to unpair.
To unpair your Apple Watch, open the Apple Watch app on your iPhone. From the My Watch tab, select All Watches in the top left corner. Tap the info button next to your watch and select Unpair Apple Watch at the bottom of the screen. You may need to remove your cellular plan if you have one connected to your device. Then enter your Apple ID password and tap Unpair.
3. Cancel your AppleCare plan
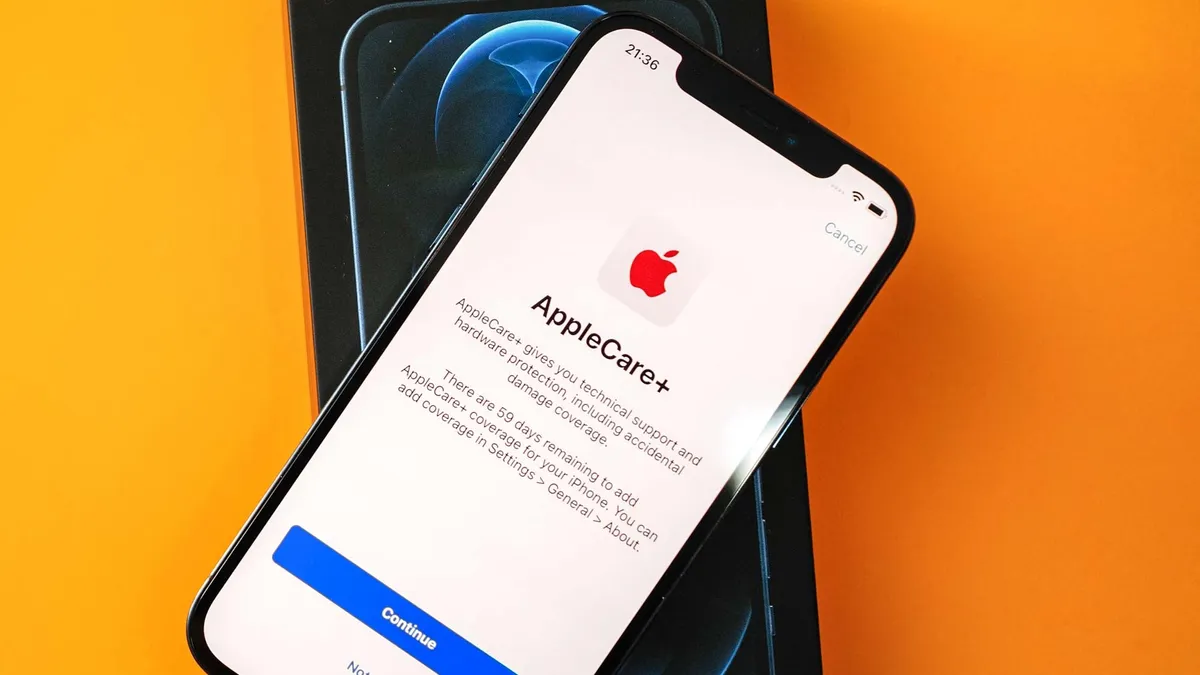
If you purchased an AppleCare plan for your iPhone that is still active, terminate the plan to ensure you’re not paying for coverage you’re not using. Plans billed monthly or annually can be canceled on your device via Settings > Apple ID > Subscriptions. If you don’t see your plan listed, or if you paid for the plan upfront, you’ll need to contact Apple Support.
Apple will refund a percentage of unexpired coverage for paid-in-full plans minus the value of any coverage you’ve used. Canceling a month-to-month or annual plan terminates coverage and ensures you won’t be billed on the next cycle.
4. Log out of apps and remove connected accounts

As a security precaution, make sure you sign out of all third-party apps that have access to personal information, such as banking and conferencing apps. You should also disconnect any synched email or calendar accounts from Apple Mail, Calendar, and Contacts. Go to Settings and tap the appropriate app. Then hit Accounts, select the account you want to delete, and tap Delete Account.
Finally, if you are switching to an Android device, you’ll need to deregister iMessage. Make sure your iPhone is connected to your cellular data network, then go to Settings > Messages and toggle off iMessage. Return to Settings > FaceTime and toggle off FaceTime.
5. Sign out of your Apple ID

The last step you’ll want to take before erasing your iPhone is to sign out of your Apple ID, which removes your device’s access to Apple services like iCloud and the iTunes and App Store.
On iOS 10.3 or later, go to Settings > [your name] and tap Sign Out (all the way at the bottom). You’ll be prompted to enter your Apple ID password, then tap Turn Off. If your device is running iOS 10.2 or earlier, you’ll have to sign out from each service separately: go to Settings > iCloud > Sign Out. Tap Sign Out > Delete from My [device] and enter your Apple ID password. Then return to Settings > iTunes & App Store > Apple ID > Sign Out.
6. Erase your iPhone

After removing your personal information from your iPhone, you need to wipe your device and erase all of the data. Go to Settings > General > Transfer or Reset > Erase All Content and Settings. Depending on your current device settings, you may be prompted to complete a few additional steps:
Note that if you’re trading your iPhone in at an Apple Store, wait to complete this step until instructed.
7. Delete your iPhone as a trusted device

If your iPhone is set up to receive two-factor authentication codes for your Apple ID, you’ll need to remove it from your list of trusted devices. Doing so will ensure that your phone won’t receive verification codes or be able to access any information connected to your Apple ID.
To remove a trusted device using an iPad or a different iPhone (you must be logged in with your Apple ID), go to Settings > [your name] and select the iPhone you want to delete. Tap Remove from Account, review the pop-up message, and tap Confirm. To remove a trusted device on a Mac, open the Apple menu in the top left and choose System Settings > [your name] > device name > Remove from Account > Confirm. (On older OS versions, you’ll select System Preferences > Apple ID.) You can also sign into your account via browser.
Once you've taken the time to go through all of these steps, you'll be ready to trade-in your old iPhone for that fancy new one you've been waiting for. At the same time, you can have peace of mind knowing that no data of yours if left behind or accessible by whomever buys your old iPhone.
More from Tom's Guide
- 11 hidden iPhone camera tips everyone needs to know
- This hidden iPhone navigation feature is simple but genius — here's how to use it
- 19 hidden iPhone features everyone should know

