


Tom's Guide Verdict
Dremel's 3D printer produces quality prints and it's easy to use, but the proprietary filaments required for the DigiLab 3D40 are pretty expensive.
Pros
- +
Clean, high-quality printing
- +
cloud-printing service is easy to use
Cons
- -
Officially supports only expensive Dremel filament
- -
Cloud printing service can't edit models
Why you can trust Tom's Guide Our writers and editors spend hours analyzing and reviewing products, services, and apps to help find what's best for you. Find out more about how we test, analyze, and rate.
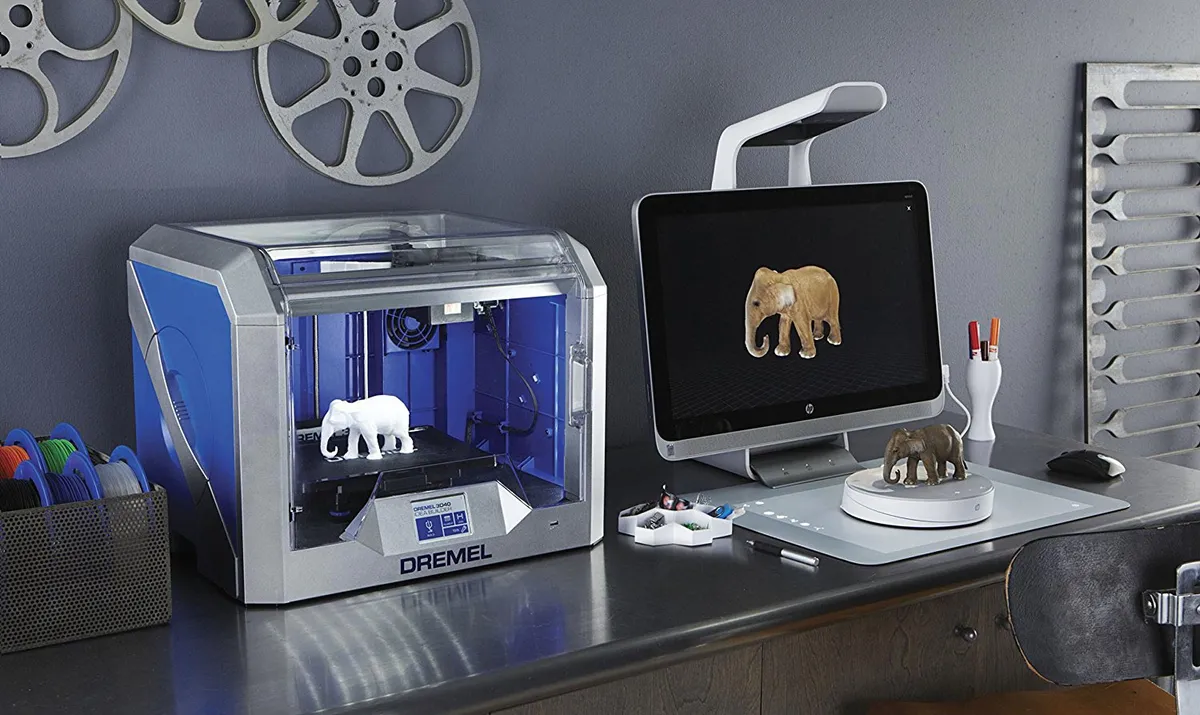
Most people know Dremel from the rotary and saw tools for home owners and hobbyists that can handle multiple small jobs in one package. The company wants to bring this same flexibility to the home and educational 3D printer through its DigiLab division and the mid-priced Dremel DigiLab 3D40 3D printer.
Priced at $1,299, the DigiLab 3D40 is an interesting 3D printer that has a good selection of features and produces high-quality prints. But it works only with Dremel's own filament, which is more expensive than most.
Design: Clever, With Some Caveats
The 3D40 has a clean, smart design that shares the silver-and-blue color scheme of Dremel tools. It's an enclosed printer, so the large print area is surrounded by plastic panels that keep fingers away from the moving and hot parts. The front and top covers are clear, so you can see what's going on, and open to provide easy access. The covers can't be locked, though, so younger printers will need to be supervised.

Below the front panel, you'll find the controls — a simple touch-screen LCD display. Most of the process of preparing and creating prints is done either through the Dremel Digilab software that is included with the printer (Windows only at present, with a Mac version coming soon) or the DigiLab Cloud Print service. Either way, the printer connects to the outside world over included Wi-Fi, Ethernet or USB connections.
The print bed is made of glass, which is covered with a sheet of painter's tape that the PLA filament sticks to. The whole bed can be removed, which makes removing prints easier. However, because of that glass, you can't bend and flex the bed to remove the print, so you often have to pry and scrape, which can damage the painter's tape on the bed.

Two sheets of Dremel-branded painter's tape are included, and a pack of three more costs $30. An additional sheet of a more robust plastic cover for the print bed is also included, which costs about the same. That's rather expensive, especially when a roll of 100 feet of similar tape will cost you just $3. Dremel told us that the cost is due to the custom size of the sheets, but that it expects most users will just buy their own painter's tape and use that.
You can't bend and flex the 3D40's glass print bed to remove the print, so you often have to pry and scrape, which can damage the painters tape on the bed.
We found that the print bed was rather hard to place back inside the printer. You have to place it just at the right angle and push hard to get the bed to snap into place. If you don't do this, the print bed looks right, but it won't be held firmly in place.

The 3D40 prints with PLA filament, which is stored on a reel that fits neatly into a holder in the side of the case, out of sight. The filament feeds up through a guide tube to the print head, which is covered in a plastic shroud.
MORE: Top-Rated 3D Printers on the Market Now
One nice touch here: A vent on the back of the case allows you to connect the printer to an air- extractor system with a standard air hose, so you don't get the usual popcorn aroma of PLA 3D printing if your workshop or office has an air extractor and filtering system.
Print Materials: Pretty Pricey
Dremel only supports its own PLA filament. The printer doesn't check where the filament comes from, but if using a third-party filament damages the printer, it won't be covered under the warranty. This means you can't use other types of filament, so there is no support for printing with flexible materials or newer materials like Nylon.
Dremel only supports its own PLA filament, which is a bit more expensive than most.
Dremel's own filament is a bit more expensive than most, costing about $29 for a 500g reel. That's about 175 meters of filament per spool, compared with the 340 or so meters of filament on a $22.99 1Kg reel of PLA filament from Hatchbox. The Dremel filament is available in 10 different colors: We used the white type in our testing.
Setup: Some Preparation Required
The 3D40 is fairly simple to set up, but does require some time and preparation. After unboxing, you have to put the tape on the print bed, install the filament and level the print bed. This is a semi-automatic process; the printer detects the print bed itself, but you have to turn a screw underneath it to adjust the height. It's less sophisticated than the automatic systems of printers like the LulzBot Mini, but you don't have to do the process that often.

Once the printer is leveled, you can run a test print from one of the models pre-installed by Dremel. After that, you can connect it to the cloud print service over Wi-Fi or a wired Ethernet connection.
This did require a firmware update and a couple of restarts before the printer connected to the service for us, but once done it does not need to be redone unless you change networks or shift to a new account on the cloud print service. Once connected, you can stop and start the printer remotely.
Interface: Some Limitations to Controls
The on-printer interface is through the touch LCD screen on the front of the case. This is fine for pressing buttons, but more complex things (like entering a Wi-Fi key) are more difficult, as the touch screen isn't accurate enough to reliably detect which key you have pressed. But again, once you've connected to the Wi-Fi network, you're set, unless you change networks.
There are two other ways to control the printer: the Dremel Cloud Print web interface and the Dremel slicer software. The cloud-print web system is the main way to control the printer. Once you set up an account with the service, you can upload models in .STL or .OBJ format, then prepare the models for printing.
There are no real editing features, though: you can combine multiple files into one print, but you can't edit the models. You have a lot of control over how the model is prepared for printing, though: You can tweak pretty much any setting such as infill or how supports are added. A 3D preview of the print is also shown.

Once the print is ready, you can send it to a printer that is connected to the Dremel Cloud Print service with a couple of mouse clicks, and the print process can be monitored online. There is no camera on the 3D40, though the more expensive $1799 3D45 does include one that shows the print in progress.
Dremel used to offer an app for iOS and Android devices that worked with the cloud print service, but that’s been discontinued in favor of the mobile version of the Cloud Print site.
MORE: How to Buy the Right 3D Printer
The other way to create files for printing is the Dremel Slicer software. This is available for Windows only at present, but a Mac version is coming soon. It is a rebadged version of the open-source program Cura, which is easy to use and offers a lot of control over creating 3D printing files. The software can send files to the printer over a USB connection, but not over the network connection.
Print Process: Sticky Business
Printing is very simple and trouble-free on the 3D40. Prints stick well to the tape-covered print bed, and the enclosed case keeps the noise down. The clear case means you can keep an eye on the print as it is being created, but the lack of a built-in camera means you can't watch it remotely. The Cloud Print system does track the progress of prints and monitors the temperature of the printer, though, and warns you if an error is detected, such as if you're running out of filament.
Printing is very simple and trouble-free on the 3D40.
The final prints were somewhat hard to remove from the print bed. The flat, round raft that the Cloud Printing system added to the print stuck very tightly to both the blue painter's tape and black plastic print bed covers, and I often ended up damaging the cover while trying to pry the print off. If you are using the official print bed covers from Dremel, their $30 cost for a set of three can add up quickly.
In our testing, some prints didn't stick nearly as well. That caused parts of the print to not form properly.
Print Speed: Par for the Course
The 3D40 is a fairly fast printer, printing out our 3.5-inch high thinker figure in between 3 hours and 15 minutes in Draft mode and 14 hours and 2 minutes in the highest-quality Best mode. That's about the same speed as the MP Mini Delta for draft prints, but the 3D40's highest quality print mode is a little slower than most.
Print Quality: Clean, with Some Exceptions
We were impressed with the quality of most of the prints produced by the 3D40, which came out clean and smooth, with excellent detail in both the Standard and Best print modes. The prints did not need much cleaning up, as there were very few stringy bits of filament or blobs of loose filament that had to be removed.

Our test prints of Rodin's The Thinker were well handled, with both the smooth curves of The Thinker accurately reproduced. The printer also aced the set of planetary gears that we use as a test: The printed cogs and gears fitted together without problems.

This printer struggled a bit with the geometric sculpture model that we use as our third test: The base didn't stick to the print surface, so some of the points were not formed, turning to globs of printed material. Some of the edges of the sculpture were also ragged and ill-formed, but most of the points were admirably sharp and spiky.

Many of these issues could be resolved with further tweaking of the print settings in the Cloud Print service to create supports that stick to the surface better and to better form some edges.
The default settings of the Cloud Print service were a little aggressive in how much support they added to a print, as well. When we printed a hexagonal-latticed vase that came with the printer as a sample file, the 3D40 used as much material for the supports that get removed after the print is complete as in the vase itself. Although most 3D prints need some support, using too much is wasteful — a concern for a printer like Dremel's that uses expensive proprietary filament.
Most of the prints produced by the 3D40 came out clean and smooth, with excellent detail in both the Standard and Best print modes.
We did find that the Draft print mode was rather rough. In our Thinker test print, the final print had very visible layers and a couple of holes where the larger layer had fallen into the print. That's a problem we don't see often, so the Draft mode should be used with caution for simple prints only. To be fair, the 3D40 does allow you to tweak the settings and save these as new print modes, so you could get around these issues by creating a new print mode between the Draft and Standard mode.
Bottom Line
The Dremel DigiLab 3D40 is a solid 3D printer that produces high-quality prints most of the time at a decent speed. It also boasts simple-to-use software, making it a good pick for a classroom or lab that needs to produce 3D prints quickly and without fuss.
Unfortunately, the high cost of the proprietary filament and other parts may put off those who need to print in large quantities. It also means you can't use materials other than PLA, so the new flexible, tough or food-safe materials can't be used. This contrasts with the similarly priced Taz Lulzbot Mini, which can handle a much wider range of materials, though the Dremel is easier to set up and start printing.
Editors' Note: An earlier version of this review misstated which materials you can use with the Dremel DigiLab 3D40. We've corrected that section of the review.
Credit: Dremel
