I used this thermal camera to identify heat loss in my home — here’s what I found
The FLIR One Edge Pro can spot the cold spots I can't detect
Heating your home isn’t cheap, especially right now. There has been a noticeable rise in the cost of energy over the past year, and the cost of heating your home to normal levels is going to affect your finances. But rather than let the energy companies freely drain my bank account, I’ve decided to do something about it.
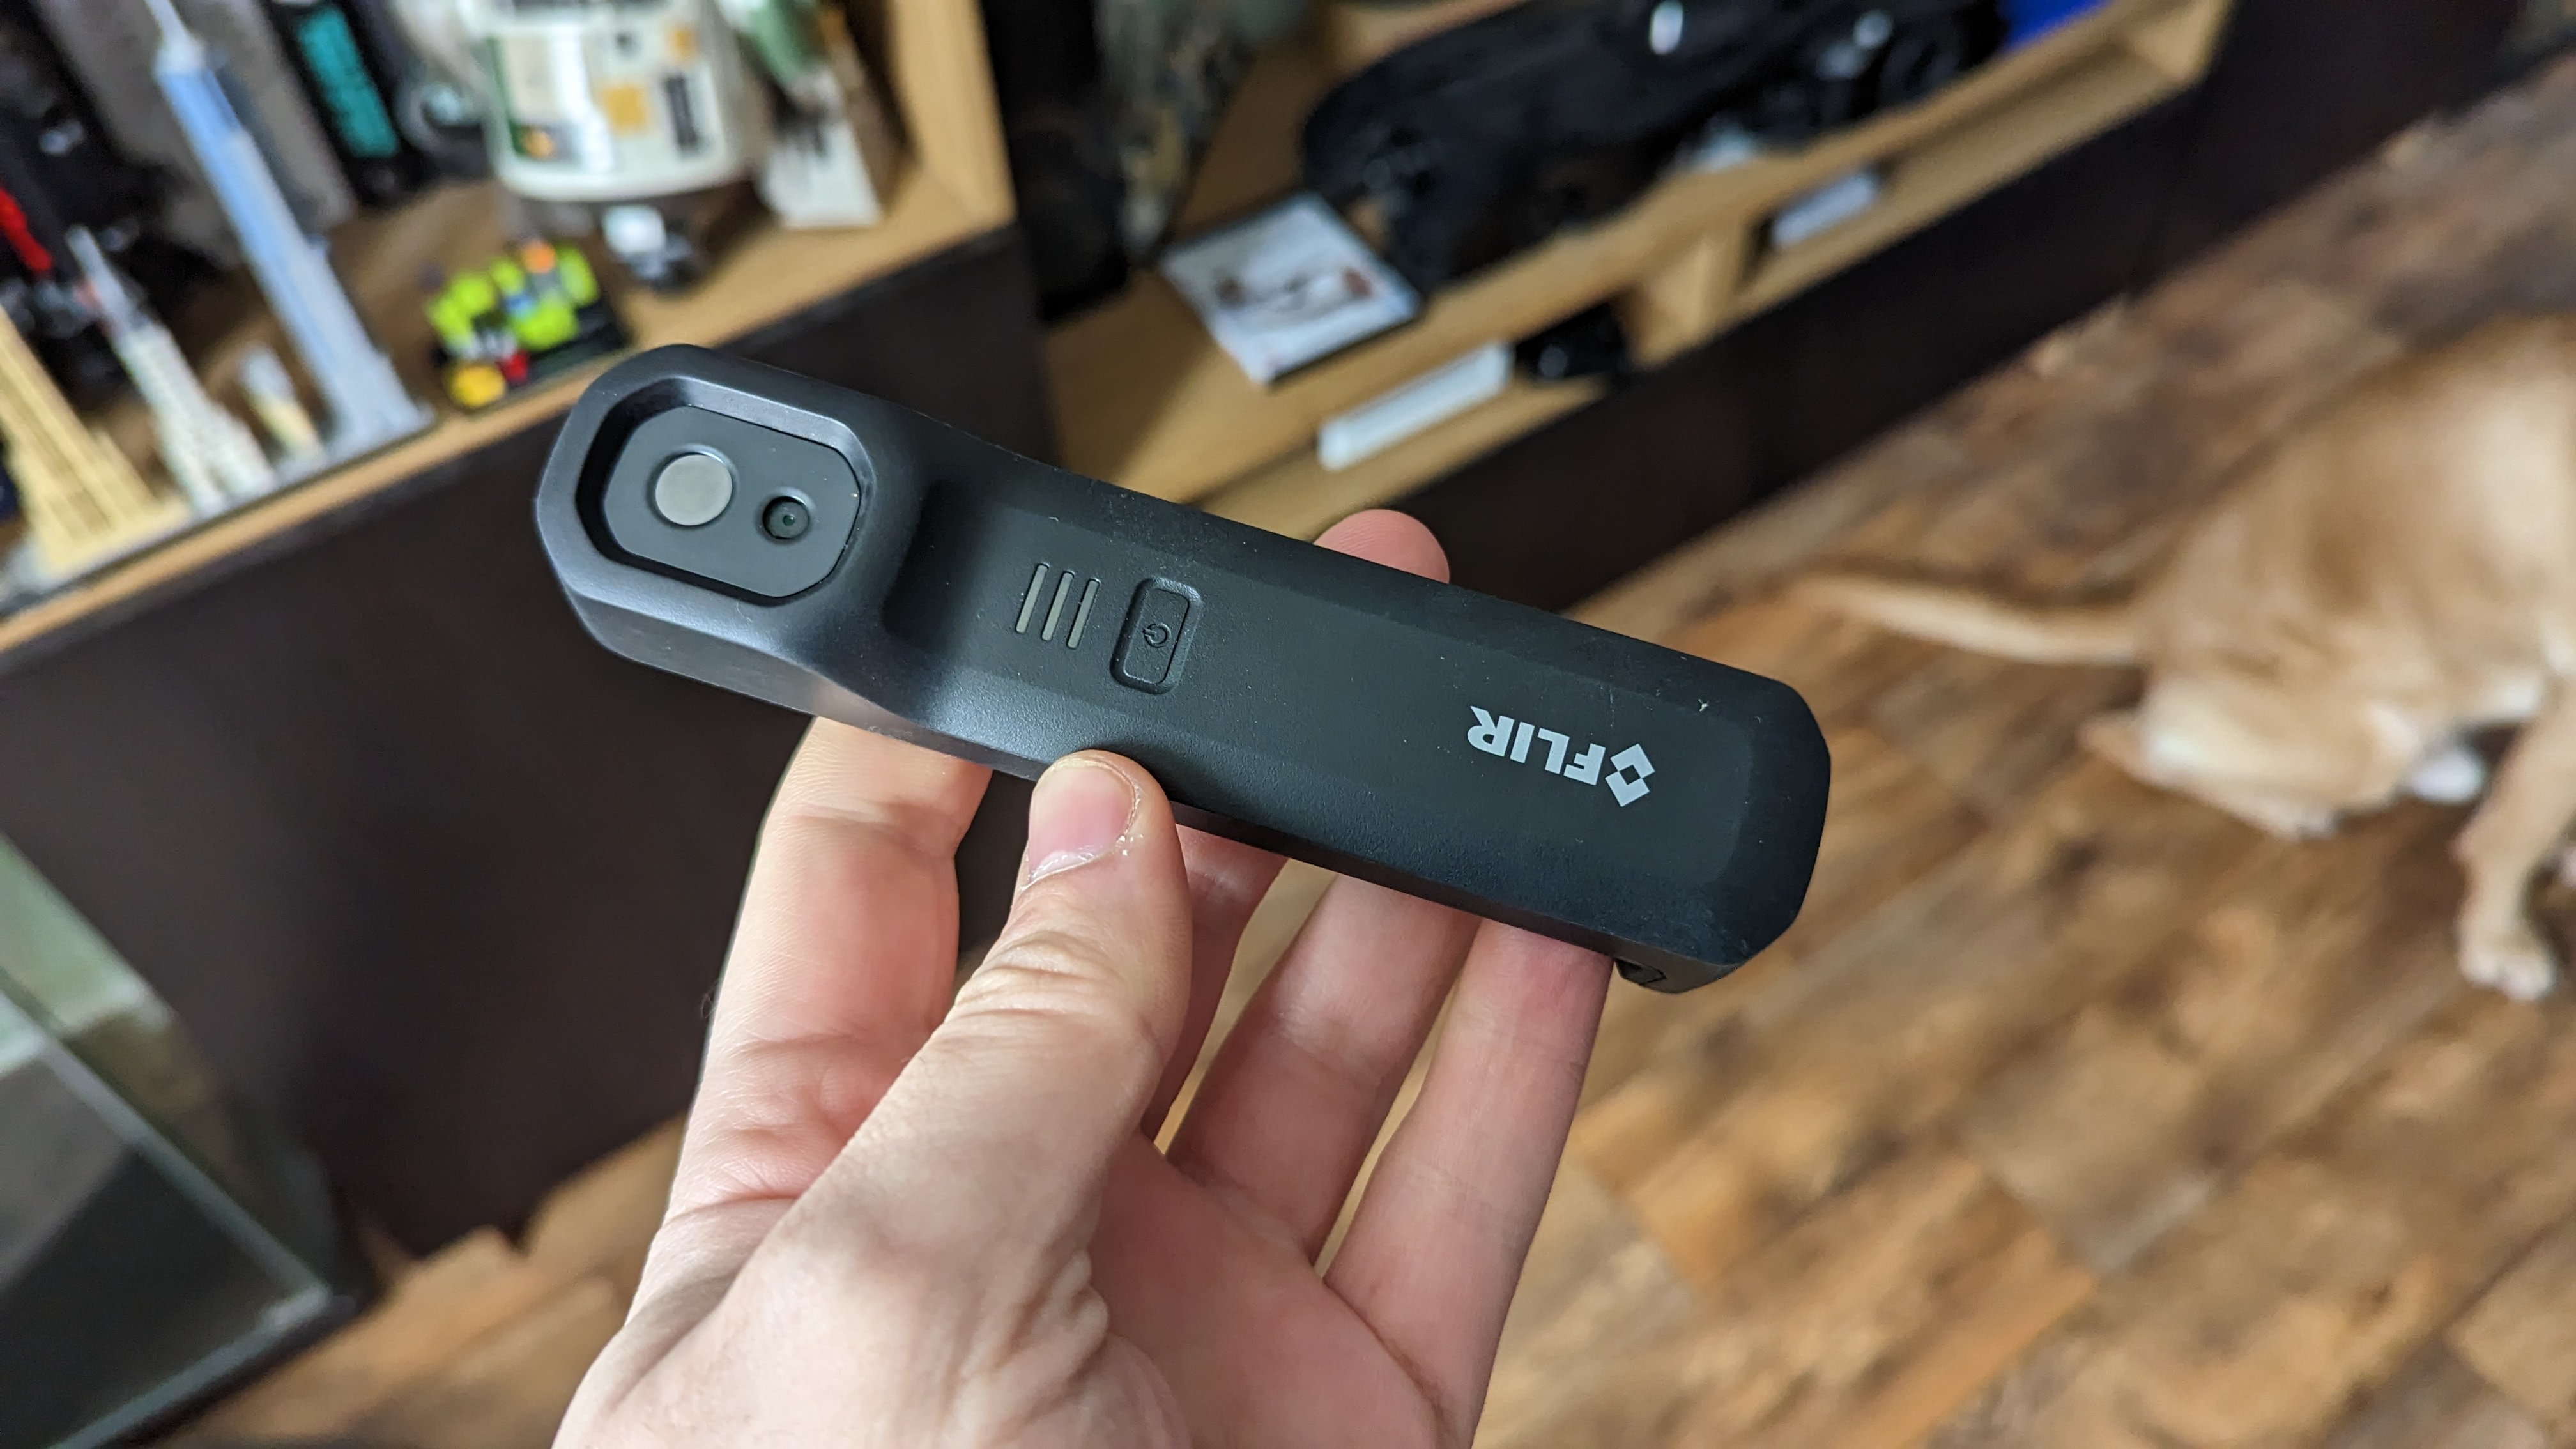
The obvious thing to do was improve the insulation in my attic, which I did last year. But where do I go from there? To figure that out, I enlisted the help of the FLIR One Edge Pro, a thermal camera accessory for smartphones. With it I was able to explore my house, documenting where I was losing heat, so I could figure out what to do about it to save money on my heating bills.
Why use a thermal camera at home?
I’ll admit, the idea of using a thermal camera to spot problem areas of heat loss at home was not an entirely original idea. Octopus Energy, a British energy provider, has been loaning thermal cameras out to over 5,000 customers for this exact purpose. Those cameras also come with some advice on what to do and look for with the thermal sensor.
The question is, why bother? If you live in an old house that you struggle to heat, or you know that there are serious drafts in certain areas, it may seem like trying to win a losing battle. But speaking to Phil Steele, Future Technologies Evangelist at Octopus, there’s actually a lot of benefit — even if you think your house is already pretty well insulated.
The whole purpose being to make your home and heating system more efficient. As Steele pointed out, wasting energy unnecessarily often leads to generating it with dirtier fuels and causing additional strain on the environment.
The general idea is that a thermal camera can see all the hidden problems you may not be able to detect, from faulty insulation, gaps in windows, or any number of ways cold air can get inside.
It also ensures you have evidence of the issue for whatever reason. Whether that’s to bring contractors back to fix a shoddy job, pushing landlords to make repairs, or just for your own peace of mind. In fact Octopus has heard from customers who’ve used its thermal cameras for those very reasons. It’s also why I wanted to be sure my home was as insulated and sealed up as it can possibly be.
Get instant access to breaking news, the hottest reviews, great deals and helpful tips.
Meet the FLIR One Edge Pro
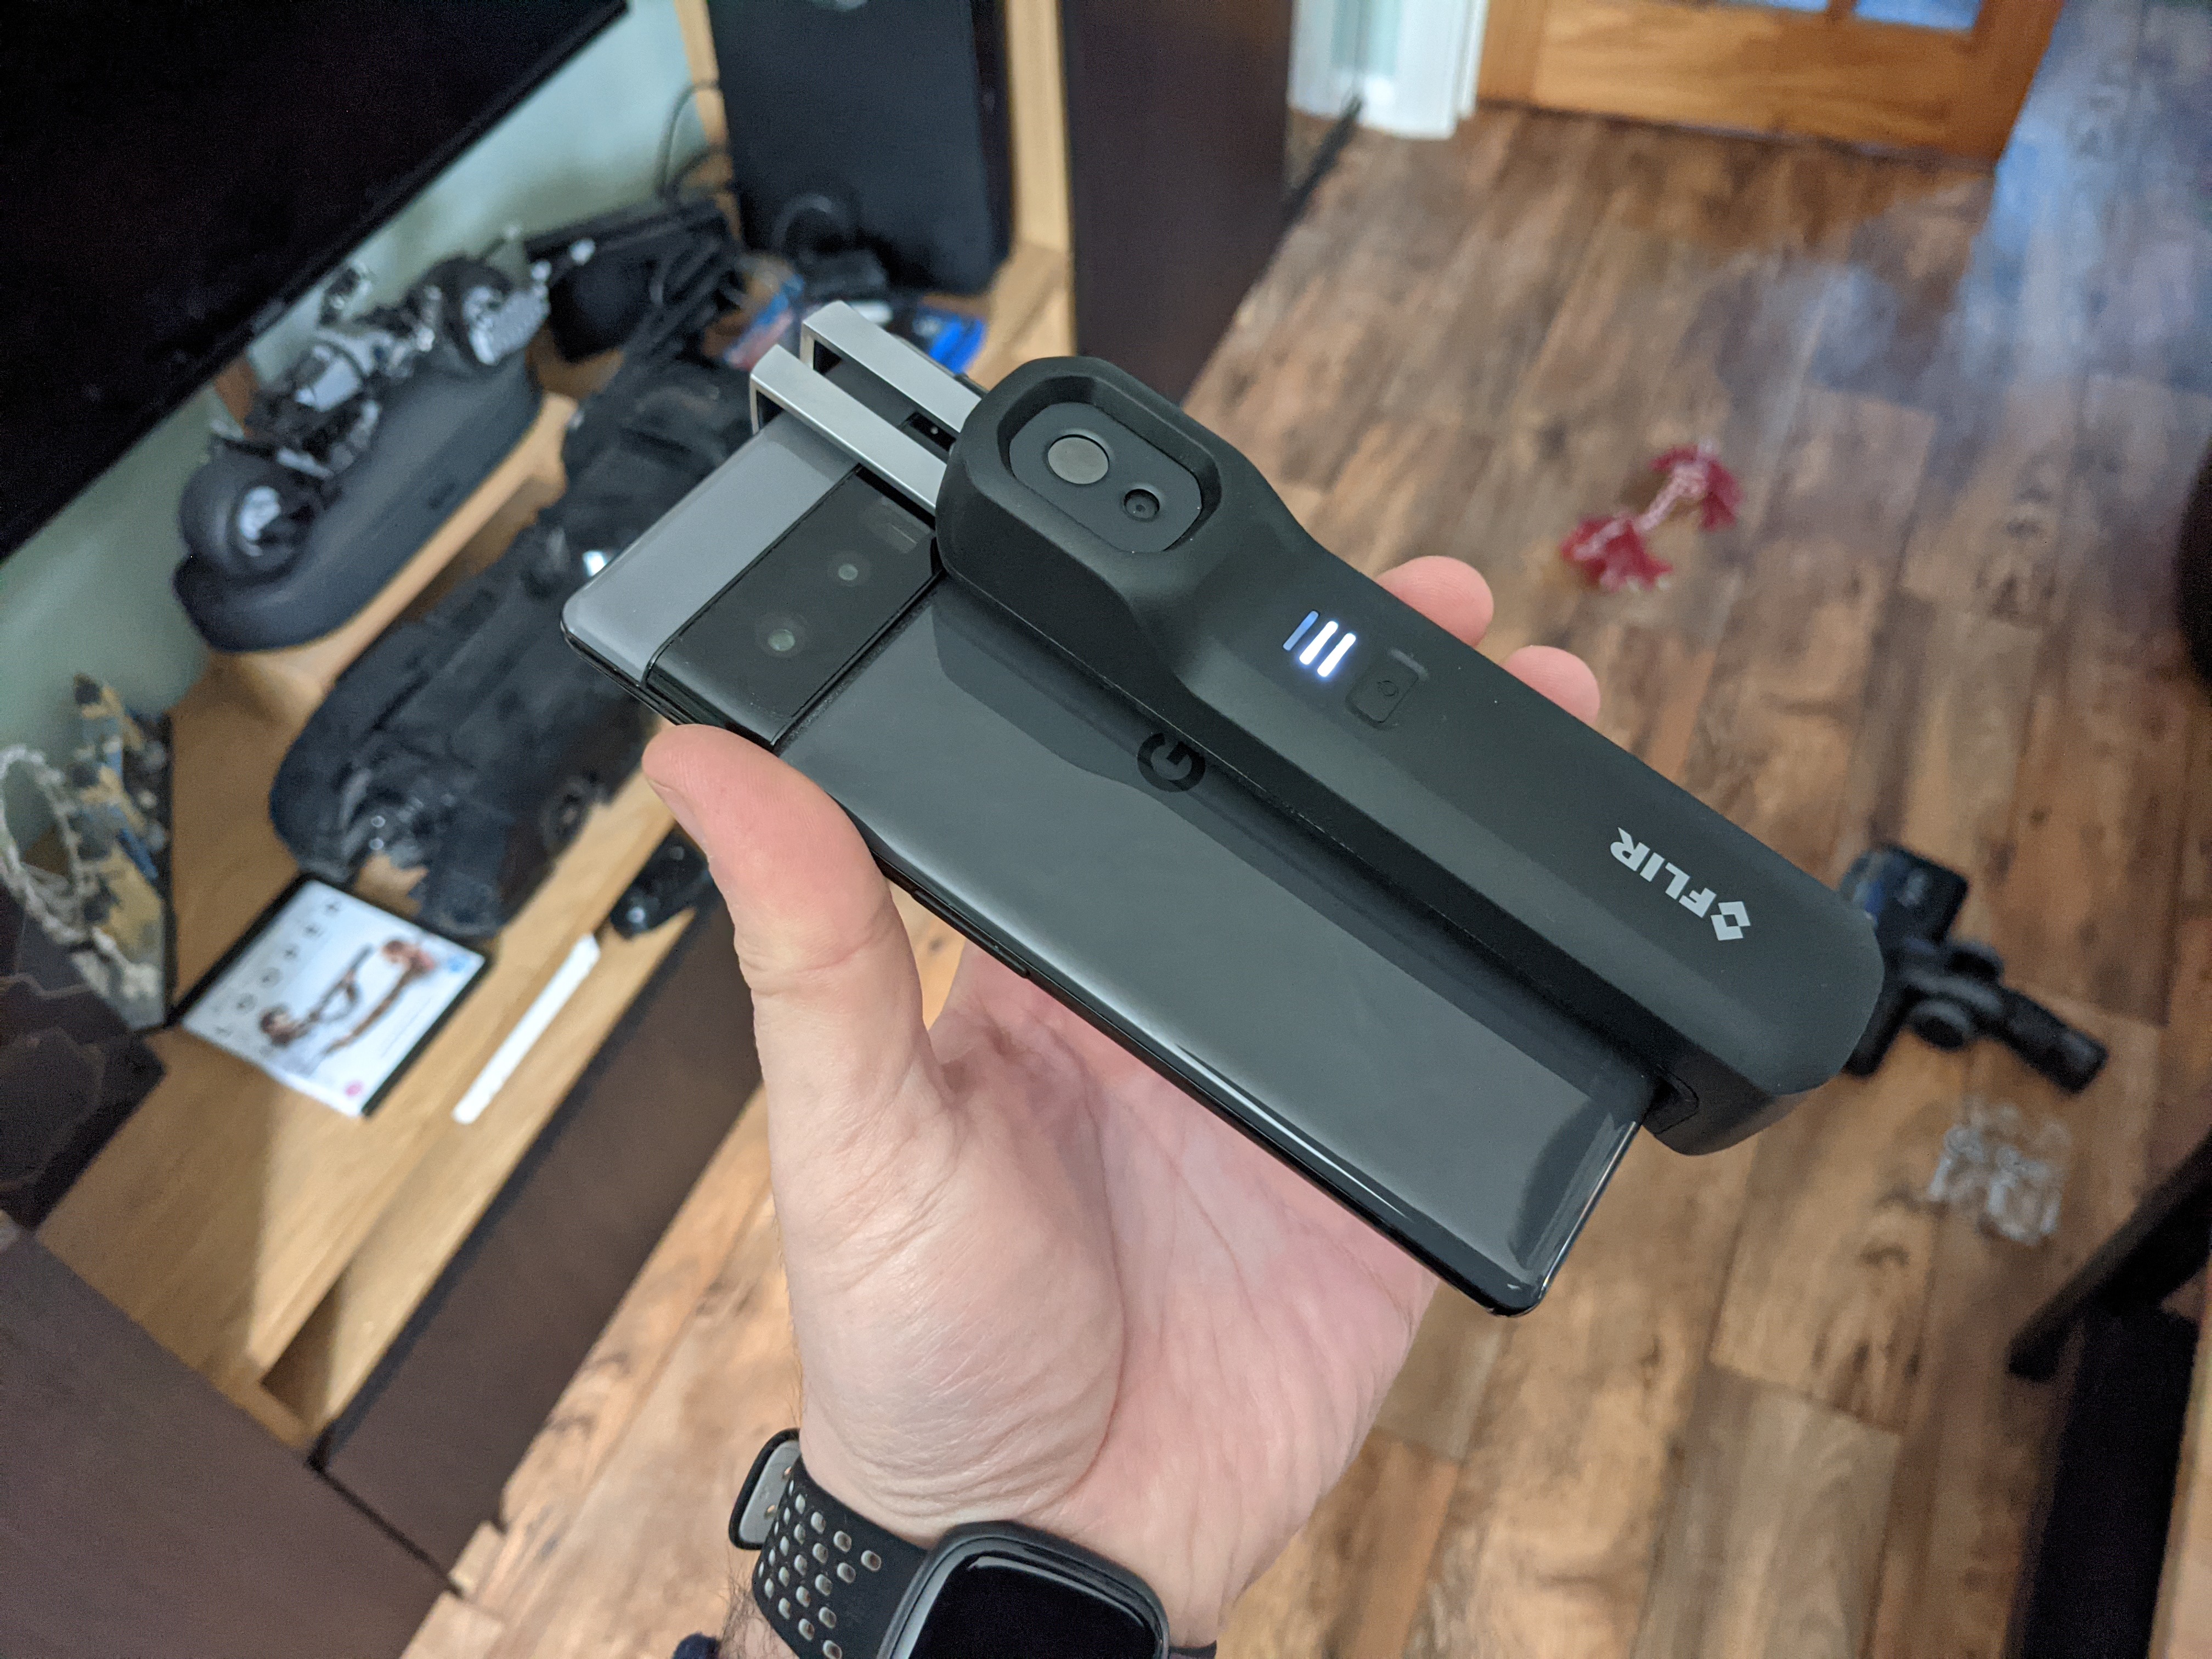
The FLIR One Edge Pro is a mobile accessory that lets you add a thermal camera to your phone. The module connects via Bluetooth and attaches to your phone with an adjustable grip, and is compatible with Android and iOS devices.
With a price tag of $550, the FLIR One Edge Pro is not a cheap device, and there are other FLIR products that will cost you significantly less. One notable example is the FLIR One which starts at $220, plugs straight into your phone and offers many of the same benefits — minus the freedom of wireless connectivity.
Whatever you prefer, the FLIR One range has the power to turn your phone into a dedicated thermal camera. It’s also incredibly easy to set up, linking to your phone just like any other Bluetooth device and syncing with the FLIR One app.
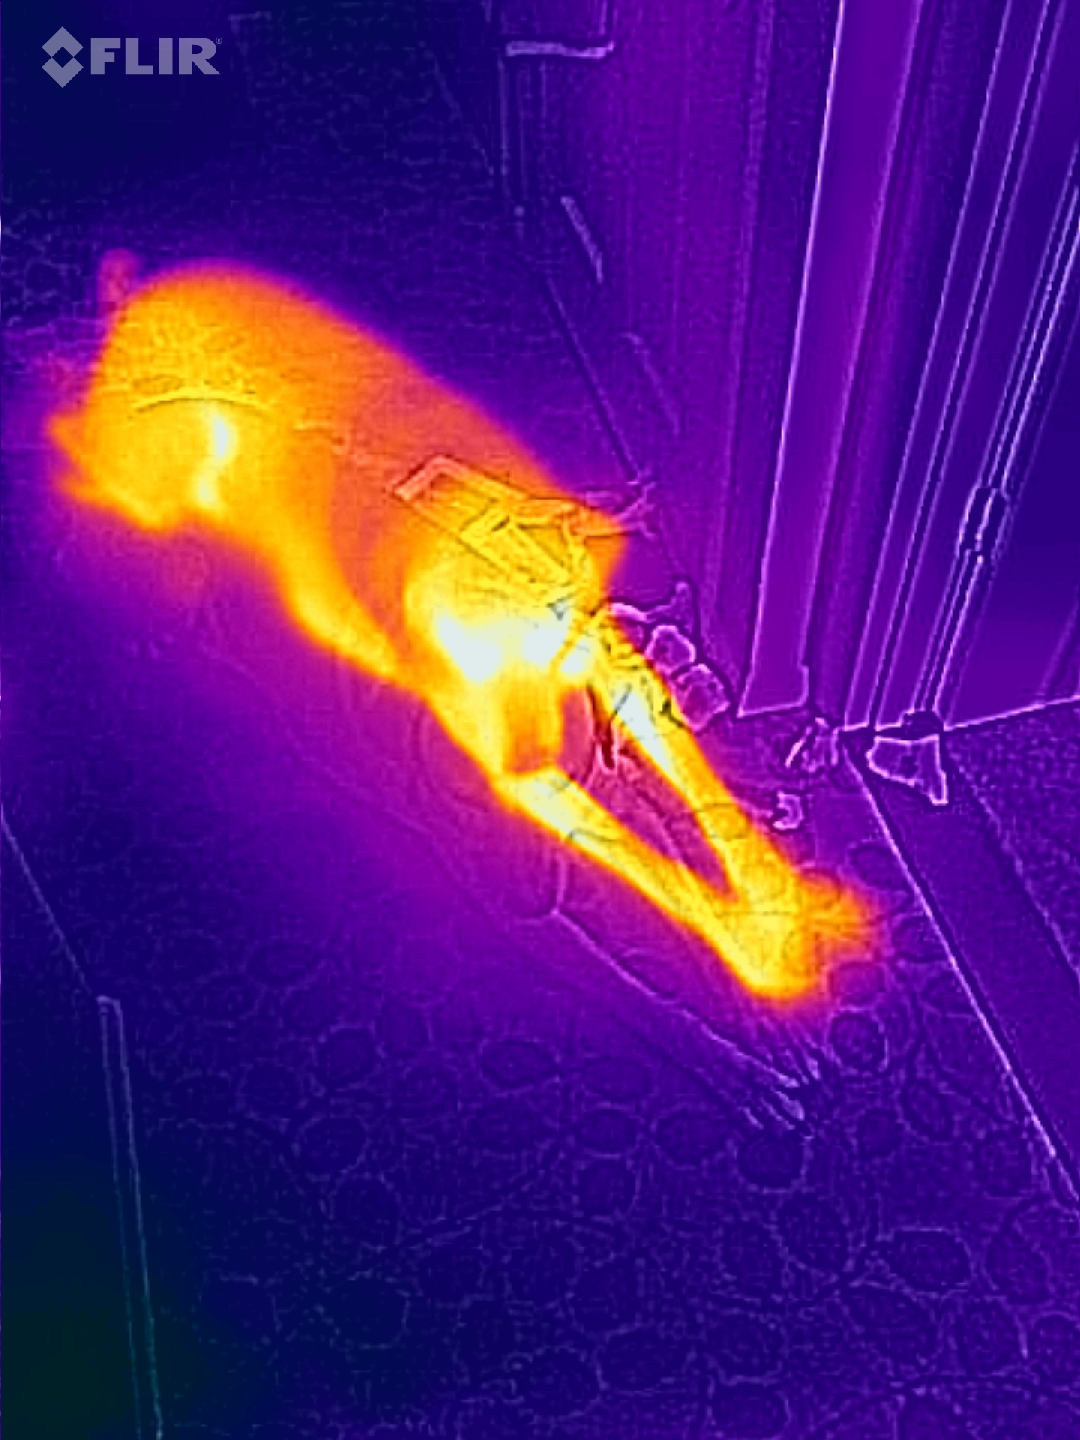
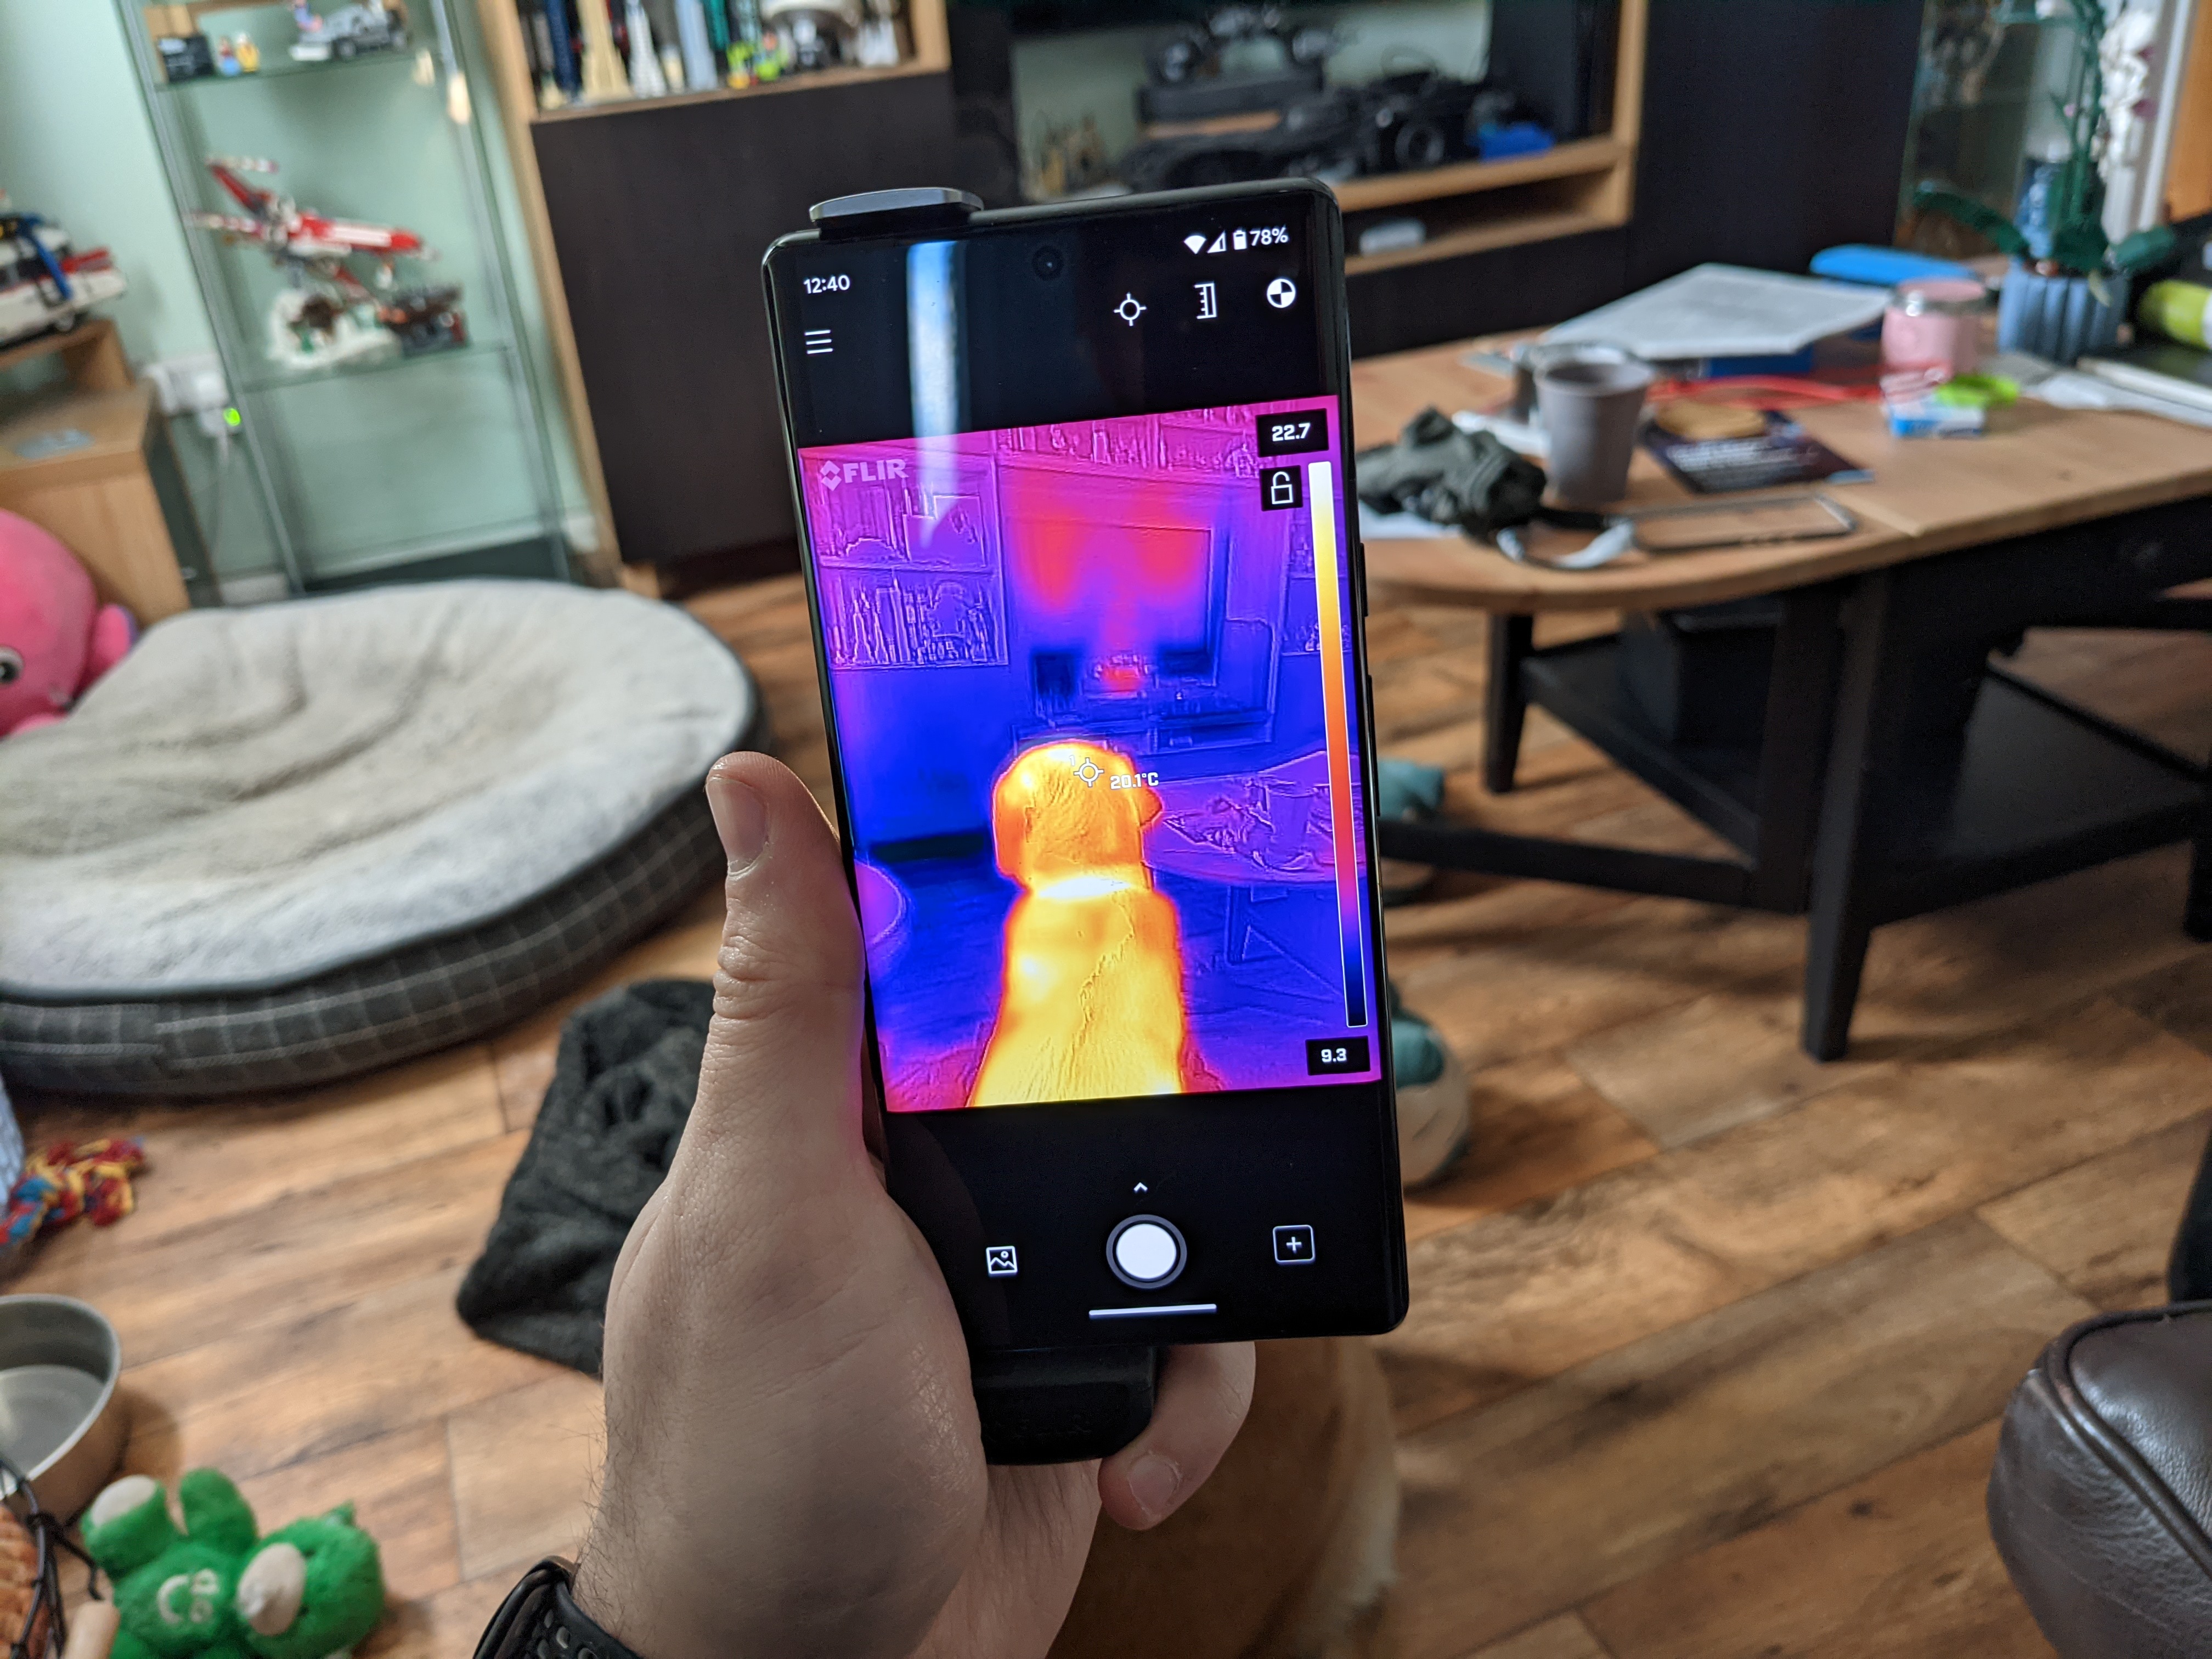
The only thing you should know about is that you have to calibrate the thermal camera view with your standard camera. Otherwise you end up with ghostly-looking images where an object is separated from its thermal heat to varying degrees.
How I used the FLIR One Edge
There are two parts to this method, taking place both in and outside of the house. Inside the home I was looking for the dark colors, which indicated areas that were noticeably colder than their surroundings. Outside, where it was naturally cold, I was looking for the exact opposite: brighter colors and warmer areas. That indicates where heat is escaping the house.
I also made sure to turn the heating on, which I typically leave at around 65 degrees Fahrenheit, and let the house heat up for a couple of hours before exploring with the thermal sensor. Keeping the house at a comfortably warm temperature will generate the best results, because you can’t really see heat loss if the outside temperature is only a few degrees cooler than the inside.
I also used the FLIR One app’s locking feature to keep the color scale consistent. When I didn’t do this, the scale would change based on the maximum and minimum temperatures in an area, making it much harder to gauge which areas were actually hot and cold.
All the screenshots display temperatures in Celsius, for my own convenience, but I'll discuss them using Fahrenheit.
What the FLIR One Edge showed me inside the house
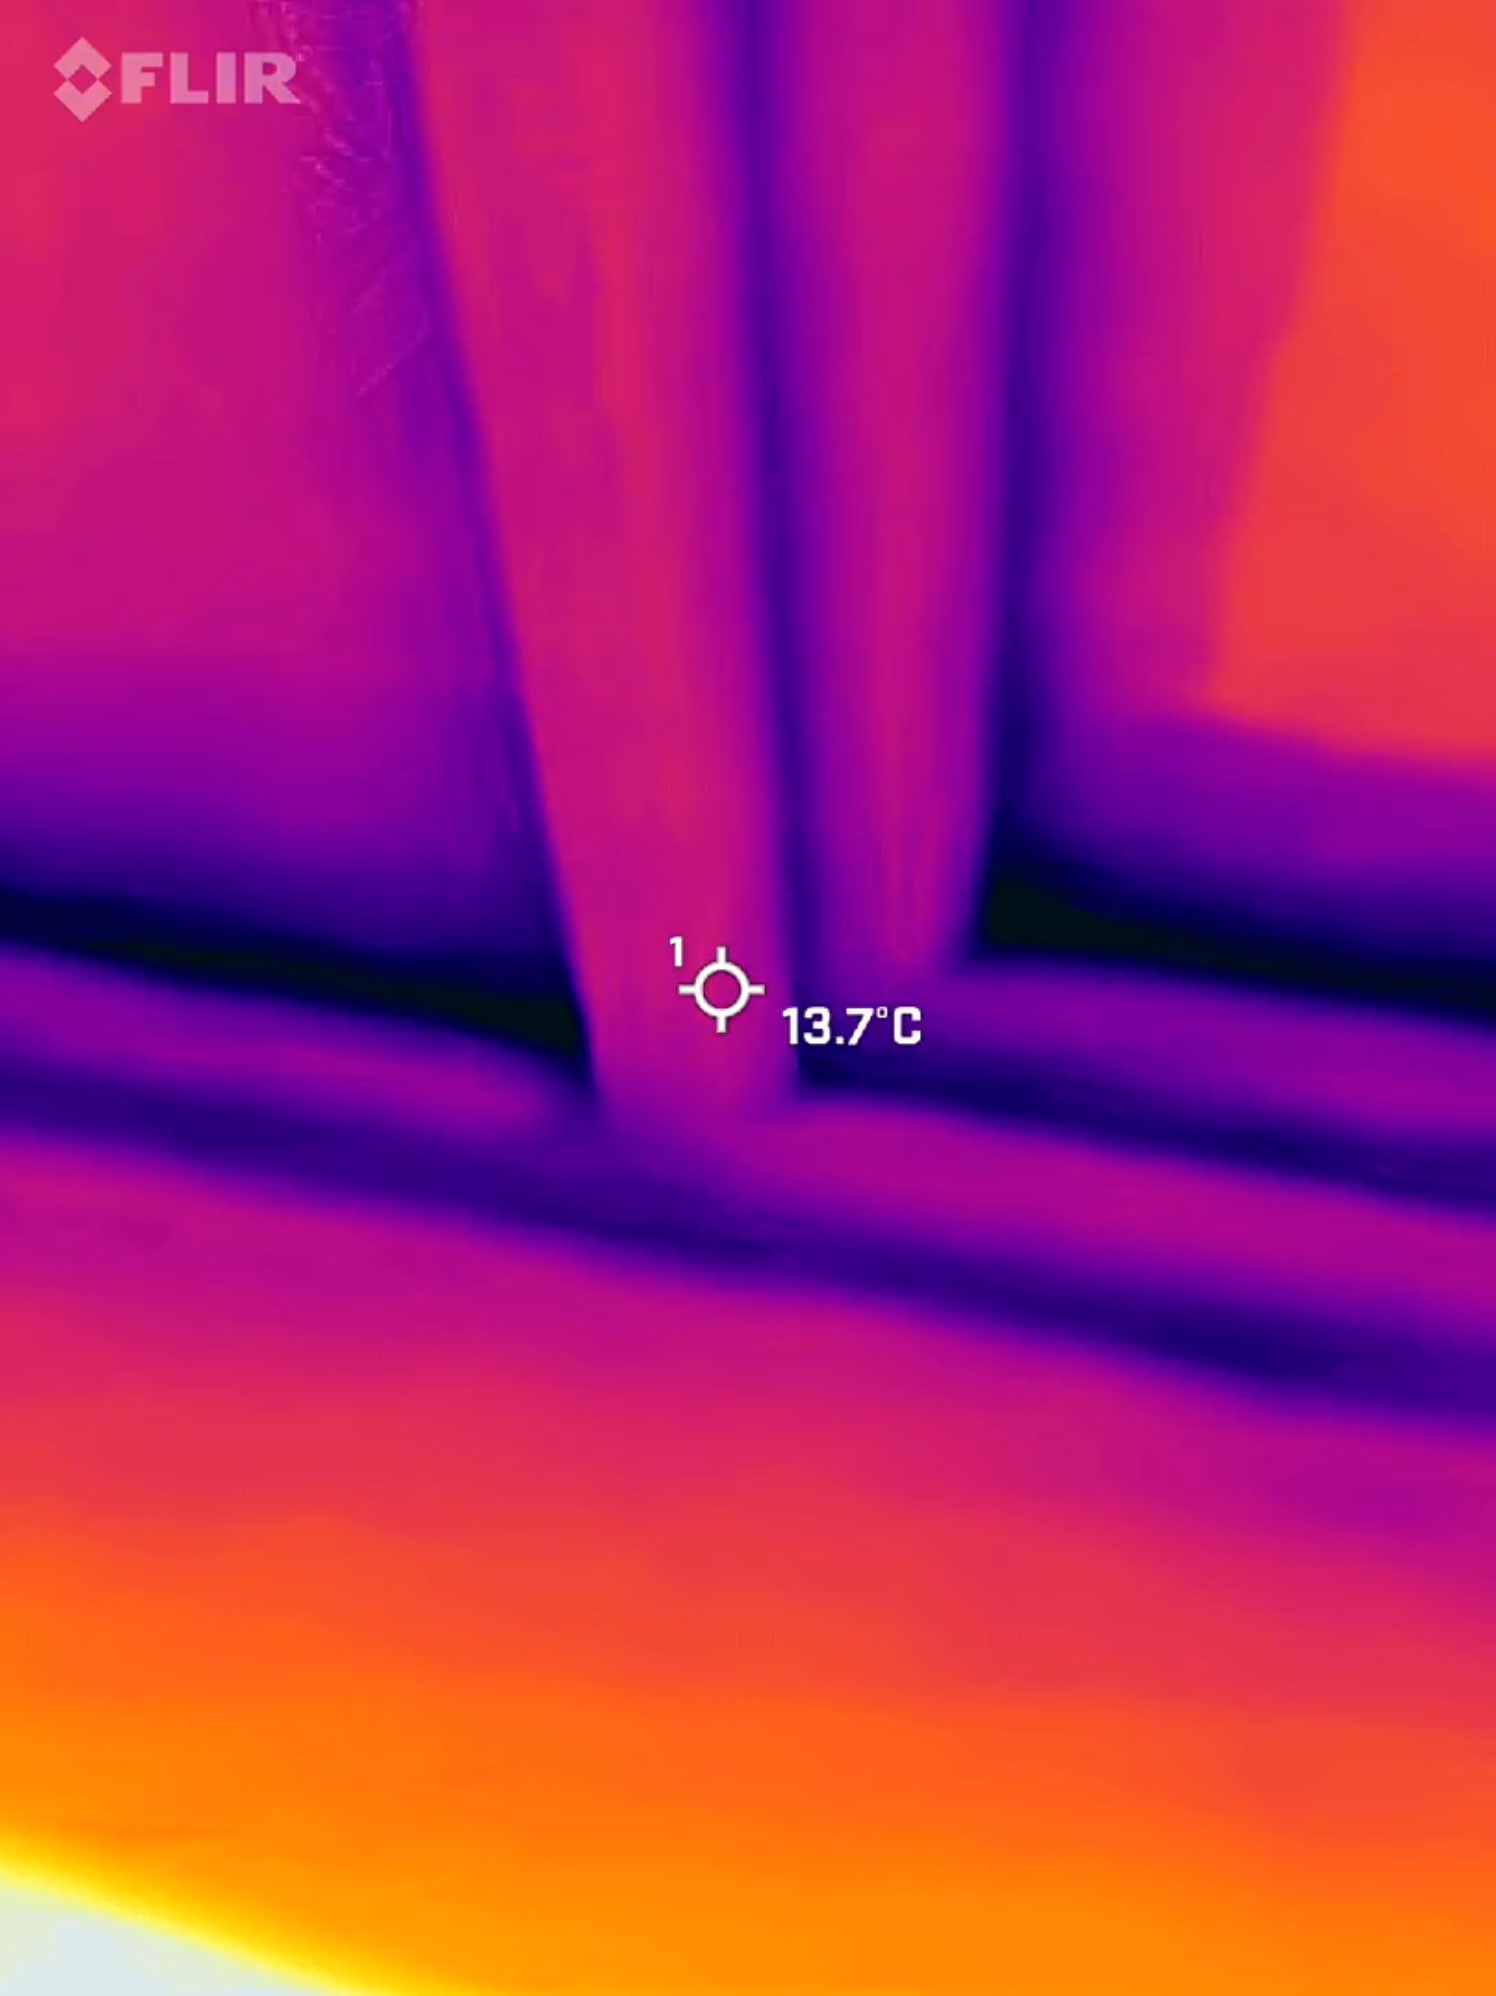
It’s no surprise that the coldest areas in my house are around the exterior doors and windows. In general I was recording temperatures between 41 and 50 degrees F in the immediate wall area. The windows were noticeably colder, with the coldest points tended to be in the corners where the glass means the frame.
I was expecting it to be coldest at the window gap, since that’s an easy route for cold air to get inside, but that wasn’t the case. Though, since condensation always starts forming at the edge of the glass, it makes sense that they are the coldest points.
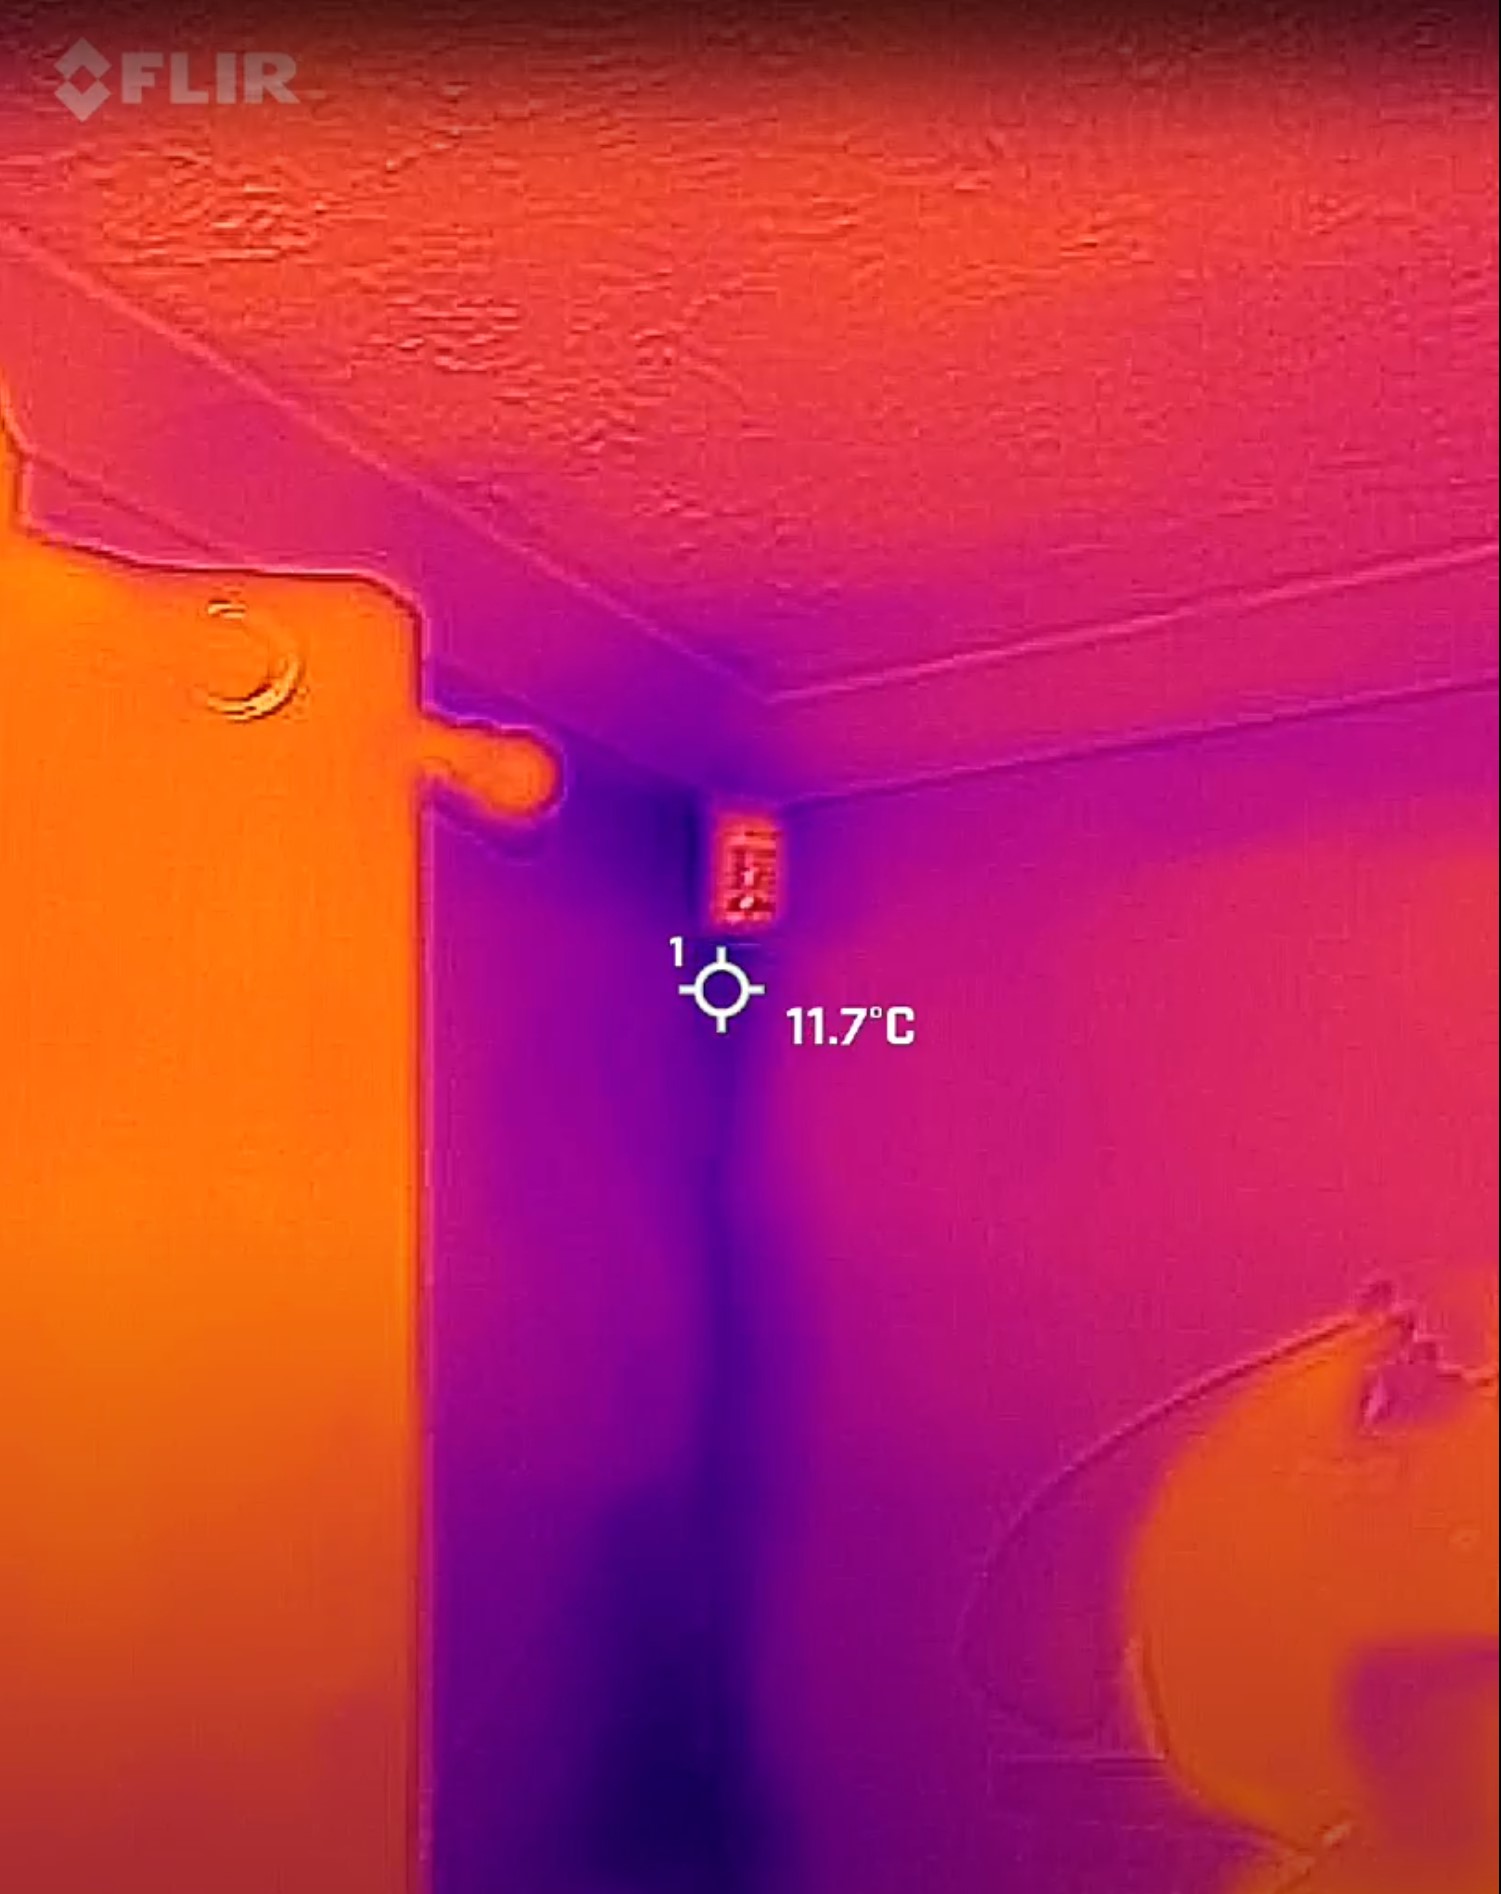
There’s also a single corner at the front of my house which, by some weird design quirk, doesn’t connect to a neighbouring house. This was, unsurprisingly, noticeably colder than the surrounding areas, especially downstairs where temperatures measured as low as 50 degrees. In fact this was the coldest part of the house that wasn’t connected to a window or door.
One floor up and that same spot was ten degrees warmer, which was interesting to see. It was still cooler than the surrounding bedroom, though, and has been known to collect a little bit of condensation if I’m not careful.
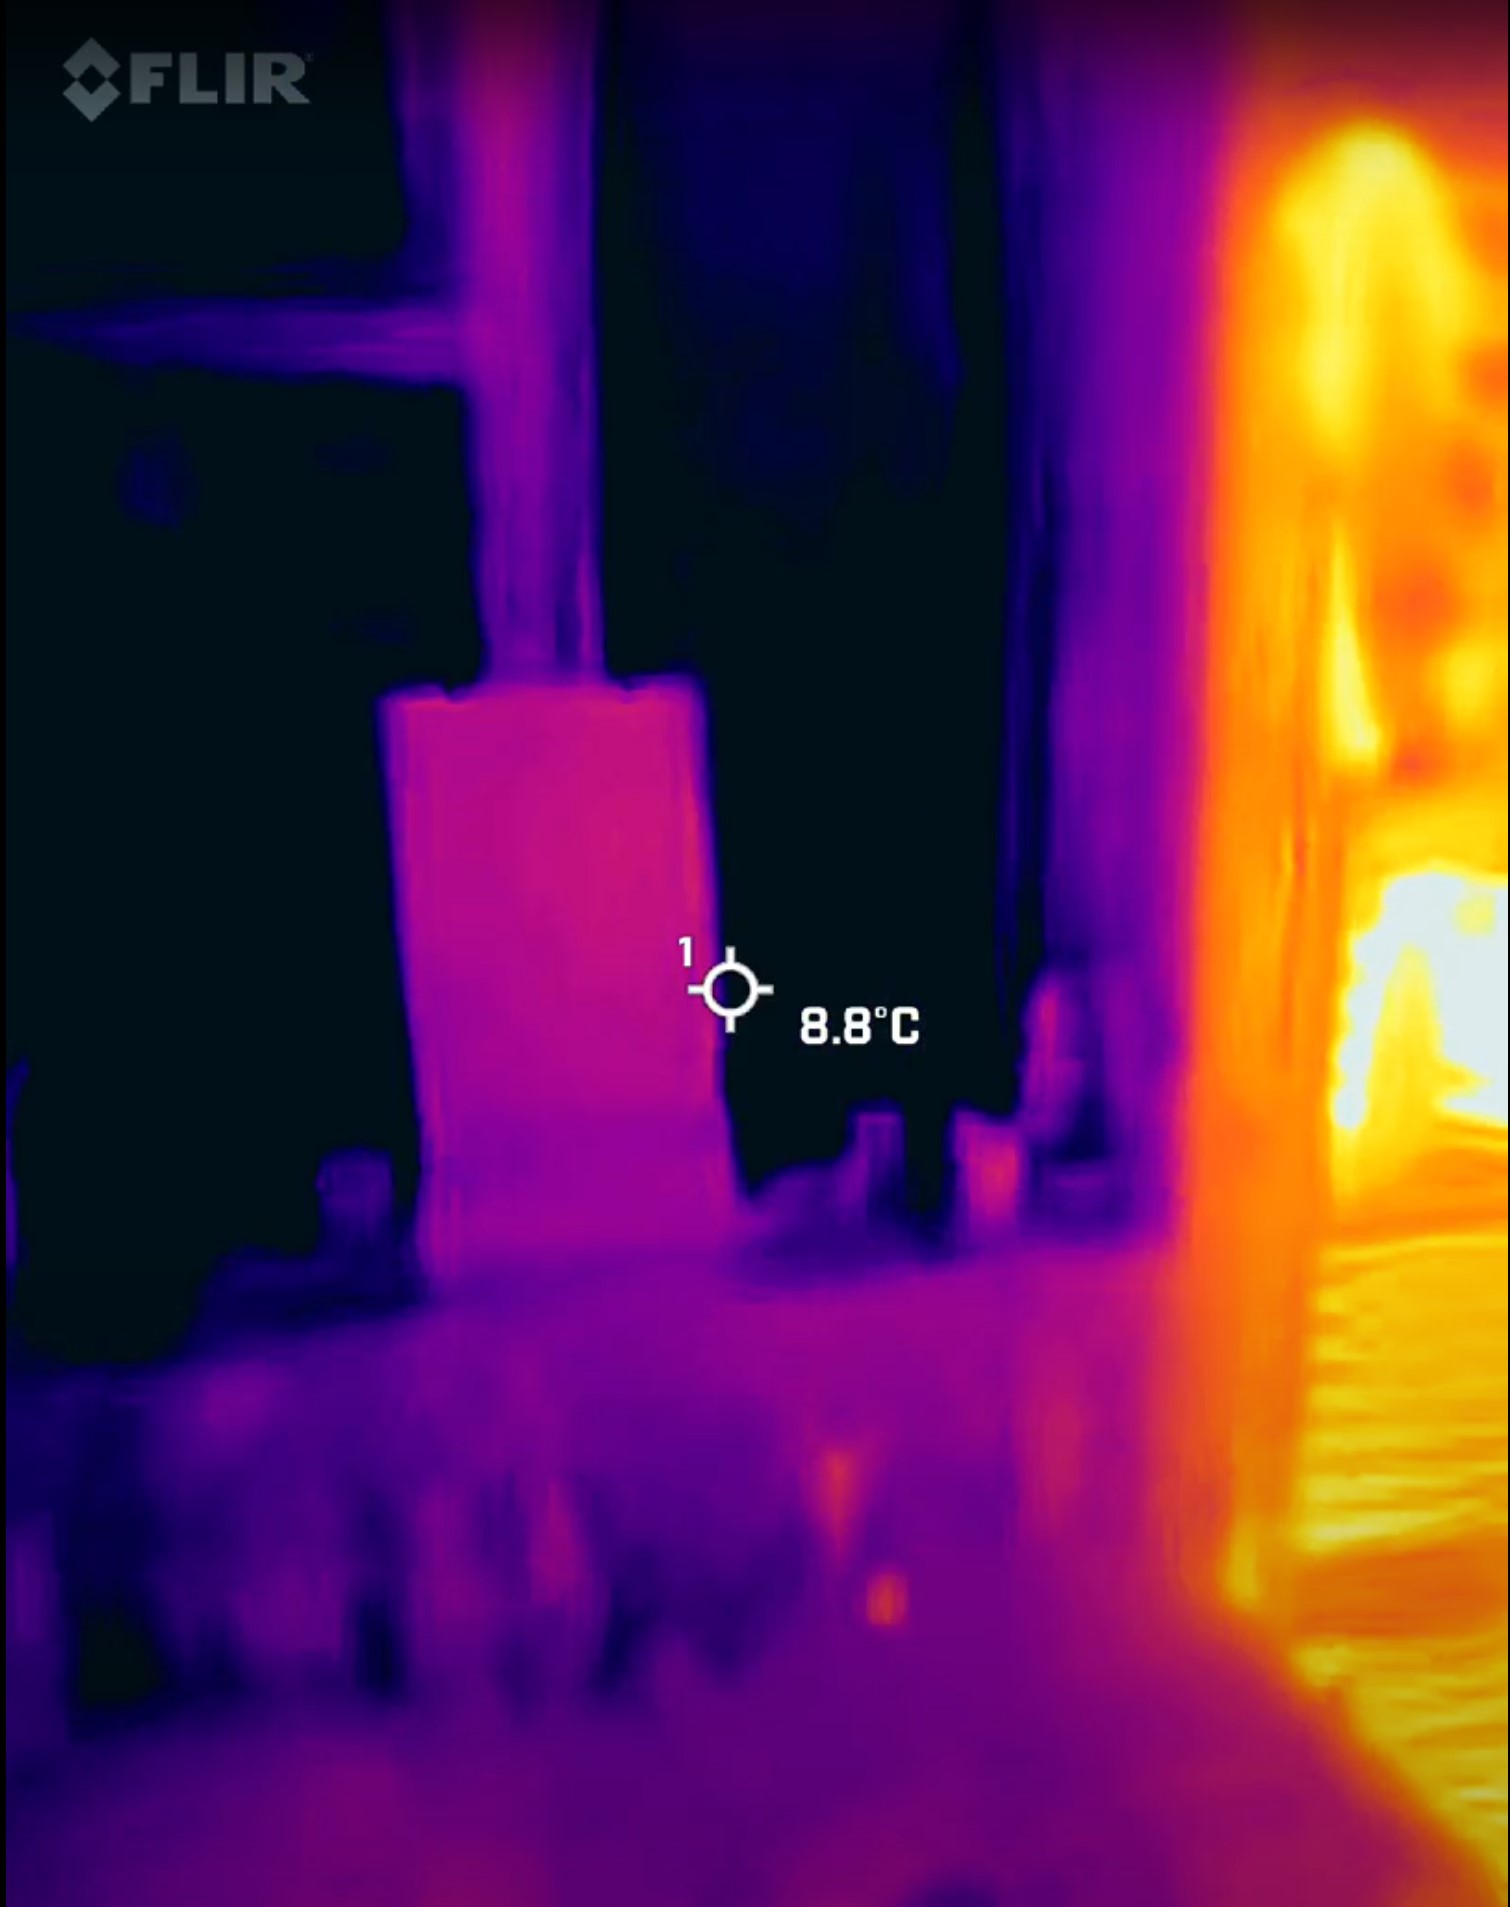
One thing that did surprise me was that the bathroom windows weren’t a particularly major heatsink. My bathroom has always felt like a much colder room, and the windows were noticeably colder at the edges — but no more so than the other windows in the house.
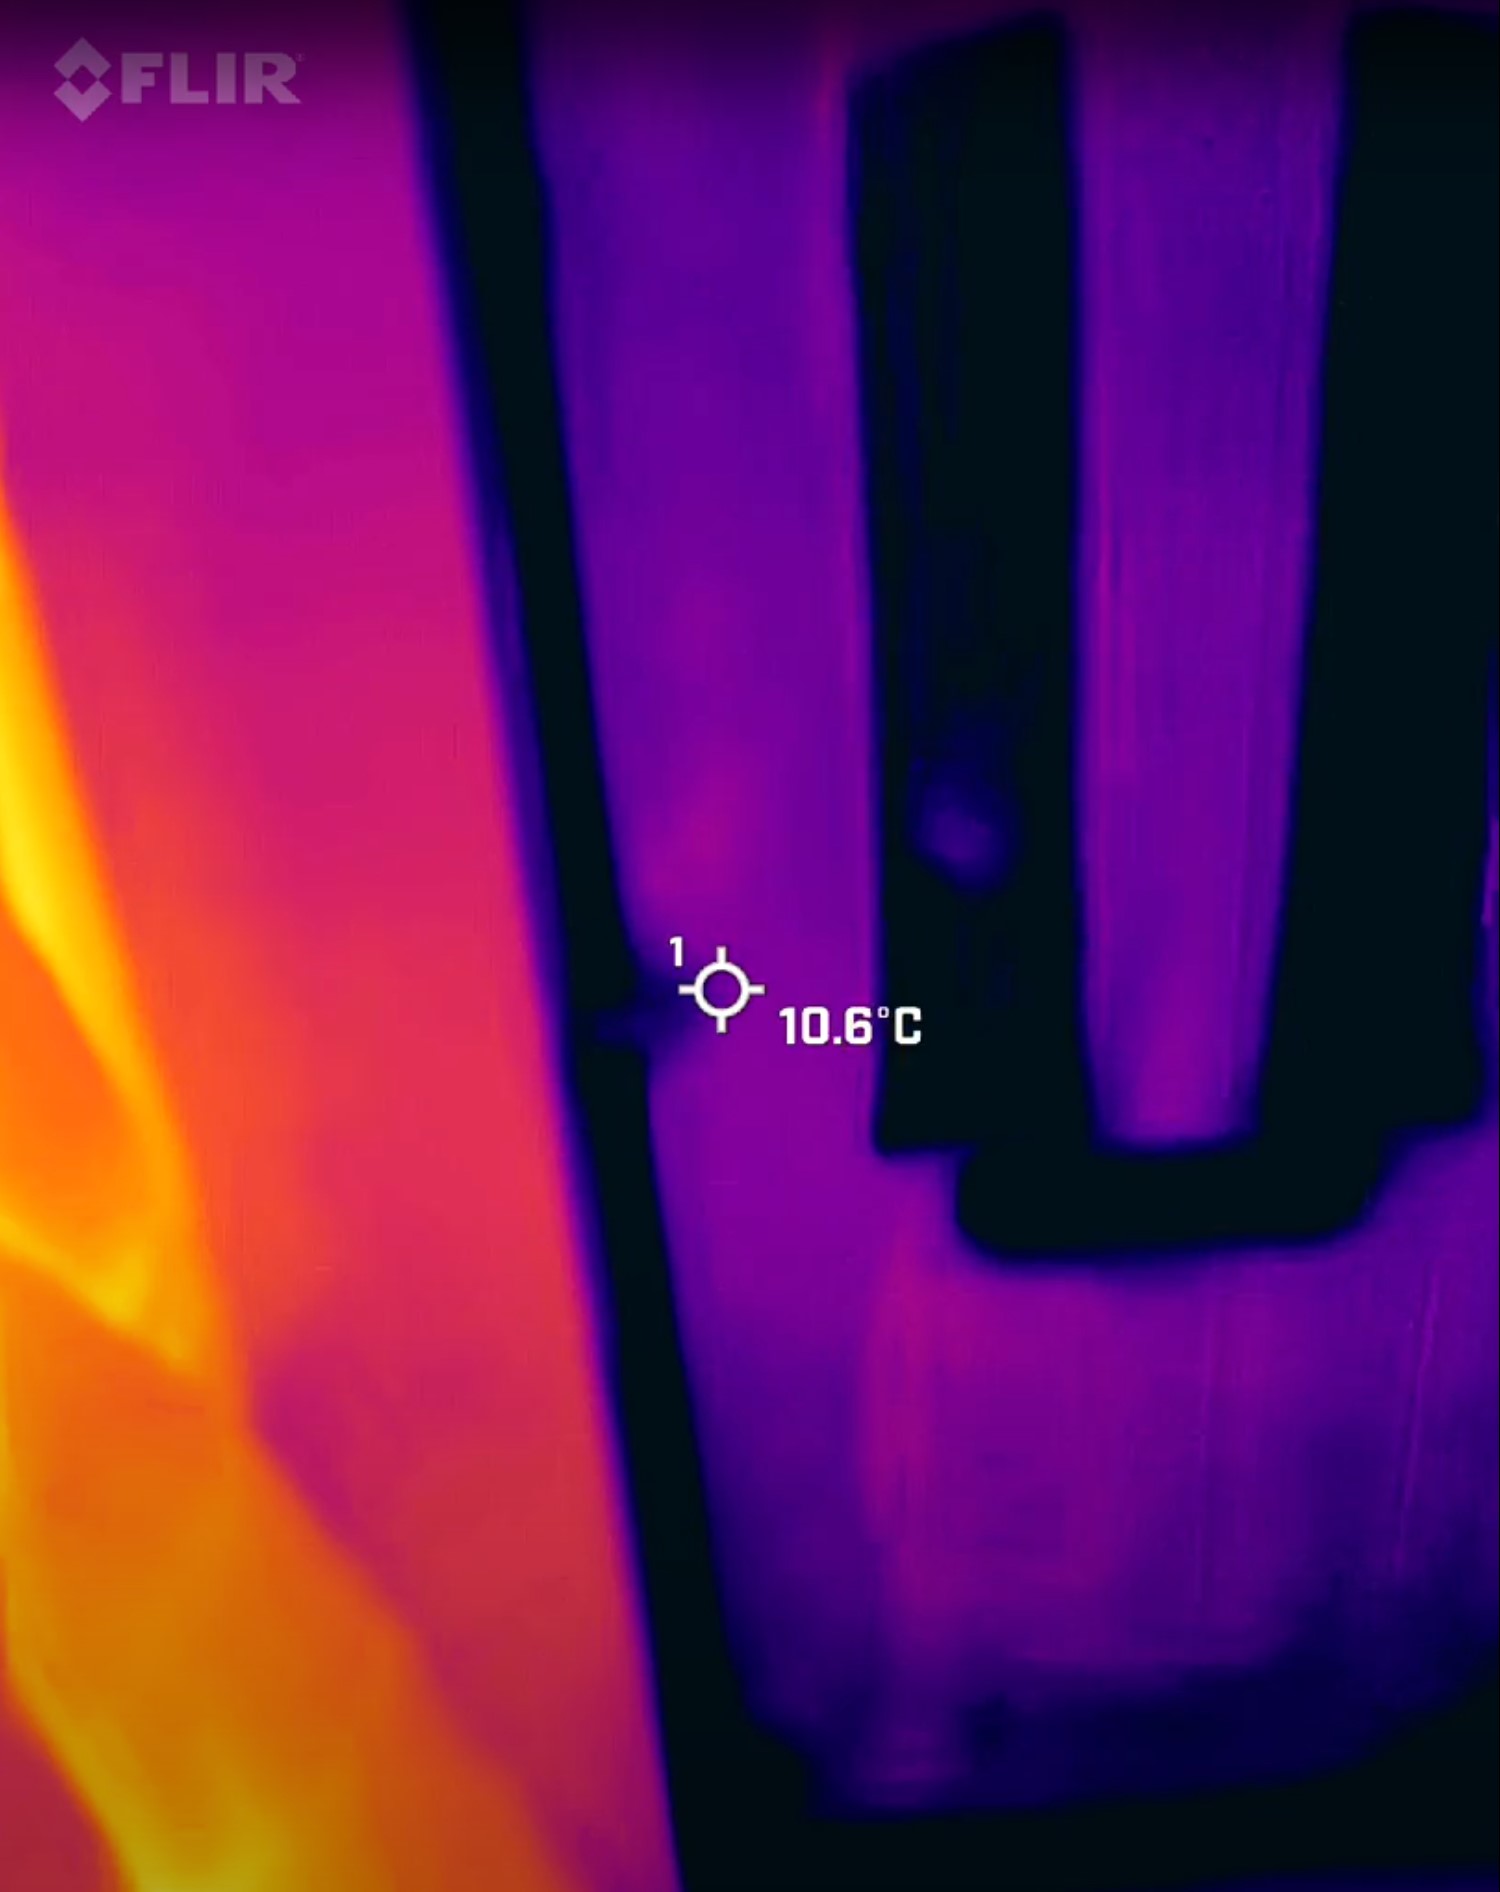
The other surprise was that I didn’t seem to be getting much cold coming in through the loft hatch, which doesn’t fit all that well. Clearly the choice to improve the insulation up there is paying off.
Finally, the FLIR One Edge was ideal for figuring out exactly where all my heating pipes were. Because their placement is a little bit random if you ask me. I’m not sure when I’ll be able to use that information, but it may come in handy someday.
What FLIR One Edge showed me outside the house
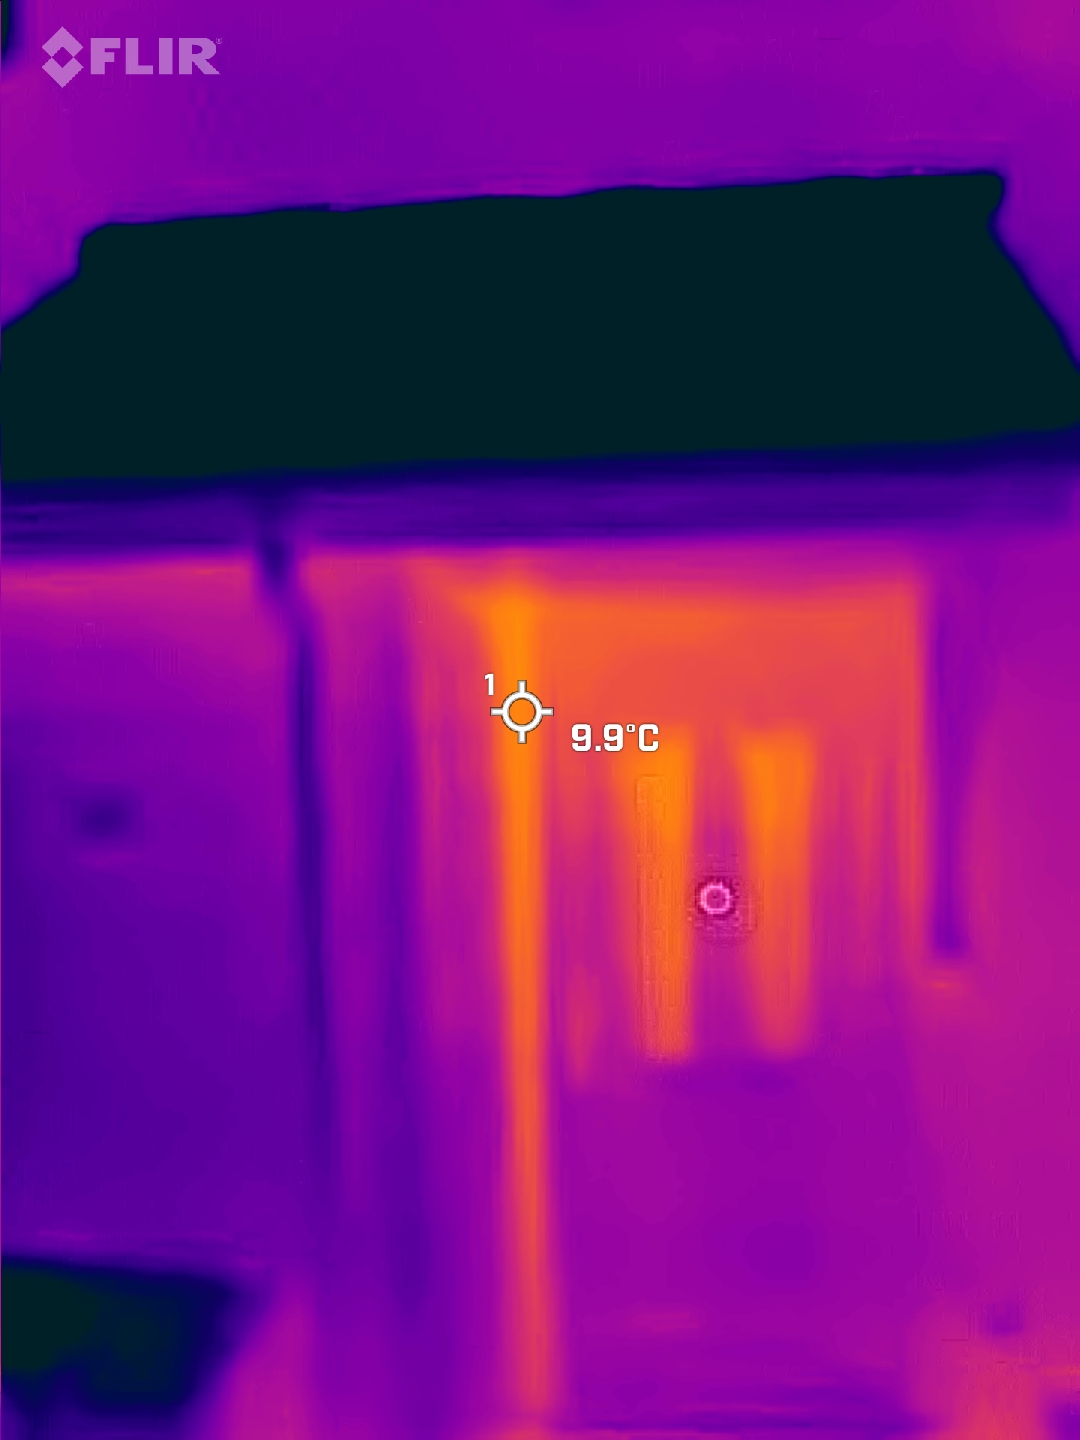
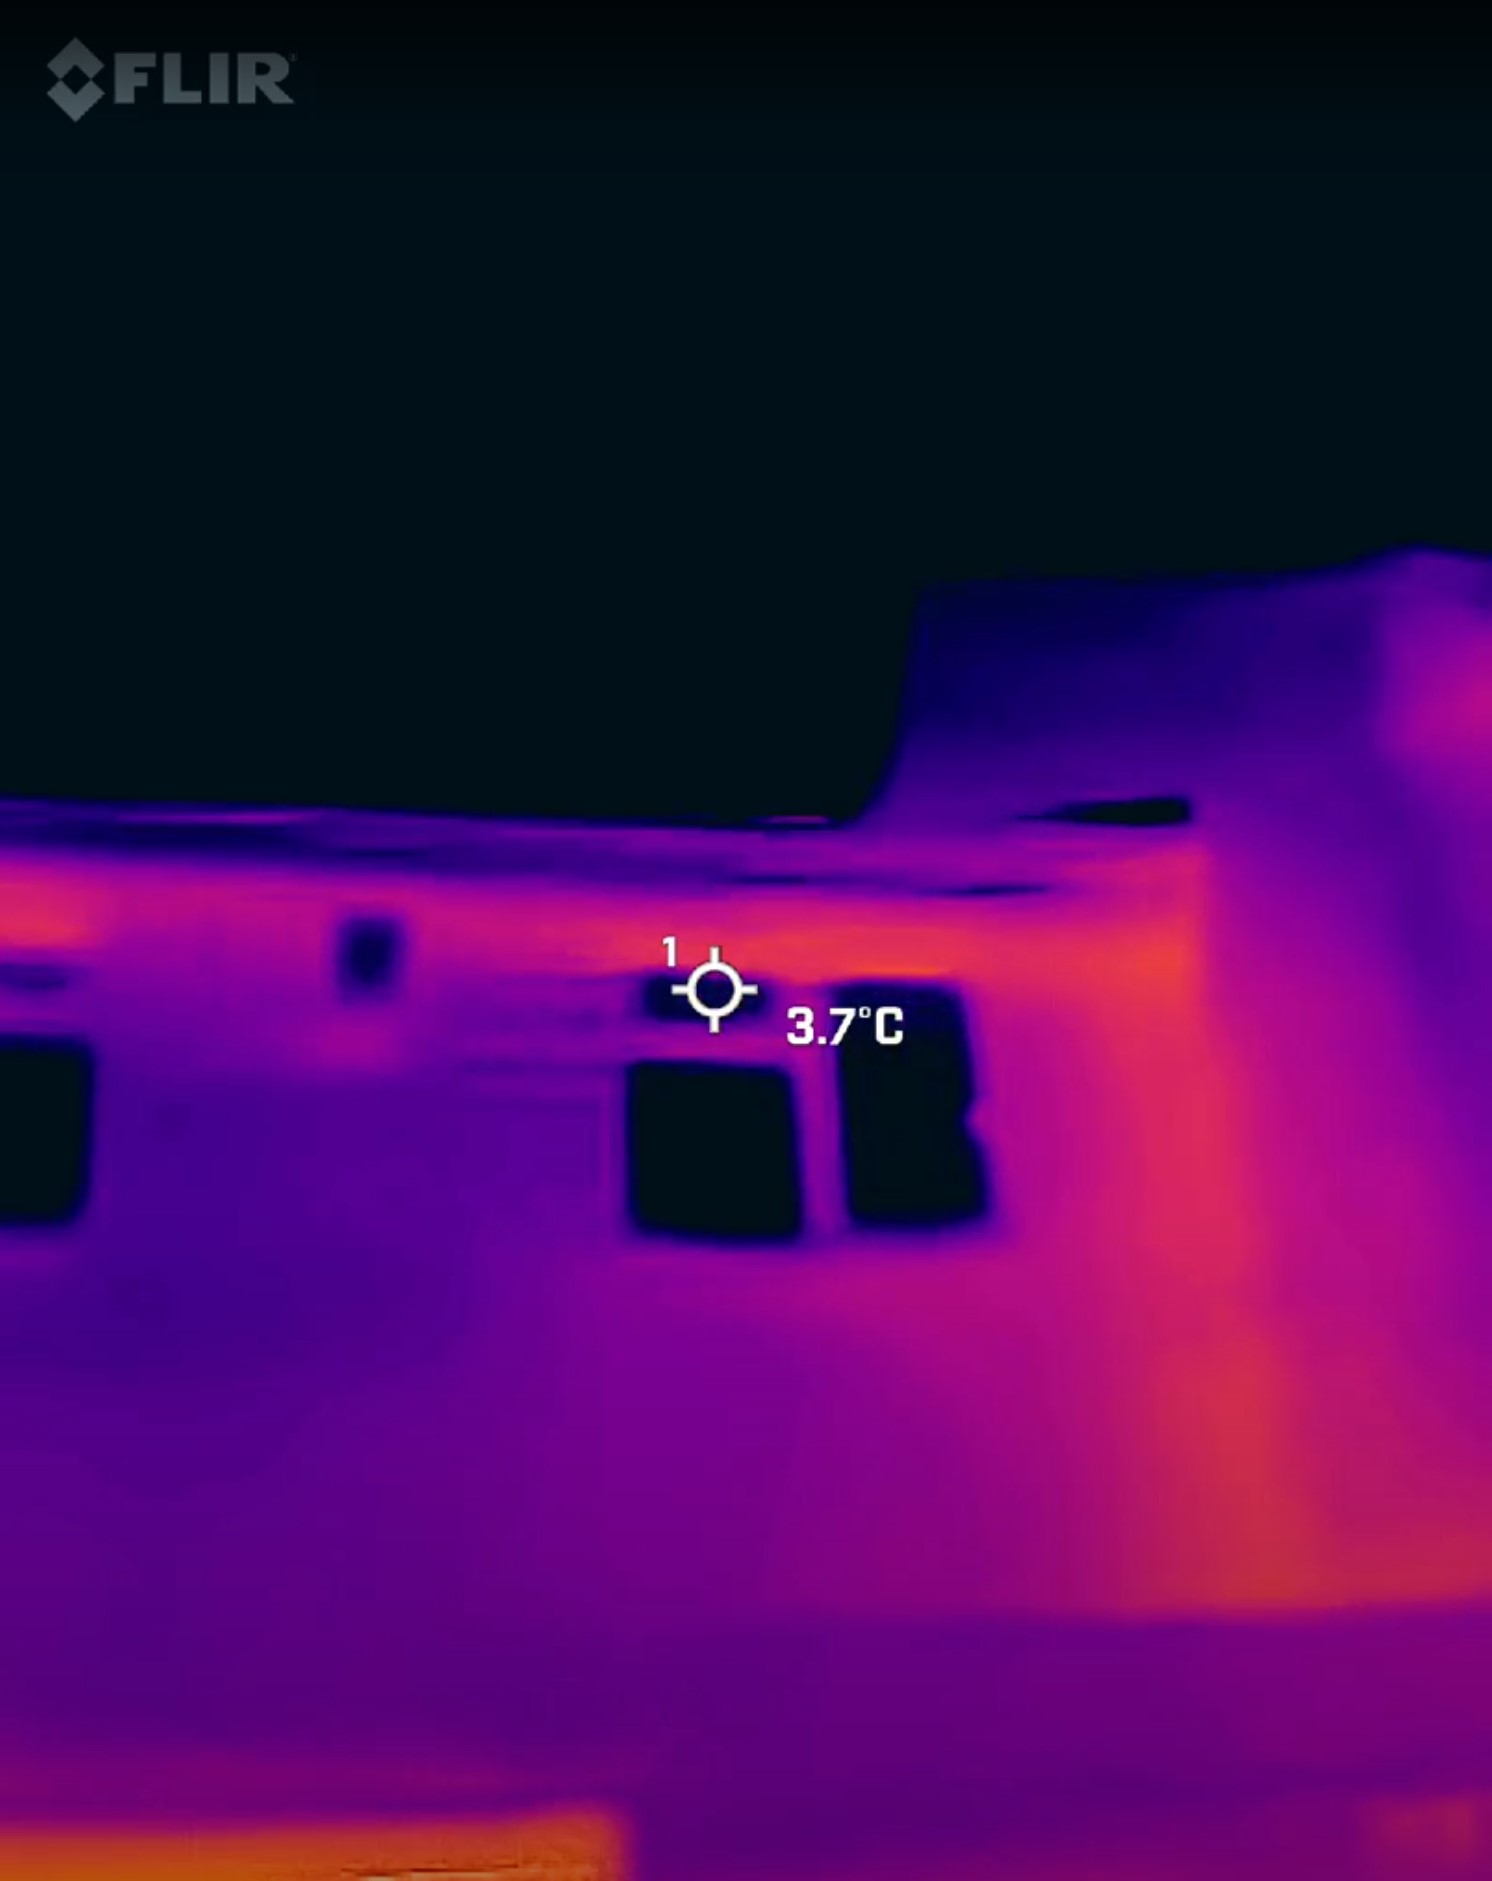
From the outside of the house there is no surprise that a bunch of heat seems to be emanating from the front door — particularly the small sections of glass. Weirdly, a bunch of heat seems to be emanating from the gap between the door and the storage closet attached to the front of the house.
There’s nothing there that suggests this heat would be coming from inside the house. No pipes, no gaps, and no abnormal thermal readings from the other side of the wall.
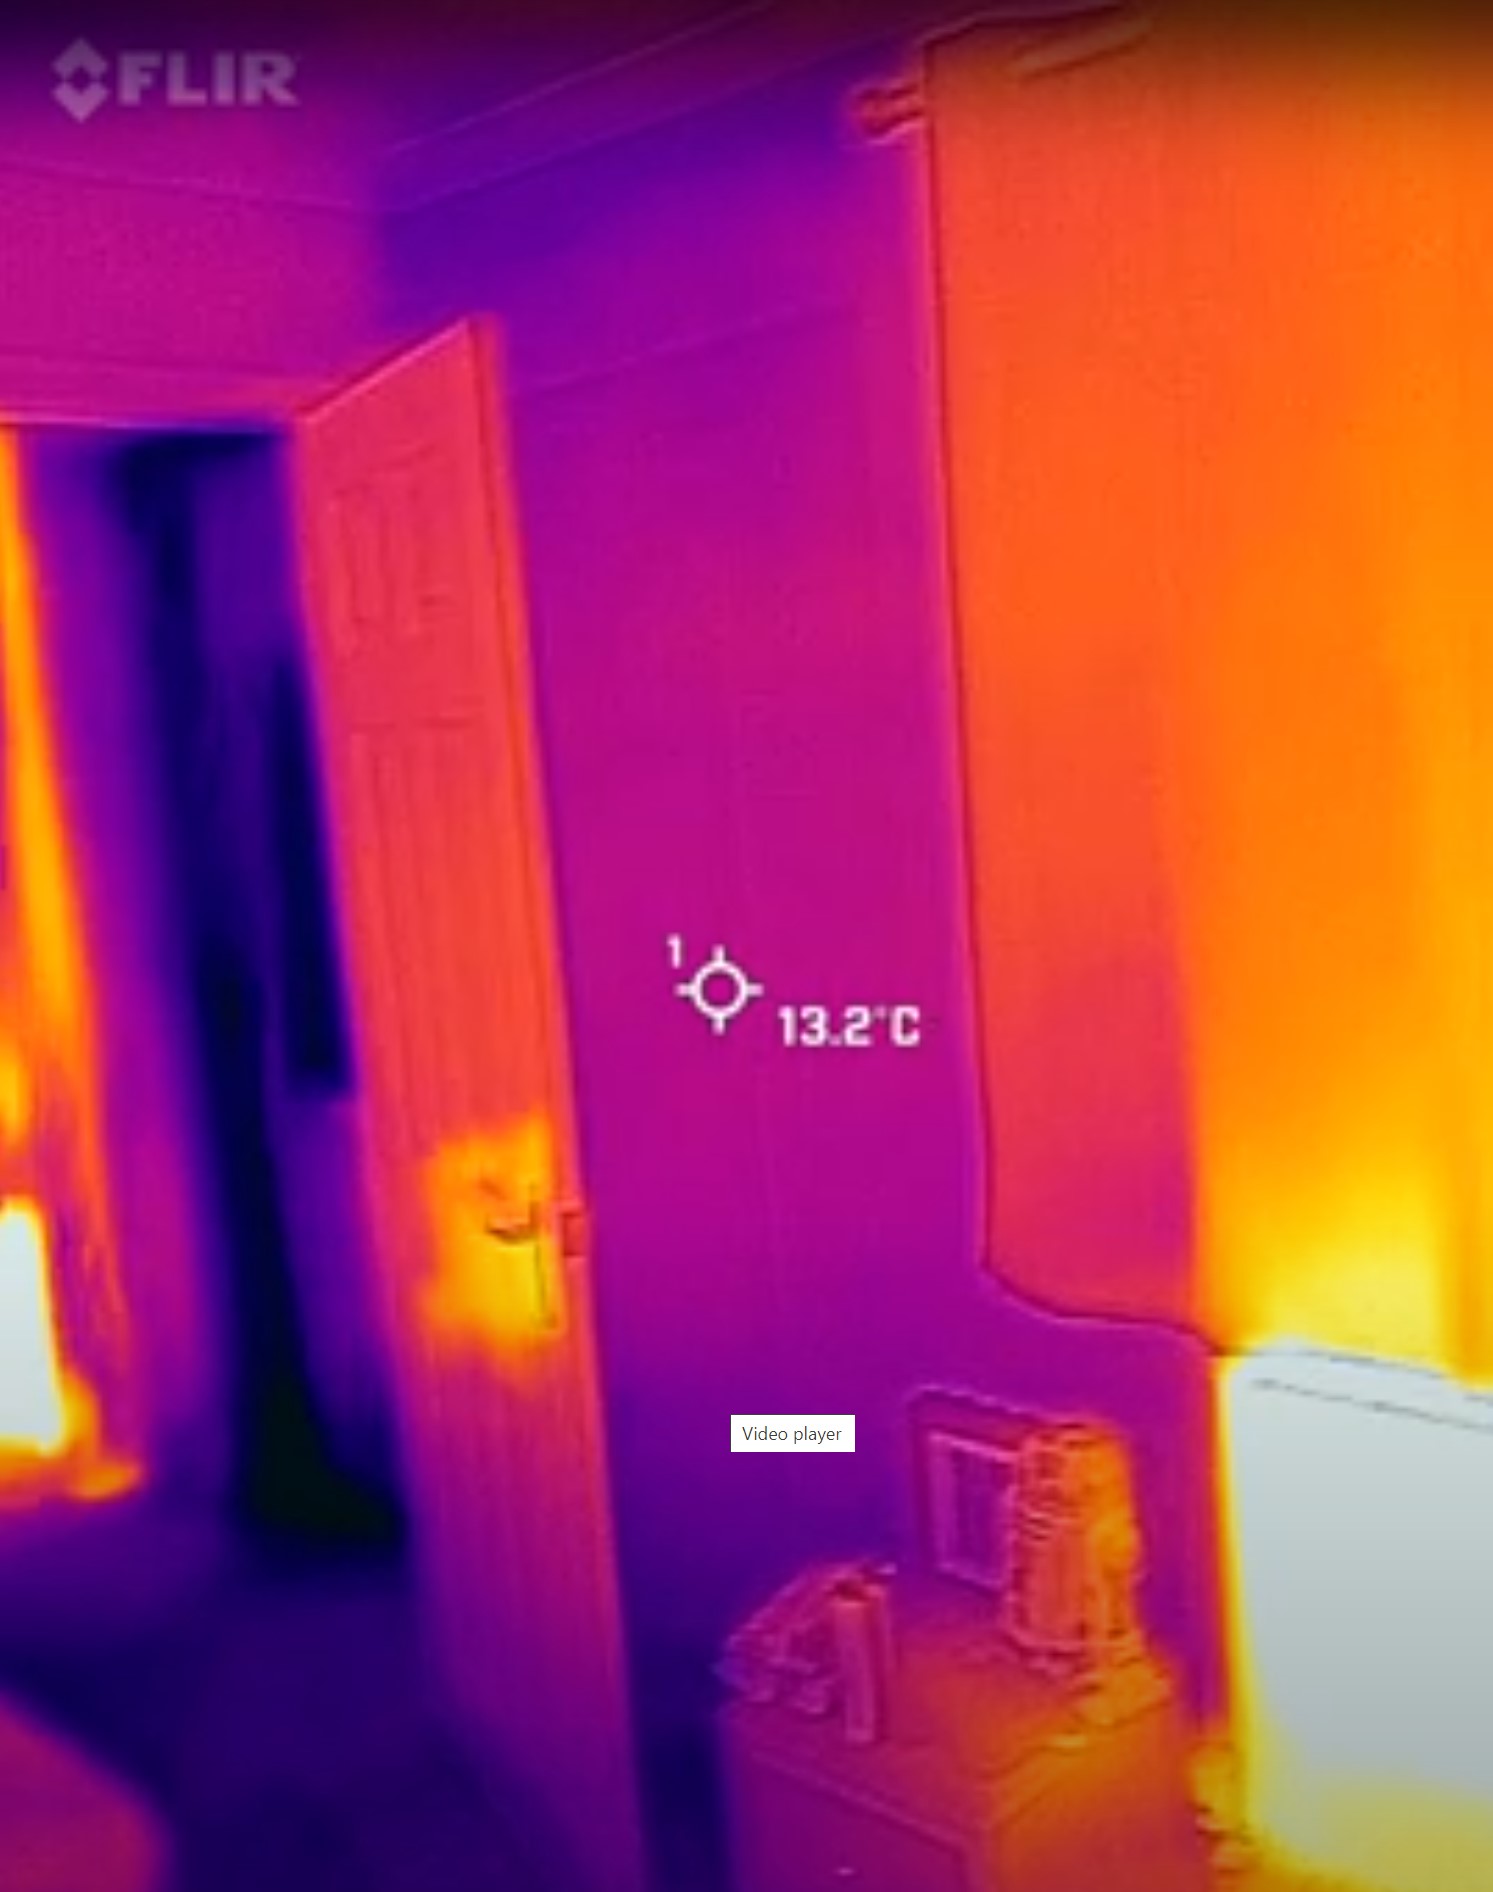
My only explanation is that the degraded sealant at that joint is leaking heat from inside the closet itself — which houses my home battery and a bunch of other warm electrical equipment.
In fact that battery can be running warm enough that its thermal signature is visible from inside the house.
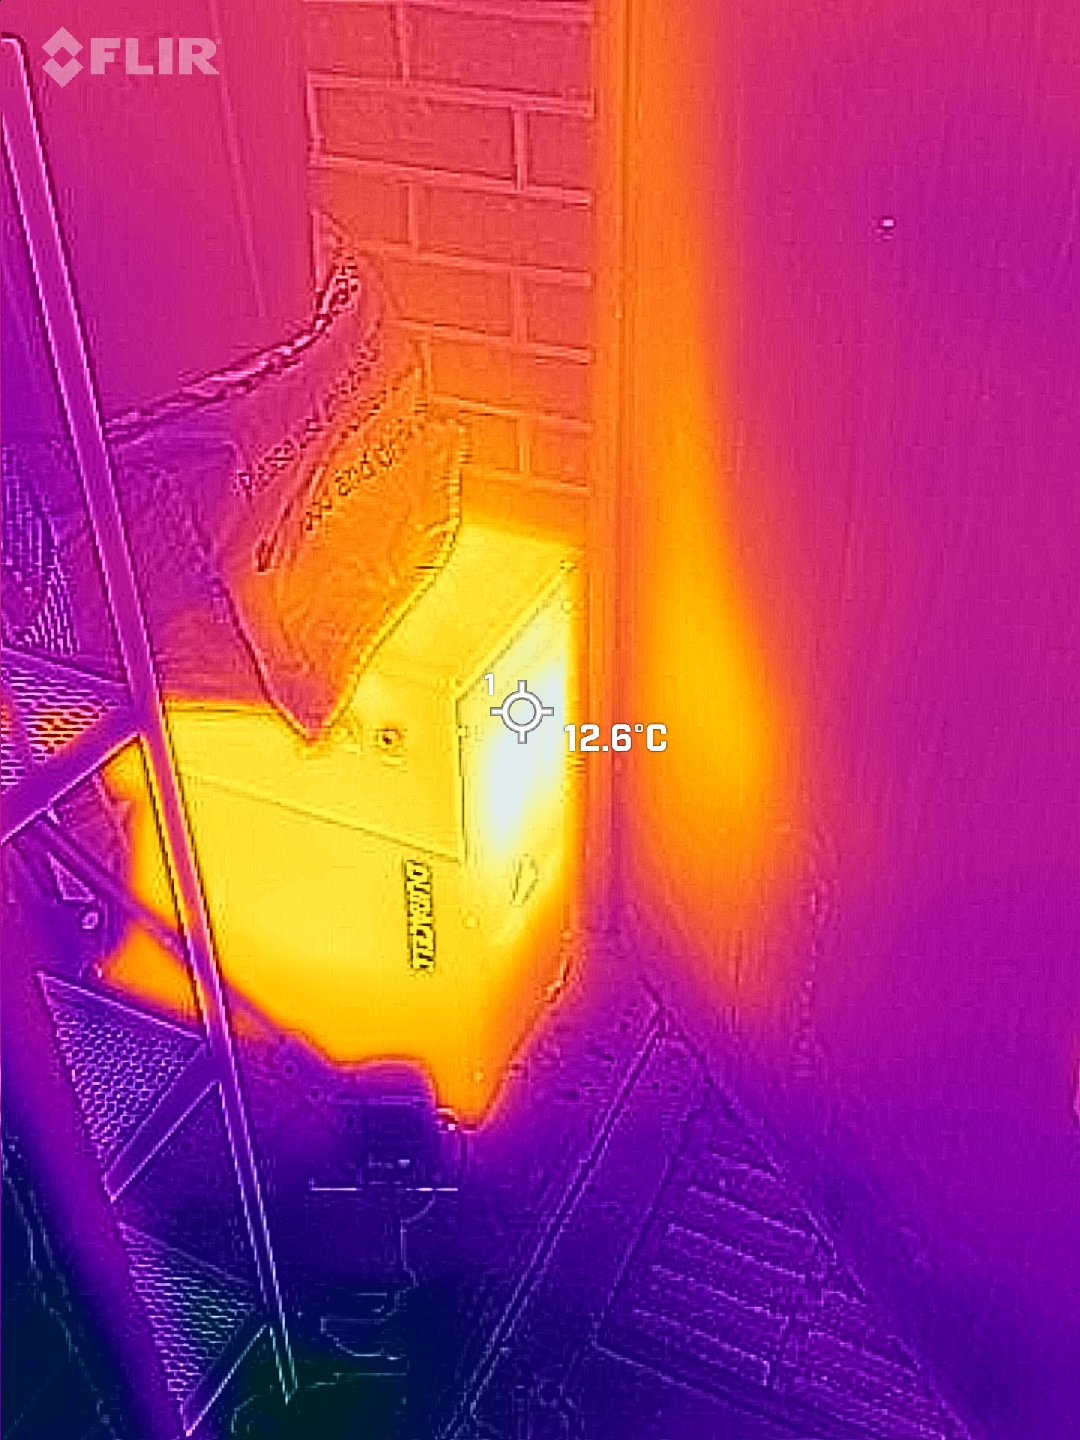
It’s safe to assume that spot might be skewing the results for the door itself, which means I should probably roll out the silicone to seal up that gap. In any case the door doesn’t seem to be registering temperatures beyond the 50 degree F point, and while it’ll need some work the door isn’t doing too bad a job — despite its advanced age.
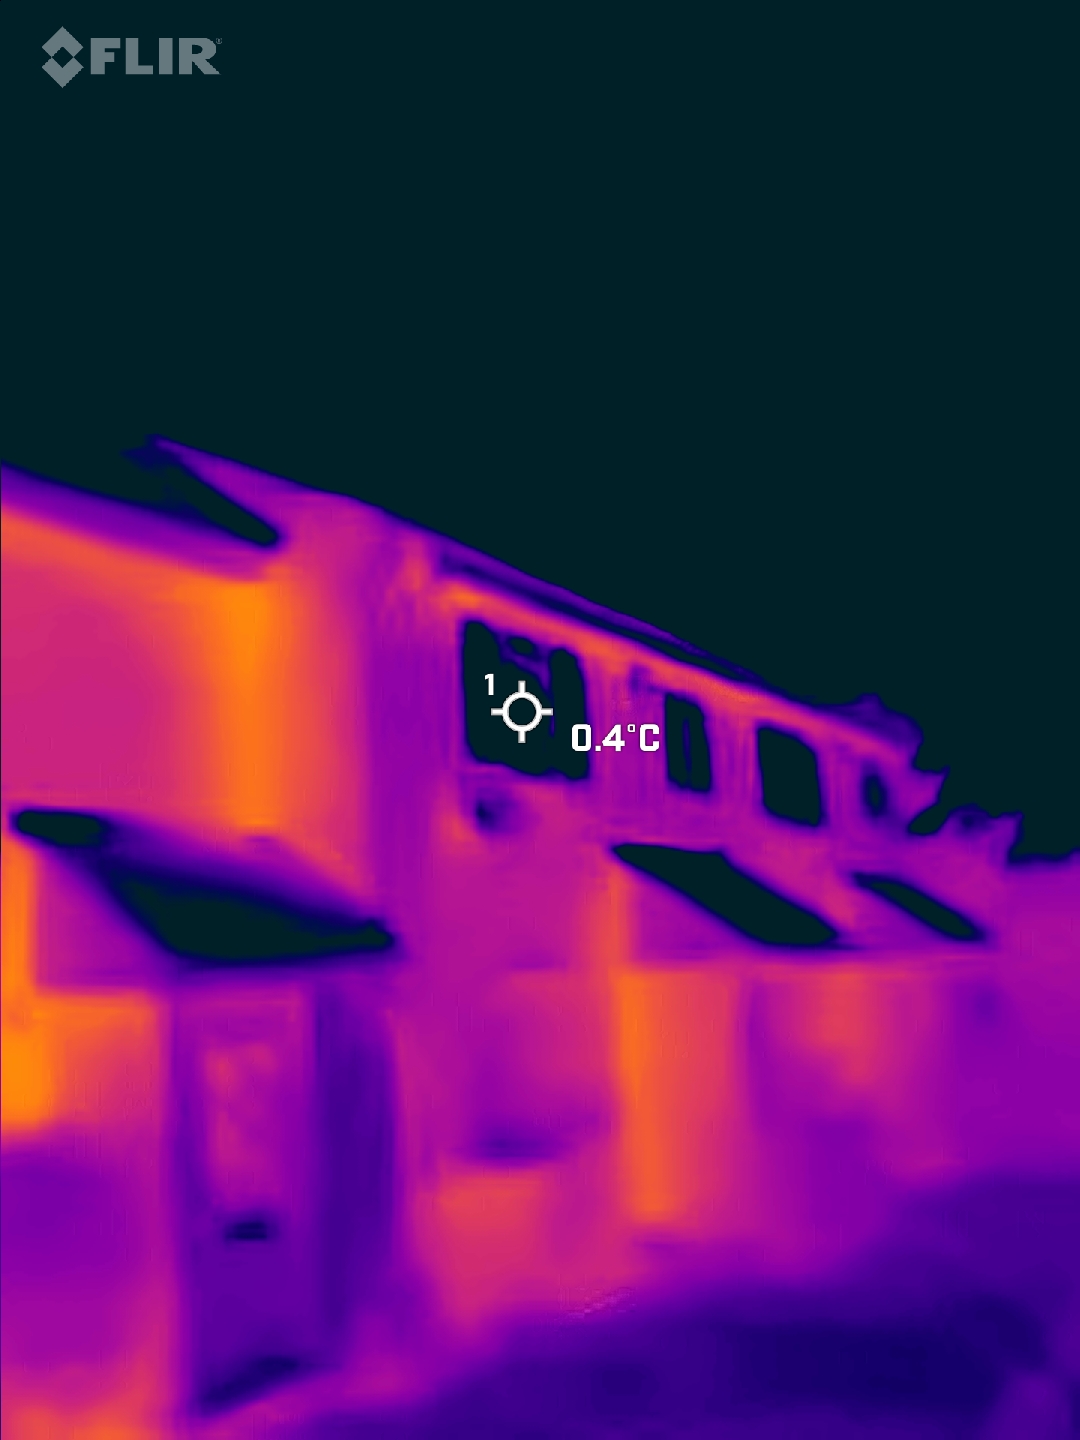
Interestingly, despite the windows being the coldest areas inside the house, there didn’t seem to be a great deal of heat coming out of them. In fact the coloring in the thermal imagery had them as almost completely black — beaten only by the sky and ground. In fact the FLIR sensor registered those windows at around 32.5 degrees.
That extreme measurement suggests my thermal curtains are doing their job properly, and keeping them closed is helping to keep the heat inside and away from the windows.
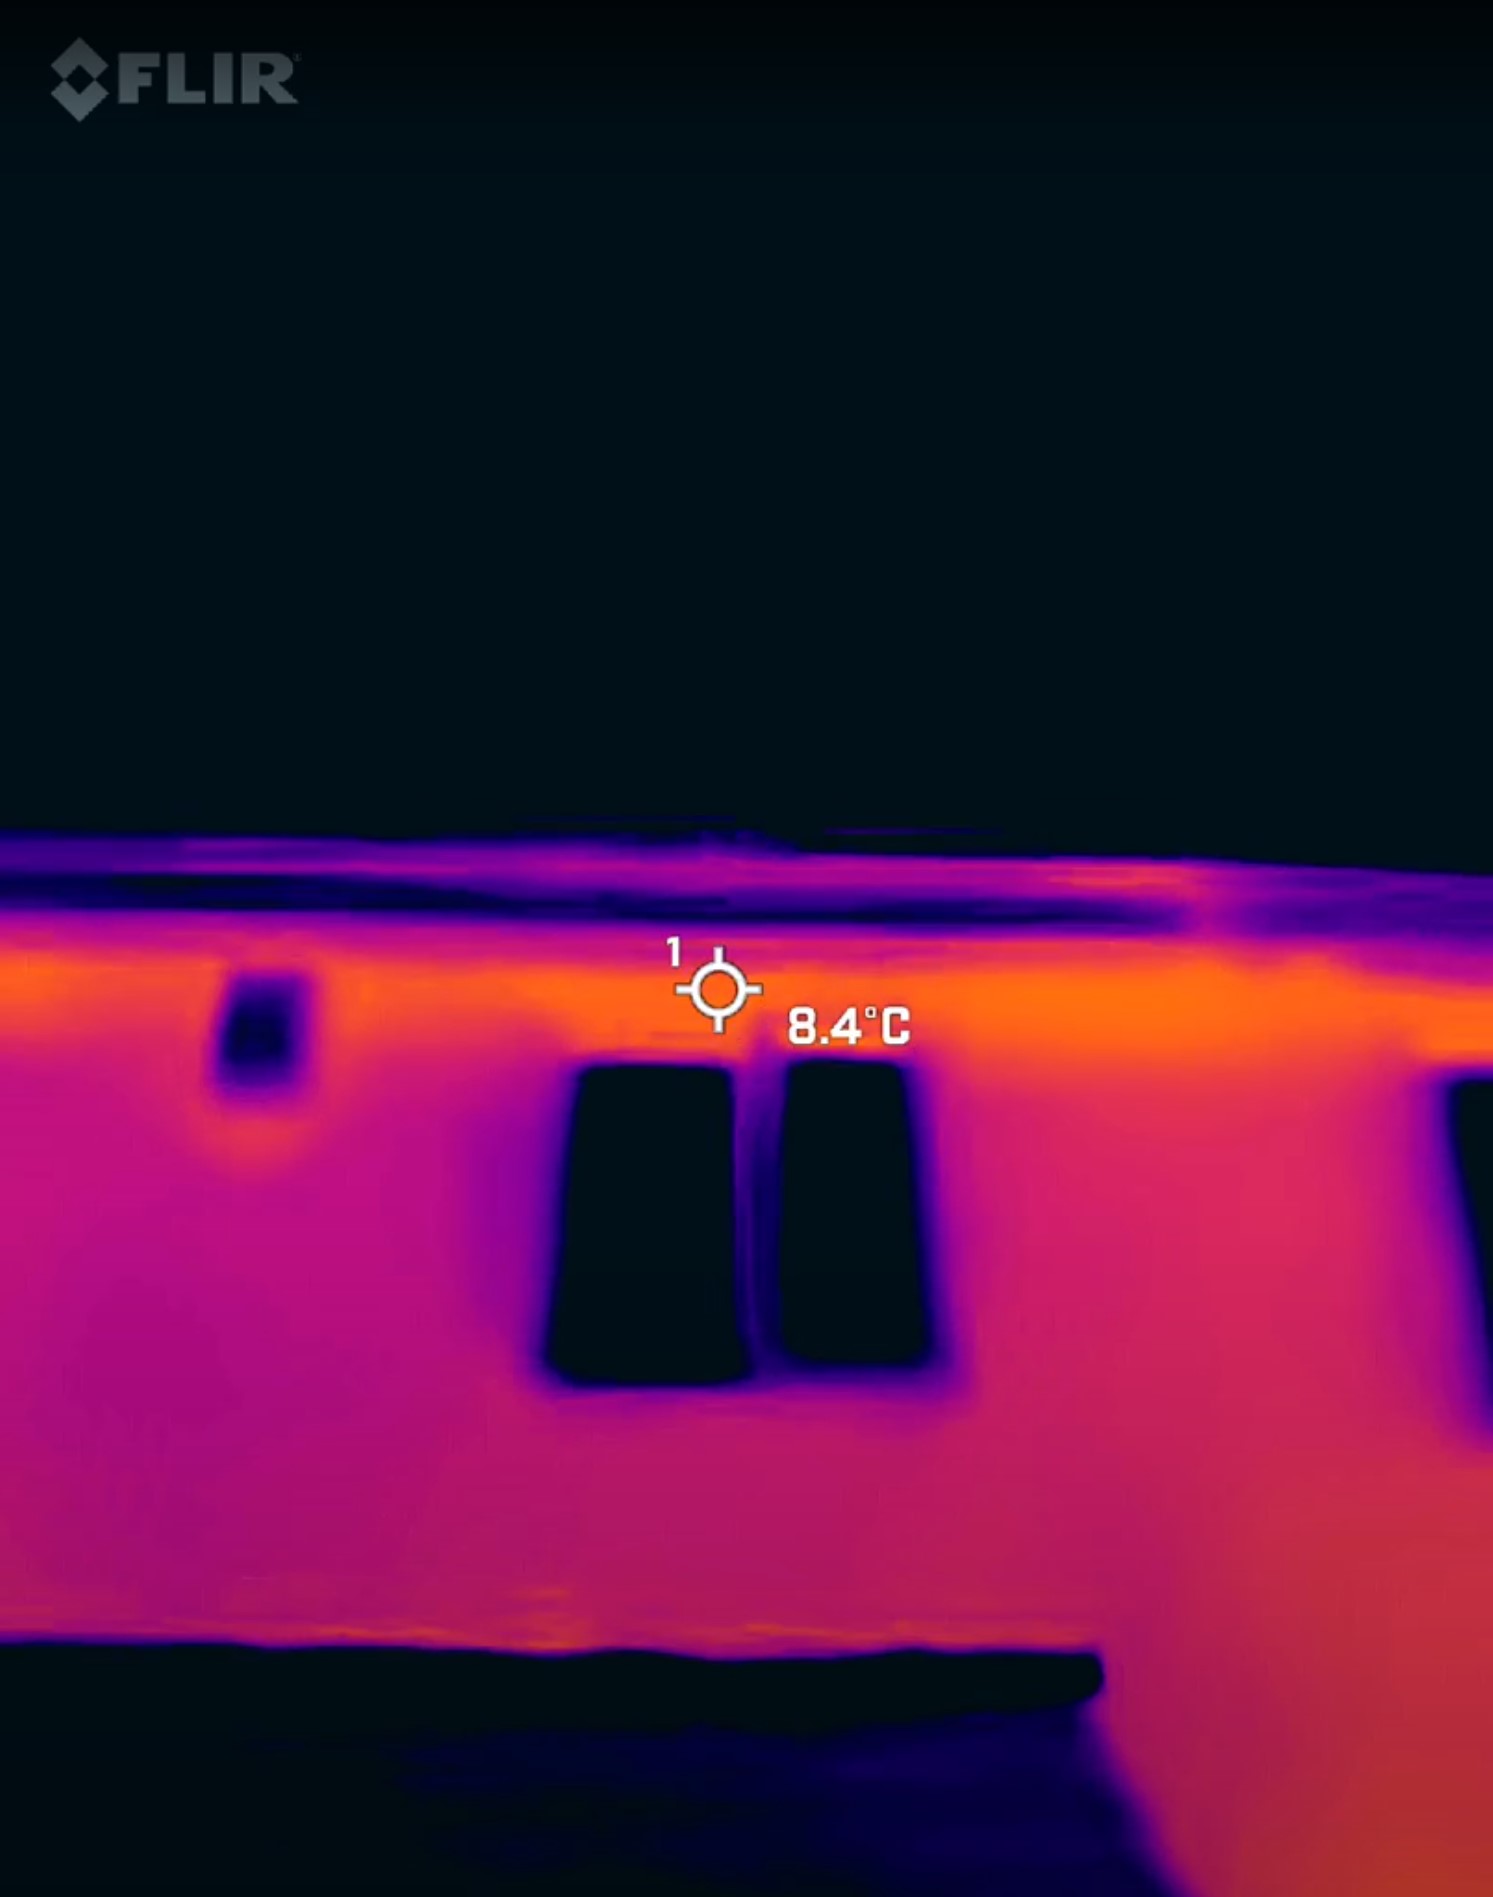
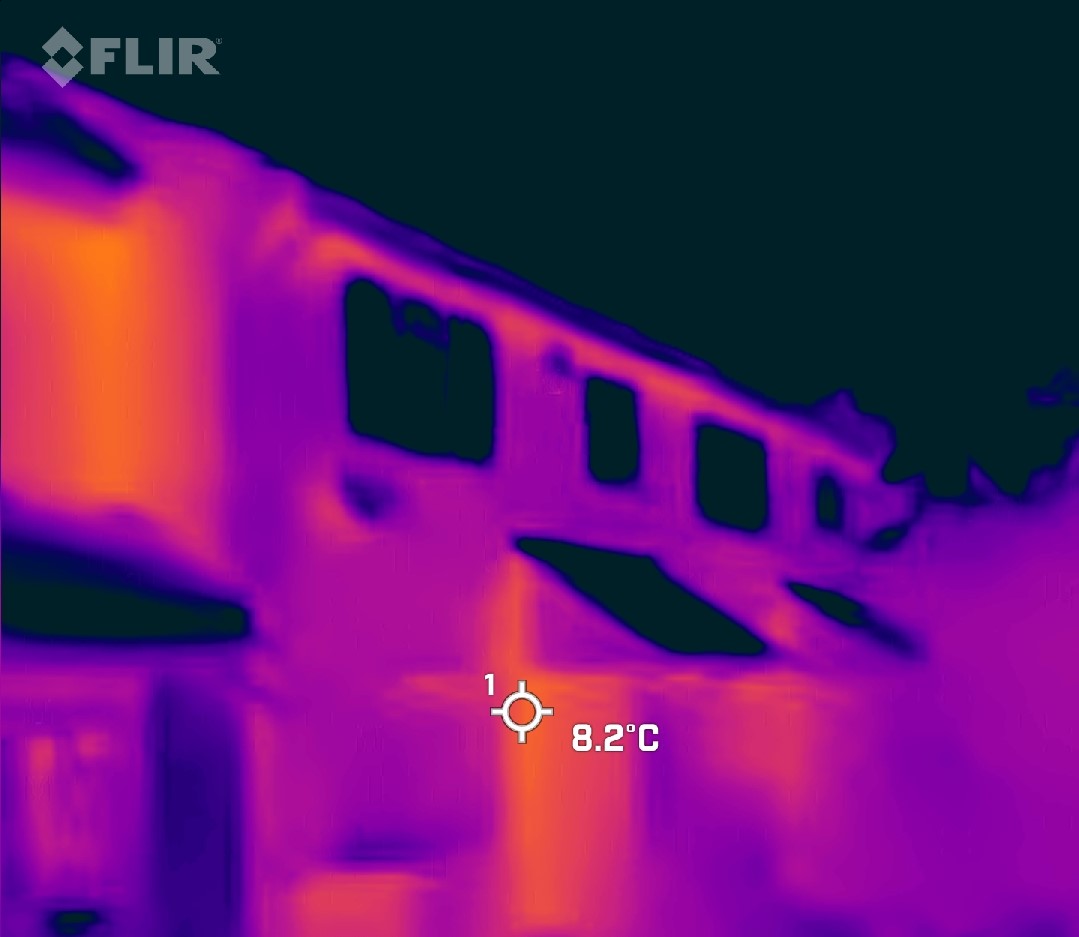
My only real concern at the front are my soffits, which seem to be registering as warmer than the surrounding areas — and temperatures of around 46-48 degrees. Unfortunately there may not be a whole lot I can do about that.
The soffits on this particular house are vented to prevent moisture build-up, and that's an obvious source of heat loss. They’re pretty-much sealed away by insulating foam. Thankfully it’s not too serious a problem, and the roof itself is doing a reasonable job of keeping heat inside.
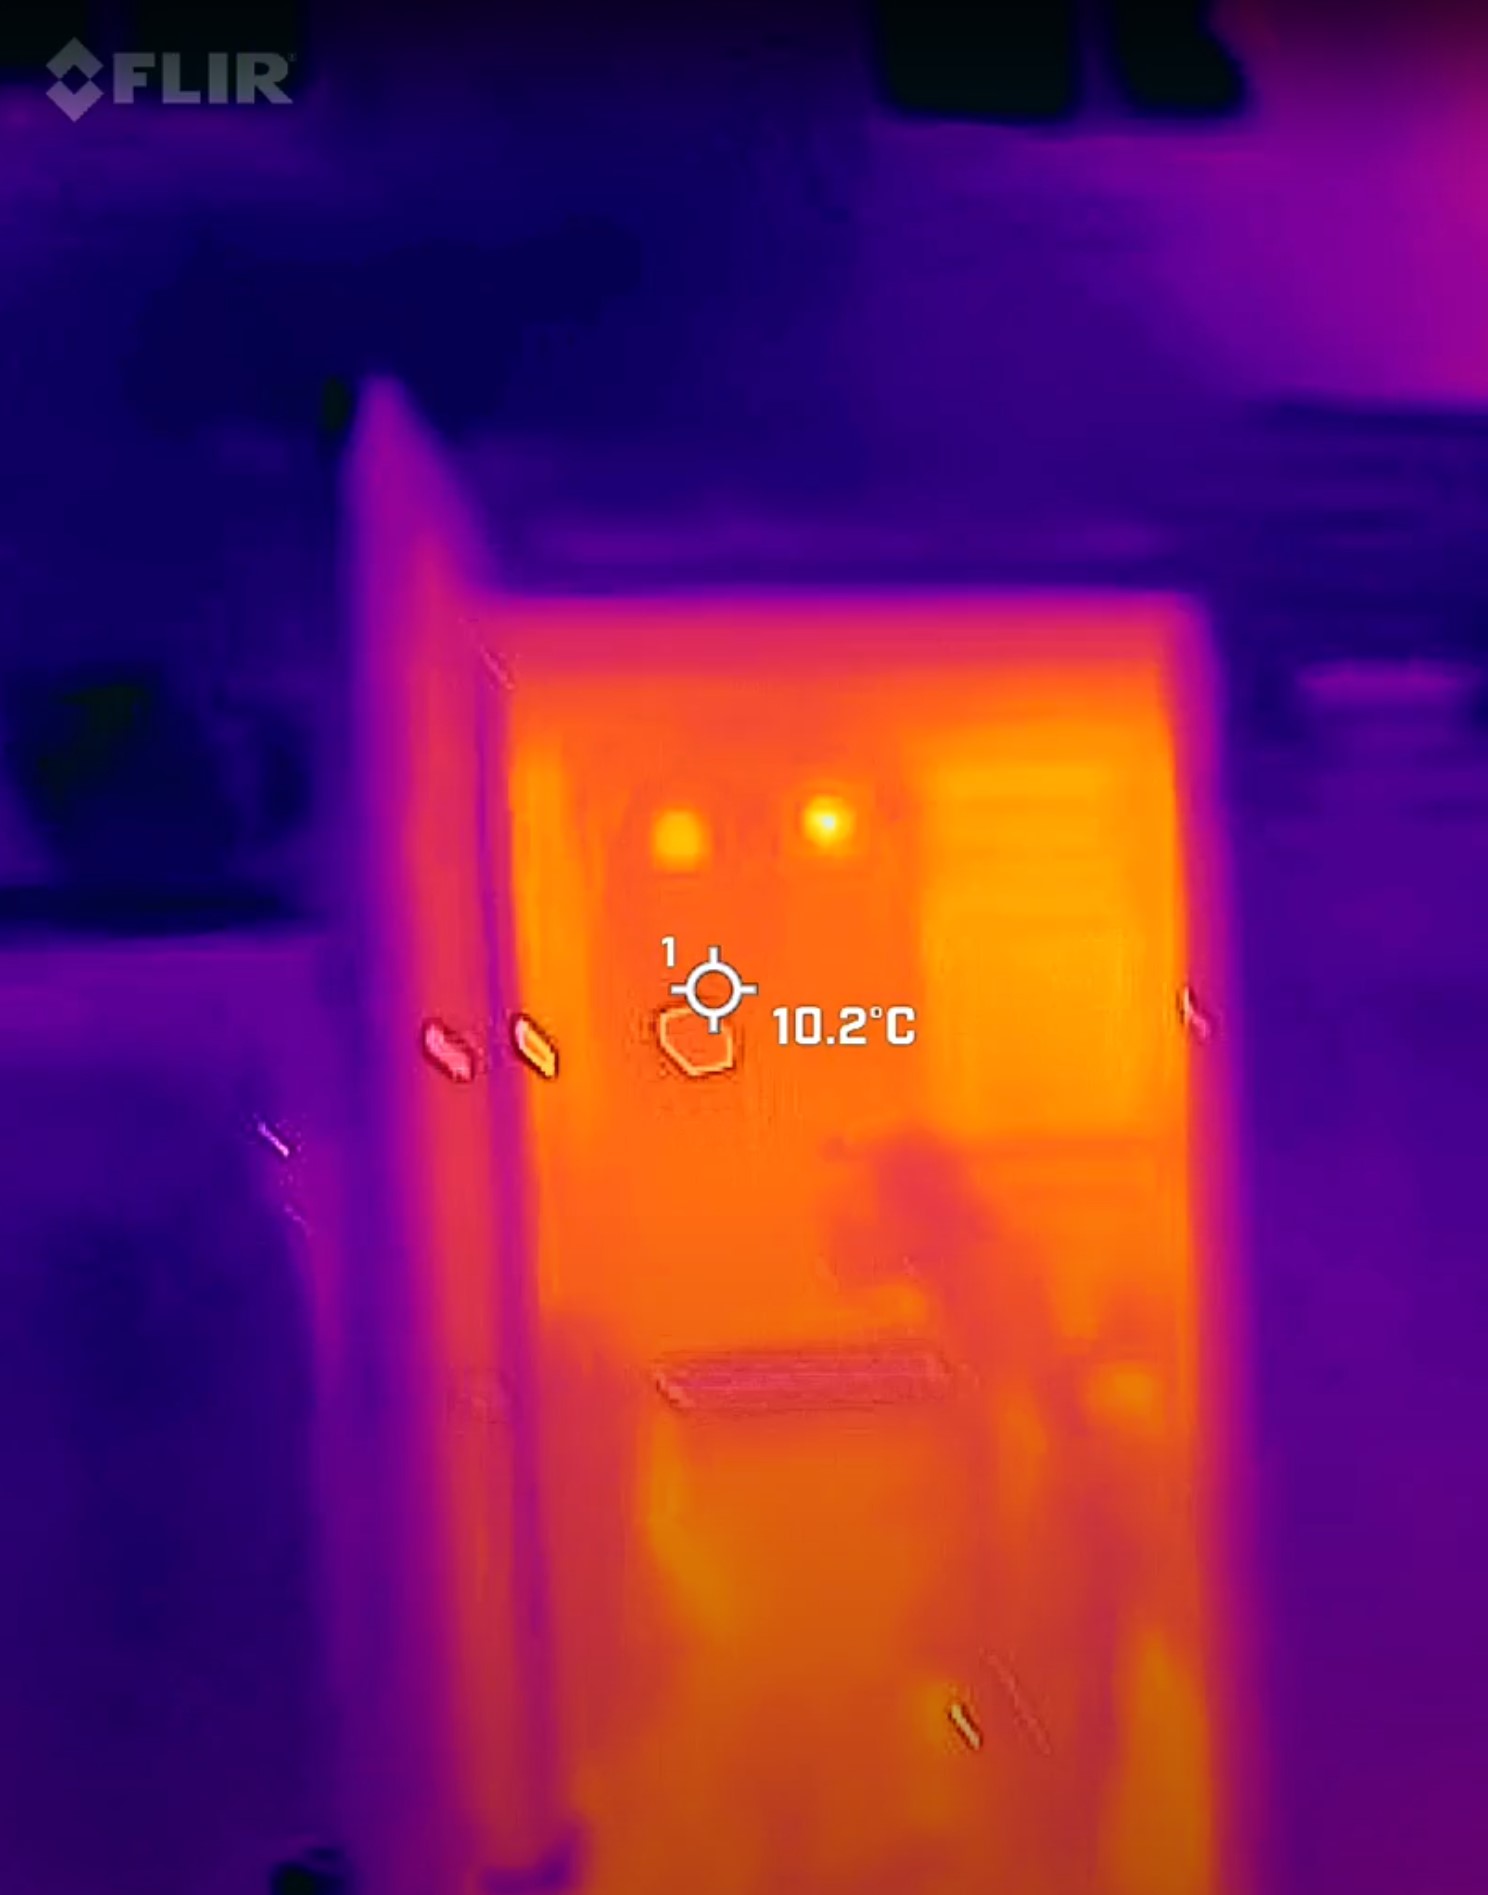
The back of the house didn’t seem too bad in comparison, seemingly aided by the fact a conservatory covers almost the entire bottom half. While poorly insulated, and cold enough to replace my fridge during winter months, it seems that whatever heat was lost from the house to the conservatory wasn’t getting very far.
The soffits came out looking noticeably cooler than the front, though the FLIR camera’s temperature gauge noted they were roughly the same temperature of around 45-46 degrees. So as useful as the FLIR camera can be, the color-coordination isn’t really an exact science.
Those temperatures were generally true for the whole back of the house, in fact, with the only discrepancies coming from some obvious spots — like the corner I share with my neighbor and the area around the boiler vent. Overall, barring the vent area, I didn’t spot any areas that exceeded 48 degrees.
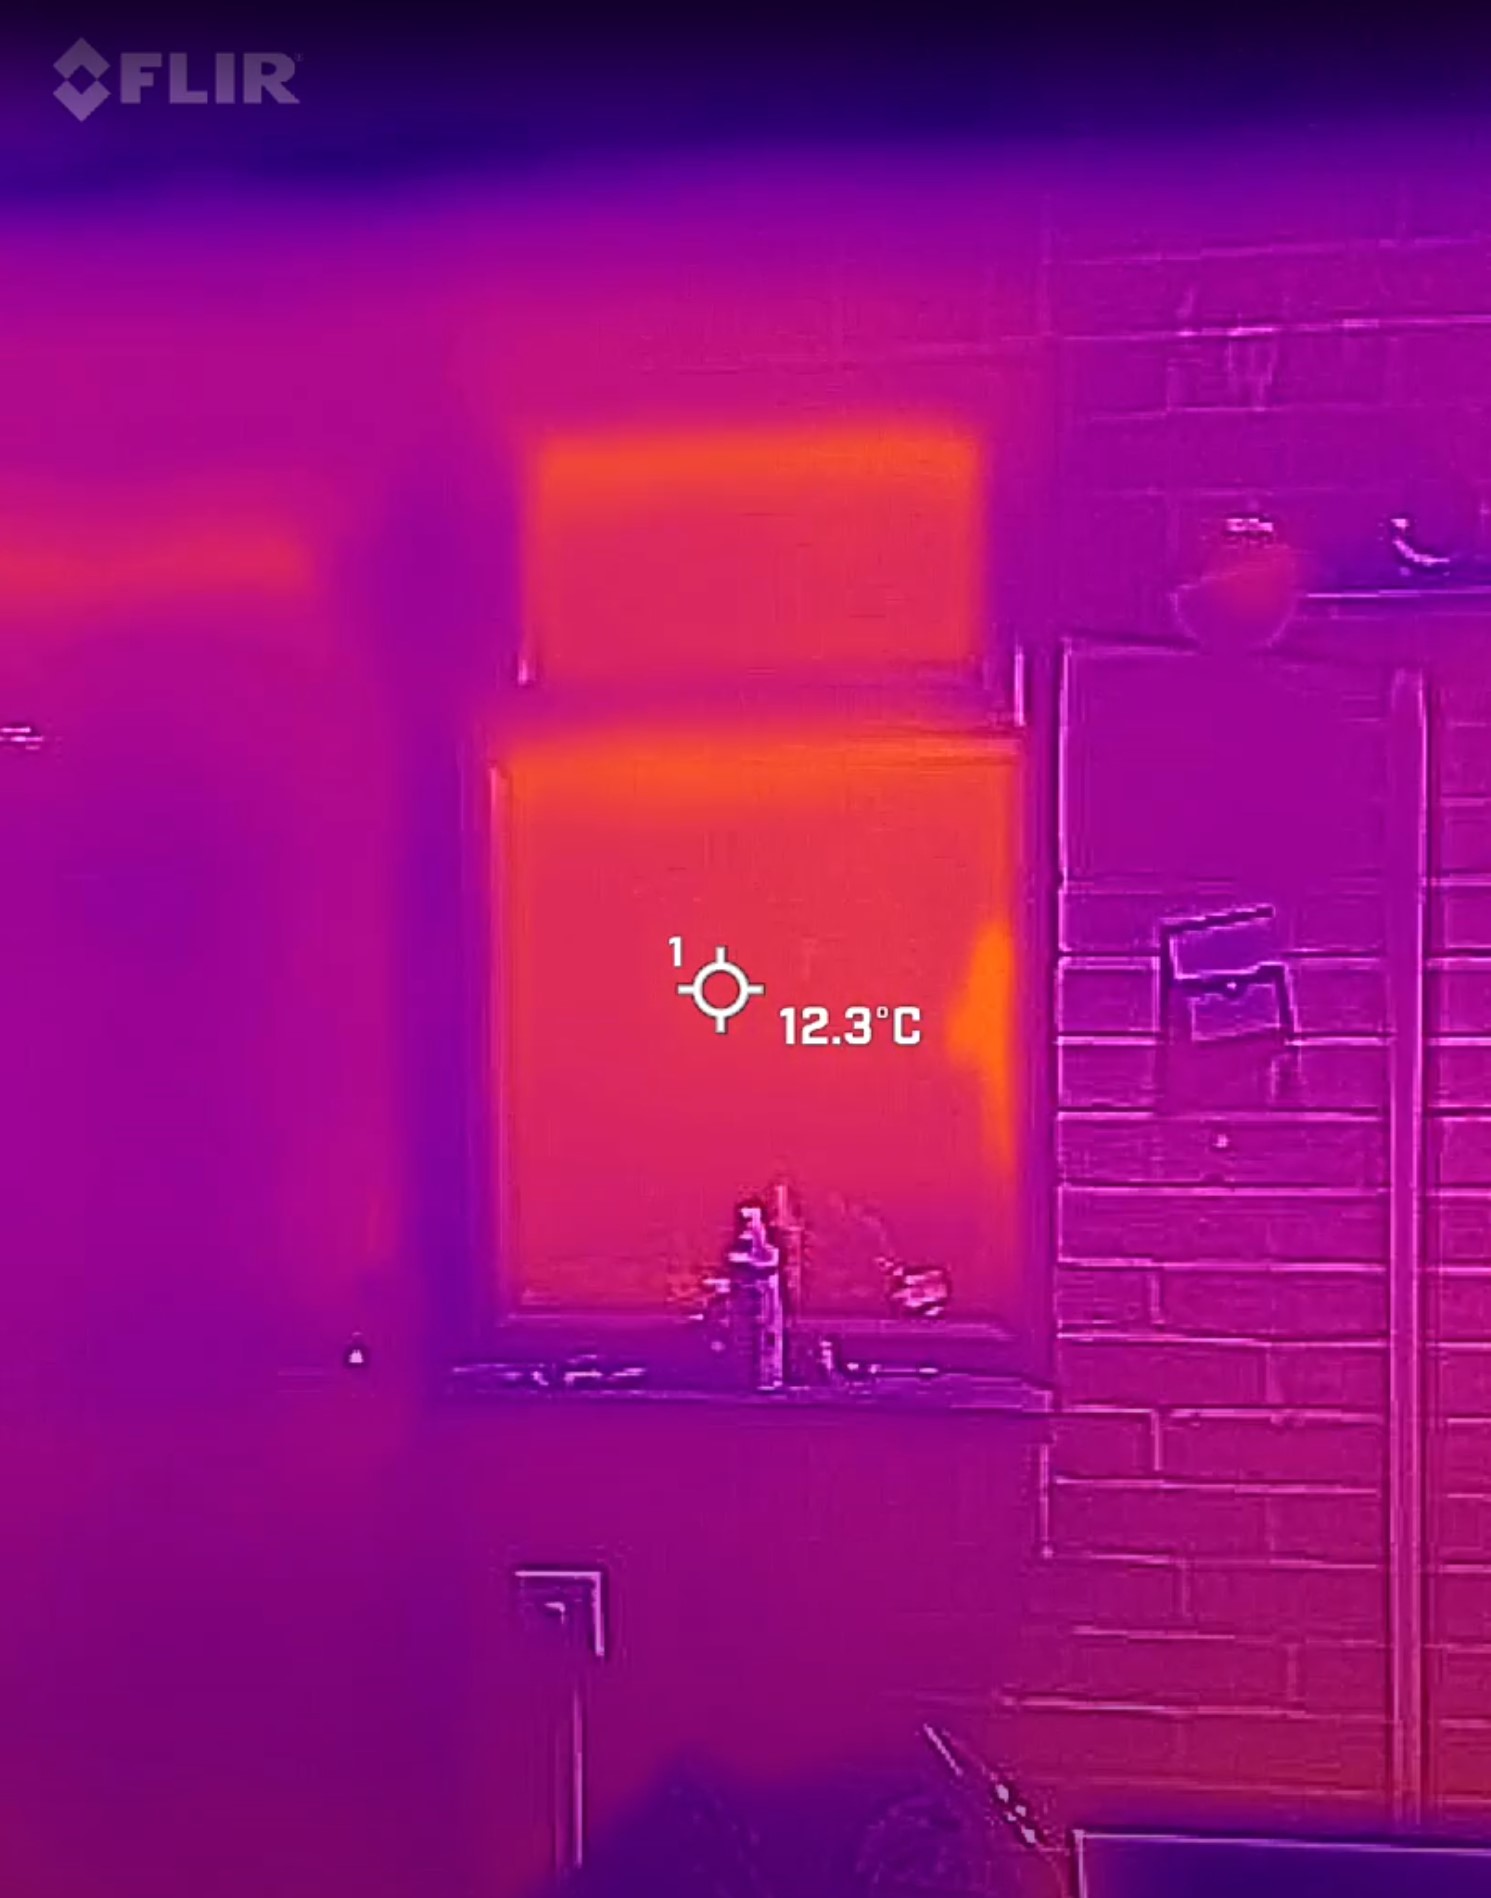
However, heat loss into the conservatory itself is cause for some concern. The windows were registering temperatures between 50 and 55 degrees, most notably at the edges where the glass meets the frame. So the reverse of what I was experiencing inside, which makes sense. I had the same issue on the glass section of the back door, though the rest of the door seemed to be doing a pretty good job of keeping the heat inside. Good thing too, the darn thing cost a fortune to install.
How I'm going to lower my heat loss
Per my time with the FLIR One Edge, there aren’t any urgent problems that I need to fix as soon as possible. Though there are things I could do to try and improve my house’s heat retention, primarily around the windows and doors. While I’ll never completely prevent those cold spots, I can take some steps to try and better insulate my windows.
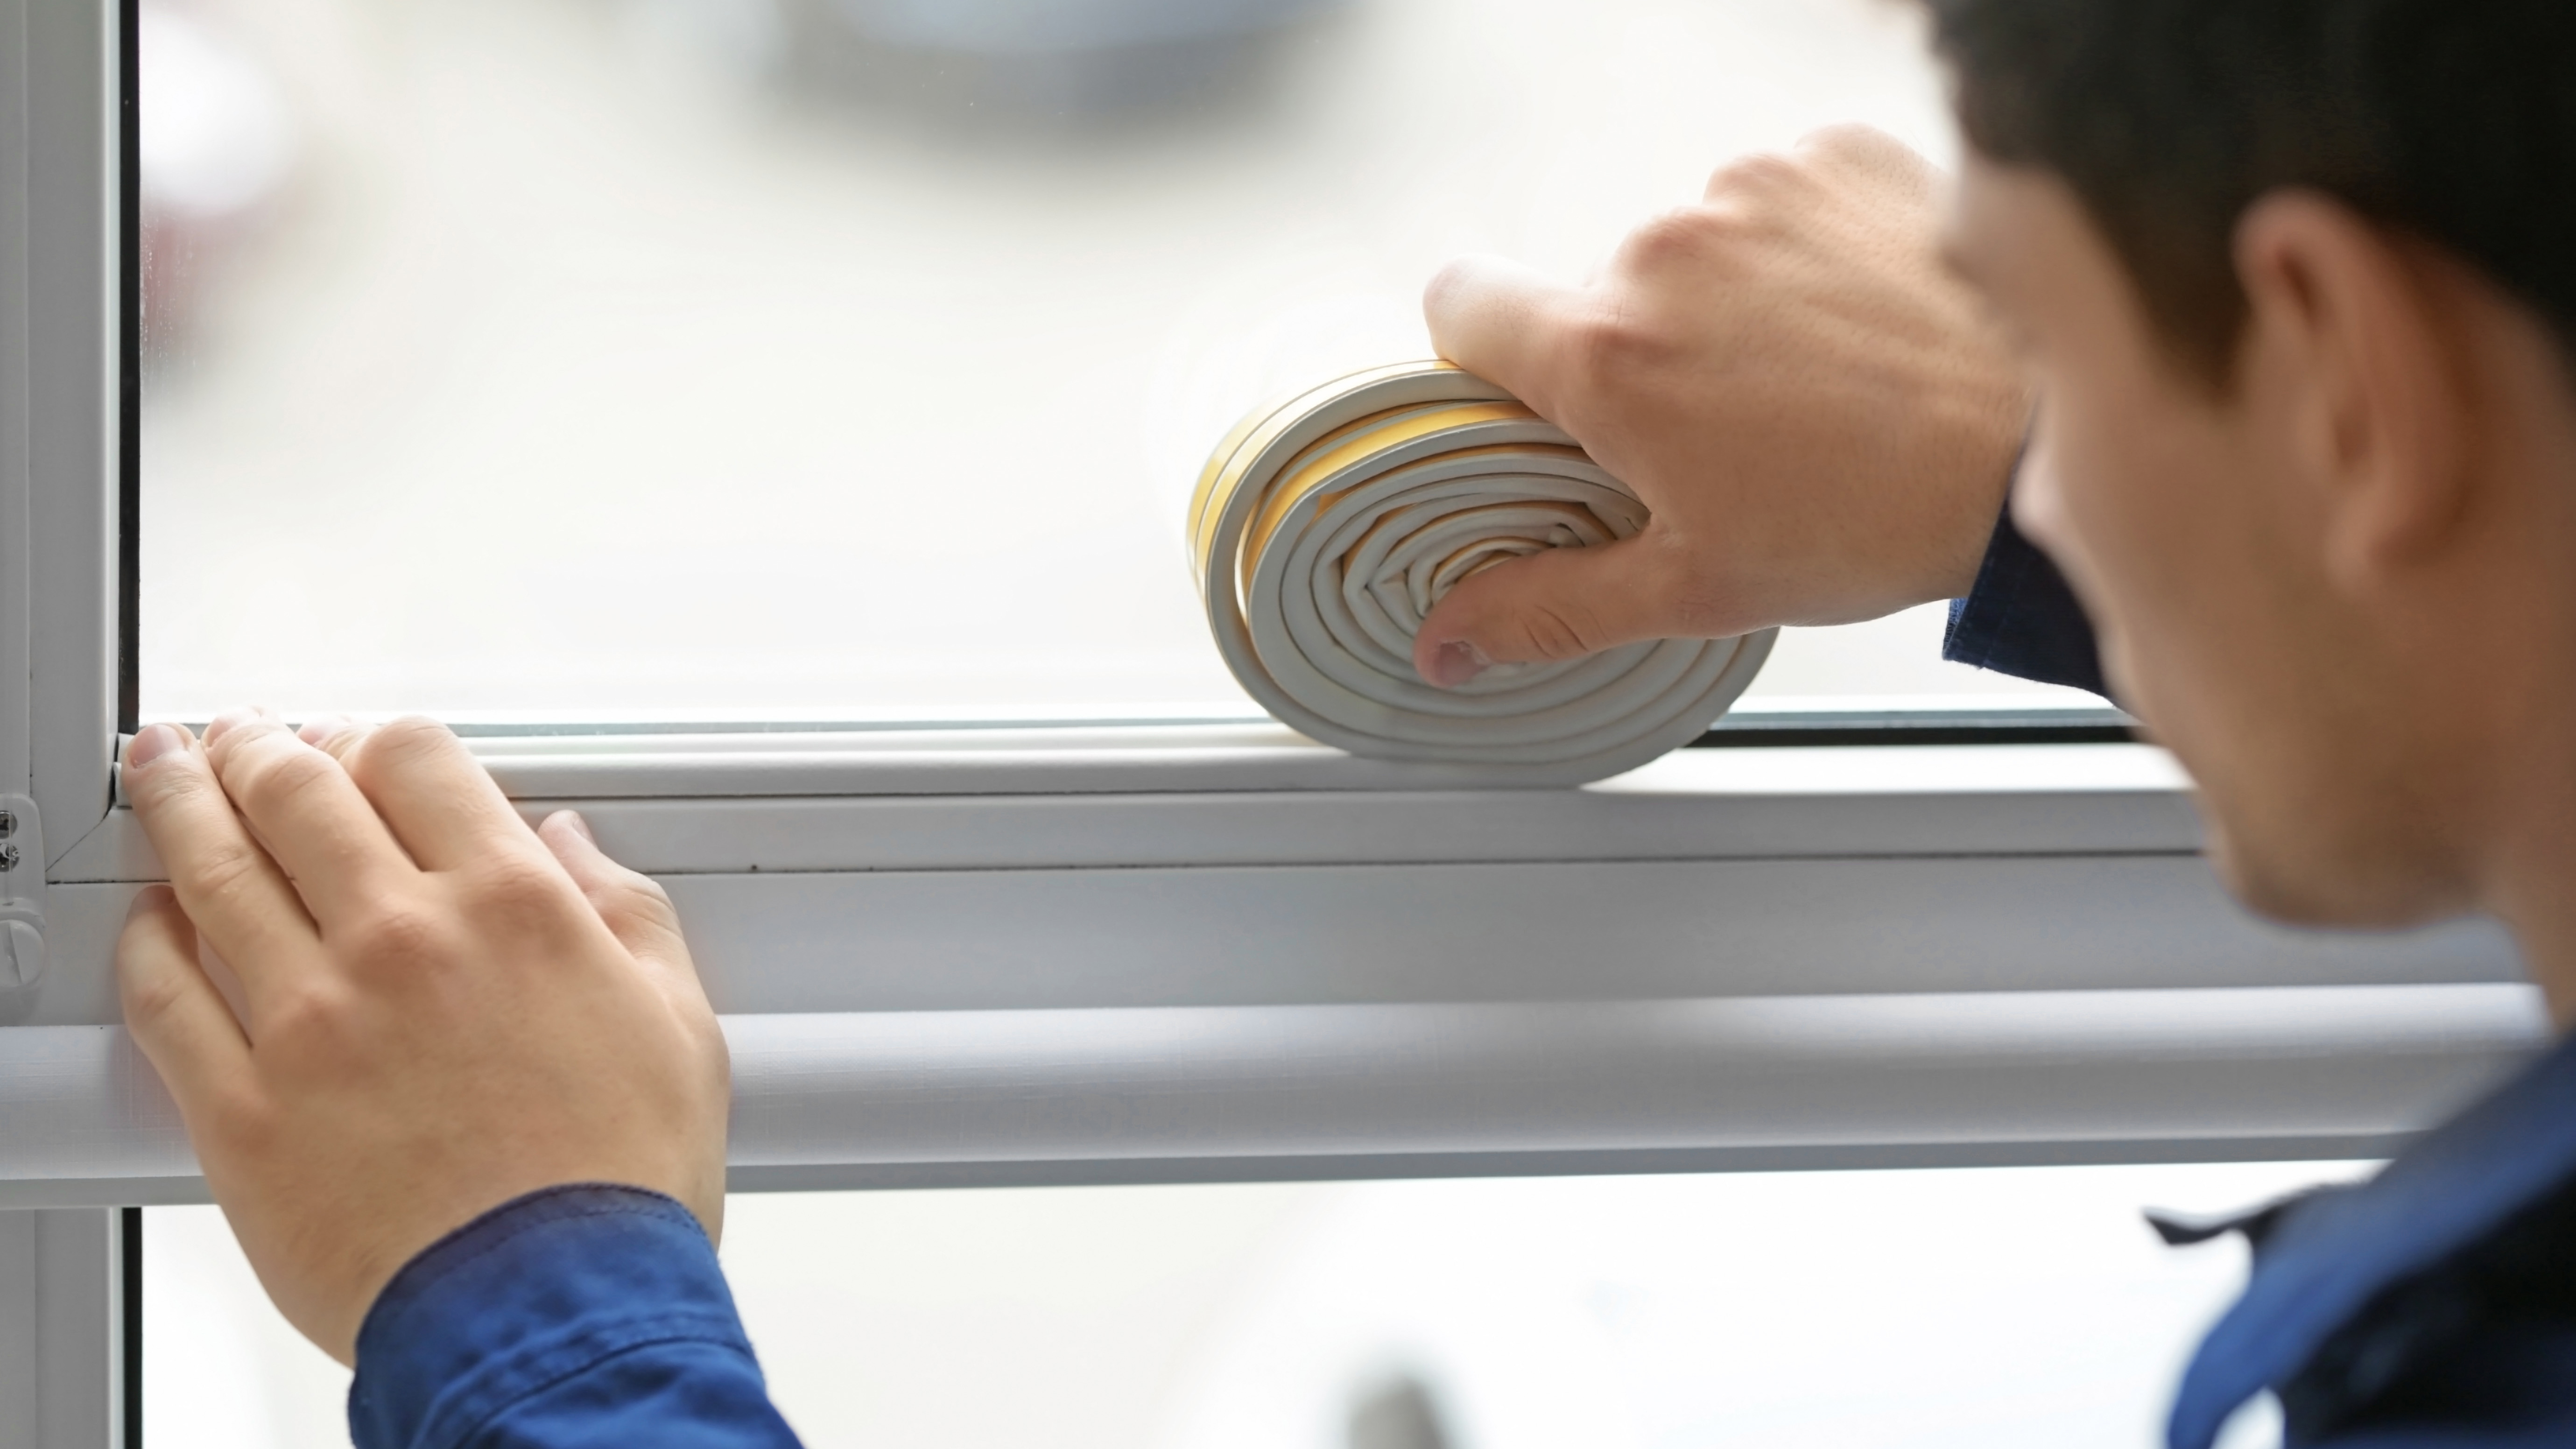
The easiest step is to help improve the seal and plug up any gaps in the frame. In the short term, some fresh caulking and adhesive foam strips will do the job, though some of the older windows may need their rubber seals replaced, along with some fresh caulking around the edges. They are almost 25 years old, after all, and could use some TLC. But that’s a summer job, where I don’t run the risk of freezing if I mess up somehow.
Some kind of thermal treatment may also be on the cards, since the coldest spots do appear to be on the glass itself. That said, I'm going to need to get some professional advice to find out whether it’s going to make much difference, and find someone who can do a much neater job than I can. I don’t trust myself to apply a screen protector to my phone without air bubbles and dust getting in the way.

In the meantime thermal curtains seem to be doing a good job of keeping heat away from the window itself, and I’ll be on the lookout for some kind of insulating curtains or blinds to install at the back of the house.
That’s all the easy stuff, anyway. If I really wanted to take some more extreme measures I could get to work in the conservatory, which has already shown that it stops some heat from escaping into the outside world. Unfortunately age and cheap construction means that, beyond adding some kind of fresh seal to the doors and windows, it’d be easier and cheaper to rip the whole thing down and start afresh.
Sadly that’s a very big (and expensive) job. Maybe one day I’ll have the money to do that, and add an enclosed porch to the front door.
The only thing I can’t really do is try and better insulate the cold corner at the front of the house. It’s a quirk of the house’s design, and the best thing I can do is just keep an eye on things and make sure I don’t have any condensation forming. Fortunately it’s been a couple of years since I’ve spotted any, which means my vigilance has apparently worked.
You don’t necessarily need a thermal camera
Thermal cameras are expensive, and Octopus is just about the only place lending them out free of charge. Thankfully there are things you can do to ensure your house stays as warm as possible — and without spending too much money.
The obvious options are to do what I’ve done, and make sure your windows are properly insulated. Fortunately adhesive foam, replacement seals and caulking supplies can be found at any good hardware store, as are basic insulation supplies for problem areas. Drafty floorboards and baseboards can also benefit from some fresh sealant, but a simple rug can often work as a temporary solution.
Poorly sealed bathroom fans and vents can be an issue, and leaving them switched on unnecessarily will actively pull warm air out of your home. On top of that, having a professional inspect the insulation on pipes and air ducts can make a huge impact on your yearly bills.
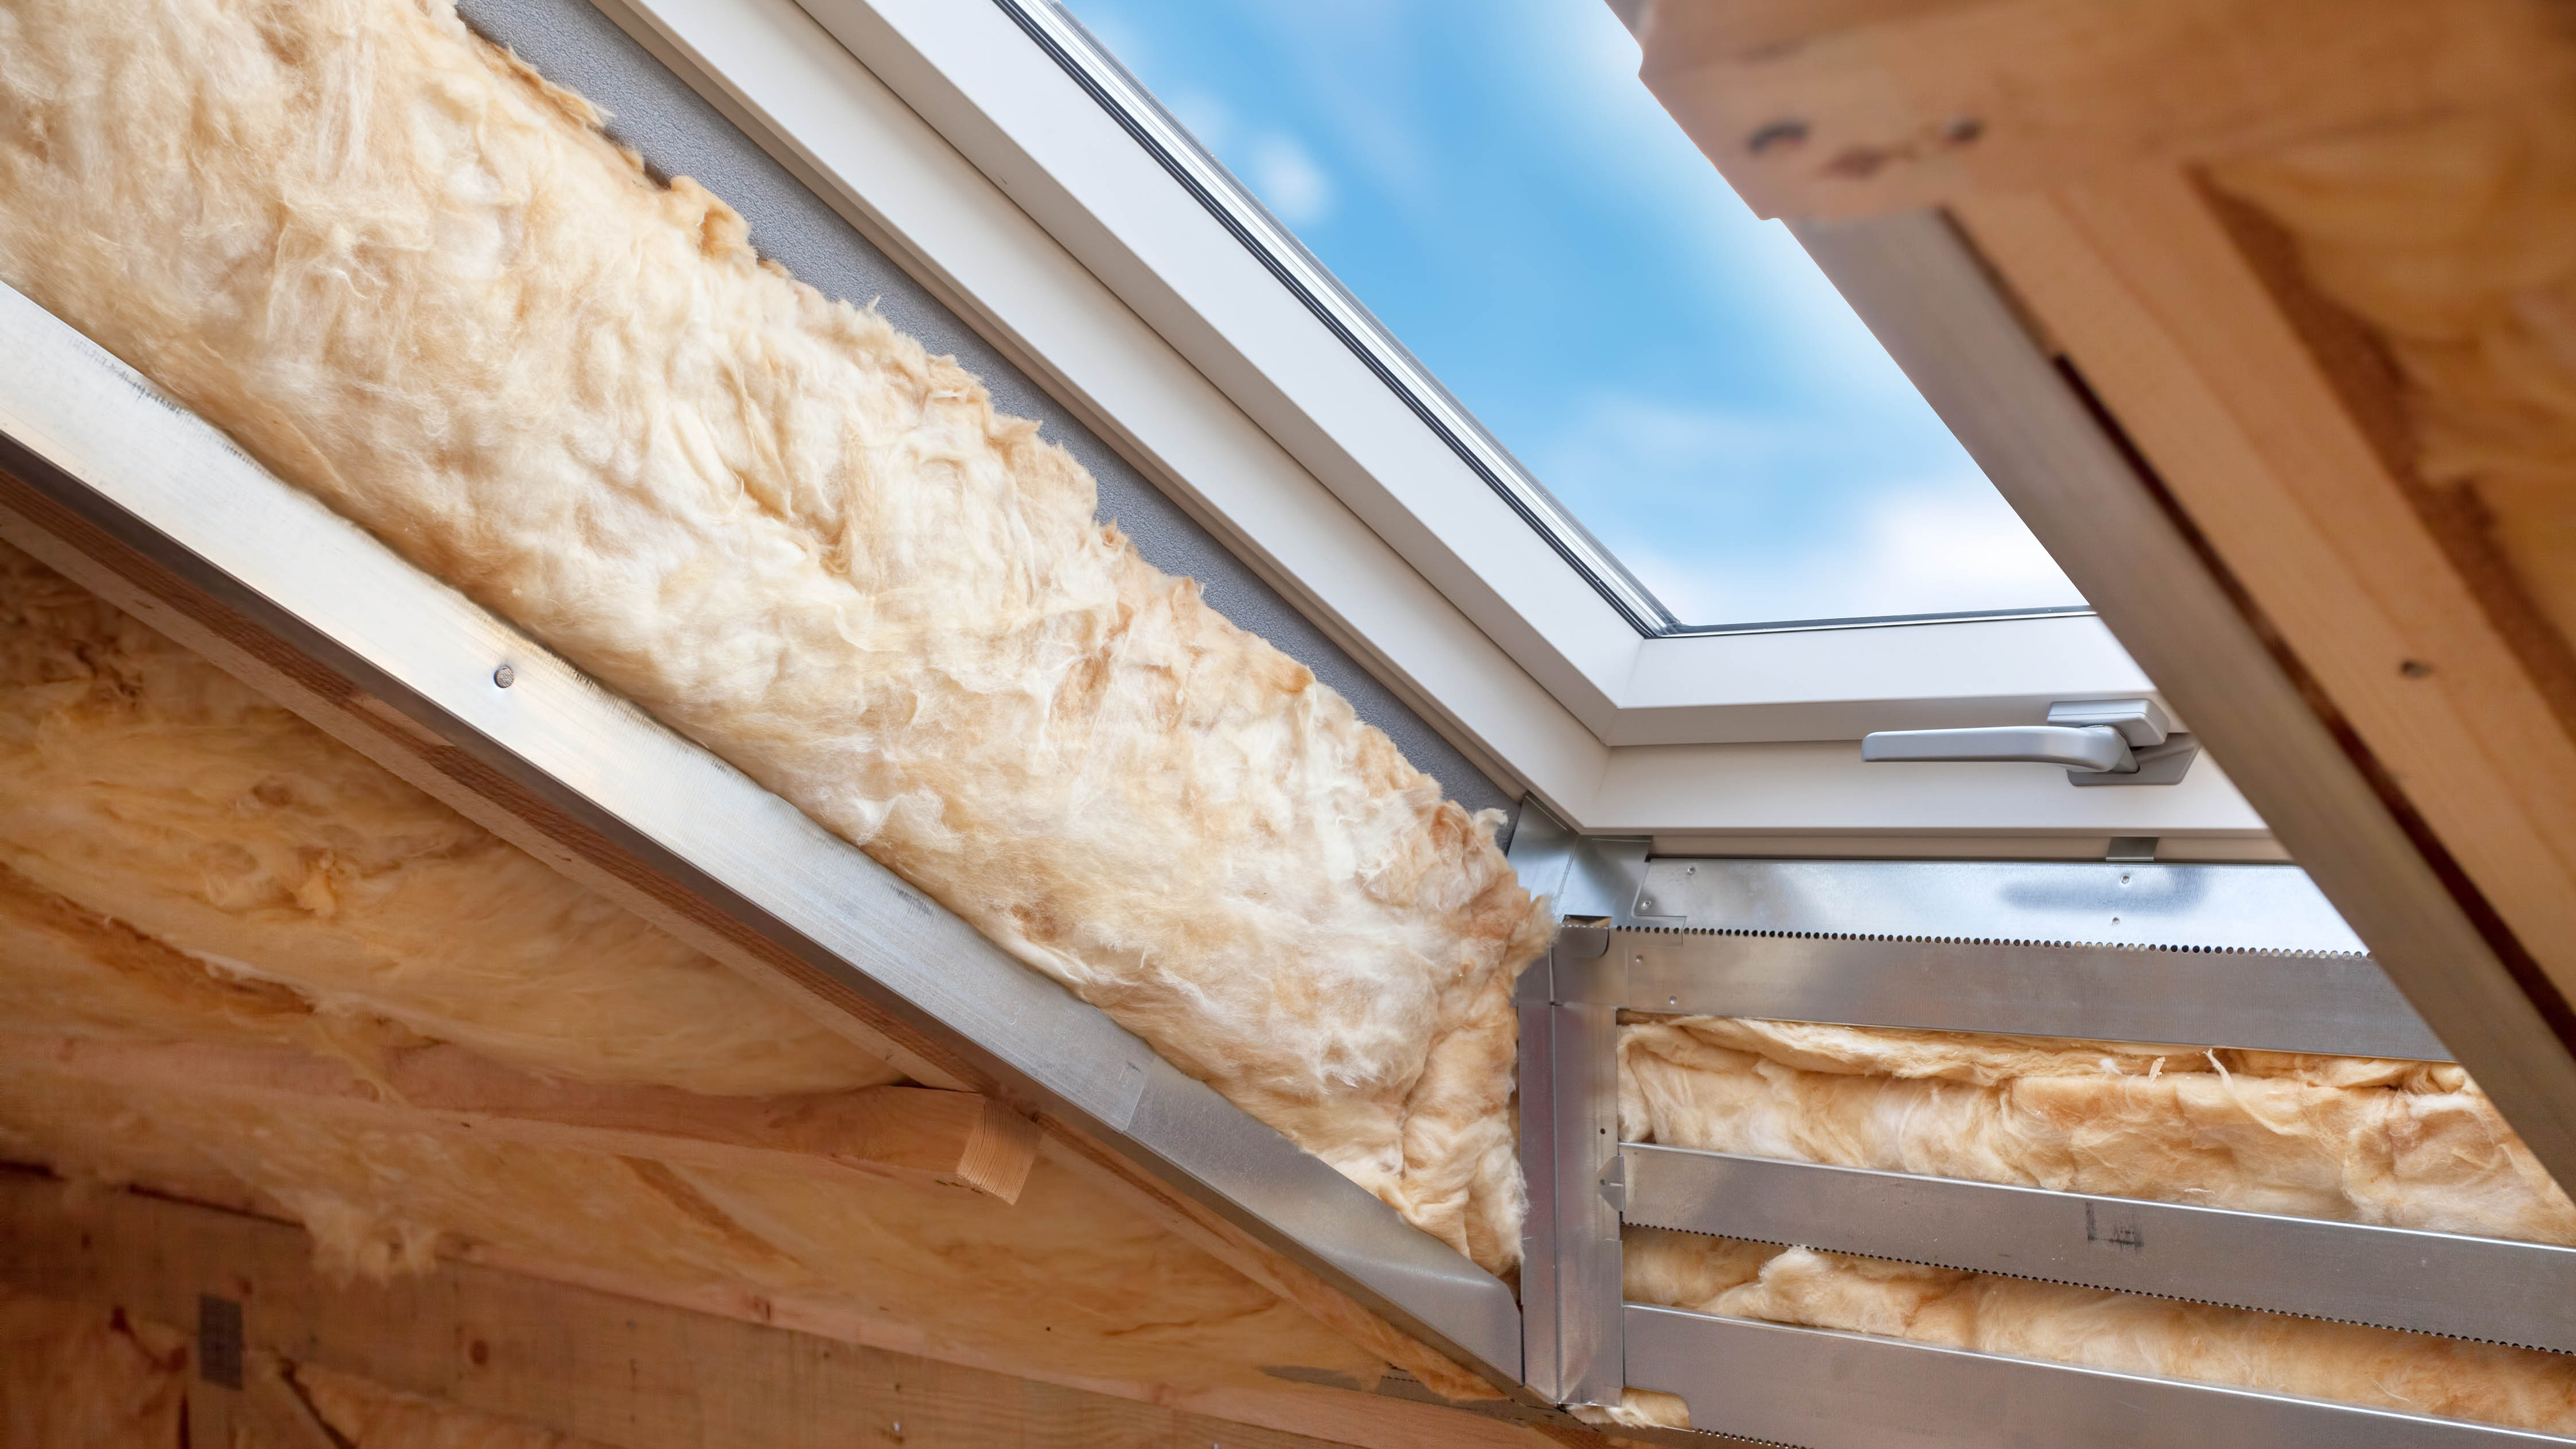
Phil Steel mentioned that attic hatches can also be problematic, something that can be fixed with some insulating material on top and minimizing gaps. Even something as simple as closing your curtains earlier, or adding draft excluders to your exterior doors, can help to minimize the amount heat escaping in cold weather.
Octopus has a range of tips you can check out, so it’s worth giving them a read and exploring your home to see what can be done — FLIR camera or not.
Bottom line
Overall I didn’t find anything particularly worrying when it came to my home’s heat loss, which wasn’t a total surprise to me. For starters I live in a terrace/townhouse, which means I share two walls with my neighbors — limiting the potential heat loss on both sides.
Likewise I’ve done a few heat-saving measures over the past few years as well. Last year I added extra insulation to my attic, and the year before that I replaced a bunch of double-pane windows after condensation started forming between the layers of glass. The drafty, ill-fitting wooden back door was also replaced with a uPVC model shortly after I moved in.
While I’ve been told by various contractors that my house has reasonably good heat retention, it’s nice to get some empirical evidence to back that up. Now I just need to get the little improvements done, and start saving money for the more extensive stuff.
Looking for other ways to stay warm while saving money? Check out our guides to the best smart thermostats and the best space heaters.

Tom is the Tom's Guide's UK Phones Editor, tackling the latest smartphone news and vocally expressing his opinions about upcoming features or changes. It's long way from his days as editor of Gizmodo UK, when pretty much everything was on the table. He’s usually found trying to squeeze another giant Lego set onto the shelf, draining very large cups of coffee, or complaining about how terrible his Smart TV is.
 Club Benefits


