Tom's Guide Verdict
The Robo C2 offers high-quality prints at a reasonable price, but the printer takes a while to produce large prints.
Pros
- +
Excellent print quality
- +
Error-free printing
- +
Sleek design
Cons
- -
No automatic print-bed leveling
- -
Printing is slow
- -
Limited to PLA
Why you can trust Tom's Guide
Robo 3D is perhaps best-known for its more expensive 3D printers like the $1,500 R2, but the C2 is a more affordable midrange model that may appeal to those who value print quality over speed, such as artists or modelers. The $679 C2 offers a lot of features for its relatively affordable price, including Wi-Fi, true stand-alone printing and excellent print quality using PLA filament. But slightly more expensive printers like the LulzBot Mini support a wider range of materials, and the C2’s printing pace may frustrate some users.
Design: Rounded Corners, Clean Look
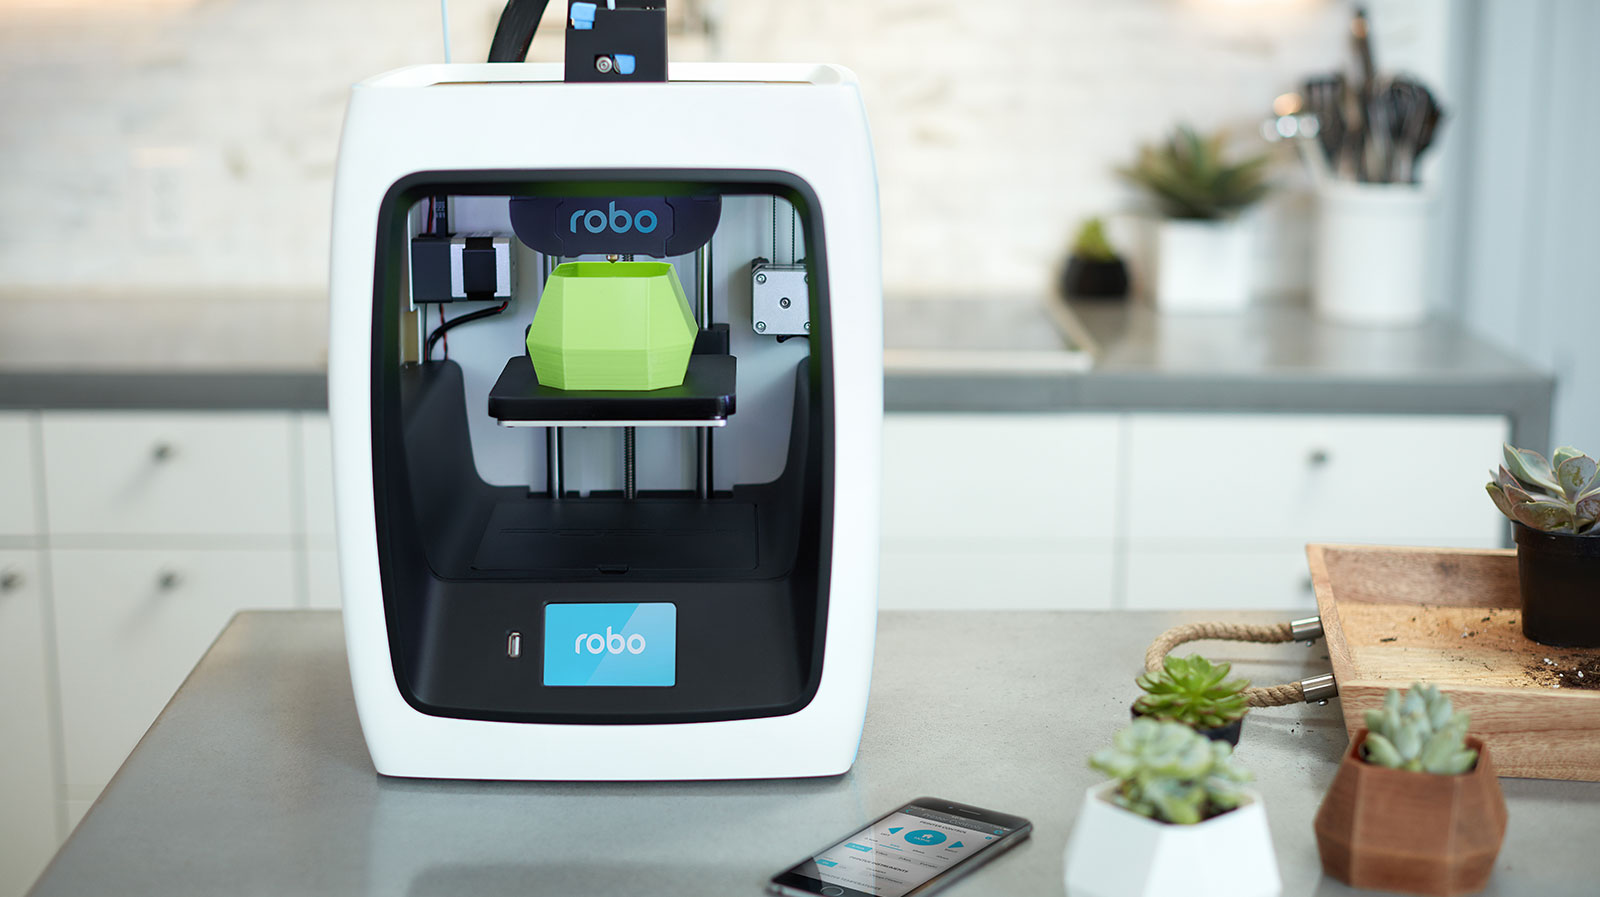
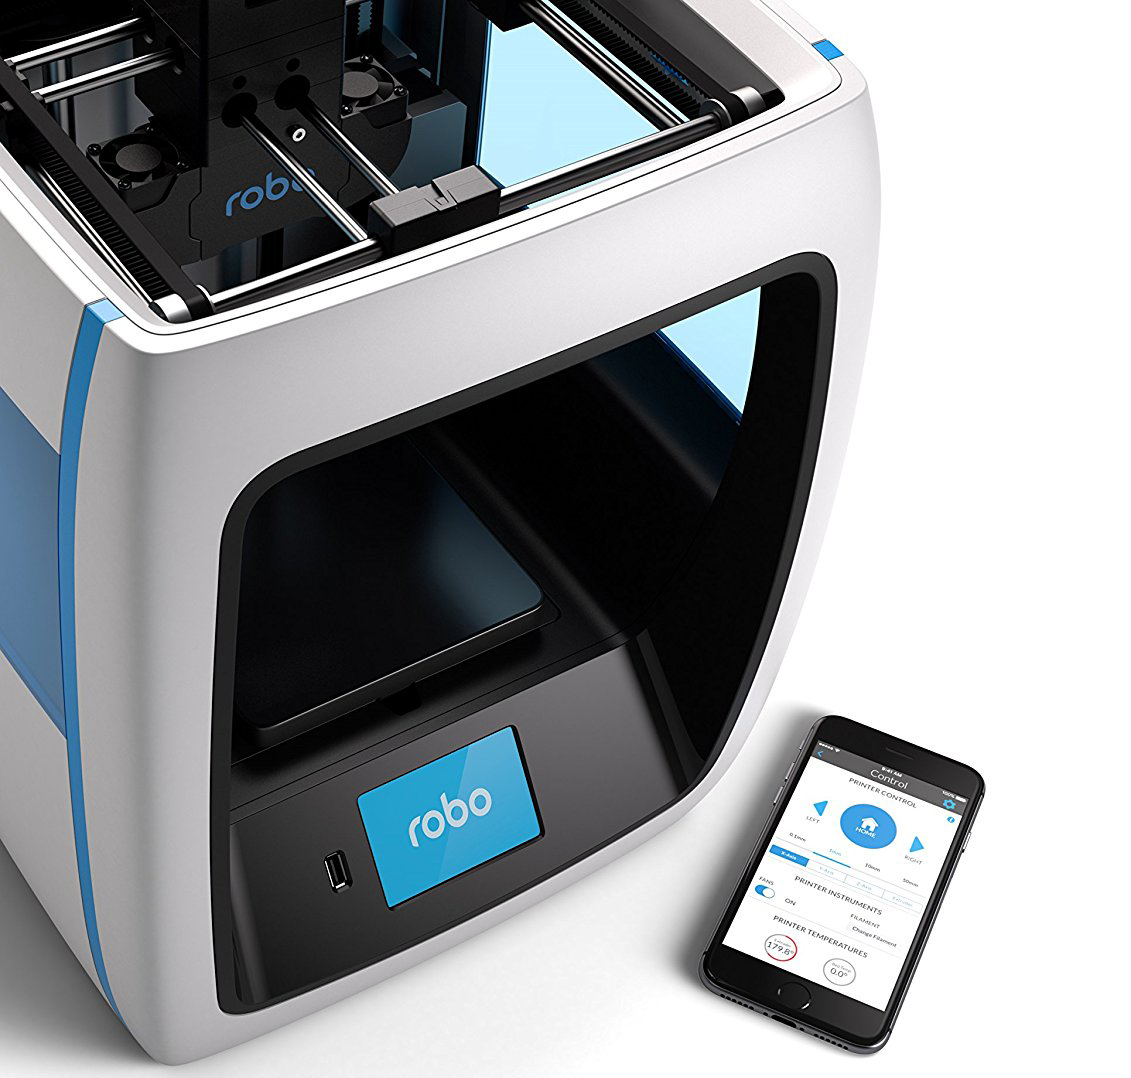
The Robo C2 has an attractive, practical design that it shares with other Robo 3D printers. The gently curved white plastic case with blue highlights looks clean and modern, hiding the motors and drive belts that make the printer work. The case won’t stop inquiring fingers from discovering the hot printhead, though, so this isn’t a printer that should be used by younger, unsupervised 3D explorers.
The heart of the Robo C2 is the printhead, which melts the PLA filament held in a reel attached to the printer’s back, squirting it onto the print bed. This large printhead moves left and right, while the print bed moves up and down to create the layers of the print.
A nonstick plastic that can be removed and replaced covers the print bed, and three spare sheets of plastic are included with the C2. The bed isn’t heated: It relies on the PLA sticking to the plastic for adhesion. We didn’t have any issues with prints peeling away or lifting from this printer, though: All of our test prints remained attached to the bed without problems.
You can lift off the print bed to make removing a print from the C2 easier. The bed is held in place with four magnets that lock onto metal knobs on the base so it won’t shift during printing. This works well, but we did find one issue: On our test unit, one of the magnets wasn’t properly glued into place, so it fell off the print bed the first time we removed it. A couple drops of super glue quickly fixed this problem.
We also found that the C2 was very noisy when it was first used, producing an unpleasant squeaking sound as the printhead moved around. Fortunately, this stopped when we used some of the included grease to lubricate the mechanism, but neither of these problems is the sort of thing we expect to find on a new printer.
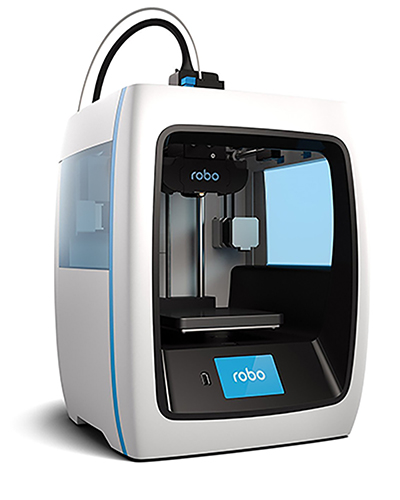
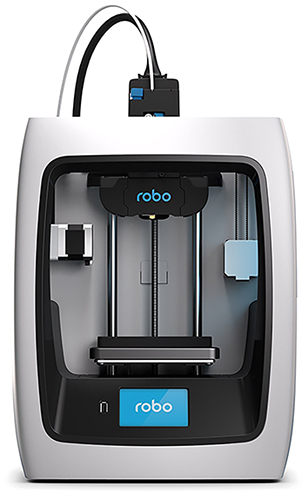
Below the print bed is the 3.5-inch touch screen that you use to control the C2. The screen is big and bright enough to be easily seen, and the touch controls worked well. However, the screen moved and bent rather alarmingly when we pressed a button with anything more than moderate force, which is probably why Robo 3D includes a small touch-screen stylus to use. A finger works just as well, though.
Get instant access to breaking news, the hottest reviews, great deals and helpful tips.
MORE: Best 3D Printer - Picks for Beginners on a Budget to DIY ...
On the back of the printer, you’ll find Ethernet, USB and power sockets. The C2 also includes an 802.11g Wi-Fi connection, and any of these can be used to connect the printer to a computer.
The C2 offers a print volume of 5 x 5 x 6 inches, for a total of 150 cubic inches. That is significantly smaller than many more expensive models, but it’s about average for smaller, cheaper printers of this type; it’s also big enough to print most common objects.
Print Materials: Only PLA Support
The C2 supports only one type of print material — 1.75-mm polylactic acid (PLA) filament. That’s not a huge hardship, though: PLA filament is available in a huge range of colors and finishes from both Robo 3D and other manufacturers.
Update: Robo contacted us about materials support, and the company claims that it will support more than 22 materials that don't require a heated print bed, such as flexible materials like nGen_FLEX, colorFabb Metals, sinterable filaments, and more. This is correct, but the lack of a heated print bed makes printing with these and other materials more difficult, so we feel that our conclusions are still correct.

Robo 3D sells PLA in both large 1KG reels for between $20 to $40, or smaller 500g reels for $20. That’s pretty average for reels of this size, and there are also PLA filaments available that include materials such as carbon fiber and metals, so this is less of a limitation than it might first seem to be. Even flexible PLA filaments (such as this Soft PLA) are now available.
Setup: Simple, with Some Manual Effort Required
The C2 is a fairly simple printer to set up. All you need to do is to unpack the printer, remove the numerous retaining clips that held the printhead in place during shipping, turn on the device and load the print filament. You feed filament into the feeder tube and the printhead, then watch until the melted filament comes out of the printhead.
You also have to set the Z-offset, so the printer knows where the print bed is. This is the manual part, and it involves putting a piece of paper between the printhead and the print bed, then adjusting the print bed height with the touch screen until the paper is caught between the two. This only needs to be done once, though, unless you move the printer or change the plastic cover of the print bed. It’s not complicated to pull off, but we prefer automatic systems like the LulzBot Taz 6 or Ultimaker 3 that do it automatically every time you start a print, making them less prone to error. Of course, those models are also much more expensive than the C2.
Interface: Several Easy Options
You’ve got two ways to control the C2: either via the software or the touch-screen interface. There are two software options: a version of Cura, tweaked for use with the Robo C2, or MatterControl, a program written by Robo 3D itself.
In our testing, we used the open-source Cura, a simple-to-use program that provides a straightforward and clear way to load a 3D model and prepare it for printing. Cura also offers a huge range of features and controls for tweaking this process to control how the final print is created, including changing the amount of infill (material inside the print that supports it) and how quickly the material is laid down during printing.
MORE: How to Buy a 3D Printer
You can also use touch-screen controls to operate the C2. Unusually, the C2 can prepare a 3D print by itself: You can load a 3D model downloaded from a website such as Thingiverse onto the printer, and the C2 will prepare the model for printing, slicing it into layers and creating the path that the printhead will follow. This means that all you need to print objects on the C2 is a web browser, since the printer includes a web interface for loading files.
Print Process: Simple, Error Free
Once the C2 received the print file from the software (or from the built-in slicer), it began the printing process. The printer was a little noisy, though, especially before we added extra grease to the mechanism.
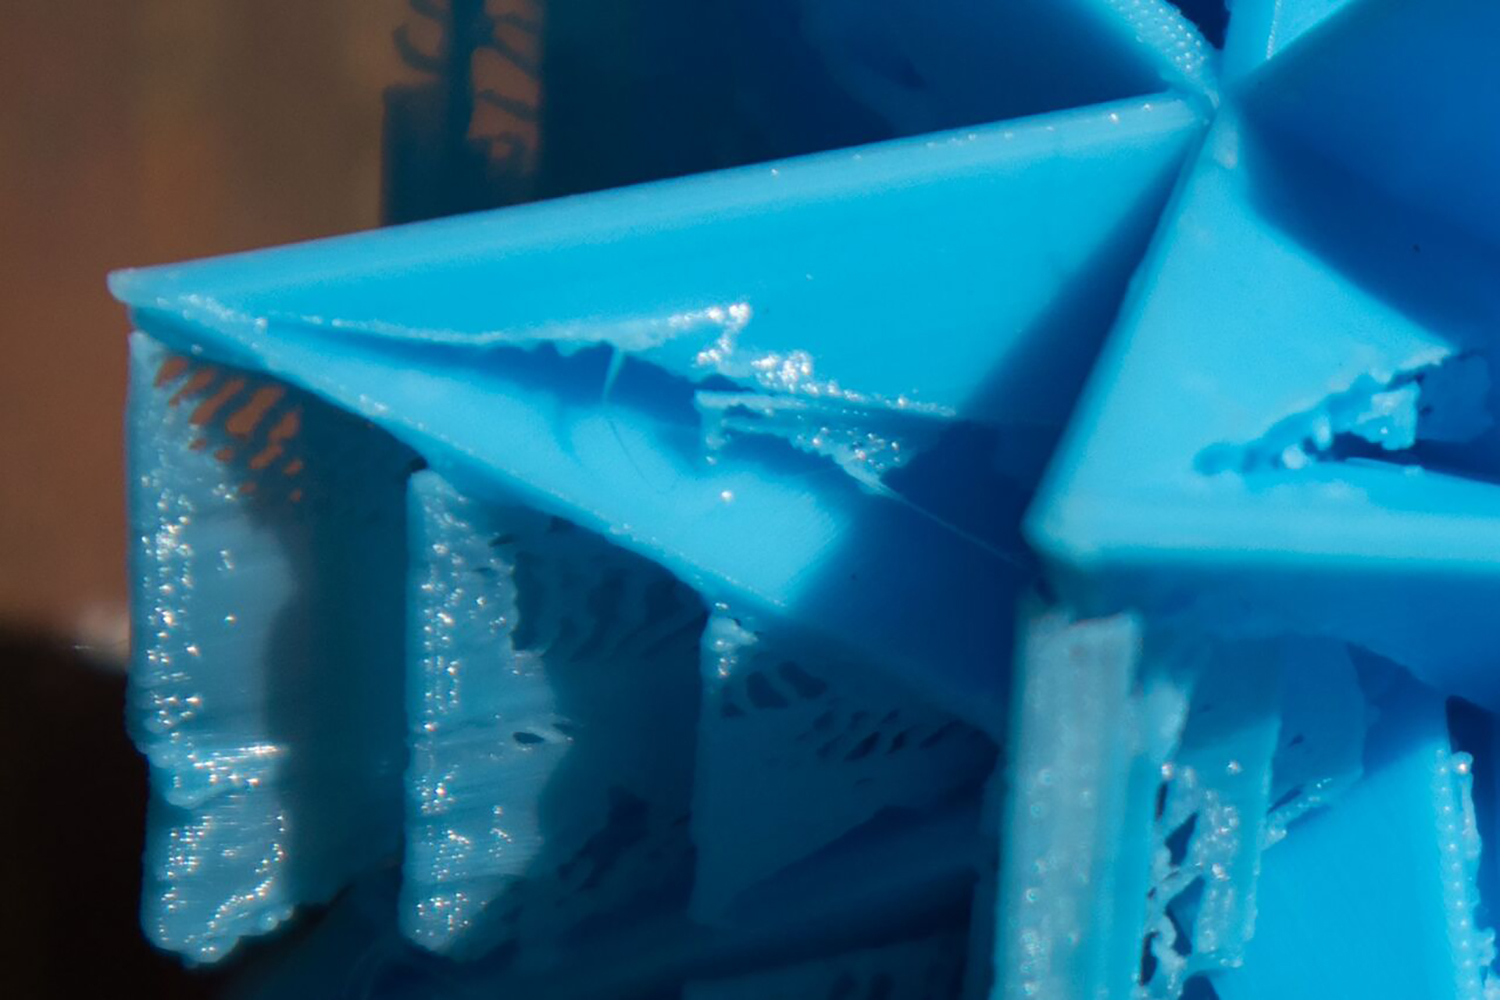
Still, we found the print process to be generally error-free. We only had one failed print, where a piece of filament stuck to the printhead and damaged the print. This was the exception, though; the rule was that the prints completed without issues, sticking nicely to the print bed, and they were also easy to remove when done.
Print Speed: Slow
The Robo 3D C2 is not a fast printer. Our Thinker test model took between 10 hours and 3 minutes (at low quality) and 23 hours and 3 minutes at high quality to print. That’s much slower than similar printers like the XYZ da Vinci Jr. 2.0 Mix, which took from 5 hours to a little more than 9 hours to complete the same-size print at similar quality settings.
Print Quality: Excellent
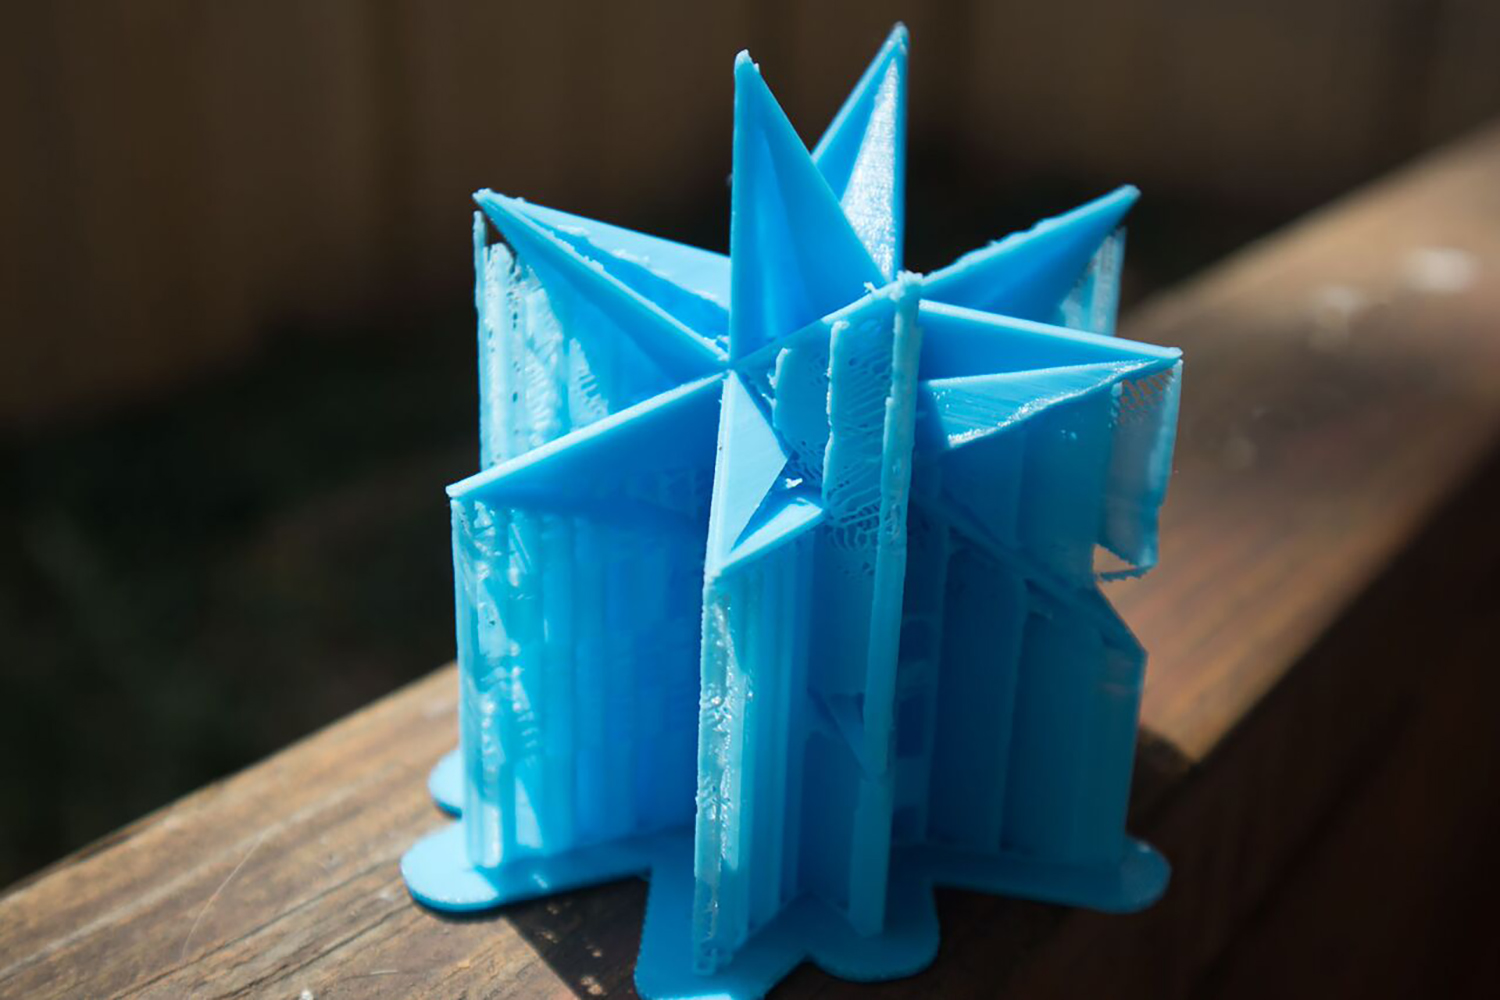
We were impressed with the print quality of the C2. It produced excellent-quality prints, with layers that blended together well. Even especially tough prints like the geometric sculpture that we use were well-printed, with clean, sharp points on the sculpture once we removed the supports.
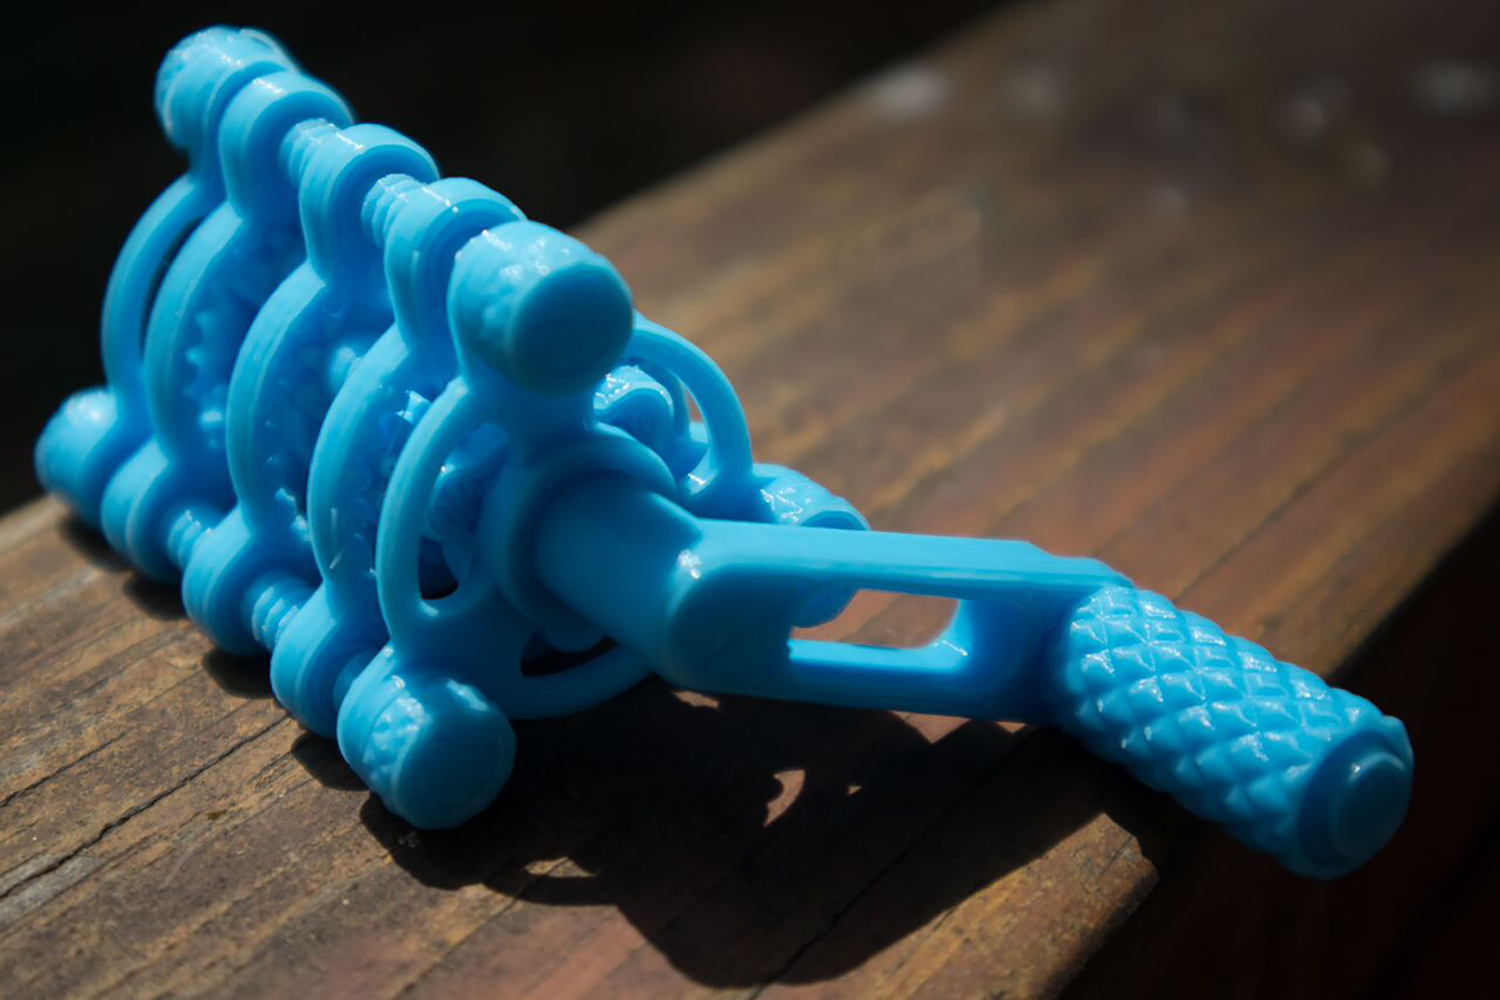
Our gears test model was also well-printed. When we removed all of the parts, they fit together right away: We did not have to clean the prints or remove any excess material. That’s unusual: Most prints of this model require some cleaning or sanding to fit together, but this print didn’t need anything.
Bottom Line
There’s a lot to like in the Robo 3D C2. It produces excellent-quality prints using PLA filament, and the software and interface are flexible and easy to use. The ability to print directly from 3D models on the printer itself is also unusual, and that might be useful in a setting where computer use is restricted (such as in a school).
There are a lot of competing products that target entry-level users, and several, like the $399 XYZprinting da Vinci Jr. 2.0 Mix cost less than the C2 is a bit of a slowpoke compared to its competitors.
Slowness aside, the C2 produces better-quality prints than the da Vinci, and it can use PLA filament from any source. That makes it an appealing option if you’re looking for a high-quality printer aimed at beginners and don’t mind waiting for your prints.
Richard Baguley has been working as a technology writer and journalist since 1993. As well as contributing to Tom's Guide, he writes for Cnet, T3, Wired and many other publications.
