Sony 2018 Android TV Settings Guide: What to Enable, Disable and Tweak
We walk you through the menus and features of Sony's 2018 Android TVs. Use our handy guide to find the settings and features you need.
How to set up over-the-air channels on your Sony TV
The next part of the first-time setup is to get your live TV sources. If you're using an antenna or a cable connection that uses the RF connector instead of HDMI from a cable box, this is the time to get your channels set up.
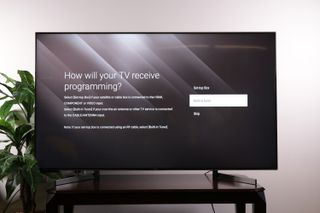
1. Select your live-content source. Make sure the connection is properly attached and select either "Set-top Box" for HDMI-connected cable and satellite boxes, or "Built-in Tuner" for anything that attaches to the TV with a coaxial connection.
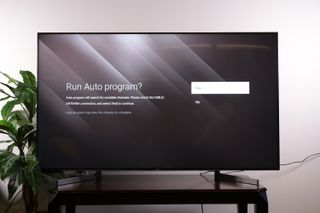
2. Run Auto-Program. Hit yes to begin scanning for available channels from your antenna or cable connection.
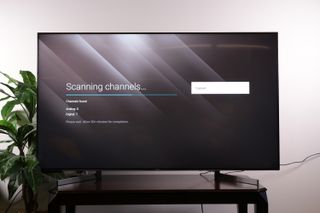
3. Wait for the scan. The actual channel scan may take some time, so now is a great opportunity to make sure your favorite couch or recliner is well-positioned in front of the TV.
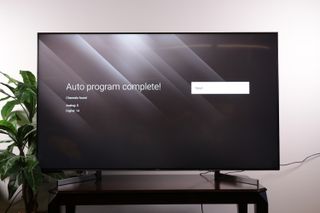
4. Auto-Program is complete! Once the TV is done scanning, you'll get a message showing you how many channels were found. If the number seems low, you may want to reposition your antenna for better reception and scan again.
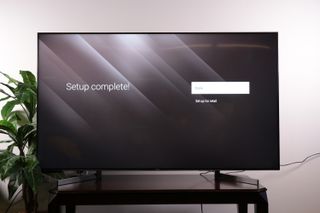
5. Setup complete. With channels scanned for, the initial setup is done.
Sign up to get the BEST of Tom’s Guide direct to your inbox.
Upgrade your life with a daily dose of the biggest tech news, lifestyle hacks and our curated analysis. Be the first to know about cutting-edge gadgets and the hottest deals.
Current page: How to set up over-the-air channels on your Sony TV
Prev Page How to set up your new Sony TV Next Page How to access the on-screen channel guide on a Sony TVBrian Westover is currently Lead Analyst, PCs and Hardware at PCMag. Until recently, however, he was Senior Editor at Tom's Guide, where he led the site's TV coverage for several years, reviewing scores of sets and writing about everything from 8K to HDR to HDMI 2.1. He also put his computing knowledge to good use by reviewing many PCs and Mac devices, and also led our router and home networking coverage. Prior to joining Tom's Guide, he wrote for TopTenReviews and PCMag.

